Coconut creamed corn

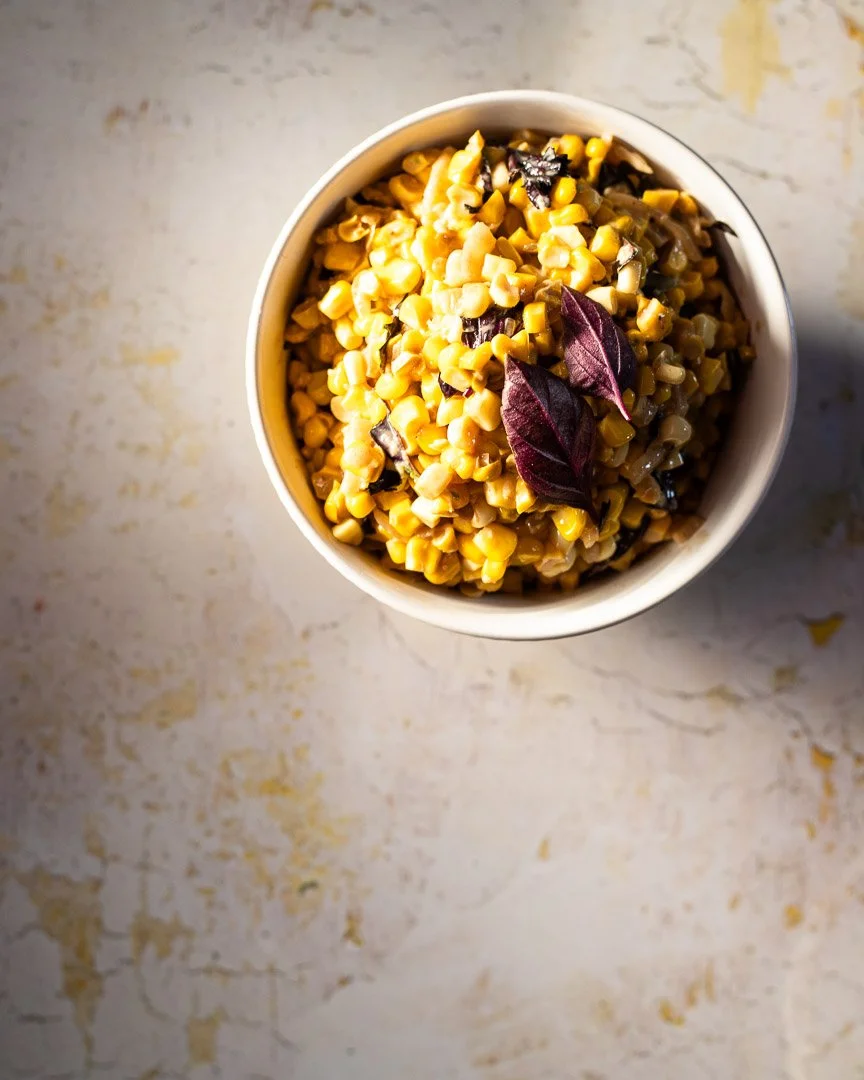
Creamed corn isn’t generally considered a “healthy” side. But swap in coconut milk for regular old dairy or a heavy bechamel sauce and you have a much lighter version of this classic that celebrates the beauty of late summer corn.

IMG_8536.jpg

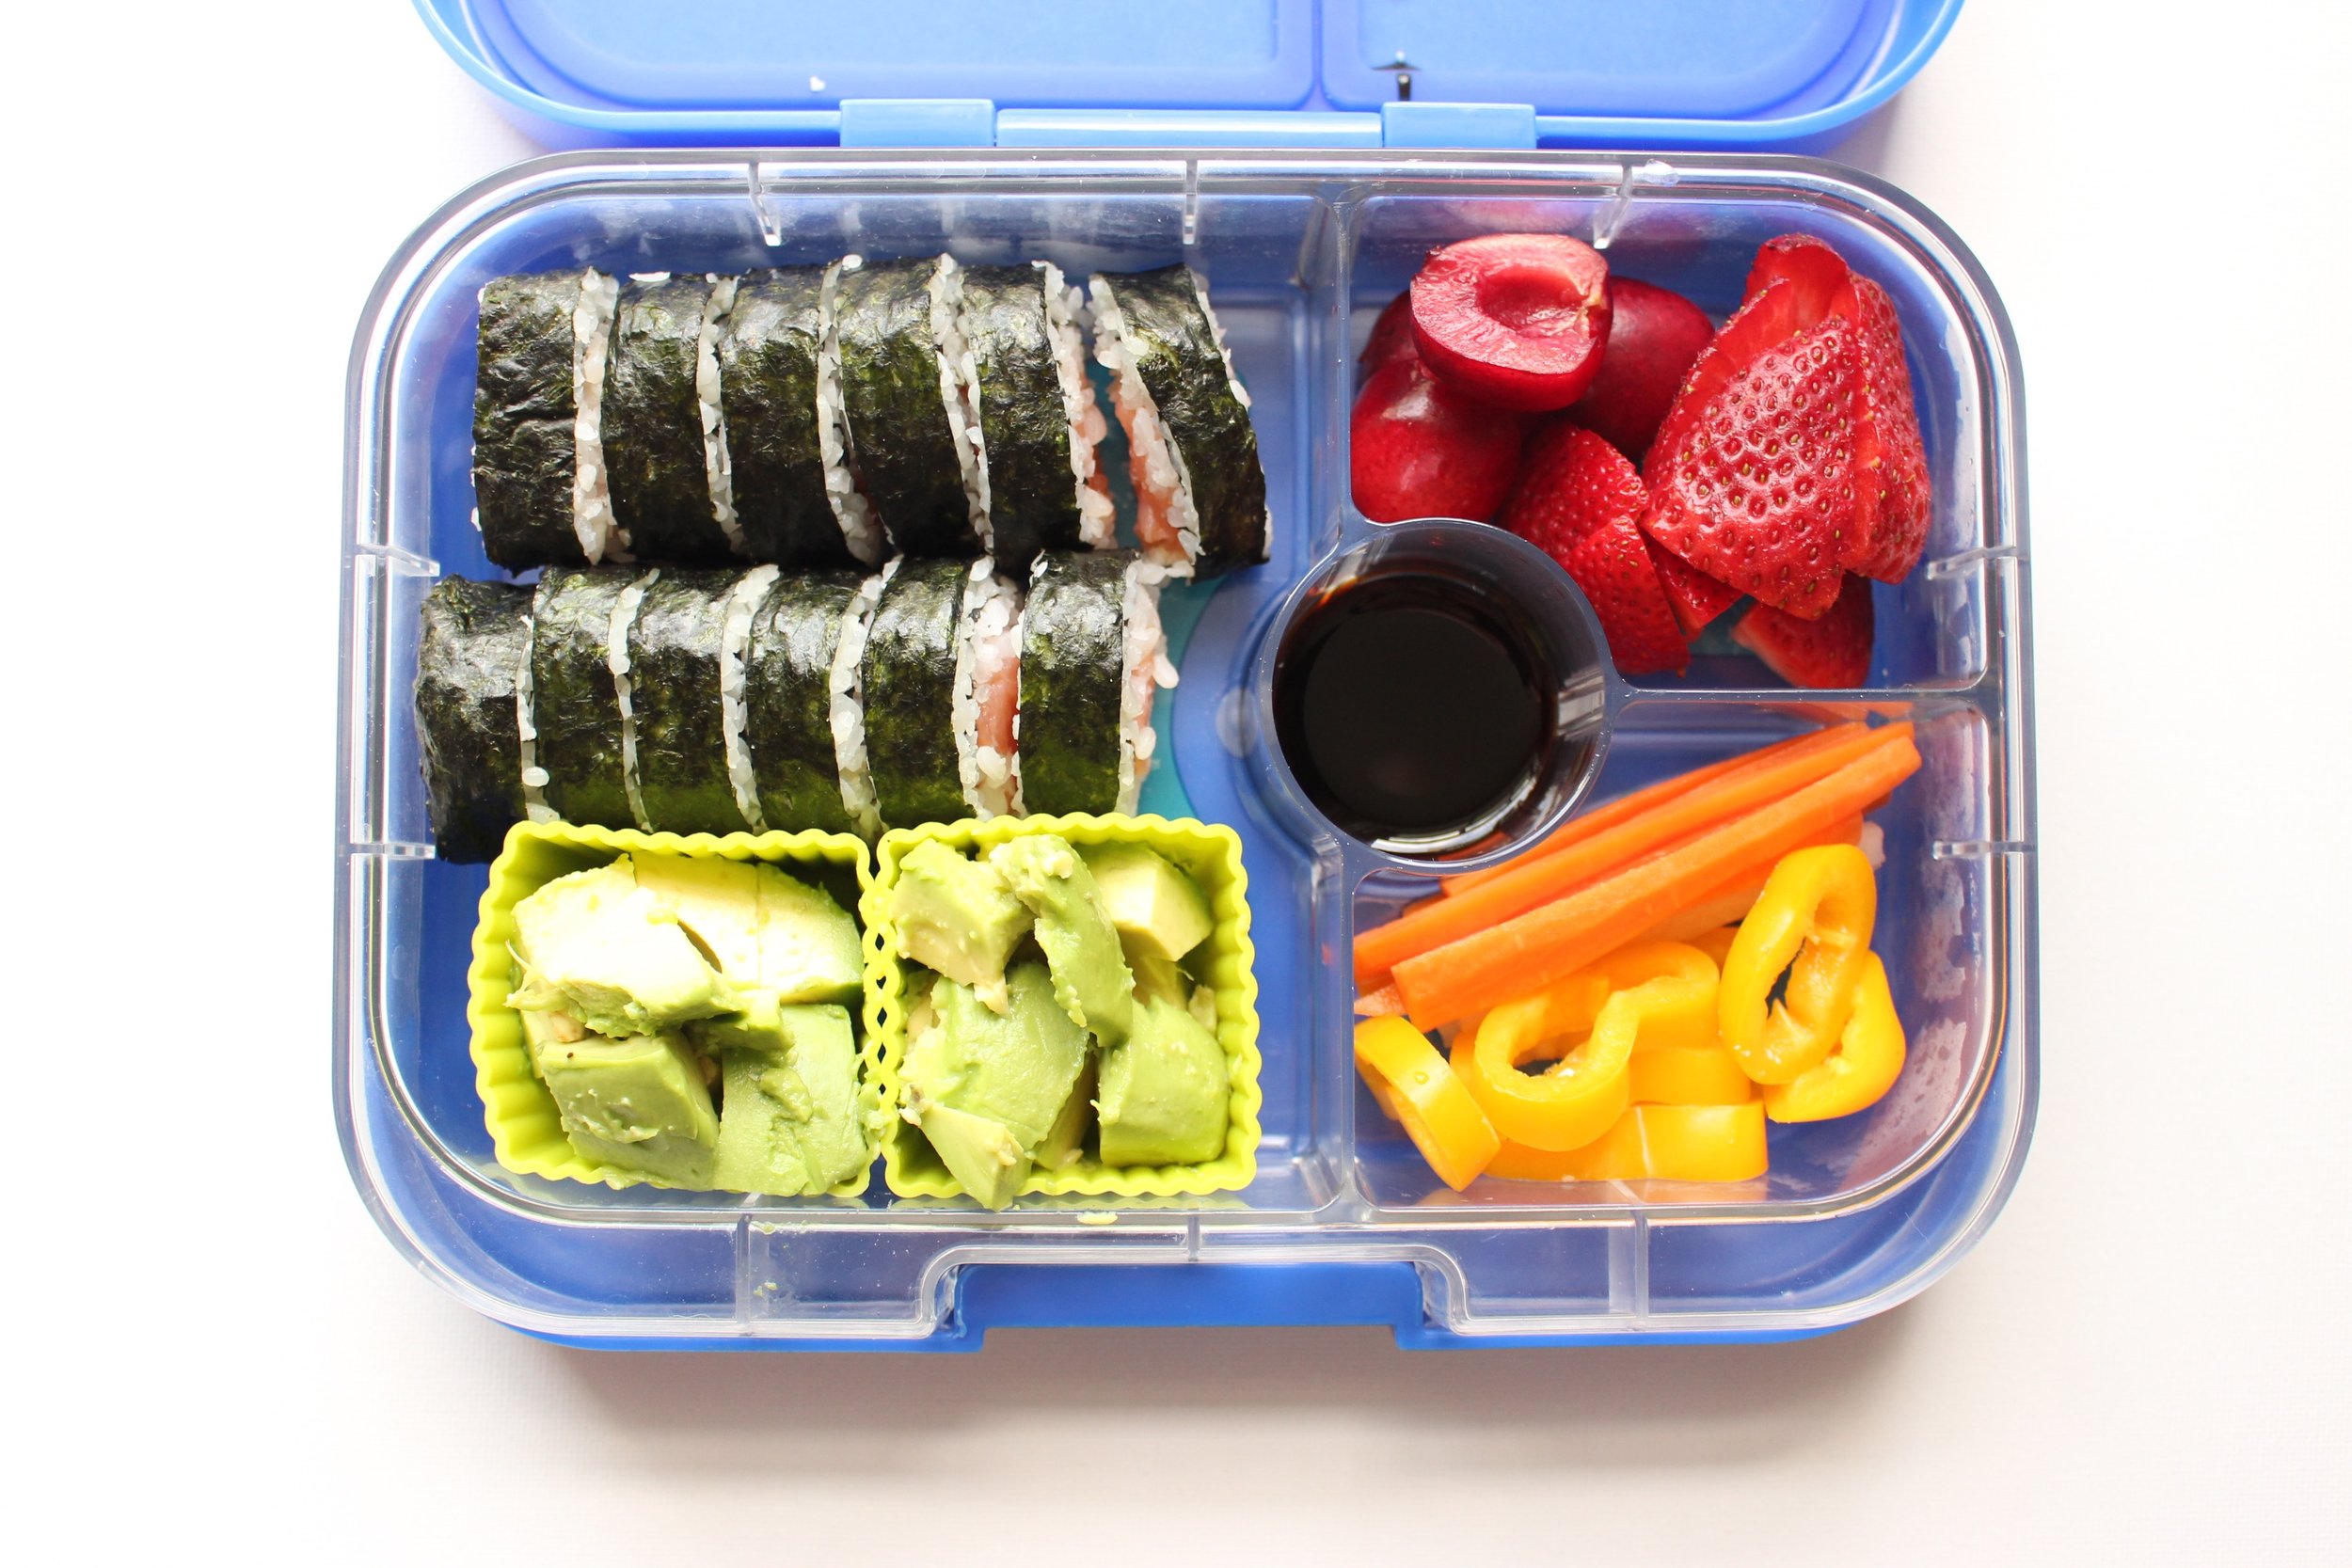
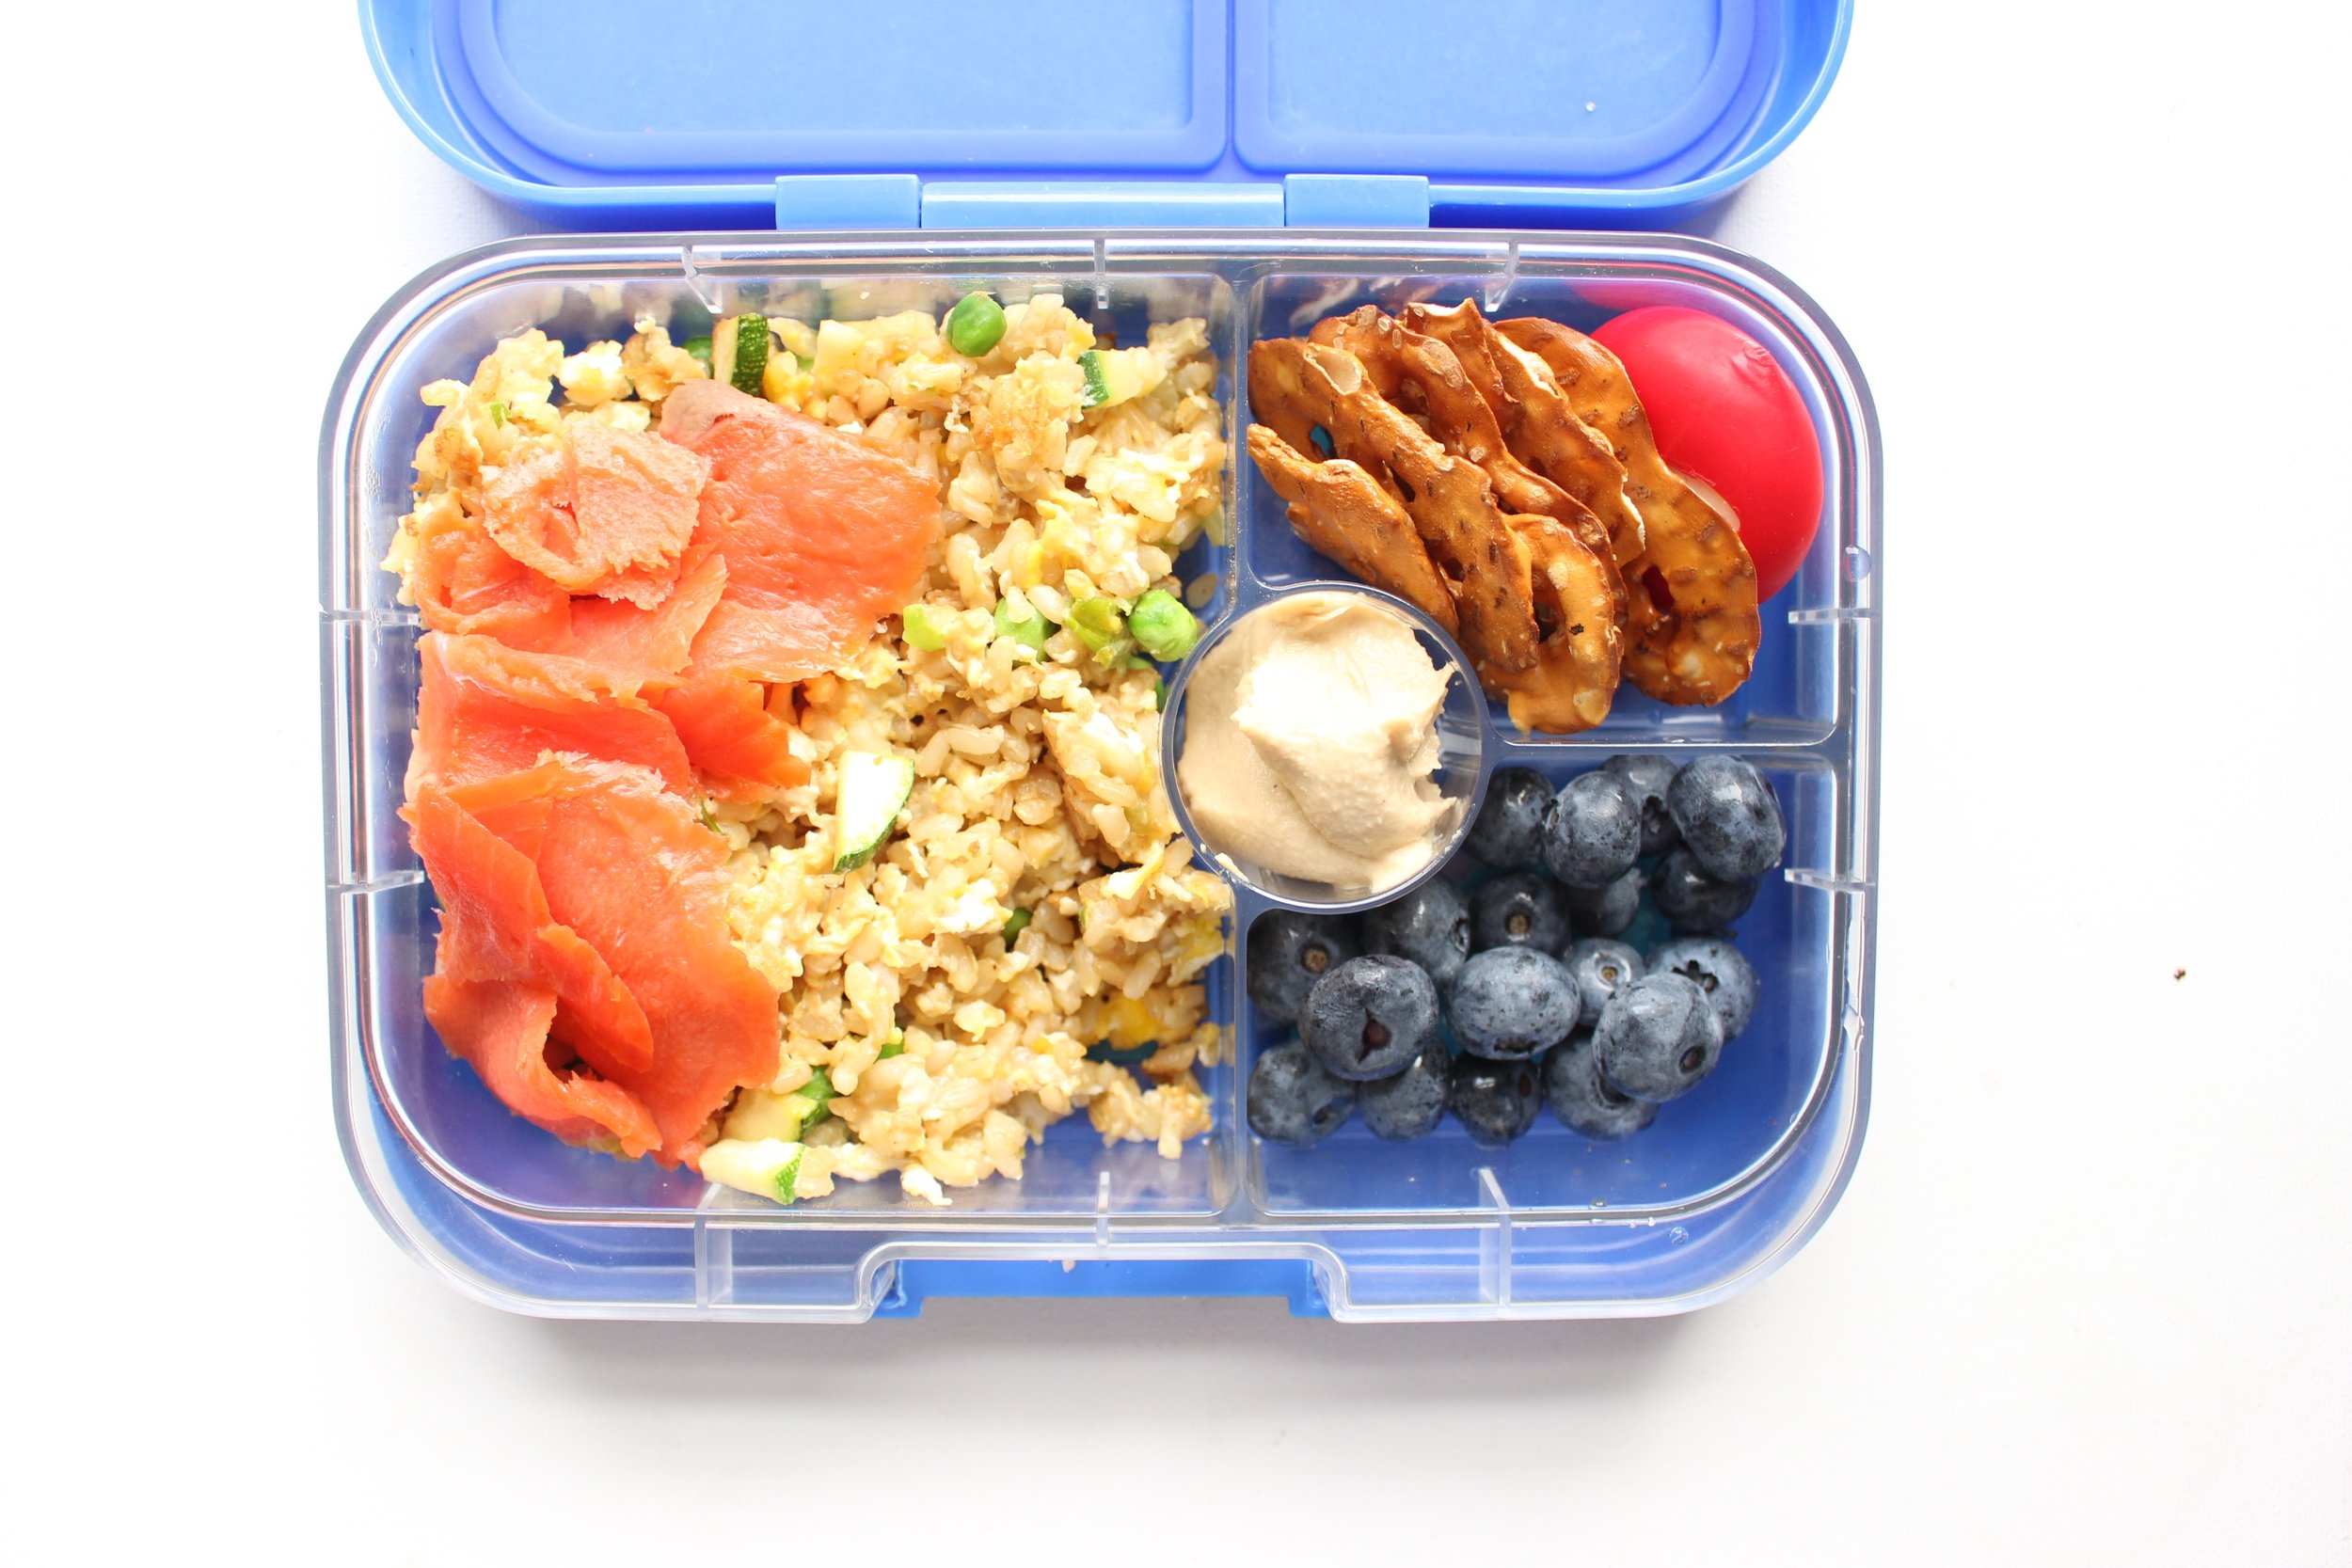
This dish also comes together in minutes and is full of herbs and aromatics like garlic, shallot, ginger, lime zest, and basil. Add some quick sauteed shrimp, some grilled or roasted white fish, or a rotisserie chicken and you have a very quick dinner filled with healthy fats and real ingredients. You’re also free of gluten, dairy, sugar, nuts, and soy if you have corn leftovers for tomorrow’s lunchbox.

IMG_8533.jpg

Coconut creamed corn

½ tsp coconut oil
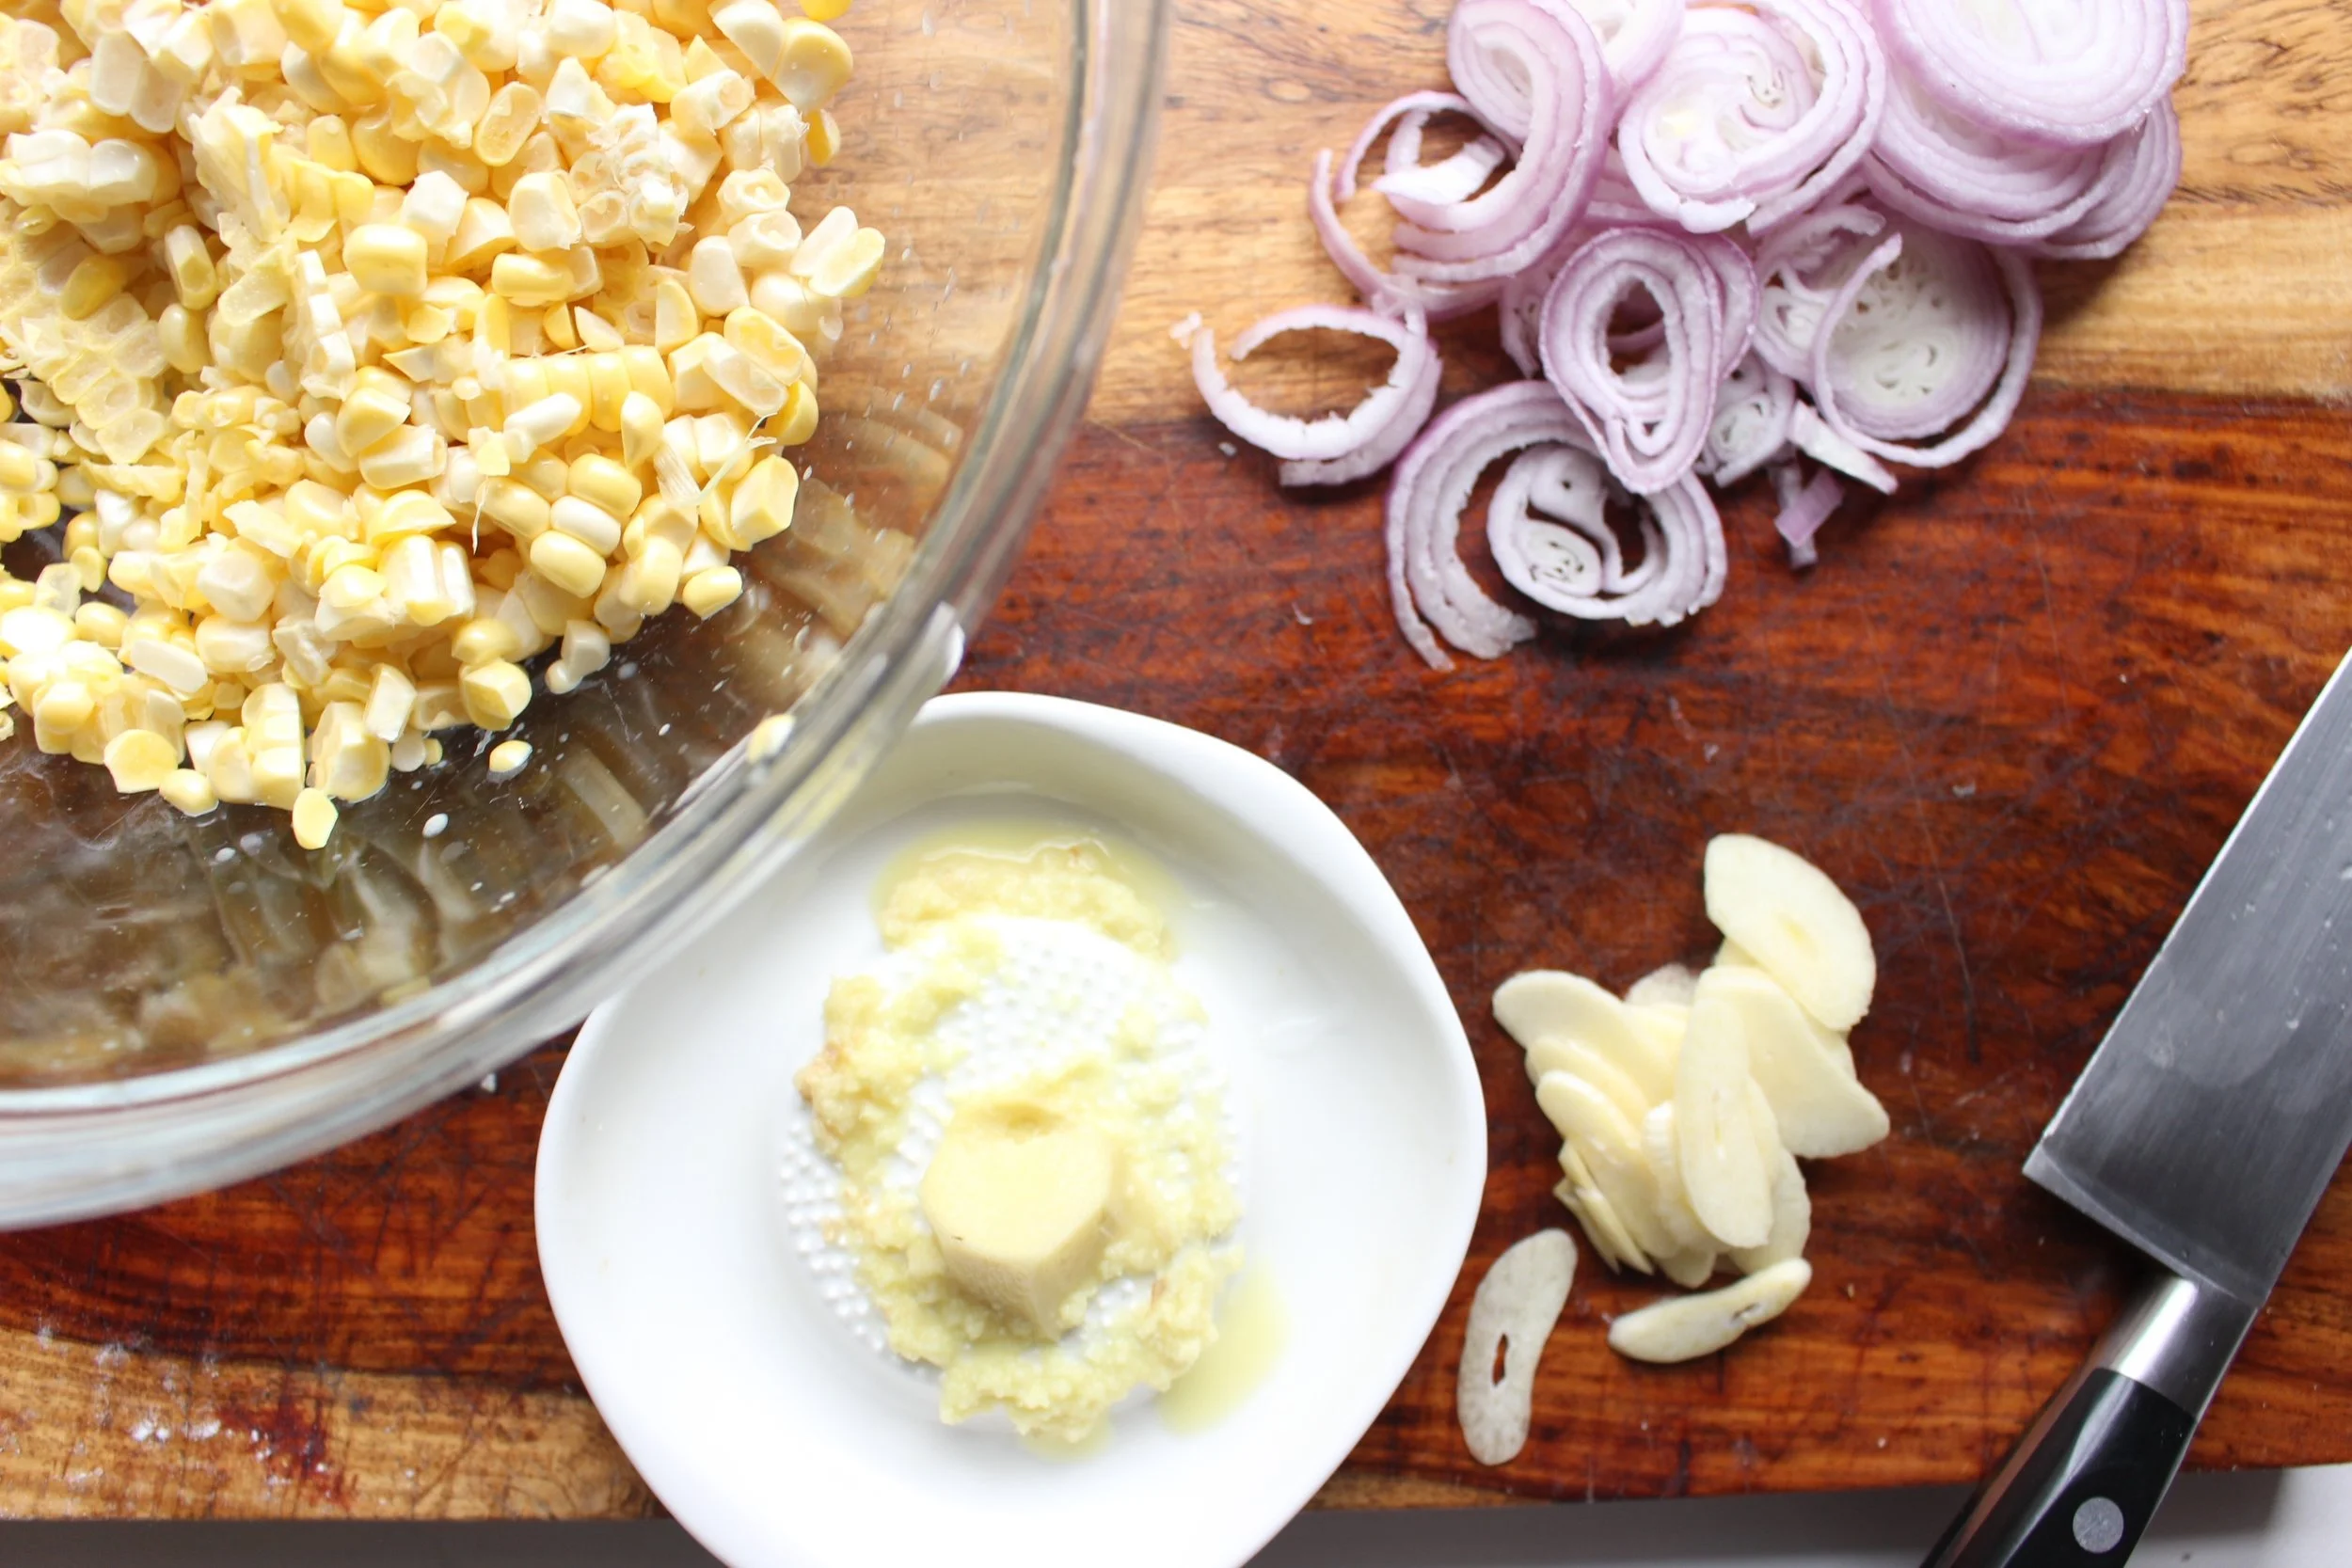
2 medium or 3 small garlic cloves, sliced or minced  
1 very large or 2 smaller shallots, sliced or minced
½-inch piece of fresh ginger, minced or shredded
3 large ears corn with kernels removed from the cob (about 2 heaping cups of kernels)
6 Tbsp coconut milk
Heaping ¼ tsp lime zest
15-20 basil leaves, chopped
¼-½ tsp flaky sea salt
Pepper

Heat the coconut oil over a medium flame and when hot, add the sliced or minced shallots. Saute for 1-2 minutes, until the shallots are translucent and starting to brown.

Turn the heat down to medium low and add the sliced or minced garlic. Saute for another 1-2 minutes until fragrant. If the onions or garlic brown too quickly, turn down the heat.

Add the minced or shredded ginger and sauté for one more minute.

Add the corn kernels and sauté for 4-5 minutes. Add the coconut milk and let bubble for one minute until the milk has reduced to more of a sauce than a milk, but don’t let it disappear.

Remove from the heat. Add the lime zest, minced basil, salt, and pepper and stir to combine. Taste for seasoning and adjust according to your taste.

Yield: 3 servings

IMG_8542.jpg

How to fill a lunchbox

Chicken and cheese taco with cherry tomatoes, raspberries, blackberries, Romesco sauce, guacamole, and flax seed tortilla chips.

Chicken and cheese taco with cherry tomatoes, raspberries, blackberries, Romesco sauce, guacamole, and flax seed tortilla chips.

I spend a lot of time thinking about, planning, and executing M's lunches. And there are days when he eats...none of it. But there are days when he eats tons and I feel utterly triumphant. I wanted to share my top lunchbox tips so that you, too, can declare victory when that lunchbox comes home nearly empty (and you haven't worked that hard to make it happen).

Sushi is always a favorite and can be filled with WHATEVER your kid likes. See my Instagram post for my simple sushi rice recipe.

Sushi is always a favorite and can be filled with WHATEVER your kid likes. See my Instagram post for my simple sushi rice recipe.

1) Repurpose leftovers: Obviously, you can plop a portion of last night's dinner into your kids' lunchbox. (See below for some favorite ways to do this.) But another tactic is to make extras of the proteins and veggies that were dinner's components. Those ingredients, plus a tortilla with some cheese (or vegan cheese) and avocado, become a taco, quesadilla, or roll-up. We're also big fans of the "open face" sandwich with cheese melted on top. Or, cube it all up and make a skewer. Or, if your kid is a pasta eater, add those proteins and veggies to noodles and some jarred sauce. Easy peasy.

Leftover fried rice plus smoked salmon, blueberries, cheese, hummus, and pretzels.

Leftover fried rice plus smoked salmon, blueberries, cheese, hummus, and pretzels.

2) Prep: Every weekend I do these 5 things:

  • Hard boil some eggs

  • Make a white, wheat, rice, or bean pasta

  • Bake mini muffins or doughnuts

  • Make no-bake energy balls or granola bars

  • Roast two veggies that I know M will eat

IMG_7730.jpg

3) Send breakfast for lunch: I often make double breakfast and add it to a lunchbox later in the week. For instance, these two-ingredient egg and banana pancakes are a big favorite. Use them as sandwich bread with nut or seed butter and chia jam or rolled them up like little cigars. Savory waffles like veggie or cheese can sub in for sandwich bread. Granola cups are also an easy batch bake that work for breakfast, lunch, and snacks.

4) Take inspiration from their classroom learning: I like to theme M's lunches, but that's mostly because I need inspiration and not because I'm trying to win any mom awards. Dinosaurs, Butterflies, and The Ocean were particularly fertile ground. Even if "theme-ing" lunch just means cutting out a sandwich shape, it feels a little special.

IMG_7832.jpg
IMG_7968.jpg
IMG_7973.jpg
IMG_7974.jpg

5) Deconstruct something they like: Add the fixings for tacos, nachos, sandwiches, pasta, etc and let them put it together themselves. Like a homemade lunchable.

6) Think about appetizers: Have you considered sending your kids to school with a cheese plate or chicken sausage pigs in a blanket? Half of M's lunch most days is a crudite plate.

See? Basically crudite.

See? Basically crudite.

Double Duty Dinner/Lunch Recipes 

Sweets with oomph

No bake add-ins

Happy lunching everyone!

Fried green tomatoes

IMG_8384.jpg

If your child loves french fries and tomatoes, then they will love fried green tomatoes. Or, they will reject them out of hand because they're mercurial toddlers like mine. One day, M will love these. I'm sure of it.

I just dropped M off for his first day of a new school year. He was only off for a week between "grades" but I felt so nervous this morning! M had a tough time adjusting to his last classroom and now he has new grownups, a new space, and some new kids to contend with. Ugh. I don't like change. That must be where M gets it.

We also have a nut allergy in the classroom this year, so I'll be more mindful of nut-free recipes for lunches and snacks.

ALSO also, after just a week off from packing lunches, I forgot what a huge drag it is. My sympathies go out to those of you getting back to it after an ENTIRE summer off. Strength to you, fellow lunch-packers.

IMG_8378.jpg

The keys to good fried green tomatoes, to me, are soaking overnight in buttermilk, and cooking with HOT oil. I've gotten equally delicious and crunchy results from using a little bit of oil and a lot of oil, but the heat seemed like the common denominator.

I also experimented a lot with corn flour and different grinds of cornmeal. I initially liked corn flour the best, but it's very easy to get too much flour, which doesn't cook evenly. (Picture #2 was taken BEFORE I knocked off the excess.) Ultimately, my favorite was straight-up, finely ground cornmeal.

IMG_8387.jpg

Fried green tomatoes

3-4 large green tomatoes, sliced in ¼-inch thick slices
1-2 cups buttermilk, full or low-fat (enough to cover the tomato slices)
1 tsp salt, divided
1 cup finely ground cornmeal
½ tsp paprika
Ground pepper
¼ cup avocado oil
Course sea salt

Slice the tomatoes and discard the end pieces. Place the tomatoes in a container and cover them with buttermilk. Add ½ tsp salt, cover, and shake. Refrigerate for at least a few hours and up to 1 day.

Combine the corn meal, salt, paprika, and pepper in a large container. Set aside. Heat one to two tablespoons of avocado oil at a time until very hot.

Working one at a time, shake off excess buttermilk and immediately place the tomato slice in the cornmeal mixture. Cover both sides well, but shake off the excess cornmeal as well.

When the oil is hot (when you add anything to the oil, it immediately starts bubbling), add the tomatoes (as many as will fit in your pan, but don’t crowd them; work in batches), and fry for 3 minutes. Check for brownness and flip when golden. When second side reaches golden brown, remove to a paper towel and sprinkle with coarse sea salt.

Between batches of tomatoes, pour out any leftover oil and carefully wipe off any cornmeal left in the pan. Heat two more tablespoons of avocado oil and repeat the cooking process with remaining tomatoes.

Yield: 12-16 tomato slices

IMG_8389.jpg
IMG_8394.jpg

Almond butter quinoa muffins

IMG_8346.jpg

What these muffins have: Good fats, protein, Omega-3s, deliciousness.

What these muffins don't have: Gluten, dairy, refined sugar, wheat, eggs, soy.

Bonus feature: The muffins only require one bowl!

IMG_8312.jpg

The new school year already started for lots of the country, but here in CT, M's preschool starts again on Monday. I've been thinking about quick ways to begin our day with protein that don't require cooking in the morning. These muffins are the answer!

Half of the flour is ground quinoa, which has lots of protein. The other half is oatmeal. I originally made these muffins with almond flour instead of oats for even more protein, but the almond flour was so dense that the muffins stuck to the roof of your mouth. You could just feed your kid a spoonful of almond butter and save yourself the trouble.

IMG_8323.jpg

With the oatmeal, the muffins are still substantial, but they're no longer dense. They're actually a smidge crumbly because I omitted eggs and any other binding agent. I wanted them to stay vegan and I don't always have the patience to make a flax egg. Letting them cool completely before eating them made them sturdier too. 

IMG_8325.jpg

For the first day of school, I thought it might be nice to add some blueberry chia jam and a quick icing to make the muffins more special. (I also called them breakfast cupcakes, which went over VERY WELL.) The jam is simple and free of any added sugar. I used cream cheese and maple syrup for my frosting, but you could also use coconut cream or a pre-made dairy-free topping.

You could also mix the chia jam with some yogurt for a delicious breakfast for the younger set (or the parental set, if I'm honest).

If you're avoiding nuts, substitute coconut or rice milk for the almond milk and use sunflower seed butter in place of the almond butter. Still delicious!

Important note: These muffins are best when fresh, so I recommend freezing 3/4 of the batch and then either defrosting a serving at night for breakfast the next morning, or toasting a frozen one right before eating it.


Almond butter quinoa muffins

2 large mashed banana
1 cup creamy natural almond butter, well mixed (or nut butter or seed butter of your choice)
½ cup maple syrup
¼ cup unsweetened vanilla almond milk (or rice, coconut, or other non-dairy milk of choice)
1 Tbsp vanilla extract
1 cup quinoa flour
1 cup quick oats
½ tsp salt
1½ tsp baking powder
1 tsp baking soda
1 tsp pie spice (or cinnamon)
2 tsp apple cider vinegar

Preheat oven to 350.

In a large bowl, mash the bananas. Add the almond butter, maple syrup, almond milk, and vanilla extract and mix well.

Add the flours, salt, baking powder, baking soda, and spices. Mix well. Add the apple cider vinegar and mix again. Let the mixture sit while you prep the muffin tin and prepare the jam and icing (if using).

When ready, spoon the mixture into your muffin tin until each opening is half full.

Bake for 12-14 mins or until the tops turn golden brown and the muffins are firm to the touch.

Let cool completely in the muffin tin before serving.

Yield: 18 muffins


For the Blueberry chia jam:
1 pint blueberries
1 ½ Tbsp chia seeds

Put the blueberries into a small sauce pan and cook over a medium low flame until the berries have broken down and become syrupy, about 15 minutes.

Let cool for 5 minutes and add the chia seeds. Mix well.

Place the mixture in the refrigerator for 10-15 minutes or until ready to use.

Yield: 1 Tbsp per muffin


For the frosting (optional):
2 ¼ cups whipped cream cheese
6 Tbsp maple syrup

Mix the cream cheese and maple syrup well with a spatula. The mixture will look curdled at first. Continue mixing until the two ingredients have come together. Refrigerate until ready to use.

Yield: 2 Tbsp per muffin

IMG_8335.jpg
IMG_8348.jpg

S'mores energy balls

IMG_8252.jpg
IMG_8256.jpg

Happy national s'mores day everyone! While I love a real s'more, I don't dig activities that include both my toddler and fire, so we're sticking with this faux, somewhat healthier version. Also, these energy balls can be packed in a lunchbox (after subbing the nuts for pumpkin or sunflower seeds if necessary).

Your kids' teachers and counselors will thank you for skipping the sticky marshmallows and melted chocolate.

IMG_8244.jpg

These balls start as your basic date, cocoa powder, nut, and chia seed energy ball. And if s'mores aren't your thing, you can absolutely stick with this base and have a delicious treat.

But, since it's summer and who doesn't want a s'more or something a little special, I like to stick some lightly toasted marshmallows in the middle and coat the outside in graham cracker crumbs. A couple of easy swaps here make this free of gluten, dairy, nuts, eggs, and soy. (Look for soy-free marshmallows; gluten-free graham crackers; and, as I said before, swap the nuts for pumpkin or sunflower seeds.)

One note about the toasted marshmallows: Since they're so small, toasting them makes them a bit crunchy. You can absolutely use untoasted marshmallows to have that soft texture in the center, but to me, the taste of slightly burned sugar is more s'more-like. I also like a little bit of crunch in the middle of a soft energy ball anyway.


A note about the graham cracker coating: If you can, store the crushed graham crackers in an air-tight container and roll the balls right before eating. Otherwise, the crumbs can get soft.

So many texture issues!

IMG_8241.jpg

S'mores energy balls

12 medjool dates
½ cup cashews (I like to use roasted, lightly salted cashews)
2-3 Tbsp cocoa powder (depending on how chocolate-y you like things)
2-3 tsp water
1 tbsp chia seeds
Pinch of kosher salt
15 mini marshmallows
5 graham crackers

Pit the dates and place them in a large food processor. Add the cashews (or seeds, if using), cocoa powder, chia seeds, and 2 teaspoons of water. Blend until the mixture starts to form a large ball, about 3-4 minutes. If your mixture won't come together in a large ball with the machine running, add the final teaspoon and blend until you have a large ball.

On a parchment-lined baking sheet, place your mini marshmallows so that none are touching. Toast them in an oven or toasted oven heated to 400 for about 1-2 minutes. The regular oven will toast the marshmallows very quickly, so watch them like a hawk. You can even leave the door open slightly to make sure that the marshmallows don’t burn too quickly. The toaster oven is somewhat easier to control, but you still have to watch the marshmallows very closely.

Place the graham crackers into a large bag and crush them with your hands, a rolling pin, or a heavy can.

To make the balls, measure out a slightly heaping tablespoon of the date and chocolate mixture. With wet hands, roll the mixture into a ball. Make a large hole in the center and add three toasted marshmallows. Fold the mixture over the marshmallows and roll into a ball again.

Roll each ball in the crushed graham crackers.

Yield: 10 energy balls

IMG_8265.jpg