Turkey and spinach meatloaf

Turkey and spinach meatloaf is loaded with nourishing ingredients, is a snap to put together, and pleases almost everyone in my family. Turkey and spinach meatloaf | Me & the moose #meandthemoose #meatloaf #glutenfree #dinnerrecipes #turkeymeatloaf
This turkey meatloaf is quick, nutritious, gluten free, and delicious!
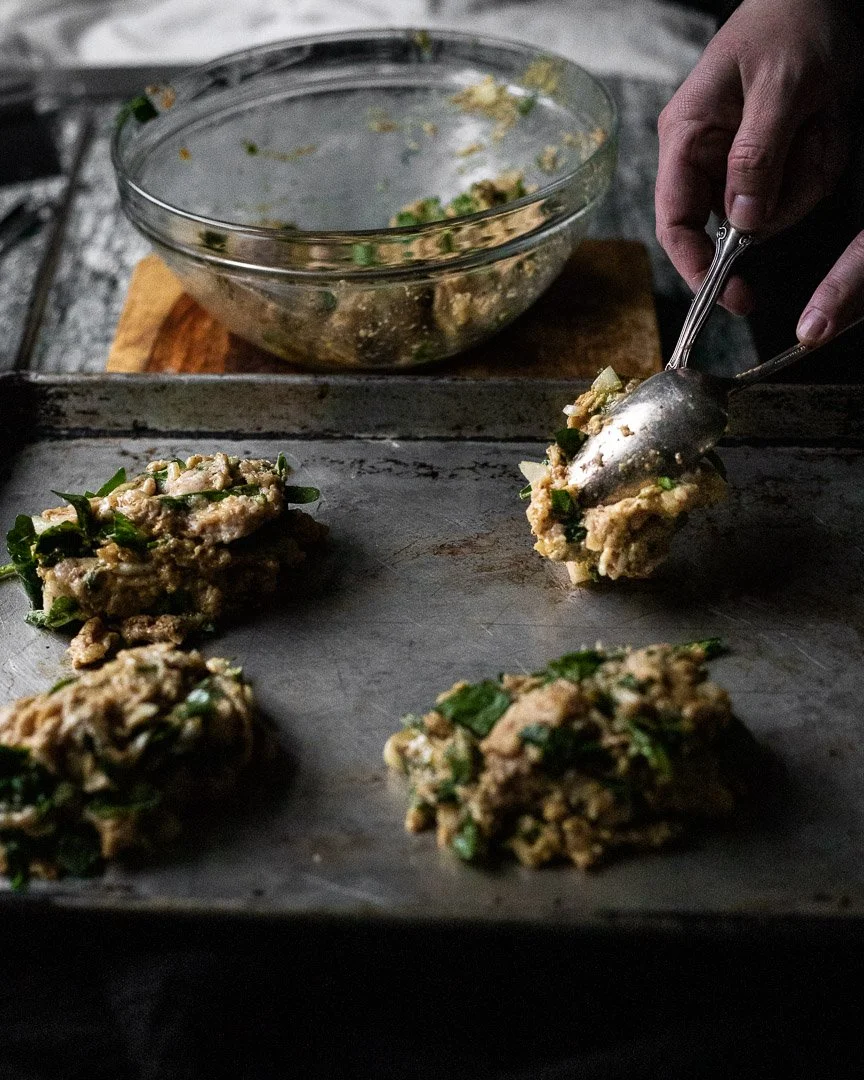
Turkey and spinach meatloaf is loaded with nourishing ingredients, is a snap to put together, and pleases almost everyone in my family. Turkey and spinach meatloaf | Me & the moose #meandthemoose #meatloaf #glutenfree #dinnerrecipes #turkeymeatloaf
So, meatloaf. A bad one is dense, bland, kind of pasty, and just all around gross. This version is different! One of my secrets is adding in other stuff like onions and spinach to increase the water content, which adds steam while it cooks, which makes for a lighter and fluffier loaf.
The almond meal makes this gluten free, but I also find that it makes the loaf a little lighter because the traditional breadcrumbs and milk can add to the pastiness.
Basically, this meatloaf is a lighter meat and lots of veggies and aromatics held together with just enough egg and almond meal to make it a “loaf.”
I top mine with ketchup, but if you’re watching your sugar, tomato paste or sugar-free ketchup also work really well. My kids love BBQ sauce, so I’ll top one or two of the mini loaves with that instead of ketchup to suit their tastes.
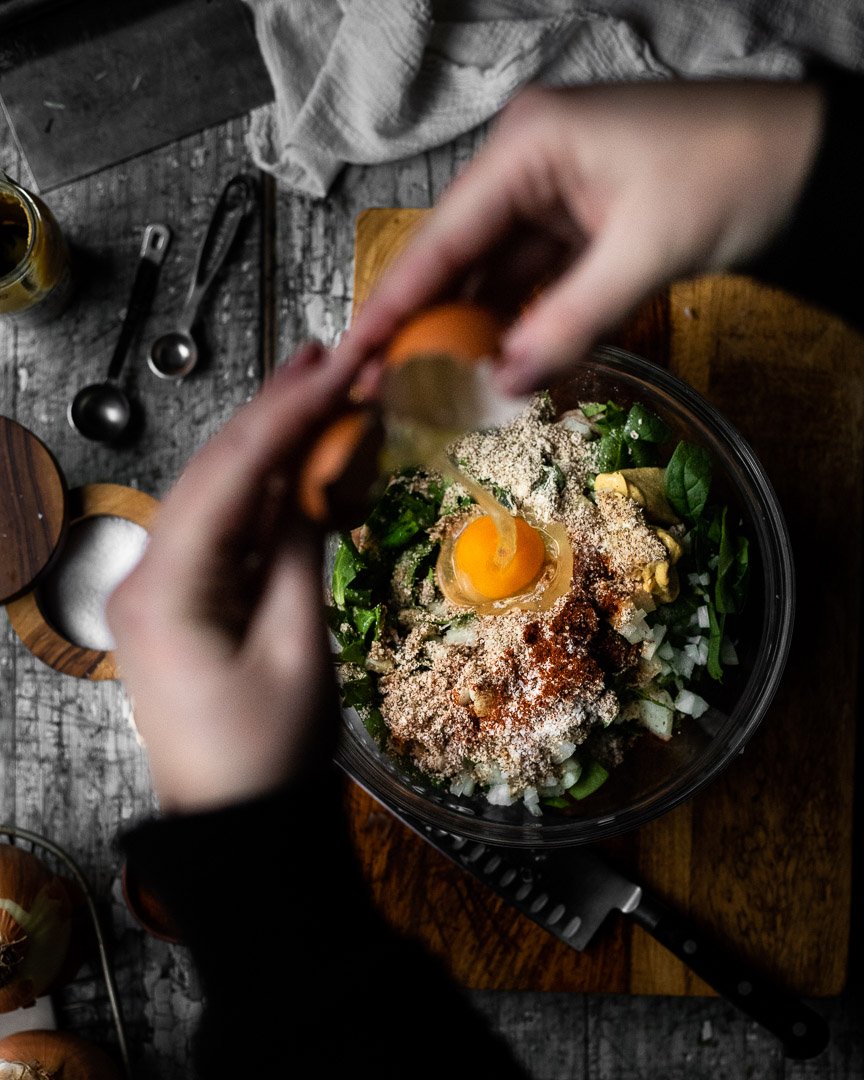
Turkey and spinach meatloaf is loaded with nourishing ingredients, is a snap to put together, and pleases almost everyone in my family. Turkey and spinach meatloaf | Me & the moose #meandthemoose #meatloaf #glutenfree #dinnerrecipes #turkeymeatloaf
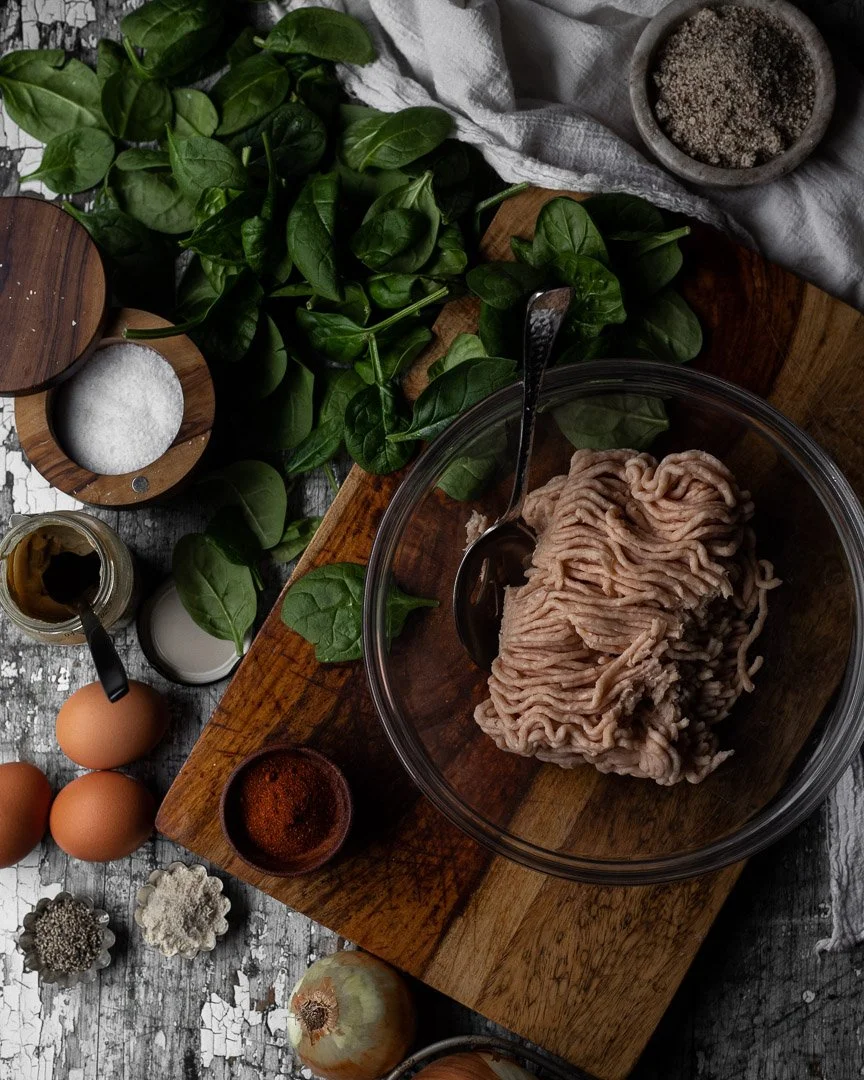
Turkey and spinach meatloaf is loaded with nourishing ingredients, is a snap to put together, and pleases almost everyone in my family. Turkey and spinach meatloaf | Me & the moose #meandthemoose #meatloaf #glutenfree #dinnerrecipes #turkeymeatloaf
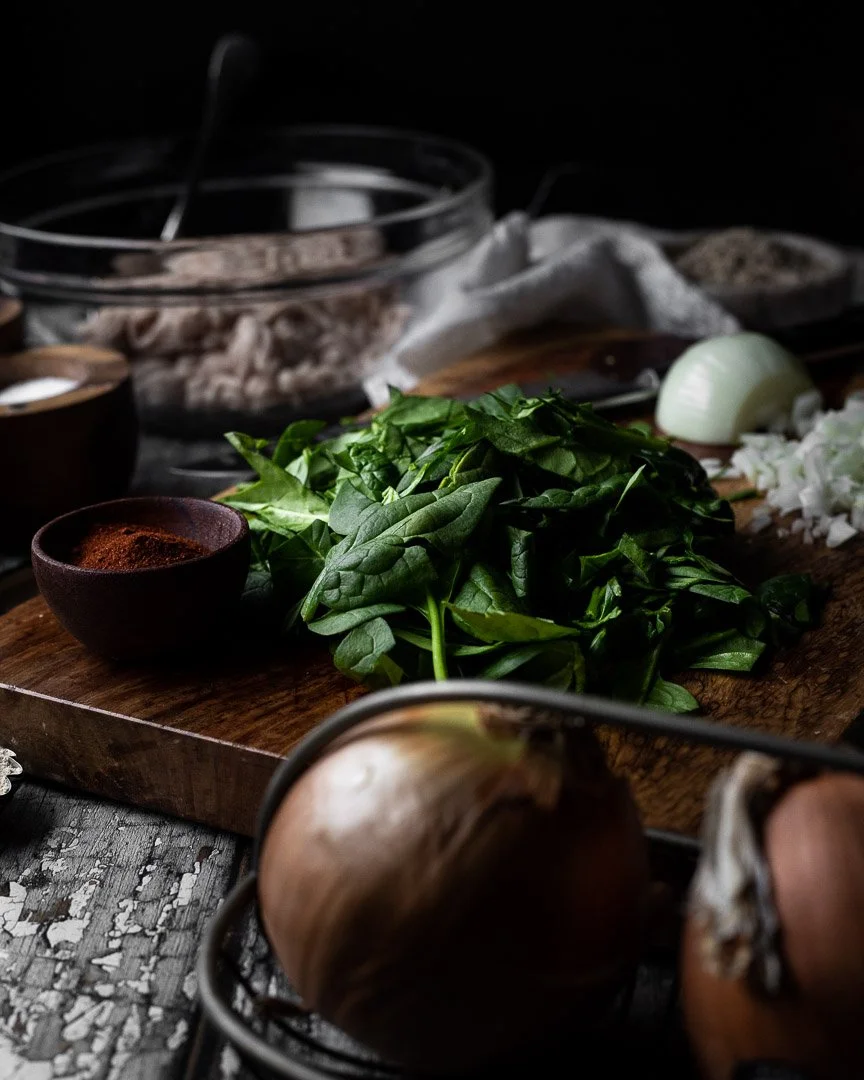
Turkey and spinach meatloaf is loaded with nourishing ingredients, is a snap to put together, and pleases almost everyone in my family. Turkey and spinach meatloaf | Me & the moose #meandthemoose #meatloaf #glutenfree #dinnerrecipes #turkeymeatloaf
One note about how I make these loaves: I make them as mini loaves because they cook so much faster individually. If you like a traditional meatloaf made in an actual loaf pan, this recipe also cooks well in a pan, but it takes quite a bit longer. Still delicious either way!
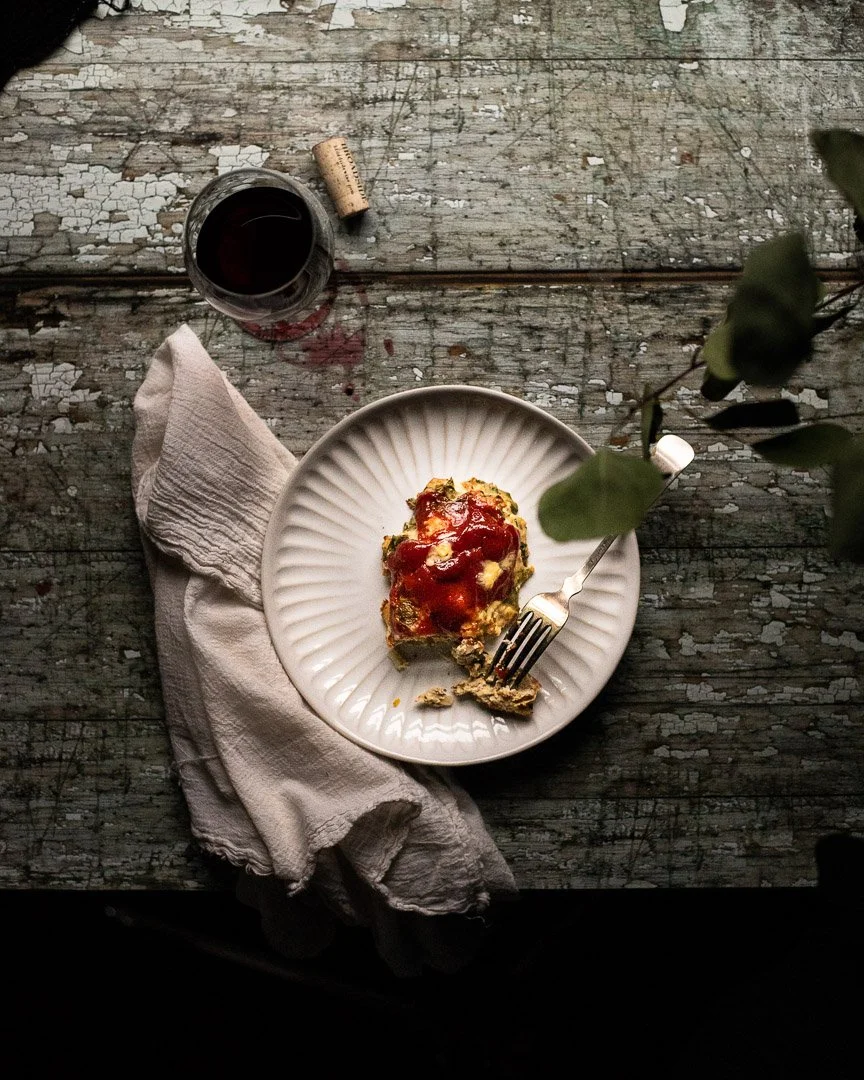
Turkey and spinach meatloaf is loaded with nourishing ingredients, is a snap to put together, and pleases almost everyone in my family. Turkey and spinach meatloaf | Me & the moose #meandthemoose #meatloaf #glutenfree #dinnerrecipes #turkeymeatloaf
Turkey and spinach meatloaf
Time: 25 minutes
Yield: 4 mini loaves
1 lb ground turkey
1.5-2 cups spinach or greens, roughly chopped
1/2 large onion, minced
1 egg
1/2 cup almond meal or almond flour
1/2 tsp garlic powder
1/2 tsp paprika
1 tsp kosher salt
pepper, to taste
Ketchup, tomato paste, or BBQ sauce, for topping
Preheat the oven to 400.
Roughly chop the greens. Mince the onion. Add these chopped veggies to a large bowl and add the rest of the ingredients, except for the ketchup, tomato paste, or BBQ sauce.
Using your hands or a spatula, mix the ingredients until just combined and distributed.
With a large spoon, plop four equal portions onto a sheet pan and smooth each into a rough loaf shape.
Top with ketchup or sauce of choice.
Bake for 15 minutes or until a meat thermometer reads 165.
Creamy mushroom soup
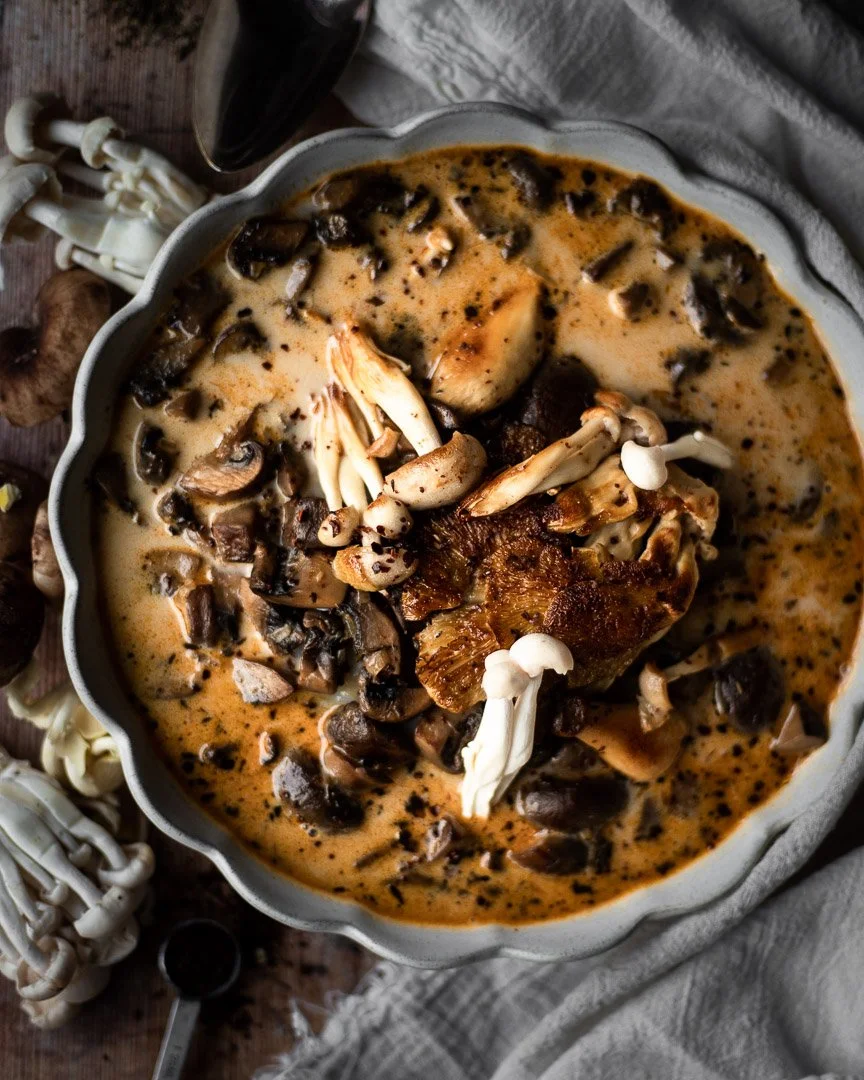
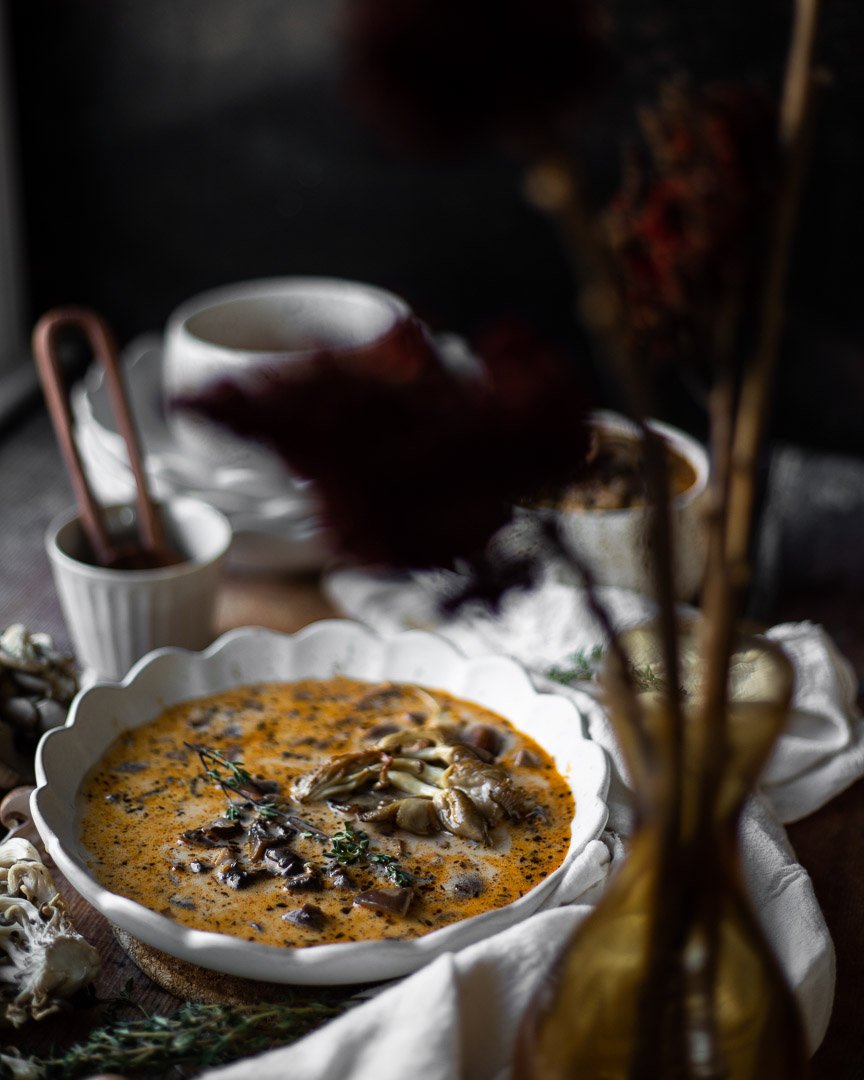
This creamy mushroom soup is a far cry from the gloopy, gray stuff that comes in a can, but is almost as easy to make.
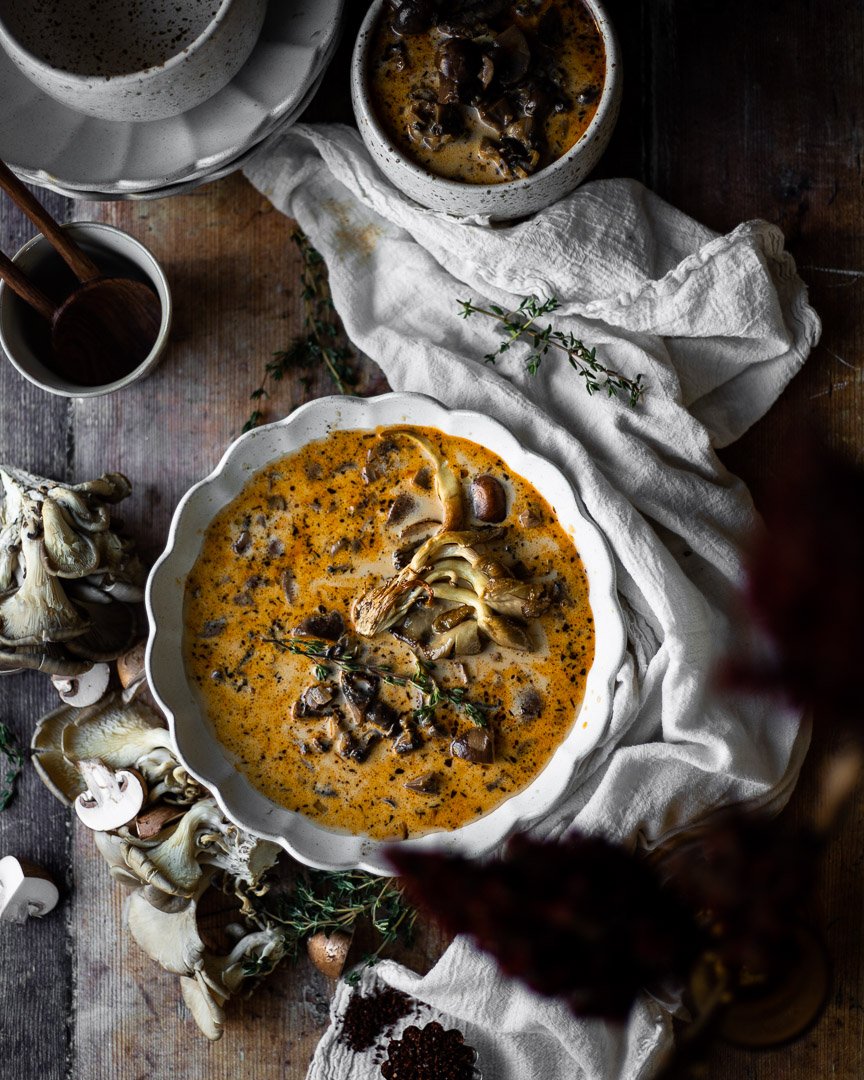
Two mushroom recipes so close together, huh? Yes! But hear me out. This recipe is so unctuous, so creamy, so warming, and so filling, that I couldn’t hold onto it any longer.
What makes this better than the canned version? Well, the color, first of all. The golden sautéed mushrooms, the purple shallots, and the red paprika lend this soup a much richer and nicer color than the gray stuff (it’s not delicious).

A note about adding dairy to hot soup: It’s possible to split the cream if you add cold dairy to other hot liquids. Split dairy basically looks like you’ve added thousands of little dots of cream rather than the soup looking uniformly creamy. Does that makes sense? It’s totally fine to eat and will taste good, but it sometimes doesn’t look as appetizing.
To avoid this, you can either heat up the dairy or cool down the base soup. The fattier the dairy, the less likely it is to split, so if you’re using heavy cream as I recommend for this recipe, let the cream sit at room temperature while making the rest of the soup. If it still feels chilly when you’re ready to add it, microwave it for 30 seconds before adding. If using a lighter milk or non-dairy milk, I would actually heat it to just simmering in a separate pan on the stove or significantly cool the base soup before adding it.
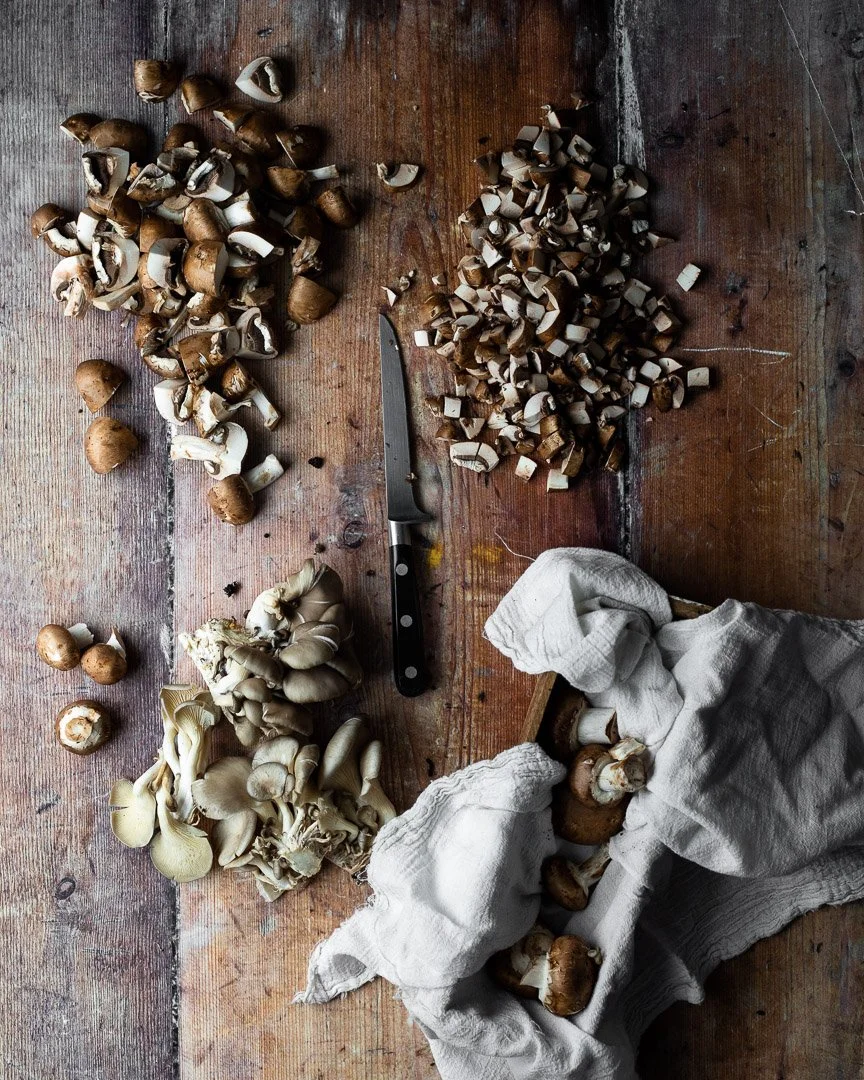
The texture is also completely different to the canned version. Theoretically, you could throw the mushrooms into a food processor and whizz for a few seconds to quickly chop the whole lot, but I like to cut them myself to get a range of sizes and shapes. I halve the really small shrooms, quarter the medium sized ones, and chop up the large ones. Remove the stems or don’t- that’s entirely up to you.
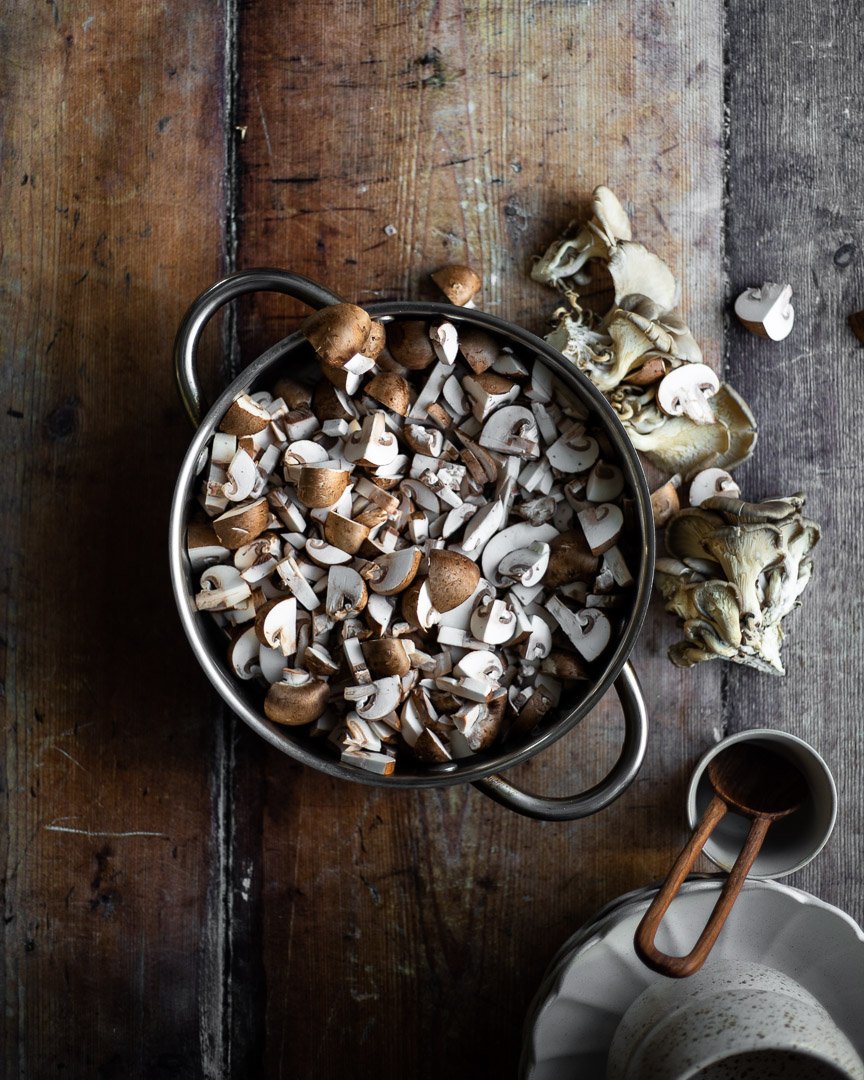

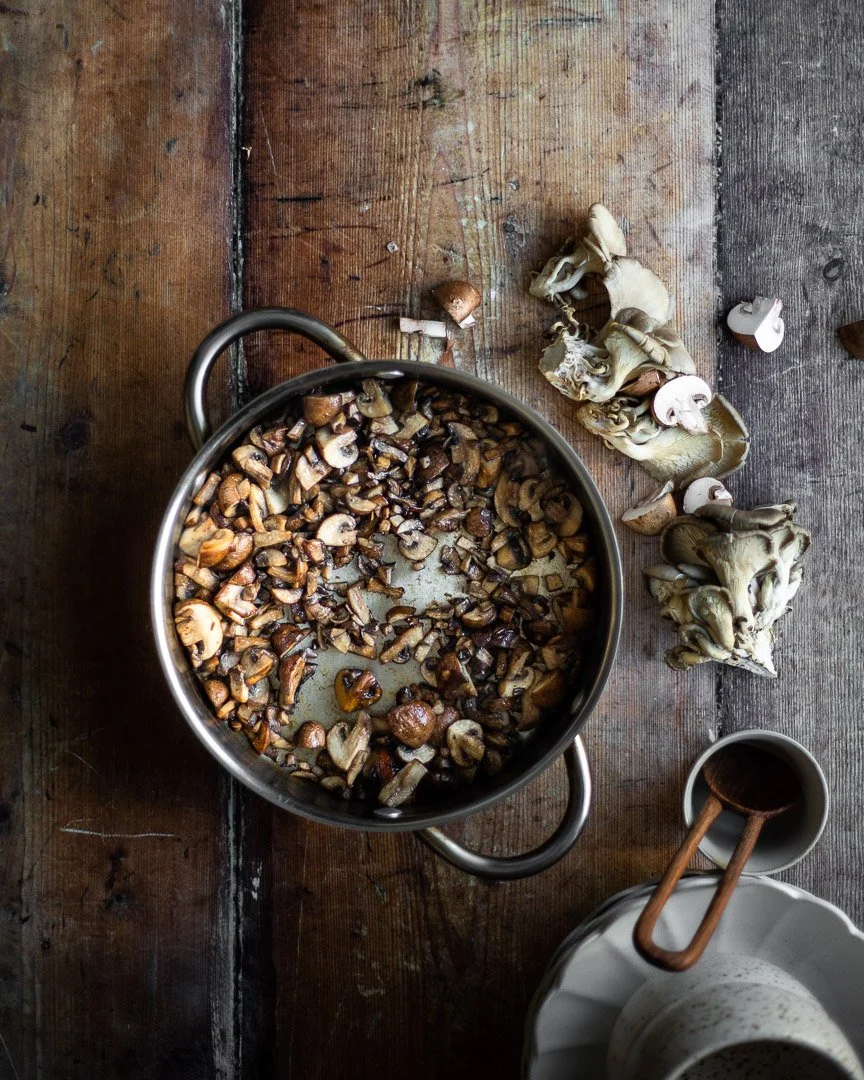
A note about how I tell if my mushrooms are cooked enough: I cook the mushrooms until they release some water and then that water evaporates. They will have cooked down significantly.
Creamy mushroom soup
½ cup heavy cream
24 oz mushrooms, cut into various sizes
1 Tbsp butter
2 Tbsp olive oil, divided
Heaping ½ tsp dried thyme
½ tsp paprika
2 tsp kosher salt
3 large garlic cloves, minced
2-3 large shallots, minced
½ cup white wine
4 cups stock (chicken, beef, or vegetable)
Time: about 45 minutes
Yield: 5-6 cups of soup
Measure out the heayy cream and let sit at room temperature while you make the rest of the soup. See note above about using other types of dairy in this soup.
Chop the mushrooms in varying sizes (see note above).
In a large pan, melt 1 Tbsp of butter and 1 Tbsp of olive oil over a medium flame. Once the pan is heated, add the mushrooms and cook over a medium flame, until the mushrooms have released their liquid and that liquid has evaporated, about 8-10 minutes.
Prep the rest of the ingredients while the mushrooms cook.
Once the mushrooms are relatively dry, add the thyme, paprika, salt, garlic, and shallots. Cook until the garlic and onions are fragrant and translucent, about 3 minutes. If the mixture seems very dry, add another Tbsp of olive oil.
Add the wine and stir, while scraping the brown bits from the bottom of the pan. Cook for another 2-3 minutes.
Add the stock and increase the flame to medium high. Bring to a boil. Lower the flame all the way and simmer, covered, for 20 minutes.
Add the cream and stir.
Pumpkin and persimmon butter
Cooking down some canned pumpkin and a few persimmons with maple syrup and spices will make your house instantly smell like the holidays and spice up even the most basic meals. #meandthemoose #pumpkinrecipes #persimmonrecipes #dessert #fruitbutter
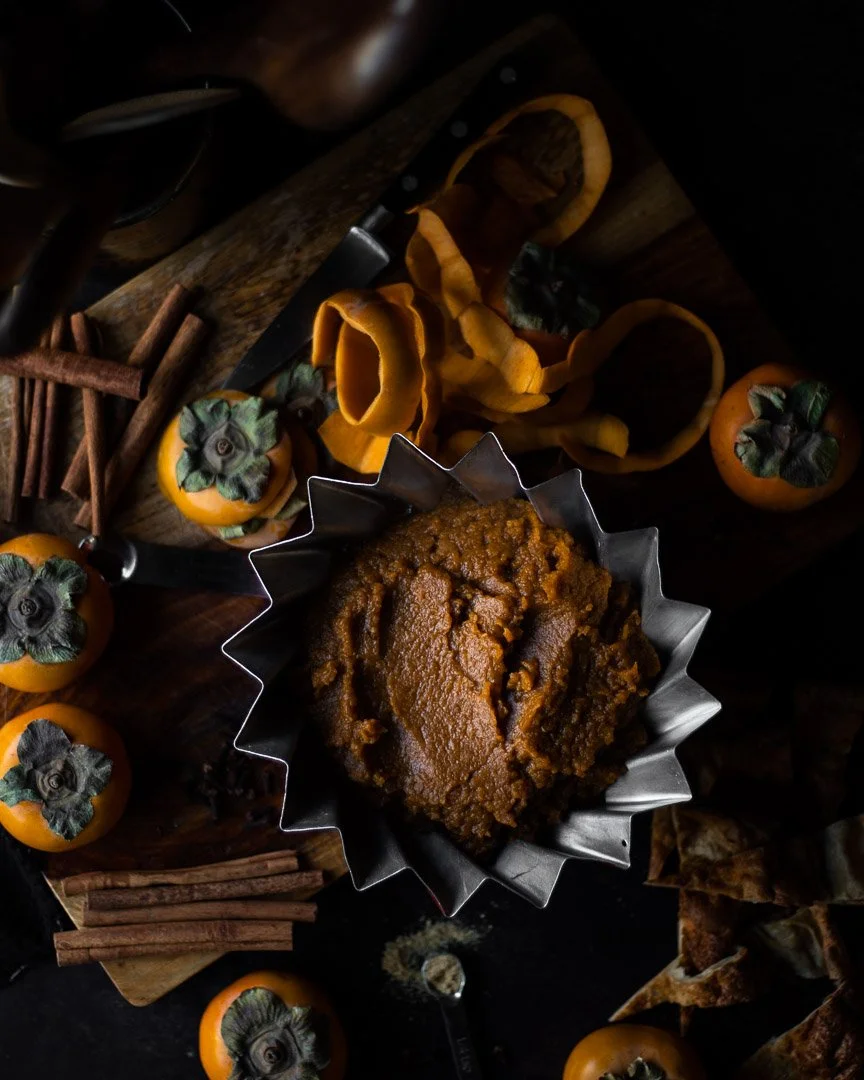
Cooking down some canned pumpkin and a few persimmons with maple syrup and spices will make your house instantly smell like the holidays and spice up even the most basic meals.

Cooking down some canned pumpkin and a few persimmons with maple syrup and spices will make your house instantly smell like the holidays and spice up even the most basic meals. #meandthemoose #pumpkinrecipes #persimmonrecipes #dessert #fruitbutter
I’m a sucker for persimmons. I can’t help myself when they arrive in the grocery stores. But I never know what to do with them. I love baking with them, but I’m trying to have fewer baked goodies hanging around in preparation for baked-goodies-hanging-around season. And if I’m going to eat them on their own or in a salad, they need to ripen, which, in my frozen kitchen, takes forever and a day.
This is my grand compromise: A cooked down “butter” that’s thick and slightly sweet that pairs with toast, graham crackers, apple slices, pretzels, Dutch babies, regular babies, cornbread, muffins, oatmeal. etc. One could also use this “butter” as a fruity addition to an autumnal cheesecake or mix it with an ice cream or other custard. My favorite way to use it is mixed with mascarpone and a couple of eggs and then baked with a pie shell for a spin on pumpkin pie.
The best part about this concoction is that you don’t need to ripen the persimmons. You heard me. As long as you use fuyu and NOT HACHIYA*, you’re fine with unripened persimmons. Of course, the more you let them ripen, the better they taste, so it does behoove you to wait at least a little while before making this butter.
*Why not Hachiya, you ask? Well, those are the larger, more ovular persimmons and if you don’t wait until they’re almost completely mushy to eat them, the tannins in the fruit make your mouth feel gluey and dry. It’s awful, trust me.
Anyway, whatever you choose to do with it, you’re only 20-30 minutes away from the endless possibilities, so get to it!

Cooking down some canned pumpkin and a few persimmons with maple syrup and spices will make your house instantly smell like the holidays and spice up even the most basic meals. #meandthemoose #pumpkinrecipes #persimmonrecipes #dessert #fruitbutter
Pumpkin persimmon butter
Time: 25 minutes, mostly active
Yield: 2 cups, depending on how much you cook down the mixture
1 can pumpkin puree
4 fuyu persimmons
1 Tbsp dark brown sugar (light is also fine)
¼ cup maple syrup
½ tsp cinnamon
¼ tsp ground ginger
1/8th tsp ground cloves
1 tsp vanilla extract or vanilla bean paste
1 large pinch of kosher salt
½ cup water
Peel the persimmons and cut into quarters.
Add all ingredients to a blender or food processor and blend until smooth. Transfer to a large pot.
Heat over a medium-low flame until just beginning to bubble. Turn the heat down to low and cook, stirring frequently to prevent burning, until the persimmons totally break down and the mixture has thickened slightly, about 20 minutes.