Mushroom pasta
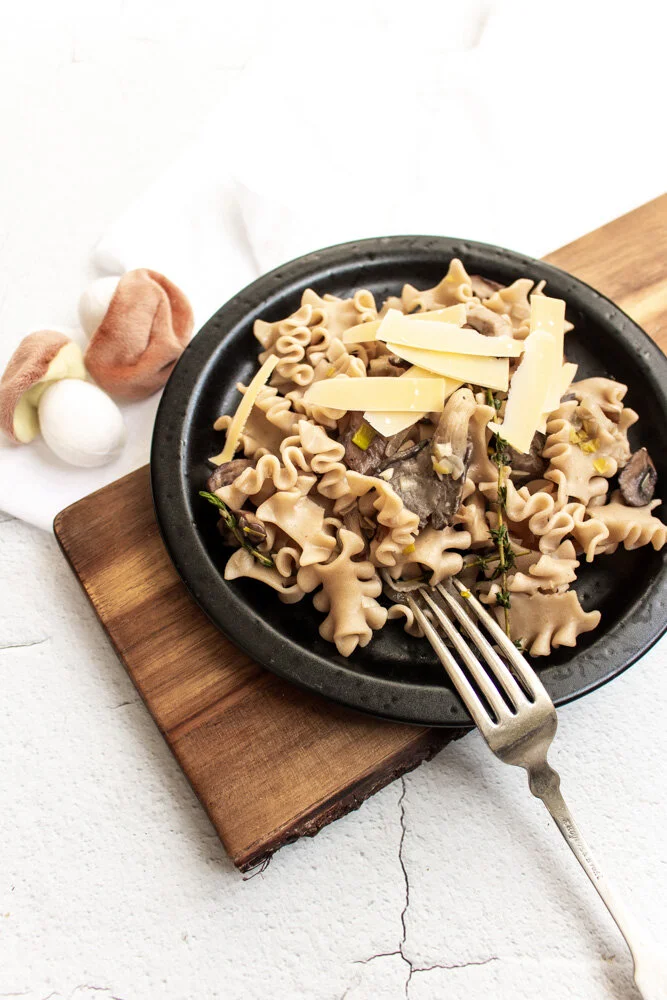
I know we’re all eating canned goods from here on out, so maybe bookmark this one as a spring-y, post-virus meal for when the world feels real again? Or, if you impulse bought mushrooms during your panic shop, use them now!
I don’t want to hear more about this freaking virus: Take me to the recipe!
I haven’t posted much in recent weeks because, and I know I’m not alone here, I’ve been in a deep, dark pit of worry about Coronavirus. While healthy kids are at much lower risk for developing symptoms, I’m 38 weeks pregnant and about to bring a newborn into this mess. Like, any day now. Newborns are not kids. This also means, I have to go to a HOSPITAL in a few days, just about the last place I want to be.
Oh, and we’re self-quarantining for as long as possible because we need a grandparent to come watch M when I go into labor and all of them have between two and seven of the risk factors that make this a much more serious illness. Can you imagine if we infected one of them because we were carriers and didn’t know?
And, in the event that one of us gets sick, I don’t know what that means for delivery. If M or Ethan are sick and a grandparent can’t come, do I have to give birth alone? Do I have to stay in the hospital and away from M for longer? Will I be separated from my newborn if it’s me that develops symptoms?
Everything feels so scary and overwhelming and unknown. I don’t generally think of myself as someone with strong “mama bear” instincts, but this crisis has awakened a desperate need to protect my family.
So, anyway, you probably just want to hear about food, yes? This pasta is really good. It’s also fast and easy and full of flavor. The preschooler didn’t love it, though he did have a few bites. I think he’ll learn to like it. He has no choice because it’s so good, I’m not going to stop making it!
A couple of notes:
- Feel free to swap in dried thyme for fresh if you don’t have any.
-The vinegar gives the pasta a little tang and acid, but if you don’t like it or LOVE IT and want more of it, feel free to skip or add more. I also like a little sprinkle of vinegar splashed on at the end.
-I add the cheese at the end as a garnish, but fee free to add up to a cup of cheese while the pasta is still hot and mixing it in with the melting butter to make a thicker sauce.
-Julia would be APPALLED by how much I crowd the mushrooms when I make this dish. I can’t help it. I have no sense of volume when it comes to mushrooms and the appropriate pan in which to cook them. I find that it doesn’t really matter. They cook down significantly, so as long as you’re okay with rescuing a few escaped shrooms at the start of cooking while you give things a mix, eventually, they’ll all fit in the pan just fine.
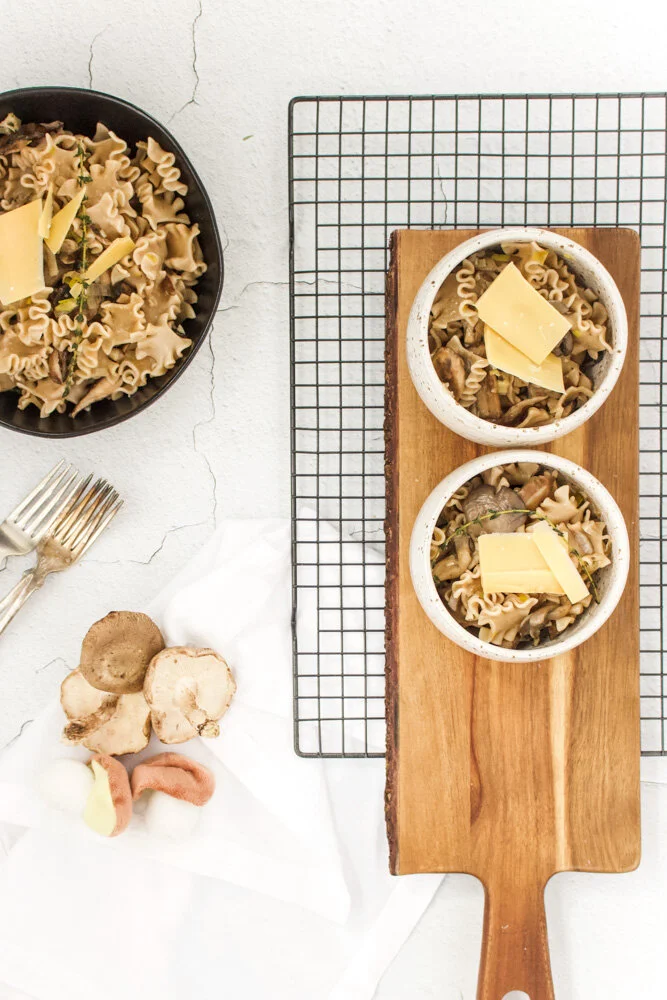
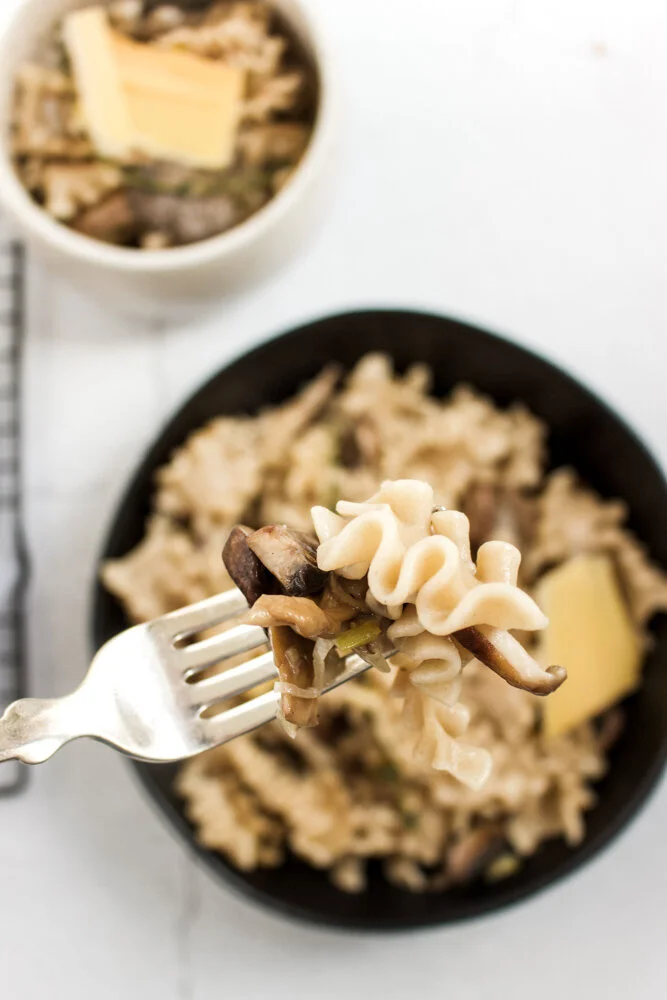
Mushroom pasta
Yield: 5-6 adult servings
Time: 25 minutes, mostly active
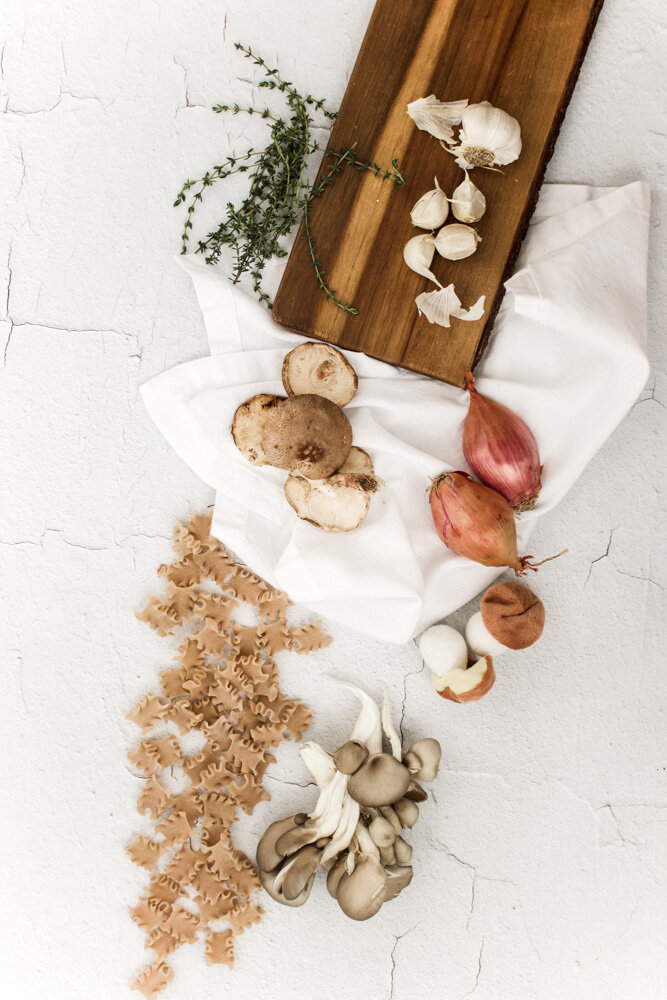
14 oz-1 lb whole wheat pasta, cooked until al dente
4 Tbsp butter, divided
1 Tbsp olive oil
2 large shallots, thinly sliced
1 leek, halved and thinly sliced
1 lb mixed mushrooms, sliced
4 large garlic cloves, minced
1 tsp fresh thyme (3-4 stems), or ½ tsp dried
½ Tbsp red wine vinegar (or more to taste)
Salt/ pepper to taste
Nutty cheese, such as Parmesan, Gruyere, Romano, or Gouda
Cook pasta in well-salted water.
In a large skillet, melt 2 Tbsp butter and 1 Tbsp olive oil over medium heat. Add the shallots and leeks and let cook for 5 minutes until translucent and soft., stirring frequently to avoid browning.
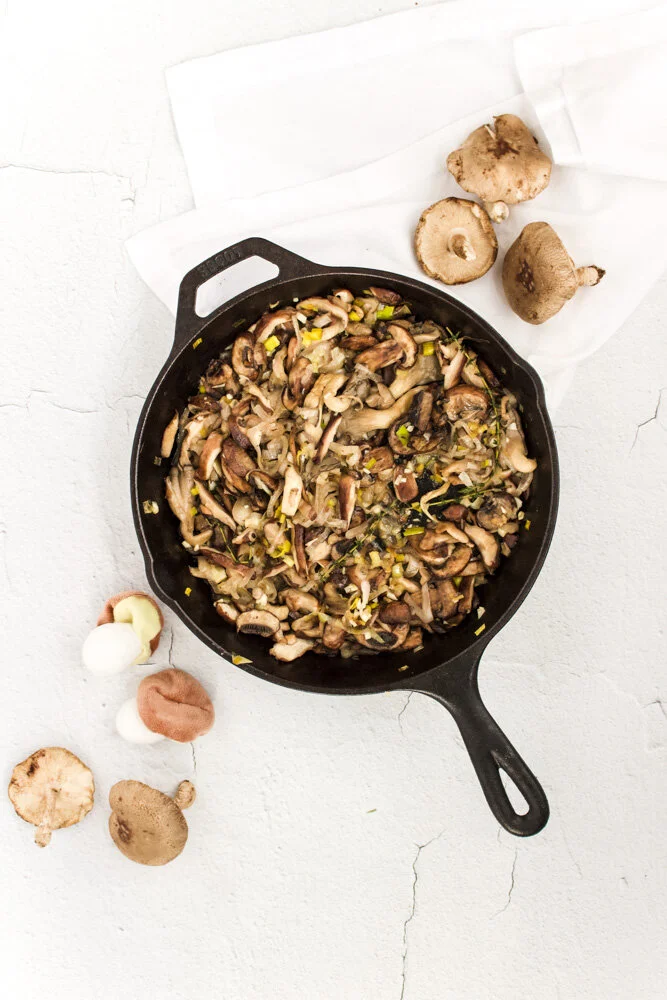
Add the mushrooms and cook for another 5 minutes, stirring occasionally, until the mushrooms start to cook down and release some of their juices. If they haven’t cooked enough at the 5-minute mark, keep going until there’s a fair amount of liquid in the pan.
Add the garlic and let cook for 1 minute, or until fragrant.
Add the vinegar and let cook until evaporated, about 1 more minute.
Season the mushroom mixture with salt and pepper to taste.
Drain the pasta, but don’t go crazy- a little water will help keep the pasta loose. Add the noodles to the mushroom mixture along with the remaining 2 Tbsp of butter. Stir well and turn off the heat. Taste again for seasoning and serve immediately.
French onion steak skillet
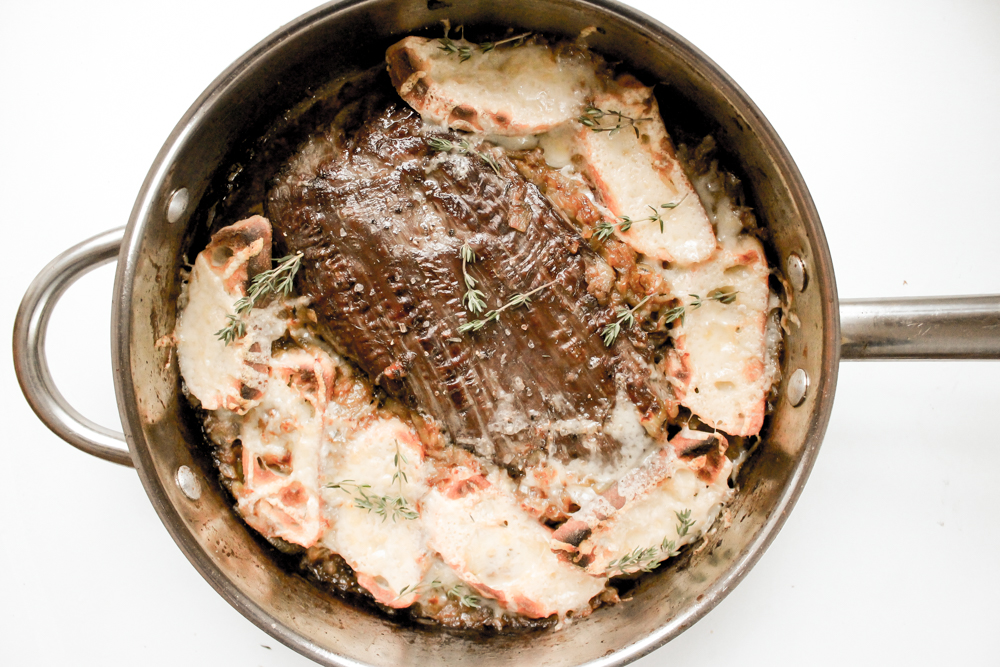
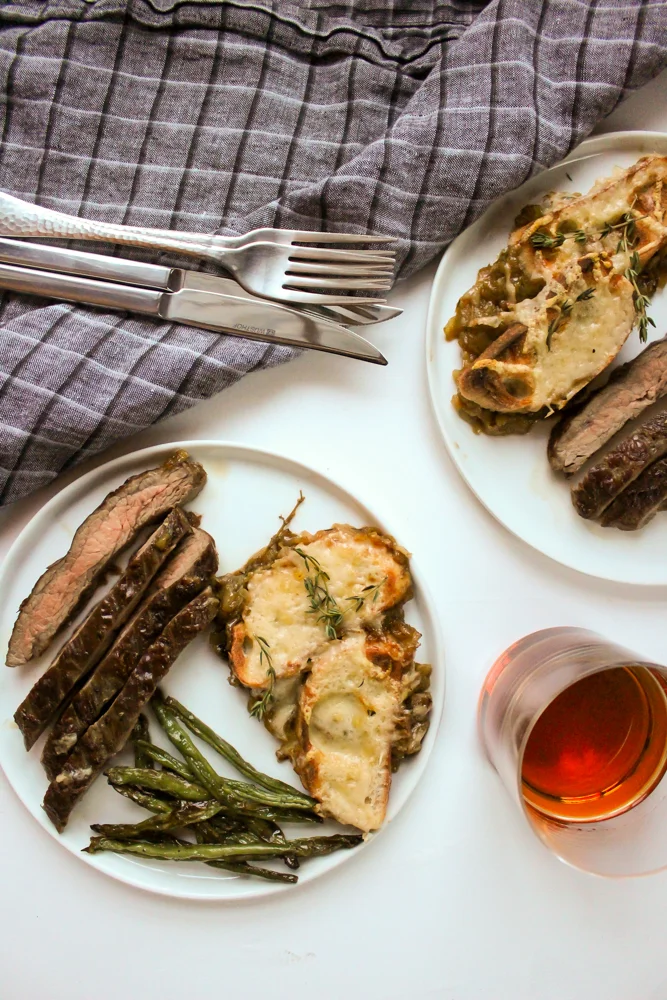
Valentine’s Day is on the horizon, folks. This is a holiday that I don’t particularly enjoy. If you’re not in a relationship or in one that’s complicated, it can feel like a giant middle finger. If you are in a relationship, it can be stressful and/or tedious to have a mandated celebration of your love. AND EXPENSIVE, AMIRIGHT? There’s definitely surge pricing for restaurants and babysitters. Bleh. I hate it.
So instead, we’ll put the kiddo to bed early, open a bottle of wine, and make this easy French Onion Steak Skillet that requires VERY little work and even less cleanup.
But even on non-holiday nights, if your kids like French Onion Soup or steak, they’ll dig in. No need to save this for a special, adults-only meal.
Also, I think I’ve finally cracked the code for getting GENUINELY caramelized onions (not fried, frizzled, or straight-up burned) in about 20 minutes. I know, I know. Most recipes claim that it takes 20 minutes when it actually takes an hour or more to get that deep uniform jammy brownness. Behold this before and after:
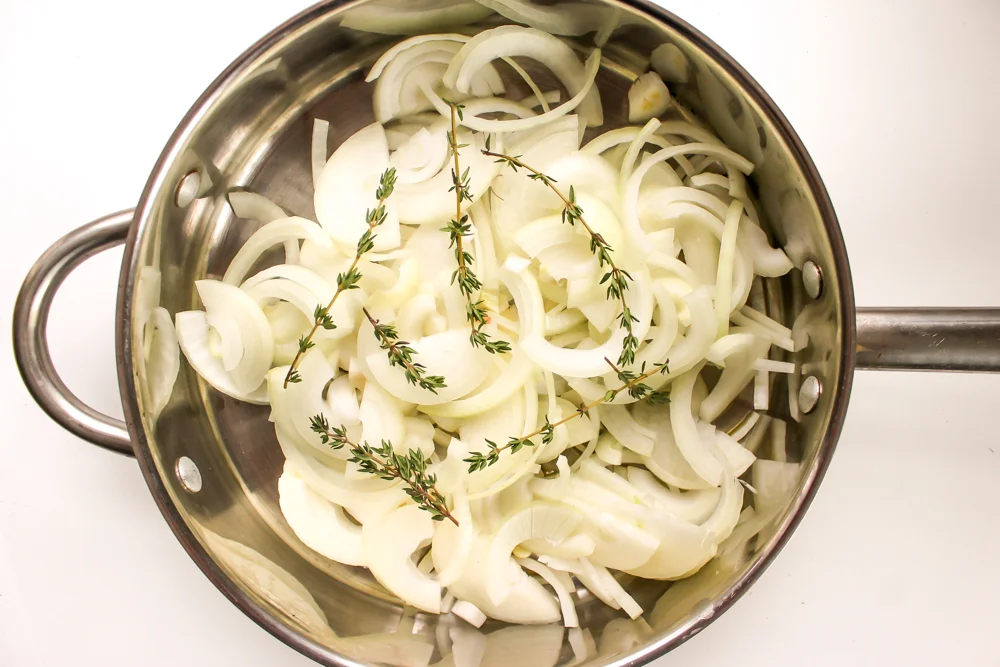
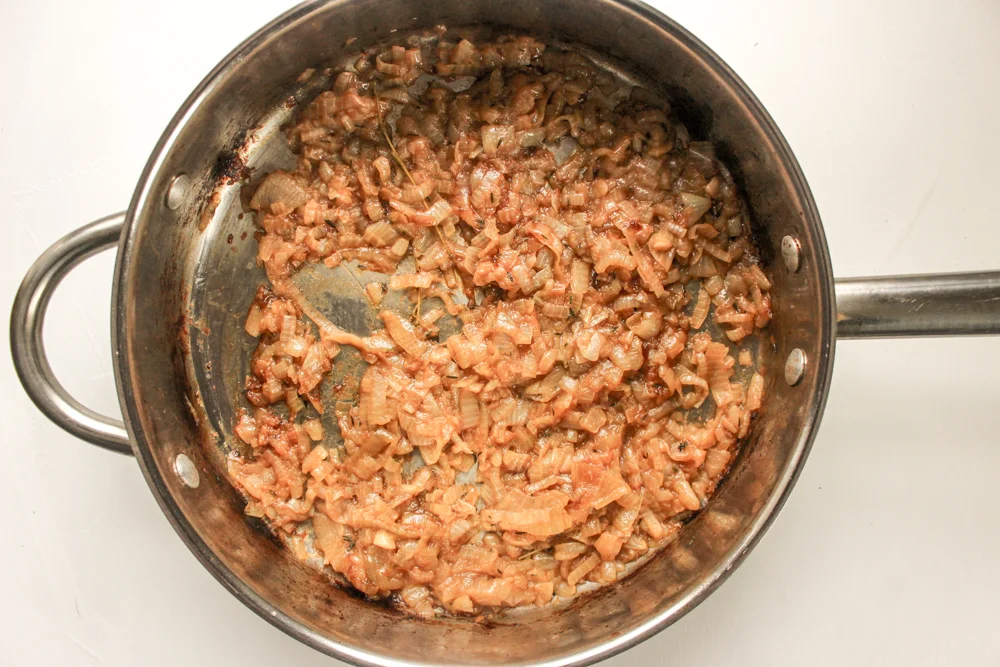
After a deep dive through Youtube videos and Cook’s Illustrated articles, I’ve achieved great results much faster than usual. Here are a few secrets to speeding up this otherwise slow process:
Use a large pan with a tight fitting lid. You’ll melt butter and olive oil together and then cook the onions for 3 minutes at a time with the pan covered.
Use medium high heat the whole time. You want the onions to brown and stick to the bottom of the pan just a little bit. If they stick too much and/or blacken rather than brown, turn the heat down slightly. If the onions aren’t sticking to the bottom, turn the heat up.
Add water or stock every 3 minutes and scrape the browned bits off of the bottom and mix them into the onions while they’re cooking.
Repeat the process: Cook 3 minutes over high heat/ add liquid/ scrape the browned bits/ cover and cook for 3 more minutes. After about 15-20 minutes, the onions will be done!
Add 1/8 tsp baking powder at the very end to make the onions sweeter. You can’t add it at the beginning or the onions will break down too much, but adding it at the end lends just the right amount of jamminess.
French onion steak skillet
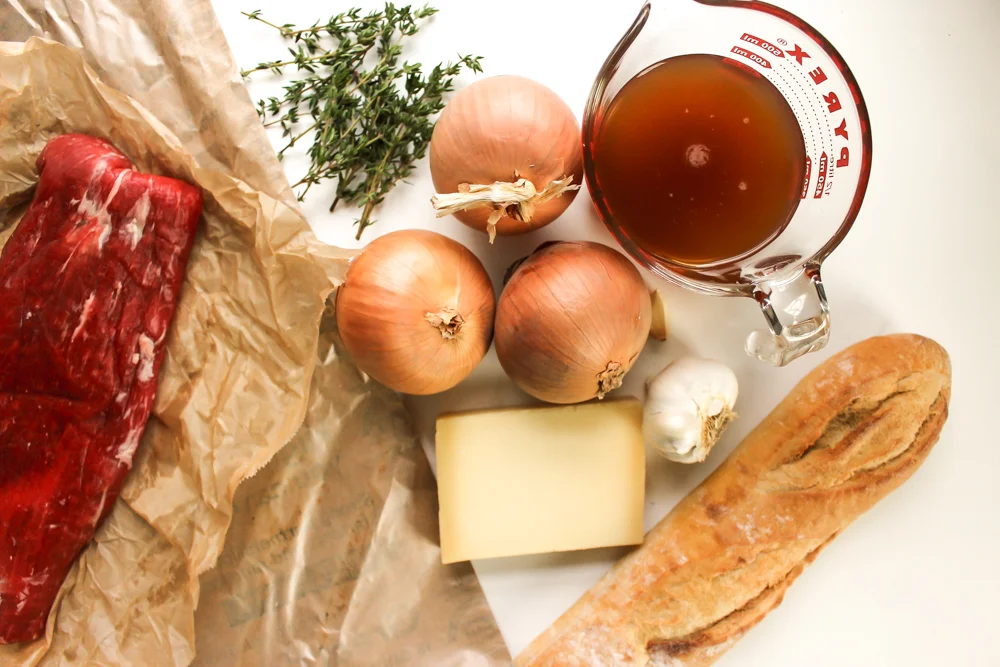
4 large onions, sliced in ¼ inch slices
1 Tbsp olive oil
3 Tbsp butter, divided
5 large sprigs of thyme
2½ cups beef stock
¼ tsp salt
1/8 tsp baking soda
1 lb skirt steak, strip steak, flank steak, or tri-tip steak (basically any moderately thin steak) Salt and pepper to taste
½ large baguette, sliced
1 clove garlic, halved
3 oz gruyere cheese, thinly sliced or grated
Flaky sea salt
For the onions:
In a large, ovenproof skillet or pot with a tight fitting lid, heat the olive oil and 1 Tbsp of butter over a medium high flame. Add the onions and thyme, cover, and cook for 3 minutes. If the onions start to burn, turn the heat down slightly (but try to maintain a high heat). After 3 minutes, remove the cover, add ¼ cup of stock, and scrape the browned bits from the bottom of the pan and mix the onions around. Re-cover and cook for another 3 minutes, and then repeat the stock/scrape/mix process. Repeat this 3-minute process until the onions are uniformly soft and brown, about 15-20 minutes.
Turn off the heat and mix in ¼ tsp kosher salt and 1/8 tsp of baking soda. Remove the onions to a separate plate and wipe out the pot.
For the skillet:
Whole the onions are cooking, slice the bread and toast lightly in the toaster. Rub the raw garlic over one side of the bread. Shred the gruyere. Set aside.
When the onions are done and removed to another container, heat the broiler to high.
Melt the other 2 Tbsp of butter in your wiped-out skillet over high heat. Sear the steak for about 3-4 minutes per side. While the steak is seering on one side, season with salt and pepper. Repeat when you flip to the other side.
Turn off the heat and add the cooked onions back to the pan.
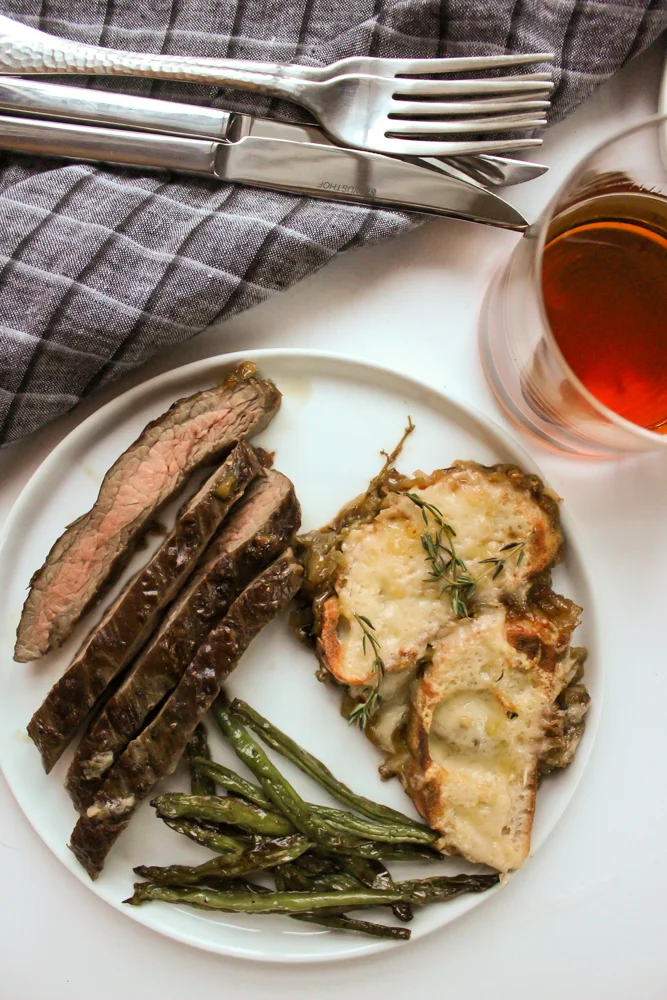
Pour 3-4 Tbsp of stock over the onions in the pan. Nestle the slices of bread in the onions around the steak and top with cheese.
Place the entire pan under the broiler until the cheese is bubbly and slightly browned.
Slice the steak to test doneness. Sprinkle with more flaky sea salt and fresh thyme sprigs.
Yield: 2 grown up and 2 kid servings
White bean chicken chili
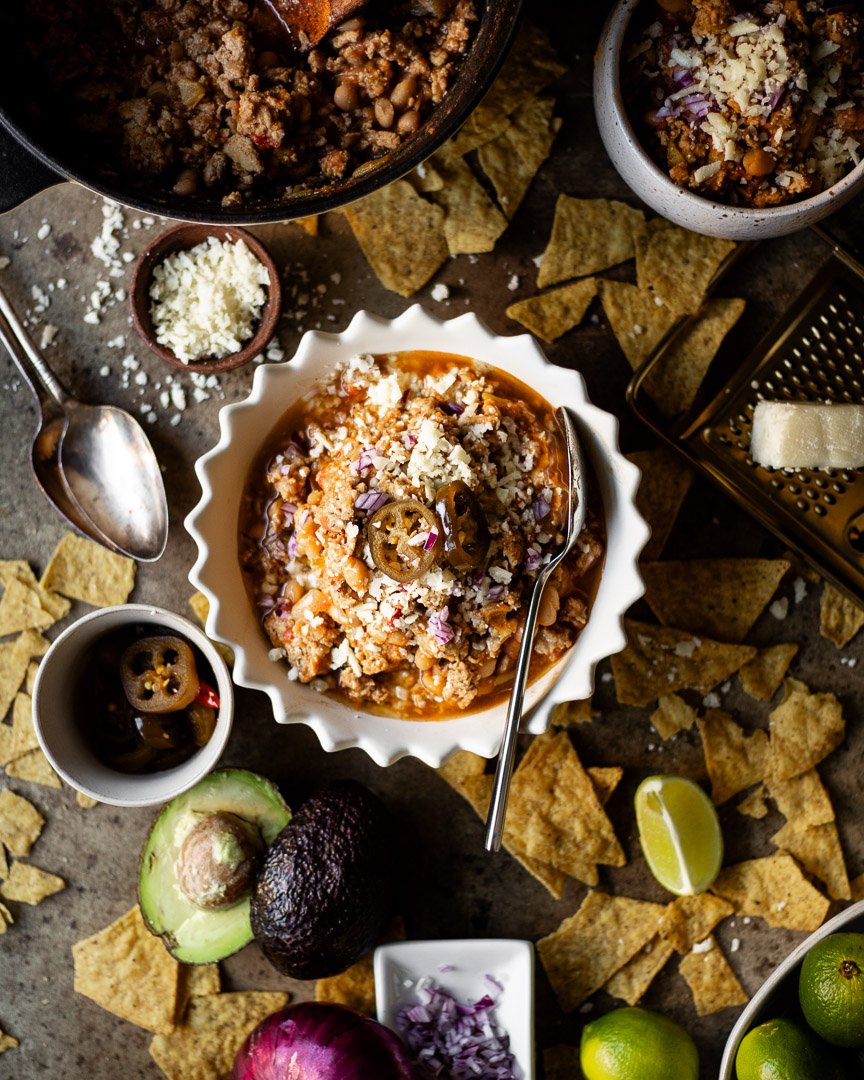
Who needs a quick, easy, healthy, and cheap dinner that everyone will eat, is totally customizable, and is gluten and dairy free? EVERYONE, that’s who. And we ESPECIALLY need it this week.
Our family just flew back from 6 days in Key West, FL and boy are my arms, legs, eyes, lungs, feet, teeth, hair, elbows, knees, and brains tired. See what I did there?
Can we talk about traveling with kids? I love it and hate it. On the one hand, it’s really nice to get out of the regular grind and say “yes” to things like daily ice cream and night swimming. That’s how memories are made, people!
But some of parenting’s stressors are portable. And some of those stressors are actually worse when saying “yes” comes with a side of fatigue and crashing blood sugar.
This particular vacation was amazing fun sandwiched between two slices of crazy-travel bread thanks to oversleeping for our 6:30 am flight on the way there, and then changing our flights twice and driving four hours at 10 pm to beat an ice and snow storm on our way home.
We also paid an arm and a leg for a 3-hour nap in an airport hotel that was the grossest place I’ve ever stayed. It was less like a hotel room and more like a bunch of pink-eye germs and bed bugs holding hands. Shudder. M commented, “It smells like a lot of people were sweating in here.”
But I fully acknowledge that we’re so lucky to be able to travel and are so grateful to the TSA and FAA employees who are currently working really hard without pay. We tried to make meaningful eye contact while saying “Thank you” over and over in securlty.
That said, I’m exhausted.
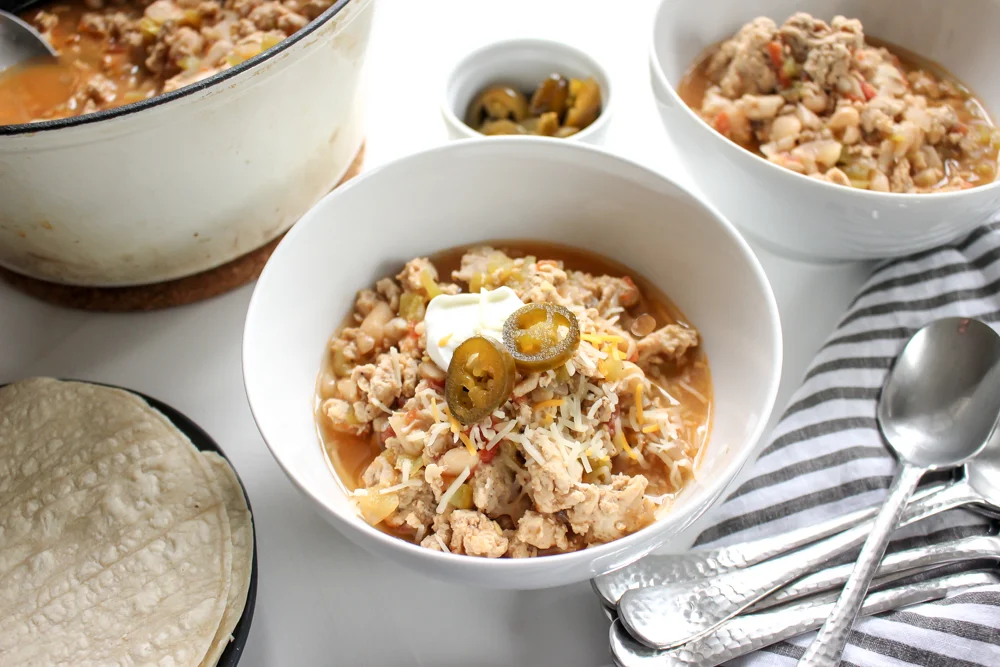
So, let’s get to this easy, all-purpose chili.
It is deceptively complex considering how quickly it comes together. You can certainly let it simmer for an hour to deepen the flavor if you like, but sauteing the spices and using a rich homemade stock if possible, will achieve the same depth of flavor in less time.
And if you put out every possible topping, I’ve found that this dish makes just about everyone happy.
White bean chicken chili
1 Tbsp olive oil
1 small white onion, chopped
2-3 large cloves garlic
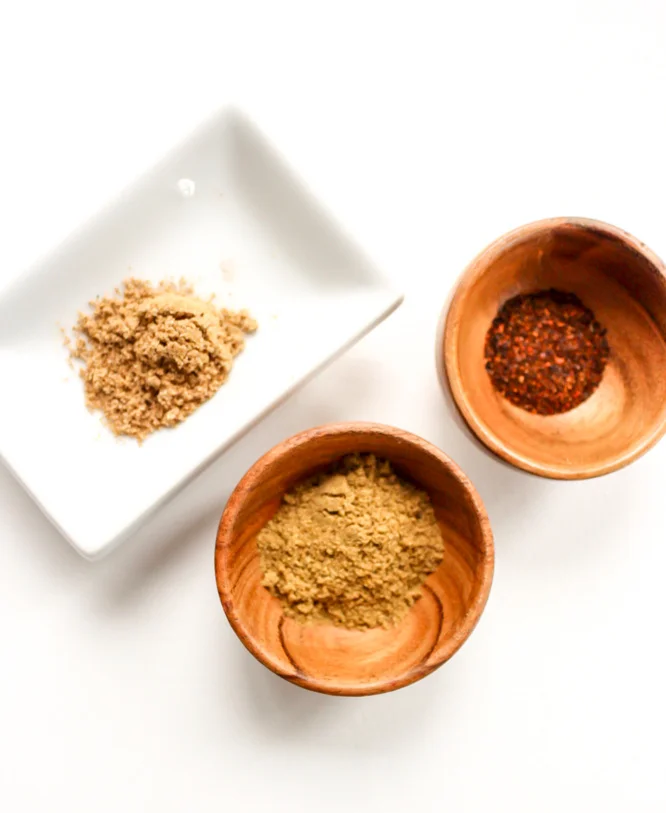
1 tsp chili powder
½ tsp coriander
1 tsp cumin
1 tsp kosher salt
2 lbs ground chicken breast
1½ cups chicken stock (more, if you like a saucier chili)
1 cup chopped tomatoes
8 oz chopped roasted green chilis (2 small cans)
15 oz can white beans
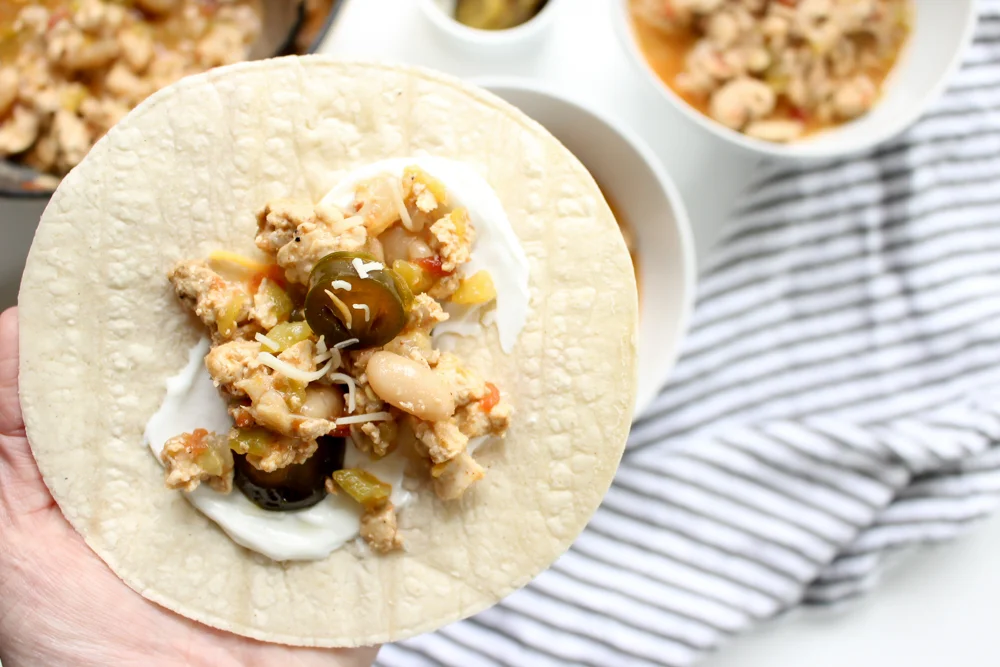
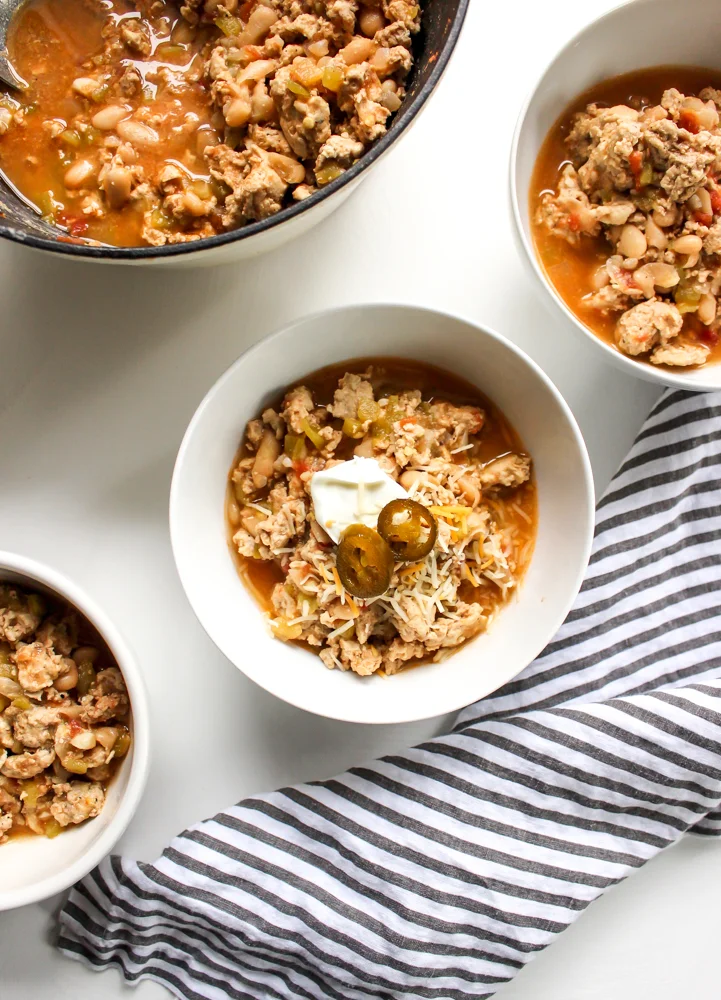
Toppings: Cheese, scallions, avocado, sour cream, and pickled jalapenos
Heat oil over a medium flame in a large pot. Add the onion and sauté until fragrant, about 3-4 minutes.
Add the garlic and sauté again until fragrant, about 1 minute.
Add the spices and salt and cook, stirring frequently, for 1 more minute.
Add the chicken and sauté until no pink remains.
Add the stock and tomatoes and stir. Bring to a boil, reduce heat to low, and simmer for about 15-20 minutes until the sauce has thickened slightly.
If the sauce isn’t thickening to your liking after 20 minutes, combine 1 Tbsp flour and 1-2 Tbsp of water and stir vigorously to combine. (I usually use a lidded jar and shake the water and flour together.) Add to the sauce and simmer for another 5 minutes.
Add the chilis and the white beans and bring back to a boil to head through.
Garnish with cheese, scallions, avocado, sour cream, yogurt, pickled jalapenos, cilantro, etc. Whatever your chili loving heart desires.
Serve immediately.
Yield: 7-8 cups (about 5 grown-up servings)