Chicken and apple breakfast sausages

These chicken and apple breakfast sausage patties are super quick, packed with flavor, and a great way to add some lean protein to your breakfasts.
So! It’s been forever since I last posted because, like half of the food bloggers I follow, I’ve been busy cooking something else: A BABY. Normally I have a strong sense of smell, but pregnancy turns me into a bloodhound. Combine that with constant nausea, and you can imagine how I’ve felt about cooking or looking at food photos or being in the kitchen or even opening the refrigerator door.
Luckily, I started working on a homemade version of chicken and apple sausages (a family favorite) WAY before they started making me nauseous, so I know they’re good. Plus, they’re easy to whip up over the weekend and then store or freeze for future breakfasts. OR, if you’re feeling ambitious, you can even make them on a weekday morning if you’re one of those people with your shit together on school days.
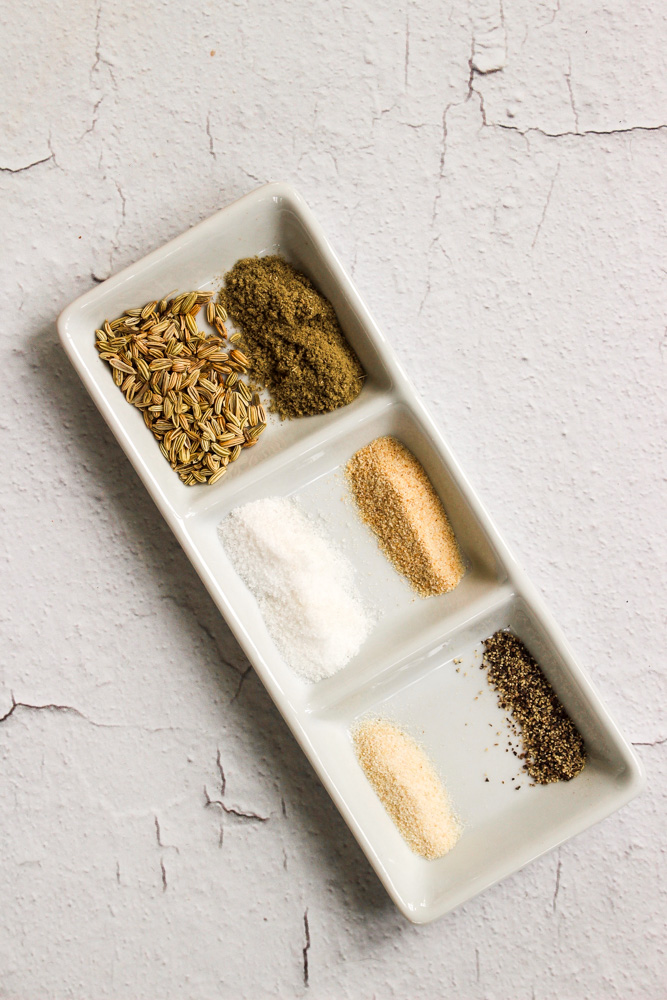
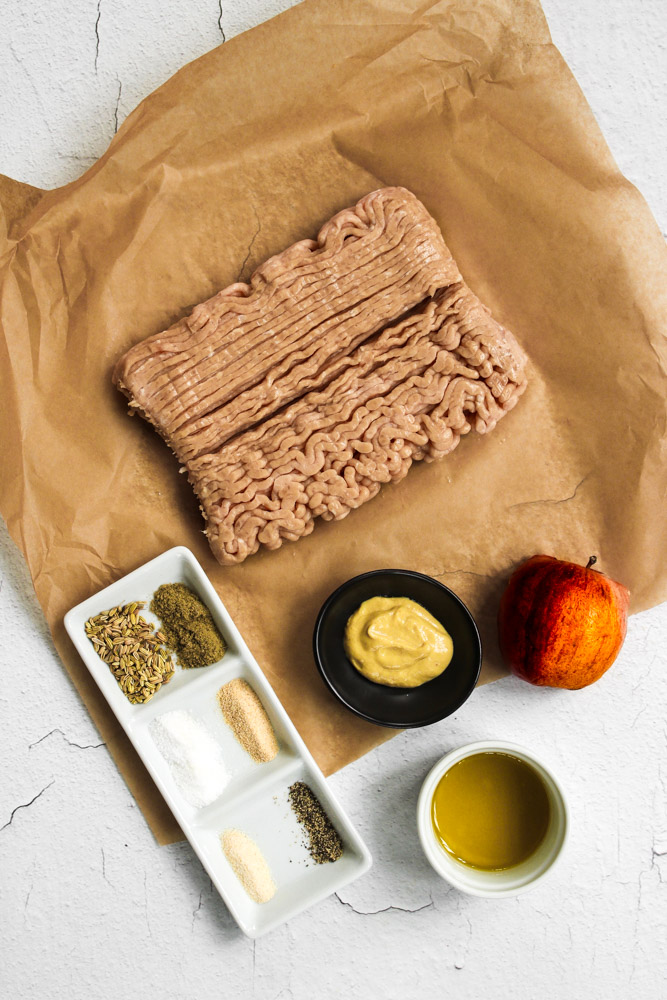
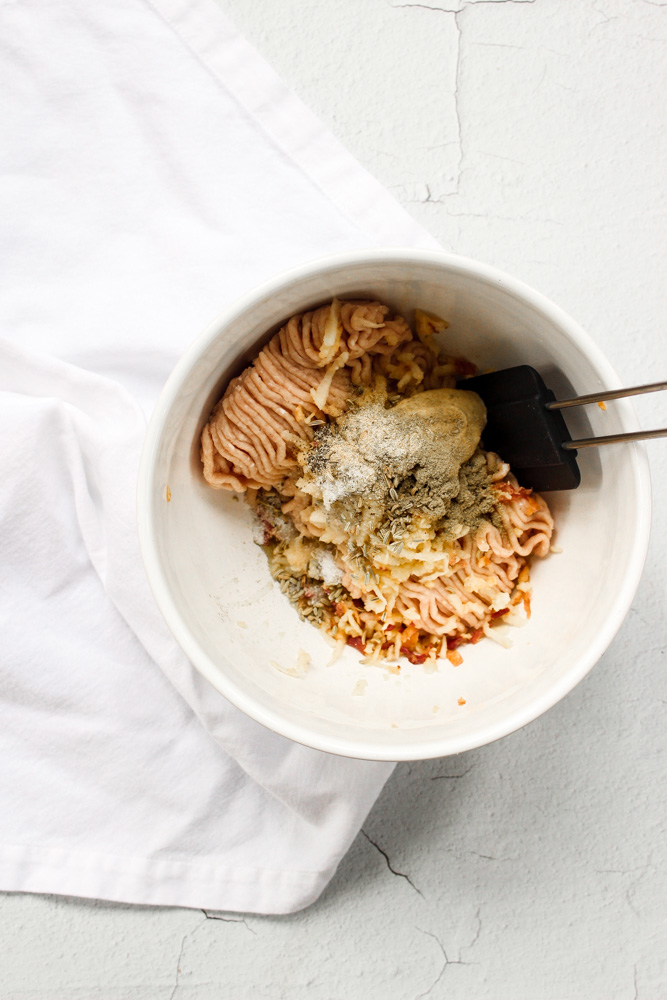
I fiddled around a lot with the spice mix so that it would be strong enough to compensate for how little fat is in the recipe. I use a combination of fresh and dried sage but you could certainly opt for a single type. If you like less garlic or just milder flavors generally, cut back on the garlic powder and the patties will still taste great.
A note about the fat we add: It’s only a Tbsp, which may feel like too little or too much depending on where you stand and you may be tempted to add more or leave it out. But I’ve found that 1 Tbsp is enough to keep the meat from drying out without making it taste oily or making the texture crumbly.
And the apple adds a little sweetness and a little moisture.

Chicken and apple breakfast sausages
Time: 15 total (5 prep, 10 cooking)
Yield: 16 patties
1 lb ground chicken, (7-8% fat)
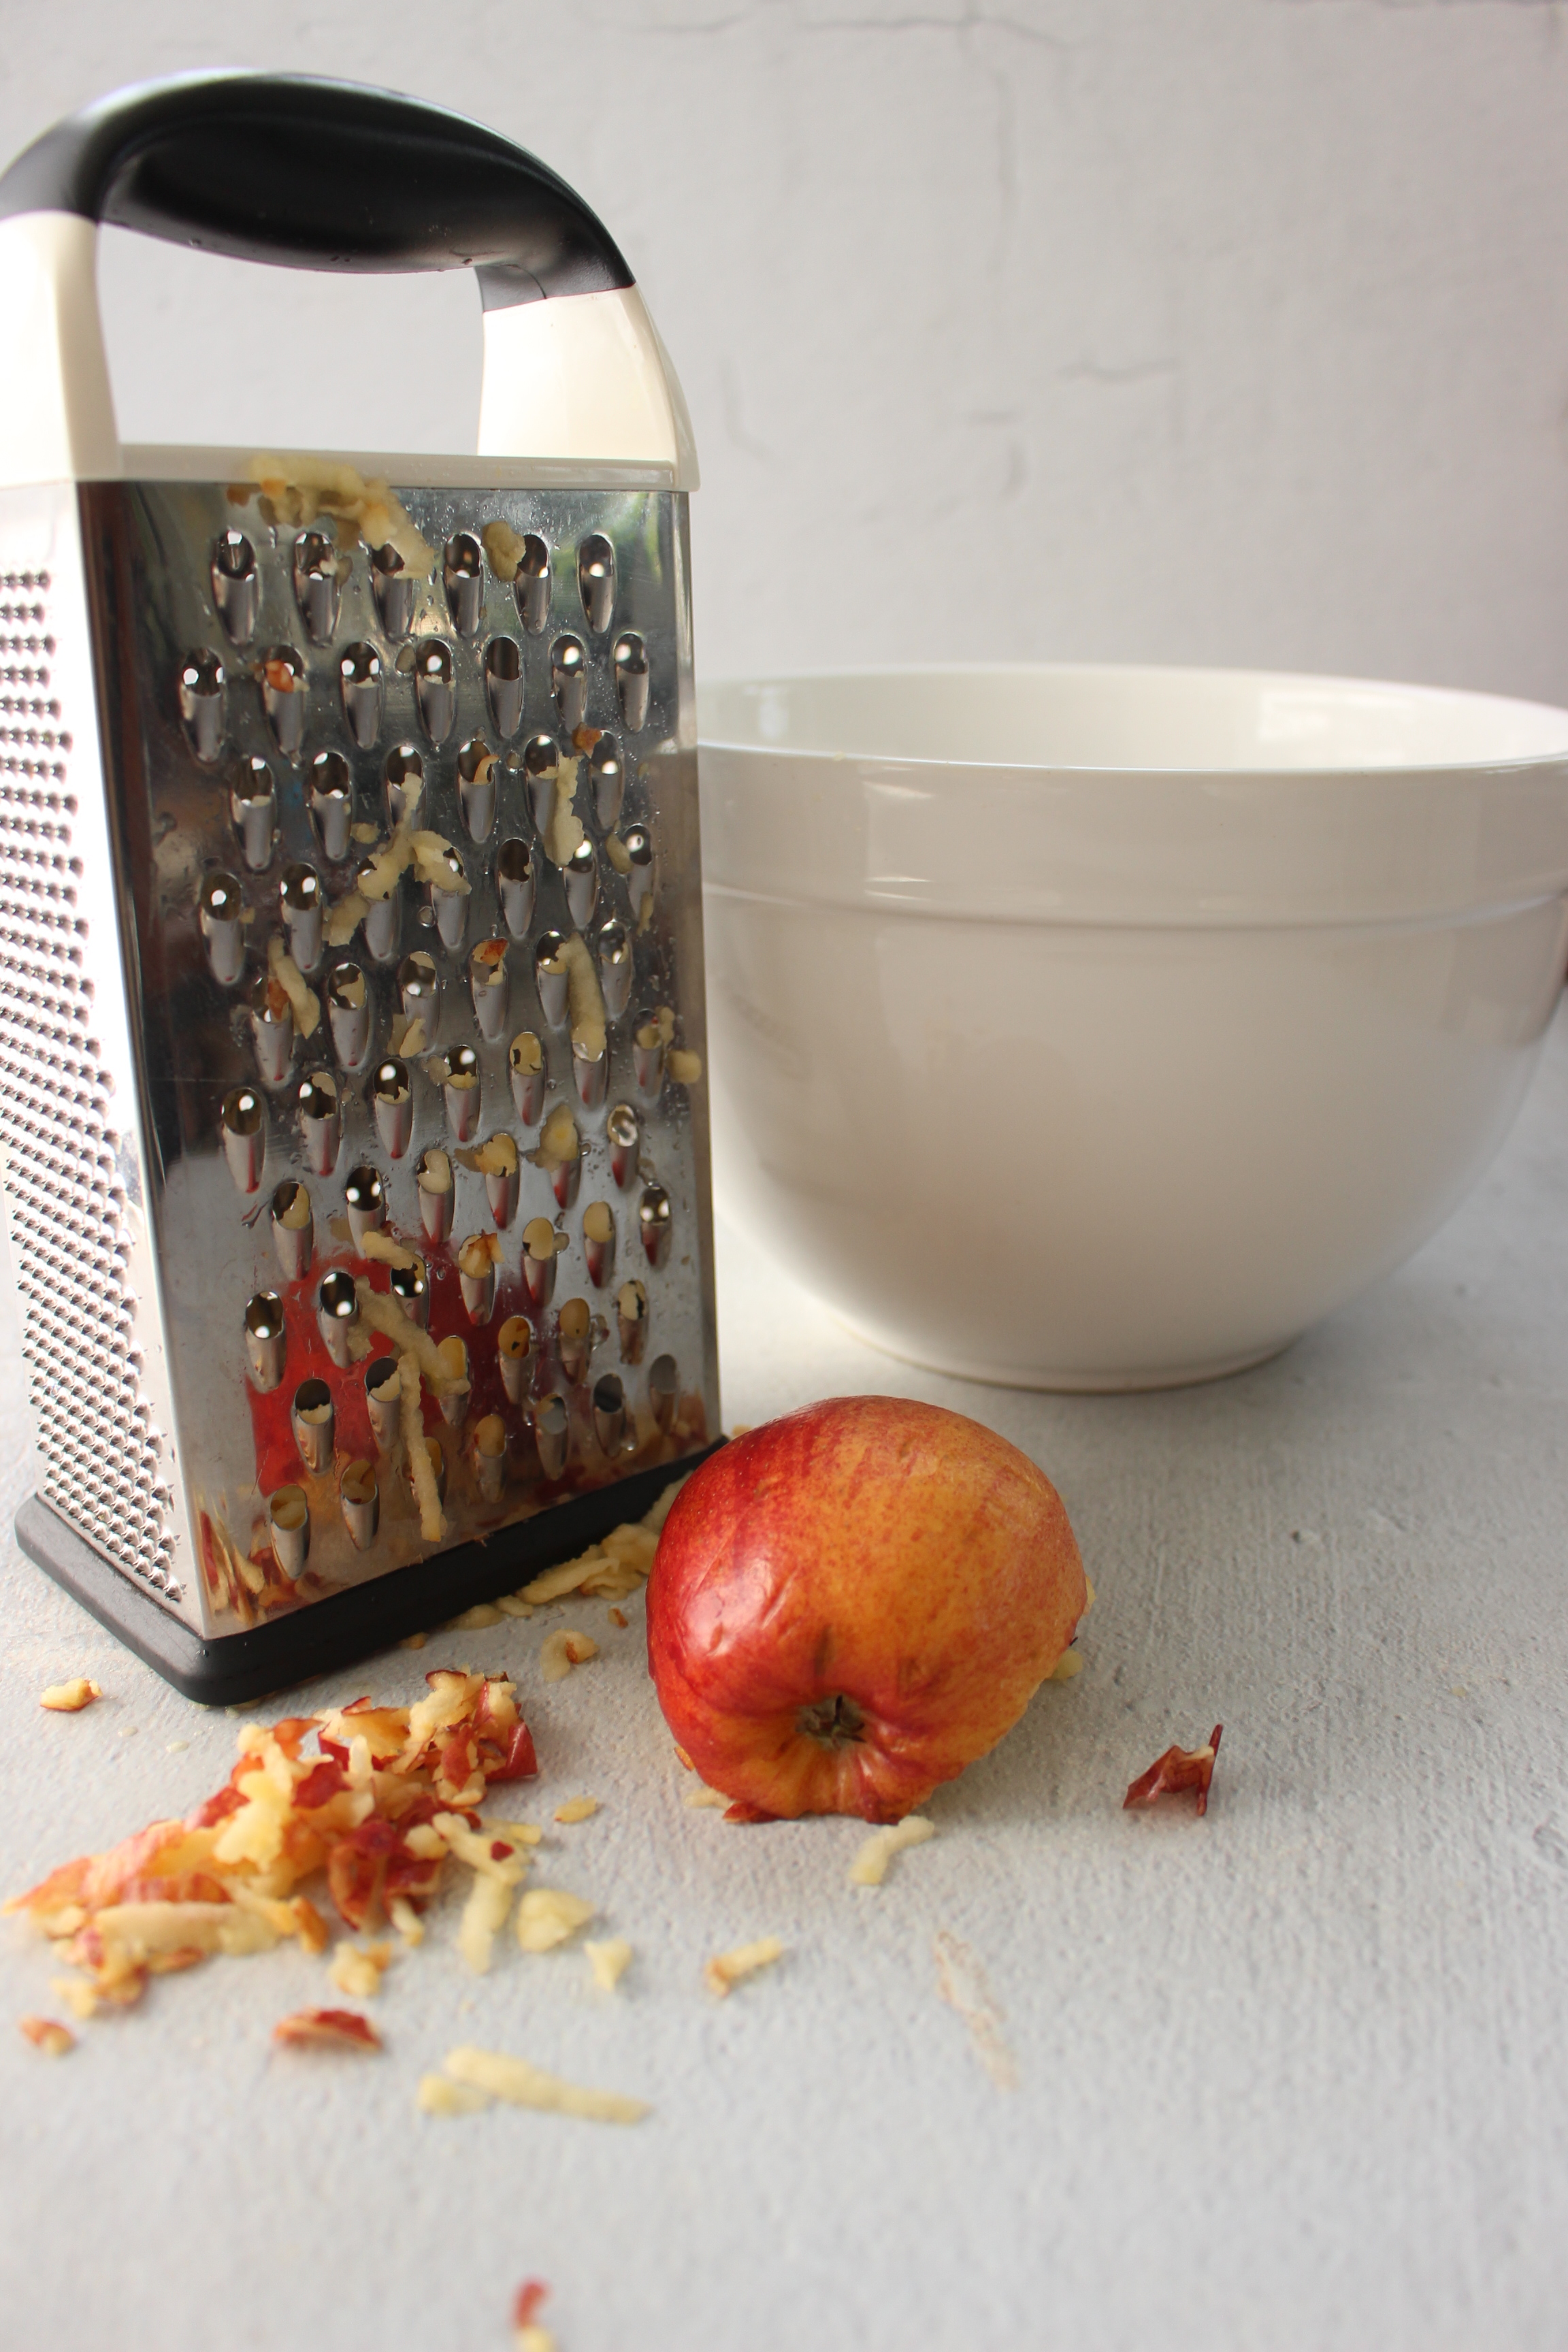
1 small apple, shredded (about ½ cup of apple)
2 Tbsp olive oil, divided
1 Tbsp Dijon mustard
1 tsp dried sage
1 tsp fennel seeds
½ tsp garlic powder
¼ tsp onion powder
1 tsp kosher salt
¼ tsp pepper
Combine the chicken, shredded apple, 1 Tbsp olive oil, and the rest of the ingredients in a large bowl. Mix just until all of the ingredients are combined.
In a large skillet, heat ½-1 Tbsp of oil over a medium flame until hot. (If you’re cooking the sausages in batches, use half of the oil; otherwise, use it all.)
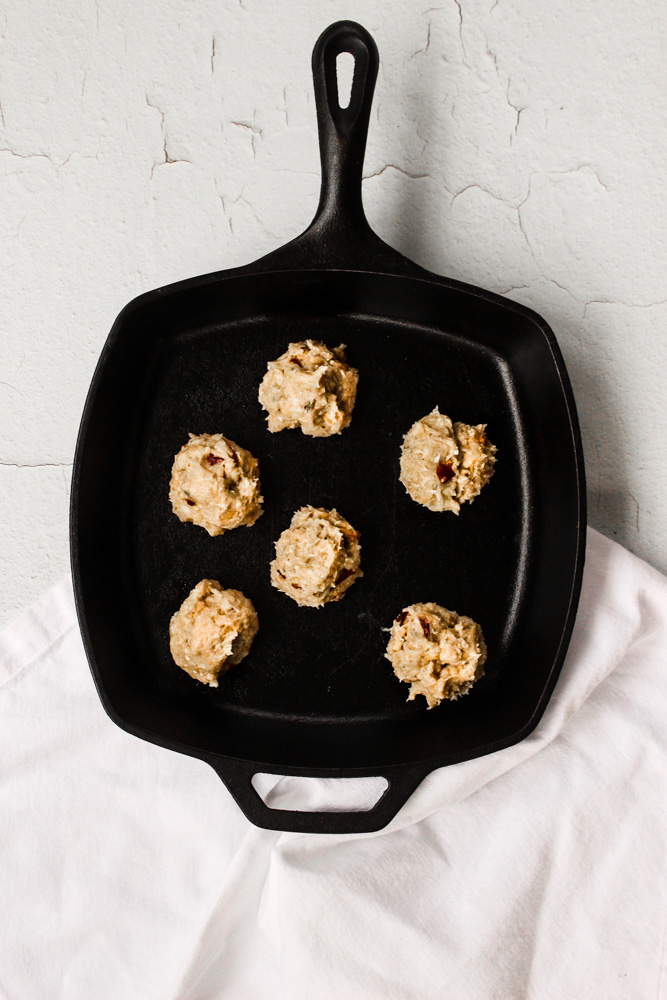
Scoop 2 Tbsp of chicken mixture into balls and place in the hot skillet. Push them down slightly to form round patties. Reduce the flame to medium low and cook until well browned on the bottoms, about 5 minutes.
Flip the patties and cook on the other side until the meat is cooked through, the patties feel firm to the touch, and/or the patties reach 165 on a meat thermometer, about 4 more minutes.
Roasted strawberry and rhubarb butter

Roughly chop some fruit and toss it in the oven for a spring-y fruit butter that’s naturally sweet, SUPER EASY, and extremely versatile. #meandthemoose #strawberryrhubarb #fruit #fruitbutter #naturallysweet #jam
Rhubarb season is here! Turn this tart veg into a thick, spreadable butter to use all day, every day.

Roughly chop some fruit and toss it in the oven for a spring-y fruit butter that’s naturally sweet, SUPER EASY, and extremely versatile. #meandthemoose #strawberryrhubarb #fruit #fruitbutter #naturallysweet #jam
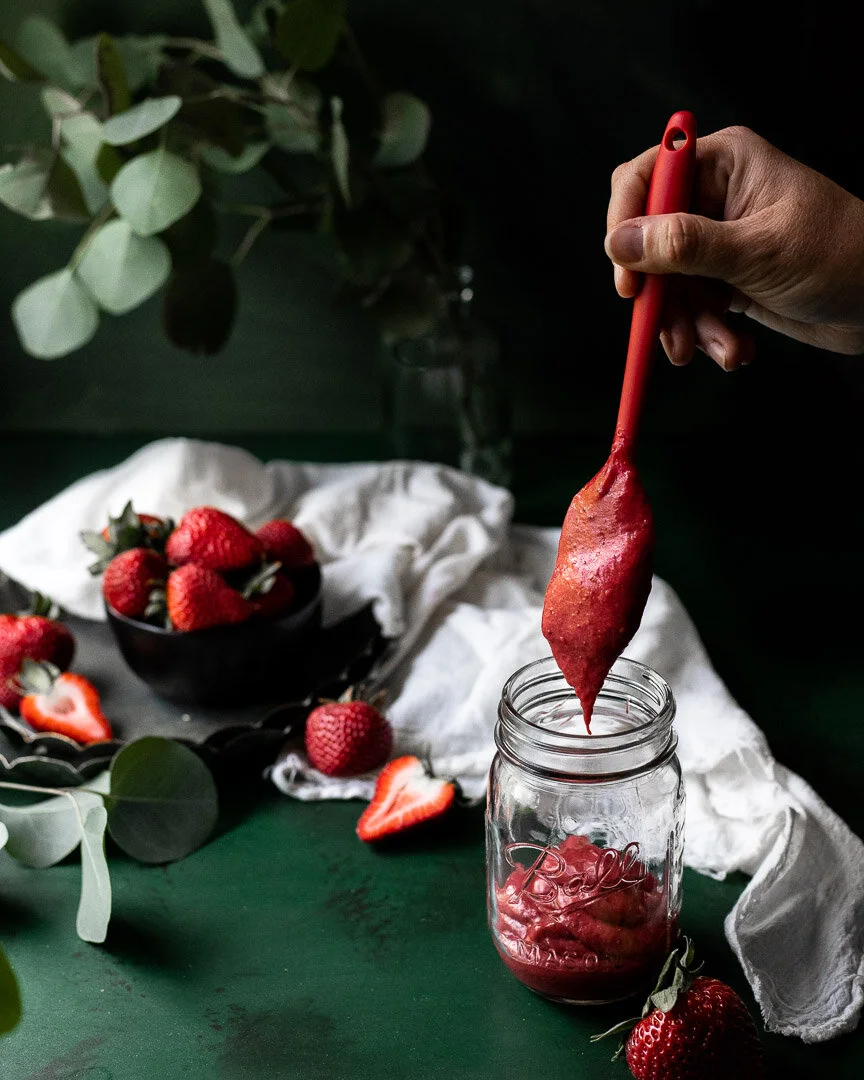
Roughly chop some fruit and toss it in the oven for a spring-y fruit butter that’s naturally sweet, SUPER EASY, and extremely versatile. #meandthemoose #strawberryrhubarb #fruit #fruitbutter #naturallysweet #jam
If you’ve searched Instagram recently, it’ll come as no surprise that rhubarb is a very photogenic vegetable. The variations in color lend themselves to ombre-ing and chevron-ing to your heart’s content. But today, we’re keeping it simple by doing neither of those things.
Instead, we’re turning strawberries (fresh or frozen!) and those giant rhubarb stalks you find in the grocery store (or your garden if you’re lucky enough to grow your own) into a butter akin to apple or pumpkin. Because why should fall fruits and vegetables have all the fun?
In early spring, I use frozen berries because it annoys me that strawberry and rhubarb are a perfect combination, but their growing seasons only overlap for a hot minute here in New England. Buuuuut, I found some giant berries in the grocery store recently, so I went for it with the fresh ones a little earlier this year.
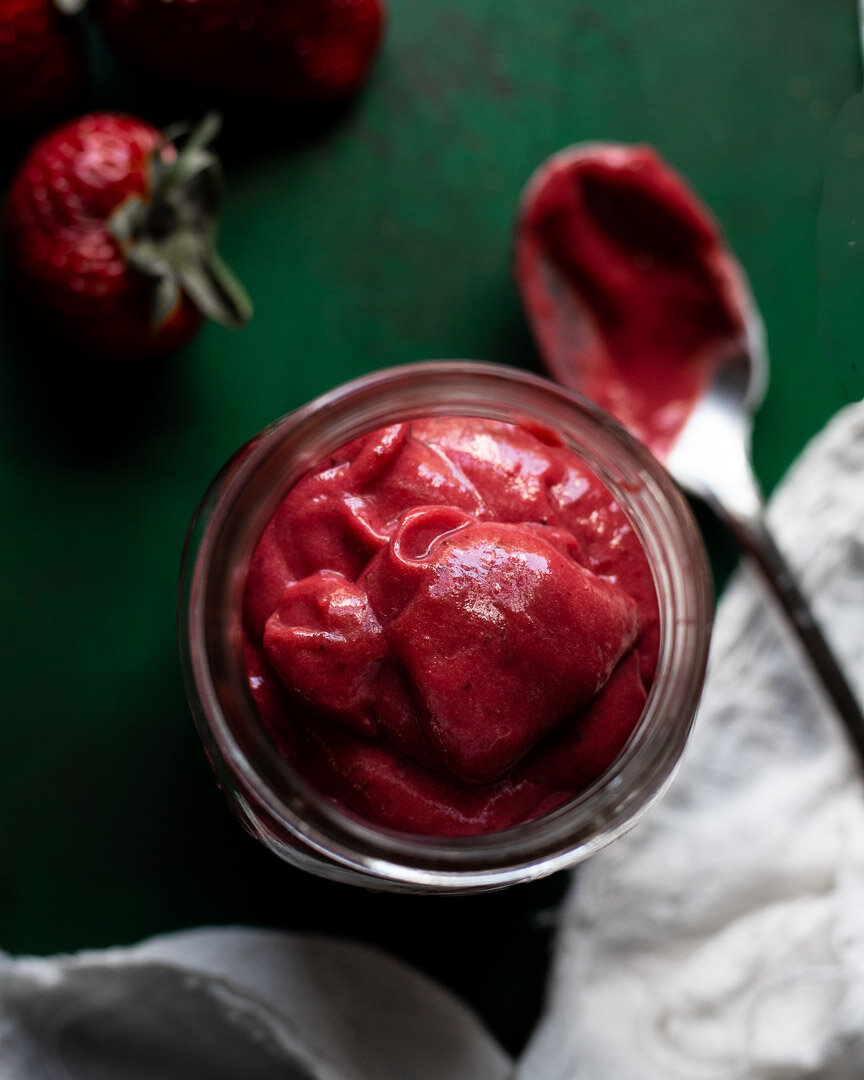
Roughly chop some fruit and toss it in the oven for a spring-y fruit butter that’s naturally sweet, SUPER EASY, and extremely versatile. #meandthemoose #strawberryrhubarb #fruit #fruitbutter #naturallysweet #jam
A couple of notes:
Let the berries and rhubarb cook until the juices start to get a little syrupy. You can test this by sticking a spoon into the hot liquid (DON’T USE YOUR FINGER!!!). If the strawberry juice coats the back of the spoon and doesn’t drip off entirely, you’re about done. Make sure that your berries don’t burn because they can taste bitter.
This is a TART butter because, well, rhubarb is tart and that’s the beauty of it. If you like things a little sweeter, you can add a bit of sugar or use more berries than rhubarb. OR, you can combine the tart butter with sweeter things like cakes, cookies, sweetened yogurt, and whipped cream.
Roughly chop some fruit and toss it in the oven for a spring-y fruit butter that’s naturally sweet, SUPER EASY, and extremely versatile. #meandthemoose #strawberryrhubarb #fruit #fruitbutter #naturallysweet #jam

Roughly chop some fruit and toss it in the oven for a spring-y fruit butter that’s naturally sweet, SUPER EASY, and extremely versatile. #meandthemoose #strawberryrhubarb #fruit #fruitbutter #naturallysweet #jam
Roasted strawberry rhubarb butter
Time: About 1 hour, 45 minutes, about 5 minutes active time
Yield: 12 oz (1½-2 cups)
4 heaping cups strawberries (fresh or frozen)
2 heaping cups chopped fresh rhubarb (about 3 extra extra-large stalks or 6-8 smaller stalks, chopped into 1-inch chunks)
Preheat the oven to 350.
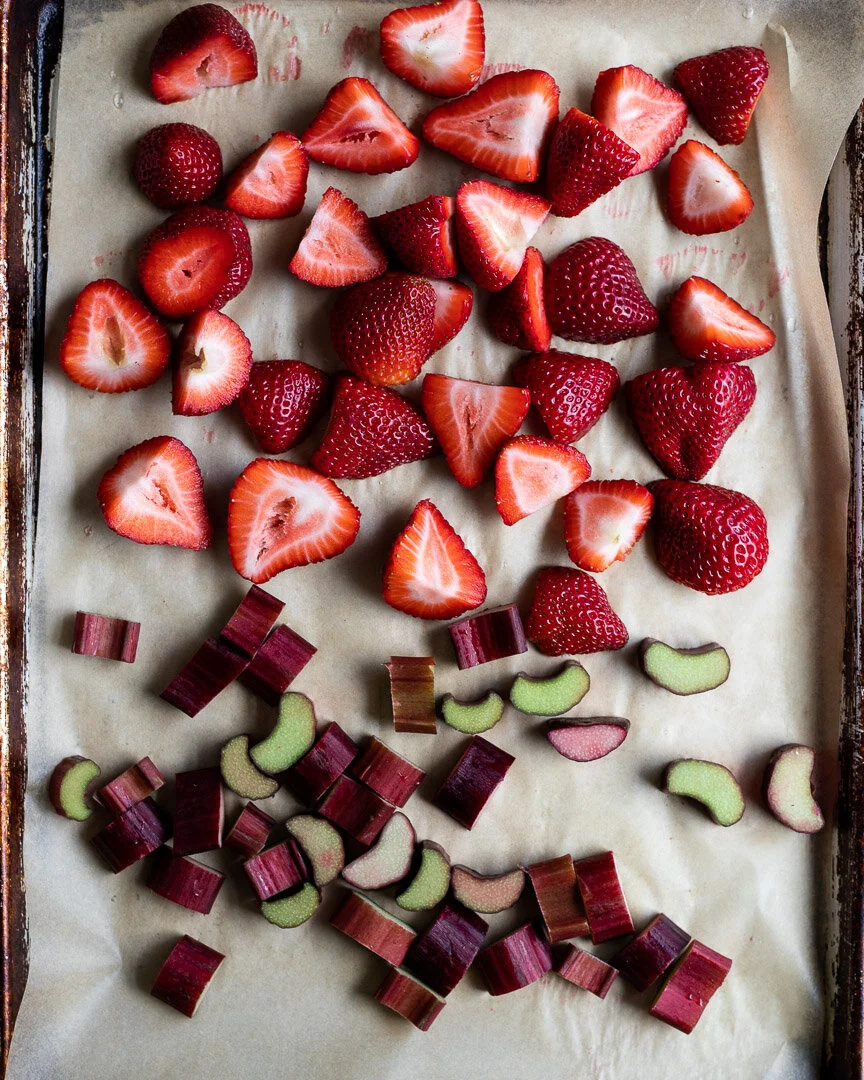
Wash and chop the rhubarb. Combine with the frozen strawberries on a parchment-lined, rimmed baking tray.
Cook for 25-30 minutes, until the fruit is soft, the strawberries have released their juices, and the juice has started to become syrupy (see note above). Watch the berries closely after about 20 minutes to ensure that they don’t burn.
Let the fruit cool completely, about 15 minutes.
Scoop the fruit into your blender. Whatever juice gets onto the spoon is fine, but don’t add any remaining syrup.
Blend until smooth.
Store in the fridge for up to 7 days.
Lemon and rosemary turkey and couscous en cocotte
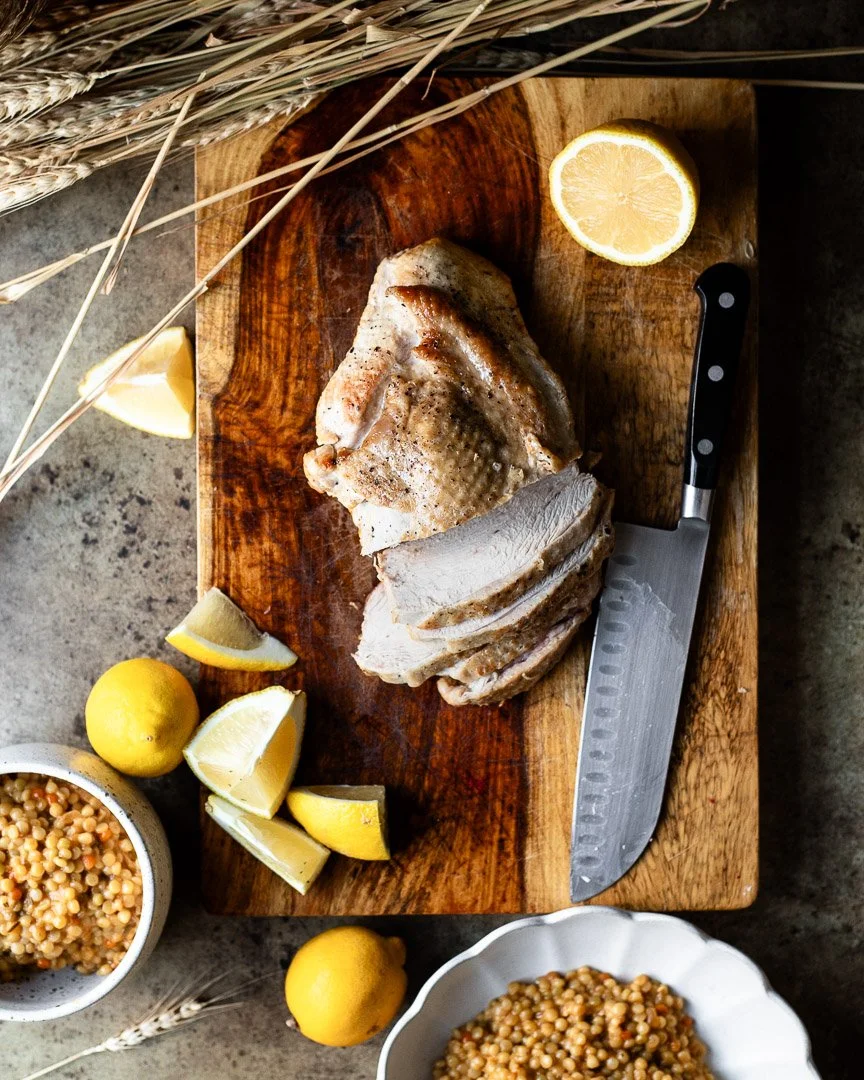
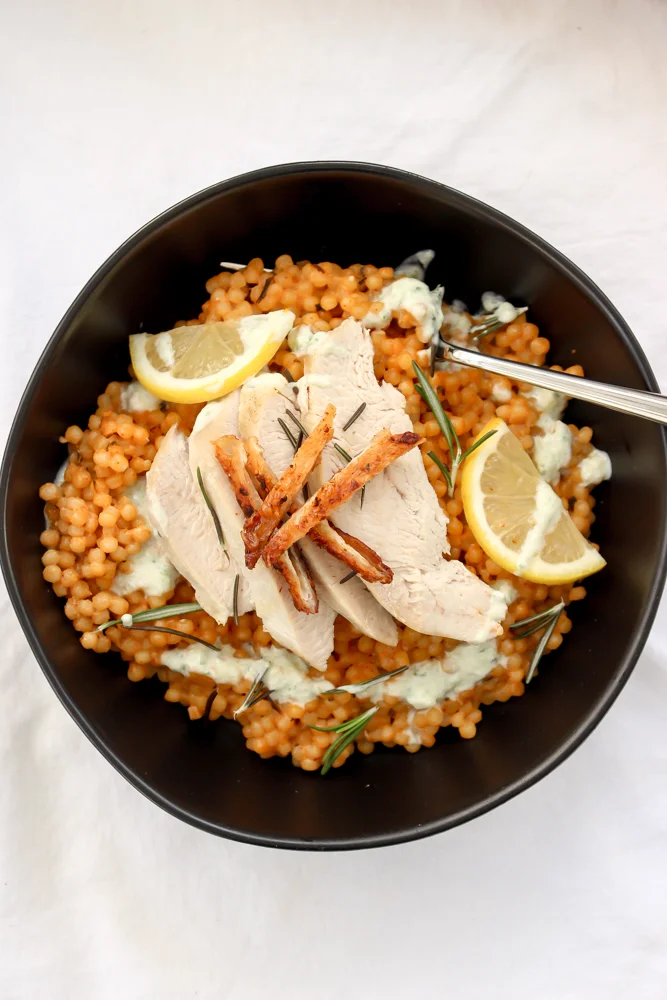
Don’t be intimidated by the “en cocotte” portion of the title. It’s just French for “cooked in a covered pot that you can also use for serving.” An alternative translation is: How to cook a really good turkey breast the lazy way; no overnight brine, no basting, nothing.
A quick note before we talk about the ins and out of this recipe: Anyone who knows me, understands how very much I hate the word “moist.” (I refer to is as “the ‘M’ word.”) Even saying it in my head feels wrong. I’m not alone here, I know, but I do feel that I have a particularly strong reaction, which made my search for the easiest turkey cooking method particularly grueling. Because it’s damn near impossible to read a blog post, watch a video, or see a cooking show about poultry without people shouting it from the rooftops.
But figuring out this recipe made it all worth it! And I promise you, this is the easiest route to not-dry turkey.

I first learned about cooking “en cocotte” from an episode of Cook’s Country. They made “French Chicken in a Pot” and I wanted to try it with turkey. I’ve also wanted to make a version of the famous Greek Avgolemono Soup, which is broth thickened with a cooked grains and egg yolks, but soup isn’t always psychologically satisfying as a meal, you know?
Instead, I used the broth and egg yolks to thicken the grains instead of the other way around.
A couple of cooking notes:
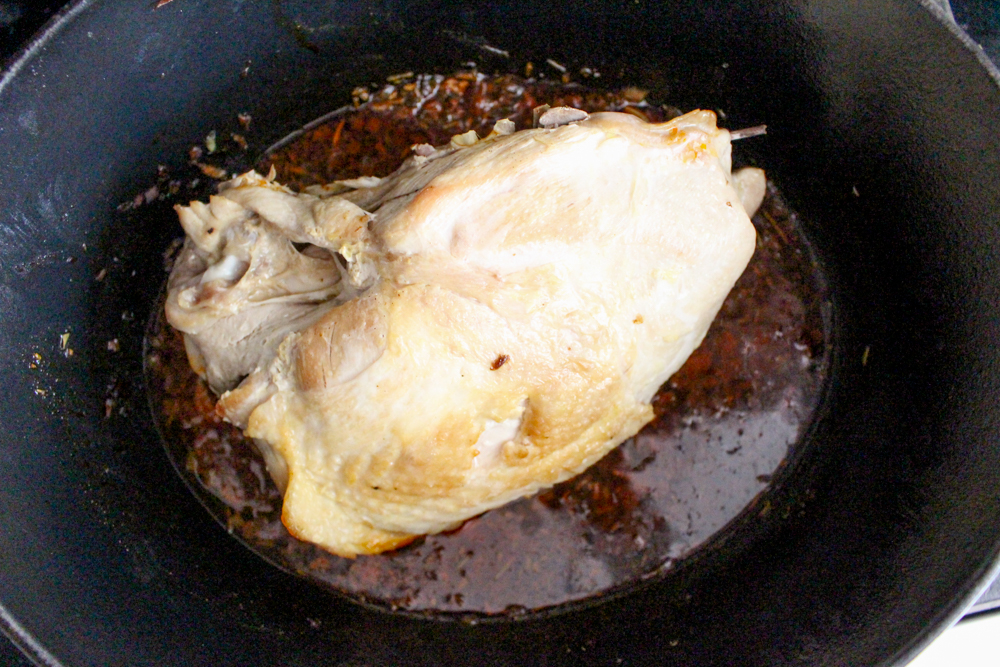
After roasting the turkey, there should be about 1/4 of an inch of liquid at the bottom of the Dutch oven. If there isn’t, add another 1/4 cup of stock before cooking the couscous.
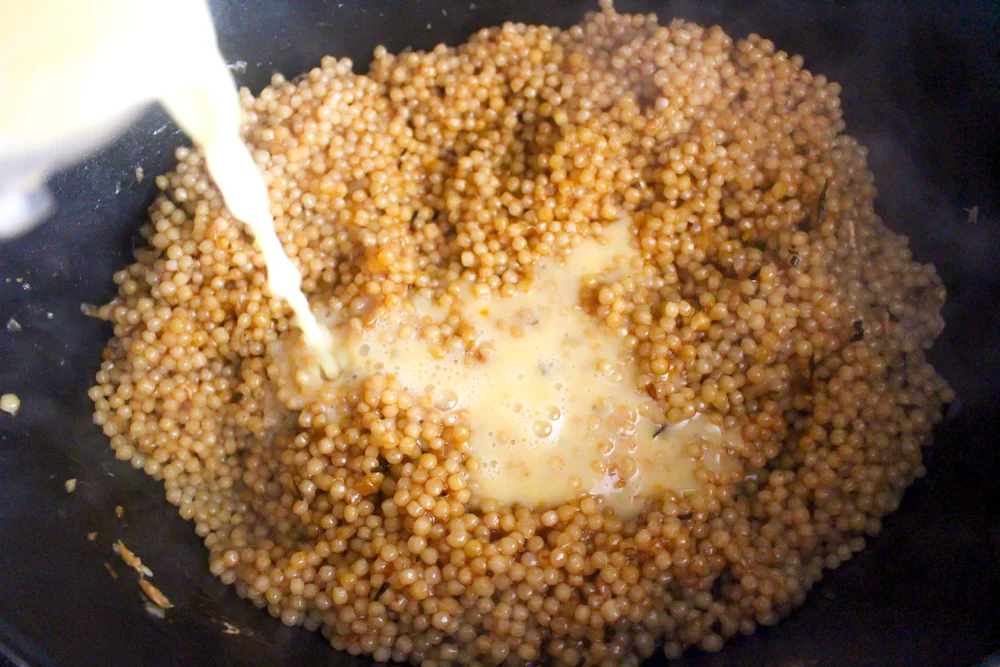
The only extra step in this recipe is to blend together some broth, egg yolks, and lemon juice to add to the cooked couscous. I really recommend using a blender EVEN THOUGH it’ll dirty another appliance. If you don’t get a really good emulsion of the liquids, you can end up with scrambled eggs rather than a rich, thick sauce over your couscous.
The oven temperature (275!) will seem very low and it is. But the Dutch Oven with a lid and an extra layer of foil really seals in the heat and moisture and cooks the turkey despite the low oven temperature. Our oven runs very hot, so I actually set it 10 degree lower.
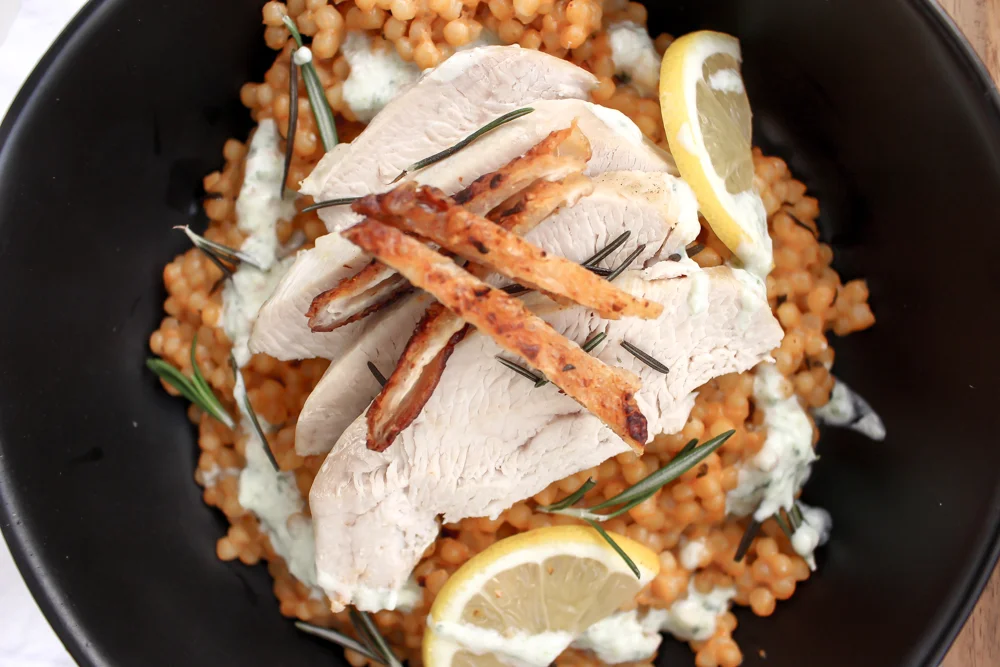
The only downside to this cooking method is that the steam softens the turkey skin. If you like crispy skin, just strip it off and seer it on a really hot skillet to crisp it back up.
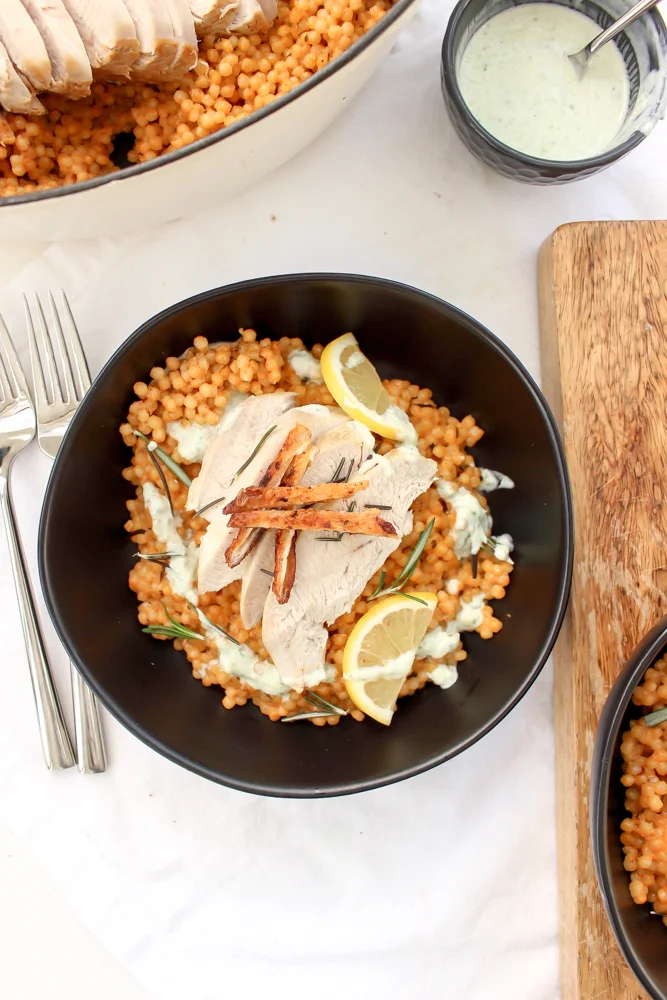
I love serving this with a quick tzatziki sauce.
Lemon and rosemary turkey and couscous en cocotte
1 bone-in turkey breast, about 2 ½ lbs
2 Tbsp olive oil, divided
1 small onion (or ½ of a large onion), chopped
4-5 extra large garlic cloves, smashed and roughly chopped
1 Tbsp fresh rosemary, minced (or 1 tsp dried)
1½ tsp smoked paprika
1 tsp kosher salt
4 cups low sodium chicken stock or water, divided
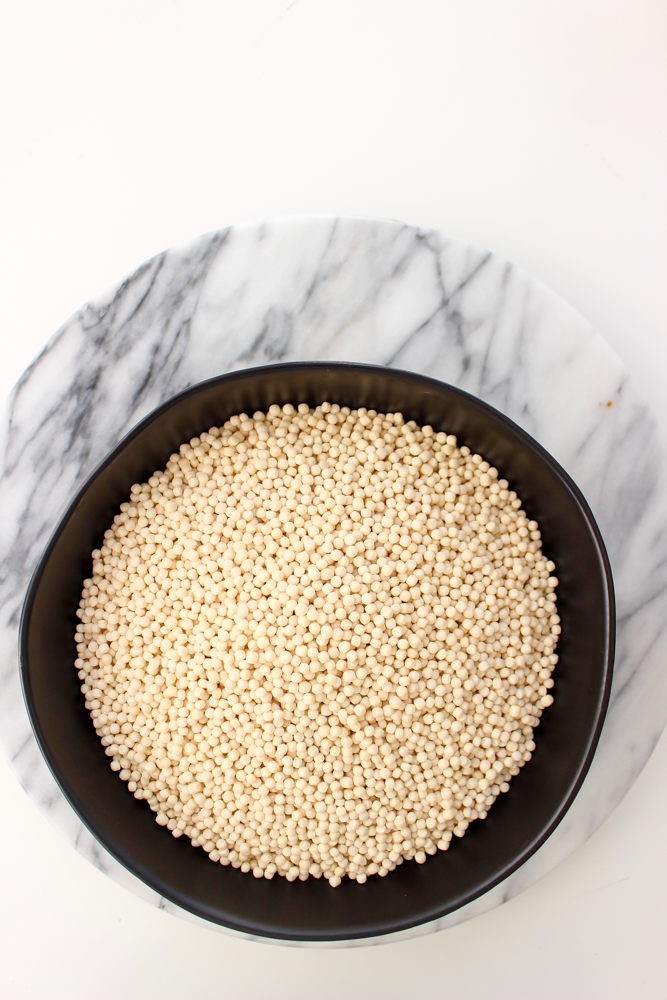
3 cups Israeli couscous
2 egg yolks
1/3 cup lemon juice (juice of 2 large lemons)
Preheat the oven to 275.
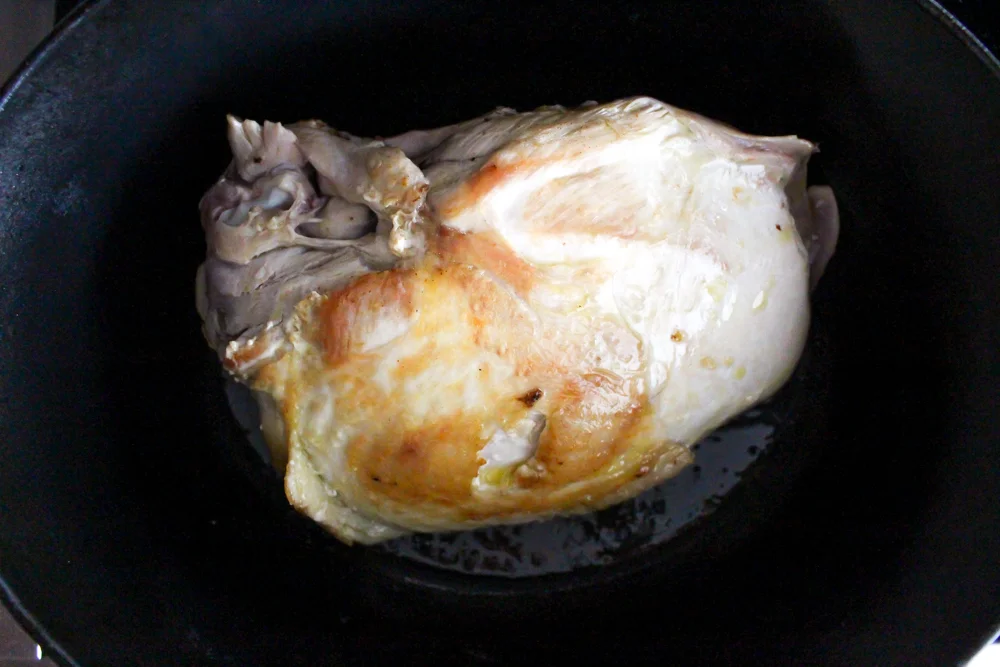
In a large Dutch oven or oven safe pot with a lid, heat 1 Tbsp olive oil over medium high heat. Seer the turkey breast on the top, bottom, and both sides, adjusting the heat if the turkey browns too quickly or if the oil starts to spit uncomfortably. When browned all over (this should take about 10 minutes), remove to a plate.
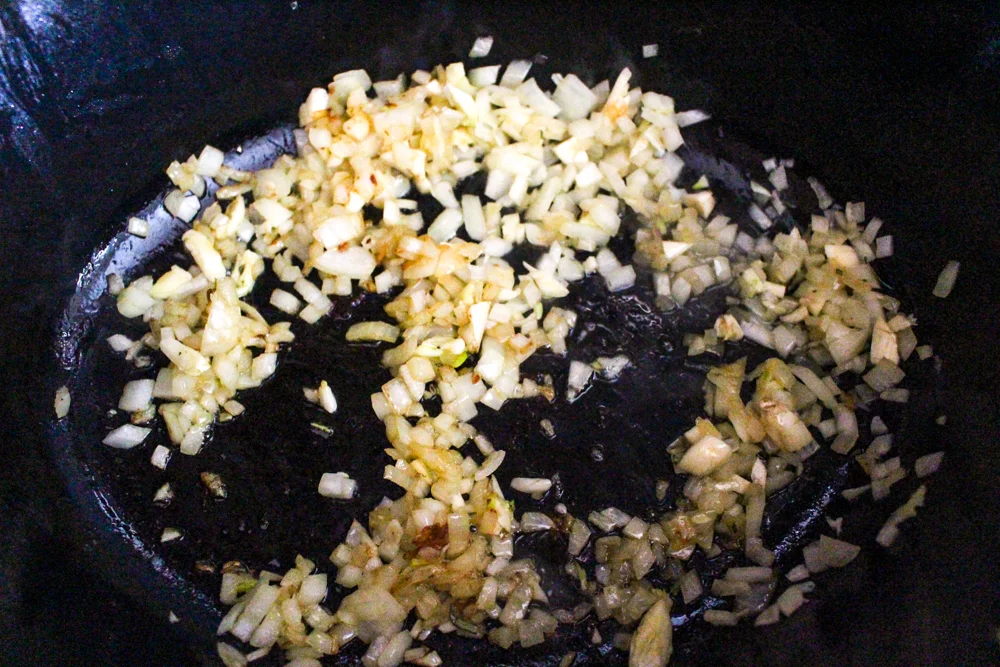
Add 1 Tbsp of olive oil to the same Dutch oven and heat over a medium low flame for a few seconds. Saute the onion until translucent, about 3 minutes. Add the garlic and cook for 1 minute more. Add the rosemary, smoked paprika, and salt. Cook for 1 minute more until fragrant.
Turn off the heat.
Add the turkey back to the pan. Cover the top of the Dutch oven tightly with a large piece of tin foil and then top with the lid.
Bake for 1 hour. Check the internal temperature of the turkey with a thermometer in the thickest part. When the thermometer reads 165, the turkey is done. If the turkey isn’t up to temperature yet, return it to the oven and check it every 5-10 minutes to avoid overcooking.
While the turkey is cooking, blend together 1 cup of chicken stock, 2 egg yolks, and 1/3 cup of lemon juice. Set aside.
When the turkey is done, remove the Dutch oven and carefully take off the tin foil from its top (watch the steam!). Remove the turkey to a plate or cutting board and cover tightly with the tin foil. Let rest.
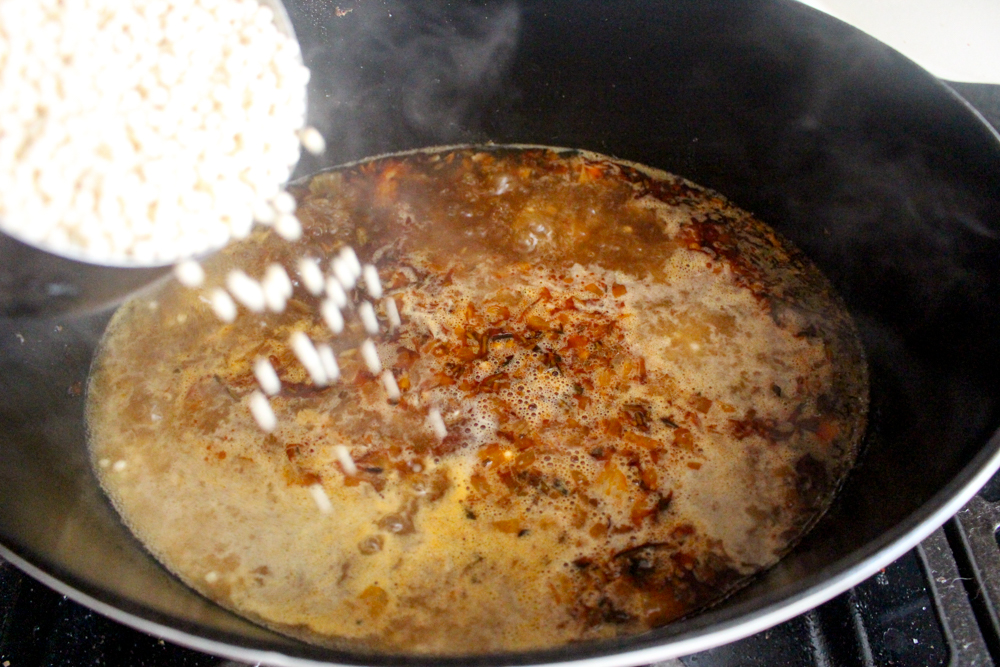
Add 3 cups of stock to the turkey cooking juices in the Dutch oven and bring to a boil. Add the couscous, reduce the heat to low, and simmer for 8-10 minutes, until the couscous has absorbed all of the stock. (Check after 4 minutes to make sure the couscous isn’t cooking too fast or sticking too much. If it is, turn down the heat.)
When the liquid is absorbed, add the broth/ egg yolk/ lemon juice combination. Stir it into the couscous and bring the mixture back to a boil. Once it boils, turn off the heat and stir a few more times.
Slice the turkey and serve with the couscous.
Yield: 5-6 large servings