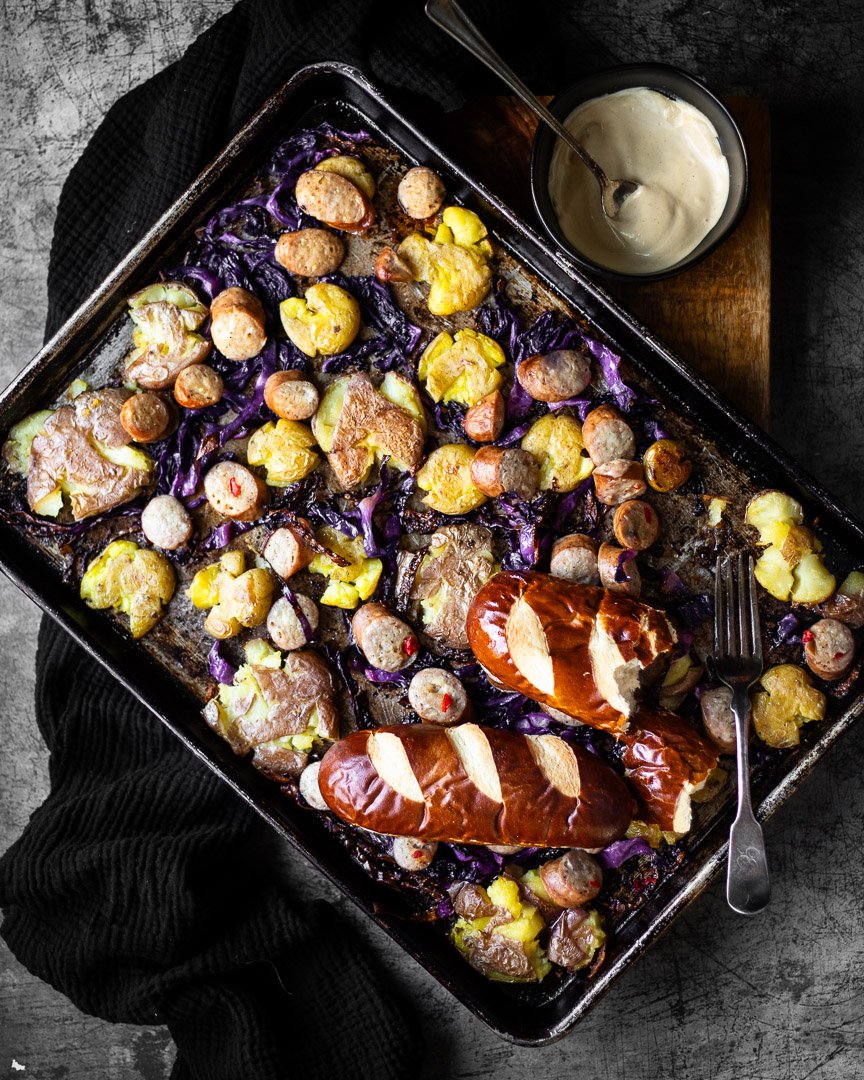
Sloppy Joe baked potatoes
/
These baked potatoes are dressed up with healthier turkey sloppy Joe filling for a tasty, healthy, and easy version of this kid-friendly sandwich.

M used to love sloppy Joes. LOVE THEM. However, when offered these, he declined saying, “I didn’t order that.” SOMEONE GAVE HIM THE GIFT OF SASS FOR HIS FOURTH BIRTHDAY AND I AM NOT HERE FOR IT.
After calmly explaining that I am, in fact, not his waitress, he proceeded to eat a dinner of pickles, cheese, and guacamole, all of which were the toppings and “safe” options I’d put out with the sloppy Joes. You win some, you lose some.
I’ve explained before how we started serving one family meal and adding lots of “safe” options as alternatives for M so that he can self-direct at dinner. Sometimes that means an apple and almond butter on the table or lots of condiments like pickles, olives, and cheese. Guacamole is usually reliable. But sometimes that means he doesn’t eat a ton for dinner and I’m slowly learning to be okay with that.
So, sloppy Joes, while traditionally a very kid-friendly option, were for the grownups in our house. But I have hope for the future.
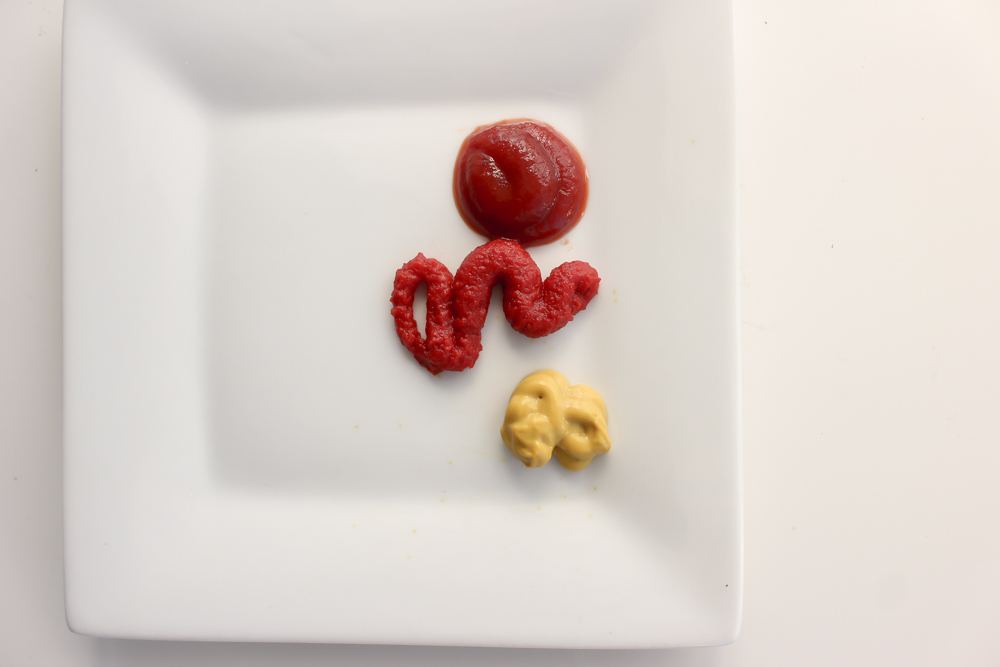
What tends to appeal about Sloppy Joes is their sweetness, but I find that when the filling gets too sweet (like, when a recipe calls for a cup of ketchup), it can become cloyingly sweet. Also, who needs to eat all of that sugar for dinner?
However, the signature sloppy Joe flavor gets lost when you omit sweetener entirely, so I’ve included the bare minimum of brown sugar (2 tsp!) in this recipe. You can also wait to add it until the very end to decide for yourself if you really need it!
Sloppy Joe baked potatoes
Yield: 3 cups or 23 oz
Time: between 60-75 minutes (35 minutes active time)
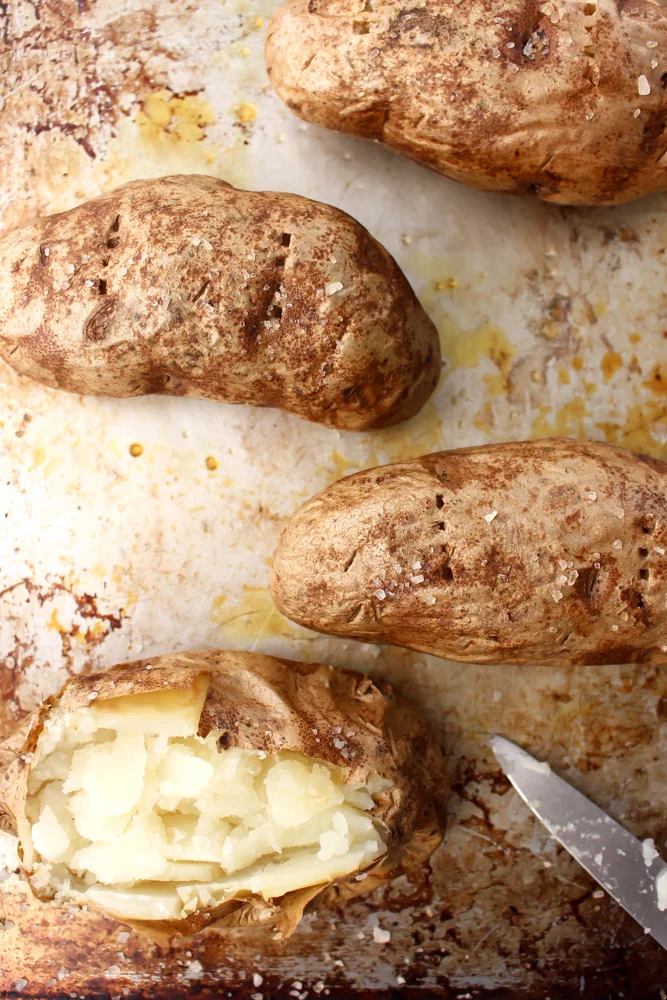
4 large Russet potatoes
2 Tbsp olive oil
Flaky sea salt
1 Tbsp olive oil
1 lb ground turkey
½ medium white onion, minced (about ¾ cup)
1 medium stalk celery, minced (about ¼ cup)
1 small carrot, peeled and minced (a scant ½ cup)
2 large cloves garlic, minced
½ cup water, divided
6 oz tomato paste (one small can, about 10 Tbsp)
2 Tbsp yellow mustard
1 tsp Worcestershire sauce
1 Tbsp malt vinegar (or whatever vinegar you have on hand), plus more for the potatoes
2 tsp brown sugar (optional)
2 tsp flaky sea salt, divided
Optional garnishes: cheese, pickles, pickles jalapenos, guacamole, sour cream, yogurt, coleslaw
Preheat the oven to 400.
Scrub 4 potatoes thoroughly and prick all over with a fork or small paring knife. I usually do 10-12 stabs per potato.
Brush the outside skin with a very thin coating of olive oil. You should have some of the 2 Tbsp left over. Sprinkle with flaky sea salt.
Place the potatoes on a sheet pan and bake for 45 minutes to an hour, or until the skin is crisp and the potato is fork tender.
While the potatoes cook, heat the olive oil in a large sauté pan over medium heat for 1-2 minutes. Add the ground turkey and chop the meat into small pieces with the end of your spatula or spoon. Stir a few times and reduce the heat to medium low.
Chop the onions and add to the pan, stirring a few times.
Repeat with the celery, carrots, and garlic, letting each vegetable cook while you prep the next one.
Cook and stir until the turkey is fully cooked and no pink remains. The whole process of cooking the turkey and veggies should take about 13-15 minutes.
Turn the flame back up to medium and let the turkey and veggies brown slightly. When they begin sticking to the pan a bit (about 3-4 minutes), pour in ¼ cup of water and scrape the browned bits from the bottom of the pan.
Add the tomato paste, mustard, vinegar, Worcestershire sauce, 1 tsp salt, and brown sugar (if using), and mix well. If the mixture seems too dry, add the other ¼ cup of water. If you’ve added all of the water and it seems too wet, let the mixture bubble for a few minutes until your sauce has thickened.
When the potatoes are done, carefully remove the pan from the oven and, using an oven mitt on one hand to steady the potato, cut it open with a sharp knife, being careful of the steam that escapes.
Pour a few drops of malt vinegar and a large pinch of sea salt into each opened potato. Top with 1/2 -3/4 cup of the turkey mixture.


![[NEW RECIPE!] Thanksgiving leftovers hot pocket!
Thursday is going to be a great meal and a weird sad day for me. It’s the first Thanksgiving without my mom and this was HER holiday. Growing up, we were Jewish, but my mom’s family was Ch](https://images.squarespace-cdn.com/content/v1/546a33ffe4b0bff63b7b9405/1669075898662-2KJQA7P9W8KSRUJF47M4/image-asset.jpeg)


