Everything potato gratin

Everything Potato Gratin | This easy side dish is the perfect way to make something that seems fancy (gratin!) while using all the shortcuts (barely any chopping!). #meandthemoose #potatoes #gratin #everythingbagelspice #easysidedishes
This easy side dish is the perfect way to make something that seems fancy (gratin!) while using all the shortcuts (barely any chopping!).
Take me to the recipe!
Everything Potato Gratin | This easy side dish is the perfect way to make something that seems fancy (gratin!) while using all the shortcuts (barely any chopping!). #meandthemoose #potatoes #gratin #everythingbagelspice #easysidedishes
Everything Potato Gratin | This easy side dish is the perfect way to make something that seems fancy (gratin!) while using all the shortcuts (barely any chopping!). #meandthemoose #potatoes #gratin #everythingbagelspice #easysidedishes
Everything Potato Gratin | This easy side dish is the perfect way to make something that seems fancy (gratin!) while using all the shortcuts (barely any chopping!). #meandthemoose #potatoes #gratin #everythingbagelspice #easysidedishes
So, I used Jamie Oliver’s method for a quicker potato gratin. Gratin’s usually need up to an hour in the oven, but by combining cooking methods, you can get a creamy, crunchy, crispy dish in less than 30 minutes. Also, using everything bagel spice means that you don’t have to chop any onions or garlic or really measure much of anything.
Everything Potato Gratin | This easy side dish is the perfect way to make something that seems fancy (gratin!) while using all the shortcuts (barely any chopping!). #meandthemoose #potatoes #gratin #everythingbagelspice #easysidedishes
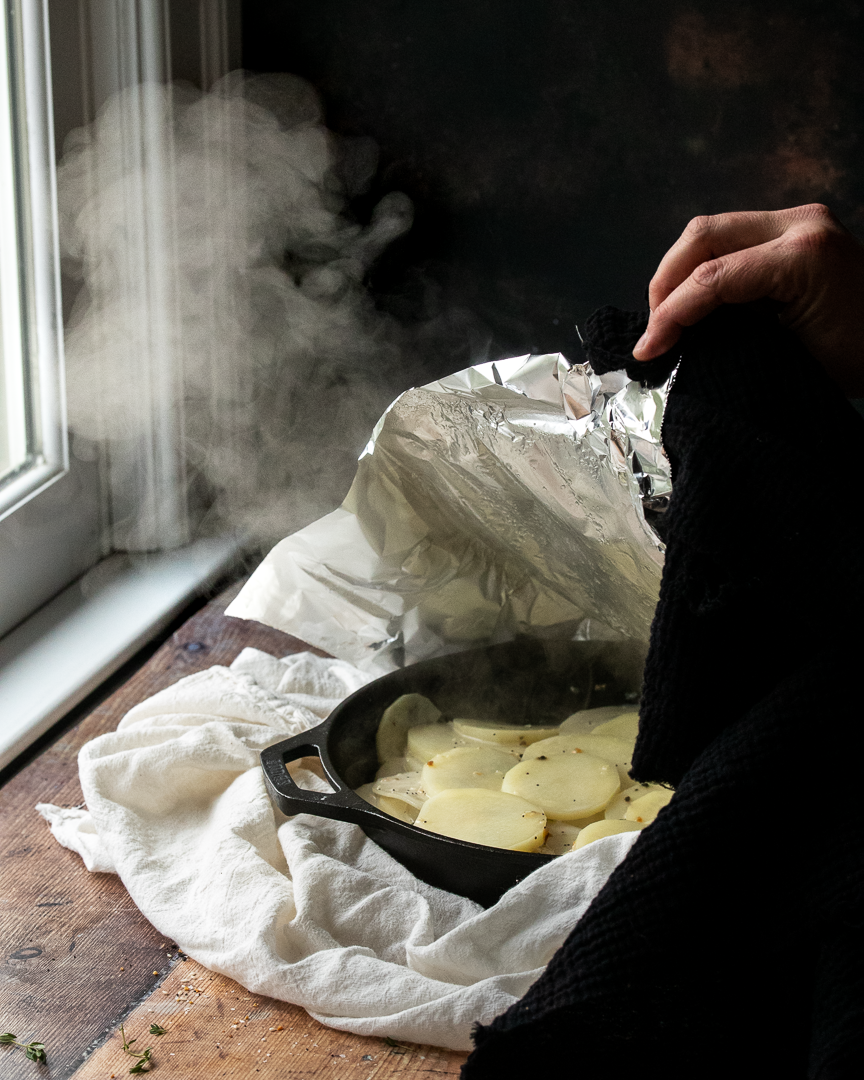
Just a quick word of warning: Use oven mitts to secure the tin foil over your skillet or tin on the stove. You want a tight seal so that the potatoes steam a bit before going into the oven. ALSO, use caution when removing the foil as the steam is plentiful and HOT.
A note about SALT: I don’t add any in this recipe because most of the pre-made Everything Bagel spice mixes are pretty salty. Check your labels and then decide if you want to add more salt. I would recommend a sprinkle of sea salt over the top of the finished gratin if you feel like it needs more.

Everything Potato Gratin | This easy side dish is the perfect way to make something that seems fancy (gratin!) while using all the shortcuts (barely any chopping!). #meandthemoose #potatoes #gratin #everythingbagelspice #easysidedishes
Everything Potato Gratin
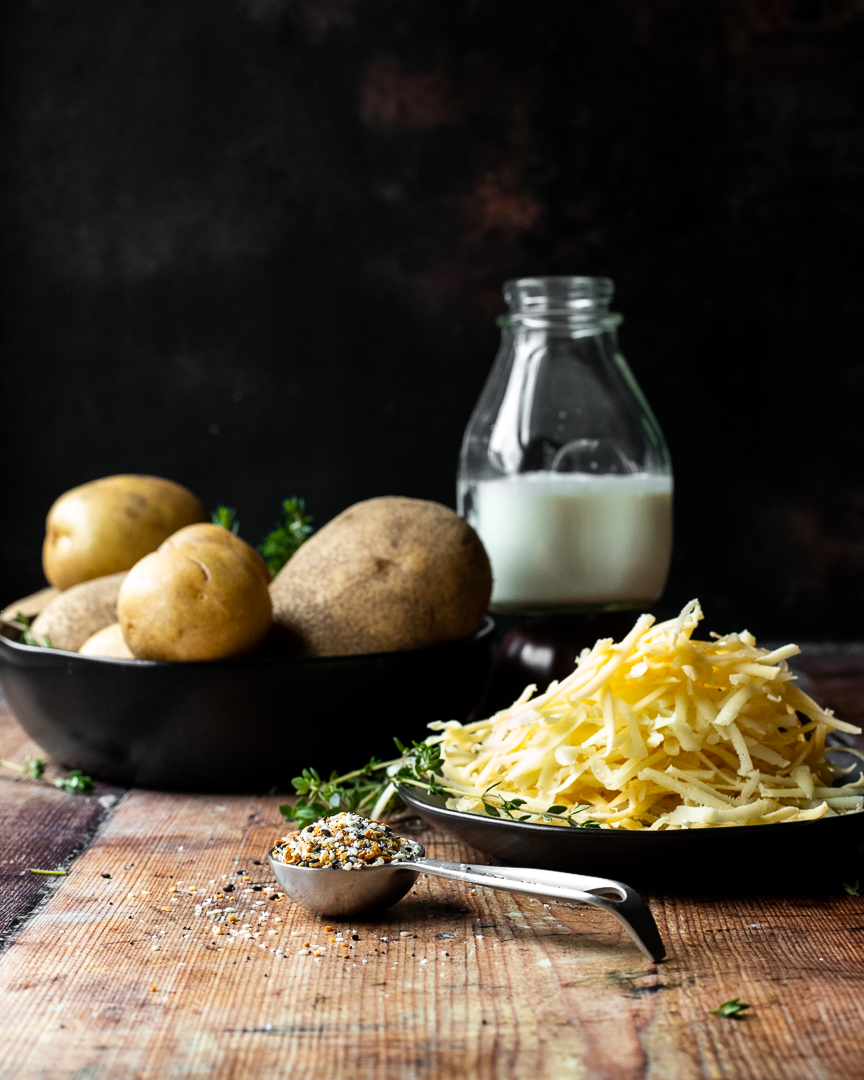
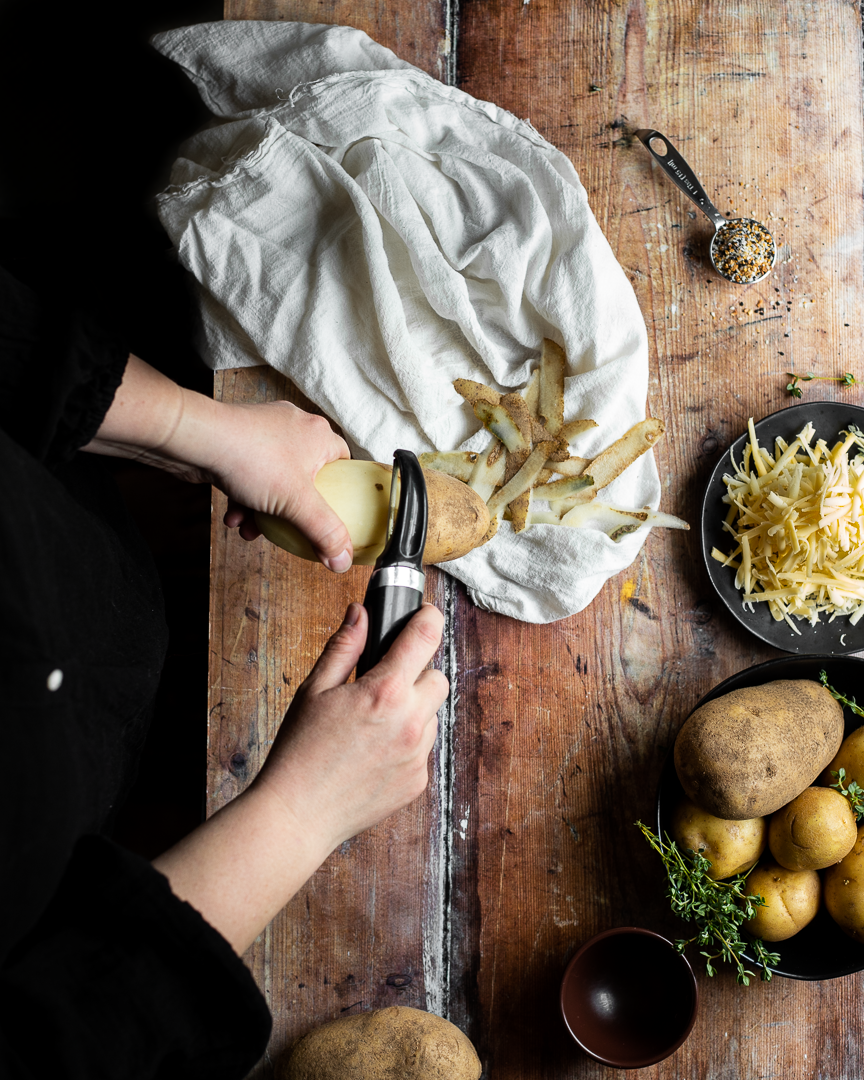
1½ lbs russet potatoes (about 2 very large), peeled and sliced thinly
½ cup heavy cream
½ cup water
2½ Tbsp everything bagel spice, divided
5-6 sprigs of fresh thyme
1½ cups grated cheese (mixture of gruyere, asiago, gouda)
Time: about 30 minutes, mostly active
Yield: 5 side servings
Preheat the oven to 425.
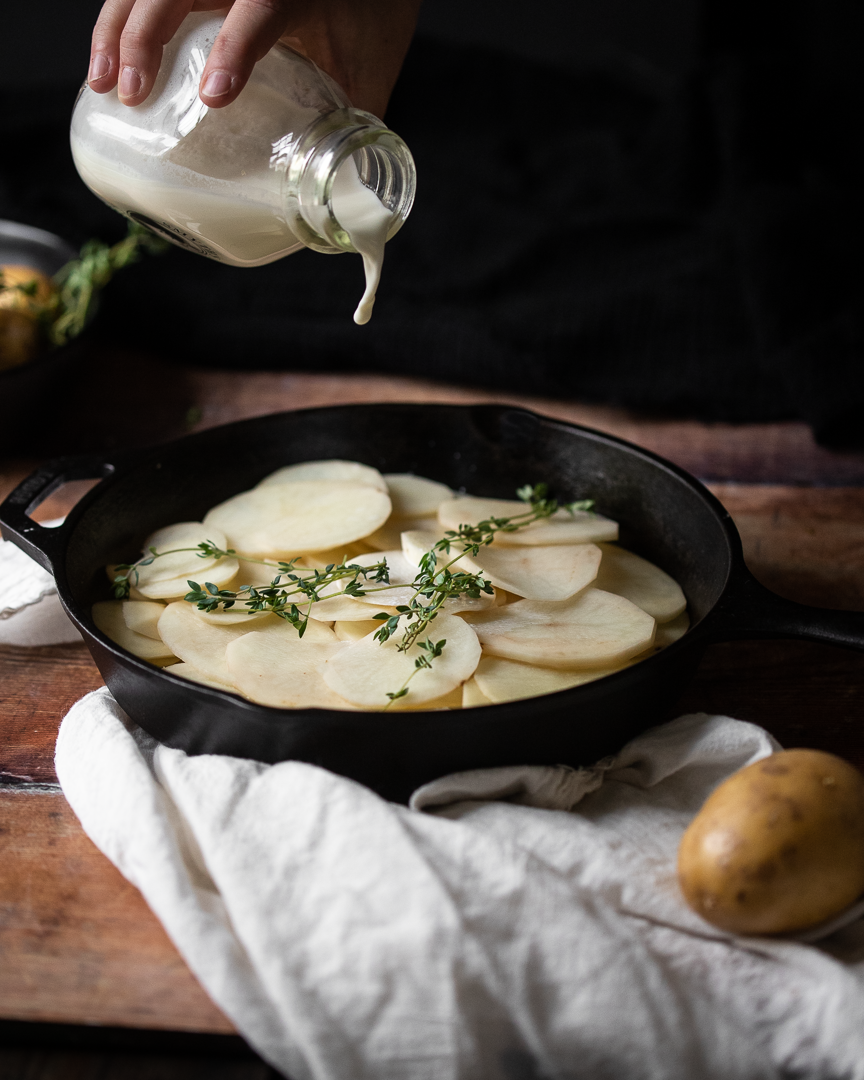
In a large oven-proof skillet or tin, spread the thinly sliced potatoes.
In a large measuring cup, combine the milk, water, and 1 1/2 Tbsp of everything bagel spice. Pour over the potatoes in the skillet. Add the fresh thyme and stir well to combine and to spread out the dried and fresh herbs.
Over a medium-high flame, bring the liquid to a boil. The liquid around the edges of the pan will boil quickly. Look for the first few bubbles in the middle of the pan and turn down the flame to medium-low.
Carefully wrap a piece of tin foil over the top of the skillet or tin. I wear oven mitts to do this because I want a tight seal, but I don’t want to burn myself. Let cook over a medium-low flame for 6 minutes.
Turn off the flame and CAREFULLY remove the foil being sure to wear oven mitts and to remove the foil away from you to avoid the hot steam.
Top evenly with the grated cheese.
Cook, uncovered, in the oven for 15 minutes. Top with the remaining 1/2 Tbsp of everything bagel spice.
Let cool slightly and serve.
Weeknight beef stew

A deeply flavored, rich, and cozy beef stew is usually an all-day, multiple-pan affair. But this recipe simplifies the steps so that you can have this stew, which is mostly hands-off cooking, on the table in a maximum of 2 hours. #meandthemoose #beefstew #dinnerrecipes #beefrecipes
A deeply flavored, rich, and cozy beef stew is usually an all-day, multiple-pan affair. But this recipe simplifies the steps so that you can have this stew, which is mostly hands-off cooking, on the table in a maximum of 2 hours.
A deeply flavored, rich, and cozy beef stew is usually an all-day, multiple-pan affair. But this recipe simplifies the steps so that you can have this stew, which is mostly hands-off cooking, on the table in a maximum of 2 hours. #meandthemoose #beefstew #dinnerrecipes #beefrecipes
Okay, so I’ve tried every beef stew recipe out there. (No, I haven’t, but I’ve tried A LOT.) The best ones require time and effort: Multiple cooking methods, multiple steps, multiple pans, etc. And the results have largely been worth the effort. BUT, if you have a busy family, young kids, a demanding job, or just don’t feel like tending a stew all day, there is a simpler beef stew option!
I did a bunch of research and tried a bunch of tricks. My goal was to achieve a rich flavor without using every pan in my kitchen and without requiring a ton of work. Some of my shortcuts worked and some didn’t. I think I’ve landed at a happy medium that isn’t exactly “set it and forget it” but that will get you a lot more bang for your flavor buck than a quick stew made in, say, the slow-cooker.
A deeply flavored, rich, and cozy beef stew is usually an all-day, multiple-pan affair. But this recipe simplifies the steps so that you can have this stew, which is mostly hands-off cooking, on the table in a maximum of 2 hours. #meandthemoose #beefstew #dinnerrecipes #beefrecipes
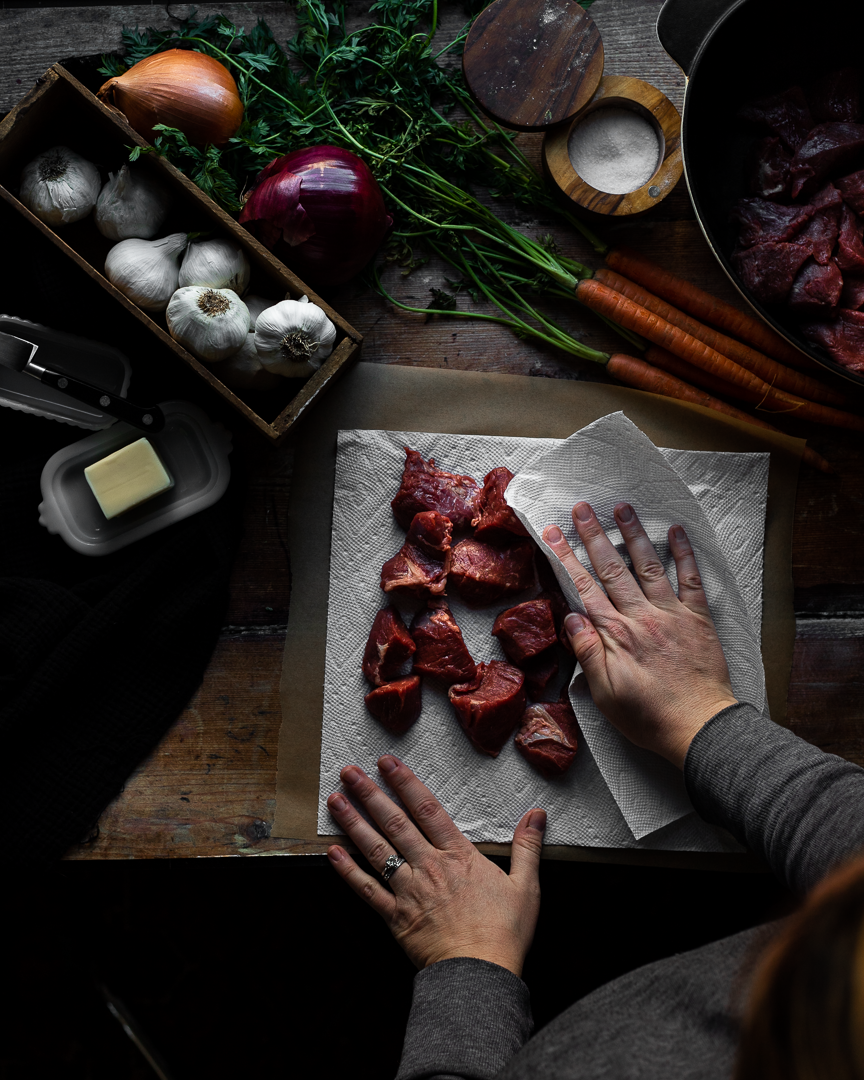
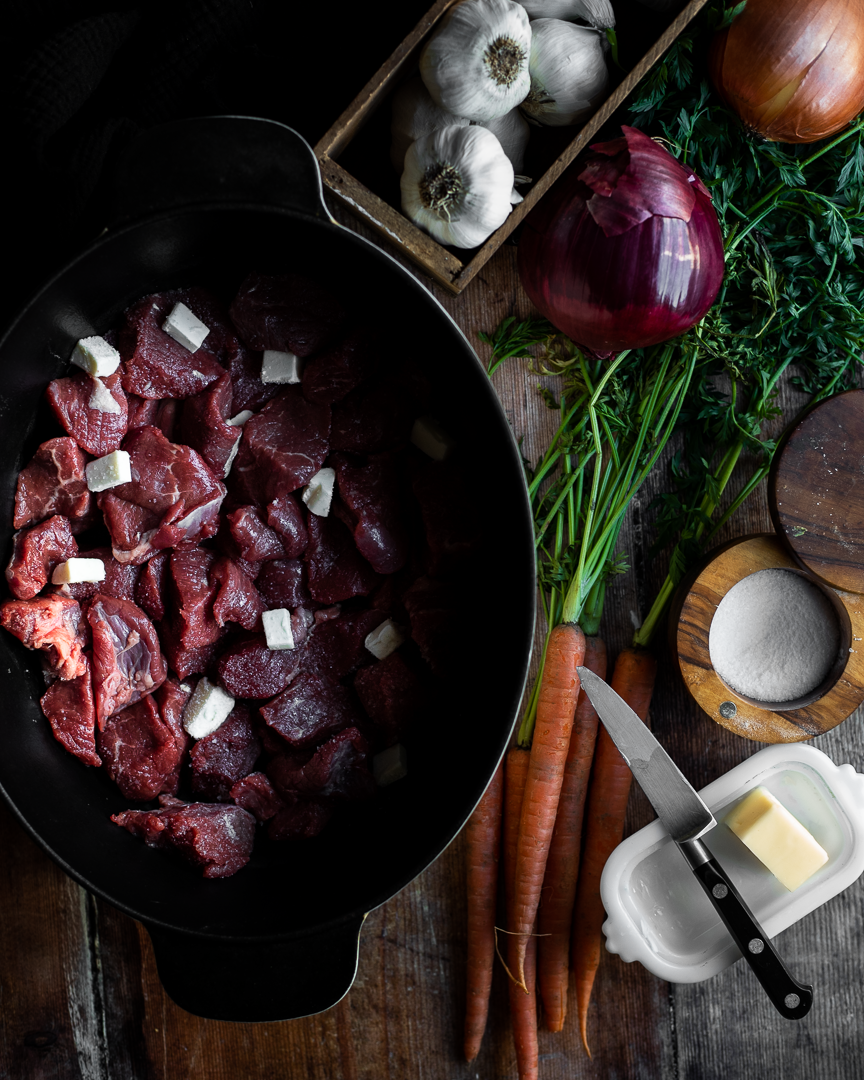
My first shortcut was to brown the meat in one batch in the oven instead of searing it in multiple batches on the stovetop. I know searing is the way to lock in moisture and to achieve some caramelization on the outside of the meat, but it takes me FOREVER and my hand gets very tired from holding the tongs and rotating the cubes until they’re evenly browned. So instead, I patted everything dry and roasted it at high heat in the oven for a few minutes to get that caramelization.
AN IMPORTANT NOTE ABOUT SALT: I found that if I didn’t salt the meat at all before the roasting, the end results were slightly bland. However, when I over salted the meat before roasting, it dried out because too much moisture came out during that initial cook. So, use a judicious pinch of salt before roasting and then generously salt the rest of the dish at various points in the cooking.
A deeply flavored, rich, and cozy beef stew is usually an all-day, multiple-pan affair. But this recipe simplifies the steps so that you can have this stew, which is mostly hands-off cooking, on the table in a maximum of 2 hours. #meandthemoose #beefstew #dinnerrecipes #beefrecipes
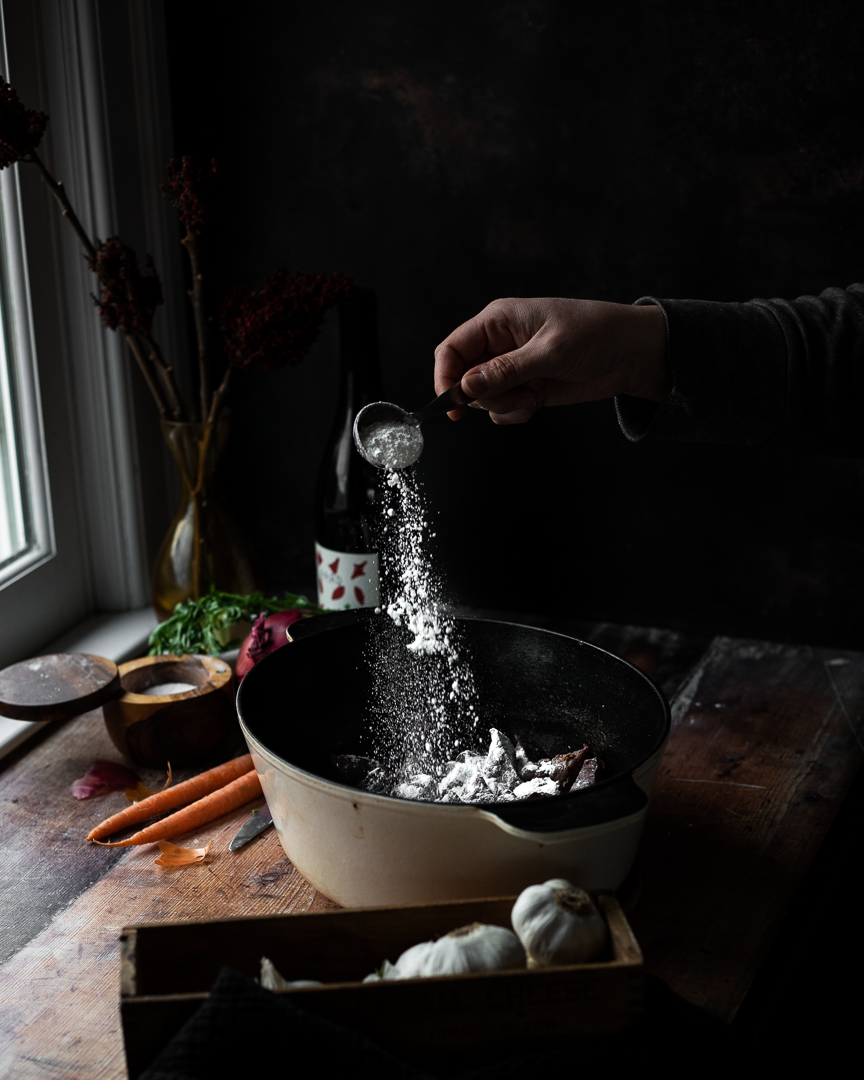
Then, I stirred in some flour right after that initial roast and along with the onions and carrots. I found that adding in the flour at this stage rather than at the end, allowed the flour to cook and thicken the sauce without any added fuss.
A deeply flavored, rich, and cozy beef stew is usually an all-day, multiple-pan affair. But this recipe simplifies the steps so that you can have this stew, which is mostly hands-off cooking, on the table in a maximum of 2 hours. #meandthemoose #beefstew #dinnerrecipes #beefrecipes
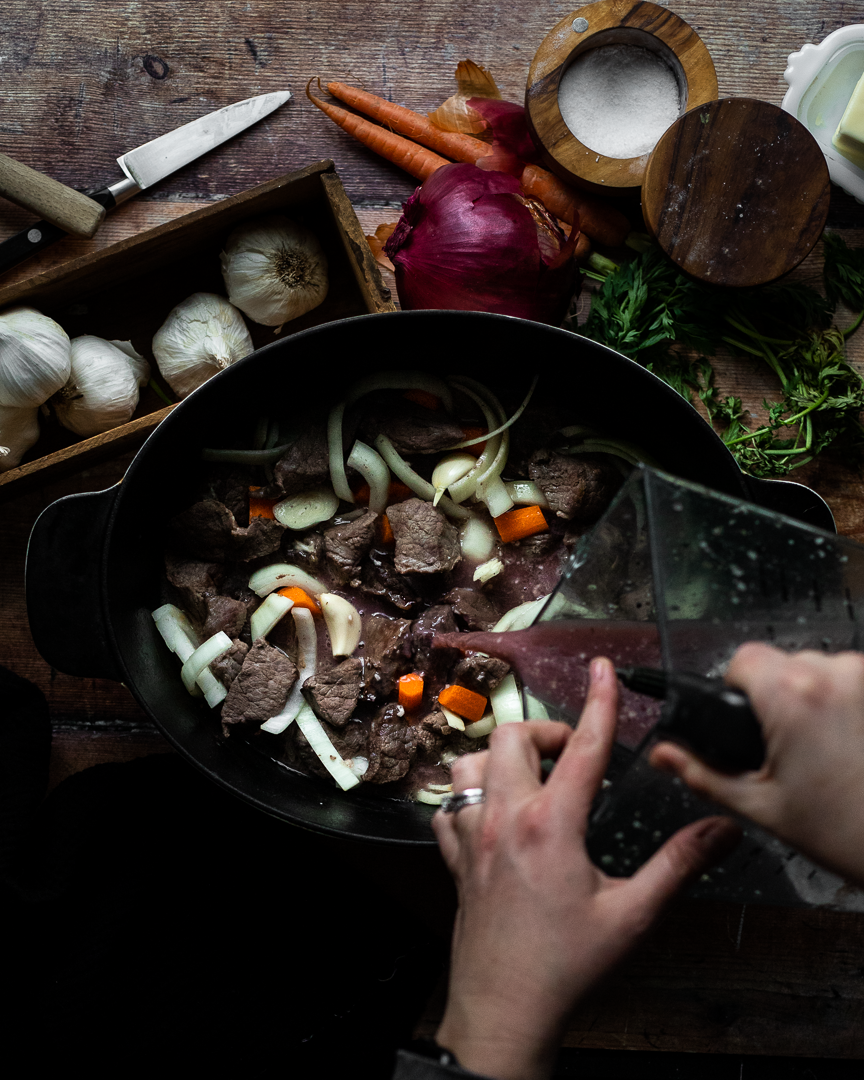
My next major shortcut was to whizz a majority of the ingredients in a blender and pour it all over the meat and veggies before a long, slow braise. Less chopping! No garlic fingers! Win win! But, if you don’t want to dirty your blender or food processor (which I completely understand) a traditional chop will do just fine.
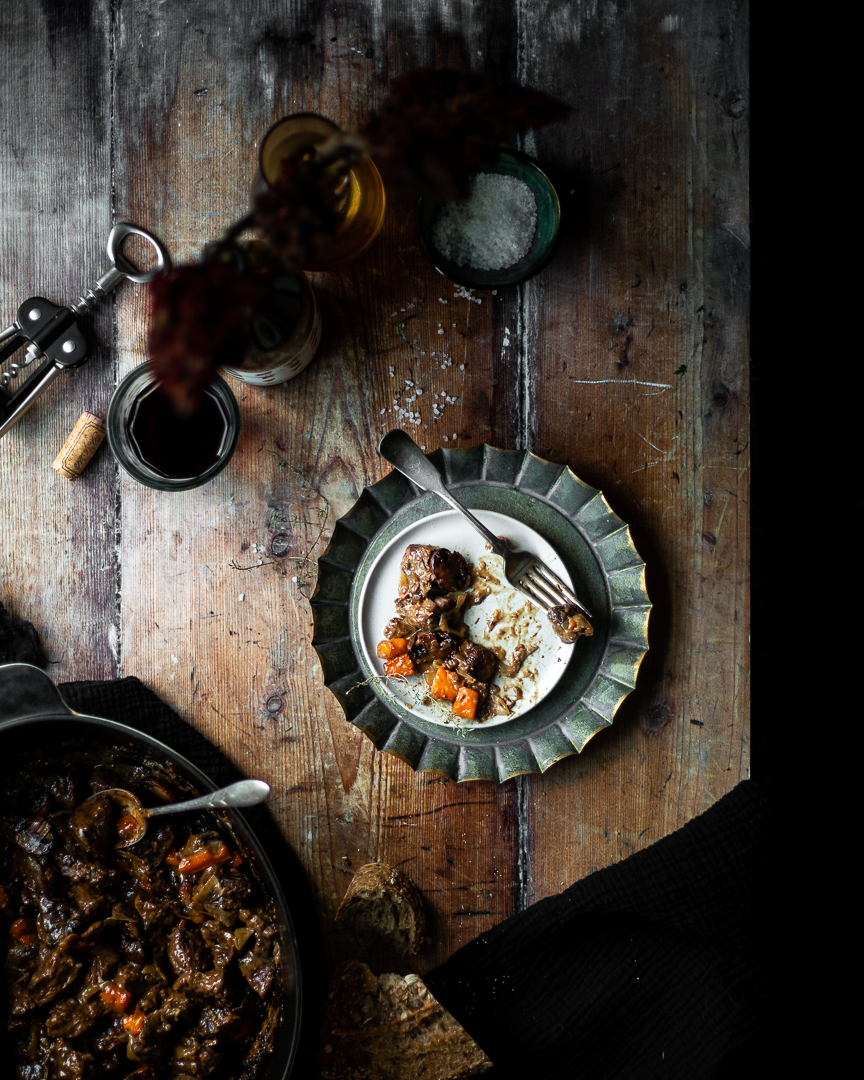
A deeply flavored, rich, and cozy beef stew is usually an all-day, multiple-pan affair. But this recipe simplifies the steps so that you can have this stew, which is mostly hands-off cooking, on the table in a maximum of 2 hours. #meandthemoose #beefstew #dinnerrecipes #beefrecipes
Weeknight beef stew
Time: 1 3/4- 2 hours
Yield: 4-6 servings
2 lbs stew beef cubes
1 Tbsp kosher salt, divided (see note above)
3 Tbsp butter
2 Tbsp flour
2 cups beef stock
1 cup red wine
2 anchovies
6 large garlic cloves, divided
1/2 tsp dried thyme
1/2 tsp black pepper
1 large onion
2 large carrots
Optional topping:
1/2 lb mushrooms (optional)
1 Tbsp olive oil or butter, or a combination
1 tsp balsamic vinegar
Preheat oven to 500. Pat the beef cubes dry. Add in a single layer to a large Dutch oven. Top with 3 Tbsp of butter cut into 6-9 small cubes. Sprinkle very lightly with salt. Roast, uncovered, for 15 minutes. Remove from the oven.
While the beef is roasting, add the beef stock, wine, anchovies, 3 cloves garlic, thyme, 1-2 very large pinches of salt, and pepper to a blender or food processor and whizz for 30 seconds.
Once the beef is quickly caramelized, turn the oven down to 375. Sprinkle 2 Tbsp of flour over the meat and mix. Add the onions and carrots and remaining 3 large garlic cloves to the pot. Sprinkle with another judicious pinch of salt. Stir.
Top with the liquid and bake in the oven, uncovered, for 1¼-1½ hours, stirring once halfway through the cooking time. The dish is done once the liquid has cooked down and thickened into a gravy-like consistency.
Optional topping:
While the beef is cooking, chop or slice the mushrooms and sauté in butter and olive oil. Once they have released their water and that water has evaporated, add the vinegar and cook for 1-2 more minutes until the vinegar has also evaporated.
Zucchini with sage and caramelized onions
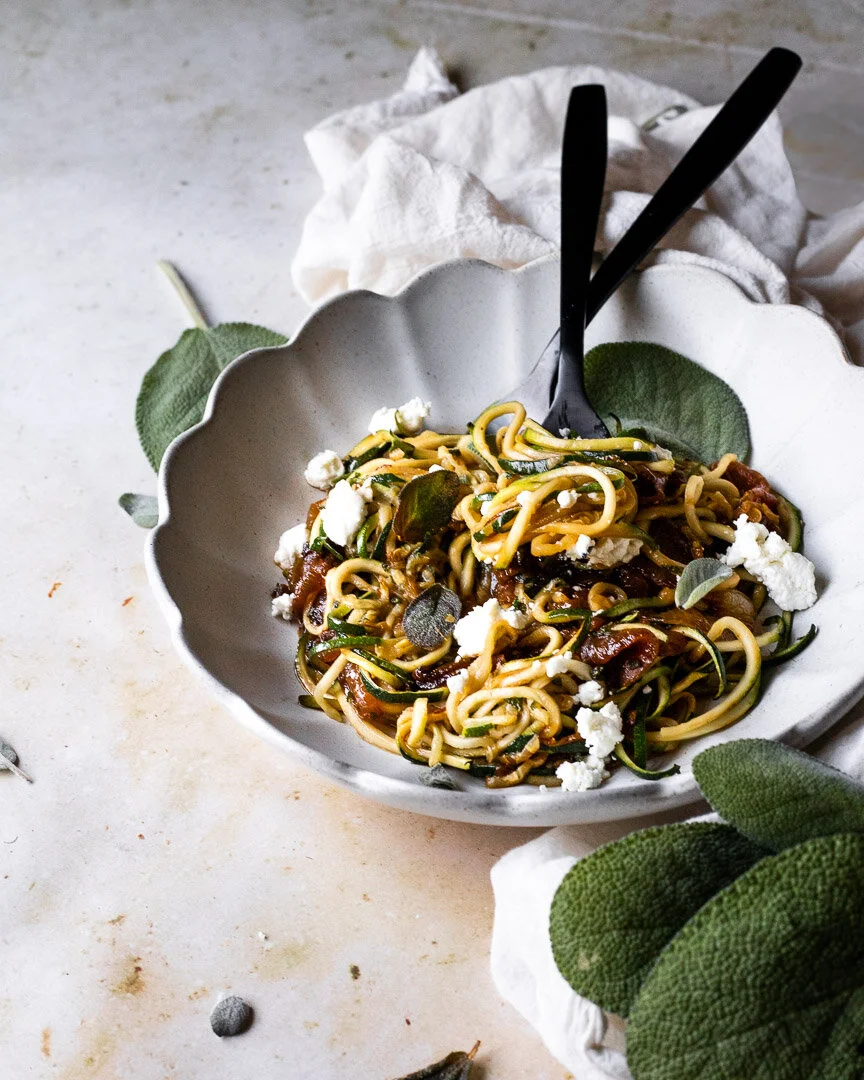
This simple dish celebrates summer produce and herbs like zucchini and sage. #caramelizedonions #sage #simplerecipes #dinner #lunch #vegetarian
This 5-ingredient dish (I’m not counting water, salt, and pepper) is super simple, but tastes surprisingly complex and can be customized in endless ways to suit your family’s tastes.
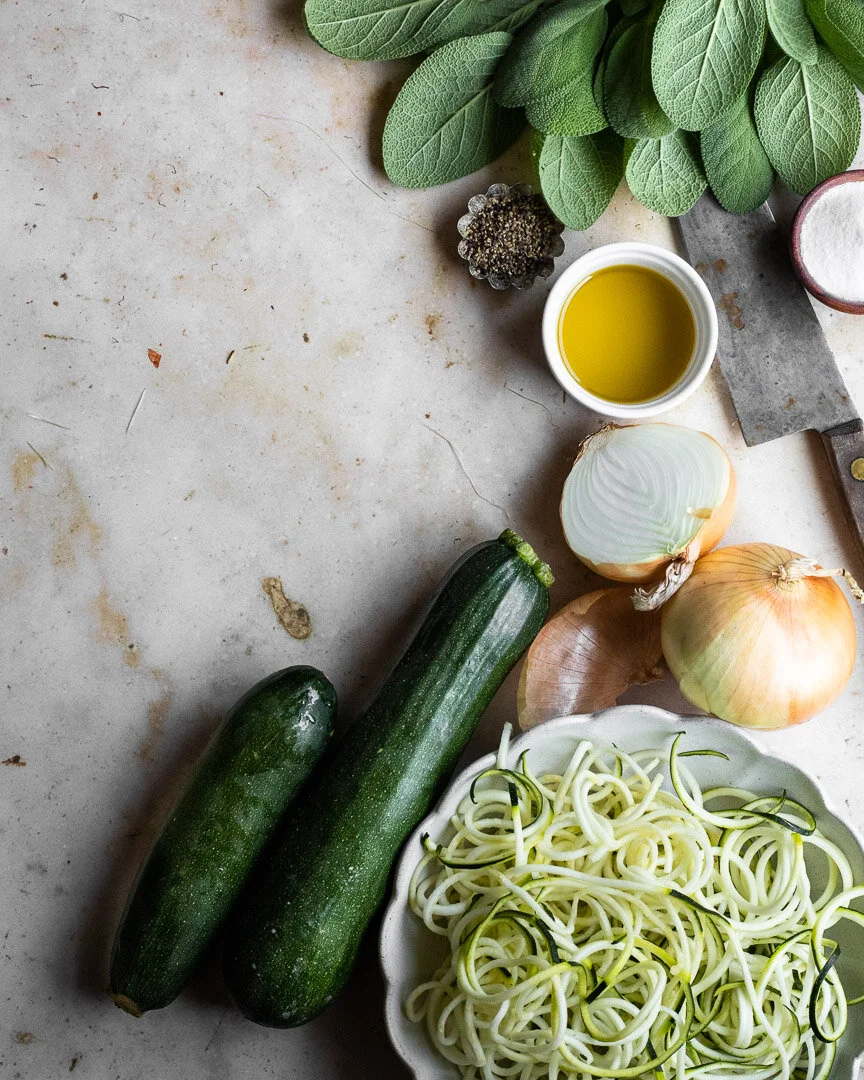
This simple dish celebrates summer produce and herbs like zucchini and sage. #caramelizedonions #sage #simplerecipes #dinner #lunch #vegetarian
So, I love zucchini. I actually kind of grieved when my glorious early zucchini plant withered and died thanks to a hungry squash vine borer this summer. But, truth be told, zucchini is kind of a zero in the flavor department. One of its best qualities is that it takes on the personality of whatever it’s paired with, right?
Take zoodles, for example. You would think the titular veg would be the star of the show, but those fake noodles are nothing without a great sauce!
Anyway, THIS zucchini dish has caramelized onions and plenty of salt for flavor, sage for herbiness, and goat cheese to give everything a creamy, saucy vibe. The zucchini is really there for body and to provide a base for the other flavors and it totally does the job!

This simple dish celebrates summer produce and herbs like zucchini and sage. #caramelizedonions #sage #simplerecipes #dinner #lunch #vegetarian

This simple dish celebrates summer produce and herbs like zucchini and sage. #caramelizedonions #sage #simplerecipes #dinner #lunch #vegetarian
But can we talk about sage for a second? Where our zucchini flopped, our sage flourished and we ended up with the most gigantic and brilliant green leaves. But sage feels so autumnal that I struggle to use it in the summer time. And in all fairness, the combo of caramelized onions, goat cheese, and sage does have an autumn vibe. But when paired with the summery zucchini, you can totally eat this in July without feeling like you’re trying to speed up time.
A couple of notes:
I spiralized the zucchini, but when cooking the zoodles, they produce a lot of water. If you want something a little dryer or just don’t have/don’t want a spiralizer, just chop the zucchini into 1/2 inch cubes. They’ll be less wet, but no less delicious.
We added white fish to this dish the first time we made it and it was my favorite iteration by far. You can absolutely add a can of beans, shredded chicken, or any other protein as well. But anything that requires more than a few minutes of cooking time (the white fish was thin and cooked in about 6 minutes) should be pre-cooked and added along with the zucchini to heat up during the veg’s short cooking time.
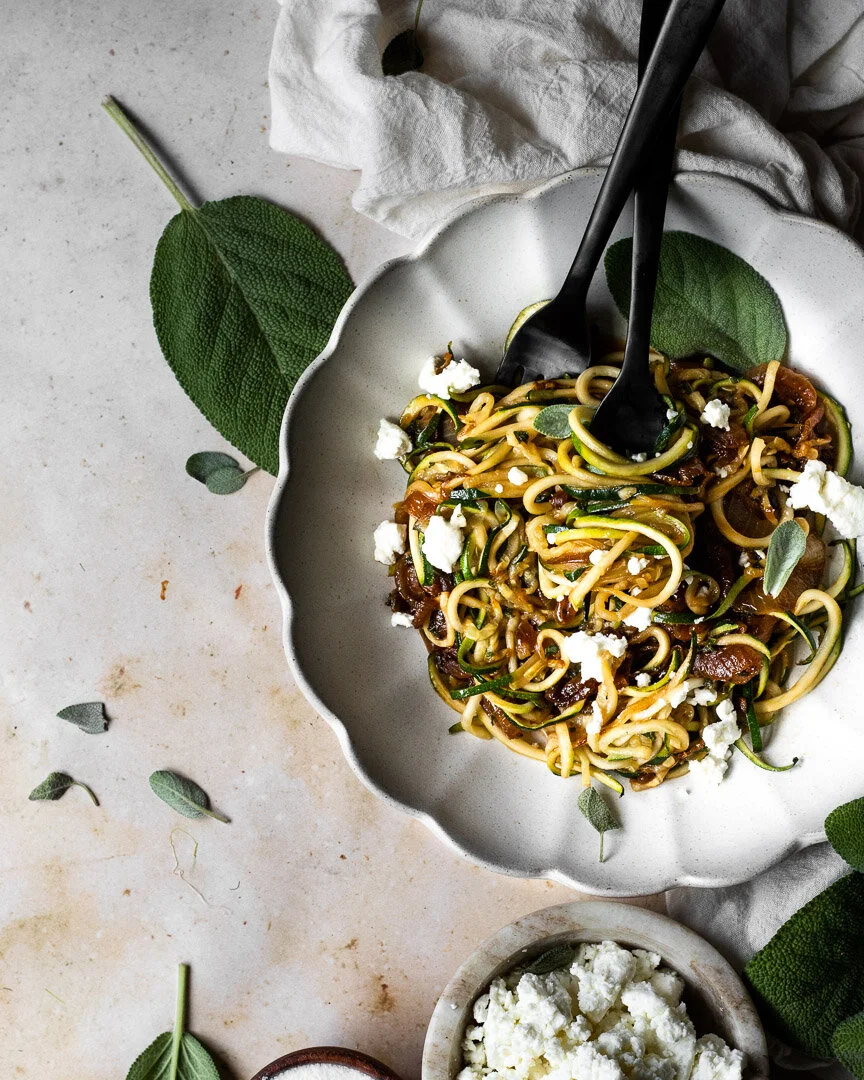
This simple dish celebrates summer produce and herbs like zucchini and sage. #caramelizedonions #sage #simplerecipes #dinner #lunch #vegetarian
Zucchini with caramelized onions and sage
Time: 30 minutes, all active
Yield: 2 large adult servings, 2 kid servings or more if you add protein
2 large onions, thinly sliced
2 Tbsp olive oil
2 -3 cups water
1 tsp salt, divided, or to taste
5-10 x-large sage leaves (about 1½ to 3 Tbsp chopped fresh sage), to taste
2 large zucchini, chopped or spiralized
Pepper, to taste
½ cup soft goat cheese, or to taste
Heat the olive oil in a large pan with a tight fitting lid until a drop of water sizzles.
Turn the flame to medium* and add the onions. Stir frequently until some browning begins on the onions or in the pan. Once this happens, add 2-3 Tbsp of water (or, enough to loosen those browned bits from the bottom of the pan), stir and scrape to loosen the browned bits, cover with the lid, and let cook for 2 minutes.**
Repeat this process until the onions are soft and have turned a dark brown color.
*If the onions or the pan are browning too fast, turn down the flame.
**If there is too much water in the pan when you take off the lid after letting the onions cook for 2 minutes, turn up the flame and let the onions cook with the cover off until there’s more browning on the pan that can be deglazed.
Once the onions are browned to your liking (I usually stop after about 20 minutes), add ½ tsp salt and pepper to taste.
Add the sage and stir well.
(If adding protein to the pan, add it now and cook to your preferred doneness.)
Add the zucchini and stir into the onions and sage. Cook for 2-3 minutes, or until the zucchini is slightly wilted. I like the zucchini to have a bit of crunch, so if you like it cooked a bit more, add a few more minutes here.
Add the rest of the salt and pepper to taste.
Top with the goat cheese and serve.