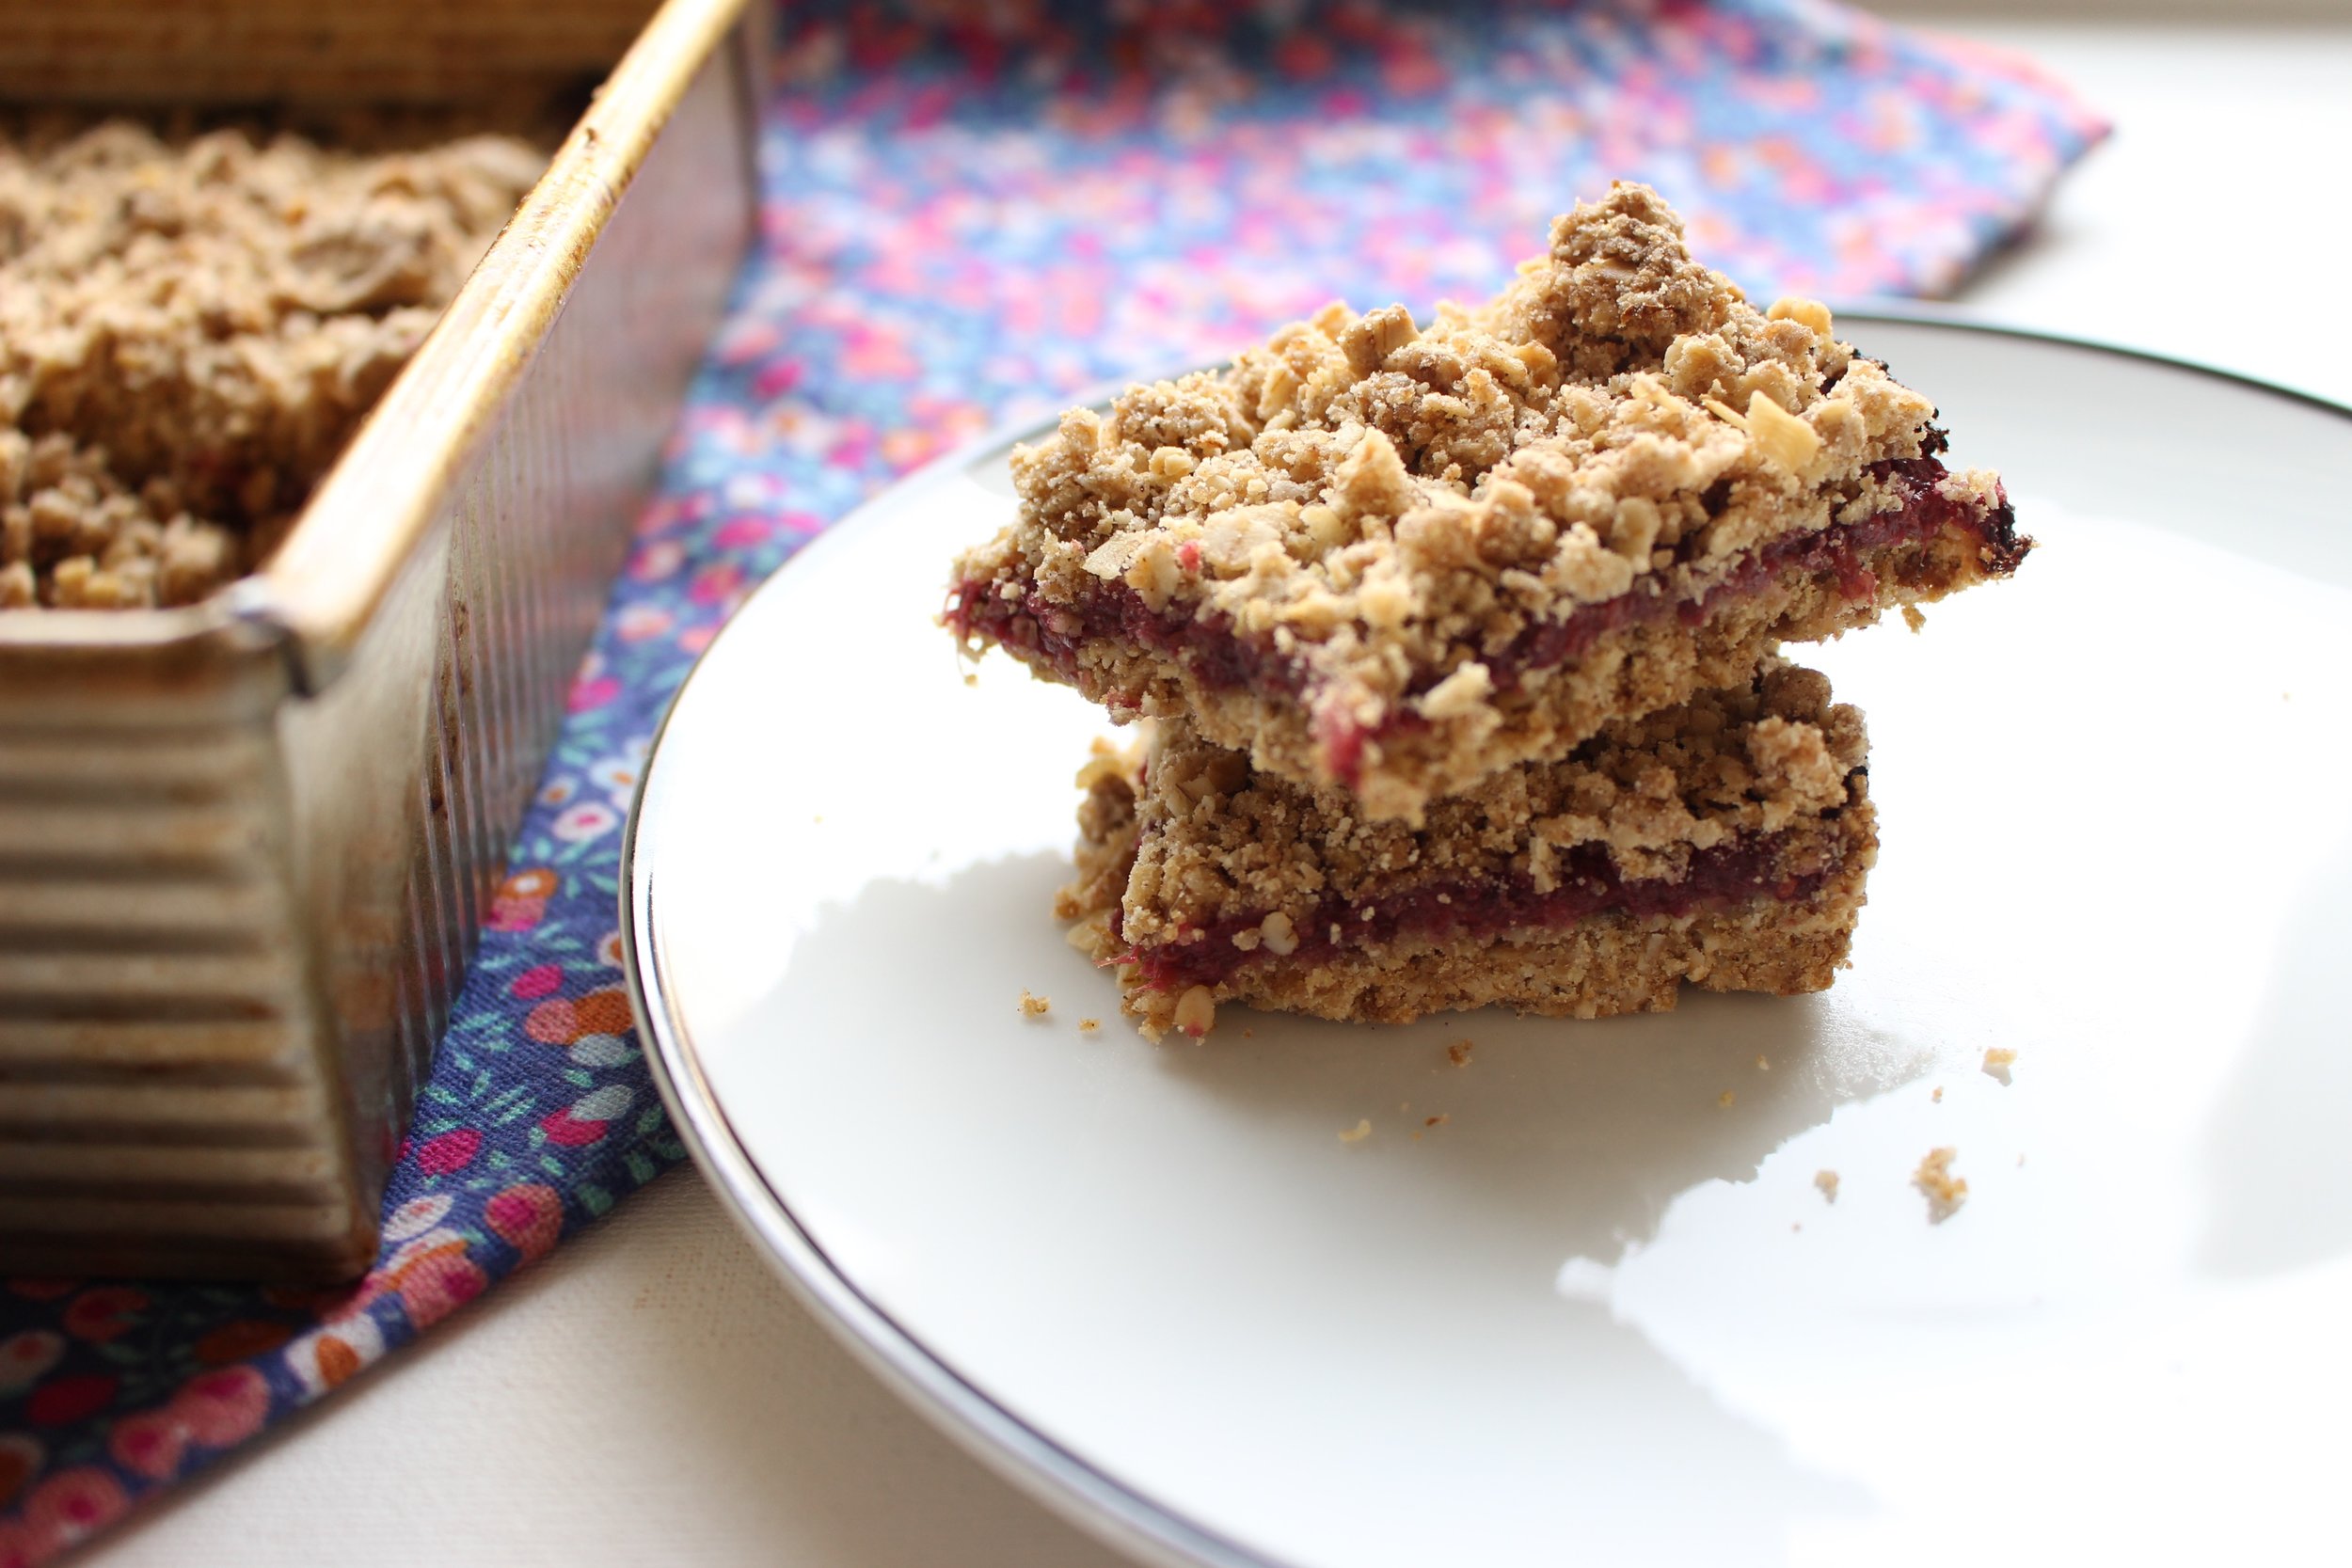
Raspberry rhubarb chia jam bars
/
Preschool germs. Is there a stronger force in the universe? In my memoir, this era will be titled: The time when my child who never got sick, was never not sick.
And I don't know if all kids do this when ill, but mine is like a koala bear who drank a pot of coffee. He's both lethargic and wired, wanting to be on top of me while simultaneously thrashing like he's breaking out of a human prison. In short, this has not been a fun week.
Anyway, since we're stuck in the house for the foreseeable future, I've tried my hand with chia jam a few times. The basic recipe in that link has worked well for me as long as I cook the fruit down for about 20 minutes before adding the chia seeds and letting the mixture set in the fridge for about 30 to 60 minutes before using it.
And this jam is really versatile! It works in sandwiches, obviously, but is also great when added to oatmeal, yogurt, and baked goods. It would also make a tremendous baby puree.

This is as easy as dessert/snack/breakfast gets. One bowl, no extra tools, and the same batter for the base and the top crumble. This recipe also uses gluten-free flour and clarified butter, so it's free of gluten, dairy, nuts, and eggs. And I've used as little butter and sugar as possible to maximize health without losing out on taste and texture.
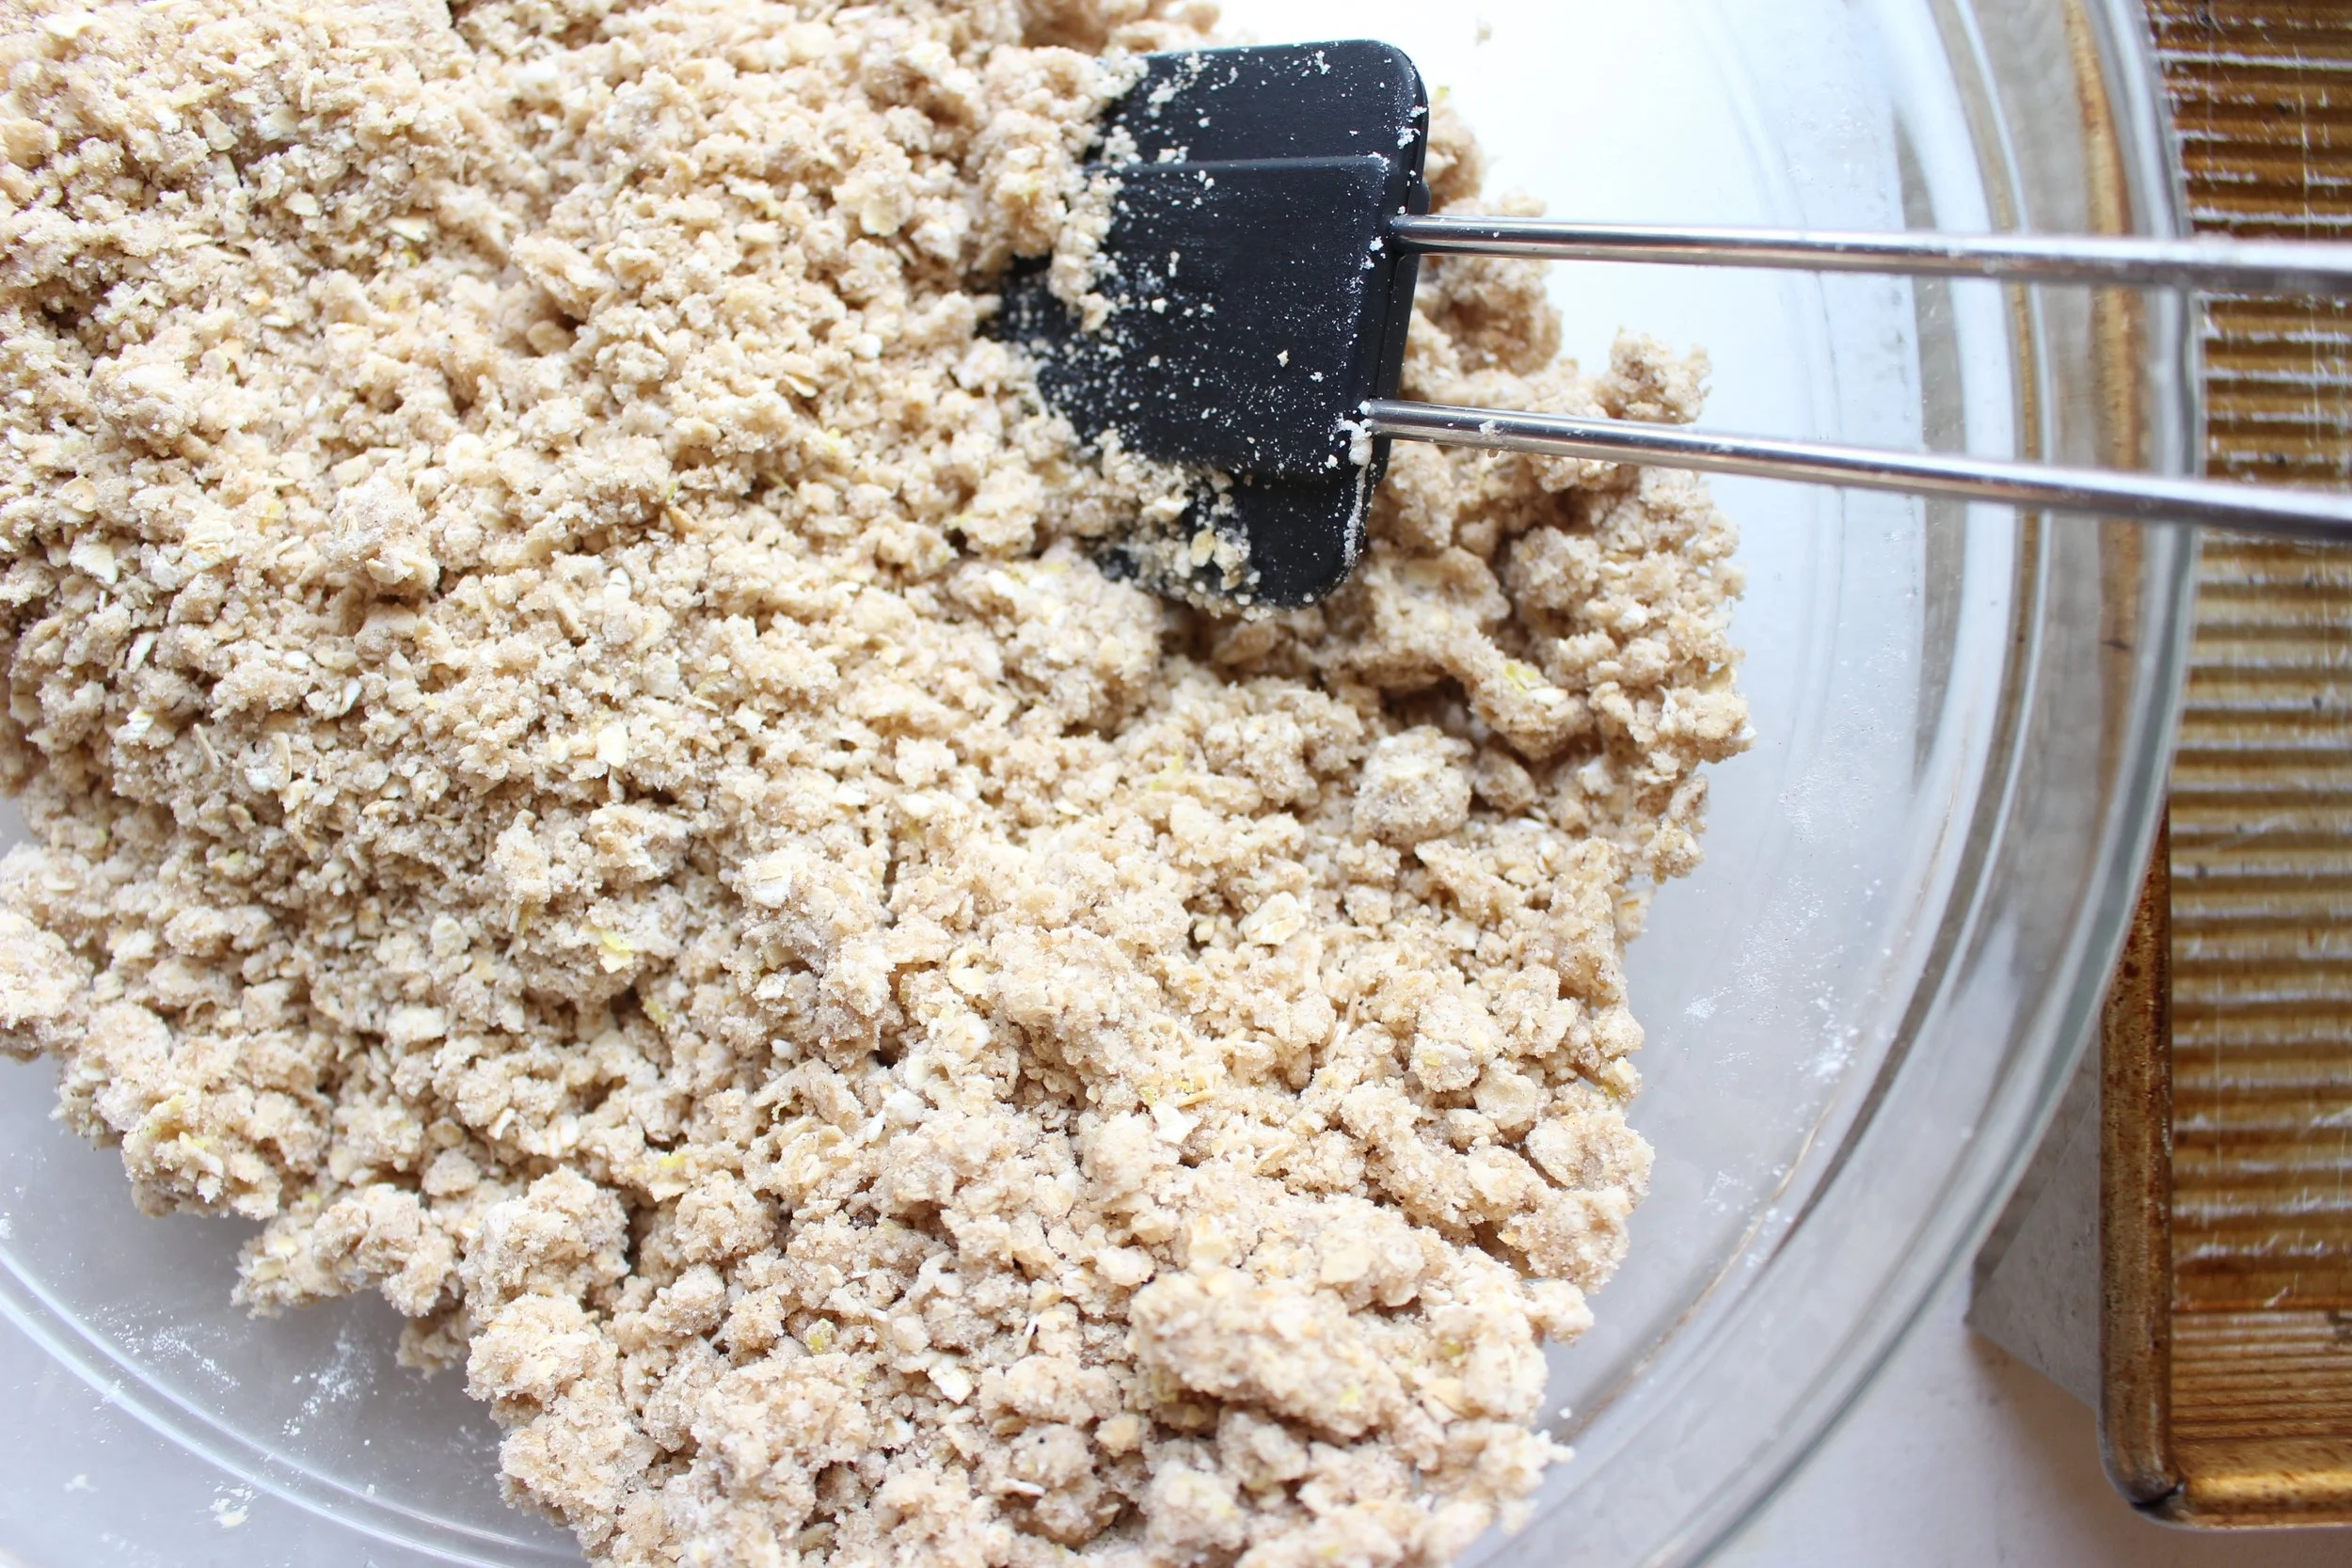

This dough is definitely crumbly, but packs down nicely with a rubber spatula. If it's too crumbly, feel free to add an extra tablespoon or two of butter.

Raspberry rhubarb chia jam bars
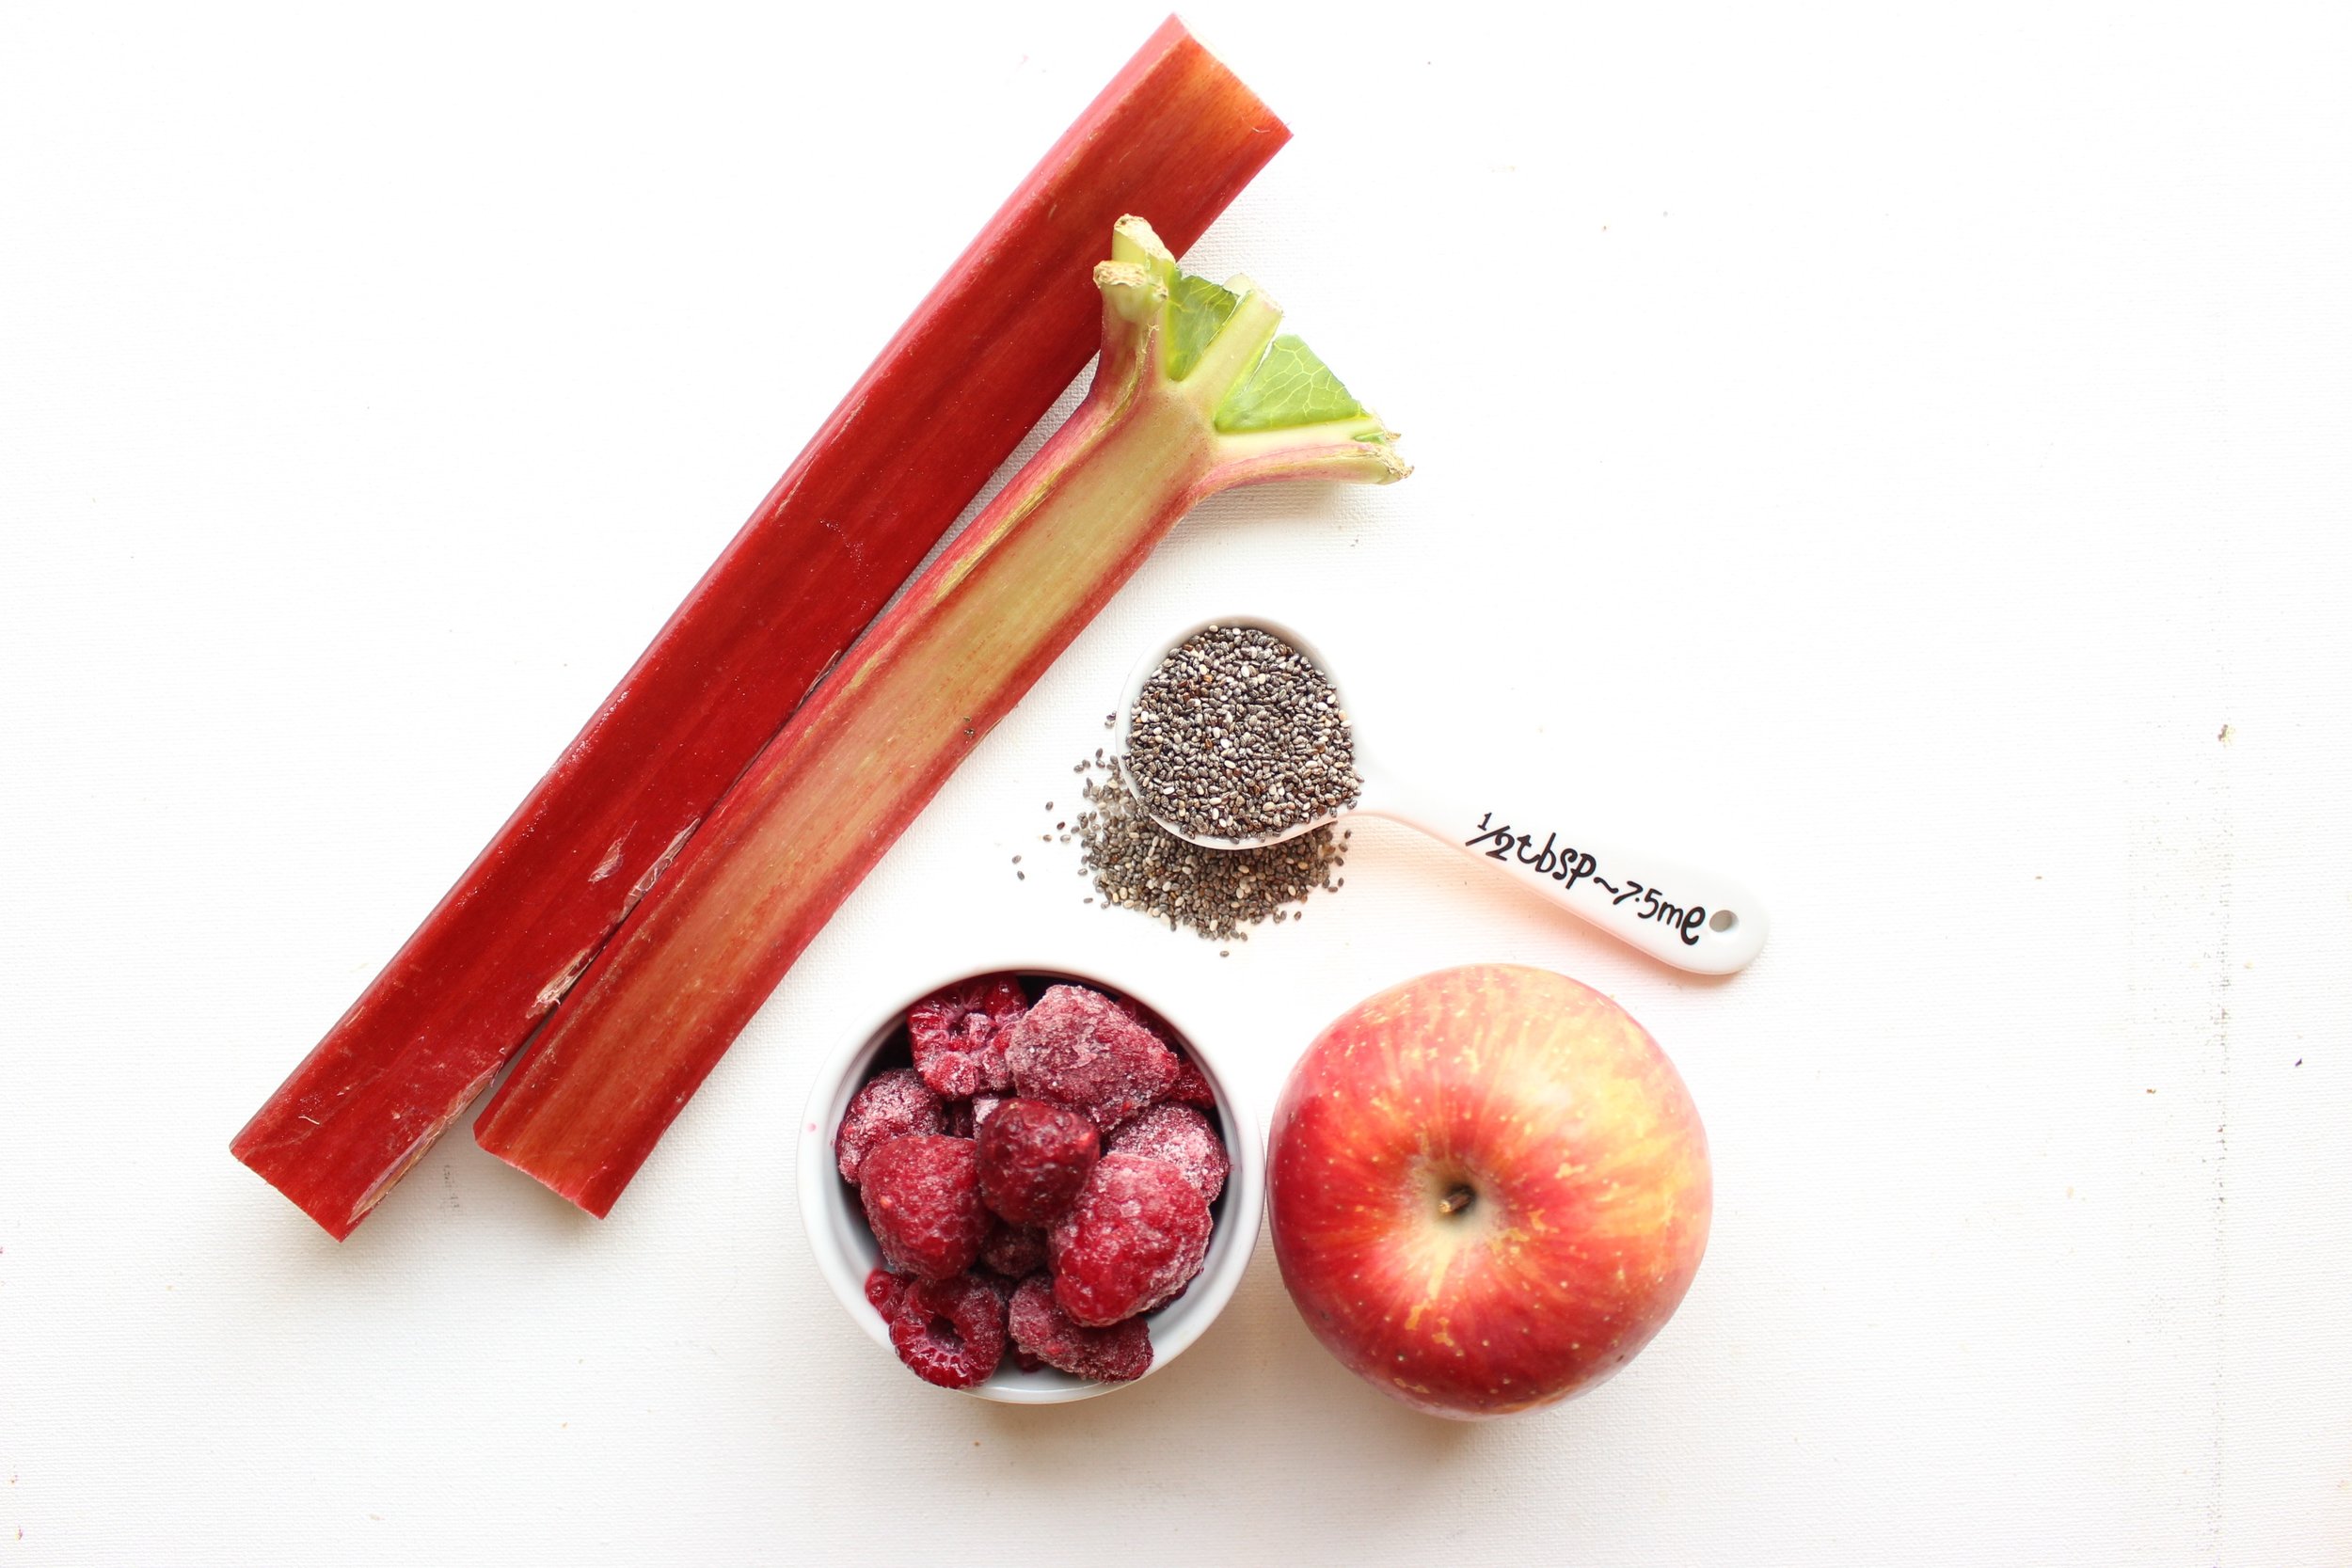
For the jam:
12 oz frozen raspberries (one package or about 1 ½ cups)
2 cups rhubarb, chopped
2 large green apples, peeled and chopped
1 Tbsp water
4 Tbsp chia seeds
Add raspberries, rhubarb and green apples to a medium pot. If your berries are still frozen, add 1 tablespoon of water to get things started. If your berries have unfrozen and there’s some liquid in your bag, skip the extra water and just start cooking.
Bring to a boil and reduce heat to medium or medium low and simmer, stirring occasionally, until the fruit is falling apart and the liquid has largely evaporated or become syrupy, about 20 minutes. Let cool slightly and add the chia seeds. Cool in the fridge for 30-60 minutes before using.
Yield: About 3 cups
For the bars:
1.5 cups gluten free flour
1.5 cups quick oats
½ cup brown sugar, packed
½ tsp baking soda
½ tsp cinnamon
¼ tsp cardamom
½ tsp kosher salt
Zest of 1/2 large lemon
8 Tbsp clarified butter
4 Tbsp ice water
1.5 cups chia jam (see recipe above)
Preheat the oven to 350. Grease a 9x9 brownie pan with clarified butter or olive oil and set aside.
In a large bowl, combine the flour, oats, brown sugar, baking soda, cinnamon, cardamom, and salt and mix well.
In a small bowl, melt some clarified butter. Measure the butter when melted and add to the dry ingredients, stirring after adding each tablespoon. Add the ice water, also stirring between additions.
Pack about 2/3 of the mixture into the bottom of your brownie pan with a rubber spatula or wet hands. Top with the chia jam and smooth out. Crumble the rest of the oat mixture over the chia jam. If possible, pack some of the oat mixture into larger pieces and place those on top.
Bake for 40 minutes or until the edges begin to darken slightly.
Let cool completely before cutting.
Yield: 16 pieces


![[NEW RECIPE!] Thanksgiving leftovers hot pocket!
Thursday is going to be a great meal and a weird sad day for me. It’s the first Thanksgiving without my mom and this was HER holiday. Growing up, we were Jewish, but my mom’s family was Ch](https://images.squarespace-cdn.com/content/v1/546a33ffe4b0bff63b7b9405/1669075898662-2KJQA7P9W8KSRUJF47M4/image-asset.jpeg)


