Sesame roasted brussels sprouts
OMG Halloween hangover. The ten pounds of candy I ate between opening the bags at 11 am (why? WHY?) and going to bed at 9 pm (which felt like midnight), have done a number on my body. I guess it’s a good sign that I feel like shit? Maybe it shows that I don’t normally eat 10,000 grams of sugar in 10 hours?
Anyhoo, we started the day with a small fit because I wouldn’t let someone eat candy for breakfast, so…that was fun.
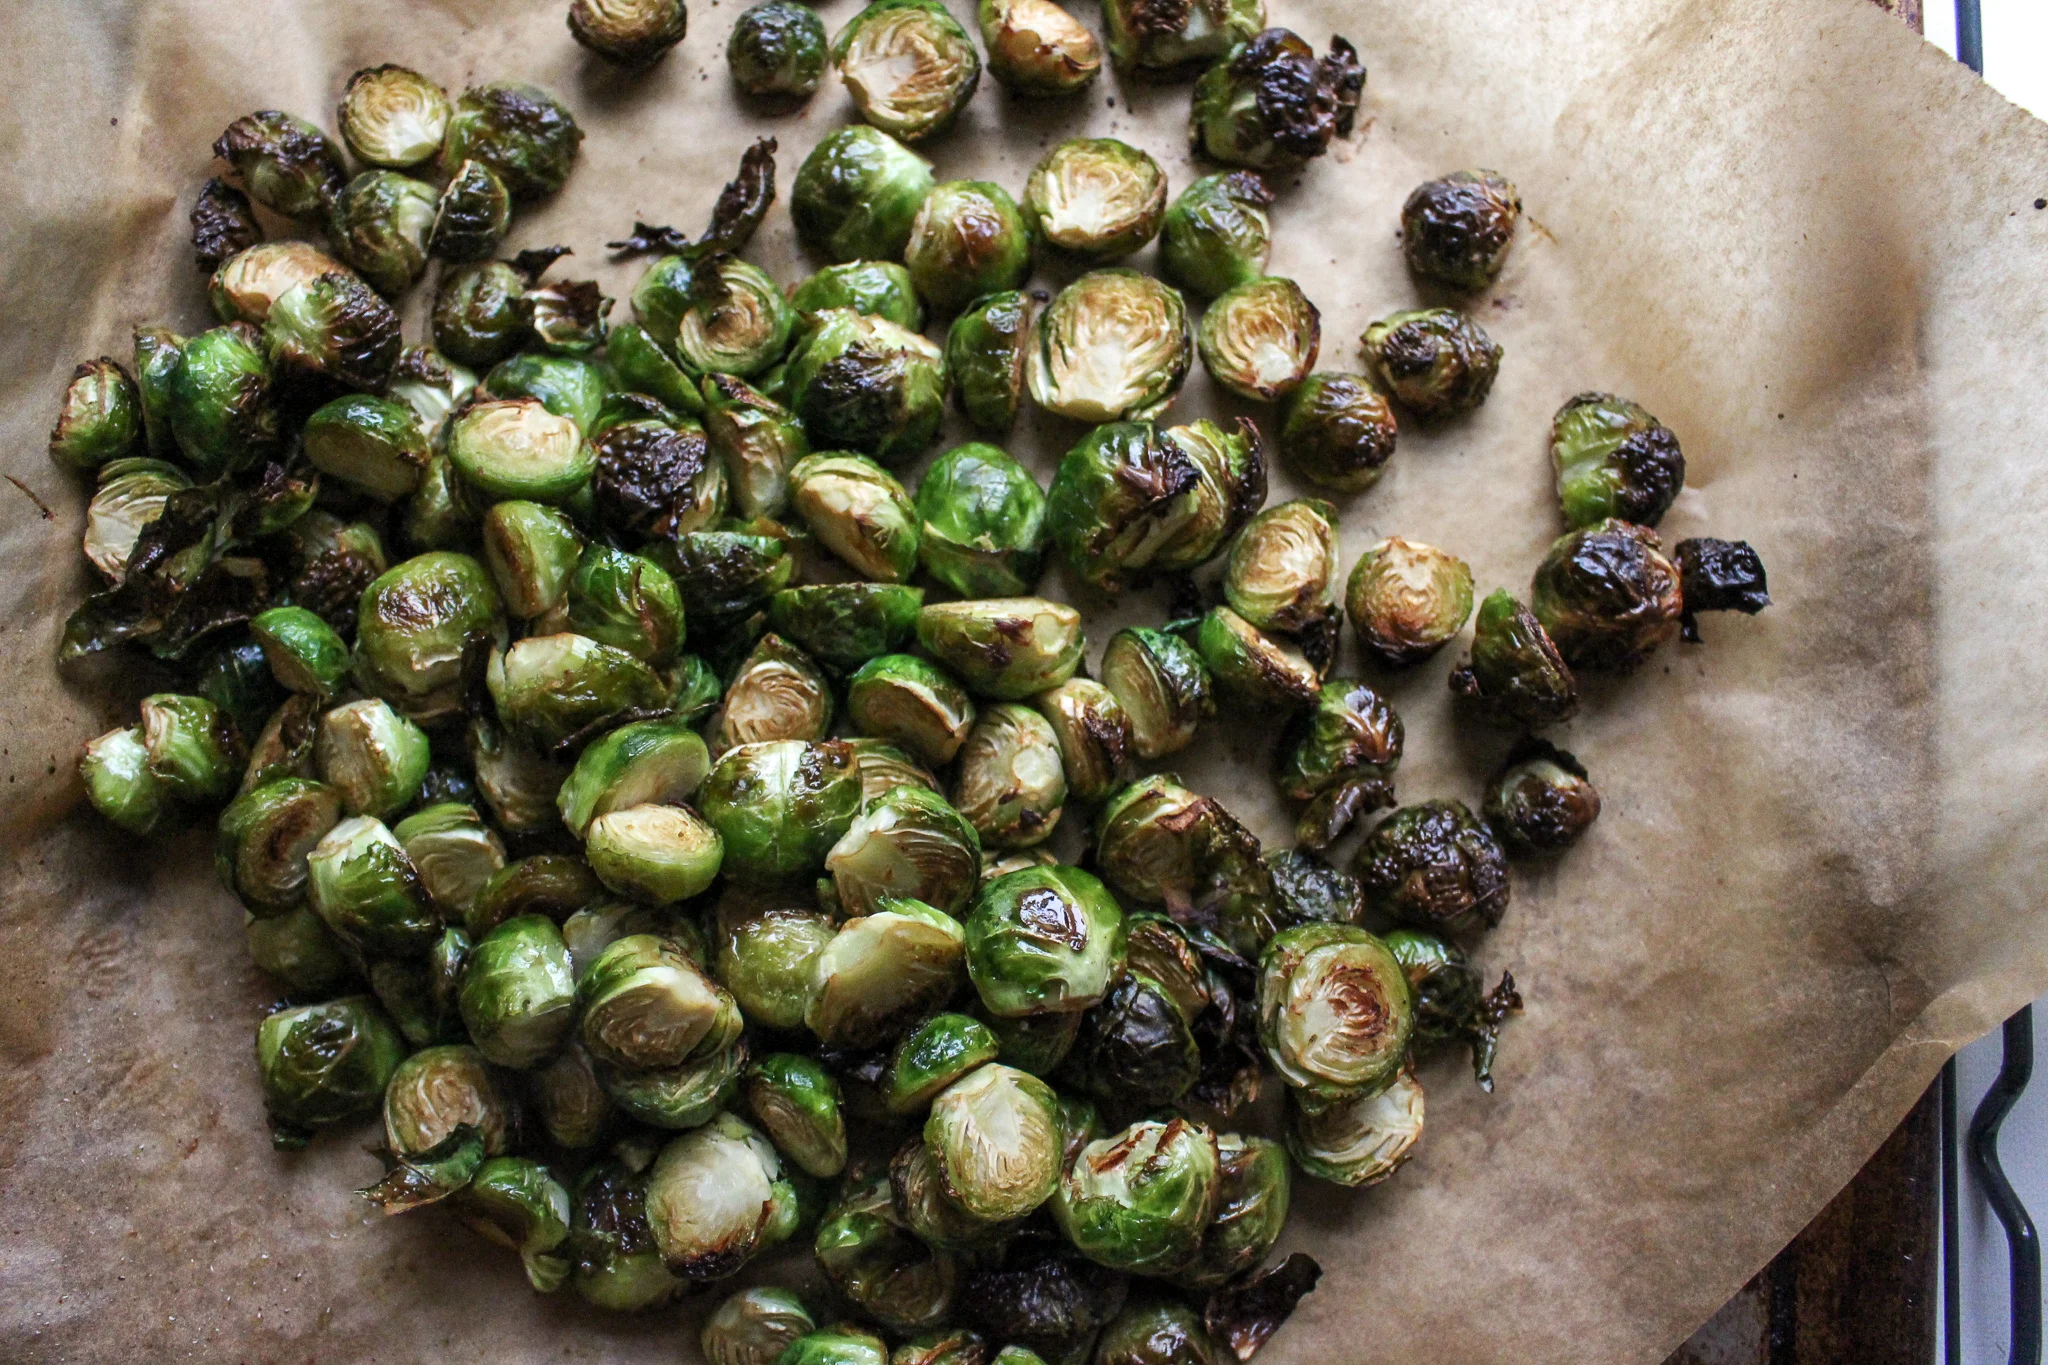
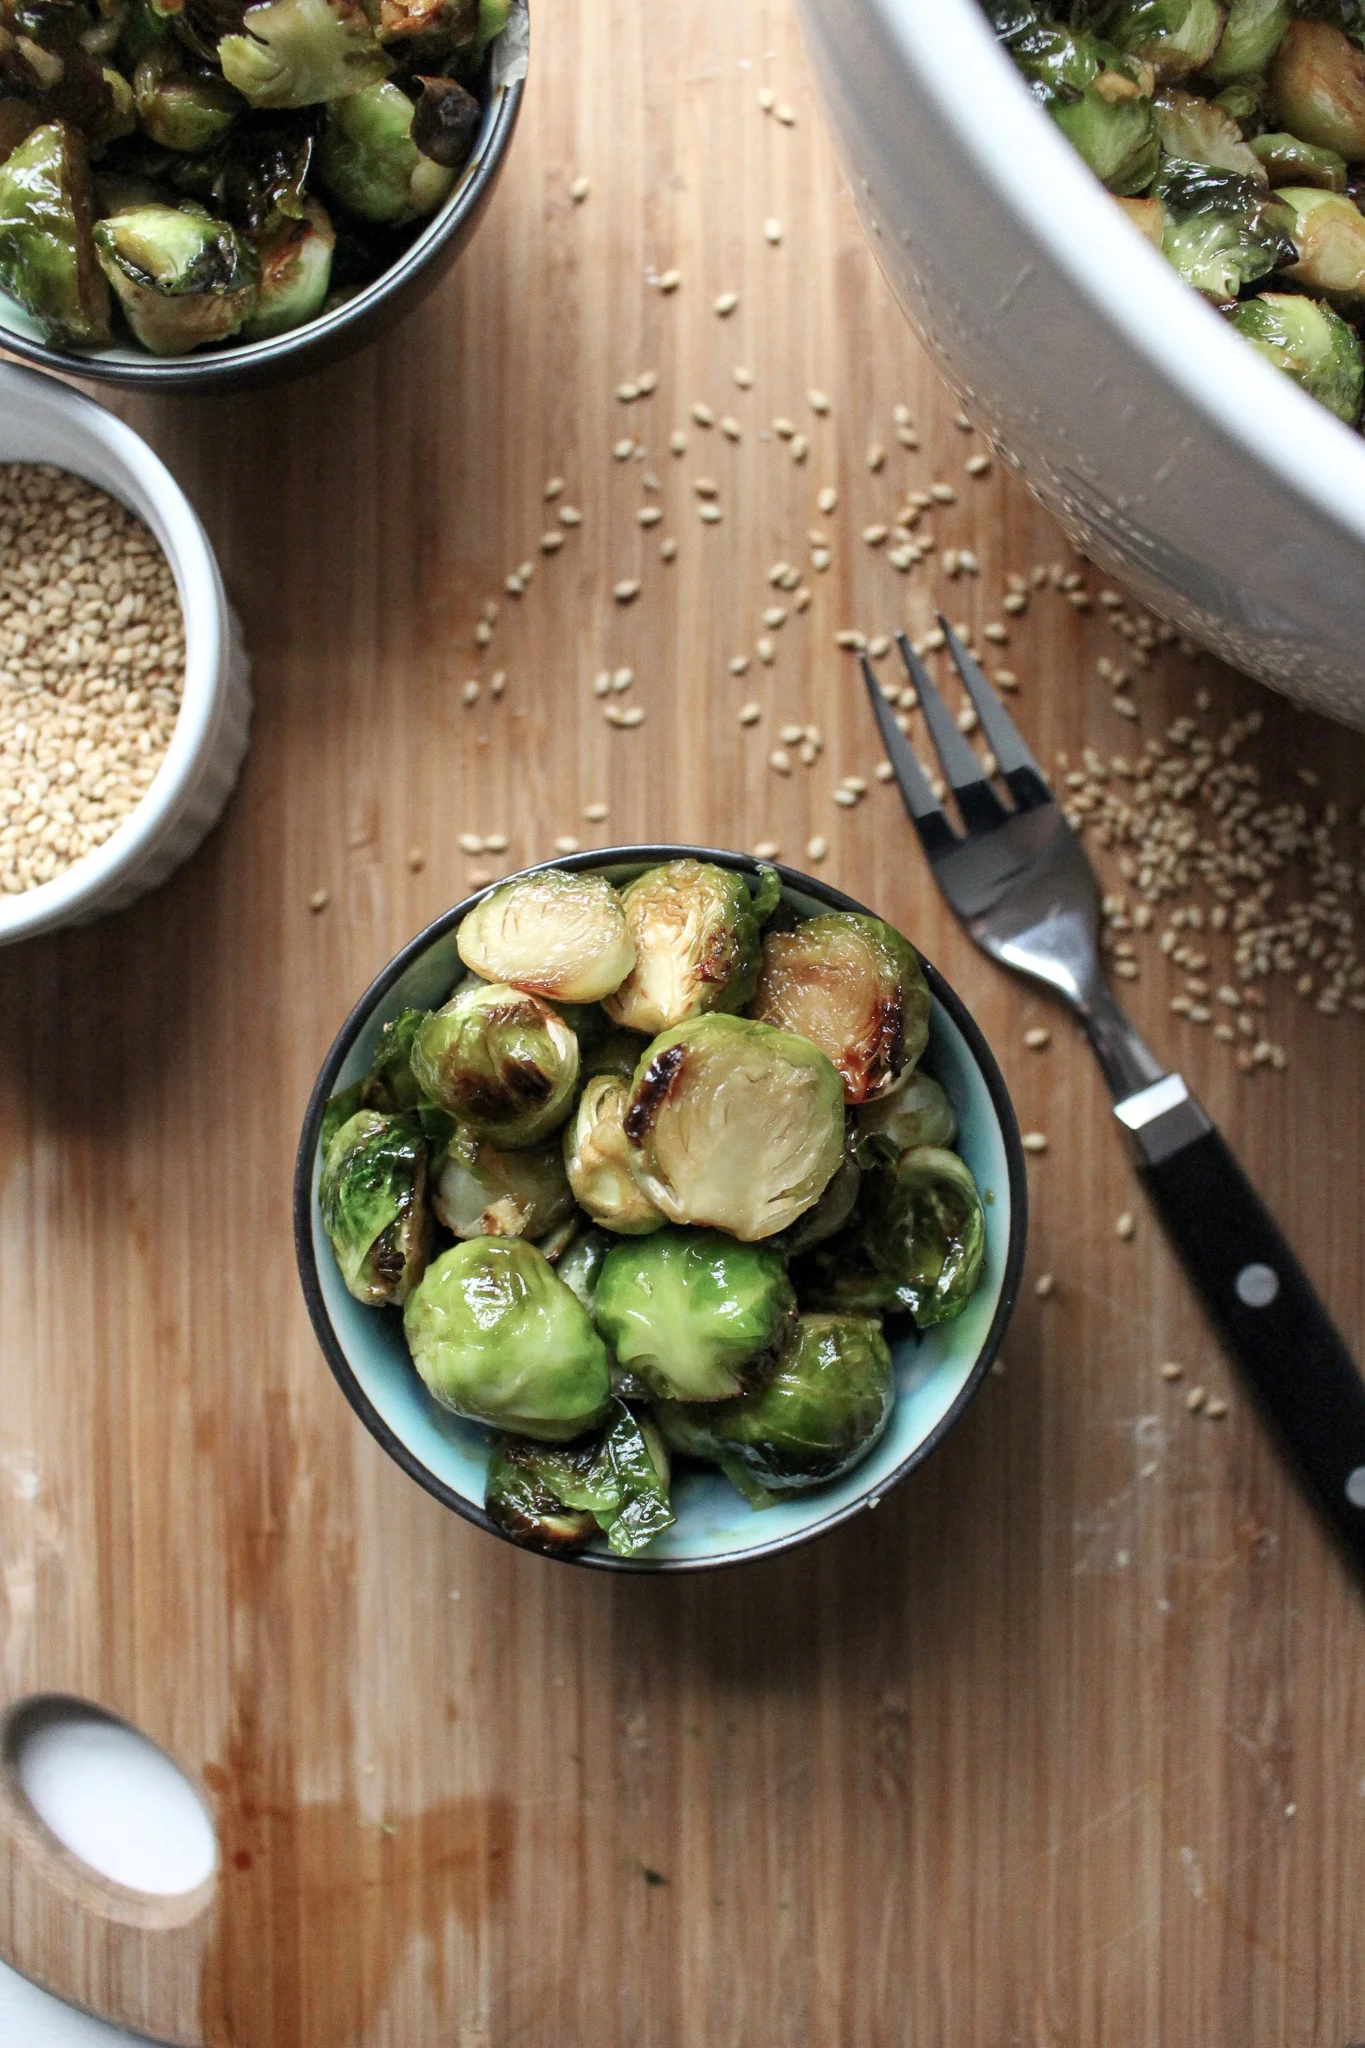
One key to weaning my little back to veggies after a sugar binge is to make them extra unctuous and delicious. These brussels fit the bill. High heat makes them mellow and crispy while the garlic, ginger, soy sauce, and sesame oil add layers of salt and fat that lead to really big flavor.
A couple of notes:
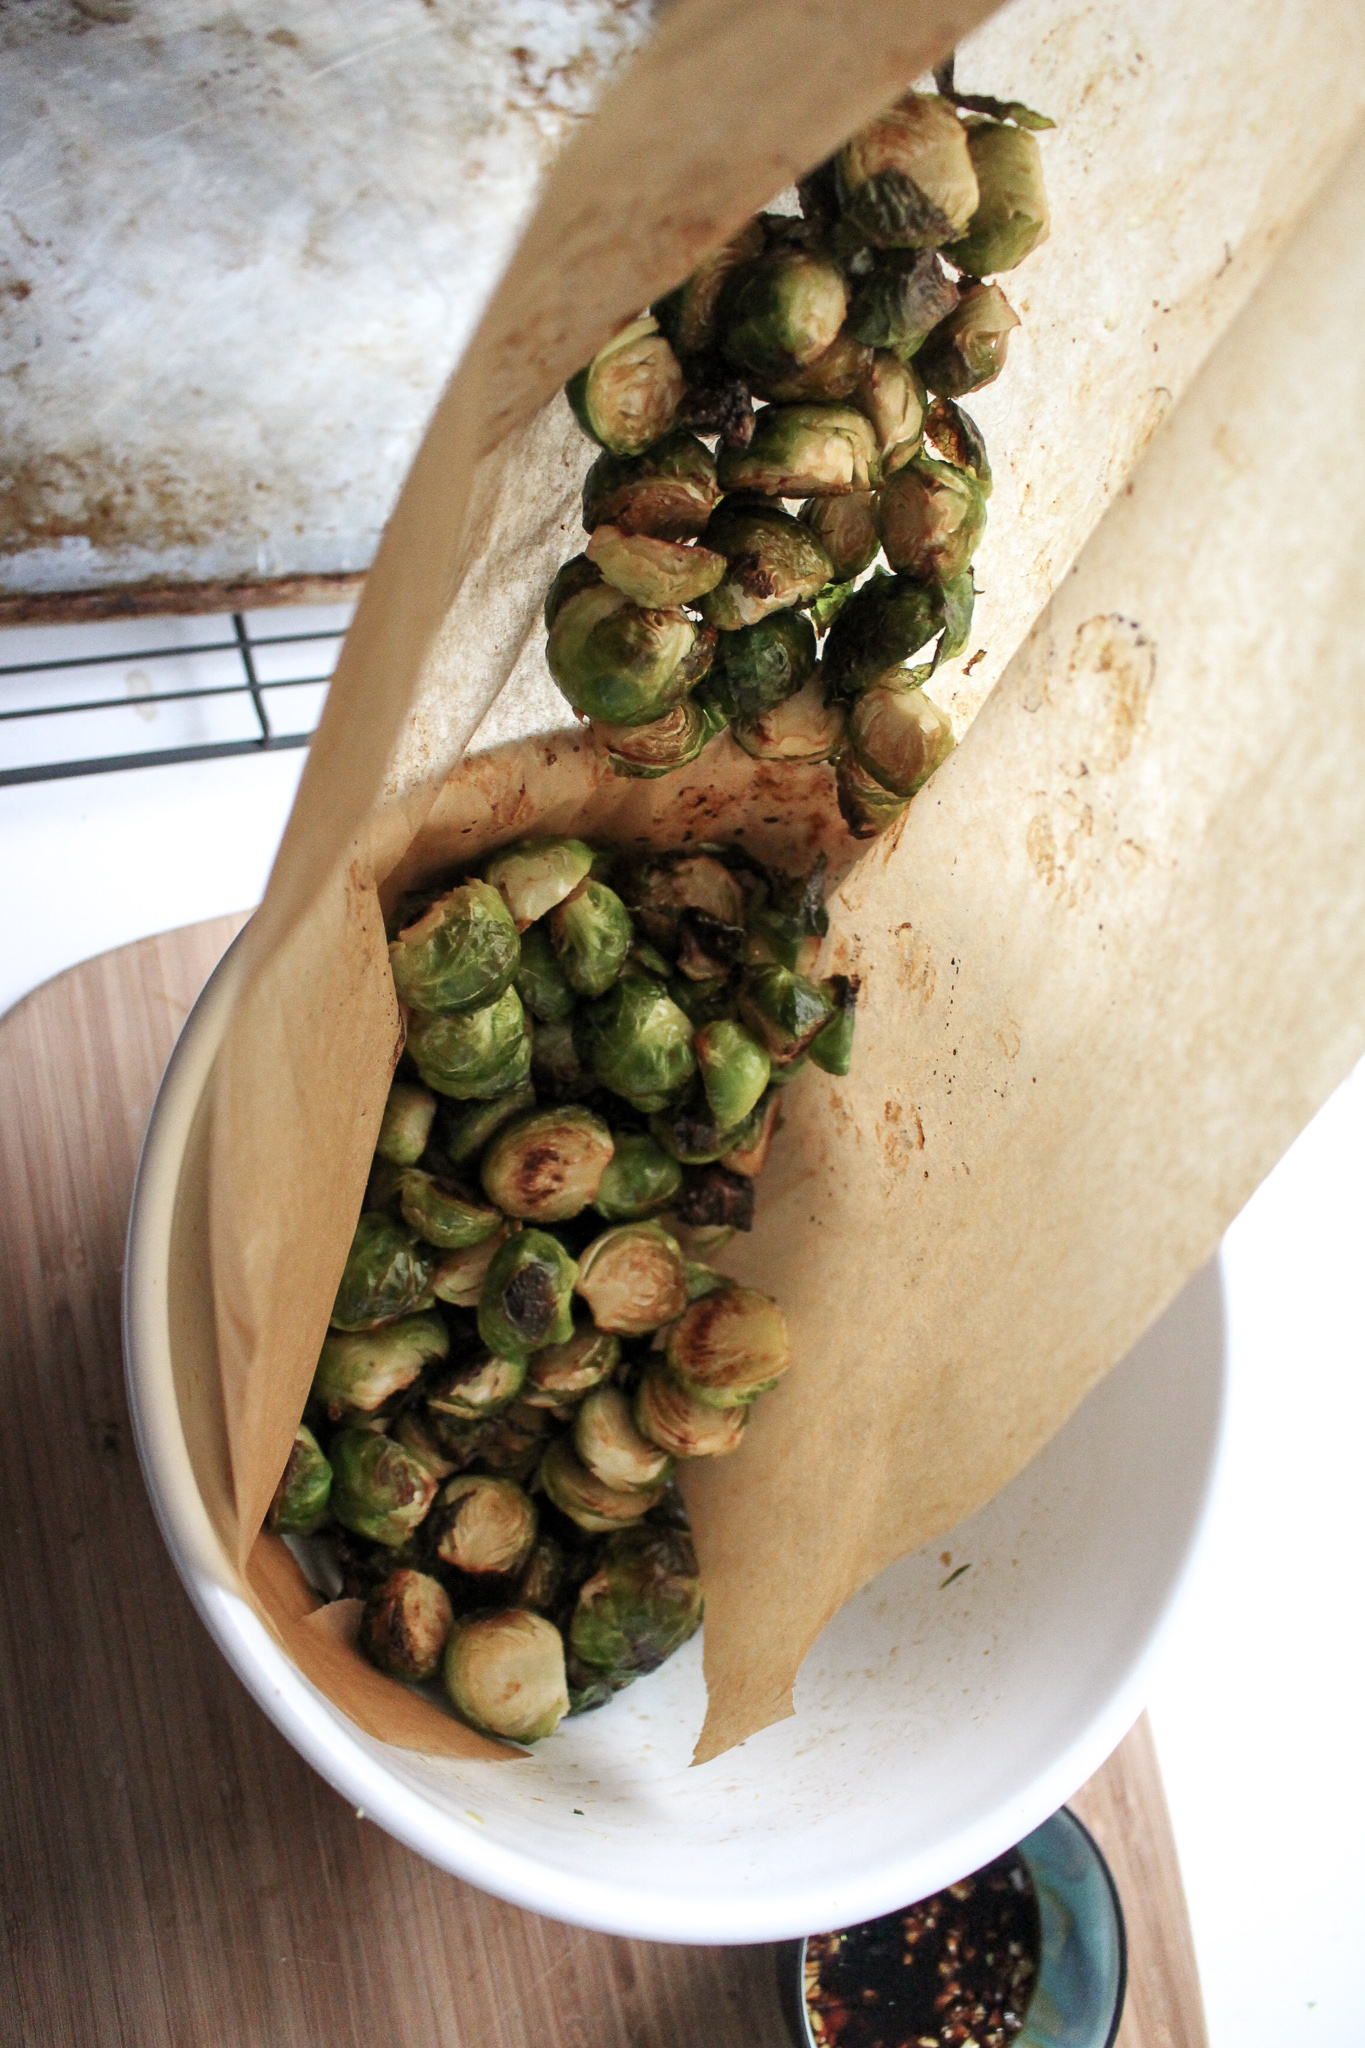
It’s important to work fast after getting the roasted sprouts out of the oven. Their heat will cook the garlic a bit and without it, the taste can be pretty strong.
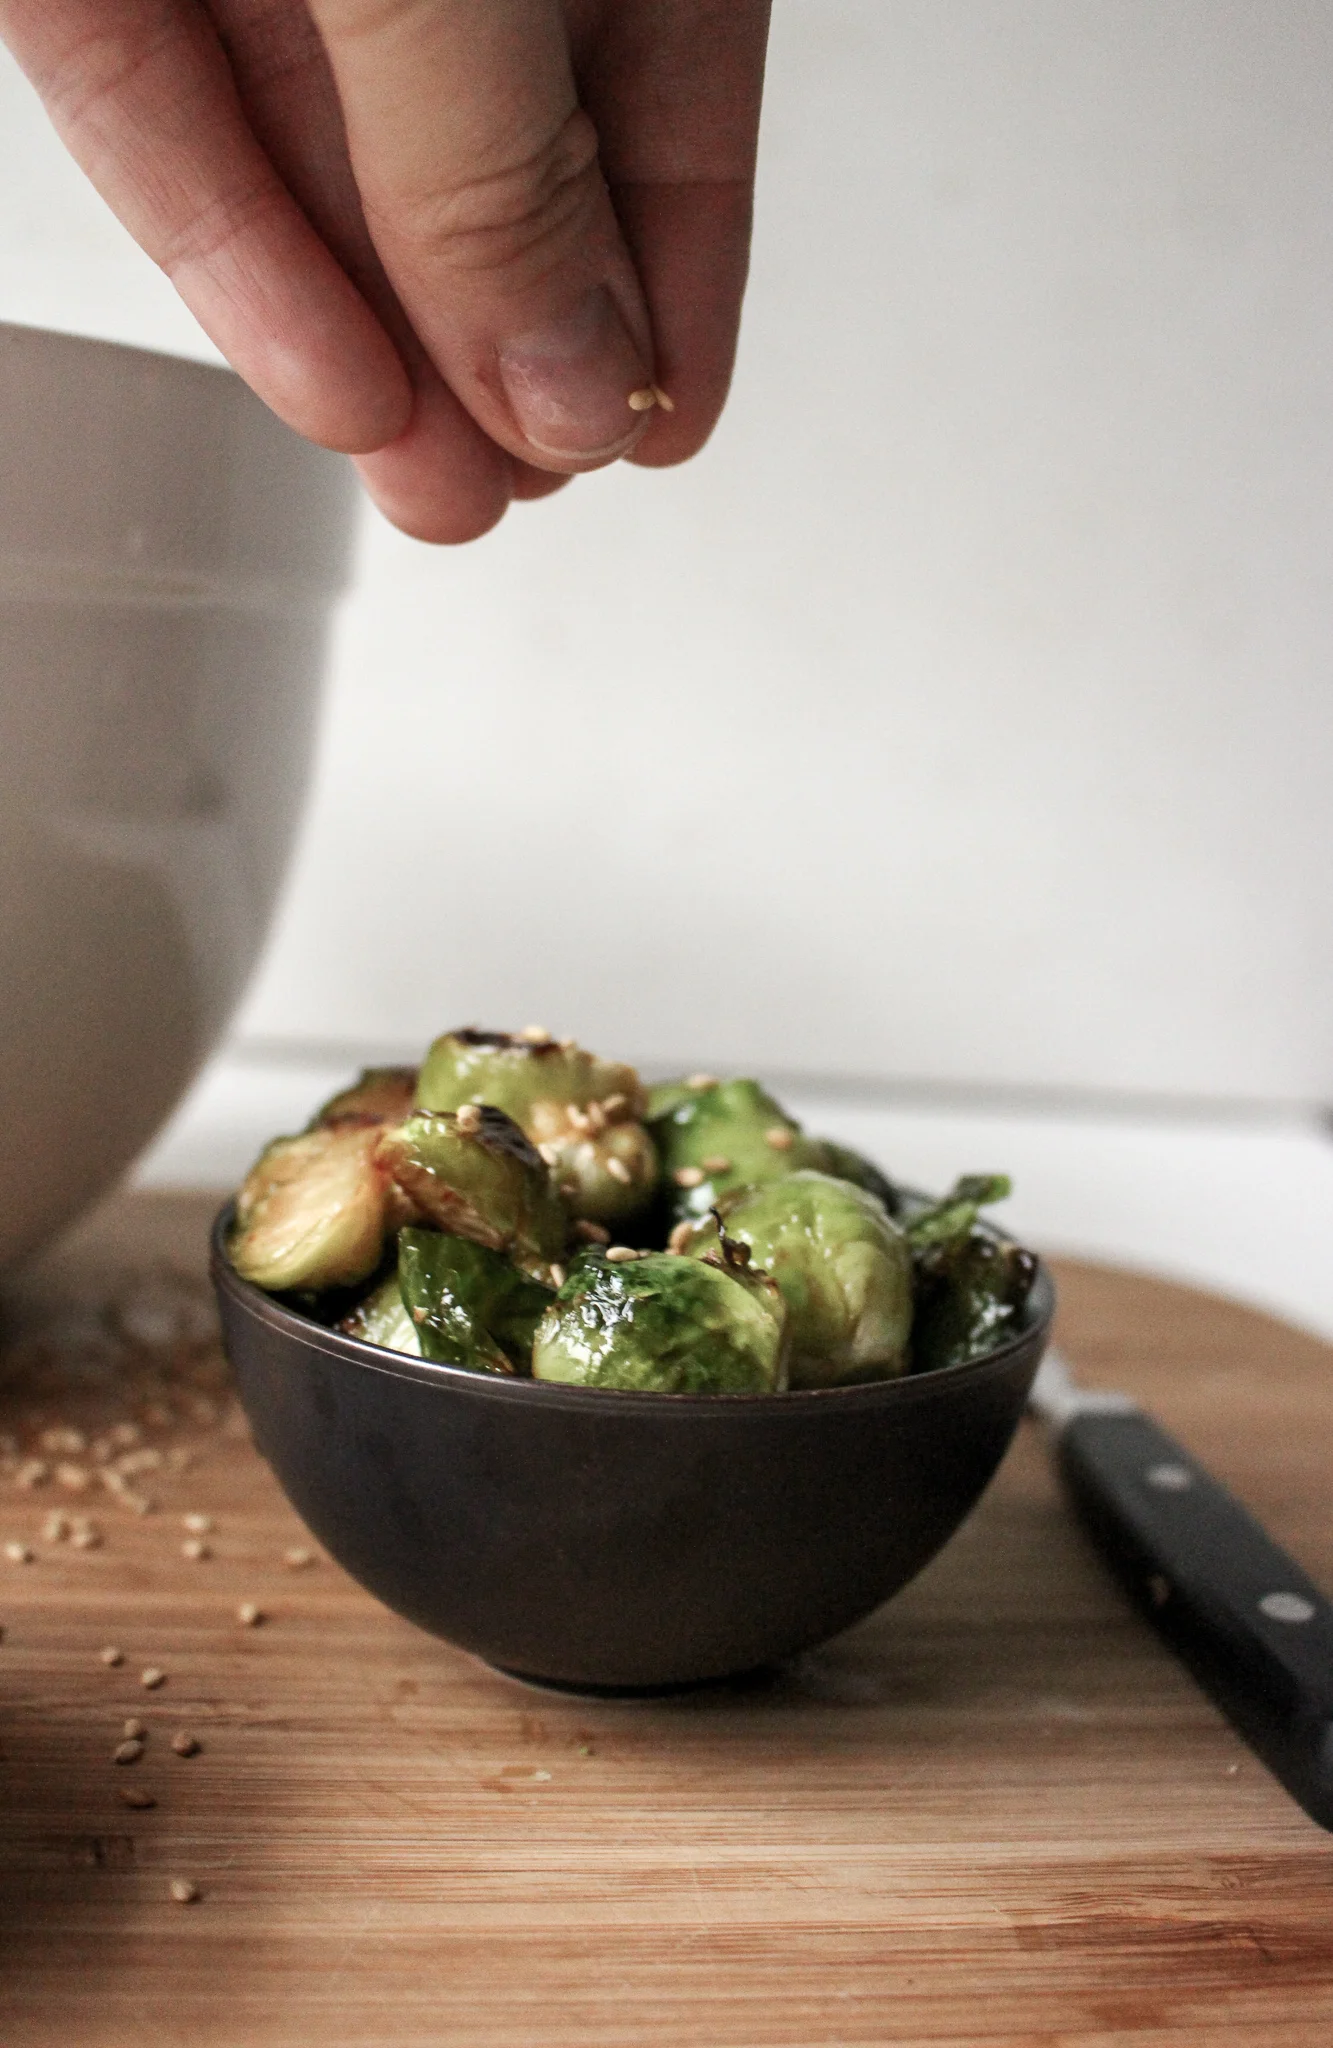
If you think you’ll have leftovers, sprinkle the sesame seeds on the individual portions, or just the part you’ll eat right away. The seeds can burn when you recrisp the leftovers.
Serve them with a piece of fish, some tofu, some rotisserie chicken, or accompanying any other protein. I also like them next to these noodles for a double dose of veggies. You could actually slap some chicken thighs on another sheet pan and roast them all together if your oven is big enough.
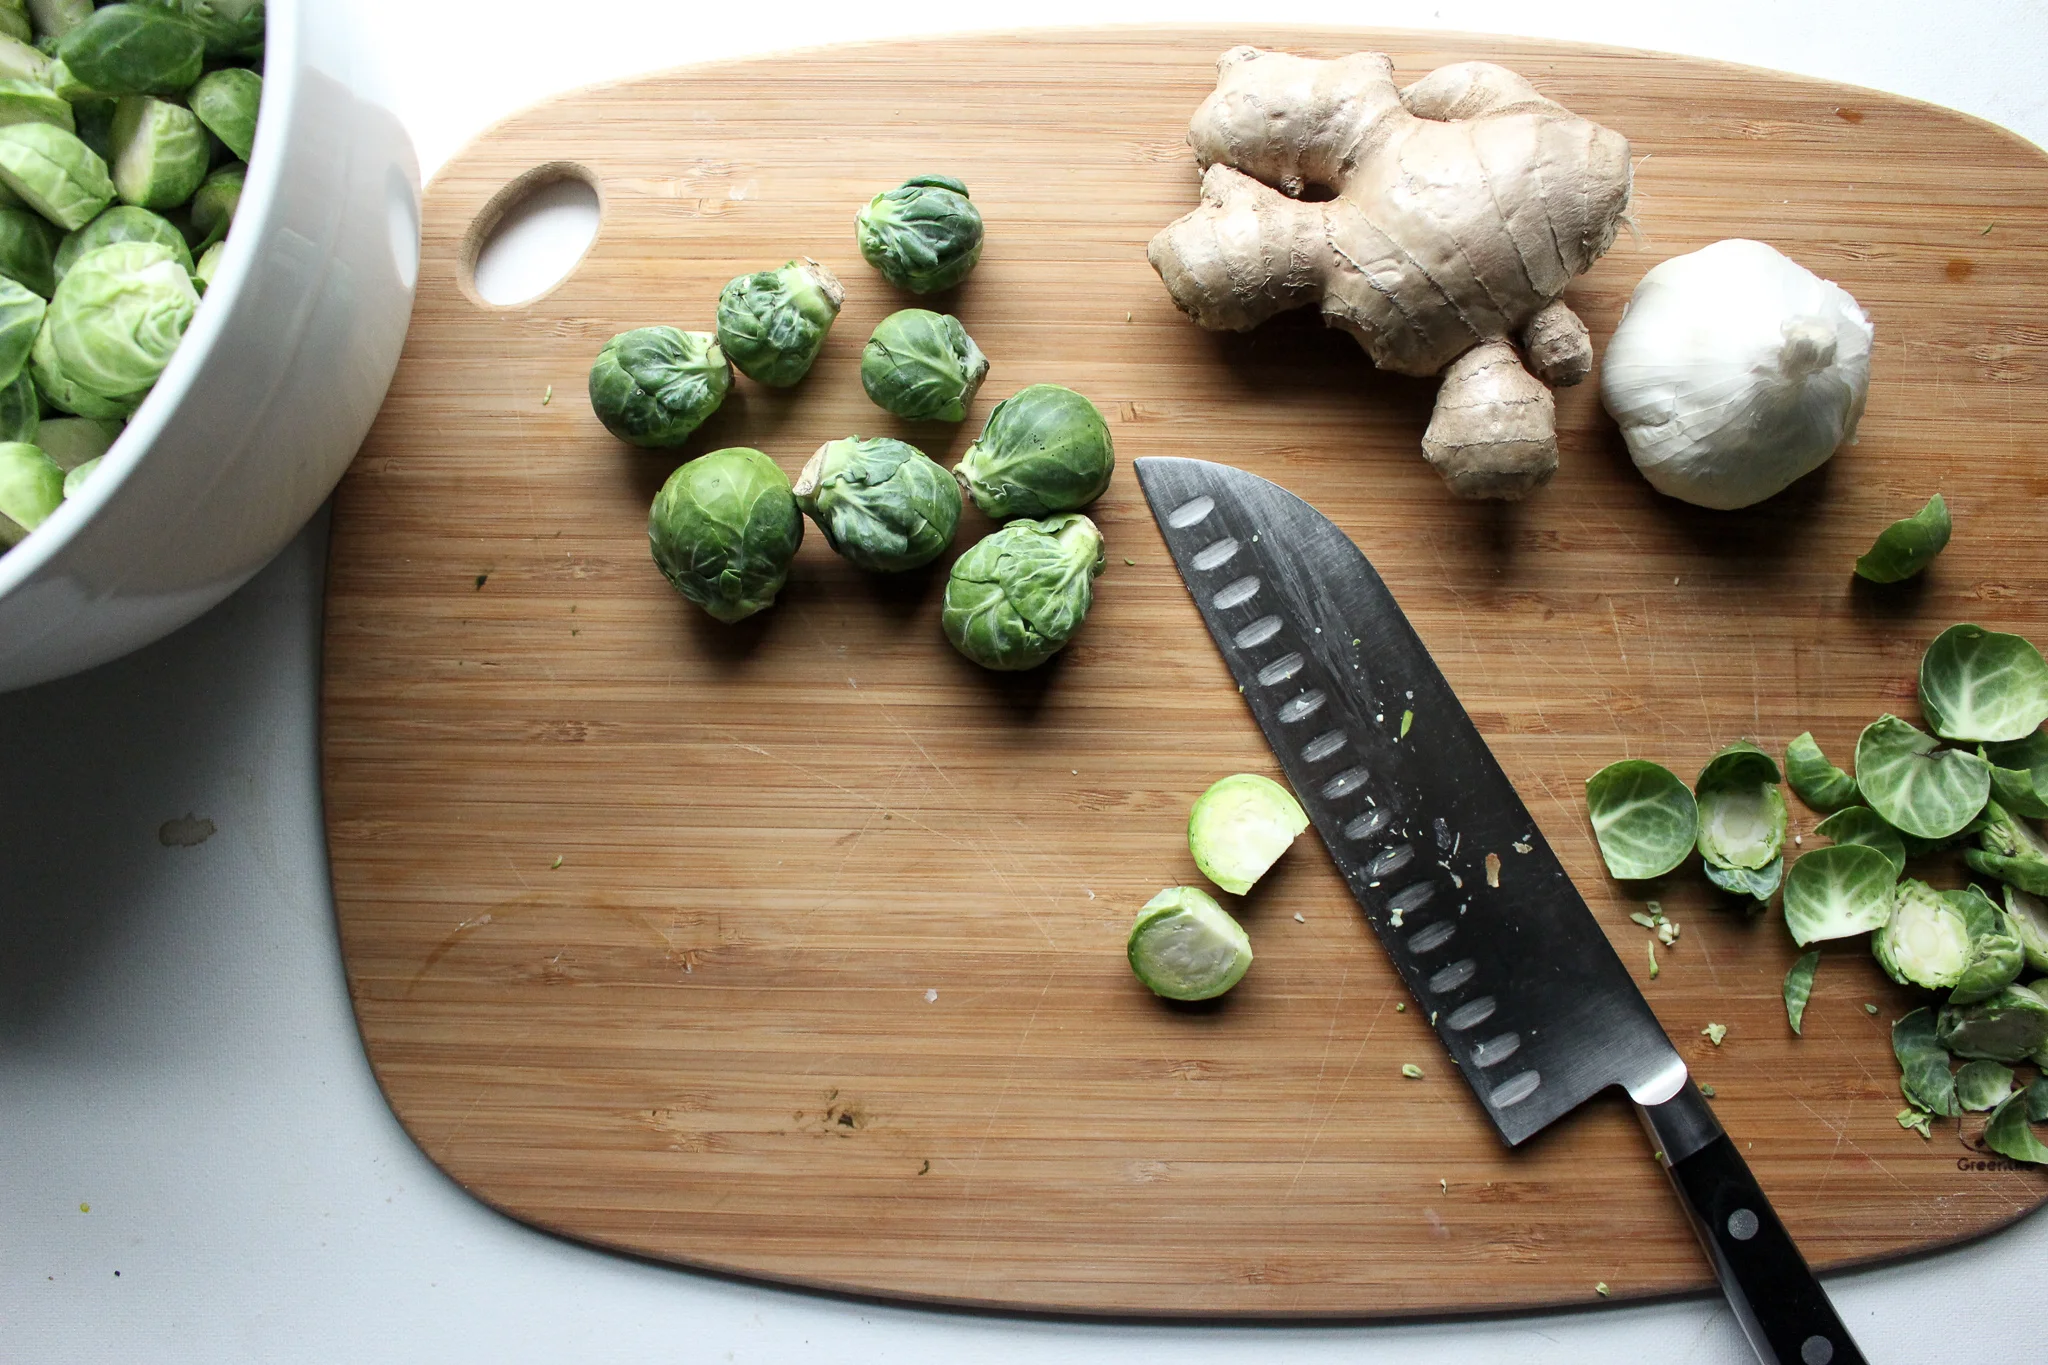
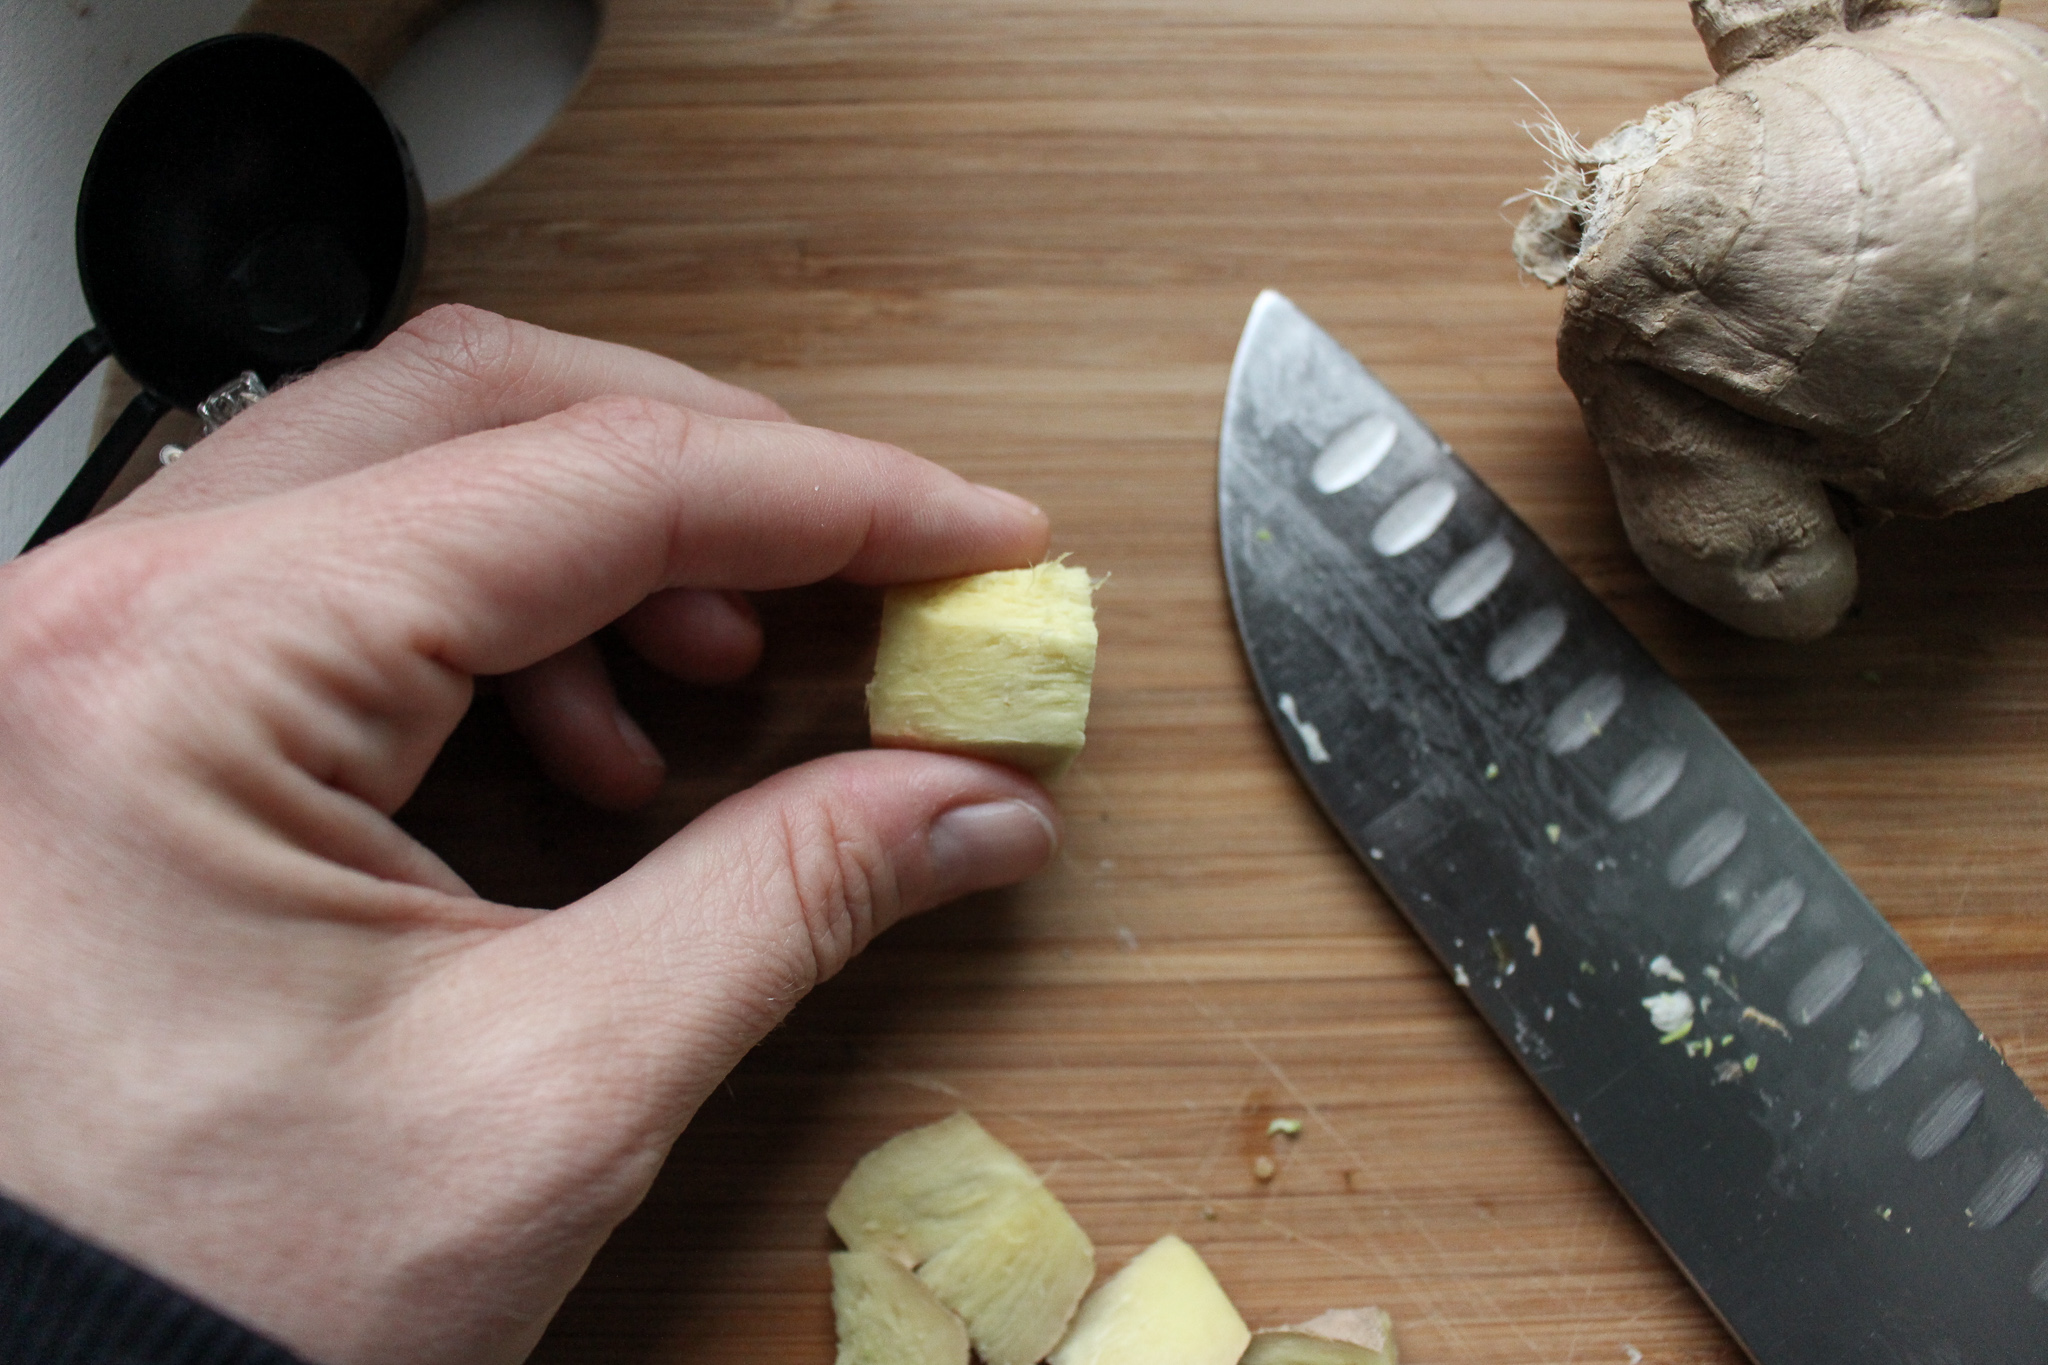
Sesame roasted Brussels sprouts
1 ¼ lb brussels sprouts, halved (or two 10 oz bags)
2 Tbsp olive oil
1 tsp grated fresh ginger (about a 1-inch piece)
2 Tbsp soy sauce or tamari, divided
1 small garlic clove, minced
1 Tbsp toasted sesame oil
1½- 2 Tbsp honey
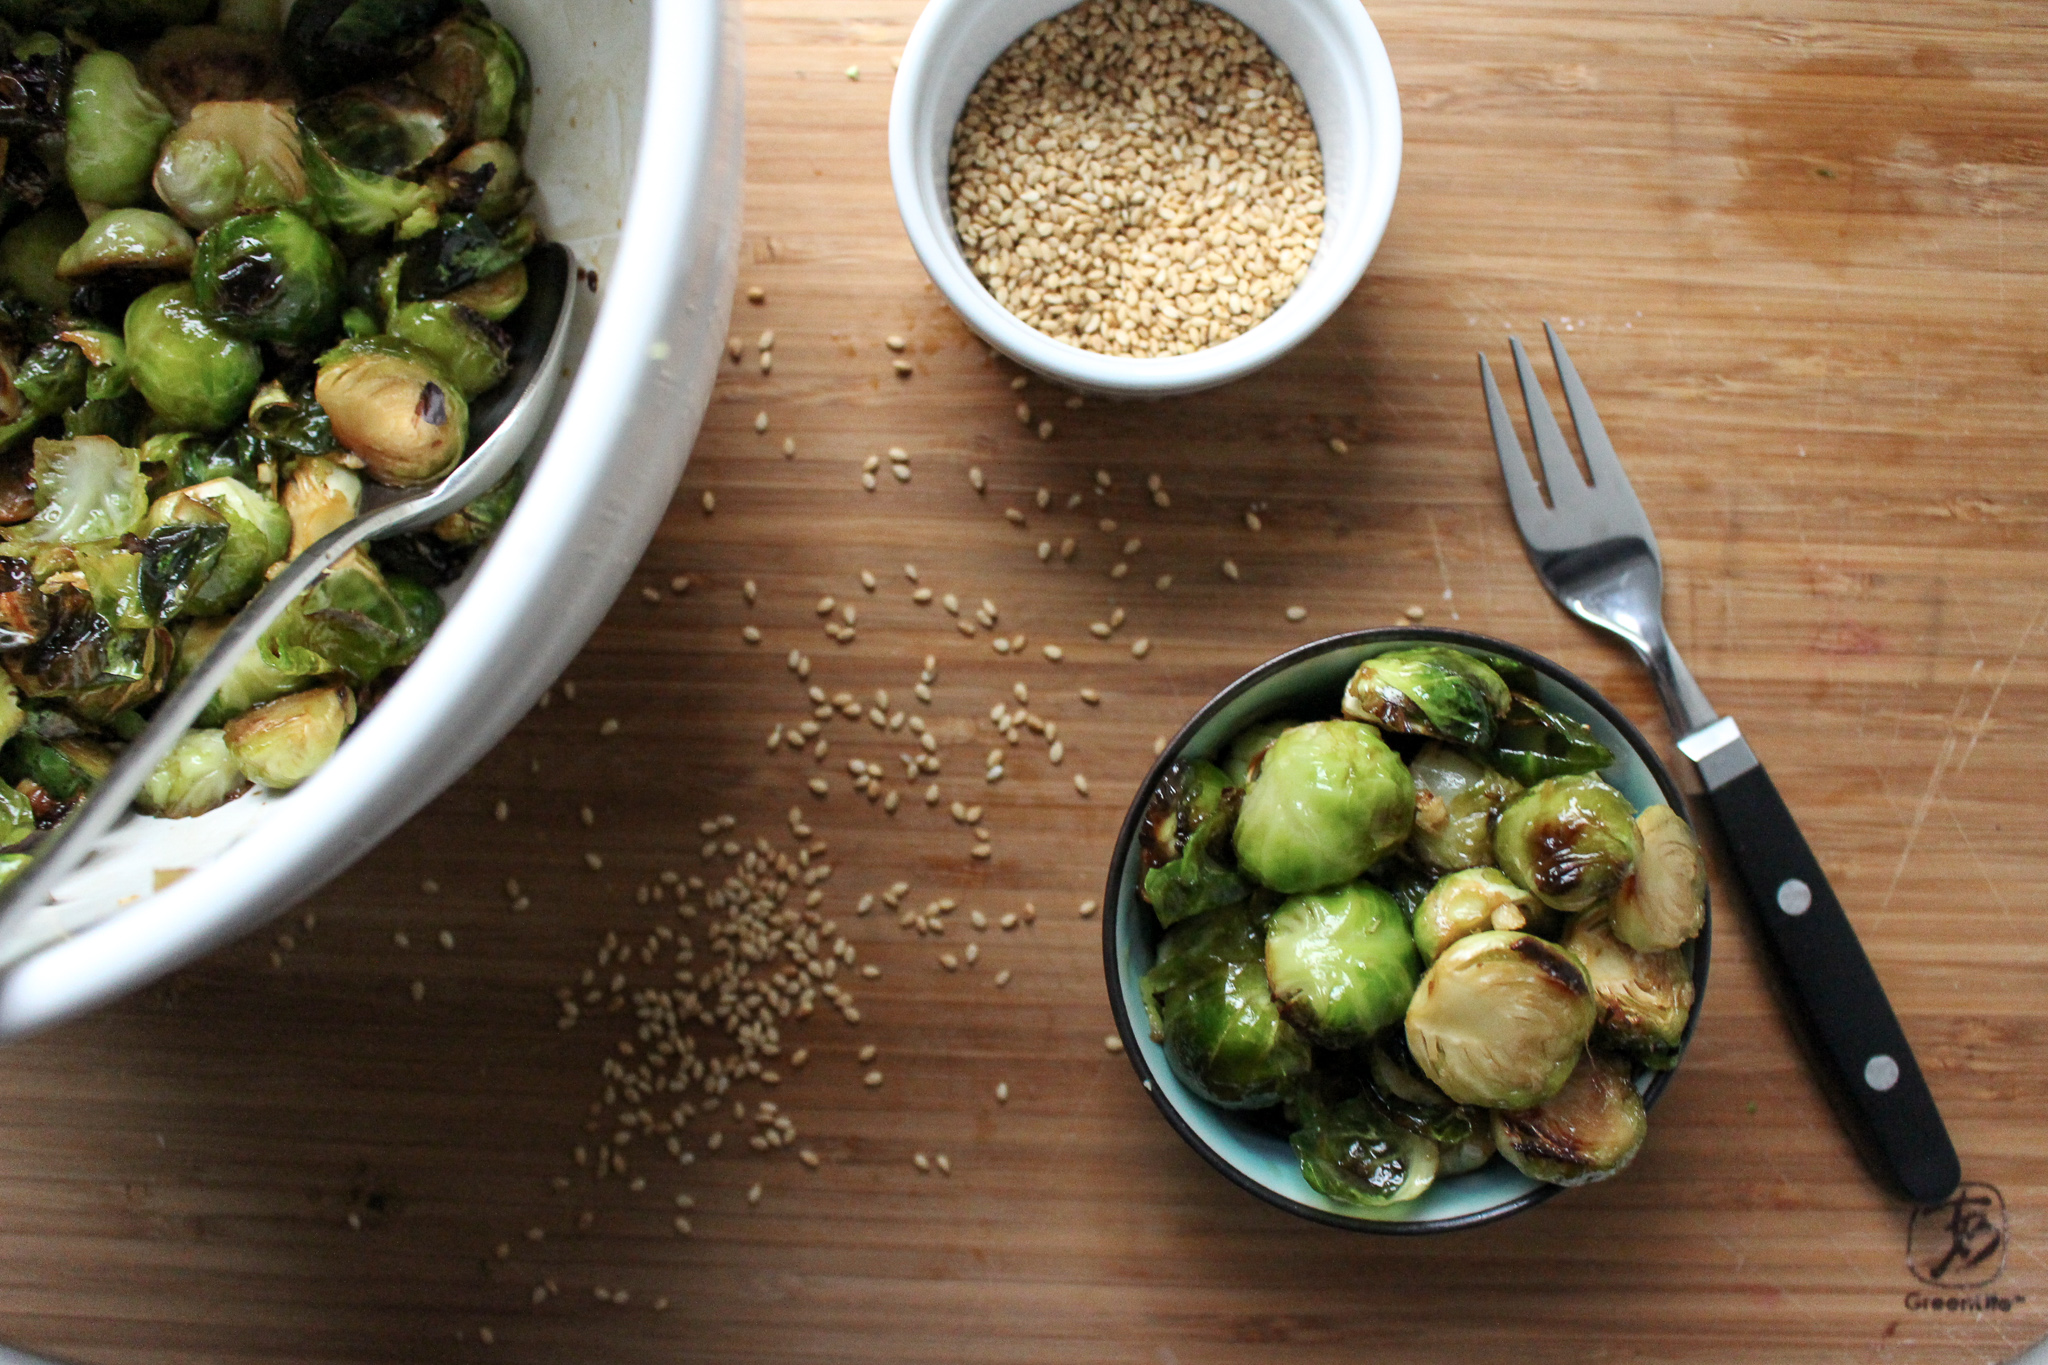
1 Tbsp toasted sesame seeds
Preheat the oven to 425.
In a large bowl, combine the veggies, olive oil, 1 Tbsp of soy sauce, and the grated ginger. Mix well. If you see any clumps of ginger, separate them the best you can.
Spread onto a baking sheet and roast for 15-17 minutes (or until you’ve reached peak crispyness, since oven temps vary), stirring once in the middle of cooking.
While the veggies are roasting, mince your garlic and combine it with the remaining 1 Tbsp of soy sauce, sesame oil, and honey.
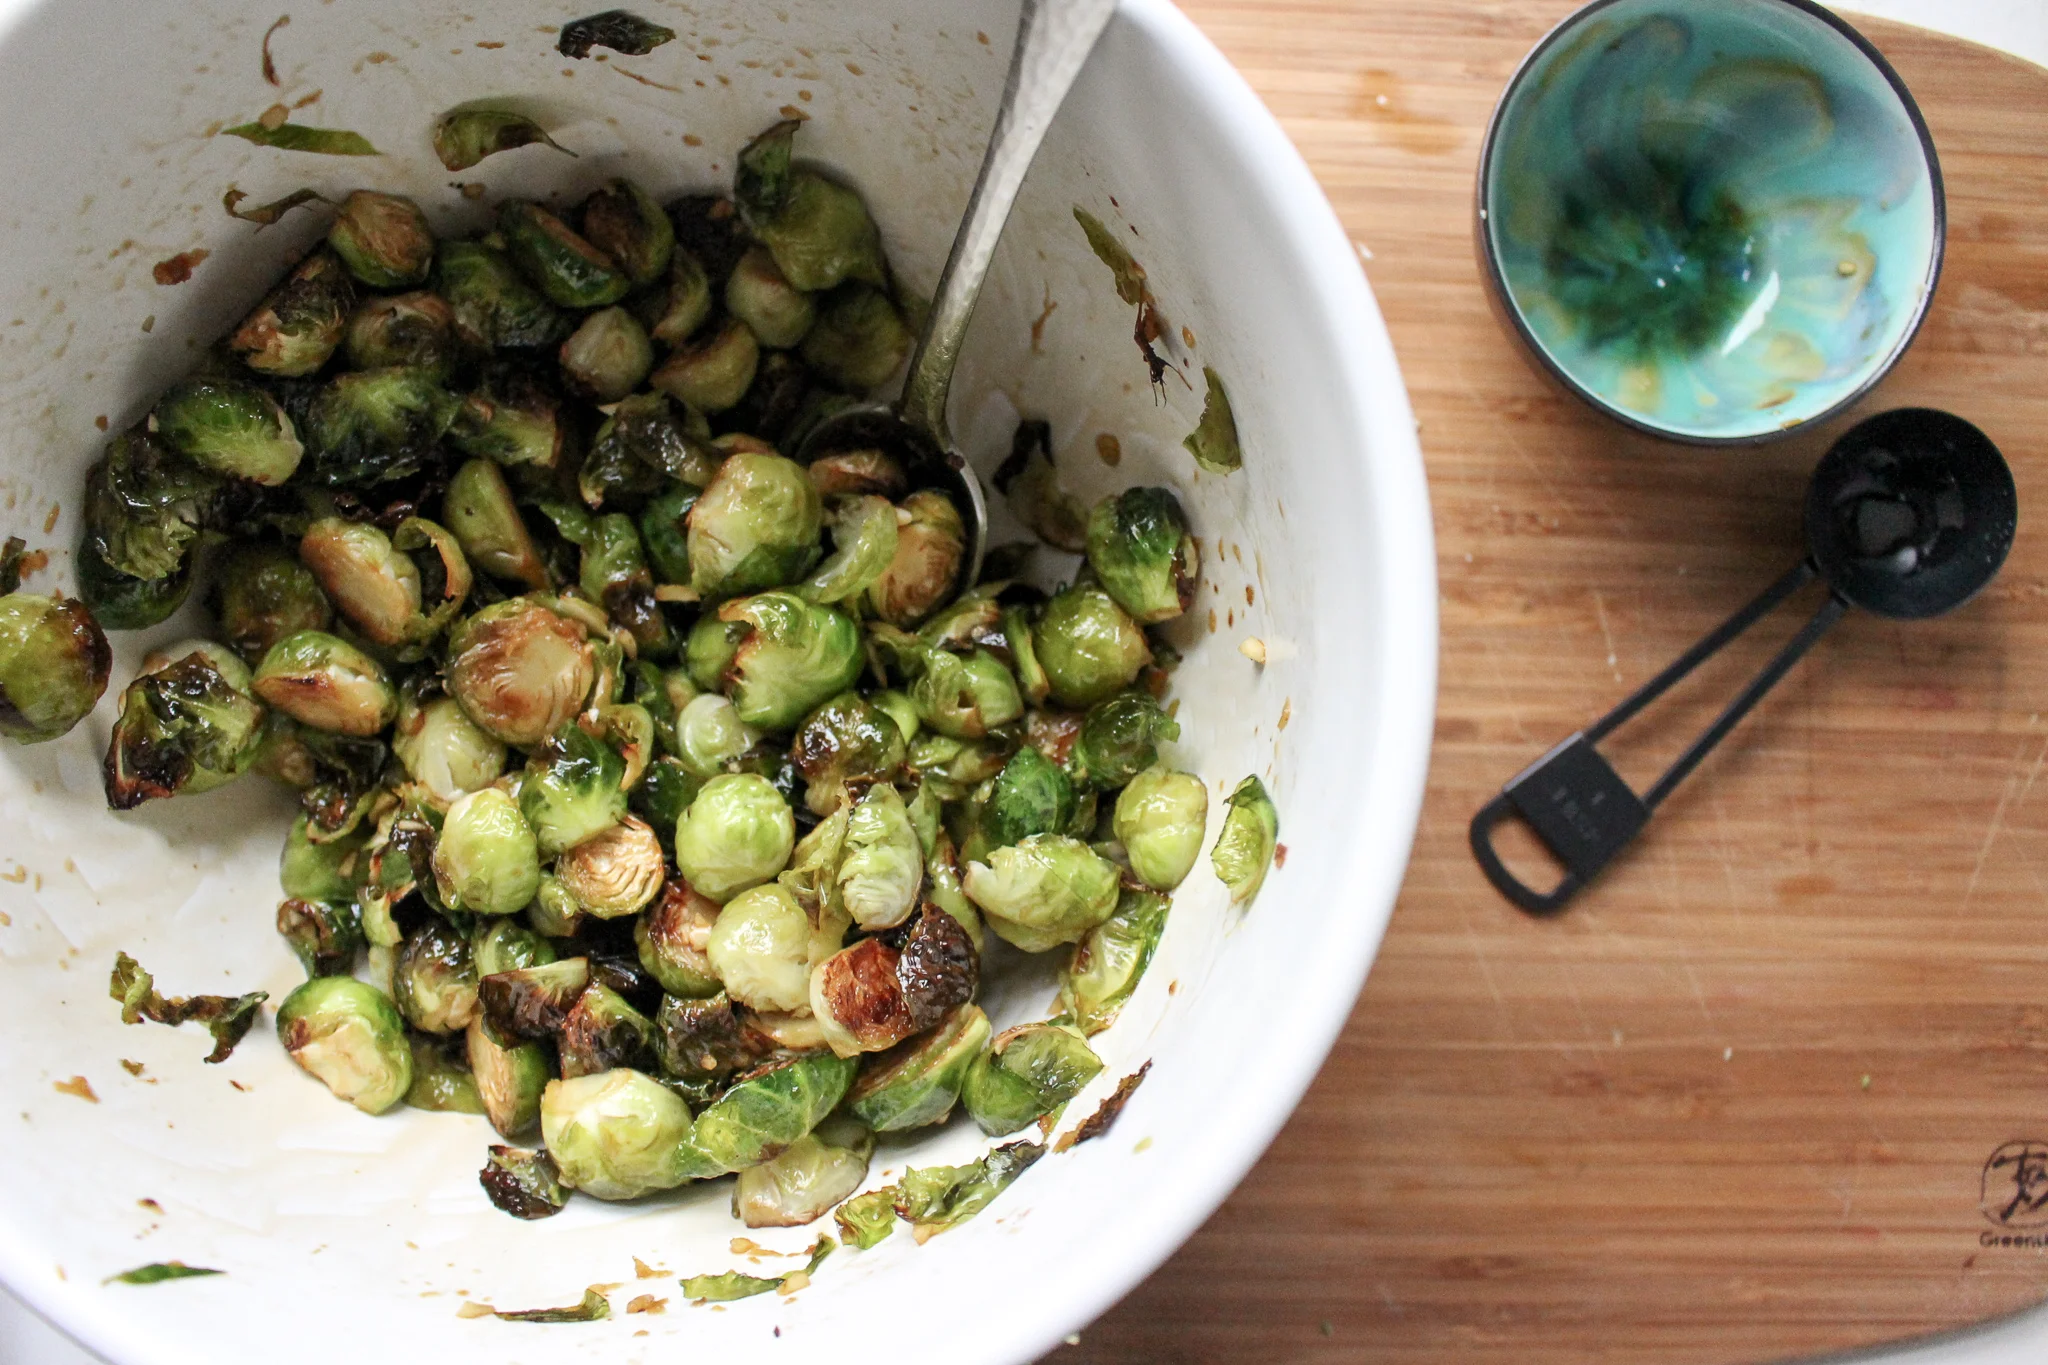
When the sprouts are roasted, quickly spoon them back into your original bowl. Add the garlic mixture and stir well. Serve immediately.
If reheating this, place the servings you’ll need back into a 425 oven for about 5 minutes (or as long as needed) to re-crisp.
Yield: about 3 cups of sprouts, or 4 servings.
Salted honey and rosemary teiglach
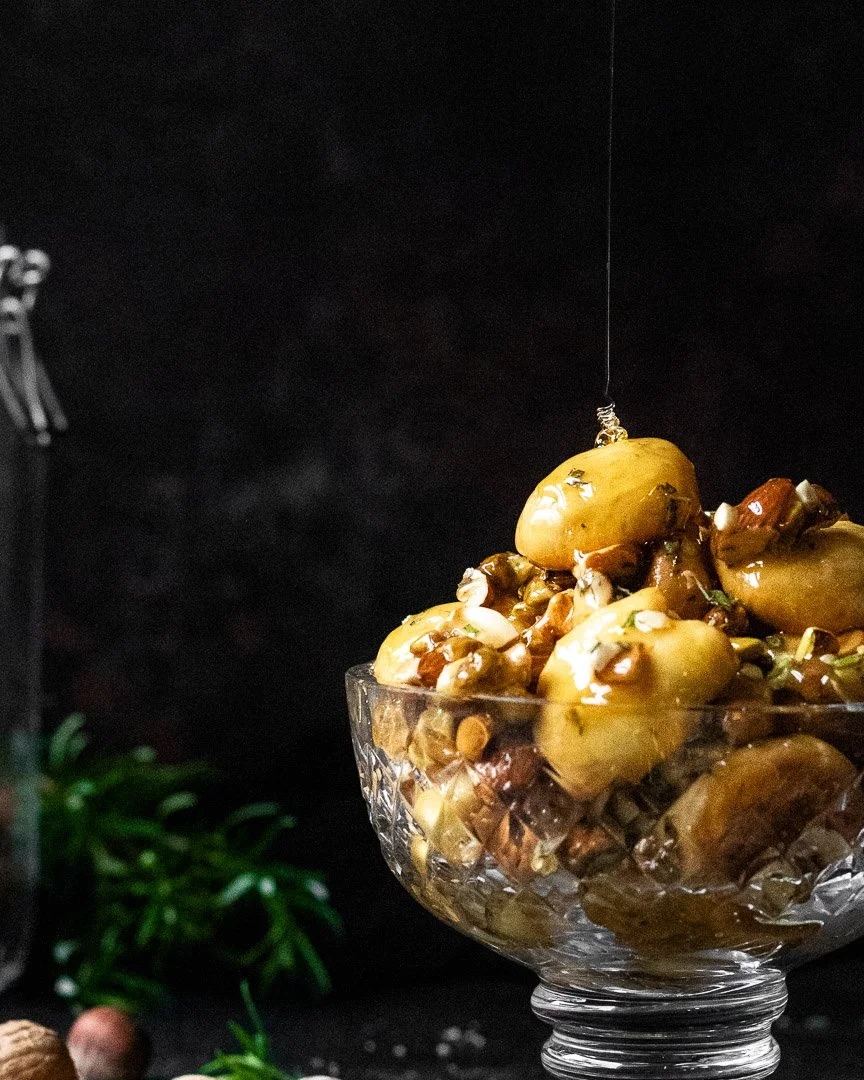
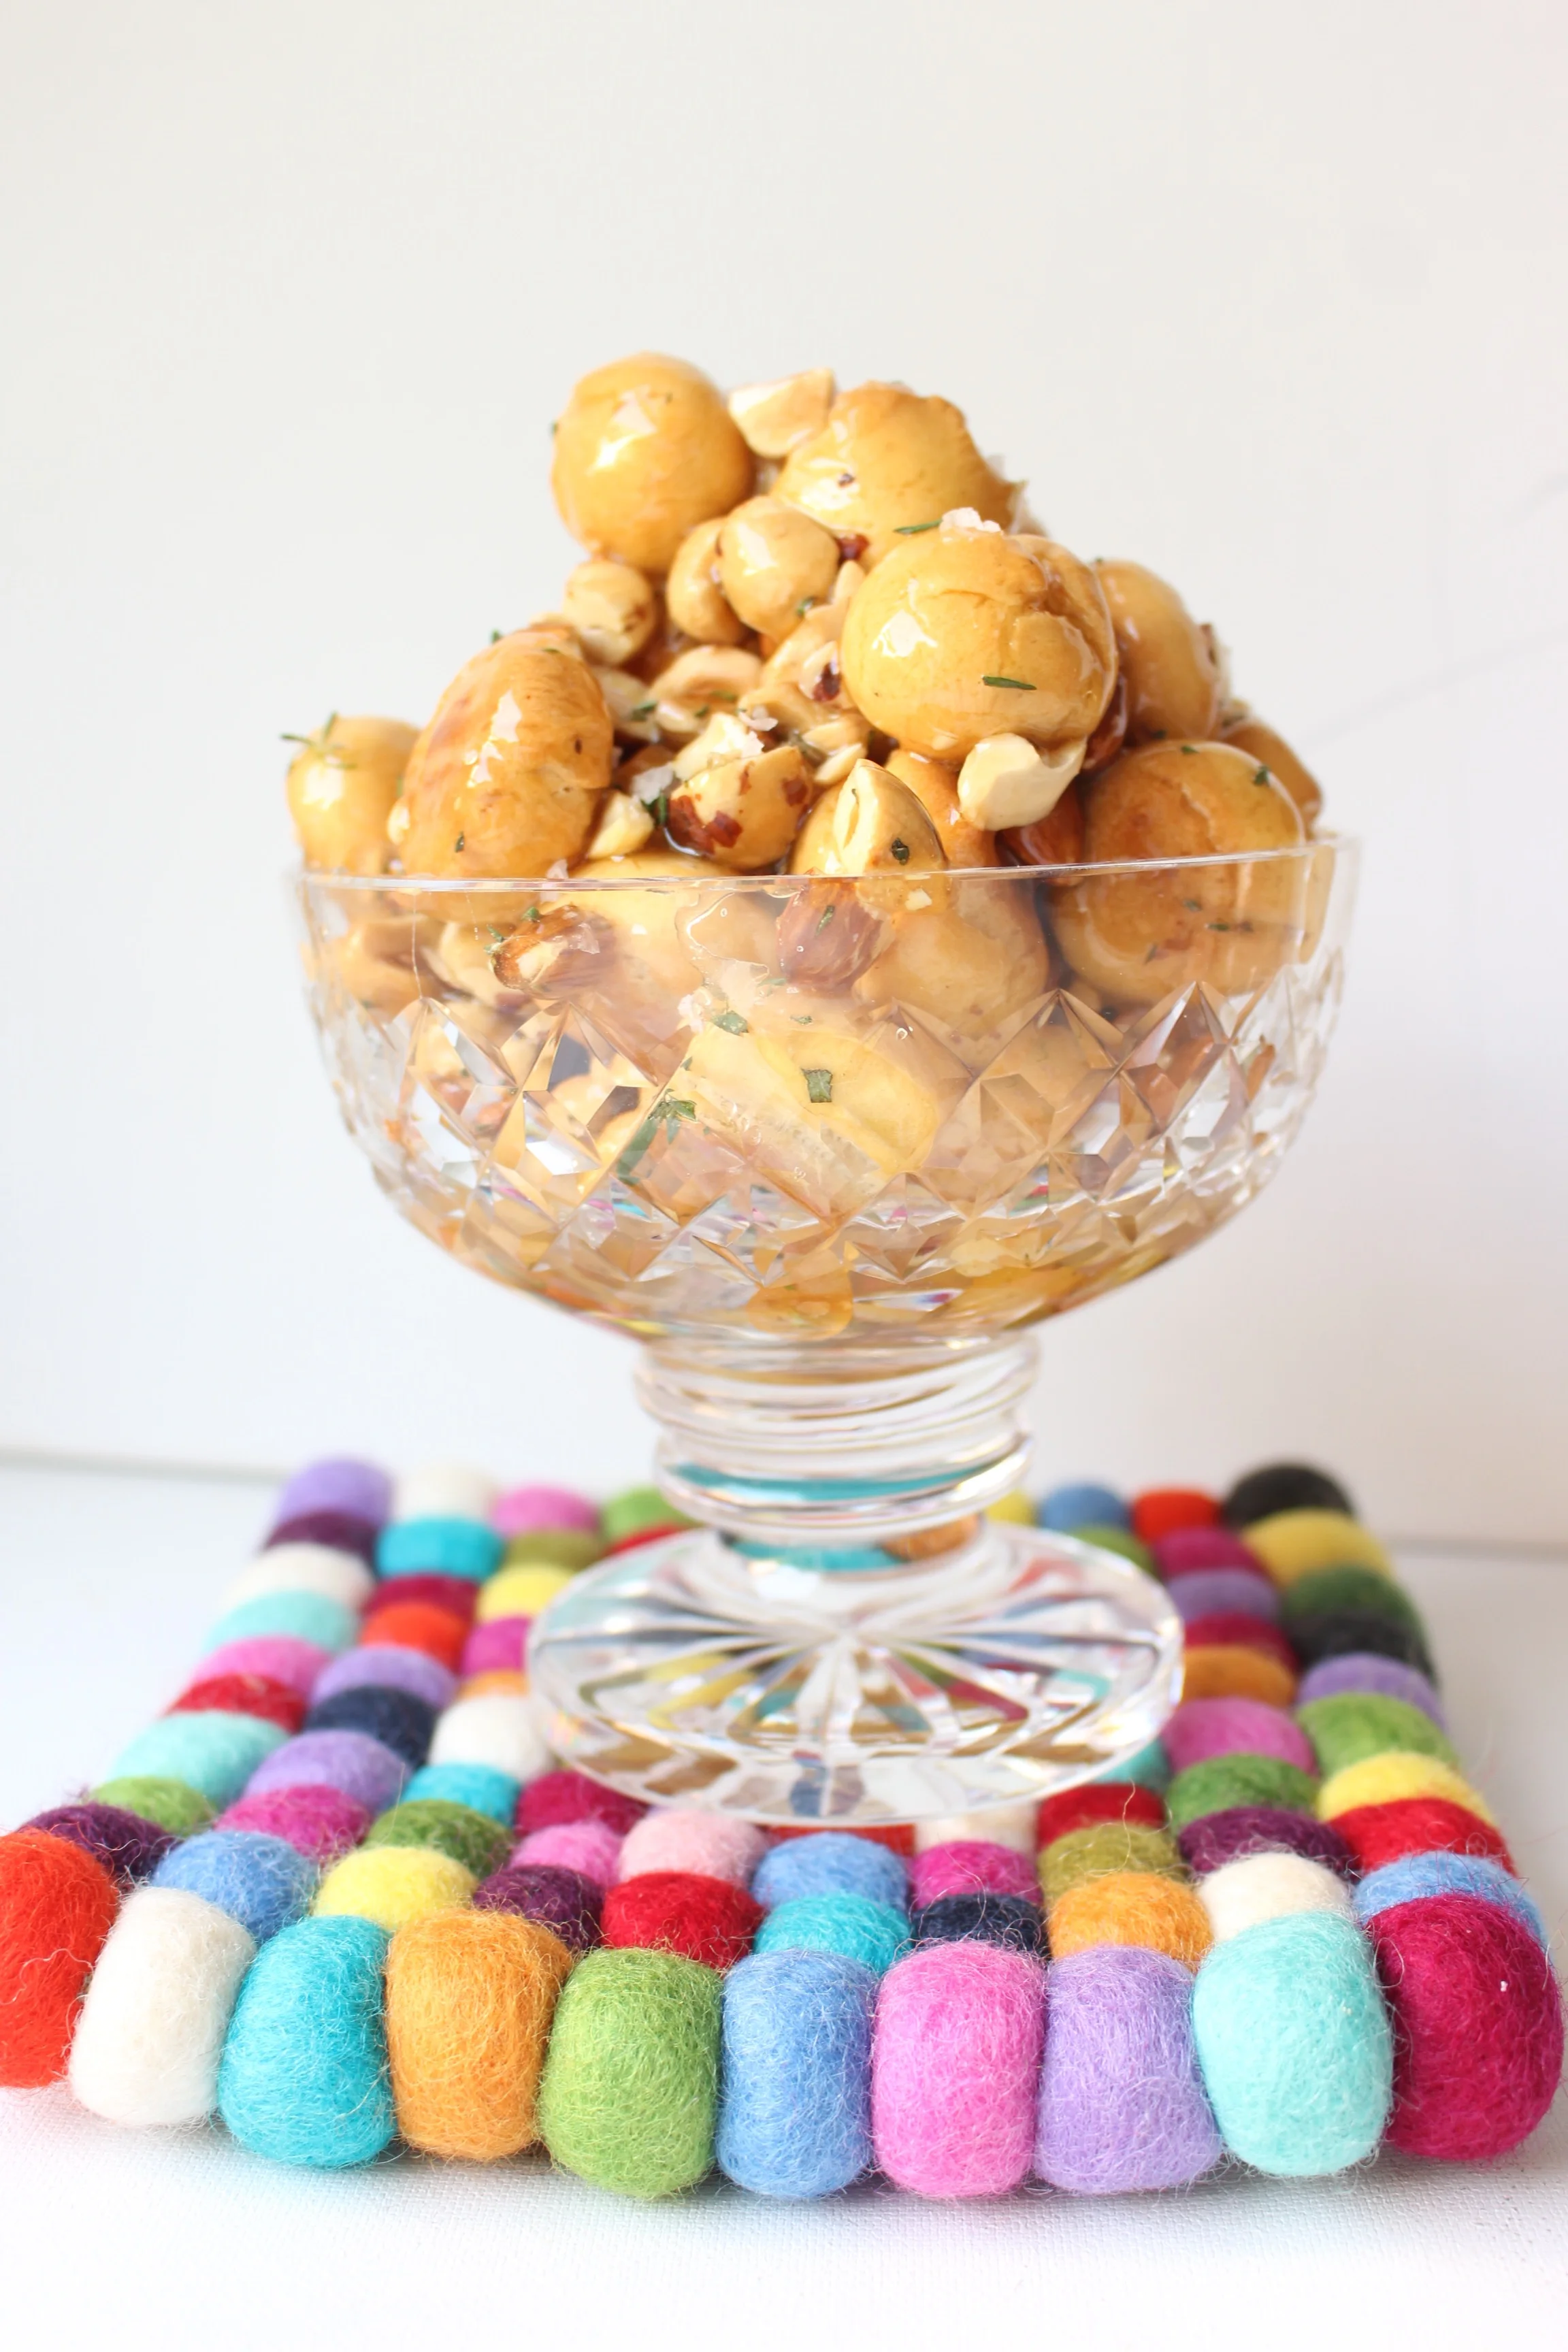
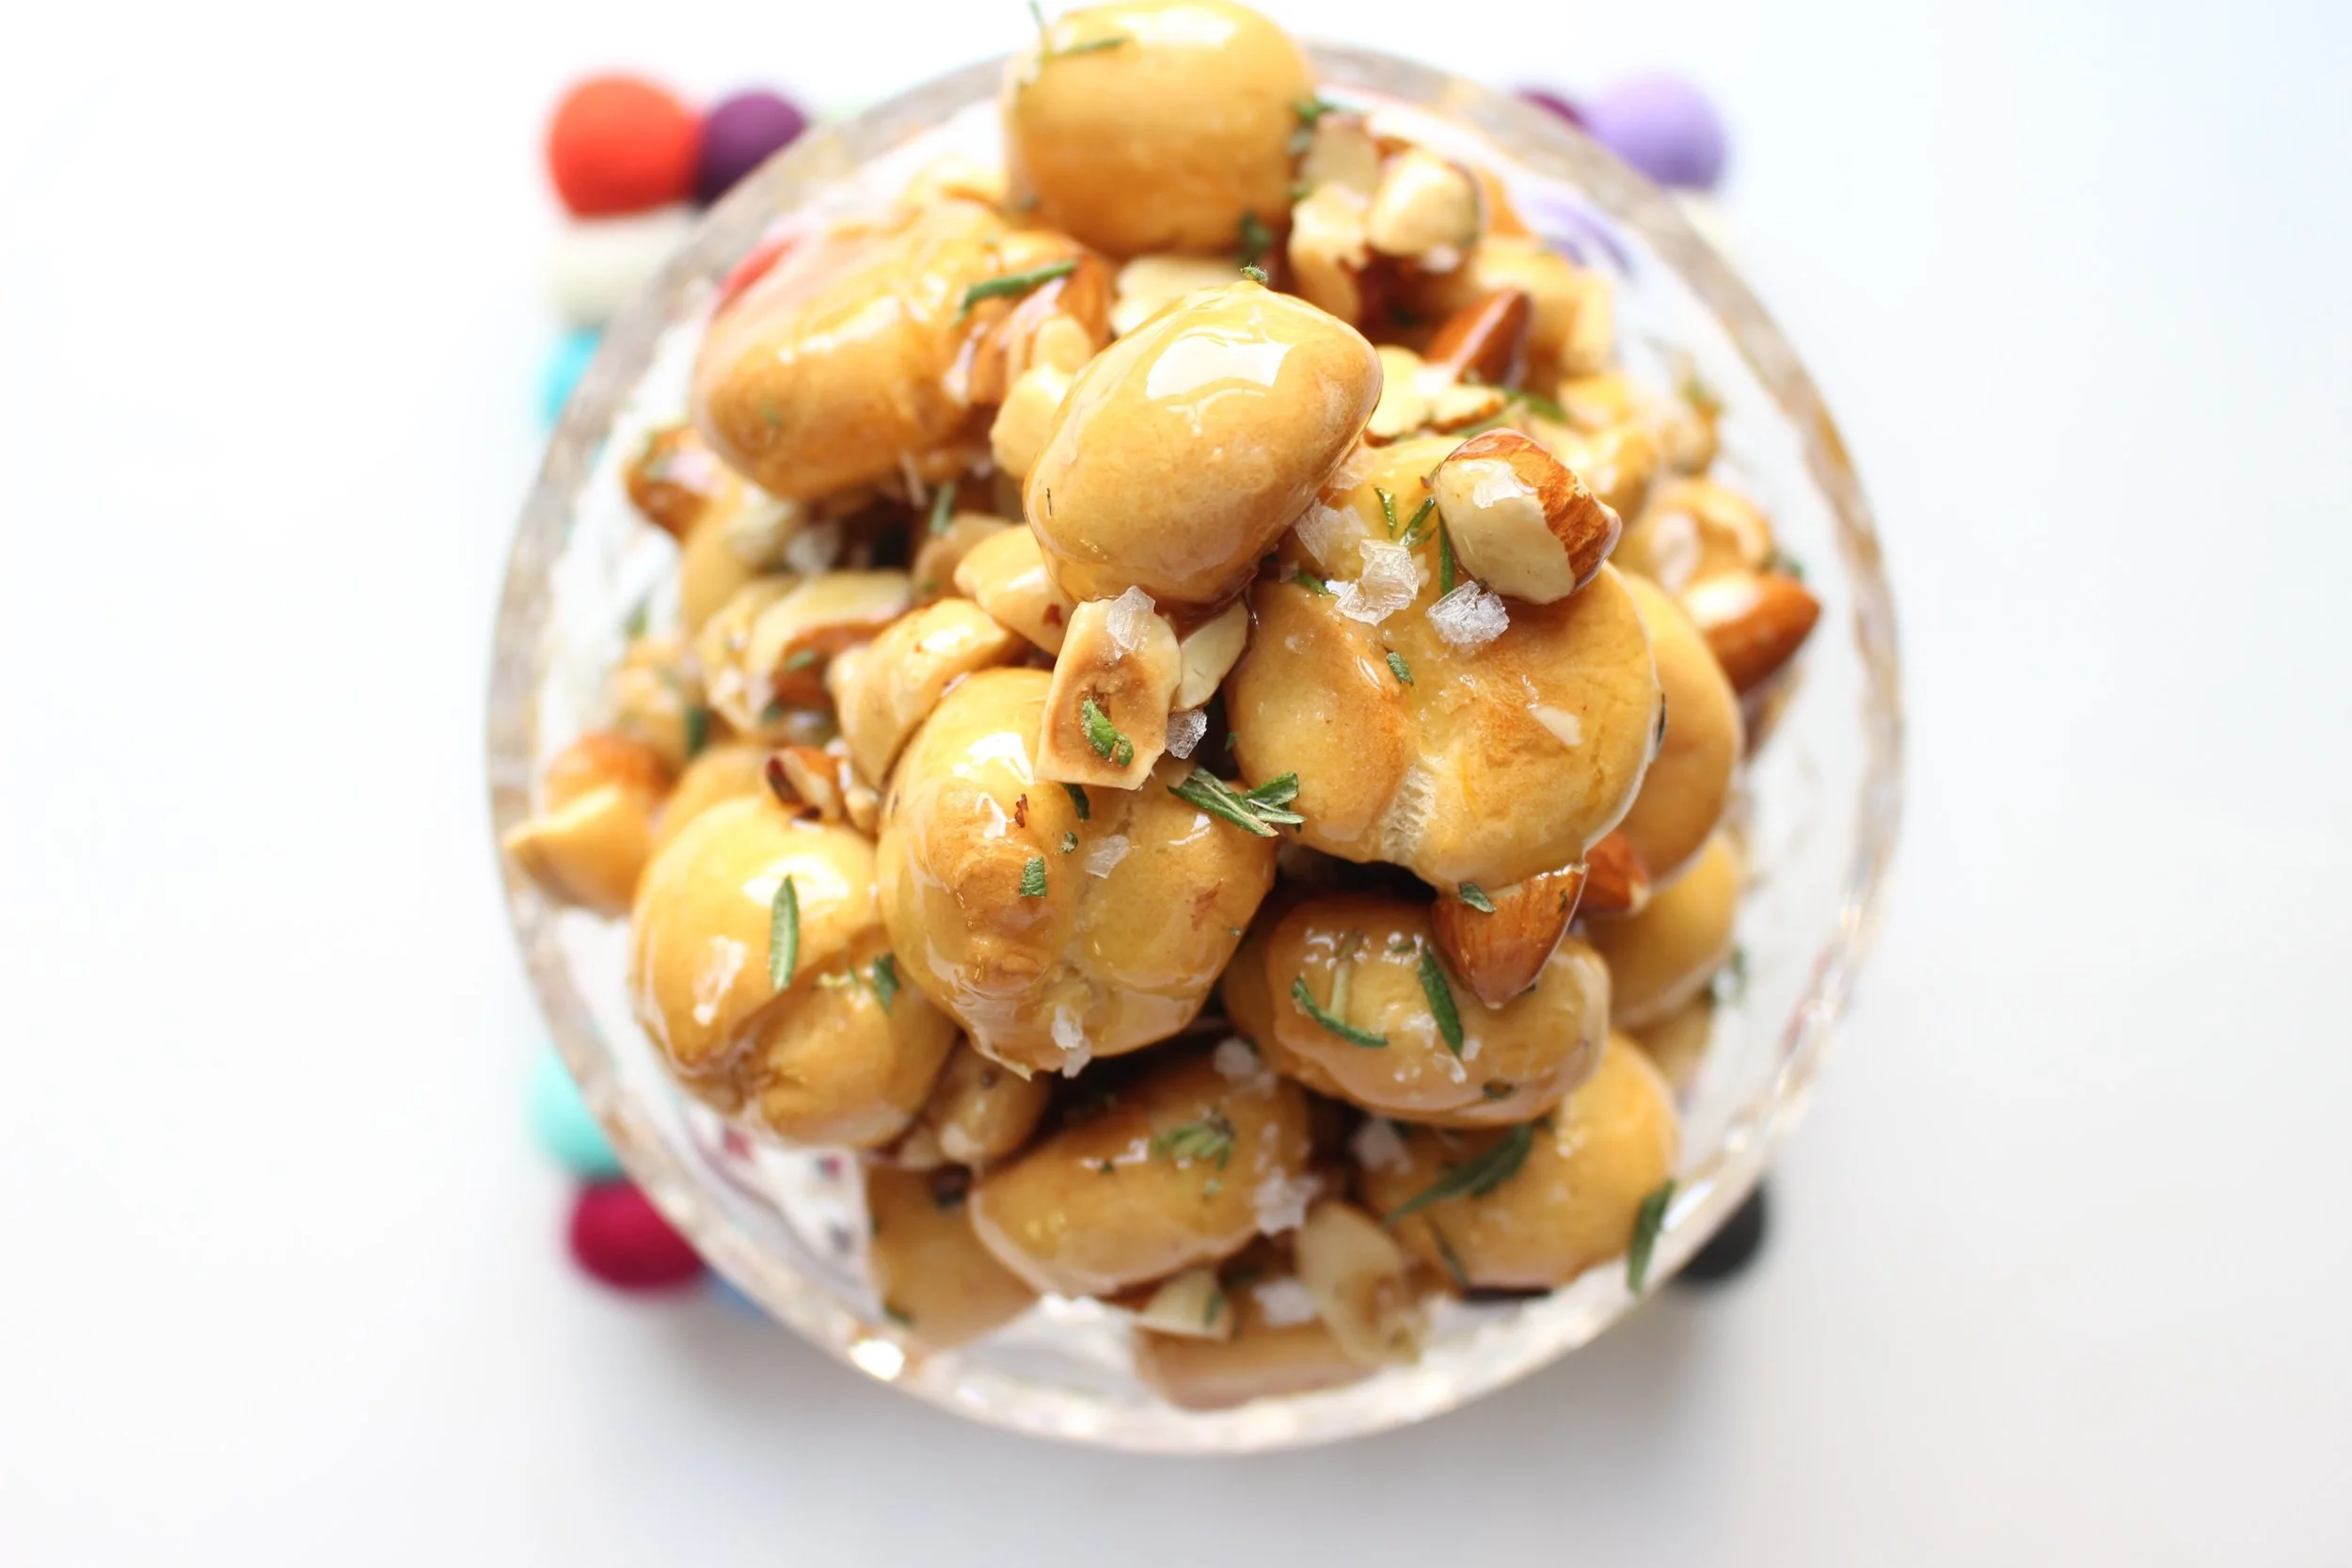
Teiglach! This sweet honeyed dessert reminds me so much of my childhood Rosh Hashanah dinners. It is a mountain of baked or fried dough balls that are combined with nuts, dried fruits, and sprinkles by a honey syrup. And though it looks complex, it is stupidly easy.
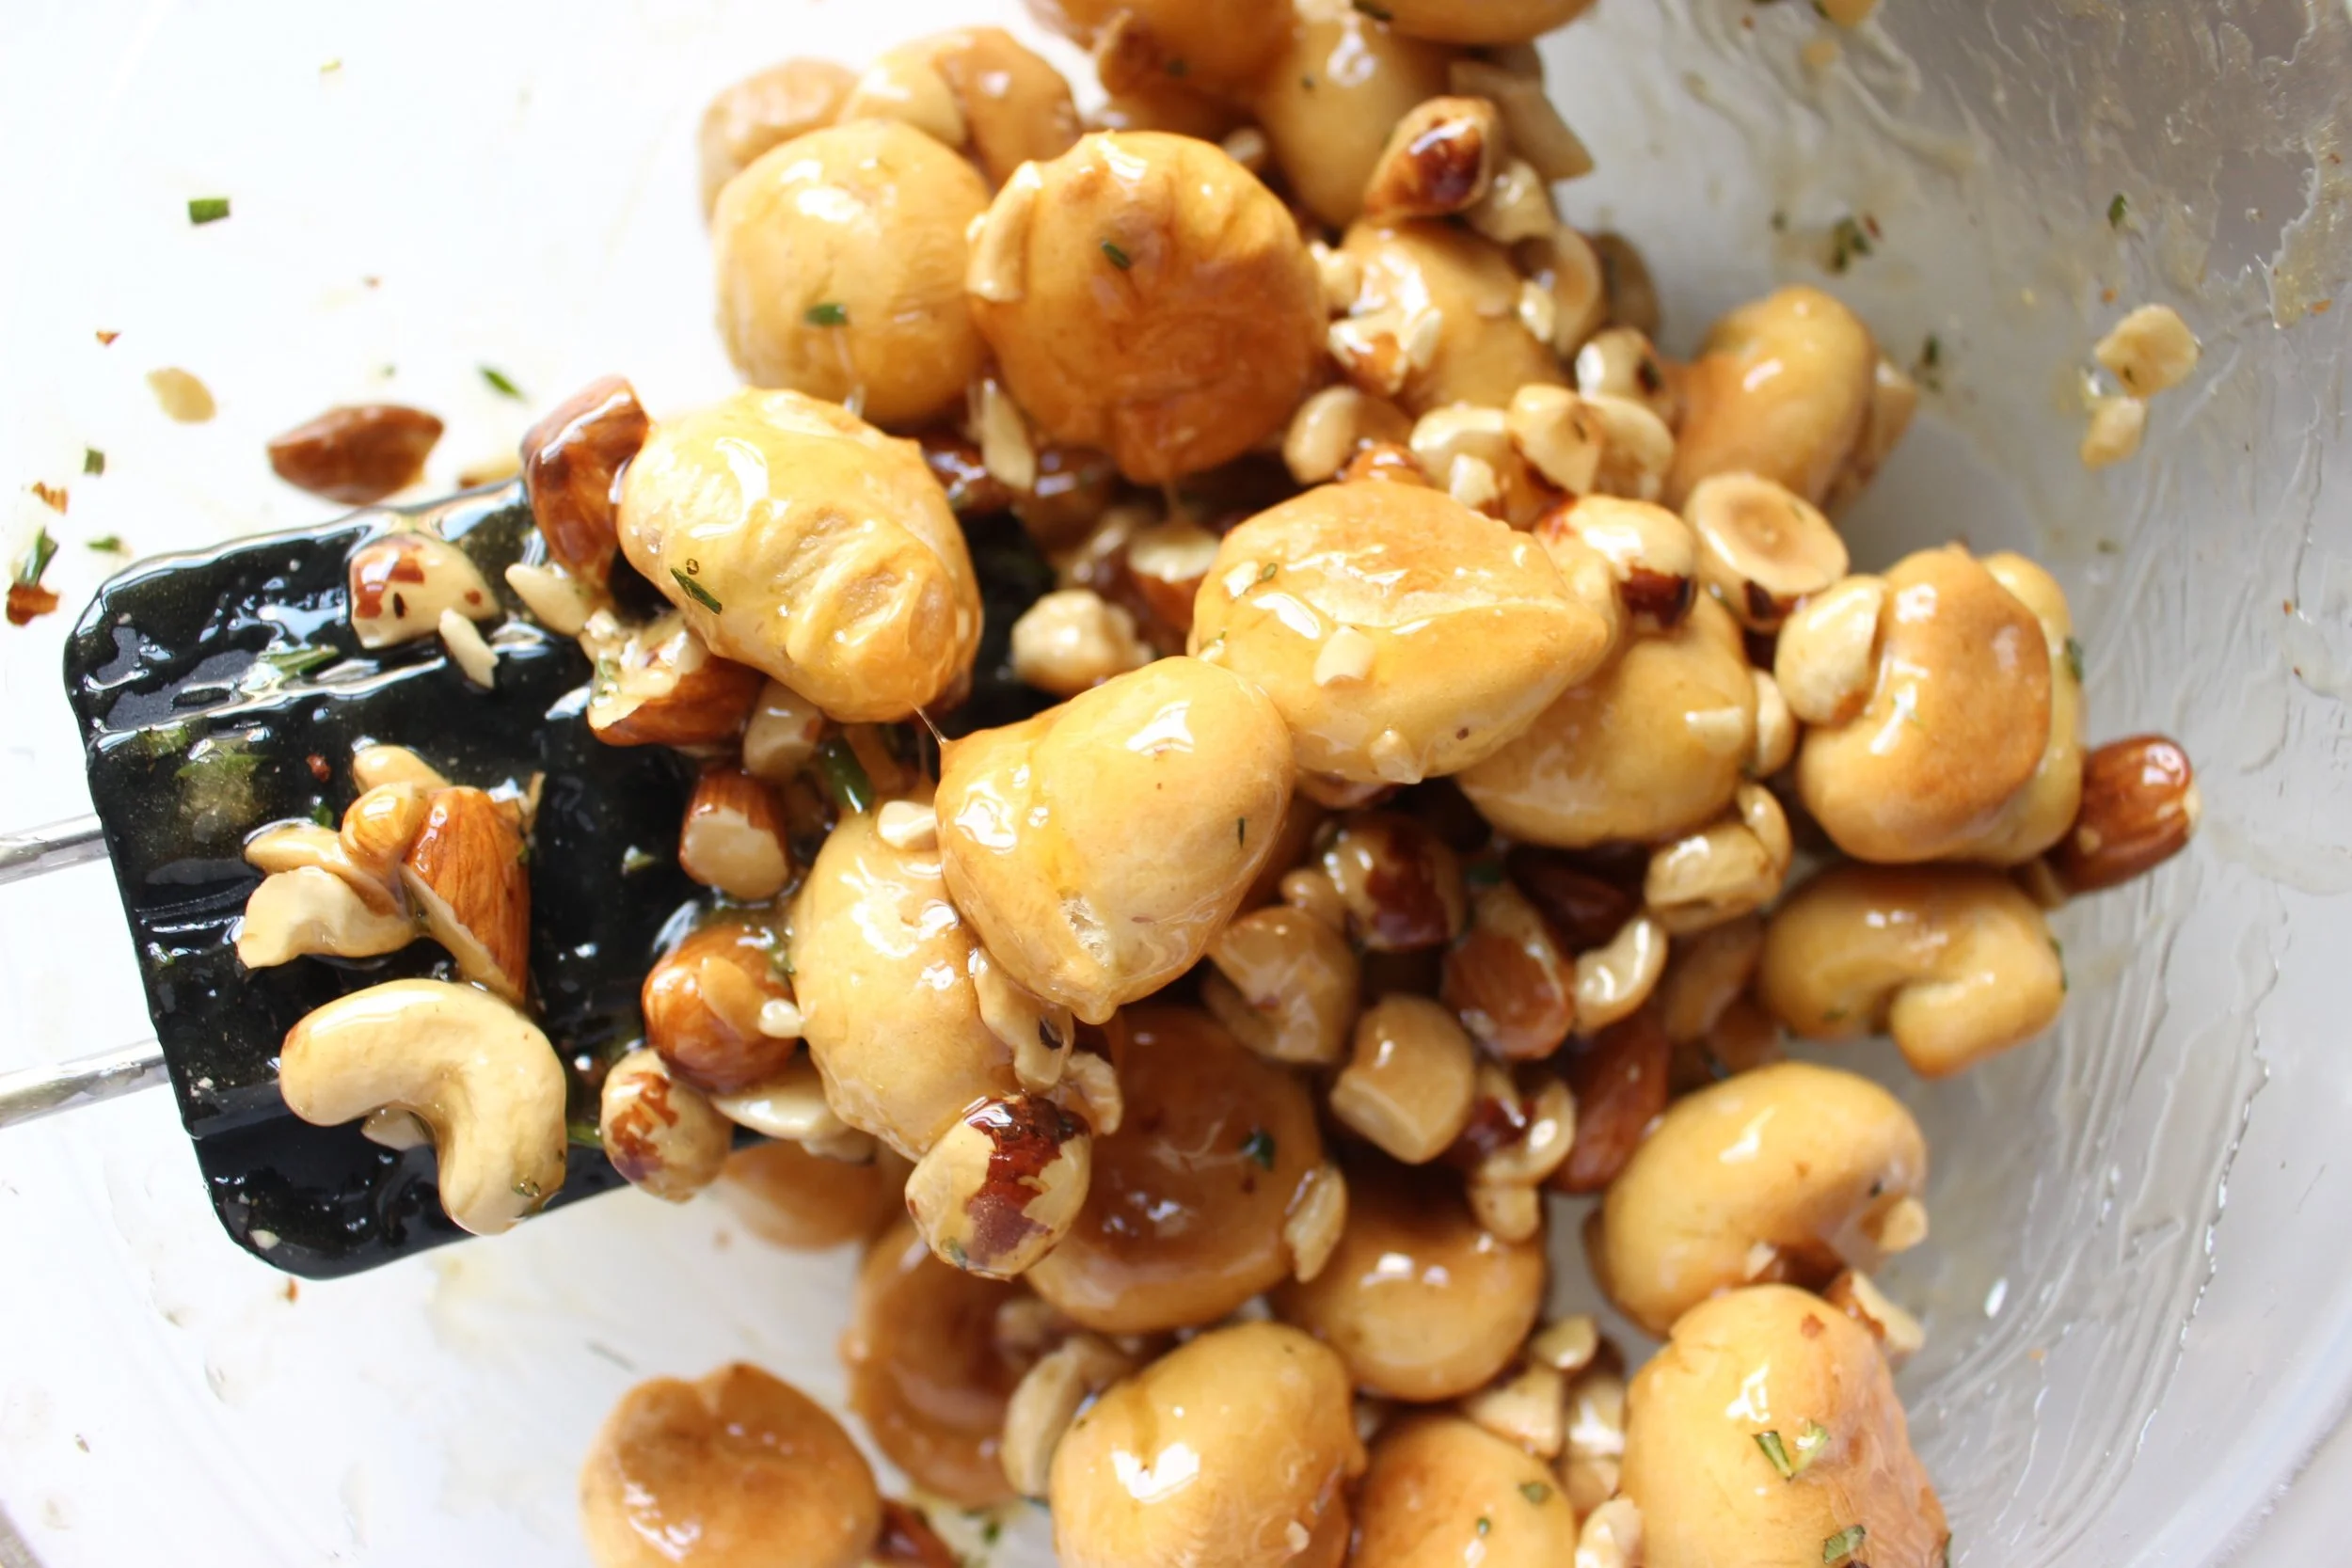
Though teiglach, for me, tends to be specific to the Jewish Holidays, it’s a close cousin of the Italian struffoli, which is traditionally served for Christmas or Easter. So, you can feel good about serving this sticky treat for any occasion, really.
I added flaky sea salt and rosemary to my version because traditional teiglach is very sweet (hello, honey) and both of those ingredients tone down the sweetness. I also added almond extract to my dough, which makes for a more complex overall taste. The almond, rosemary, sea salt, and honey also play very well together.
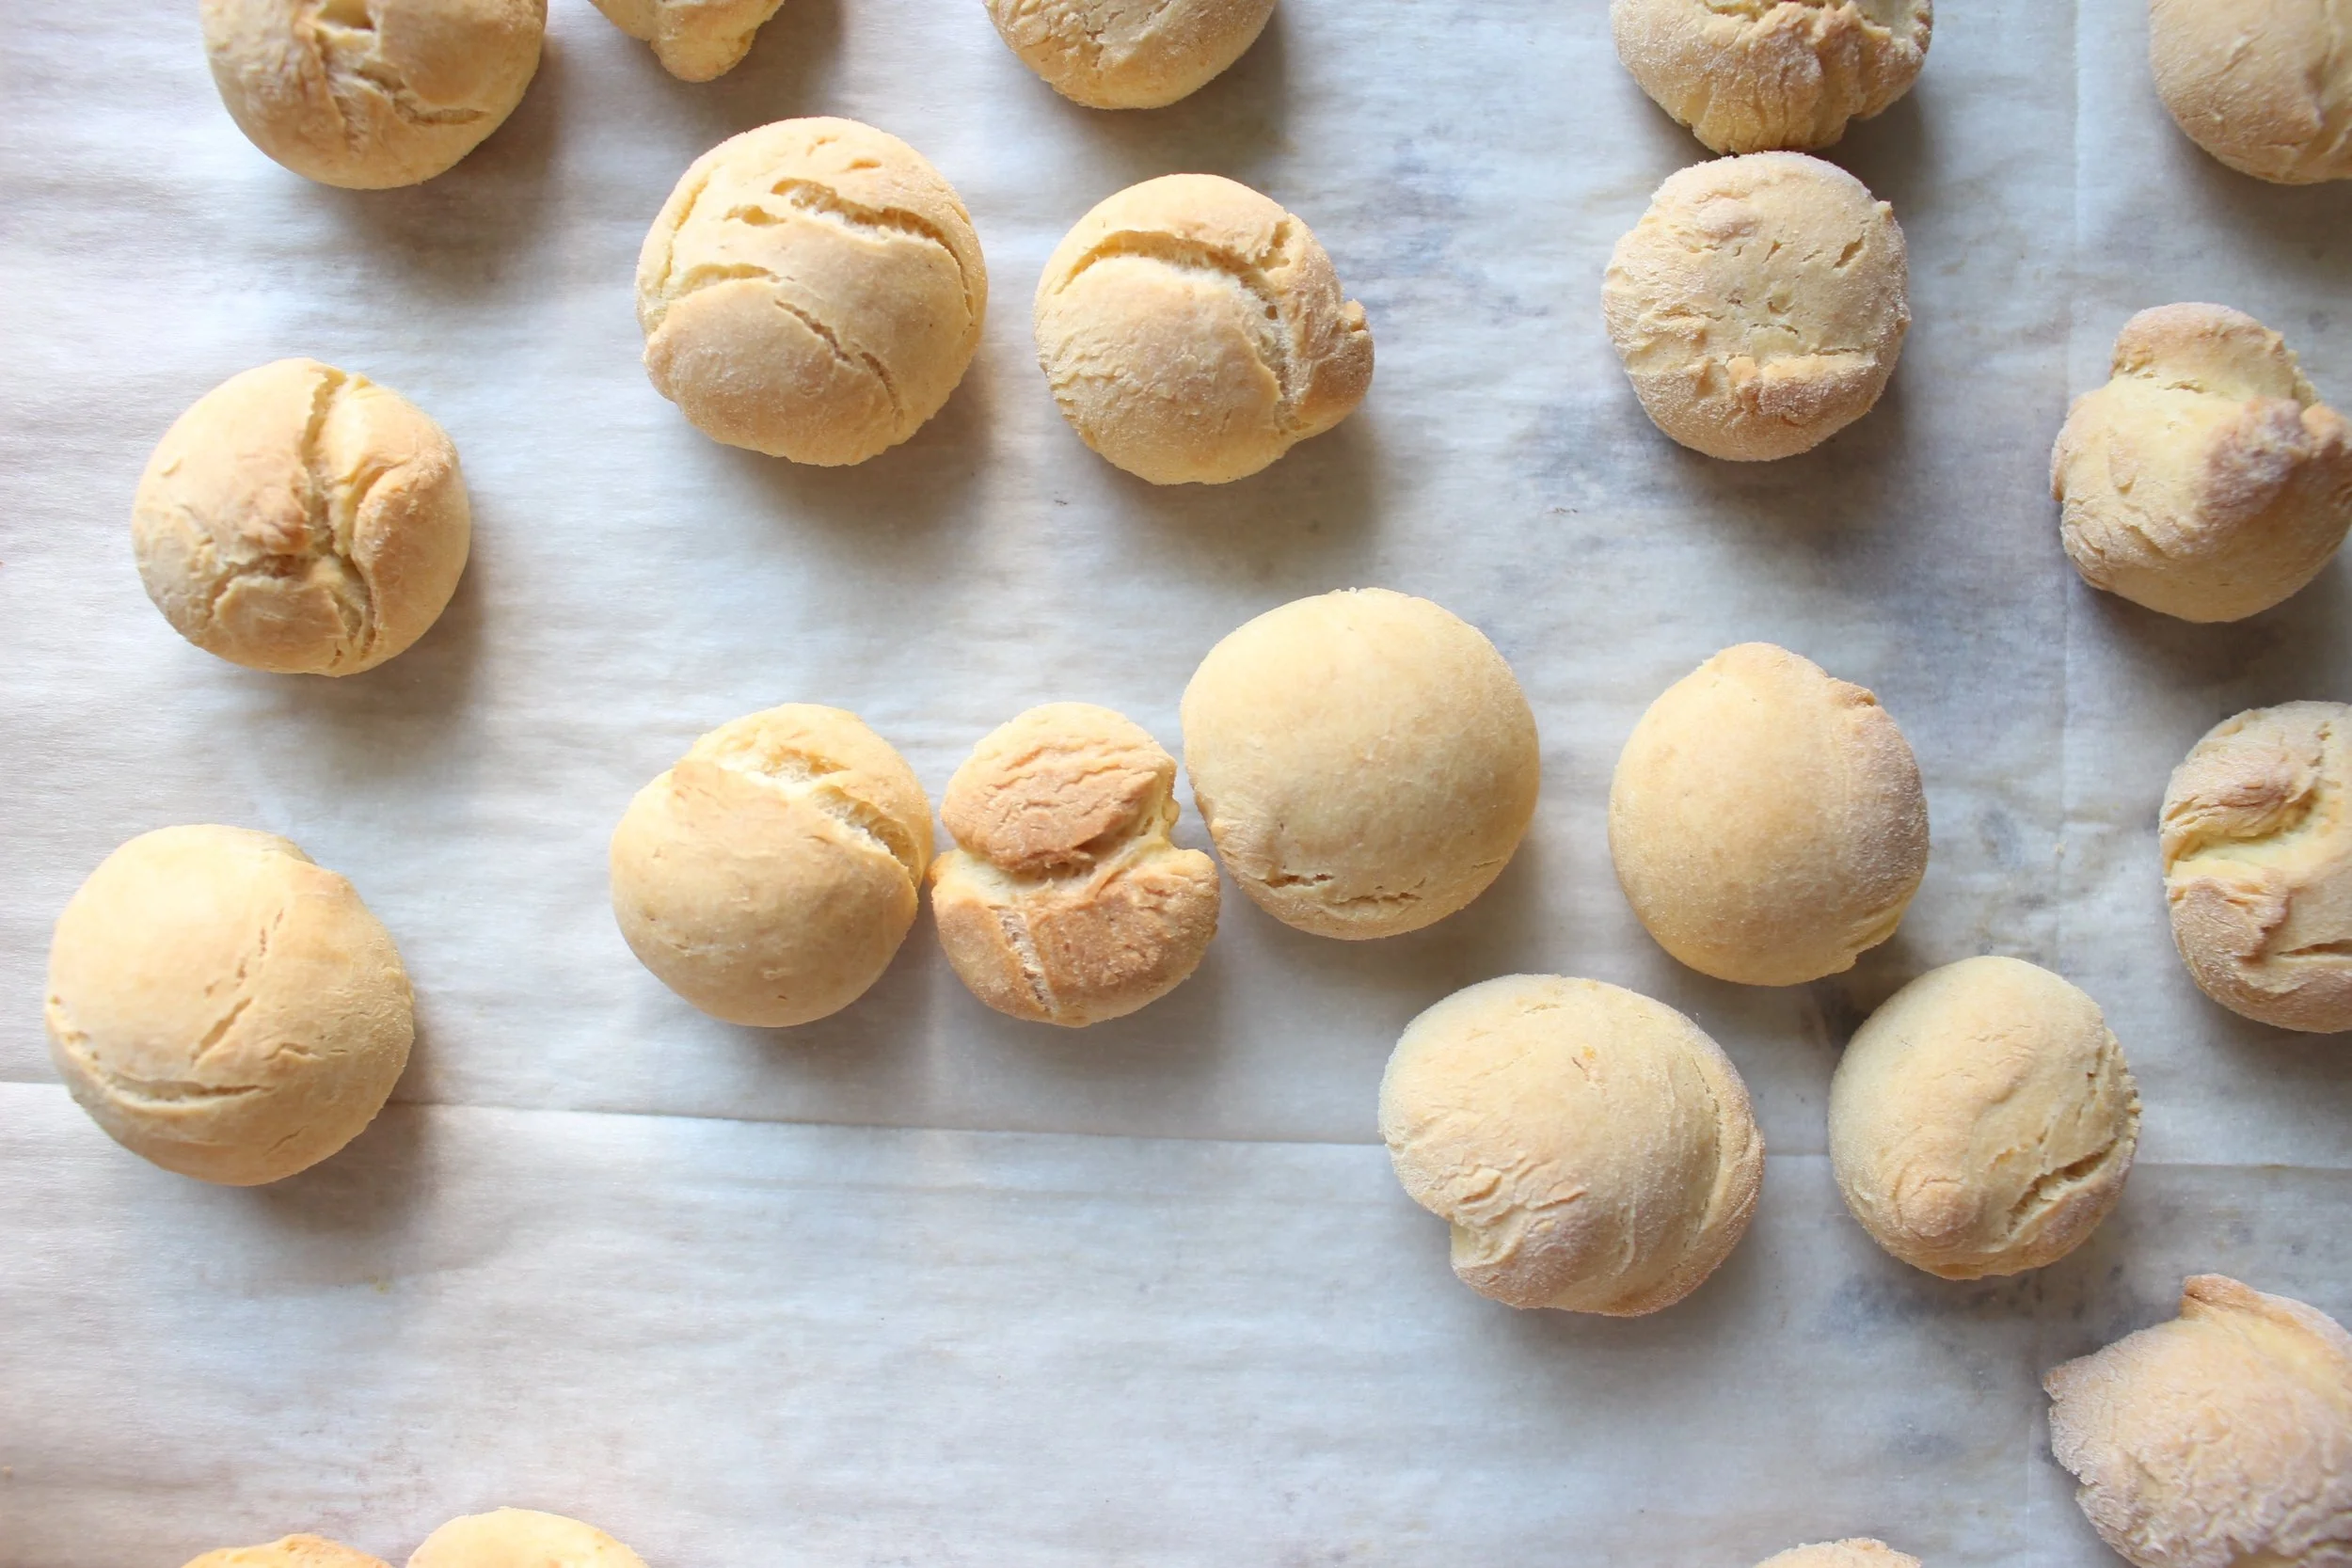
I baked the dough because a) it’s marginally easier; b) it’s marginally healthier; and c) I hate nothing more than smelling like fried oil. Don’t be afraid to overbake the dough balls slightly as this will help them to stay crunchy when they’re covered in honey.
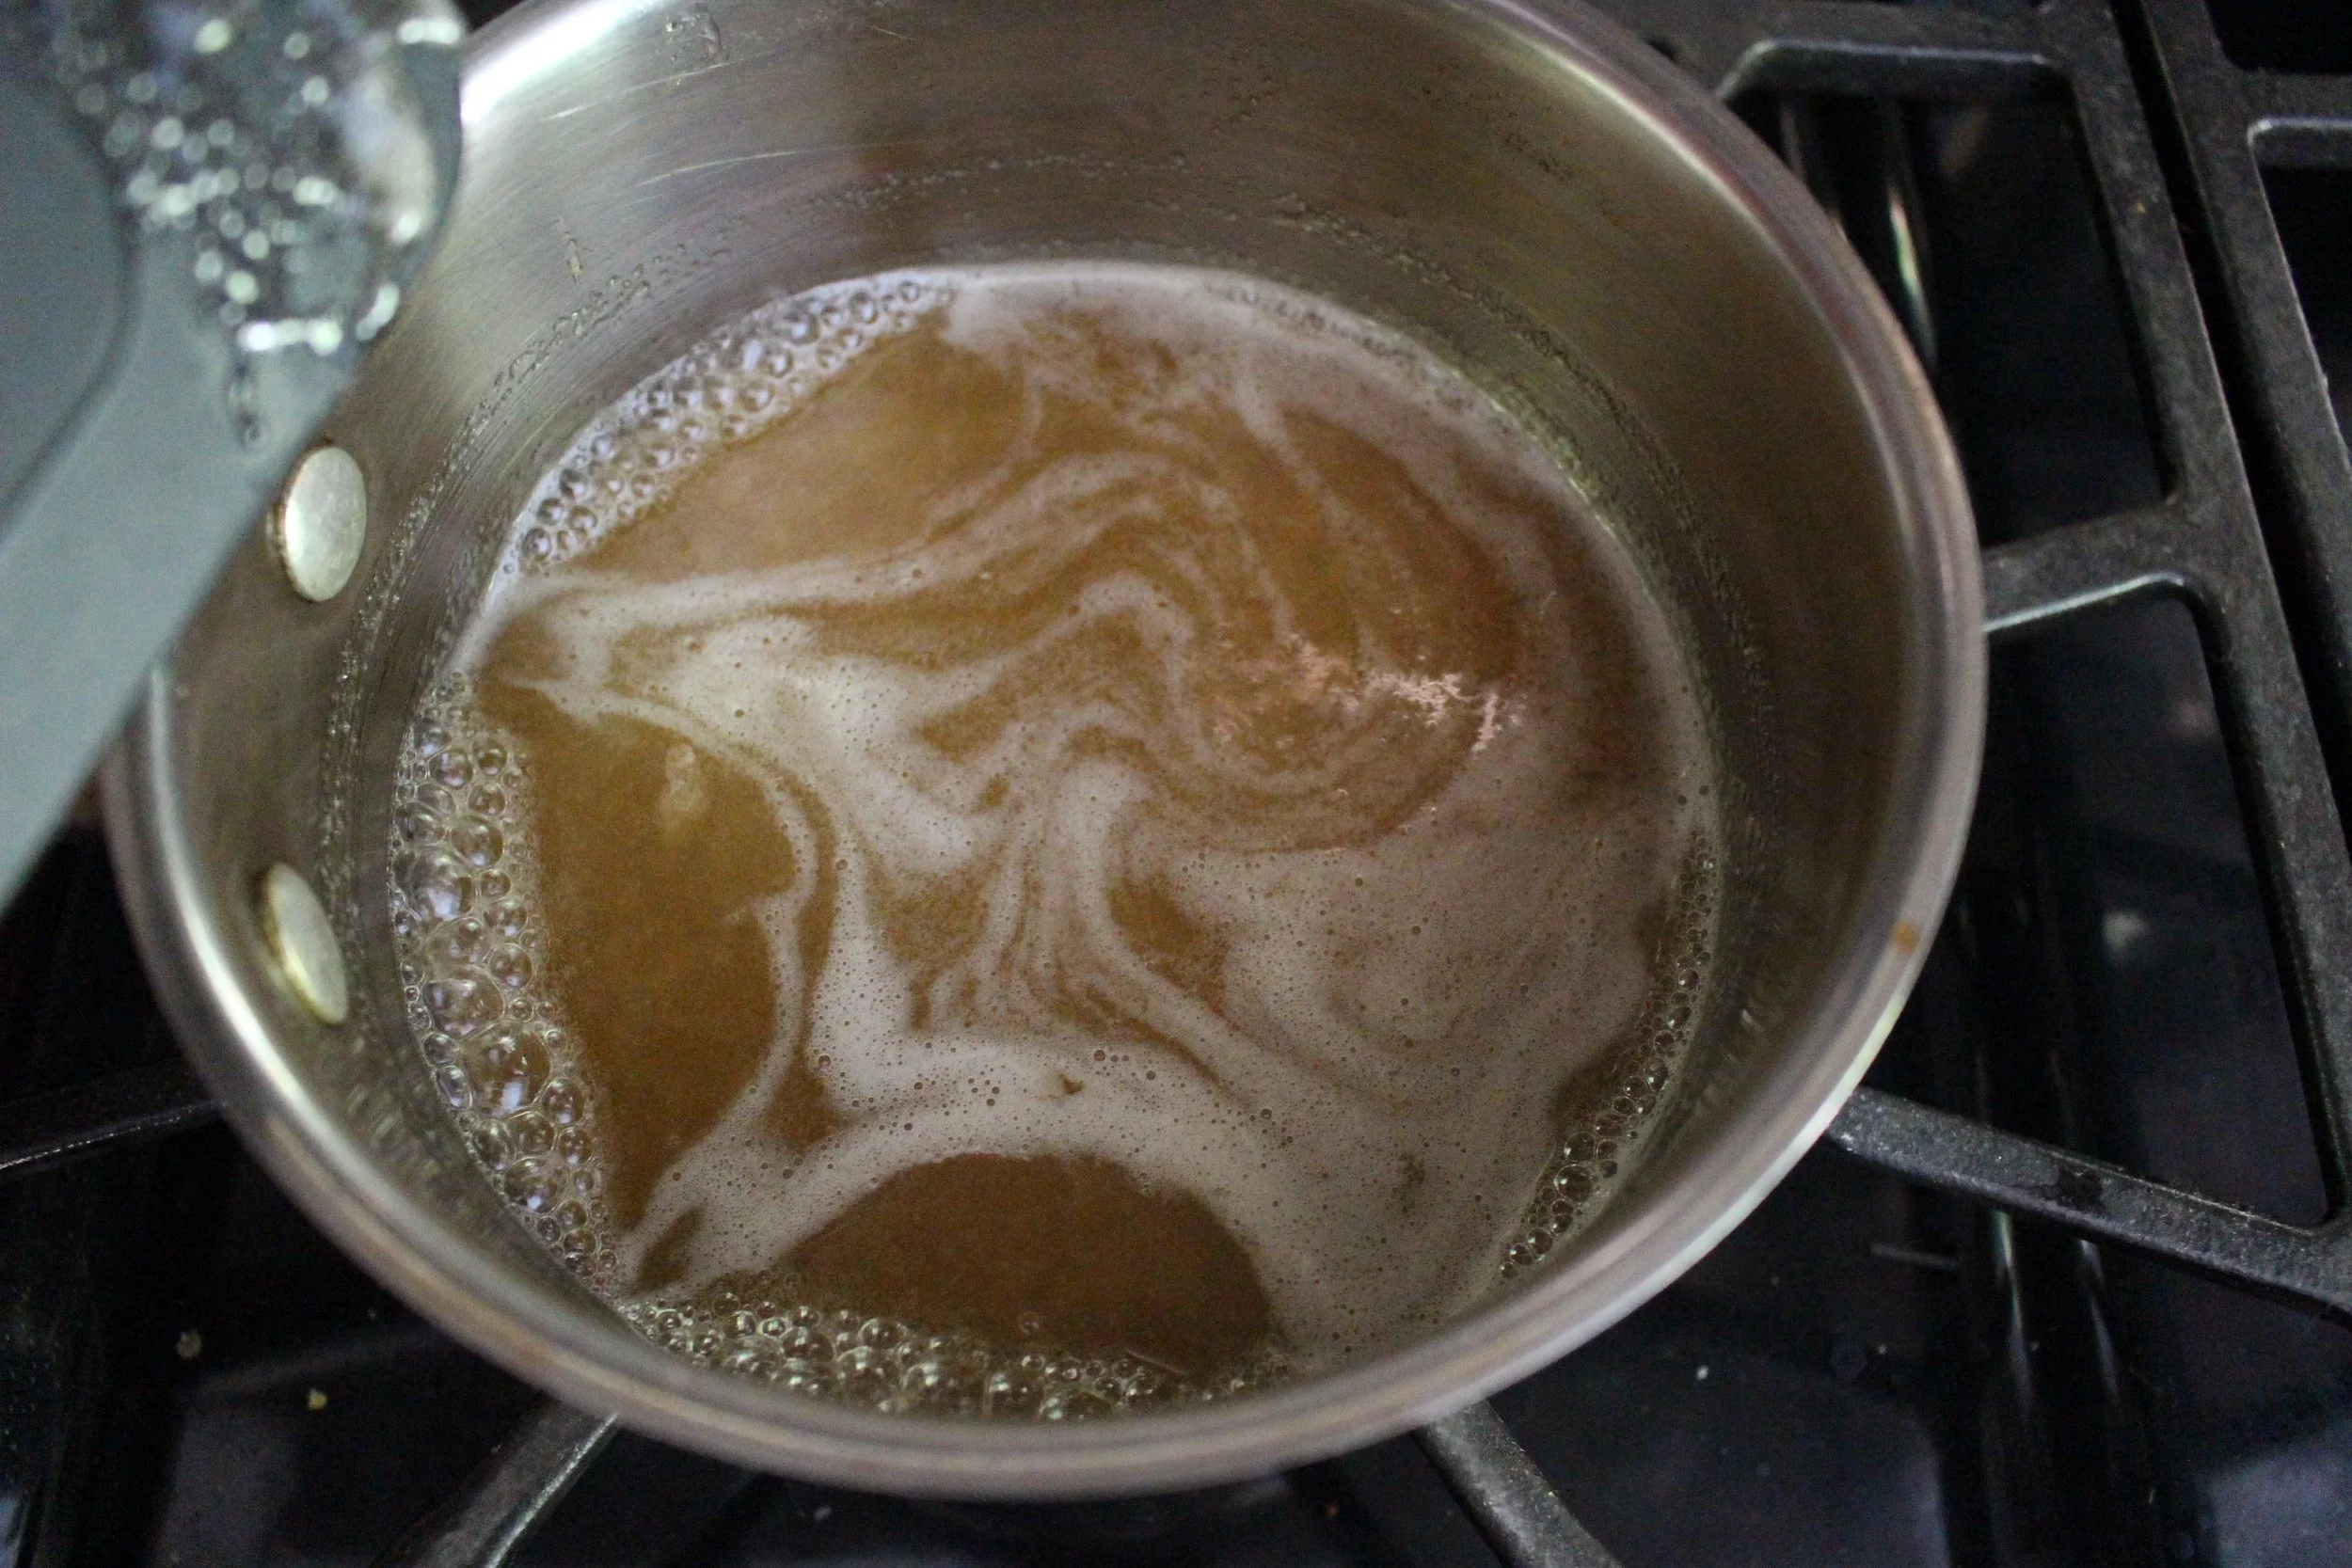
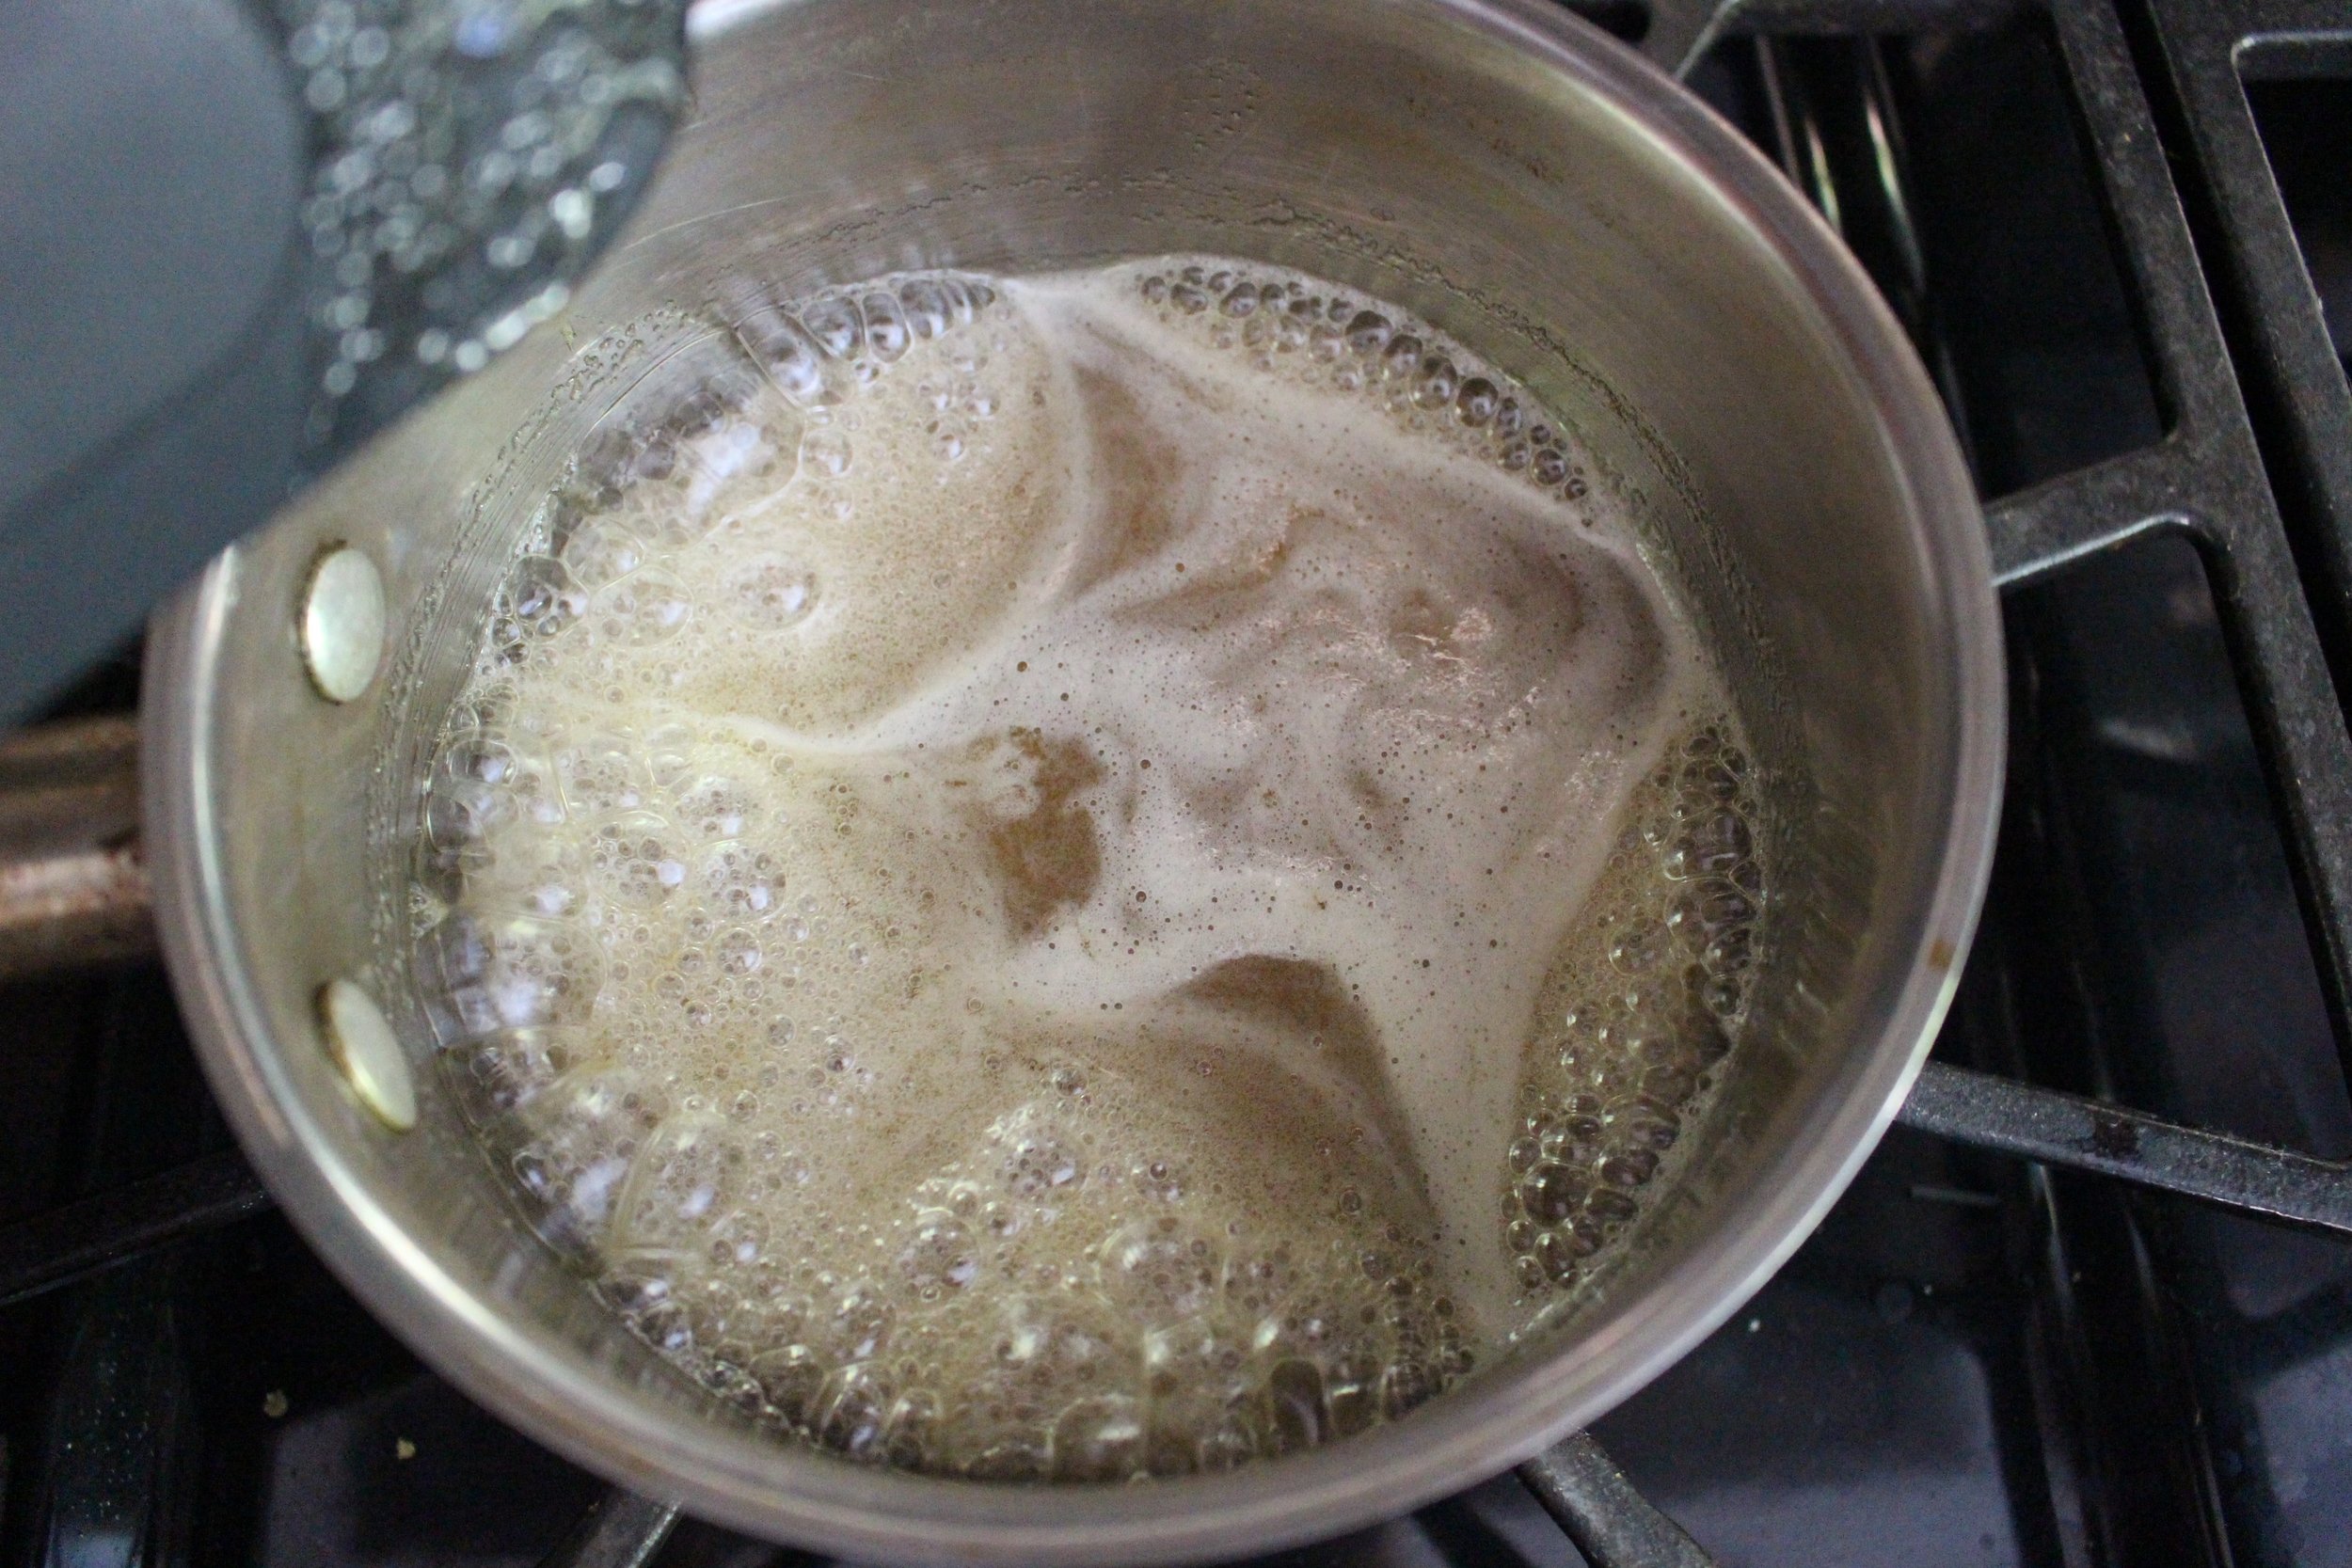
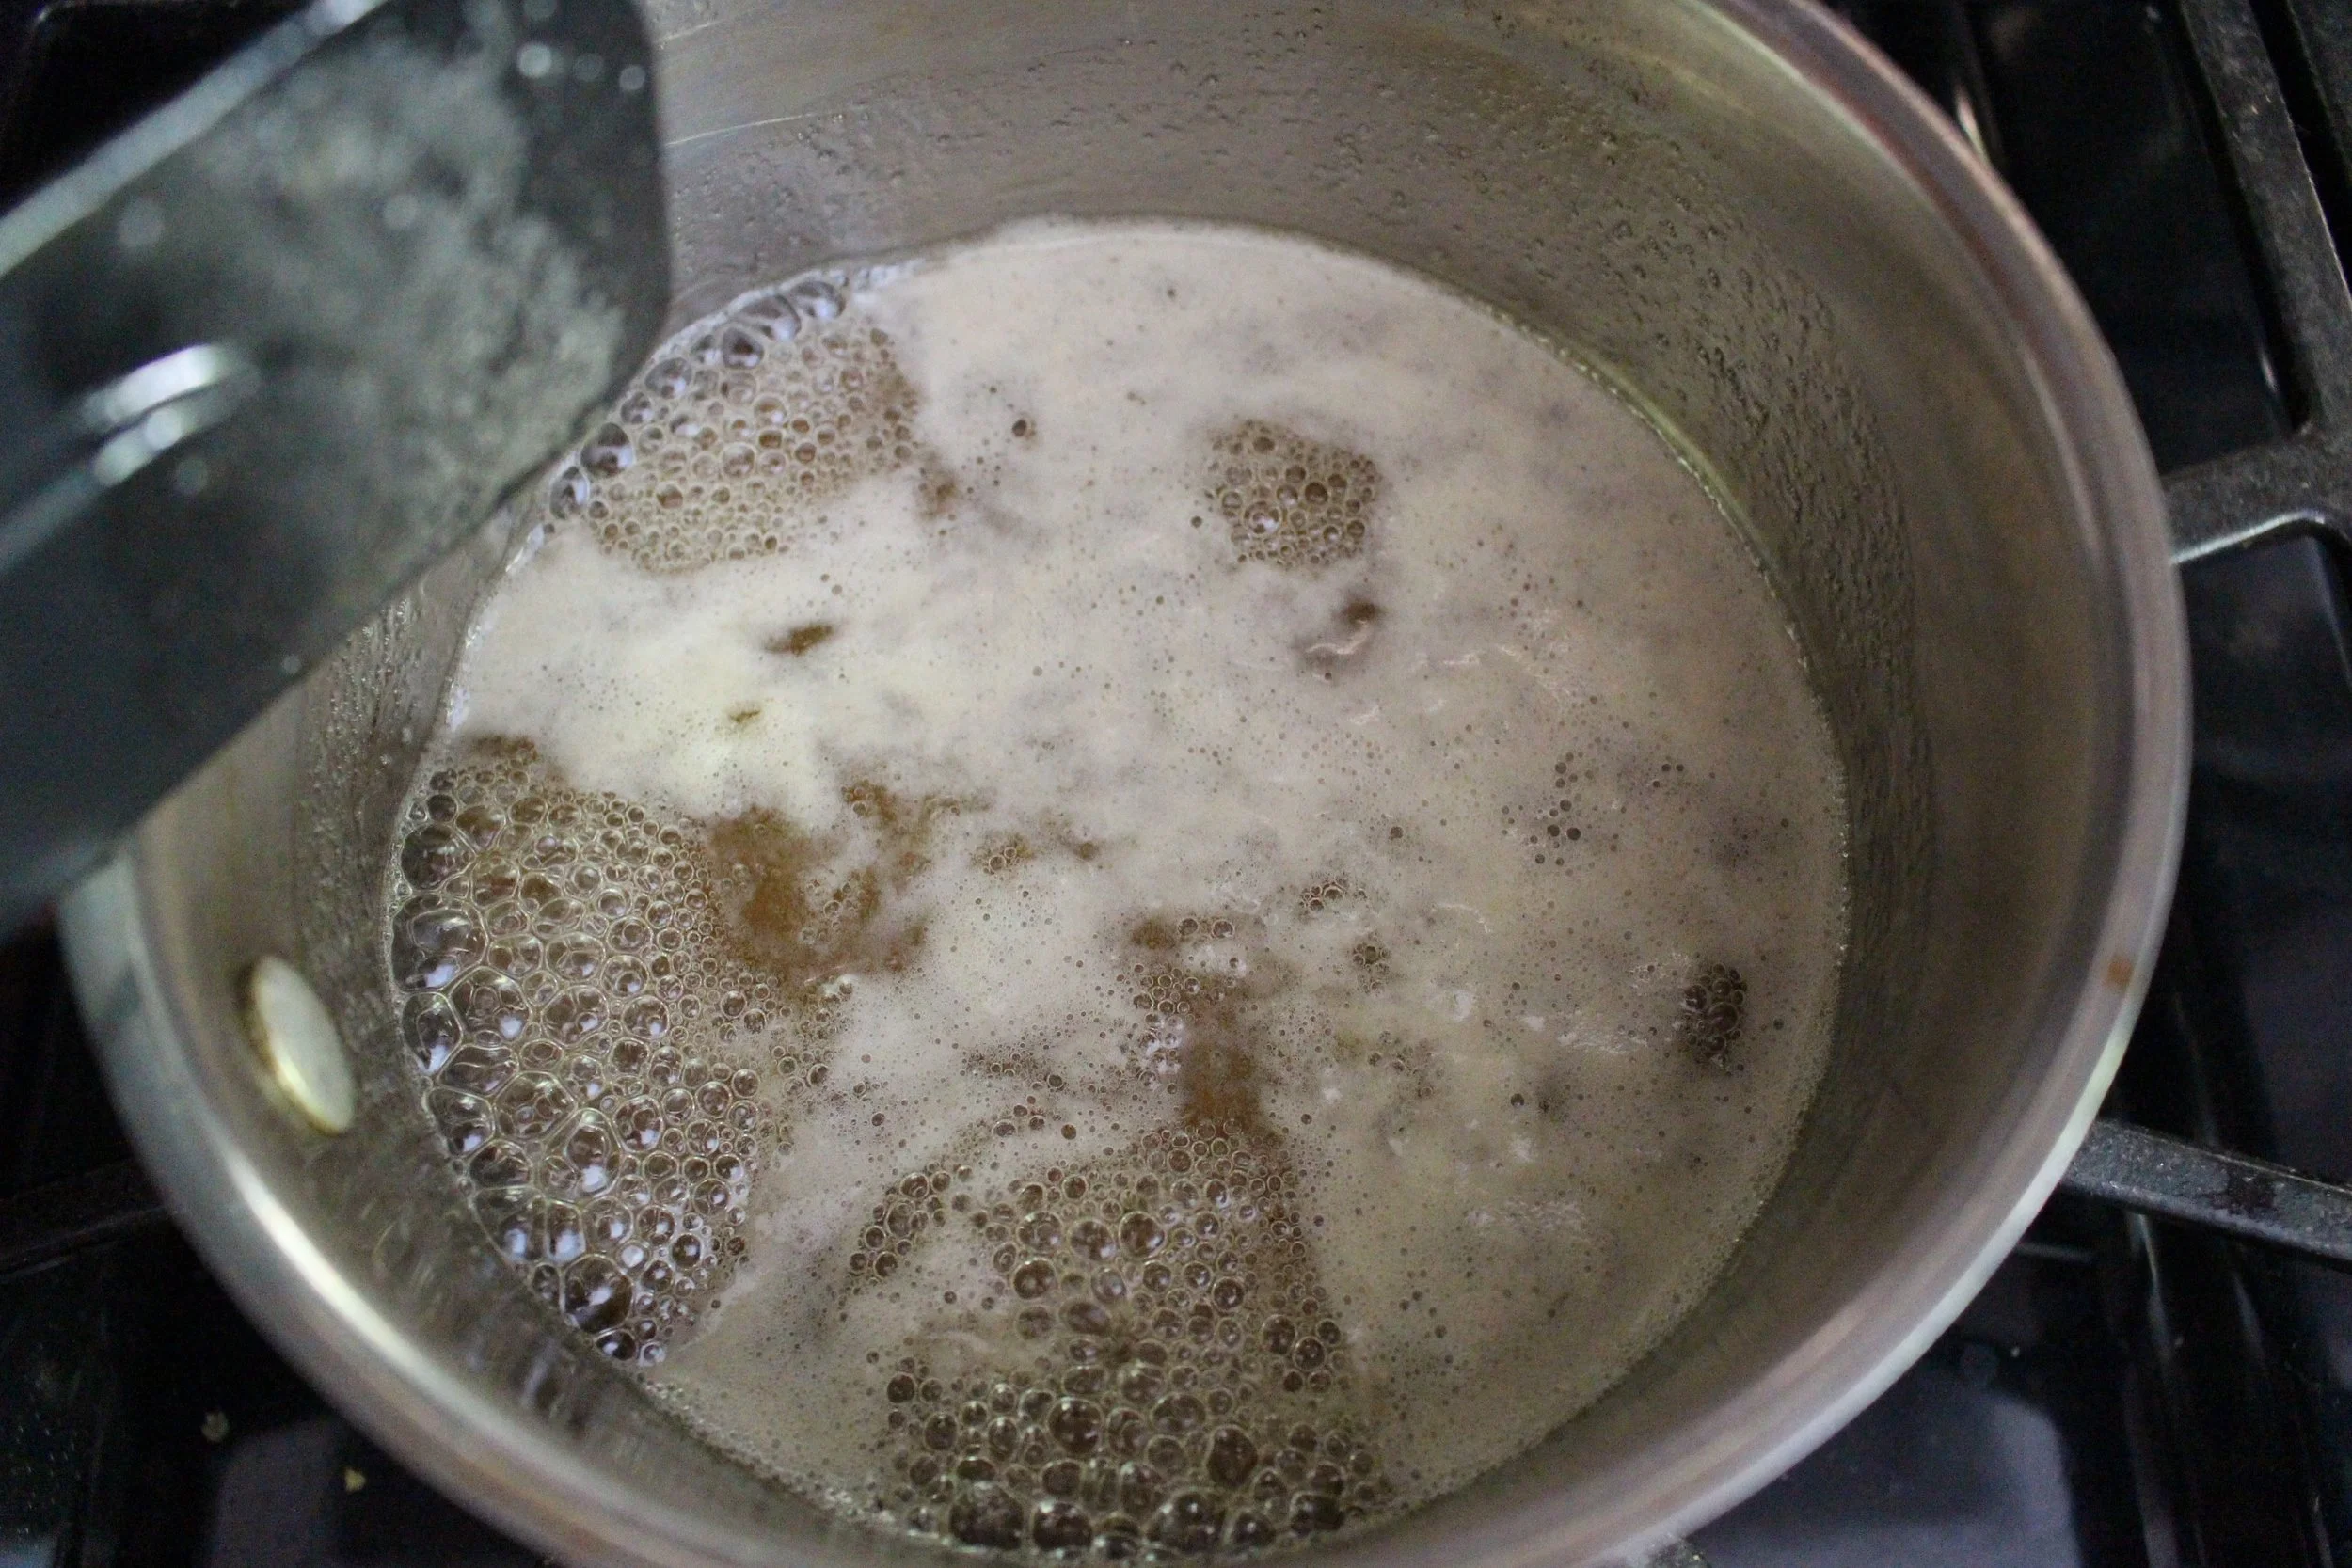
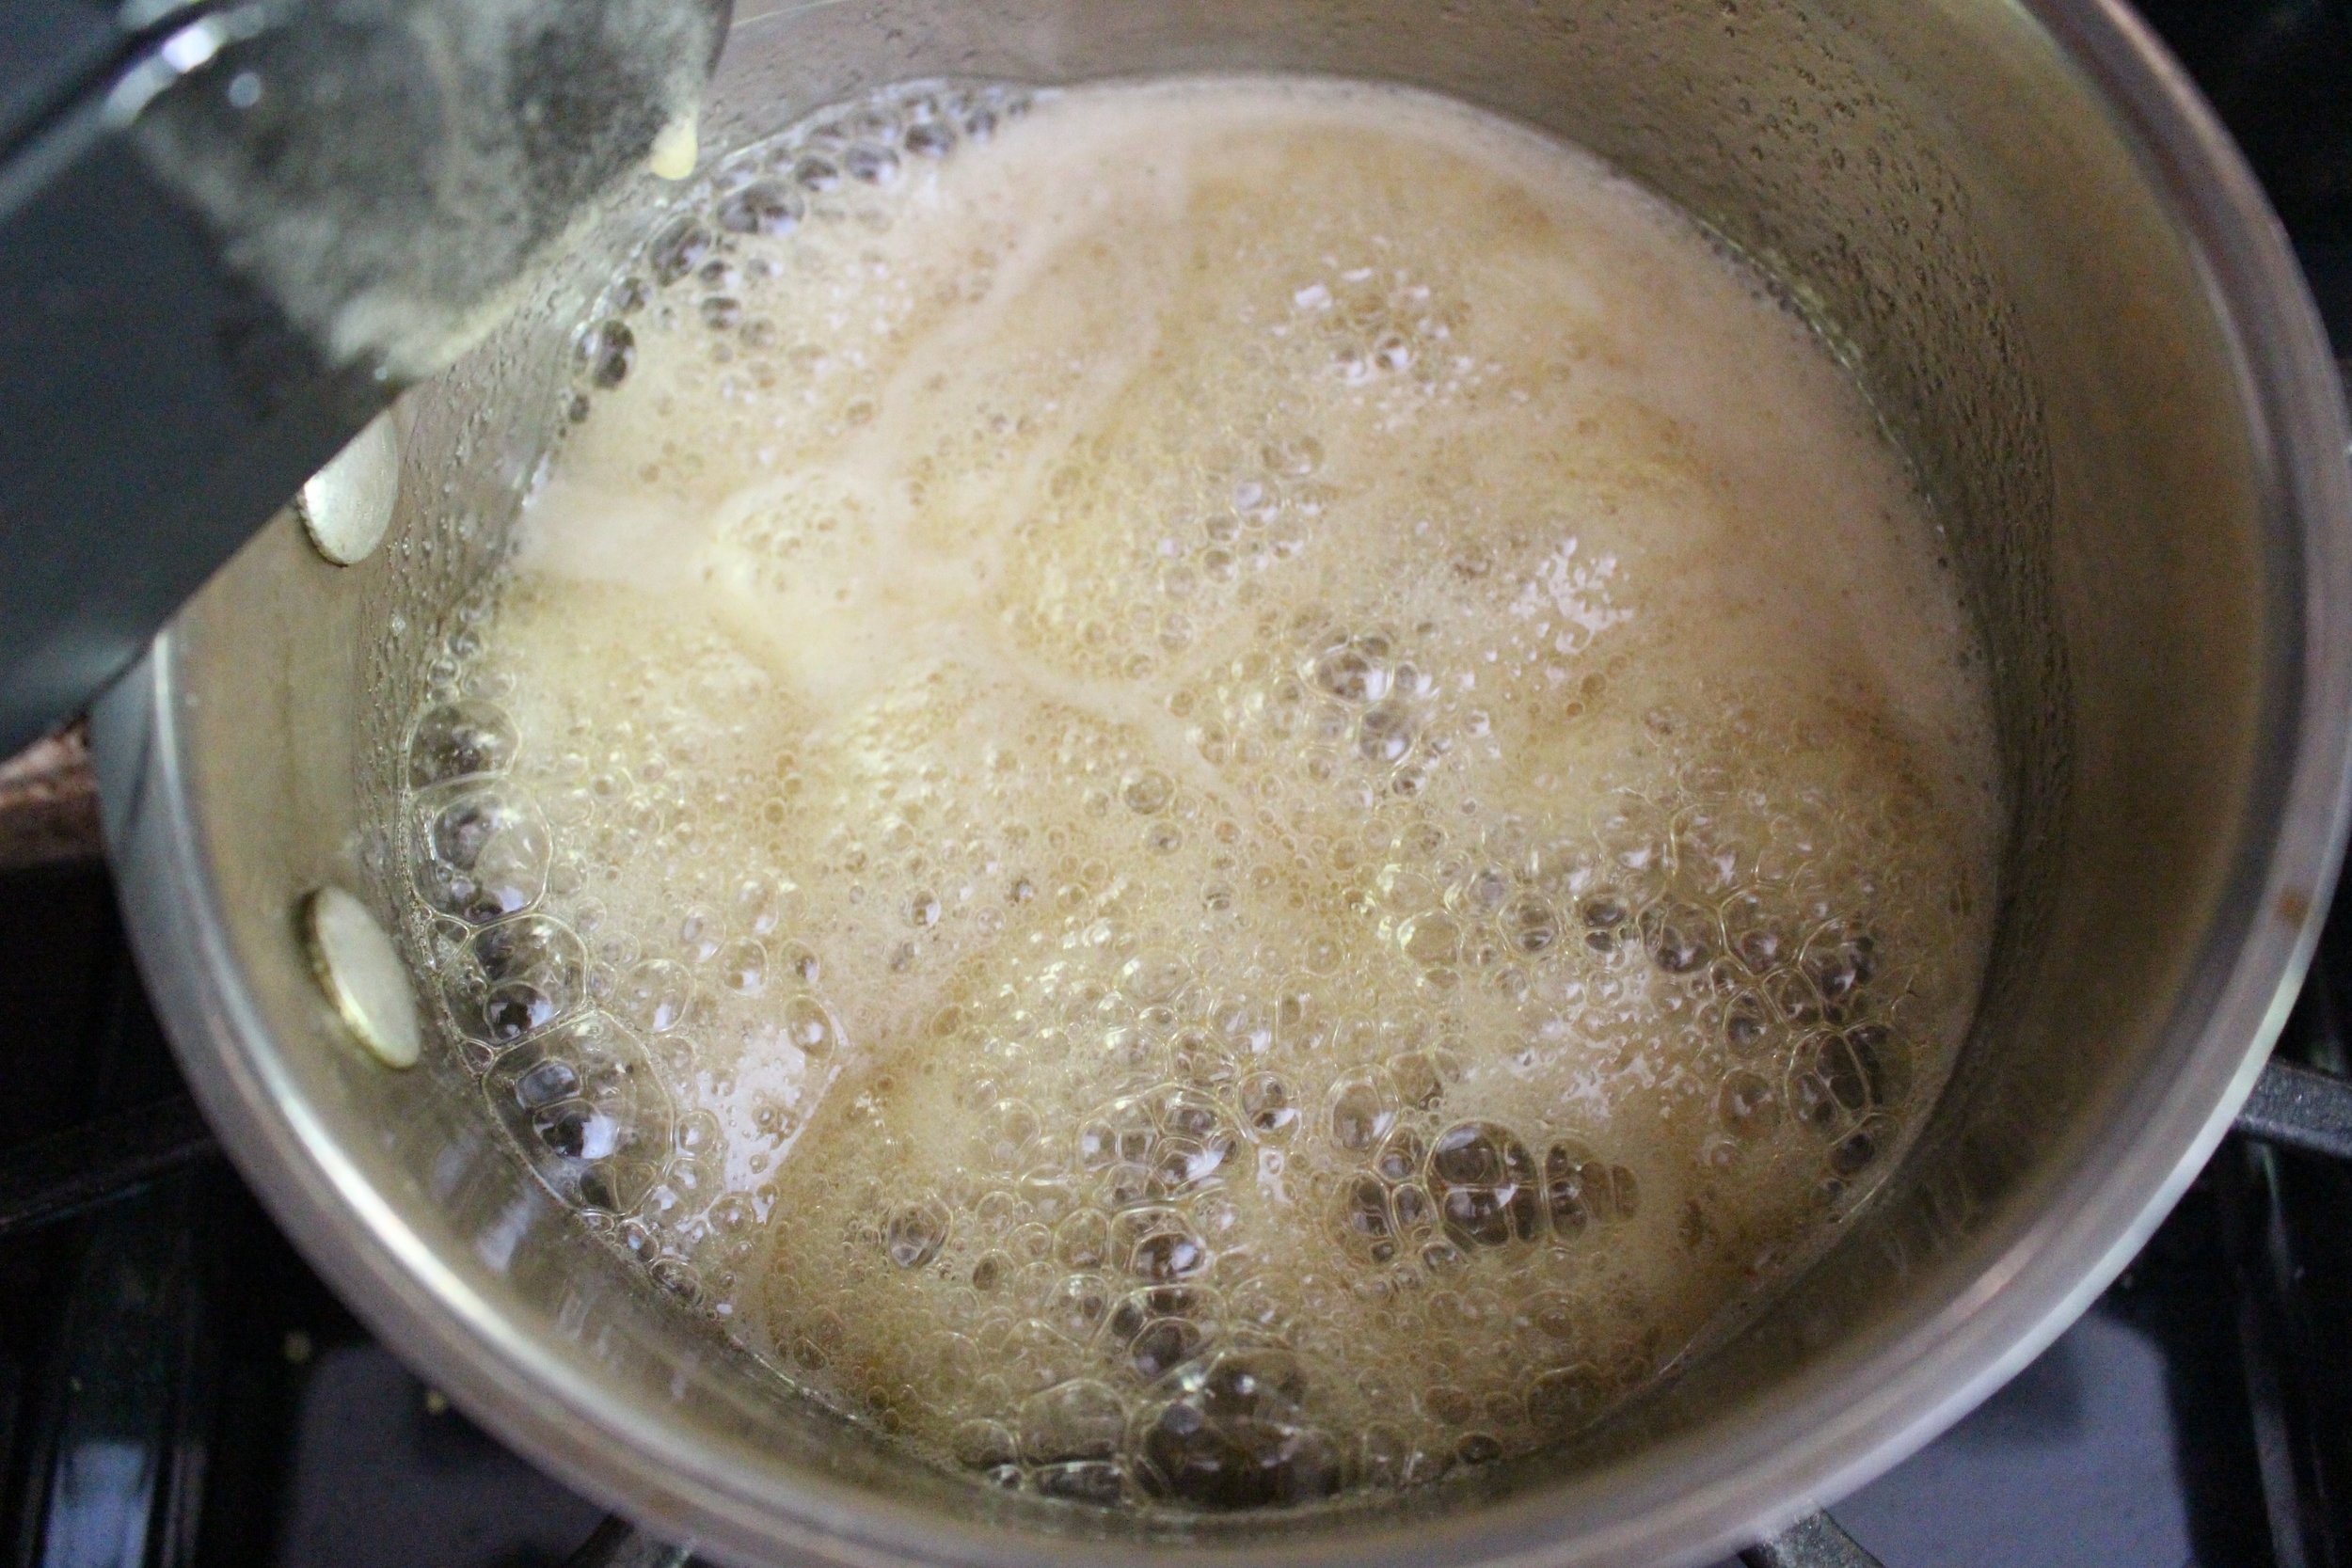
The only tricky part is making sure the honey syrup doesn't burn. I will admit that during recipe testing, I didn't turn the heat down fast enough and my honey almost boiled over. I used it anyway and it was completely fine.
Two quick notes:
This is a relatively small batch of teiglach. So, if you're feeding a crowd for the holidays, I would double it.
Use a cheap, grocery store honey for this. I’ve used a darker, local, wildflower honey and the flavor was a bit too strong. The stuff in a bottle shaped like a bear or something equally cheap is perfect.
Salted honey and rosemary teiglach
2 eggs, whisked
1 Tbsp olive oil
1 tsp lemon zest (zest of 1 large lemon)
½ tsp almond extract
1 cup AP flour
½ Tbsp granulated sugar
¼ tsp baking powder
¼ tsp salt
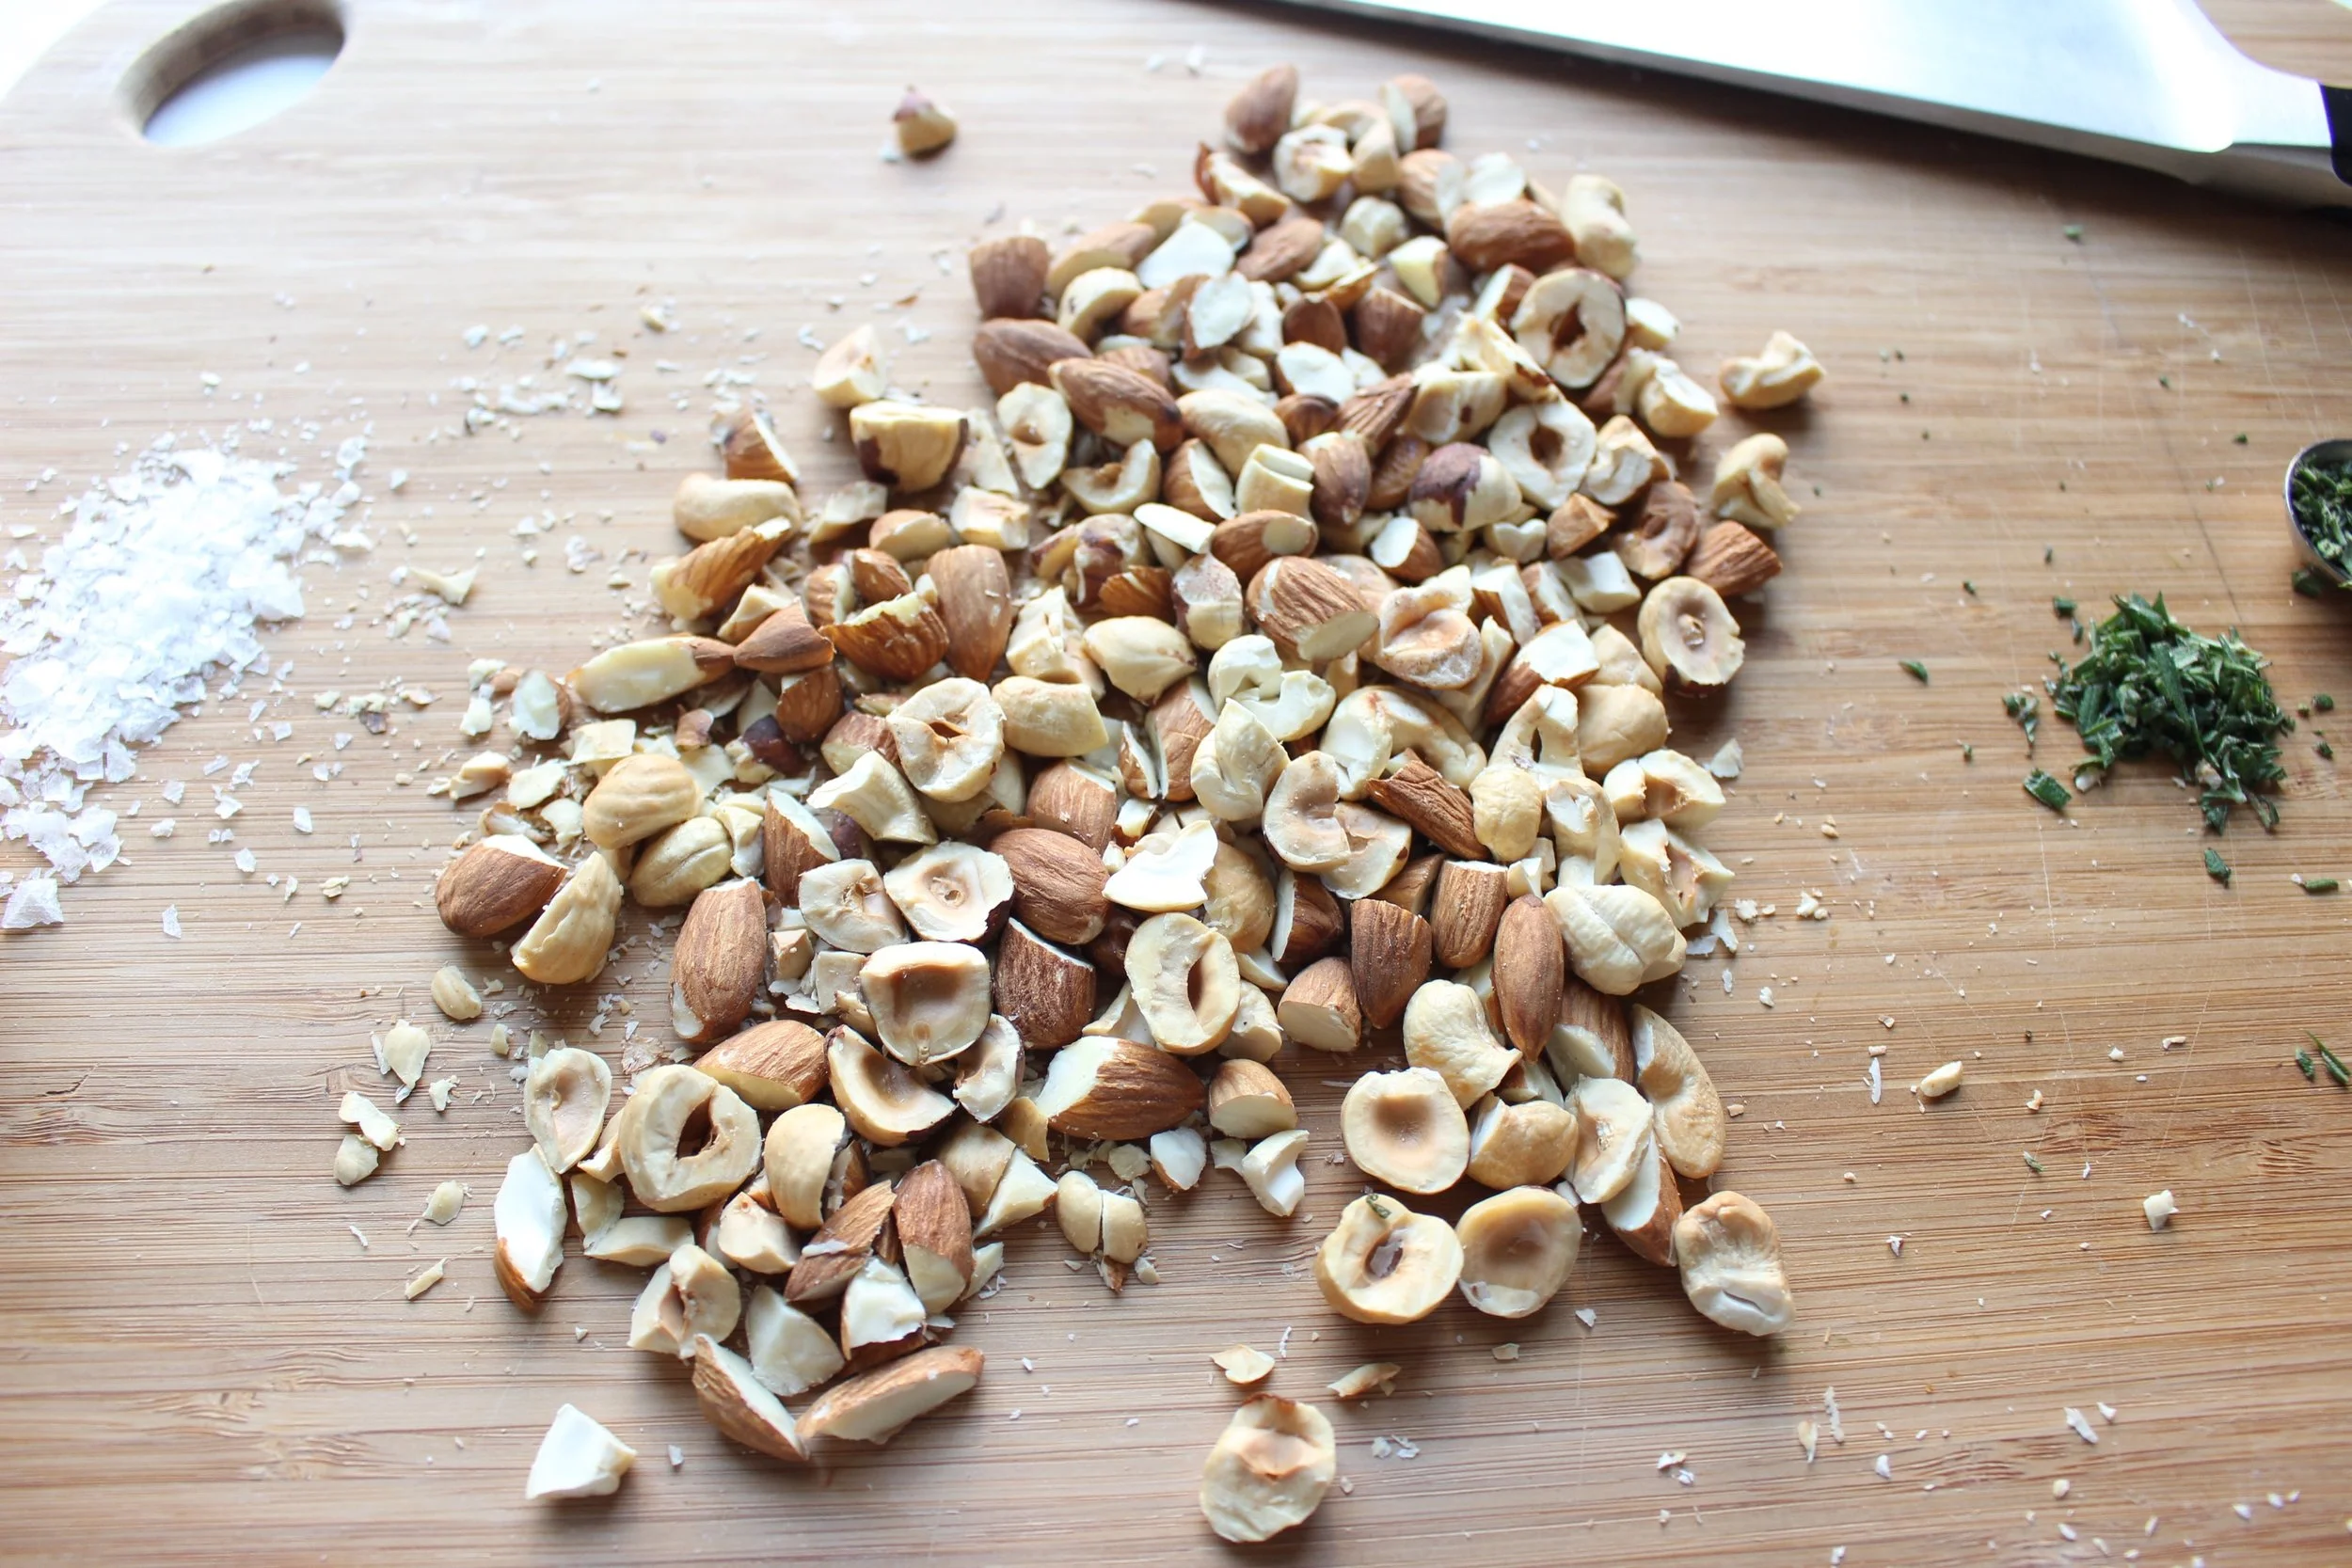
¾ cup toasted mixed nuts, roughly chopped
½ cup light-colored and lightly flavored honey
2 Tbsp sugar
1 ½-2 tsp fresh rosemary, minced and divided (to taste)
¾ tsp Sea salt, divided
Preheat the oven to 350. Line a sheet pan with parchment paper and set aside.
In a large bowl, combine the eggs and olive oil and whisk until well mixed and lightly bubbly. Add the lemon zest and almond extract and whisk again to combine.
Add the flour, sugar, baking powder, and salt and mix just until all of the flour is incorporated. It will be a thick batter.
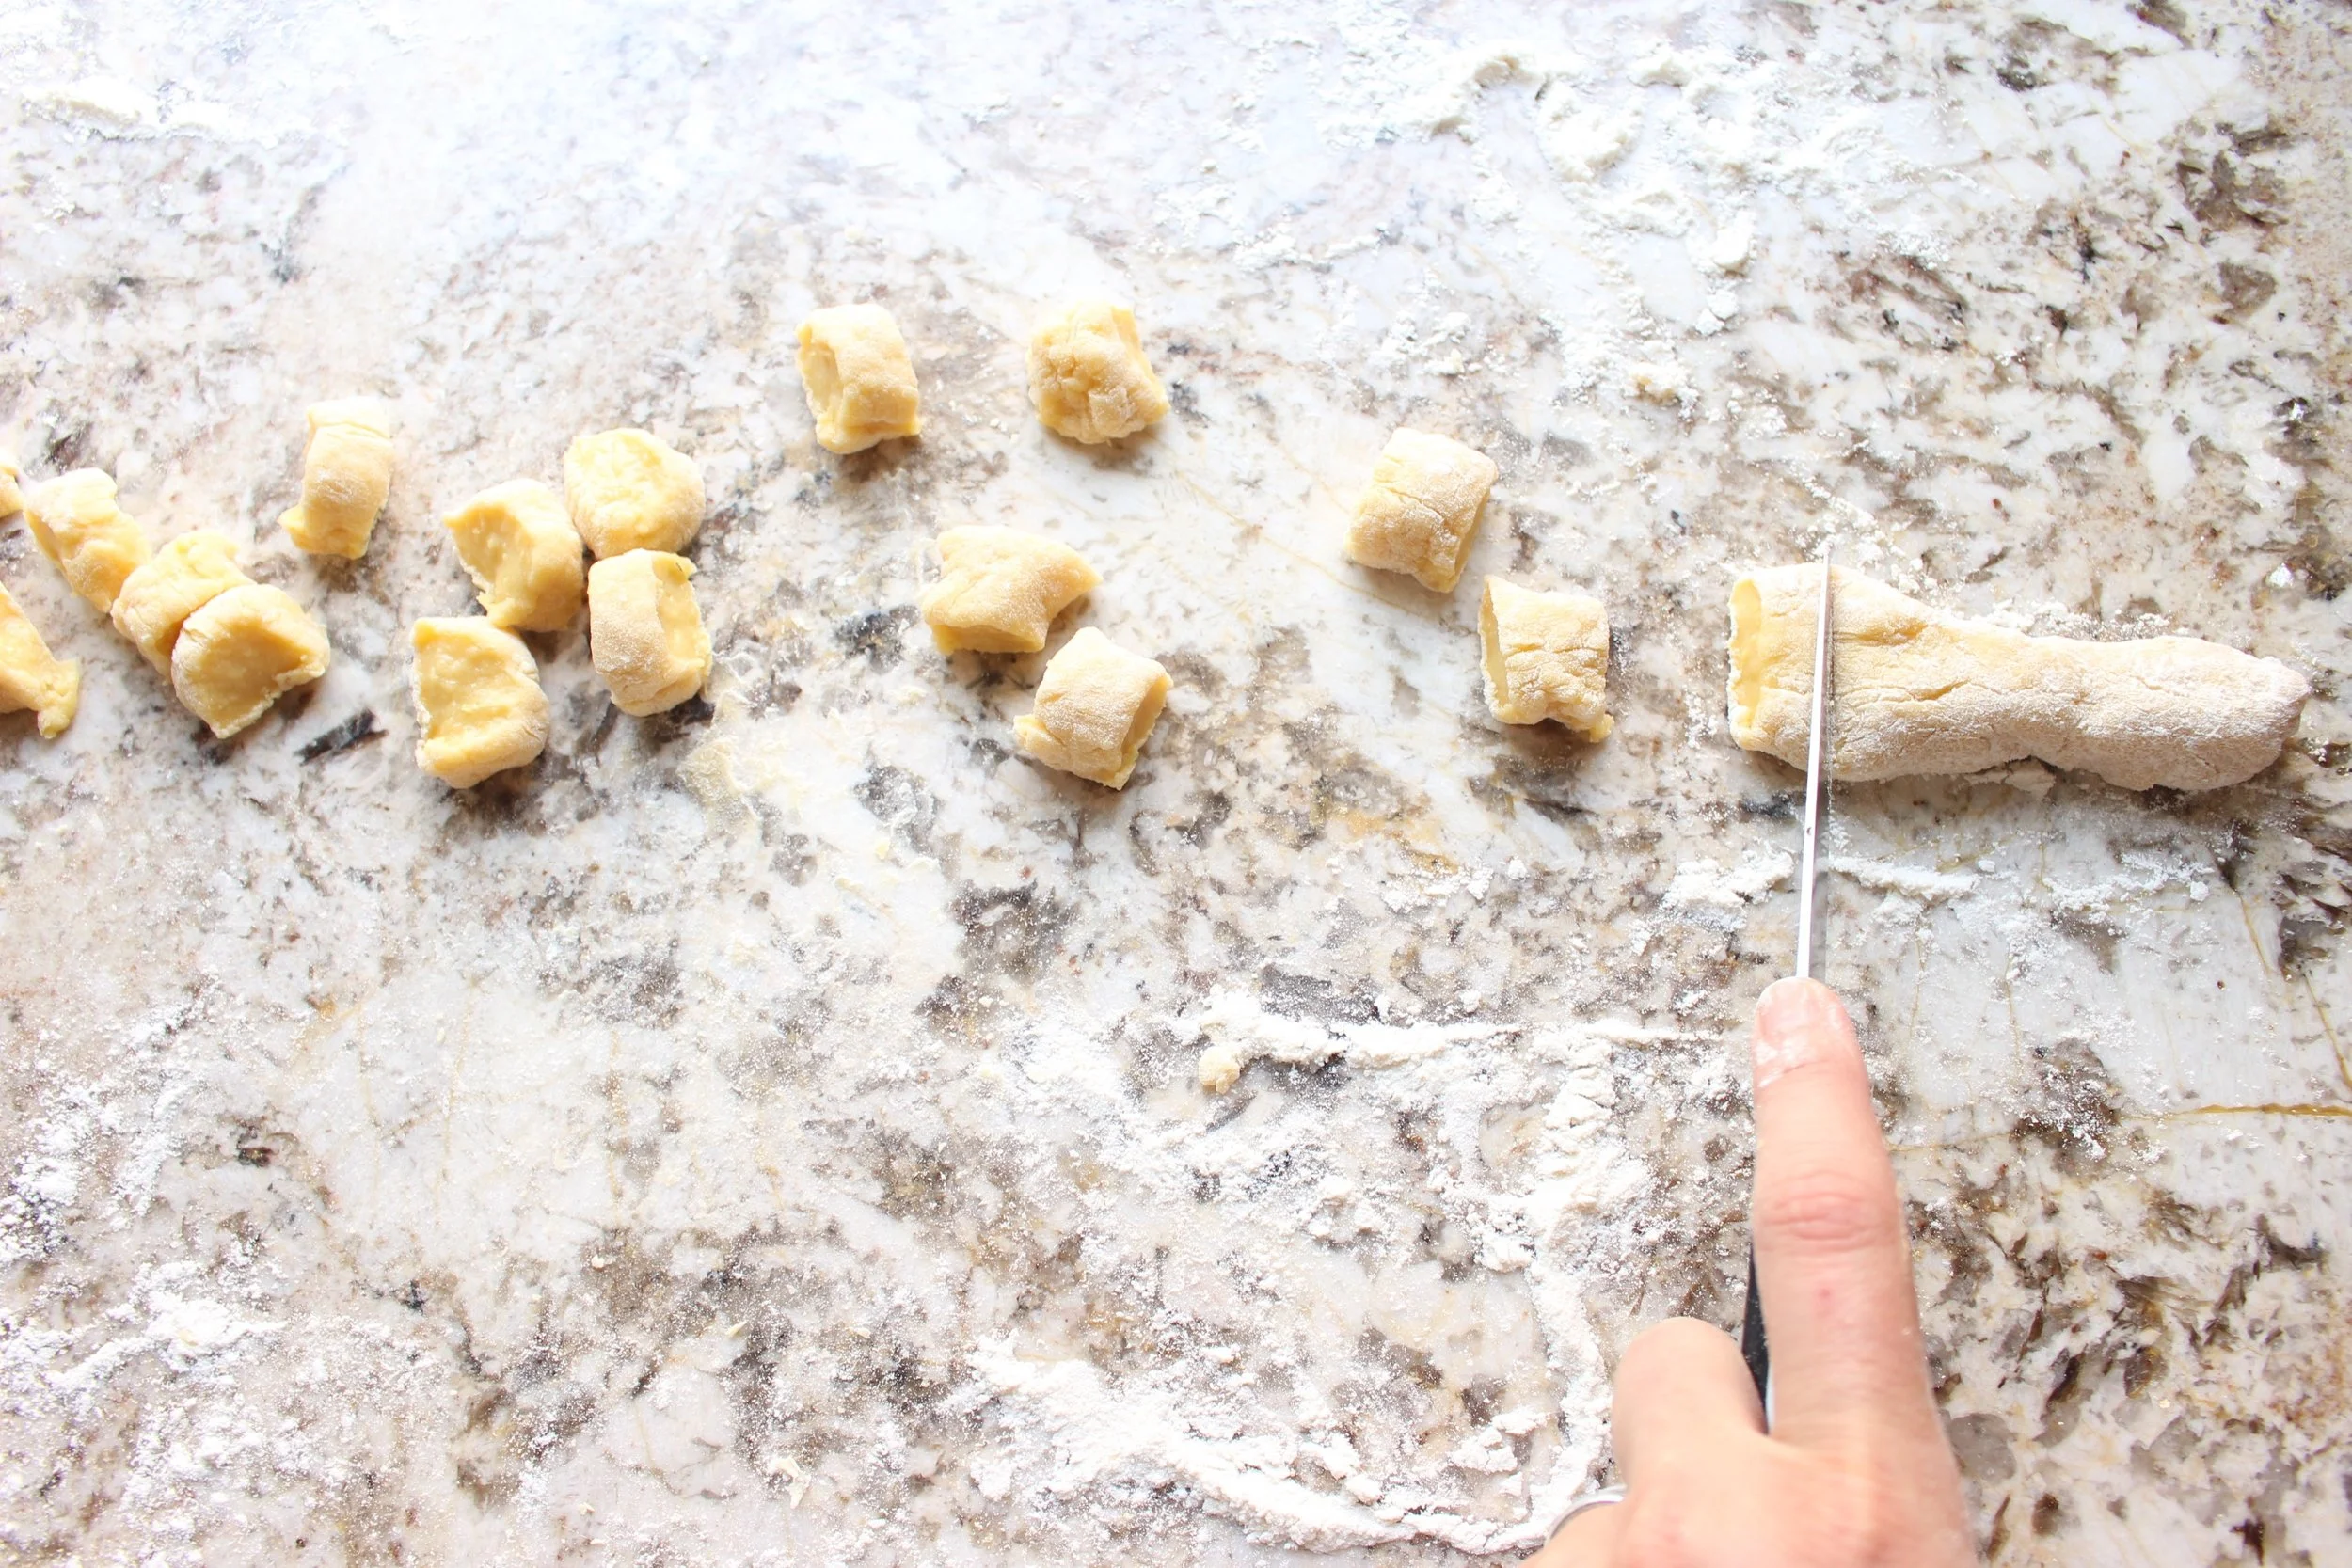
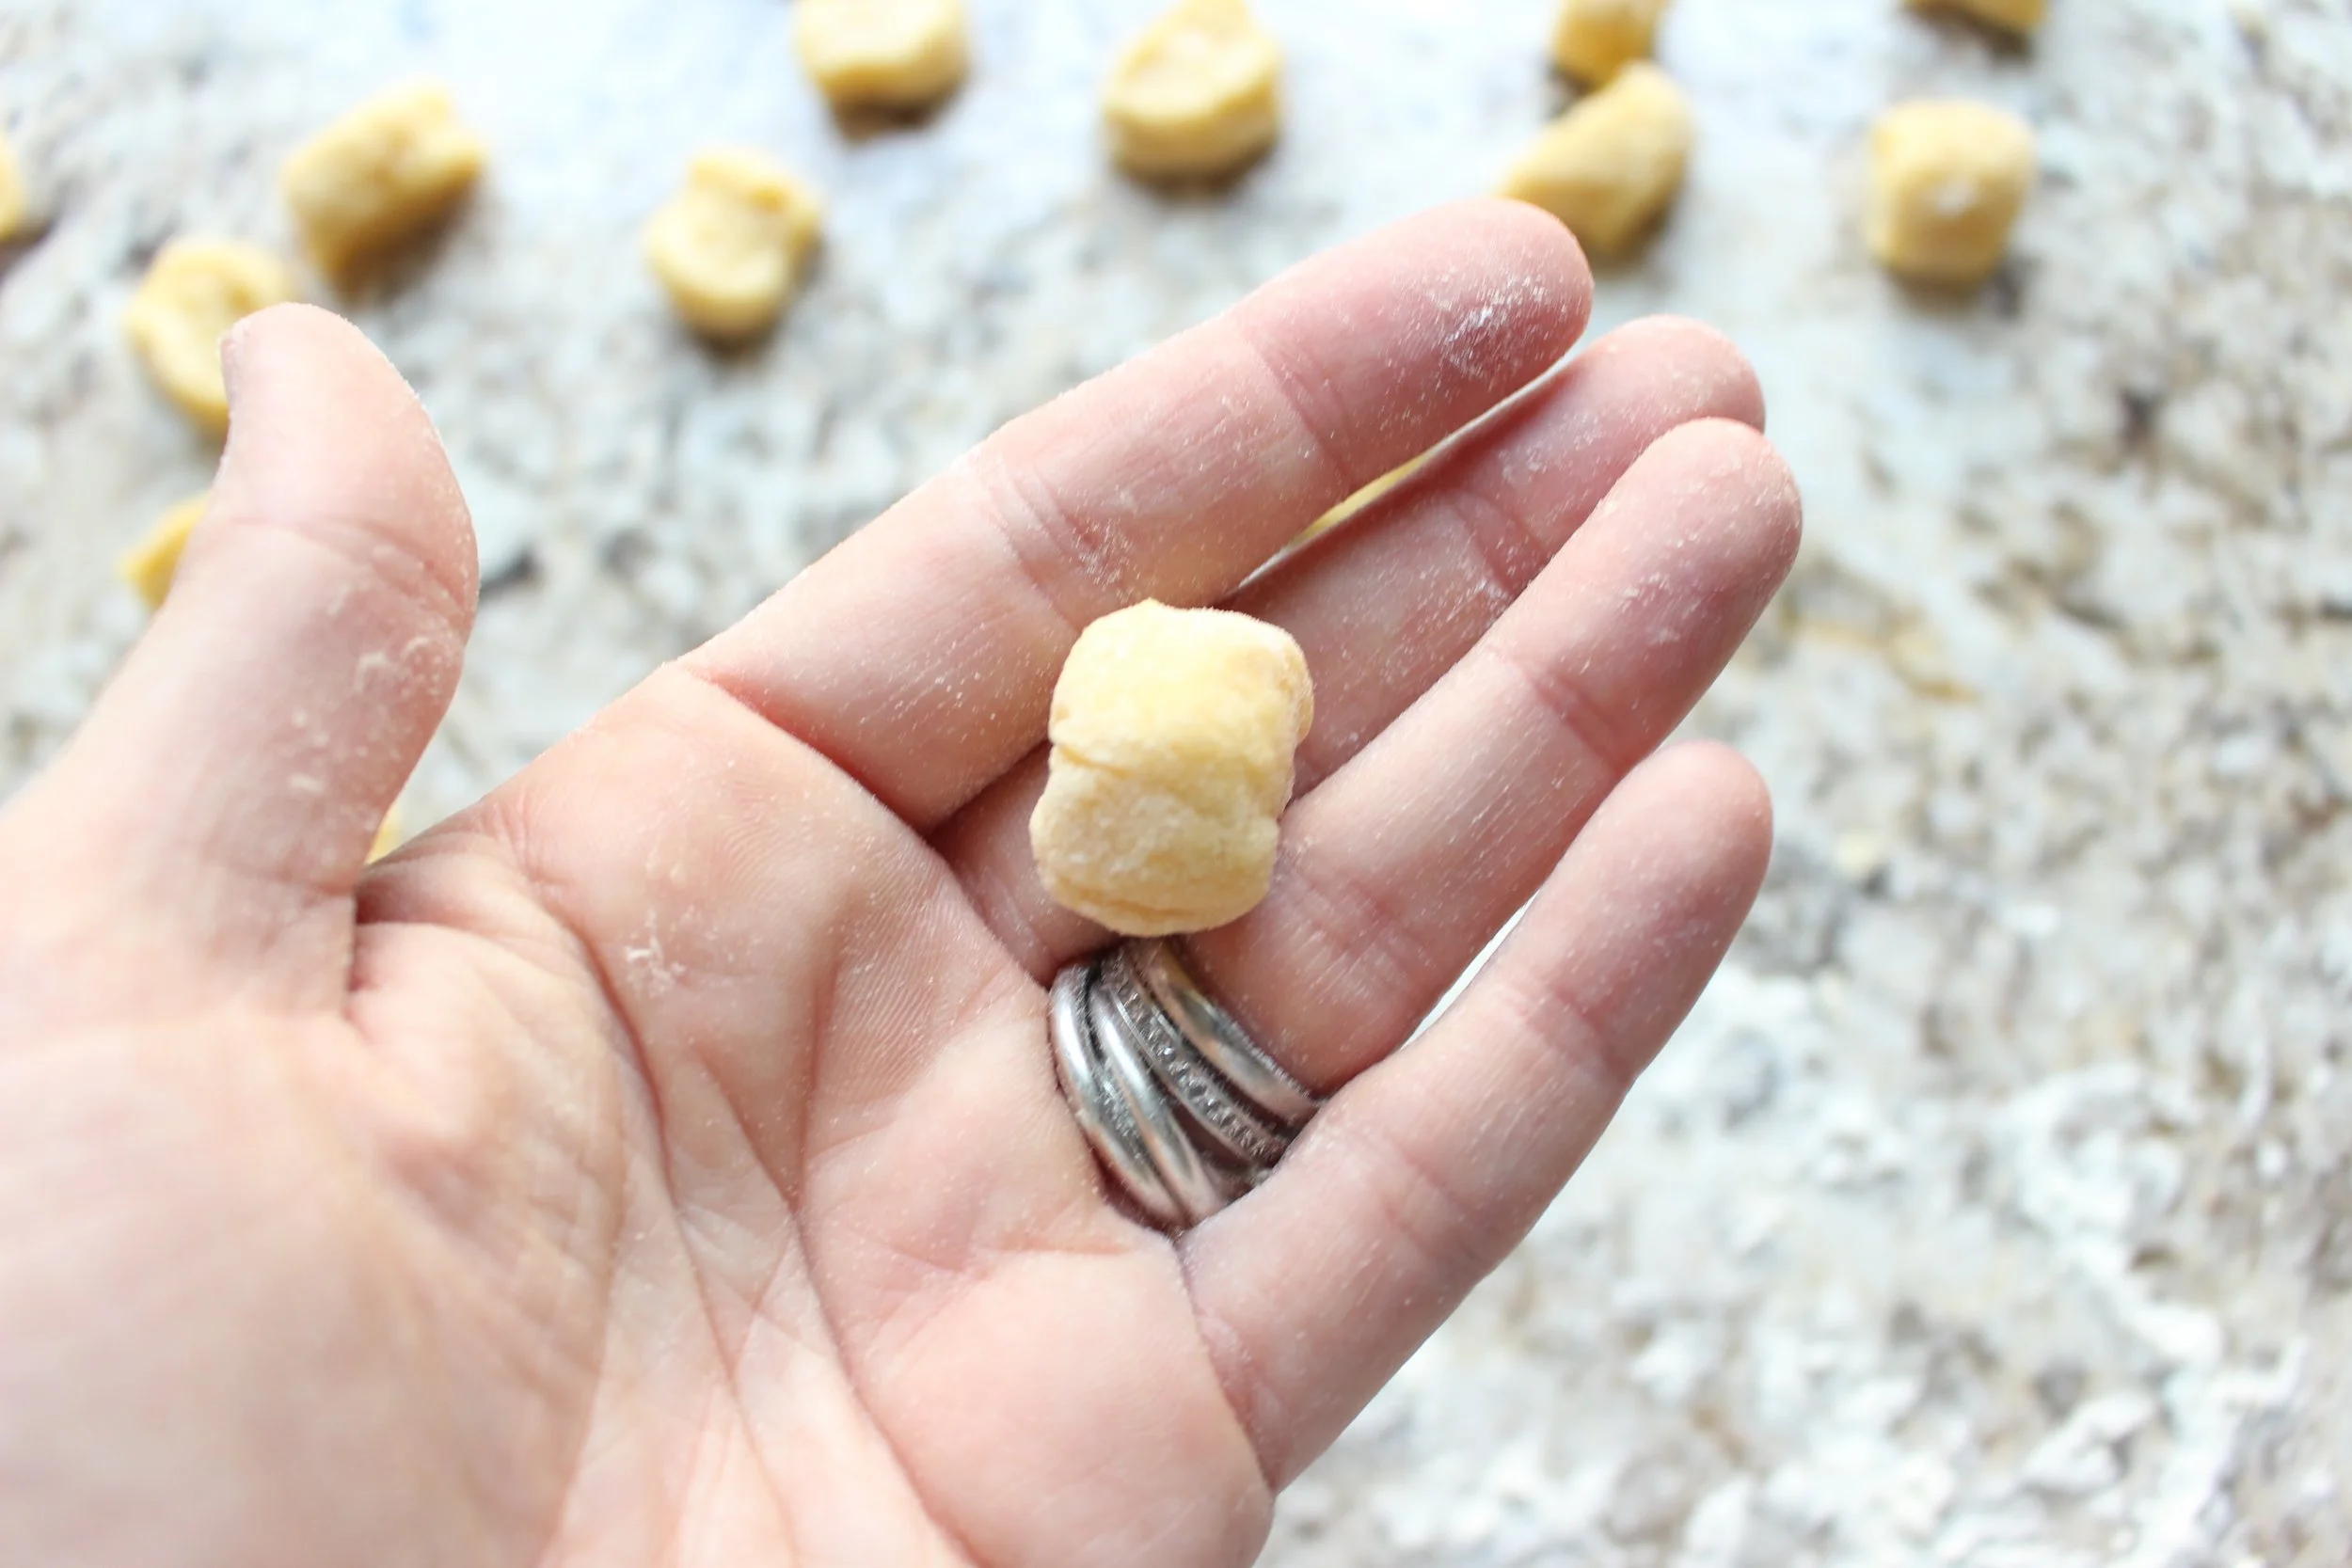
Turn out the dough onto a lightly floured surface and knead 5-6 times, just until it feels a little springy and less sticky. Divide the dough in half and roll out each half into a long, thin snake, about ¾ of an inch thick. Chop the snake into ½-inch pieces. Roll each piece into a small ball. The balls should be between the size of a dime and a nickel.
Bake at 350 for 20-23 minutes until the balls are lightly golden brown and hollow sounding. If you feel like they’re not browning, check the bottoms. If they're golden brown, the balls are done. Remove from the heat and let cool slightly.
While the balls are baking, roast the nuts in a toaster oven or stick them into the oven with the balls (on a separate sheet) until they start to smell nutty. Remove and let cool. Chop roughly, if desired.
Mince the rosemary and set aside ½ tsp. Combine the mixed nuts, 1 tsp of rosemary, and ½ tsp of flaky sea salt and mix well.
Once the balls are out of the oven, in a small saucepan, bring the honey and sugar to a boil over medium heat, stirring often. Once the sugars starts boiling throughout (not just on the edges), reduce heat to low and simmer, stirring often, for 2-3 minutes. Remove from the heat.
Place the balls in a large bowl with the nuts, rosemary, and salt and stir. Pour the honey mixture over the cookies, nuts, and spices and mix well. This will take some elbow grease as the honey cools.
Pour the entire mixture into your serving bowl making a pyramid shape as your pour. If the honey is too warm and the mixture won’t form into a mound, let it cool for a few minutes and try again. Once you get the mixture into a mound, let cool completely in the fridge.
Bring back to room temperature for serving. Just before serving, top with the remaining ½ tsp of rosemary and ¼ tsp of flaky sea salt.
This dessert is best served the day it's made, but will keep well, covered with plastic wrap at room temperature, for up to two days.
Yield: Enough for 5-6 adults, depending on appetites and tolerance for sweet things
No-bake granola bars
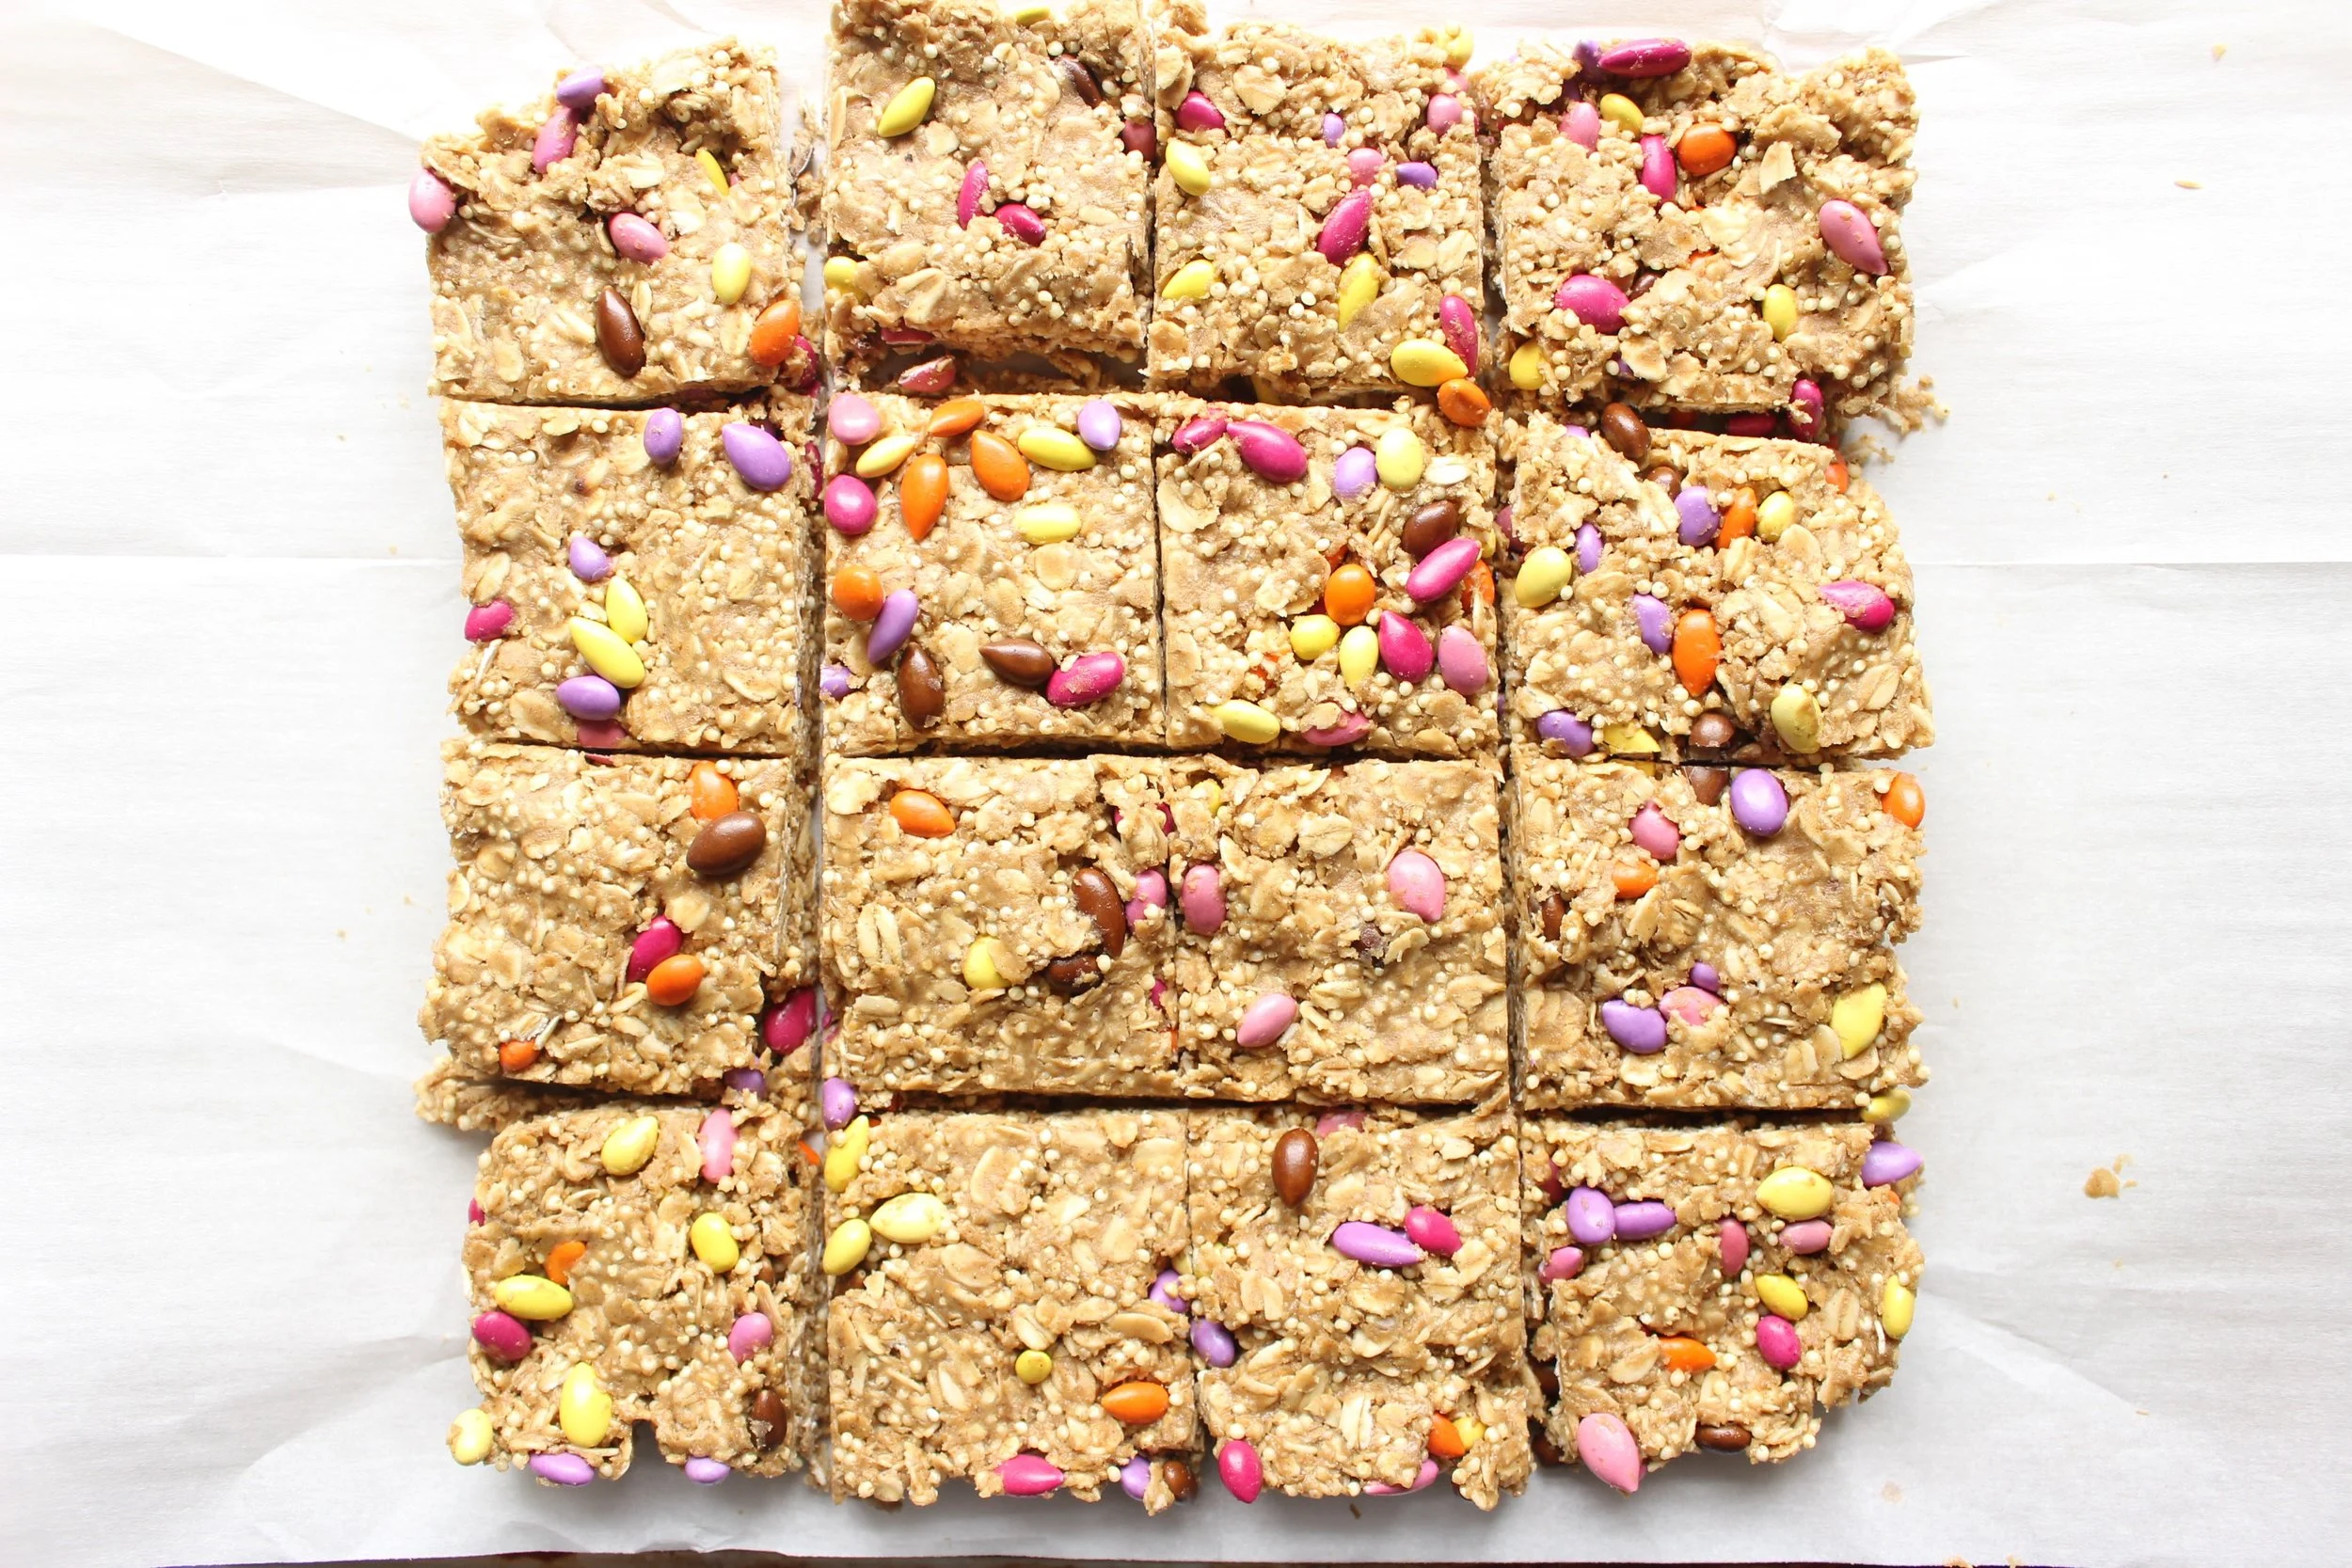
Guys. I have tried and tried to make actually good, lower sugar, school-safe granola bars. I succeeded with these bars, but they're a bit more effort than I'm willing to expend when I suddenly realize on a week night that we don't have anything for snack or lunch boxes the next day. These granola cups are super easy, but we're entering that sweltering season where turning on the oven is basically just opening the gates of hell.
Instead we have these no-bake granola bars that are super quick and easy (and cool) to prepare, are lower in sugar than store bought bars, are free of dairy, nuts, gluten, and eggs AND are absolutely freaking delicious.
I've tried a couple of no-bake granola bar recipes via Pinterest that left me wanting. Some recommended using quick oats, which got lost in the honey and nut butter mixture. Some also suggested rice cereals that lost their crunch when mixed with the other ingredients.
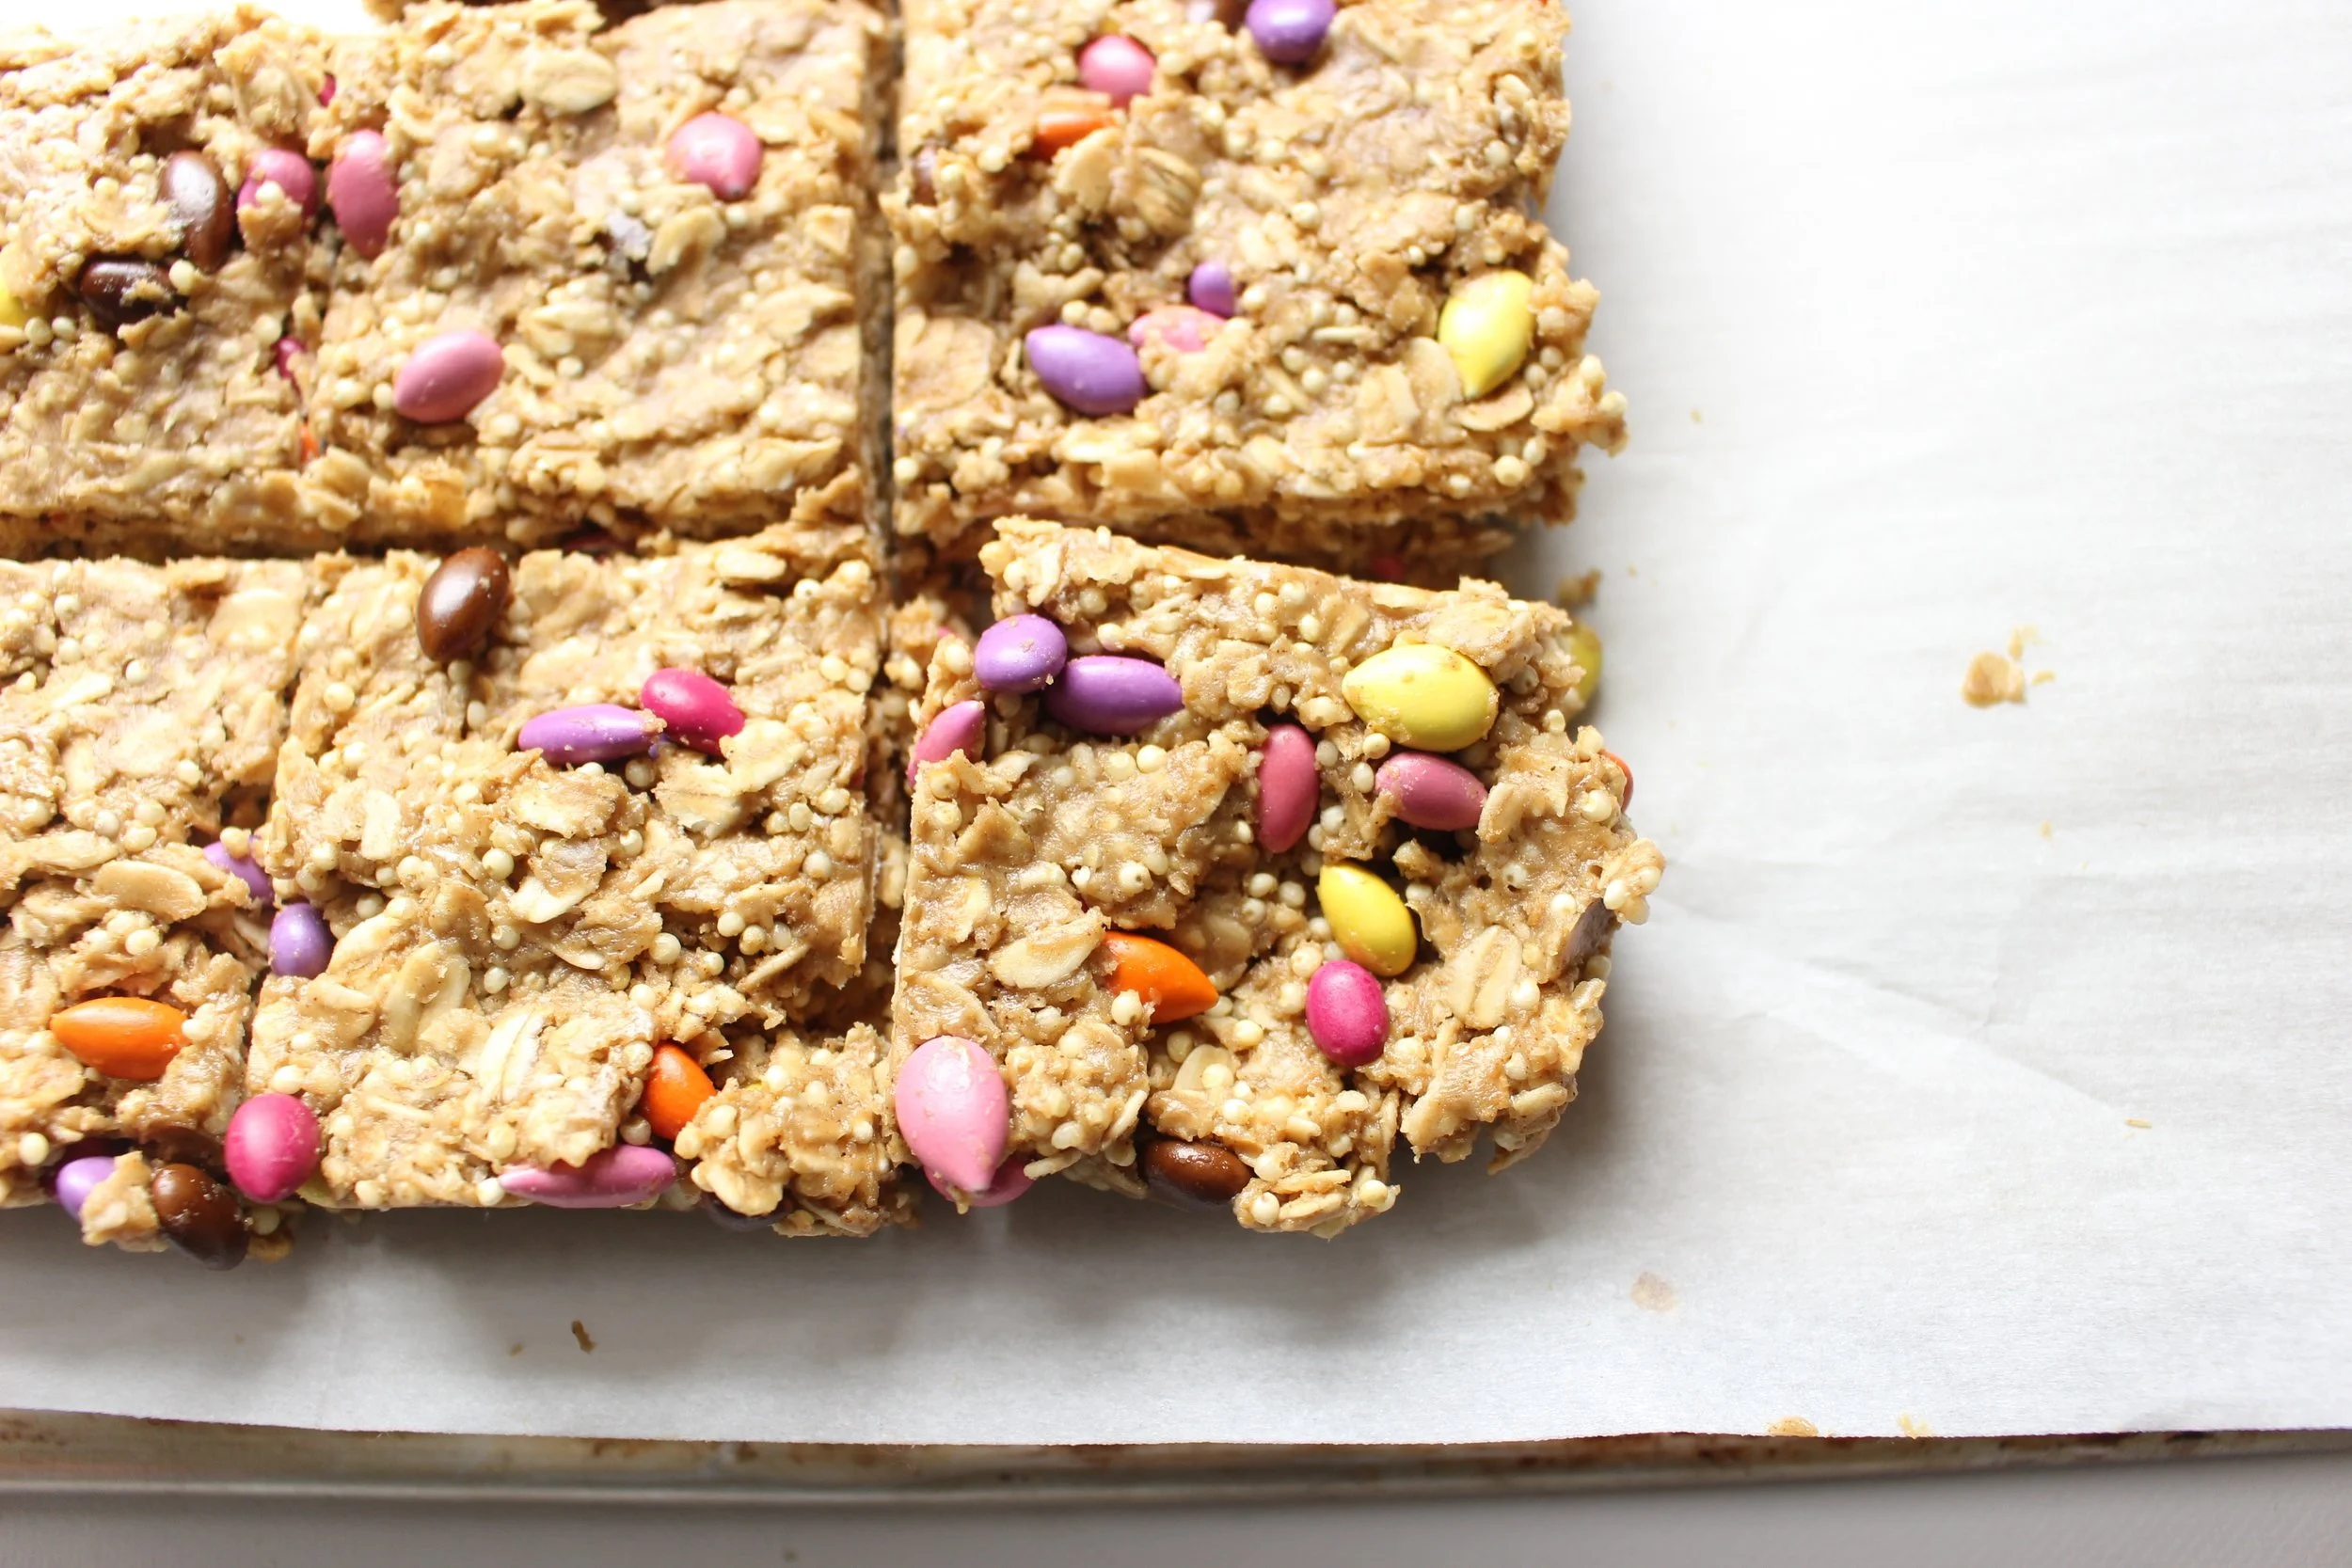
Many of them also call for dates, which I tried in these bars too. Here's the thing: If you use enough dates, they do help the bars stick together when they heat up. But, your bars taste primarily like dates, which I didn't want for this recipe. So, just beware that these bars are ever-so-slightly crumbly when they heat up.
A couple of notes:
- The texture of these bars can change based on a few factors: First, nut butters separate, especially in the heat, so the thoroughness of your mixing can change the texture of these bars. Try your best to mix vigorously so that your nut butter isn't too thin or too thick.
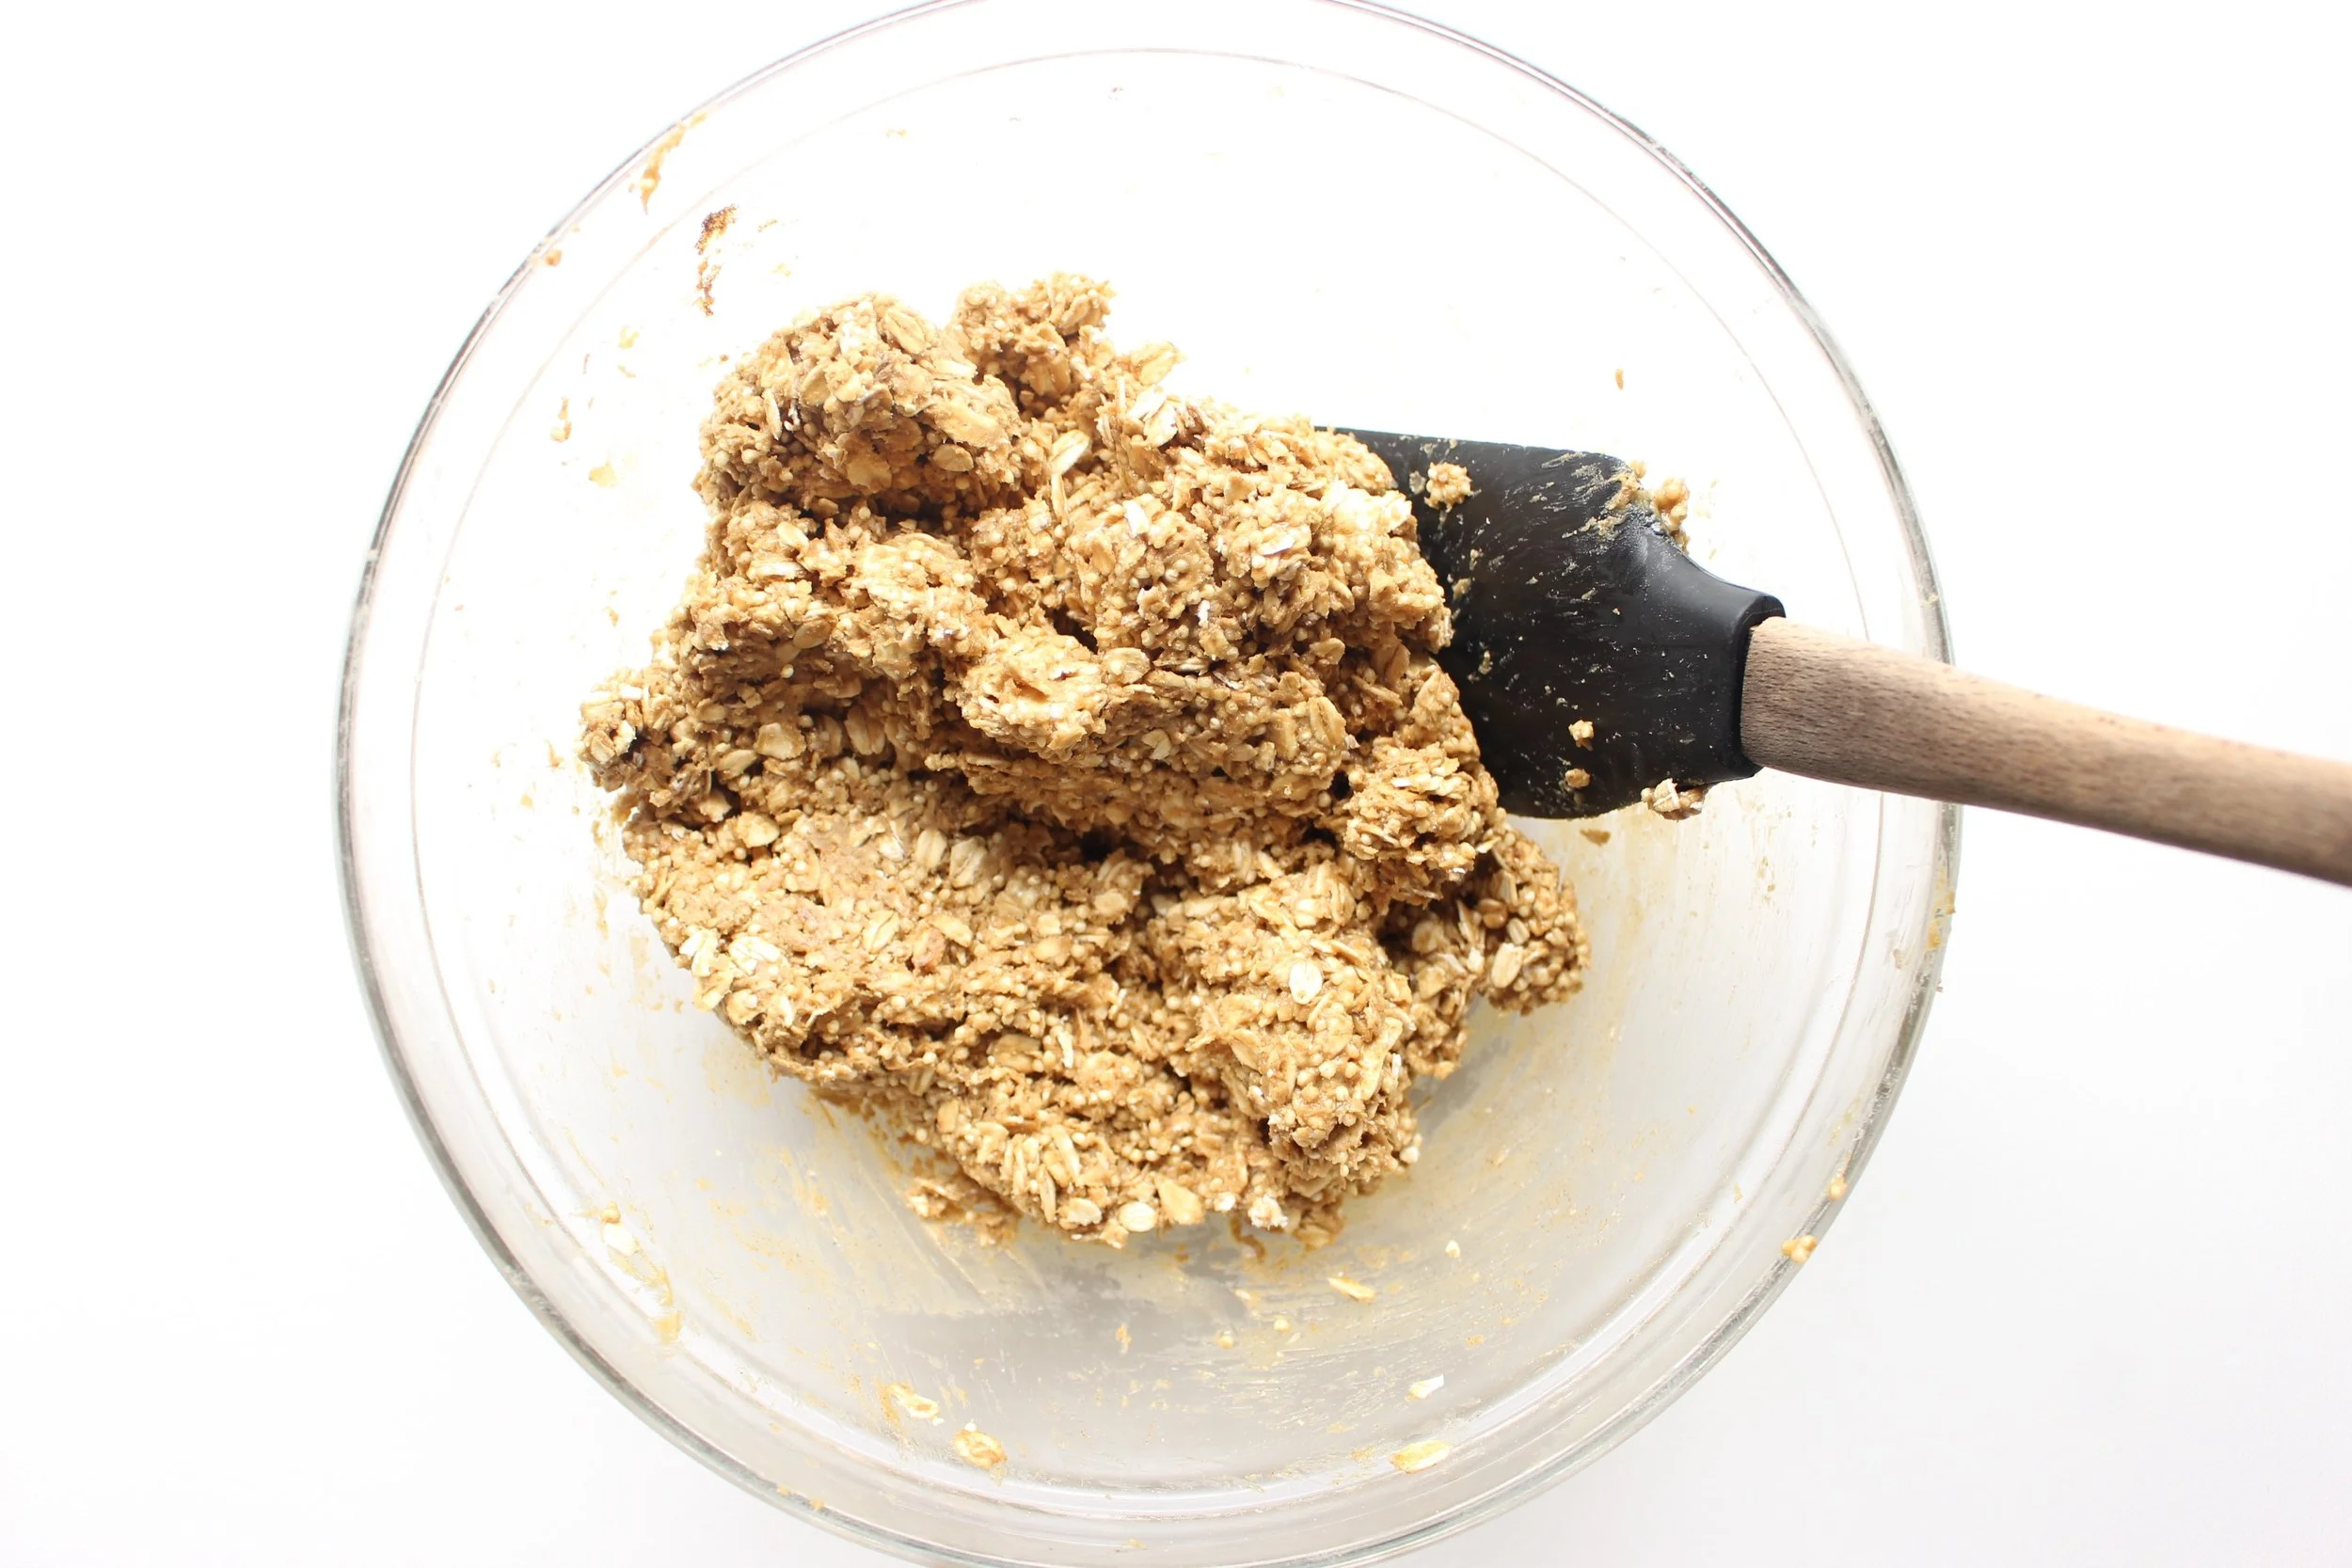
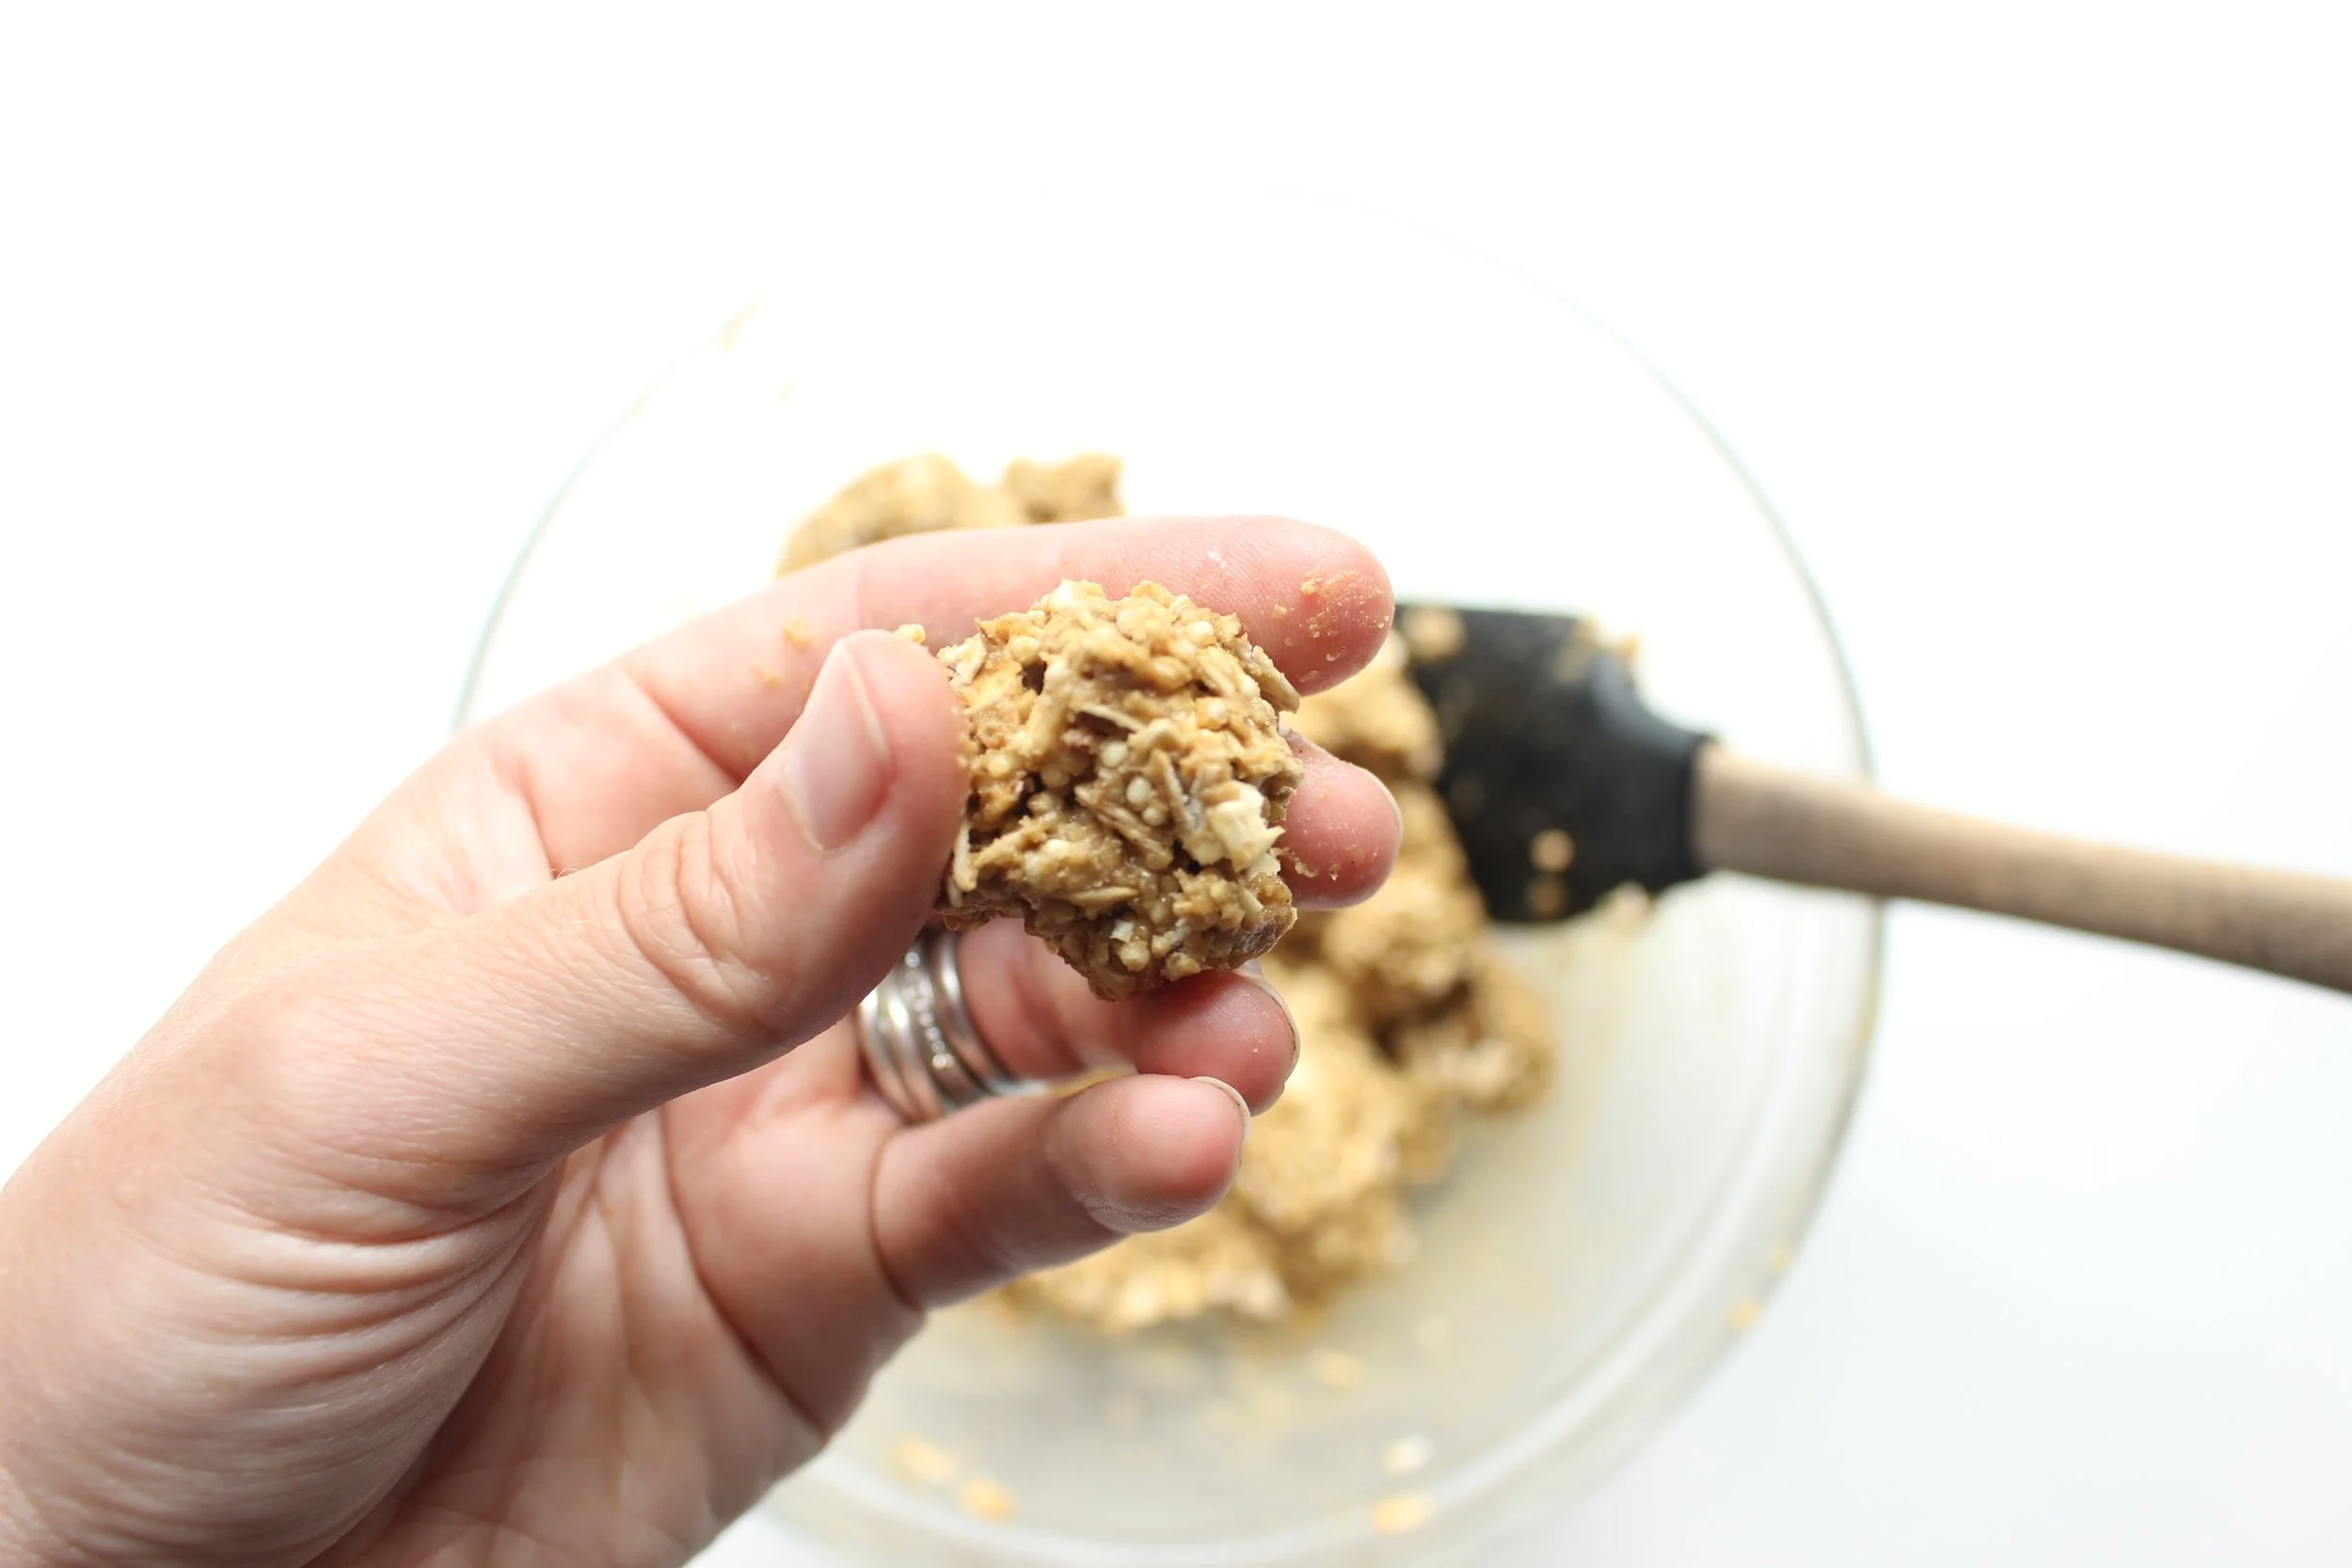
- You should be able to form the mixture into a ball that stays together and doesn't stick to your fingers. If the mixture is too crumbly, add one Tbsp of nut butter at a time and mix again to see if the grains come together. If the mixture is too sticky, try adding 1 Tbsp of oats at a time until you have a better consistency.
- Give the dry ingredients a good stir before adding in the wet ingredients. The mixing of the wet and dry ingredients can require some elbow grease, but is easier if you've already distributed the grains and cinnamon.
- To make these bars school safe, use sunflower seed butter. If you don't have nut or peanut restrictions, peanut and almond butter are perfectly great substitutes.
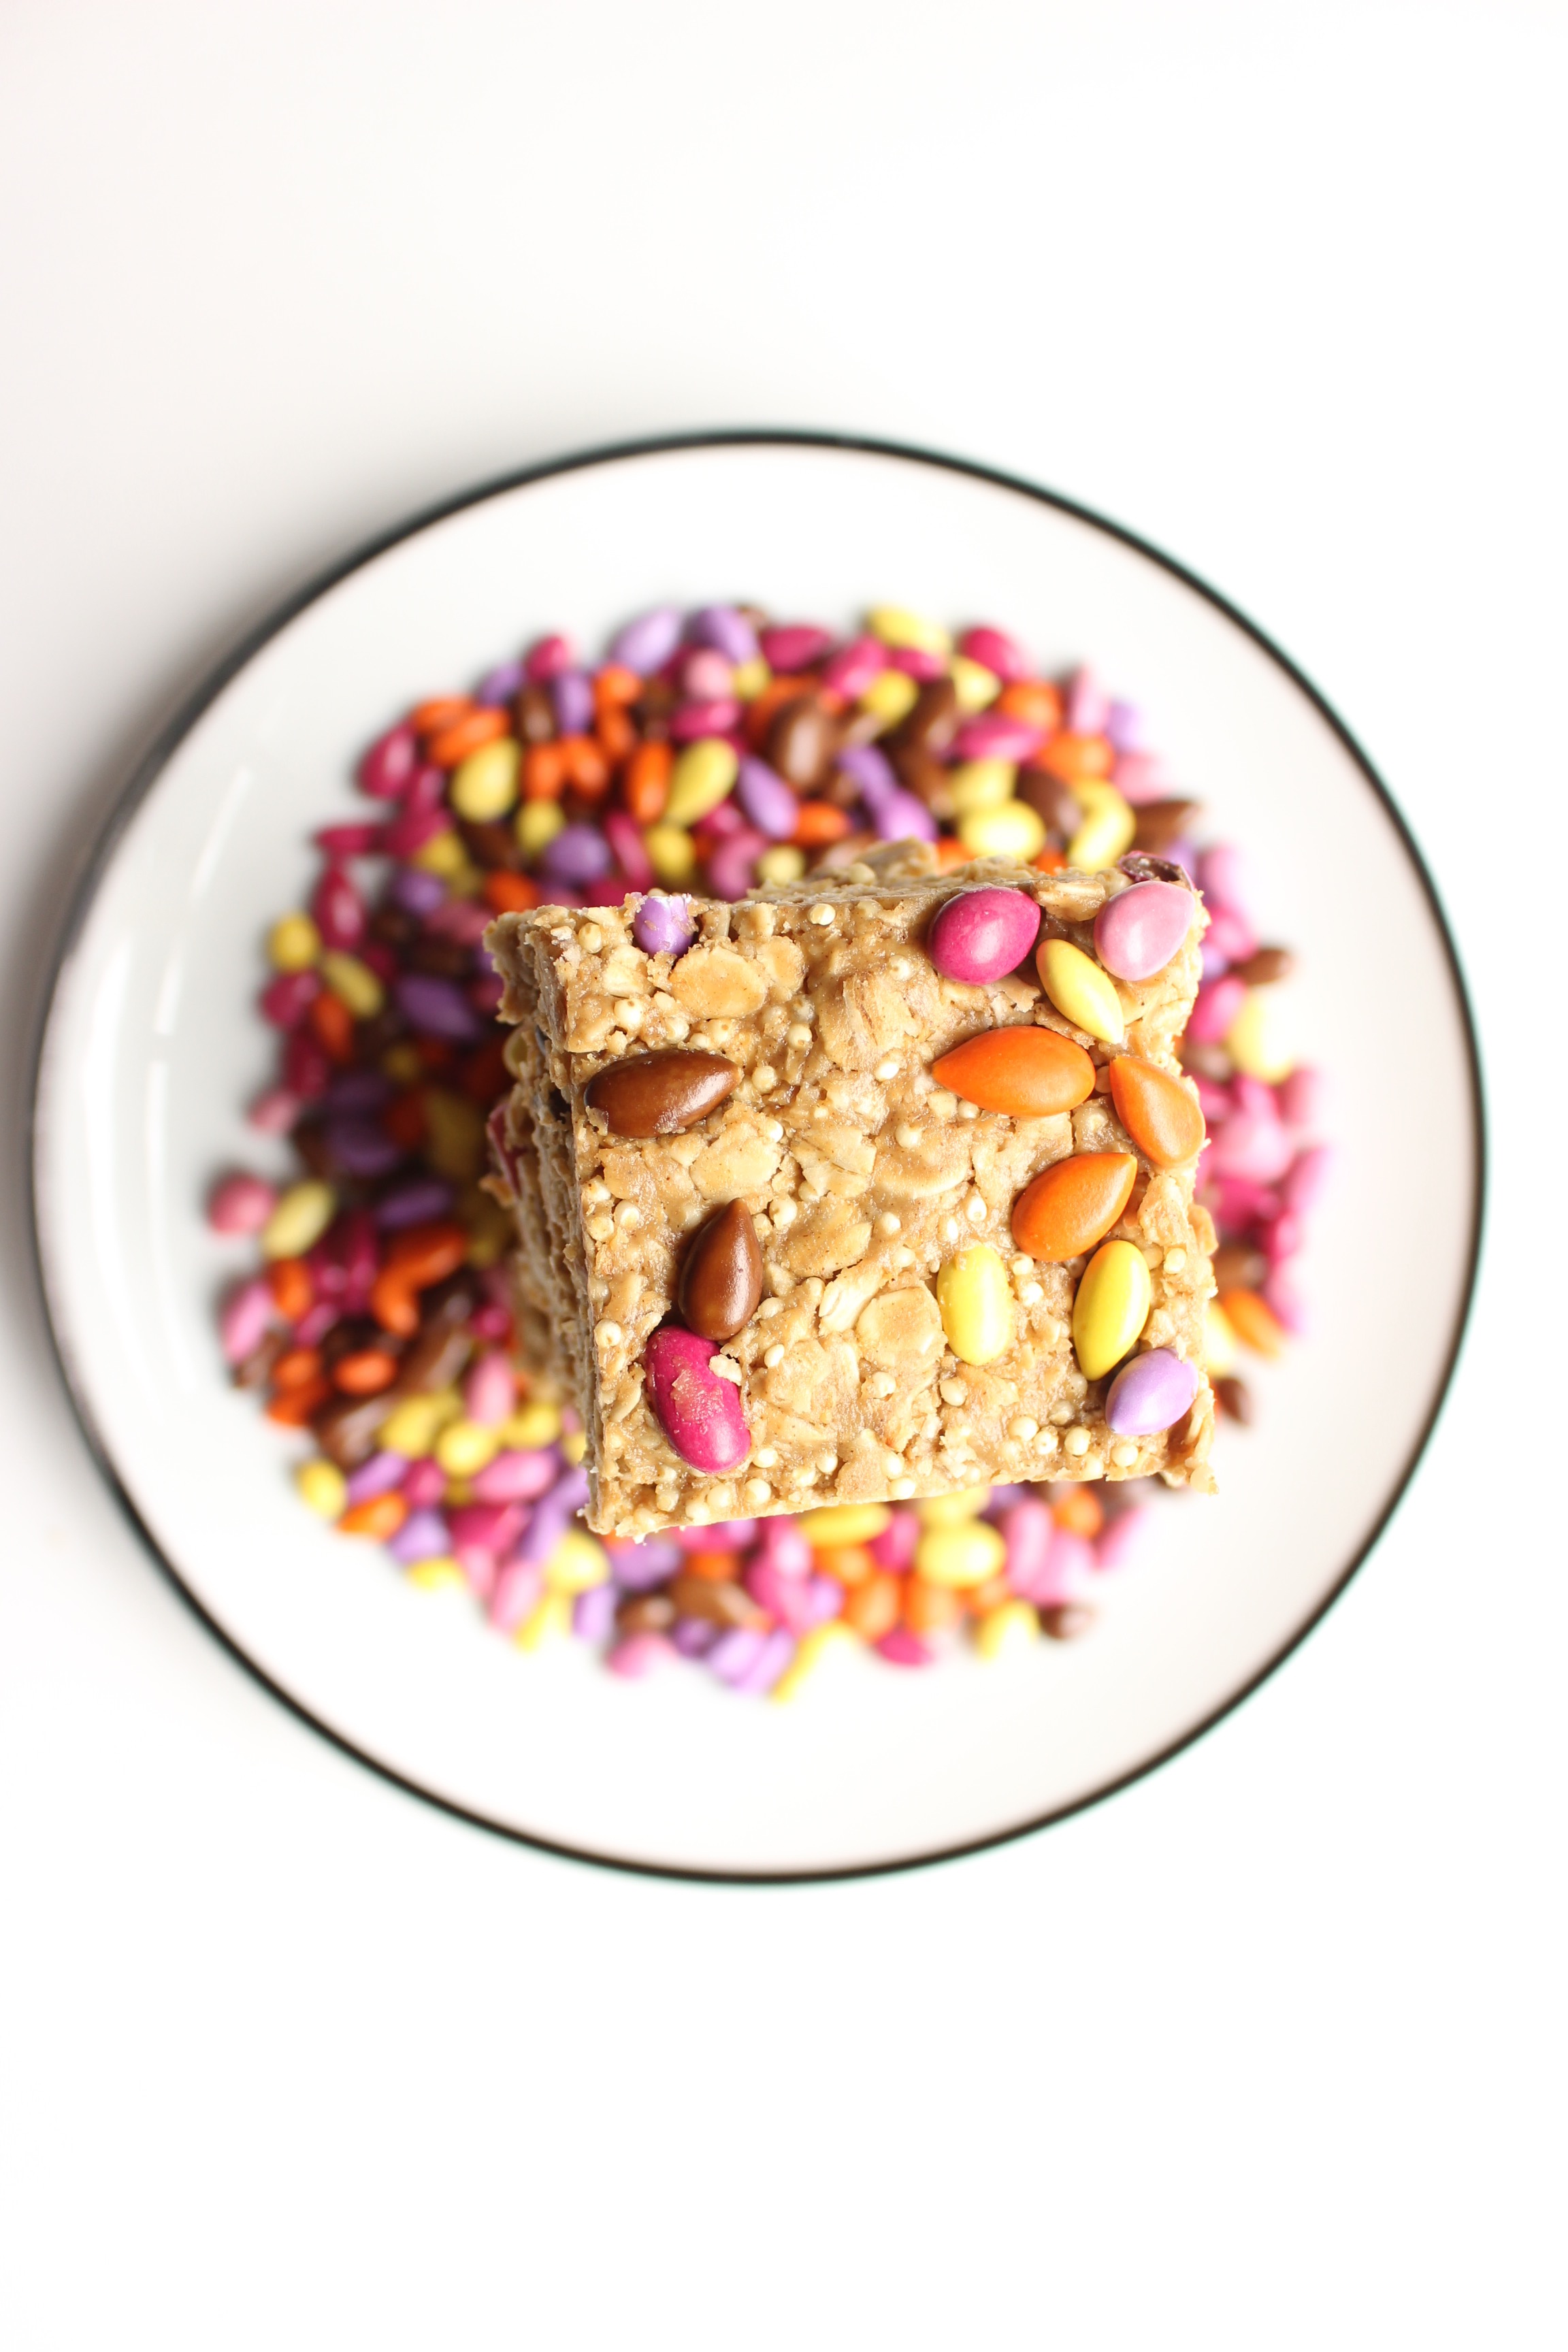
- If you can't find or don't want to use the chocolate-covered sunflower seeds, any old chocolate chips or carob chips (we're particularly fond of these non-dairy chocolate chips), will do.
- Millet is a slightly more exotic ingredient, but it's available at Whole Foods or health stores and really helps these bars to have some crunch. Millet is also gluten free and has a ton of health benefits.
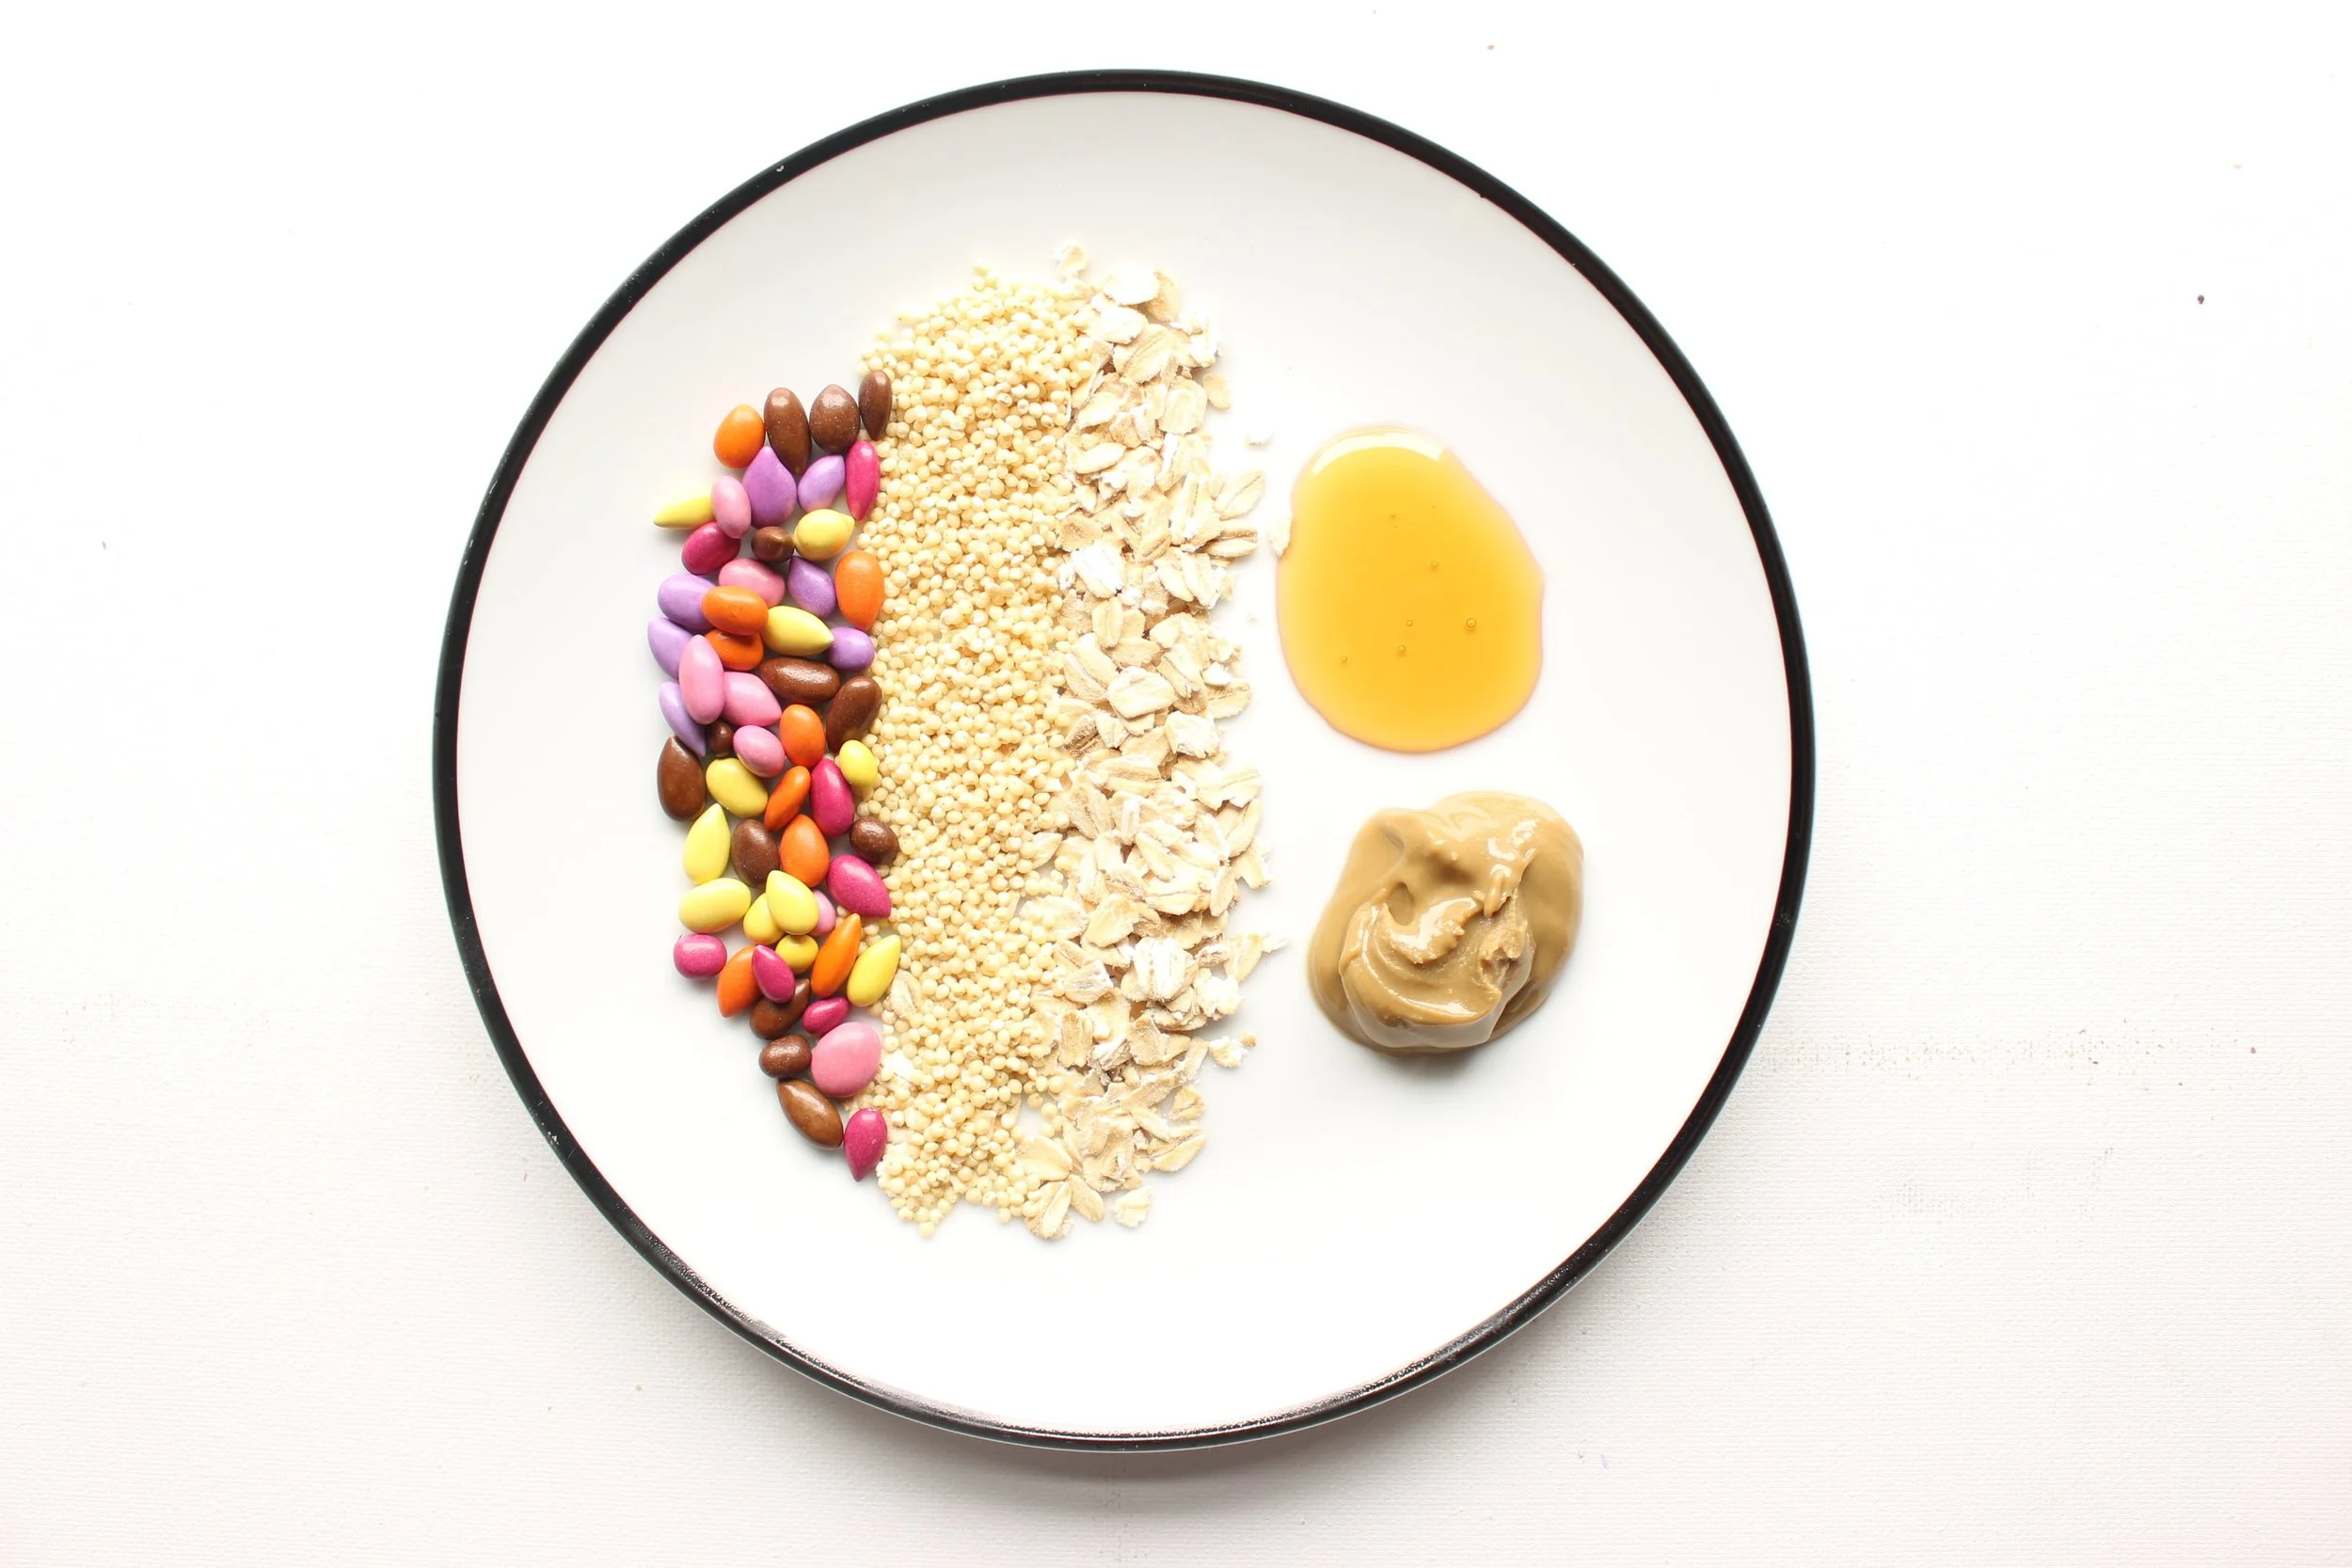
Actually good, no-bake granola bars
1¾ cups rolled oats (not quick oats or steel cut)
½ cup millet
1 tsp cinnamon
¾ cup sunflower seed butter
¼ cup honey
½ cup chocolate covered sunflower seeds or chocolate chips
Optional: a pinch of salt
Combine the dry ingredients in a large bowl and give them a stir.
Add the sunflower seed butter and the honey and stir to combine. You can zap these ingredients in the microwave to loosen them up a bit first, but I find that a little elbow grease and some wet hands do the trick.
Add the chocolate covered sunflower seeds or chocolate chips and stir again just until they’re incorporated.
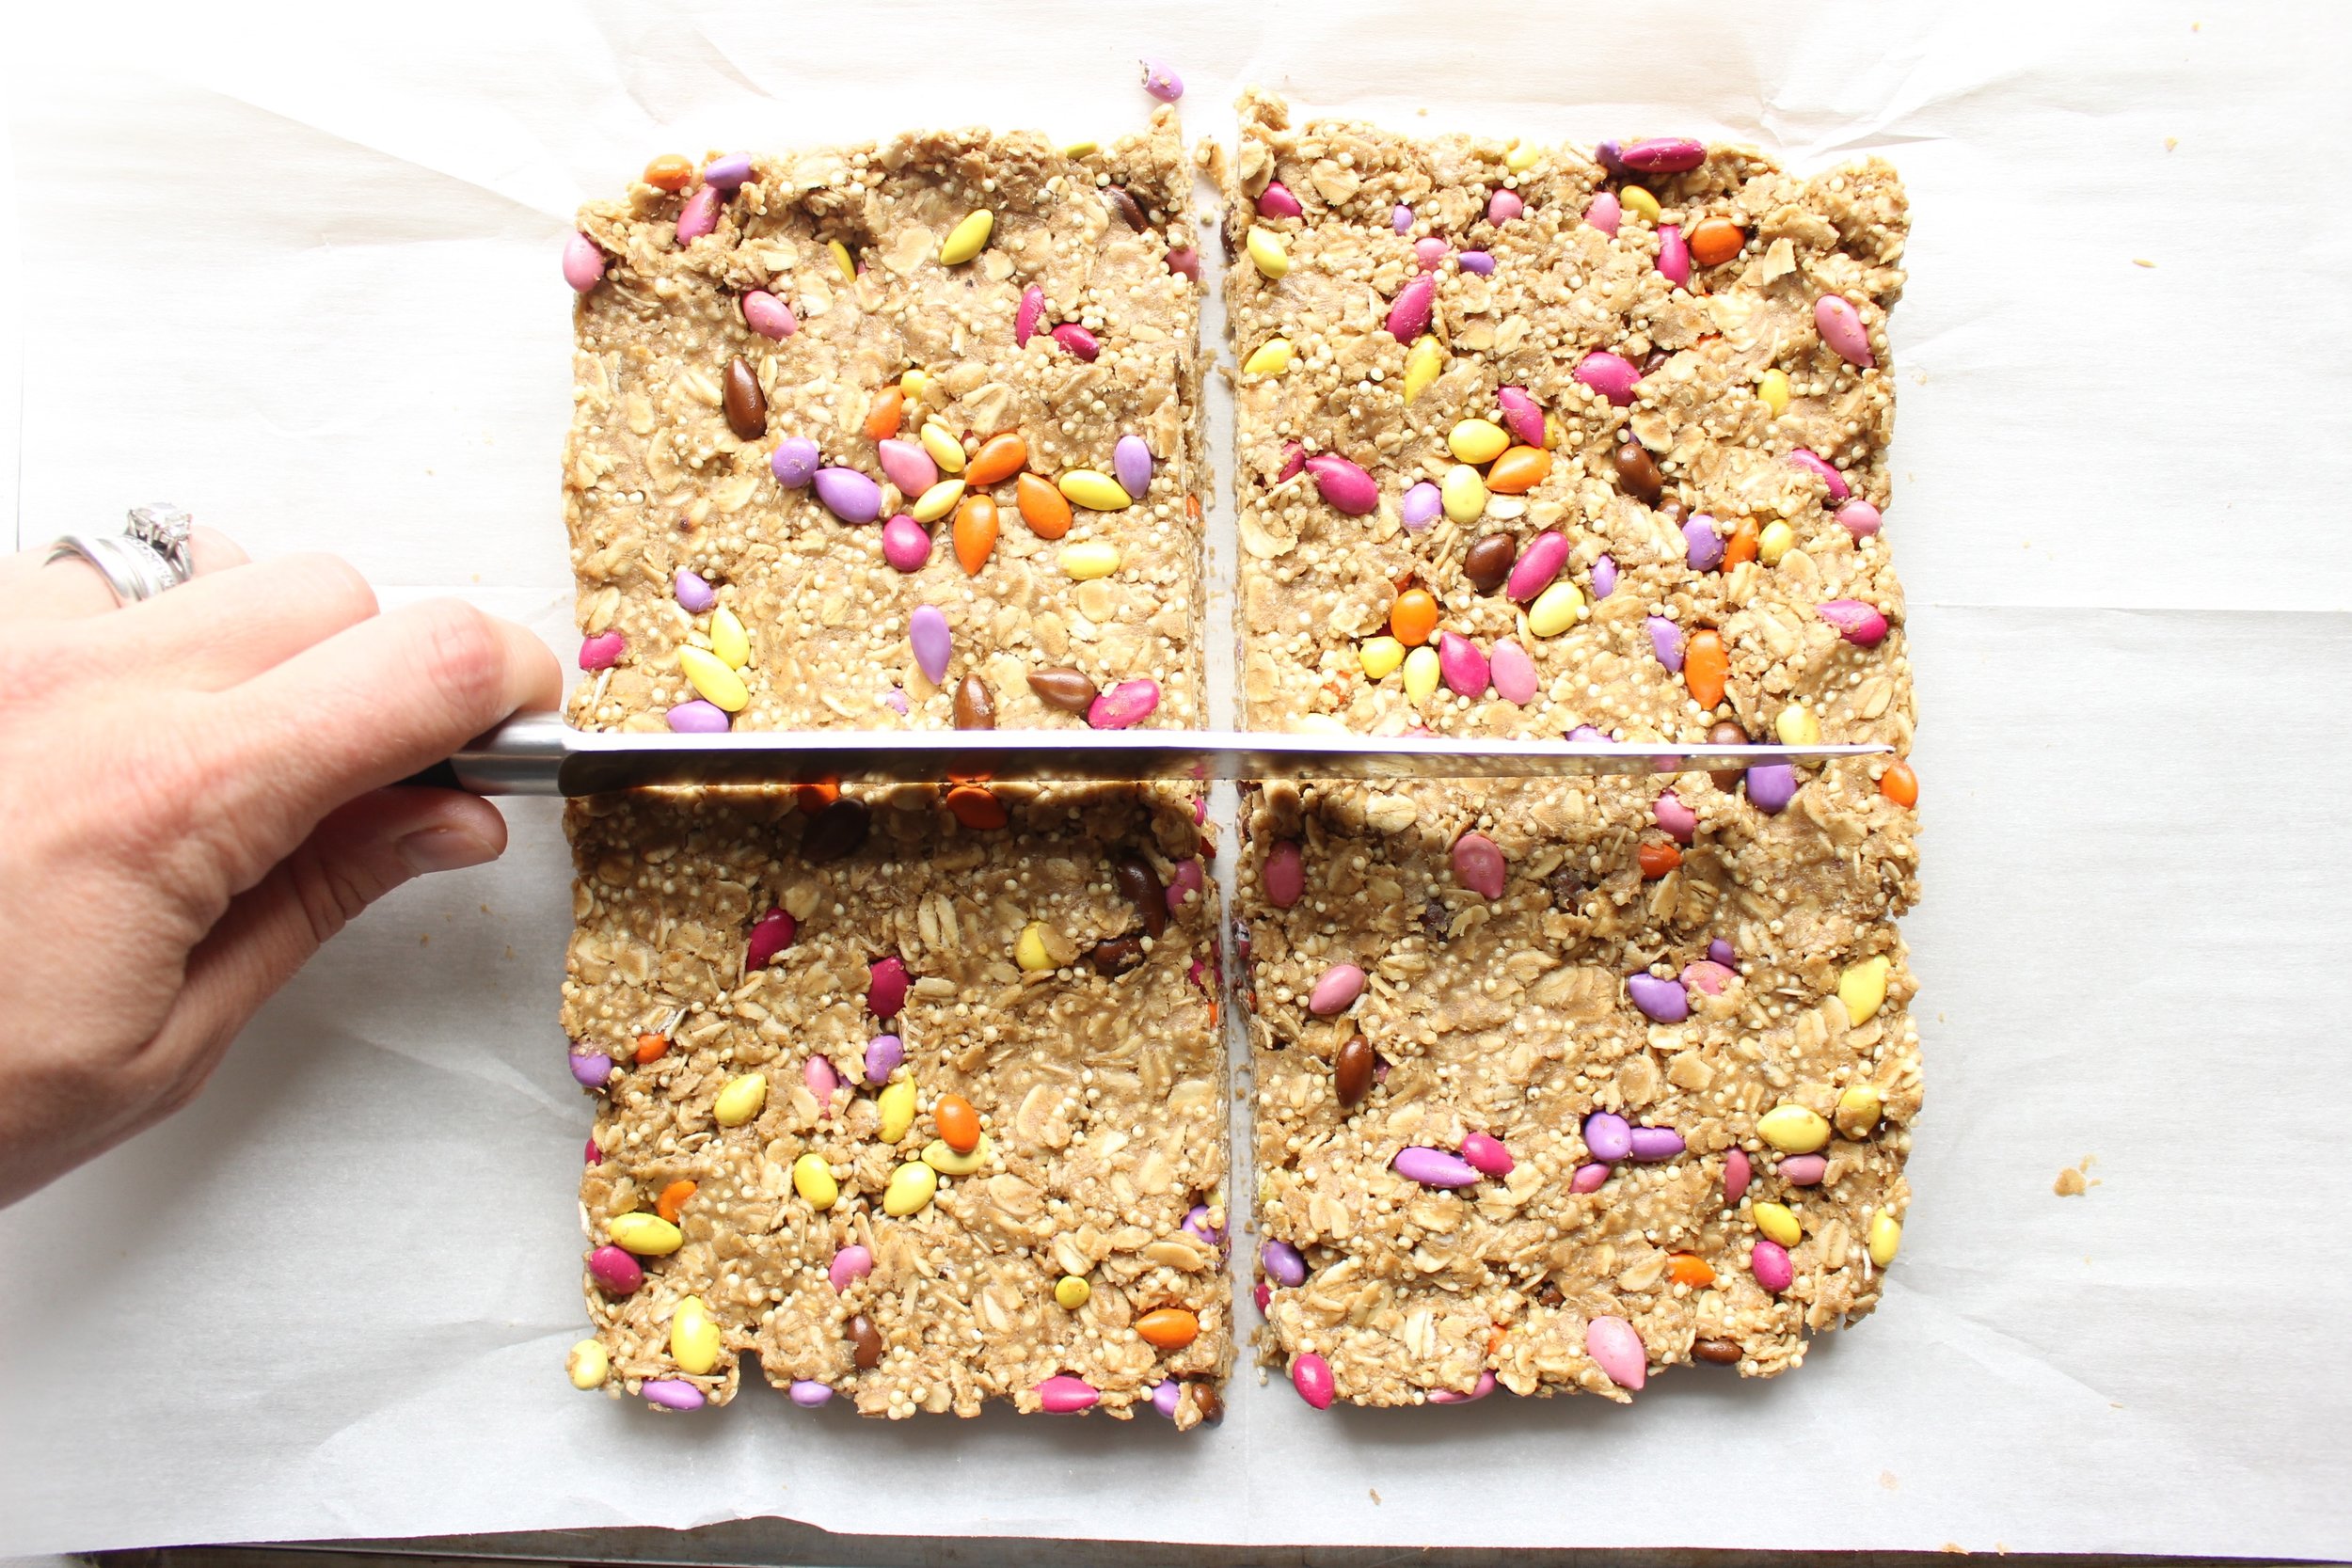
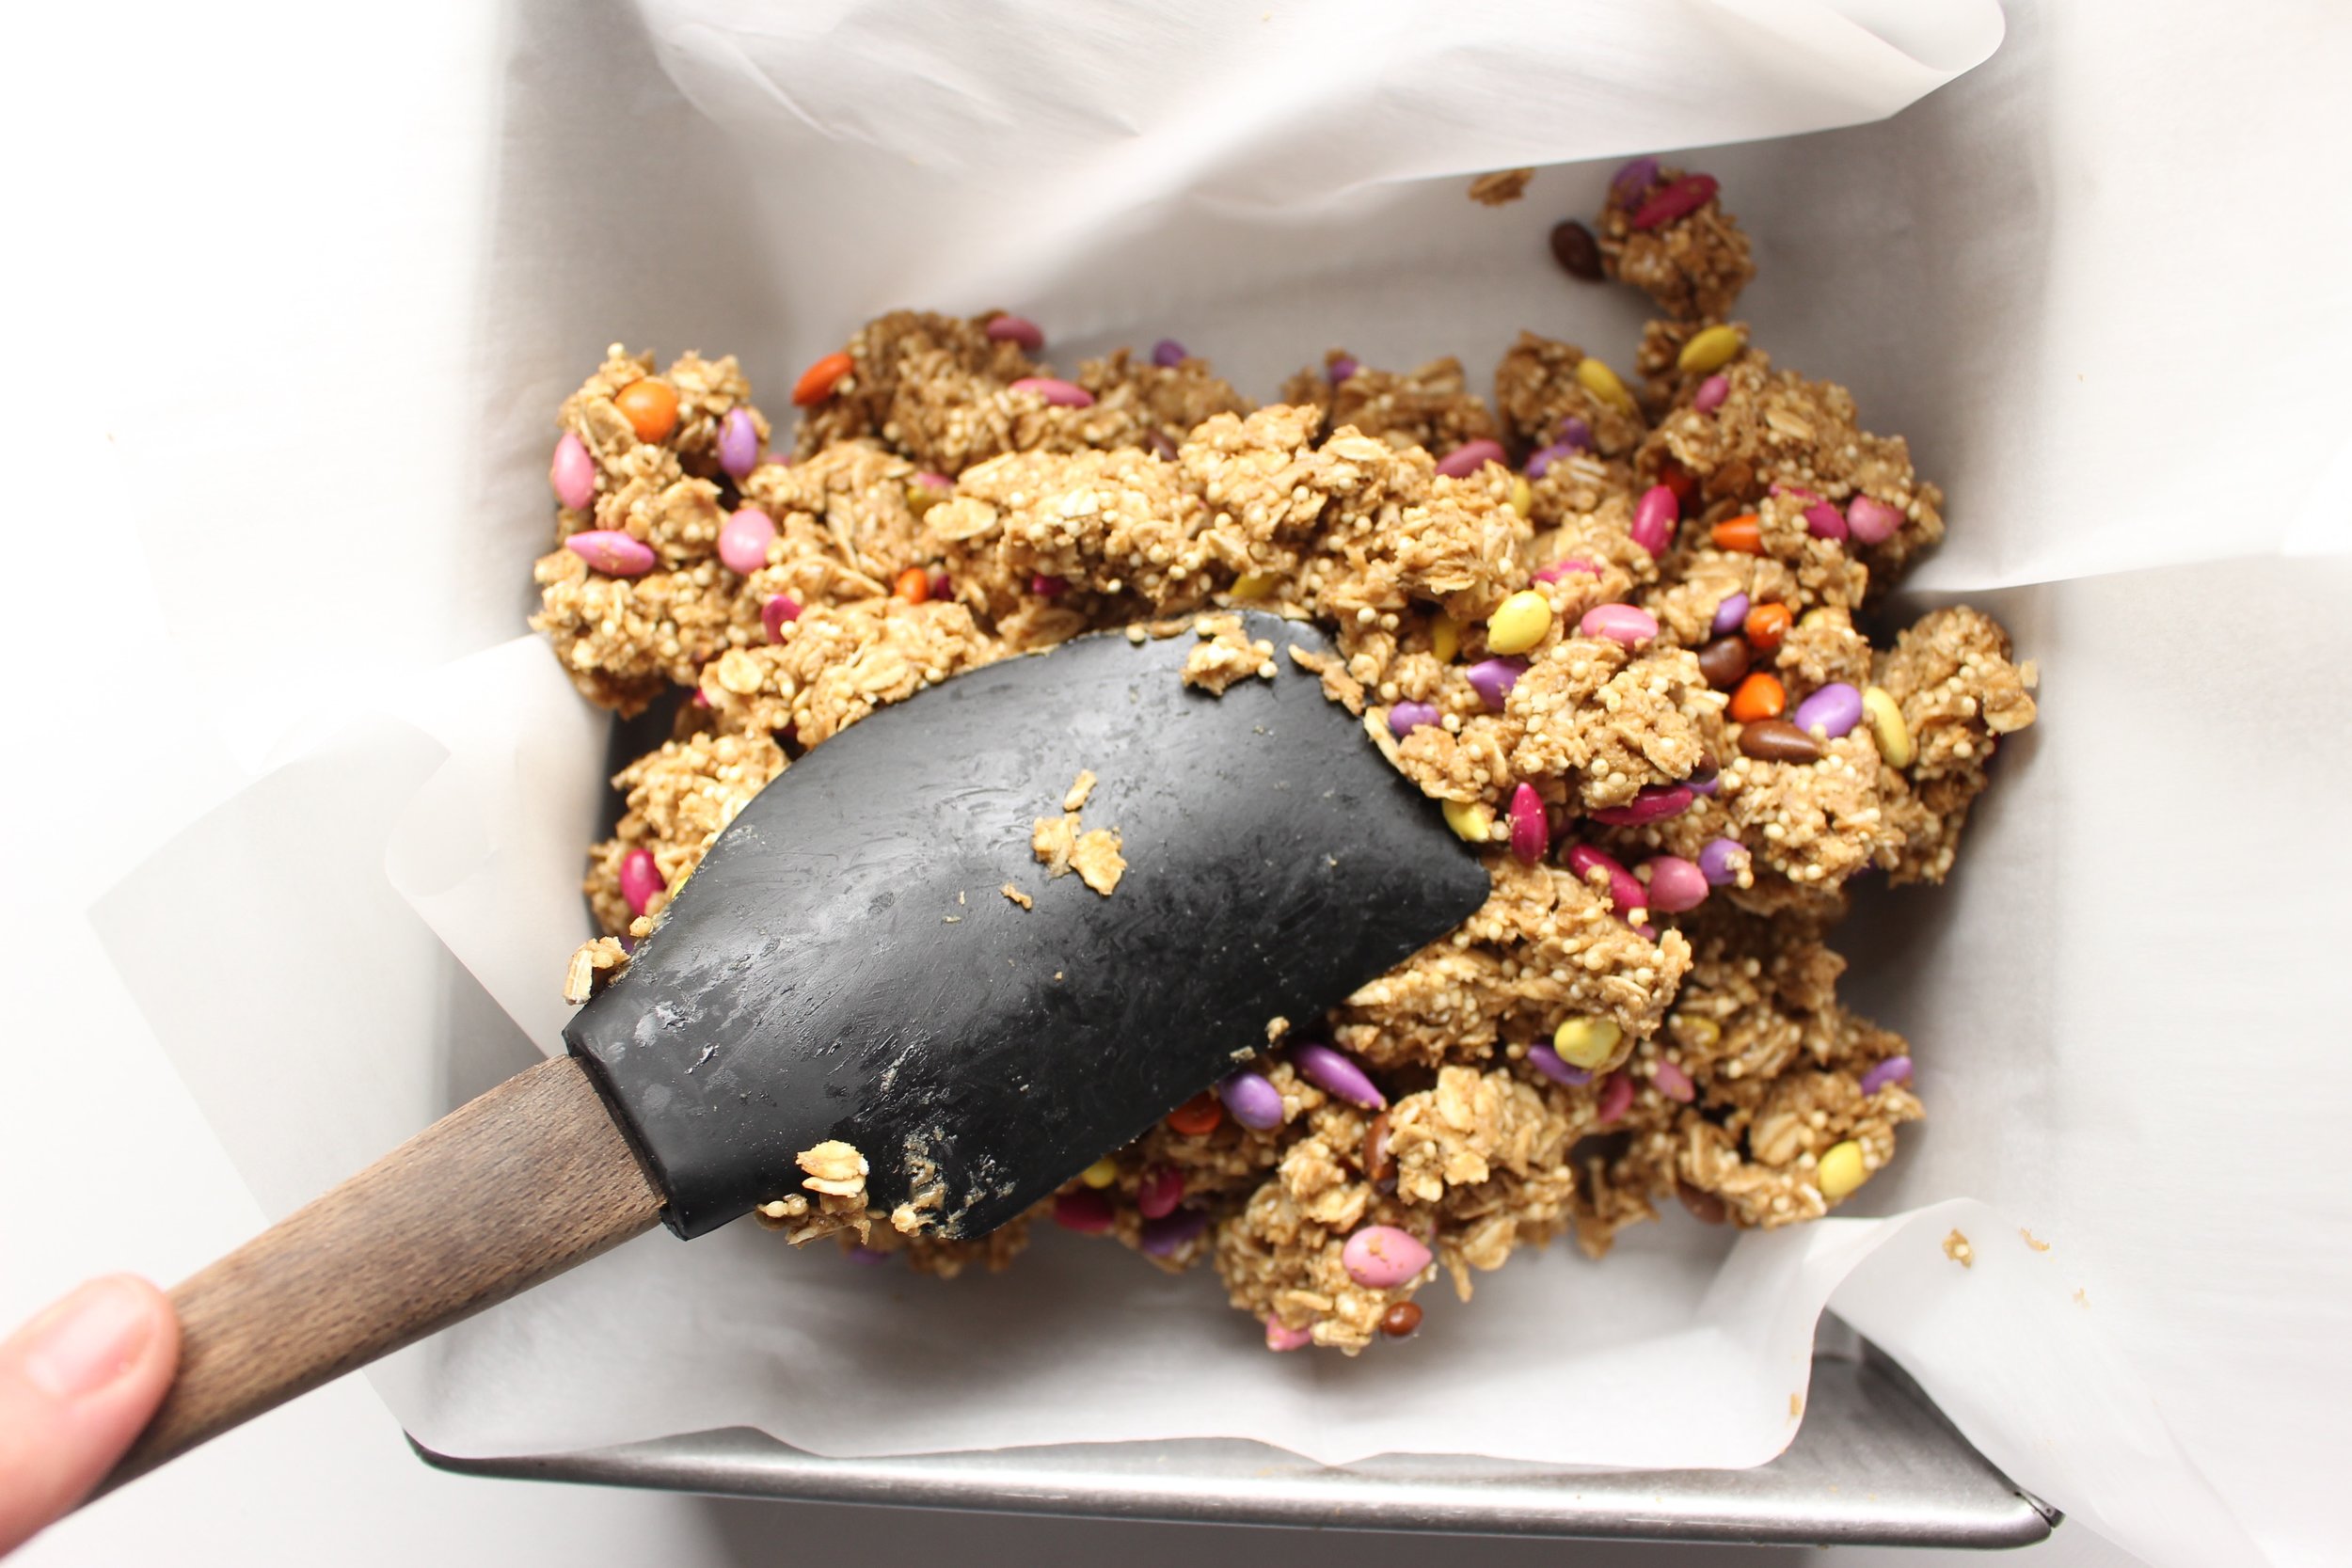
Dump the mixture out into a parchment-lined brownie pan (I like 8x8 best for the size of the bars it produces, but 9x9 or larger will also work with thinner results).
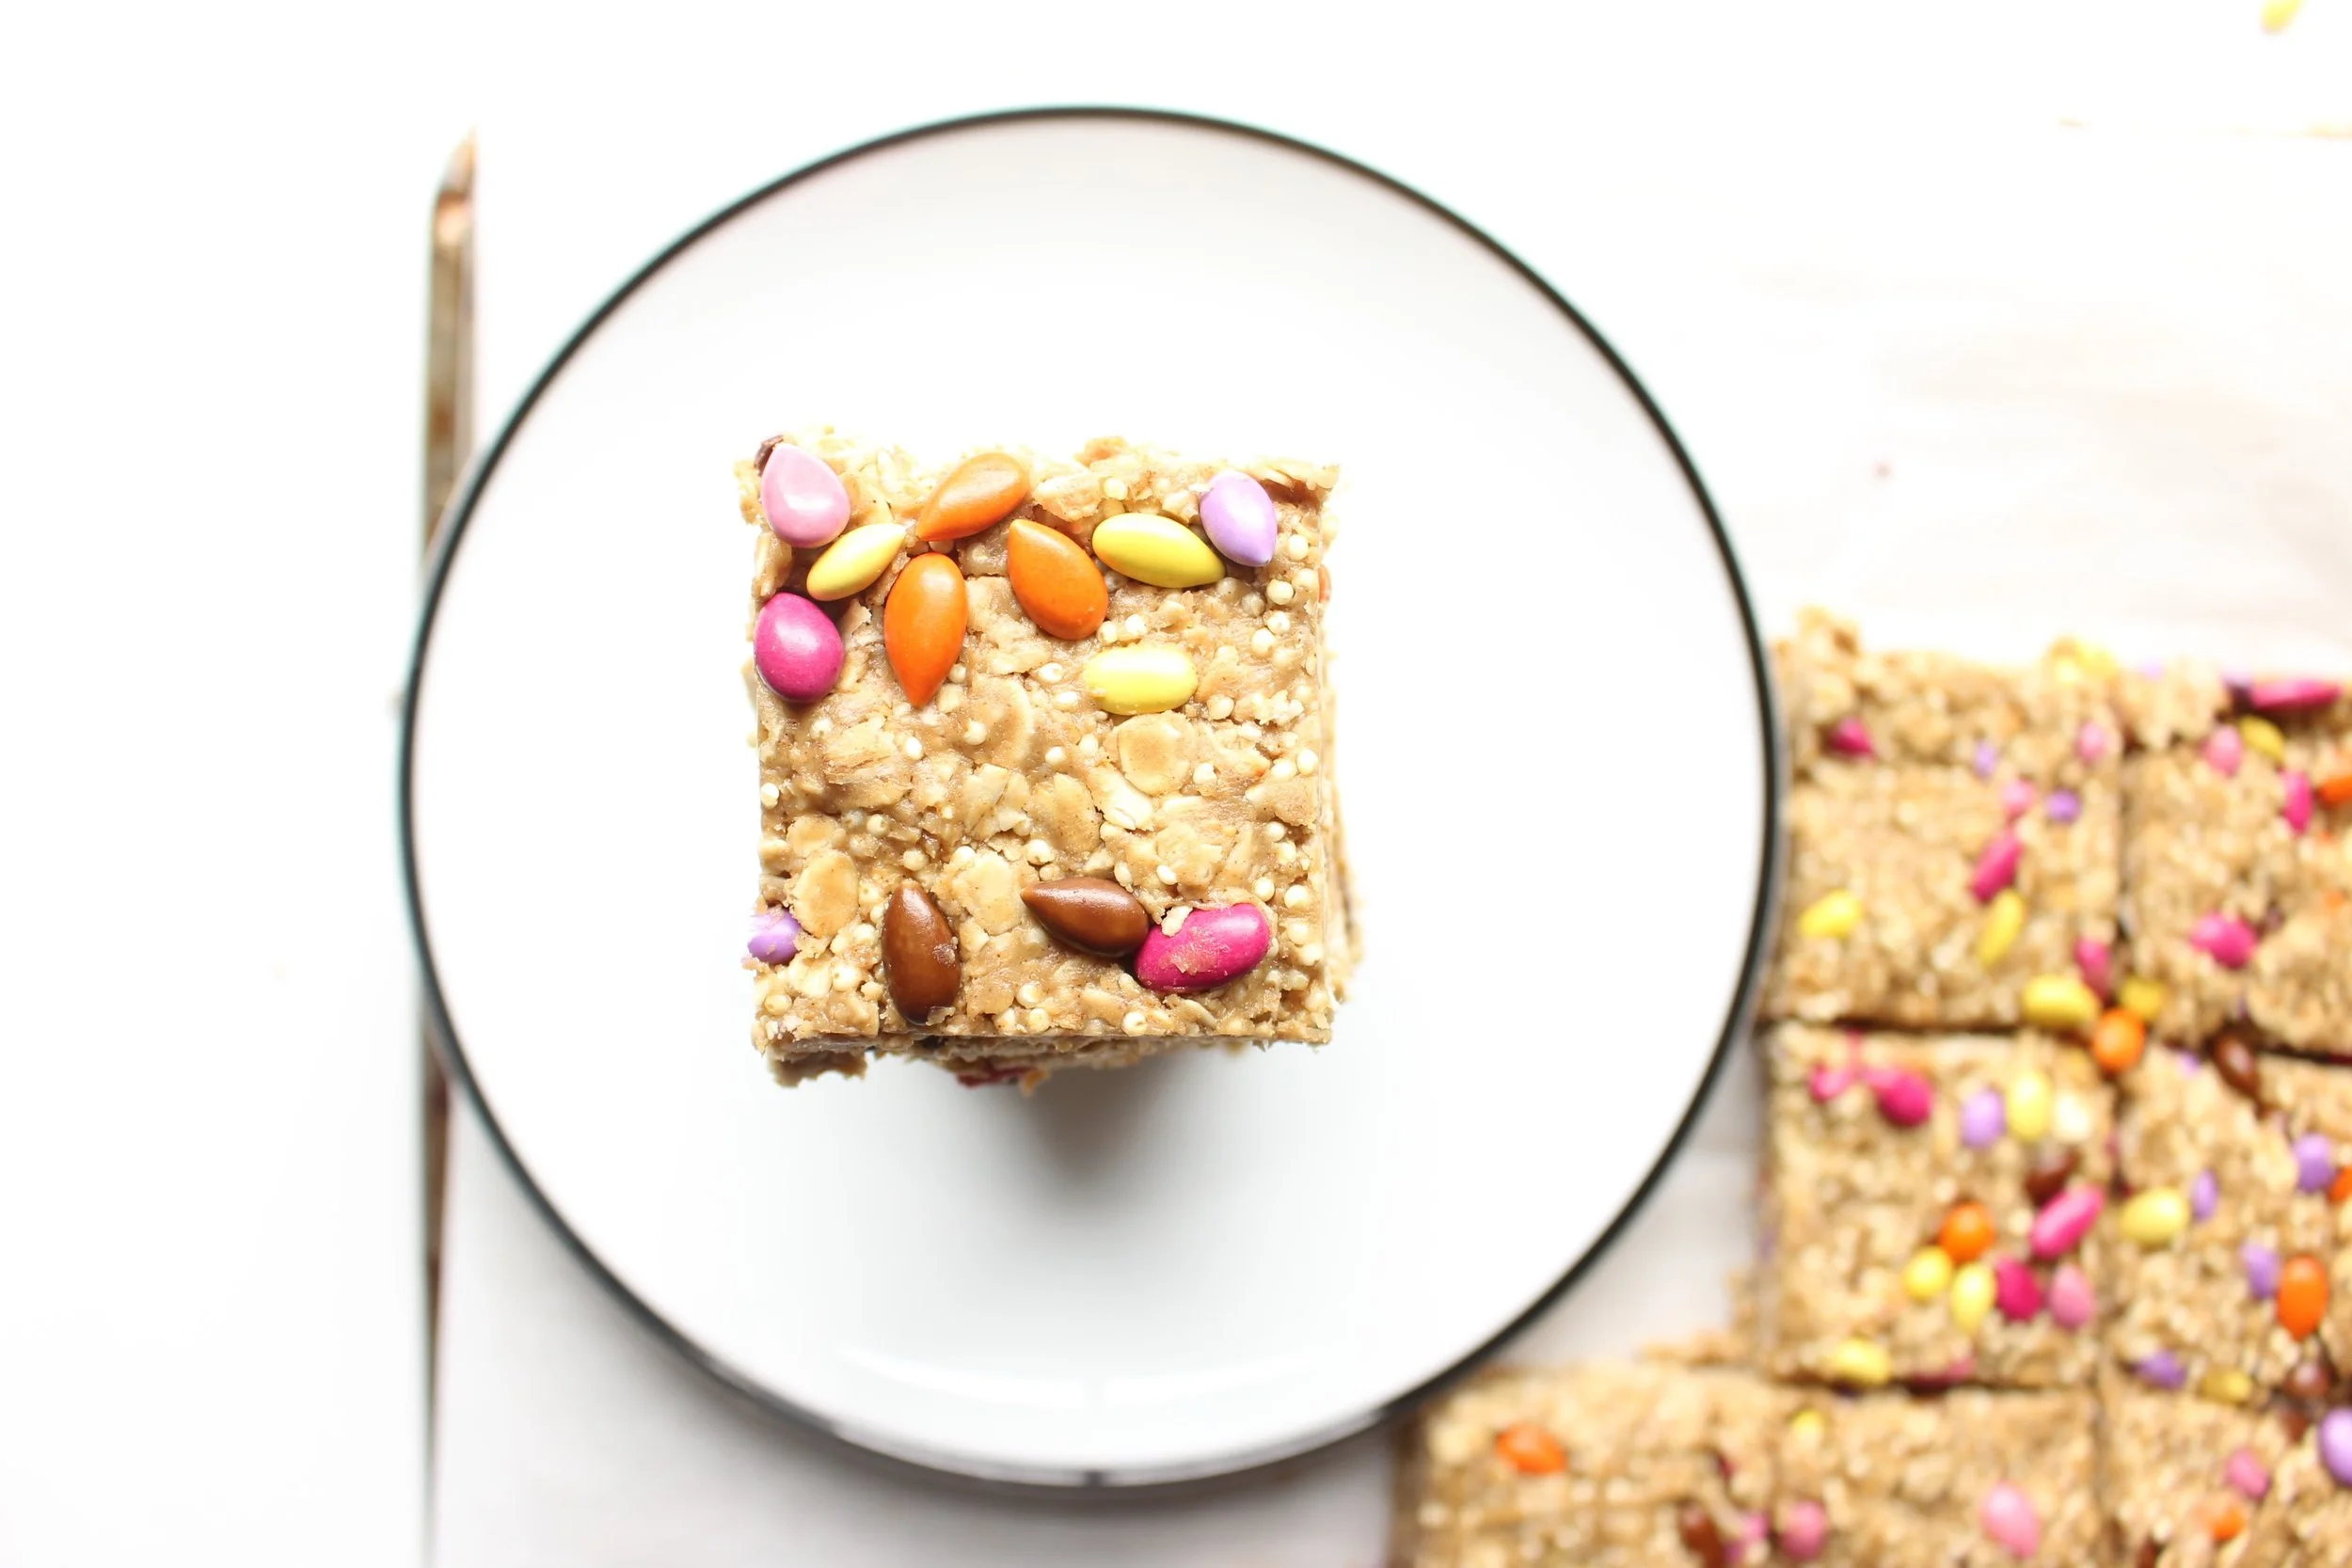
Freeze for 20 minutes. Remove the bars and cut them into 16-24 portions. Store in the fridge.
Yield: 16-24 bars