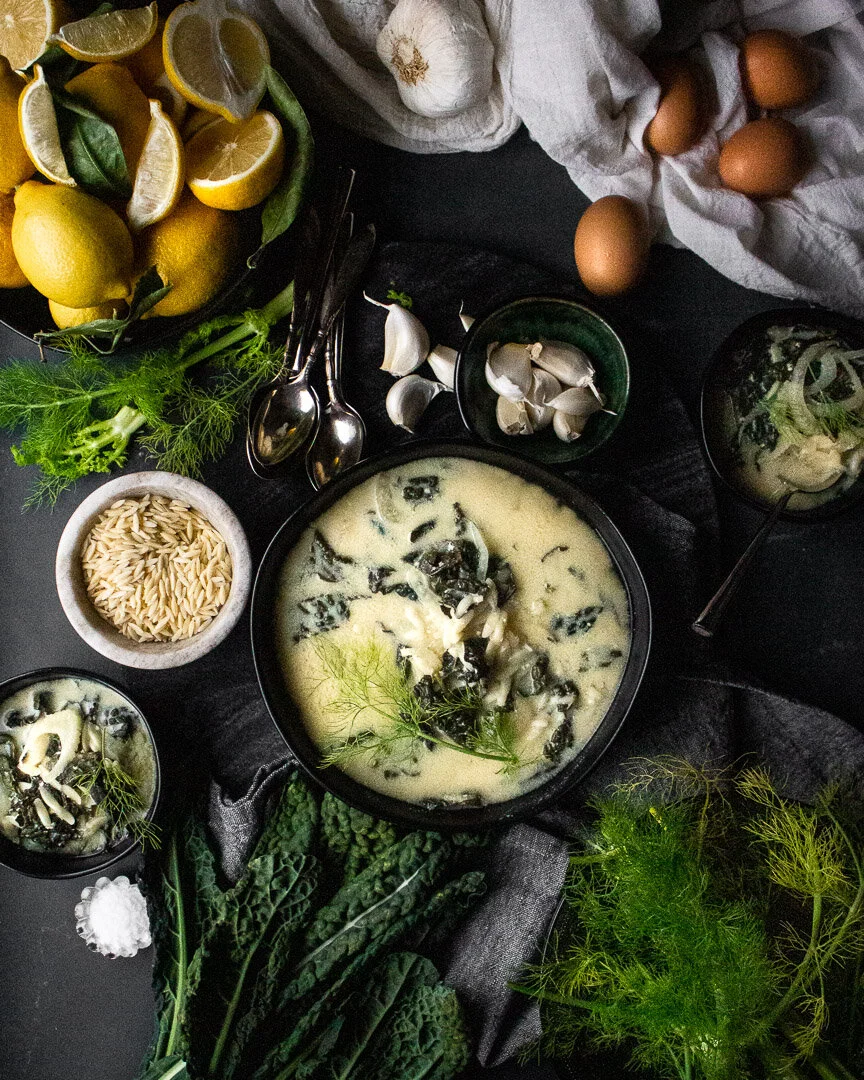
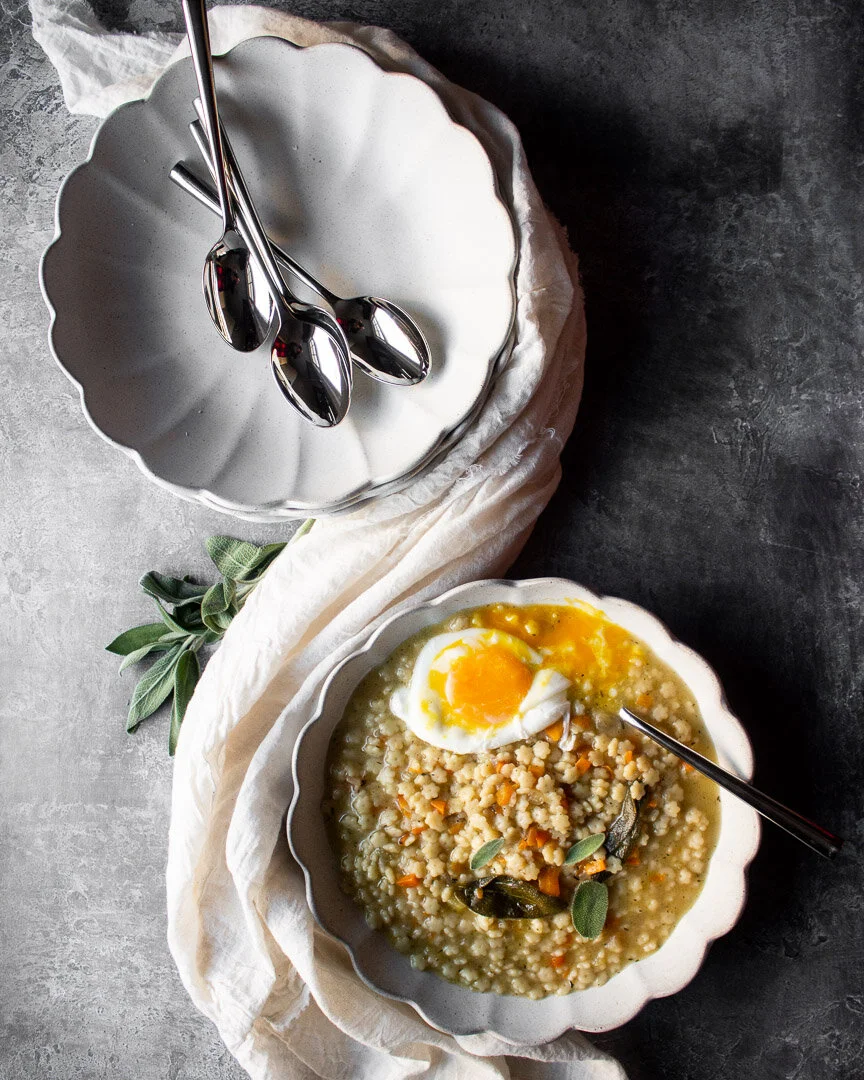
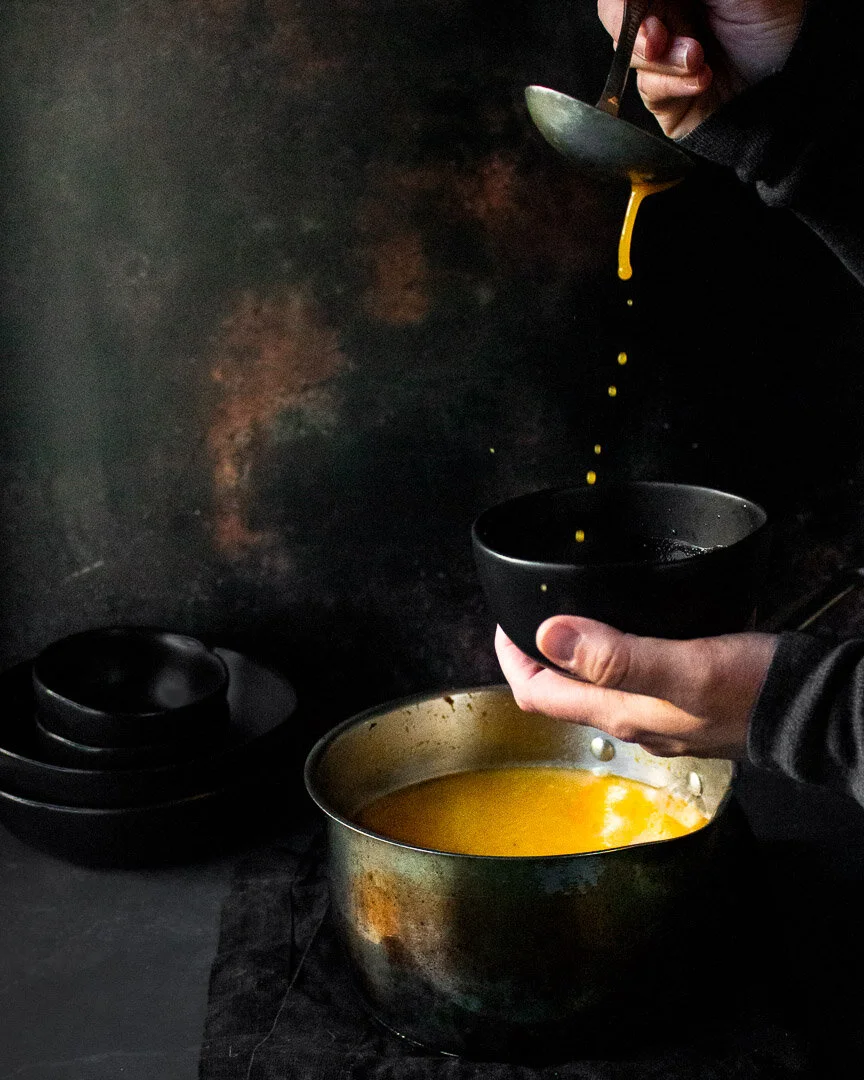
Fennel and kale avgolemono soup
/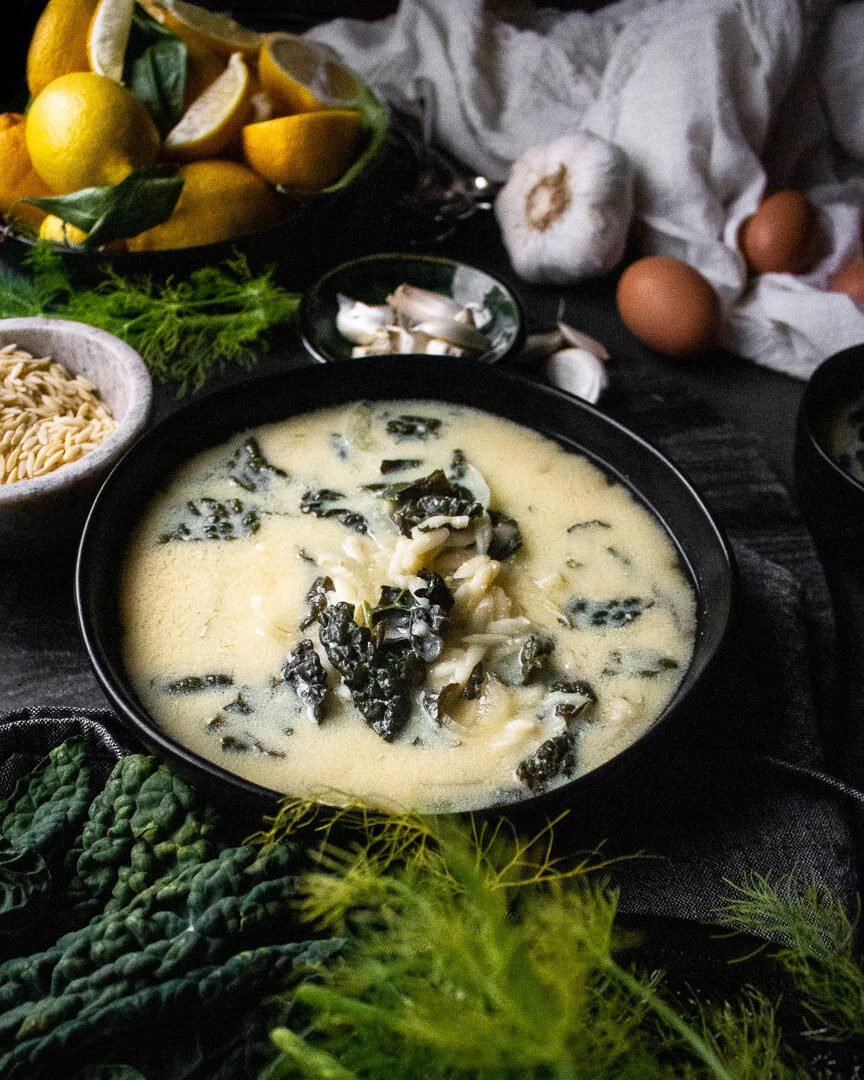
For this classic Greek lemon and egg soup, you slowly heat an emulsion of eggs, lemon juice, and broth for a quick, comforting bowl that packs a sweet and sour punch.

So guys, I’m trying to lose weight. I hate admitting that because it feels like a betrayal of my hard work to unlearn diet culture over this past year. BUT! Thanks to all of that work, I think I can lose a few pounds while maintaining a healthy relationship with food and my body. Because I love food and it’s not realistic for me to give any of it up. And, while I’m still working at loving my body, I appreciate all that it’s done for me and don’t feel like it has to match an unrealistic thin, white ideal.
But the fact is, I weigh more than I’d like to. Baby weight plus quarantine weight plus holiday weight has added up. I started reigning in my eating a few months ago, which helped my mental health. Somehow feasting on unlimited amounts of Nutella to deal with postpartum and covid anxiety wasn’t working. GO FIGURE. But I focused primarily on what I was eating, rather than on how much I was eating.
Now I need to face the statistics that having had Gestation Diabetes during my second pregnancy makes it more likely that I’ll develop Type II Diabetes if I don’t maintain a healthy weight. And, one of my chief physical complaints is back pain and when I’m holding onto extra weight, there’s more stress on my spine. I want to be able to play with and pick up my kids and I can’t do that if my back is out!

Enter, soup! I love soup in the winter anyway for its coziness, but it’s the perfect vehicle for veggies and healthy fats. It’s also filling and EASY.


This version of Avgolemono in particular is one of my favorites. It’s creamy without any dairy and a well-rounded meal with the orzo and veggies. It’s also infinitely adaptable based on your diet and preferences. Doing Whole 30? Leave out the orzo and add shredded chicken. Gluten free? Swap the orzo for rice. Vegetarian? Use veggie stock instead of chicken stock. Want more protein? Add beans or quinoa. Want it zingier? Add more lemon! Want it creamier? Add another egg! The variations are endless.
The only rule with Avgolemono is this: Don’t let the eggs come to a boil! You’ll end up with scrambled egg bits in your broth and nobody wants that.
Fennel and kale avgolemono soup
Time: about 30 minutes, mostly active
Yield: about 6 cups
6 cups chicken stock
1 tsp salt + more to taste (I’ve added another 1/2 tsp at the end in some batches)
1/8th tsp of black pepper
1 bay leaf
1 large garlic clove (or 2 medium/small), peeled and lightly smashed
1/2 cup uncooked orzo
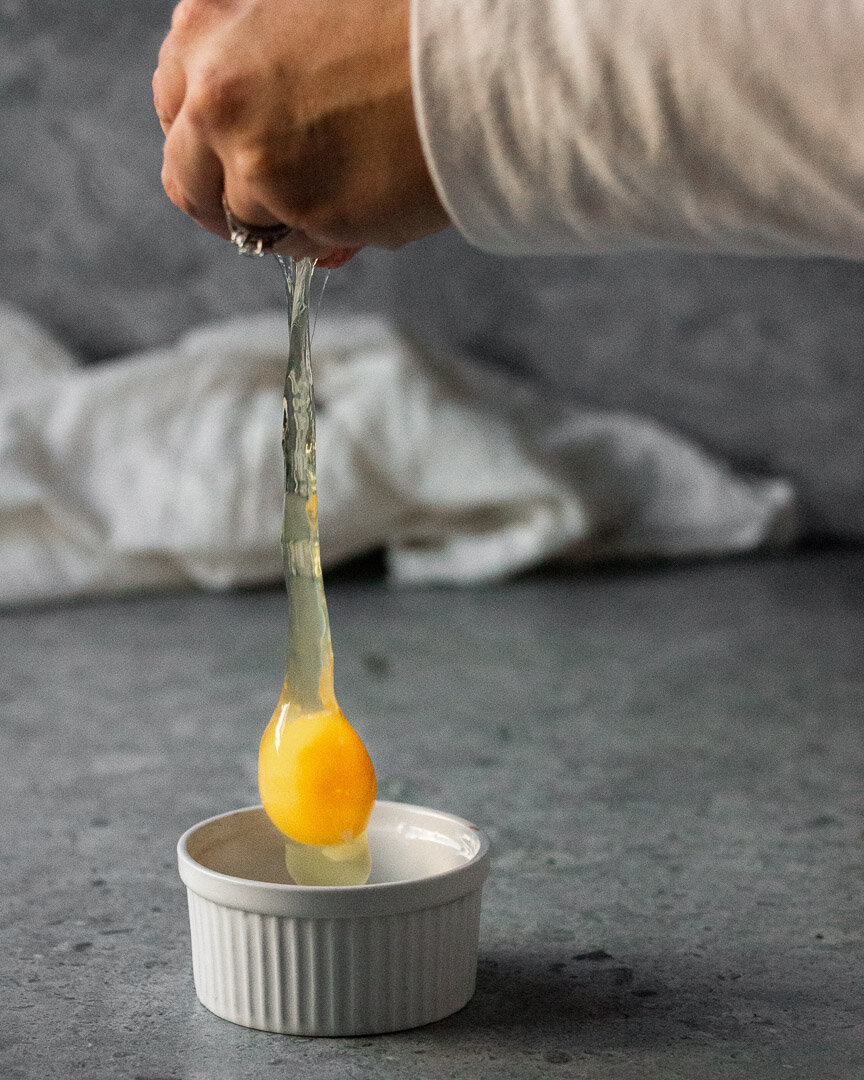
3 eggs
¼ cup lemon juice (the juice of 1 large lemon) + more to taste
2 cups lacinto kale (1 small bunch)
1 small fennel bulb, sliced paper thin
Combine the stock, salt, black pepper, bay leaf and garlic in a pot and bring to a boil. Scoop out 1 cup of the hot stock and set aside to cool.
Scoop out the garlic clove and add it to a blender. Set aside.
Add the orzo and cook according to package directions, minus one minute.
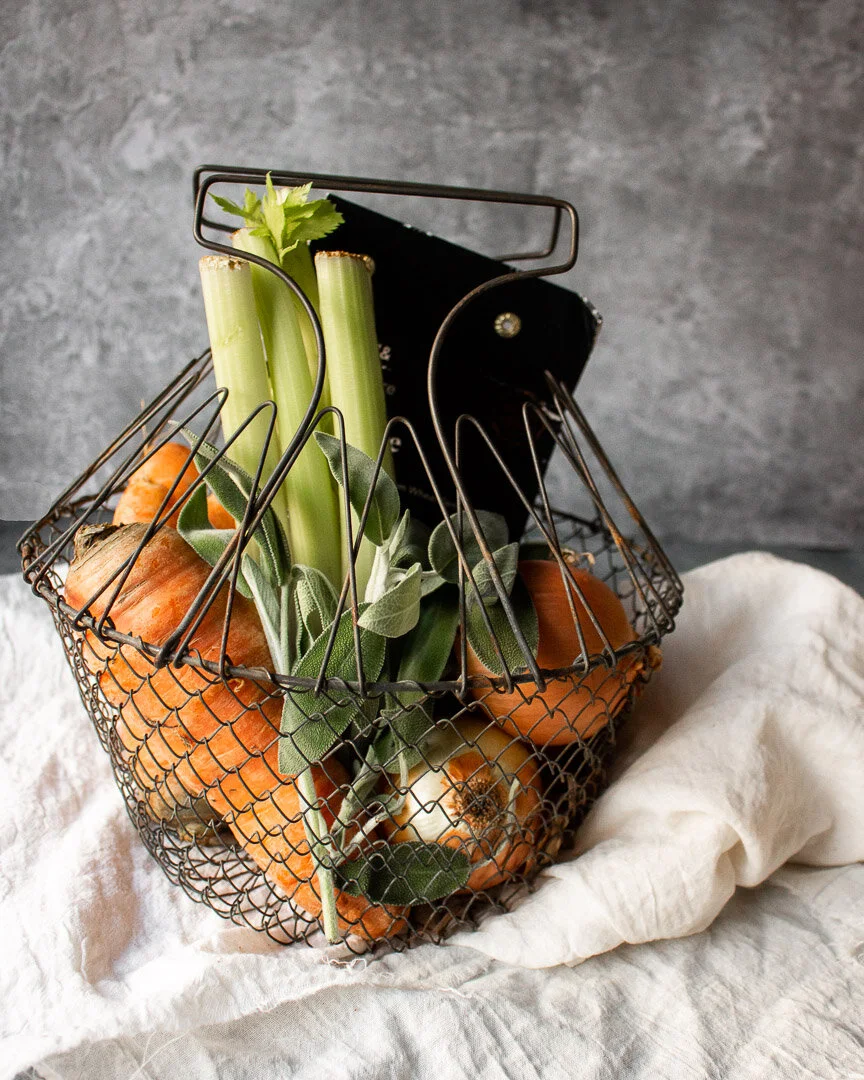
While the orzo is cooking, chop the kale and slice the fennel as thinly as possible. Set aside.
Add the eggs and the lemon juice to the blender with the cooled garlic. Set aside.
Once the orzo is done, turn the heat down all the way and let the broth just barely simmer. Add the kale and the fennel and stir.
Check the cooling cup of broth. It should be warm, but not hot. If you can comfortably leave your finger in the broth, it’s ready. If the broth is still too hot to touch, add an ice cube and check again in one minute after the ice has melted.
Whizz the garlic, eggs, and lemon juice in the blender until just combined and slightly frothy. Add the warm broth in a stream or in 4 batches if your blender doesn’t open while running.
Add the egg, lemon, garlic, and stock emulsion to the simmering broth and cook, stirring, for about 5 more minutes. Don’t let the soup boil!
Taste for seasoning and add more salt, pepper, and lemon as needed.


![[NEW RECIPE!] Thanksgiving leftovers hot pocket!
Thursday is going to be a great meal and a weird sad day for me. It’s the first Thanksgiving without my mom and this was HER holiday. Growing up, we were Jewish, but my mom’s family was Ch](https://images.squarespace-cdn.com/content/v1/546a33ffe4b0bff63b7b9405/1669075898662-2KJQA7P9W8KSRUJF47M4/image-asset.jpeg)


