Avocado toast with a twist

Try a new take on the quick, easy, and healthy classic avocado toast with chickpeas, harissa, feta, tzatziki, pesto, arugula, eggs, and dukkah! #meandthemoose #avocadotoast #lunch #easyrecipes #breakfast

Try a new take on the quick, easy, and healthy classic avocado toast with chickpeas, harissa, feta, tzatziki, pesto, arugula, eggs, and dukkah! #meandthemoose #avocadotoast #lunch #easyrecipes #breakfast

Refresh your breakfast and lunch avocado toast routines with these three quick and healthy spins on the classic sandwich staple.

Try a new take on the quick, easy, and healthy classic avocado toast with chickpeas, harissa, feta, tzatziki, pesto, arugula, eggs, and dukkah! #meandthemoose #avocadotoast #lunch #easyrecipes #breakfast

Try a new take on the quick, easy, and healthy classic avocado toast with chickpeas, harissa, feta, tzatziki, pesto, arugula, eggs, and dukkah! #meandthemoose #avocadotoast #lunch #easyrecipes #breakfast

I know, I know. Who really needs a recipe for avocado toast? Well, here’s the thing. I’m SO BORED with the standard base and toppings. I love everything bagel seasoning, but if I eat one more avocado smashed with it sprinkled on top, I’m going to turn into an everything bagel. Which might sound okay, but trust me, I would make a VERY SALTY bagel.

Anyway, here are some fun options I’ve been incorporating into the rotation!

Egg, pesto, and arugula liven up the classic avocado toast. #meandthemoose #avocadotoast #pesto #eggs #breakfast #lunch

Egg, pesto, and arugula liven up the classic avocado toast. #meandthemoose #avocadotoast #pesto #eggs #breakfast #lunch

Egg, pesto, and arugula liven up the classic avocado toast. #meandthemoose #avocadotoast #pesto #eggs #breakfast #lunch

Egg, pesto, and arugula liven up the classic avocado toast. #meandthemoose #avocadotoast #pesto #eggs #breakfast #lunch

Egg, pesto, and arugula avocado toast

1 piece of bread (your choice!)
1/4 large avocado, smashed
2 Tbsp pesto
1 egg, cooked using your preferred method
1 large handful arugula
flaky sea salt
drizzle of olive oil

Toast your bread.

While the bread is toasting, cook your egg however you like. I’ve used fried, poached, hard-boiled, and scrambled eggs in this and they all taste great.

Prep your other ingredients. I linked to my basic, kid-friendly pesto above, but there are loads of pesto recipes on this site OR feel free to use your own favorite recipe or a store-bought version.

Smash the avocado onto your bread with a fork and spread pesto on top. Add the egg and the arugula. Top with a sprinkle of salt and a drizzle of olive oil.

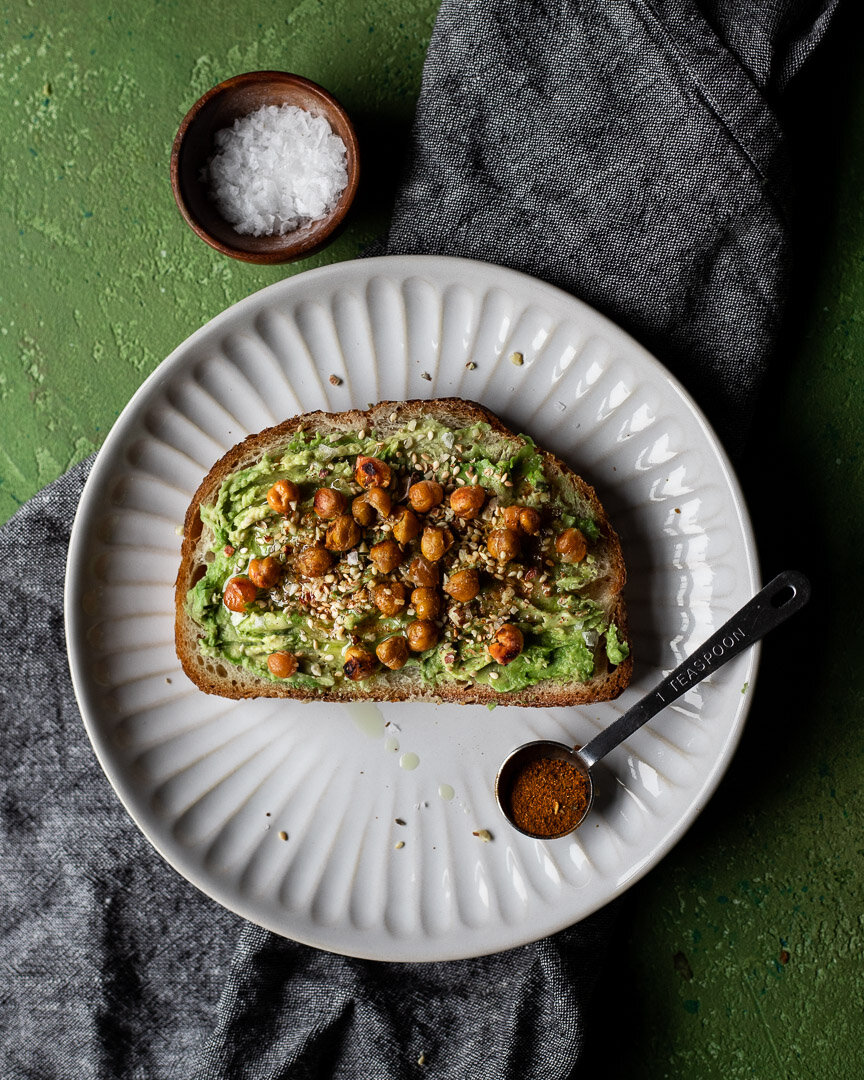
Crispy chickpeas, dukkah and harissa are a fresh vegan take on the classic avocado toast. #meandthemoose #veganrecipes #veganlunch #chickpeas

Crispy chickpeas, dukkah and harissa are a fresh vegan take on the classic avocado toast. #meandthemoose #veganrecipes #veganlunch #chickpeas

Crispy chickpeas, dukkah and harissa are a fresh vegan take on the classic avocado toast. #meandthemoose #veganrecipes #veganlunch #chickpeas

Crispy chickpeas, dukkah and harissa are a fresh vegan take on the classic avocado toast. #meandthemoose #veganrecipes #veganlunch #chickpeas

Dukkah, crispy chickpea, and harissa avocado toast

1 piece of bread (your choice!)
1/4 large avocado, smashed
1 can of chickpeas
1-2 Tbsp olive oil
pinch of sea salt
1 Tbsp dukkah seasoning (I used a Trader Joe’s mix, but dukkah recipes and pre-made mixes are easy to find)
1/4-1/2 tsp harissa spice
flaky sea salt
drizzle of olive oil (I used roasted garlic oil)

Preheat the oven to 400. Spread the drained chickpeas out on a sheet pan and pat dry with a paper towel. Drizzle with the olive oil and a large pinch of sea salt and bake for 10-15 minutes or until the chickpeas are crispy.

While the chickpeas are baking, toast your bread.

Smash the avocado on top of the bread and sprinkle with the dukkah seasoning. Top with about 1/4 cup of the crispy chickpeas. Sprinkle on your desired amount of harissa, flaky sea salt, and olive oil.

Quick-pickled cucumbers and onions add a lightly sweet and tangy bite to the salty feta and creamy, garlicky tzatziki of this new version of avocado toast. #meandthemoose #feta #tzatziki #avocadotoast #lunch #breakfast #quickpickles

Quick-pickled cucumbers and onions add a lightly sweet and tangy bite to the salty feta and creamy, garlicky tzatziki of this new version of avocado toast. #meandthemoose #feta #tzatziki #avocadotoast #lunch #breakfast #quickpickles

Quick-pickled cucumbers and onions add a lightly sweet and tangy bite to the salty feta and creamy, garlicky tzatziki of this new version of avocado toast. #meandthemoose #feta #tzatziki #avocadotoast #lunch #breakfast #quickpickles

Quick-pickled cucumbers and onions add a lightly sweet and tangy bite to the salty feta and creamy, garlicky tzatziki of this new version of avocado toast. #meandthemoose #feta #tzatziki #avocadotoast #lunch #breakfast #quickpickles

Tzatziki, feta, and pickled cucumber avocado toast

1 piece of bread (your choice!)
1/4 large avocado, smashed
1 English or hothouse cucumber (use 3/4 for the pickles and the other 1/4 for the tzatziki if making yourself)
1/2 large white onion
1/2 cup white vinegar
1/2 tsp salt
1 Tbsp sugar
1-2 Tbsp tzatiki (recipe here or use a premade version)
1-2 Tbsp crumbled feta

Thinly slice 3/4 of the cucumber and 1/2 of the onion. Combine with the white vinegar, salt, and sugar in a container with a lid. Shake well and leave to marinate for 5-10 minutes.

Make the tzatziki, if necessary.

Toast your bread. Smash the avocado on the bread and top with pickled cucumbers. Add the tzatziki and top with the crumbled feta.

Candy pretzel no-churn ice cream

No-churn vanilla ice cream with Easter candy and pretzel mix-ins is the easy, fun cooking project that you can do with your kids to use up that holiday haul! #Easter #icecream #icecreamrecipe #nochurn #dessert #sweetandsavory

No-churn vanilla ice cream with Easter candy and pretzel mix-ins is the easy, fun cooking project that you can do with your kids to use up that holiday haul! #Easter #icecream #icecreamrecipe #nochurn #dessert #sweetandsavory

If the Easter Bunny left you a LOT of candy this year (or you stocked up on post-holiday sales), this Candy Pretzel No-Churn Ice Cream is a fun way to use it up. AND, it’s so easy that my (newly) 6-year-old can make it mostly by himself!

Take me to the ice cream!

No-churn vanilla ice cream with Easter candy and pretzel mix-ins is the easy, fun cooking project that you can do with your kids to use up that holiday haul! #Easter #icecream #icecreamrecipe #nochurn #dessert #sweetandsavory

No-churn vanilla ice cream with Easter candy and pretzel mix-ins is the easy, fun cooking project that you can do with your kids to use up that holiday haul! #Easter #icecream #icecreamrecipe #nochurn #dessert #sweetandsavory

I’m obsessed with no-churn ice cream. Most recipes you’ll find are basically the same— a carton of heavy cream, a can of sweetened condensed milk, a pinch of salt (but not in this recipe because we’re using pretzels), some vanilla extract, and whatever mix-ins you like. Some recipes use a bit of cream cheese, but I prefer it without.

*There are two ways to make the ice cream base: You can whip the cream first and then fold in the condensed milk, OR you can combine them and whip the whole mess together. Obviously, it’s faster to do the milks together, but you risk over-mixing. Whipping the base too much can lead to a buttery texture in the final product, which is a little gross.

Whipping the cream on its own lets you see how thick it’s gotten, so you’re less likely to overdo it. If you’re a newbie or just worried, use this method.

I usually dump them both together and whip until I see tracks in the mixture that stay put for a few seconds before melting back into the gloop. Just note: When you mix the two liquids together, you WON’T achieve a stiff peak like you would with cream alone.

No-churn vanilla ice cream with Easter candy and pretzel mix-ins is the easy, fun cooking project that you can do with your kids to use up that holiday haul! #Easter #icecream #icecreamrecipe #nochurn #dessert #sweetandsavory

No-churn vanilla ice cream with Easter candy and pretzel mix-ins is the easy, fun cooking project that you can do with your kids to use up that holiday haul! #Easter #icecream #icecreamrecipe #nochurn #dessert #sweetandsavory

No-churn vanilla ice cream with Easter candy and pretzel mix-ins is the easy, fun cooking project that you can do with your kids to use up that holiday haul! #Easter #icecream #icecreamrecipe #nochurn #dessert #sweetandsavory

No-churn vanilla ice cream with Easter candy and pretzel mix-ins is the easy, fun cooking project that you can do with your kids to use up that holiday haul! #Easter #icecream #icecreamrecipe #nochurn #dessert #sweetandsavory

No-churn vanilla ice cream with Easter candy and pretzel mix-ins is the easy, fun cooking project that you can do with your kids to use up that holiday haul! #Easter #icecream #icecreamrecipe #nochurn #dessert #sweetandsavory

No-churn vanilla ice cream with Easter candy and pretzel mix-ins is the easy, fun cooking project that you can do with your kids to use up that holiday haul! #Easter #icecream #icecreamrecipe #nochurn #dessert #sweetandsavory

My favorite part of this particular recipe is the pretzel-Rolo concoction. You basically melt a Rolo (or any other chocolate and caramel candy) in the oven for 3 minutes and then smoosh another pretzel and some sprinkles on top. They’re like a chocolate-covered pretzel with a caramel sprinkle bonus! And much less messy to make!

Also, if you’re like us, you always have some stale pretzels in the back of the cabinet that no one really wants to eat. This is a great way to resurrect them.

No-churn vanilla ice cream with Easter candy and pretzel mix-ins is the easy, fun cooking project that you can do with your kids to use up that holiday haul! #Easter #icecream #icecreamrecipe #nochurn #dessert #sweetandsavory

No-churn vanilla ice cream with Easter candy and pretzel mix-ins is the easy, fun cooking project that you can do with your kids to use up that holiday haul! #Easter #icecream #icecreamrecipe #nochurn #dessert #sweetandsavory

Candy pretzel No-Churn Ice Cream

Time: 20 minutes + 8 hours of freezing
Yield: About 5 cups of ice cream

10-15 Rolo candies (or other chocolate and caramel candy)
20-30 mini pretzels
2-3 Tbsp sprinkles
2 cups heavy cream (1 pint)
14 oz sweetened condensed milk (1 small can)
1 tsp vanilla extract
1-2 cups chocolate candy, roughly chopped (I used milk chocolate bunnies and Cadbury eggs, but use whatever you like!)

Heat the oven to 350.

Spread half of the pretzels on a parchment-covered sheet pan. Top with one Rolo or other chocolate and caramel candy. Melt in the oven for 2-3 minutes.

Remove from the oven and top each melted chocolate piece with another pretzel and glitz them up with some sprinkles. Put in the fridge to chill while you make the ice cream base.

*Combine the heavy cream, condensed milk, and vanilla extract in a large bowl or in the bowl of a stand mixer. (See notes above for different methods for making the base.) Mix with the whisk attachment until you see visible tracks in the cream that stick around for a few seconds before melting back into the gloop.

Roughly chop whatever candy you’re using. Remove the pretzels from the fridge and roughly chop those too. Gently fold the chopped candies into the ice cream base. Pour the mixture into a metal or other freezer-safe container and freeze for at least 8 hours.

Almond and coconut energy balls

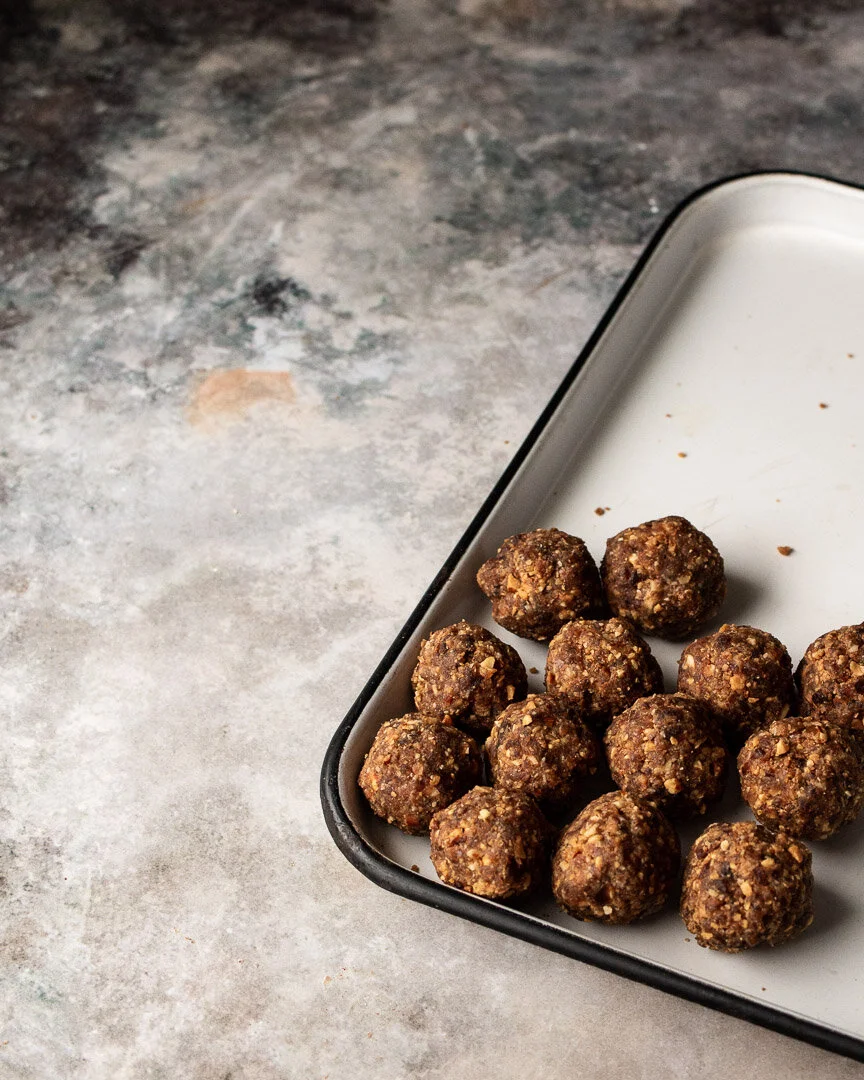
These coconut and almond energy bites are a quick snack to throw together, easy to eat, and last for weeks in the fridge. #meandthemoose #energyballs #energybites #snacks #almonds #dates #easysnacks

These throw-together snacks are easy to make and store for a filling, quick bite on the go.

Take me to the recipe!

These coconut and almond energy bites are a quick snack to throw together, easy to eat, and last for weeks in the fridge. #meandthemoose #energyballs #energybites #snacks #almonds #dates #easysnacks

Let’s talk energy balls, shall we? Sometimes called “energy bites,” these sticky, two-bite goodies are naturally sweetened with dates and come together in a food processor in minutes. They require minimal ingredients, can be modified to suit your tastes, and are surprisingly filling for such a tiny treat. Best of all, when stored in the fridge, they last for weeks.

These coconut and almond energy bites are a quick snack to throw together, easy to eat, and last for weeks in the fridge. #meandthemoose #energyballs #energybites #snacks #almonds #dates #easysnacks

This is the thing I grab when I absentmindedly open the fridge, looking for something (in both food and existential senses).

These coconut and almond energy bites are a quick snack to throw together, easy to eat, and last for weeks in the fridge. #meandthemoose #energyballs #energybites #snacks #almonds #dates #easysnacks

A couple of notes:

  • Make the balls small! The mixture is pretty caloric, so I make them no more than about 1 Tbsp each.

  • Do toast the almonds and coconut. That little bit of browning really enhances the flavor and makes the balls less sweet.

  • Test your dates before using. If they don’t squish almost effortlessly, they may be a bit too tough or dry. If that’s the case, cover them with boiling (or just really really hot) water and let sit for 5 minutes.

These coconut and almond energy bites are a quick snack to throw together, easy to eat, and last for weeks in the fridge. #meandthemoose #energyballs #energybites #snacks #almonds #dates #easysnacks

Almond and coconut energy balls


Time: 15 minutes
Yield: 16 balls

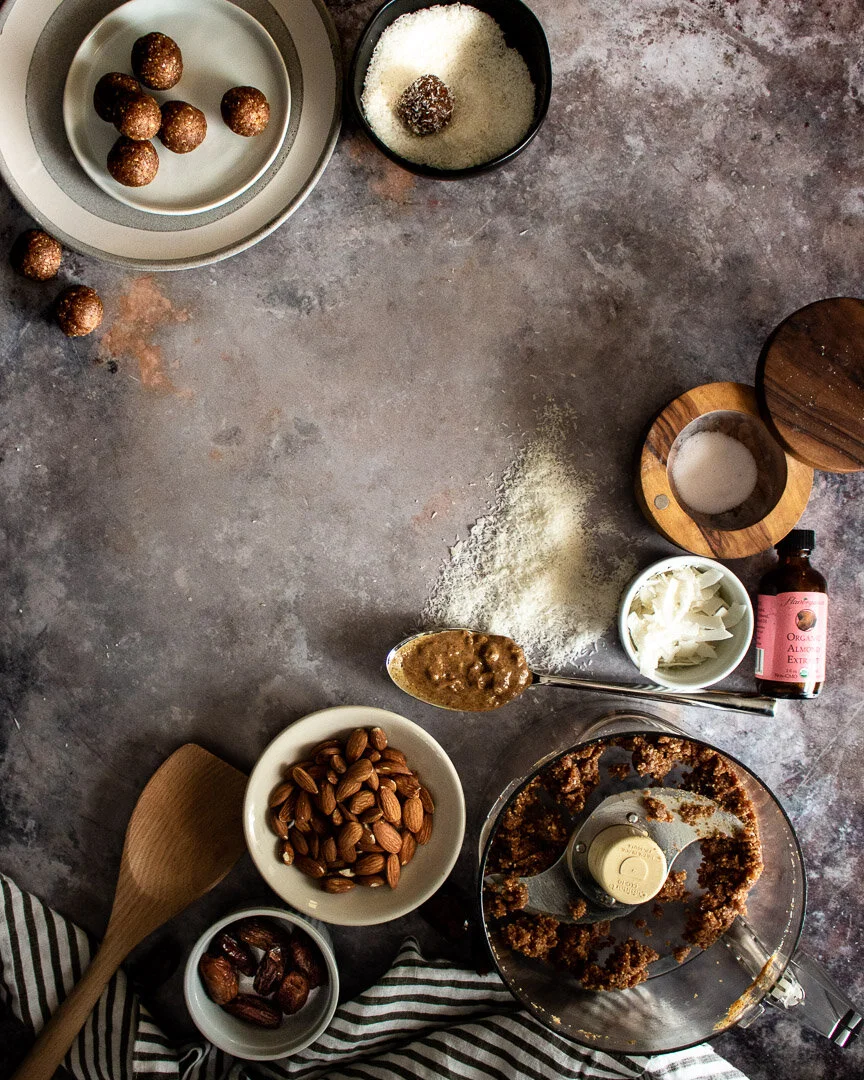
1/2 cup raw almonds
1/2 cup unsweetened shredded or flaked coconut
16 pitted dates, rehydrated if too tough or dry
2-3 Tbsp almond butter
1/8 tsp almond extract
Pinch of salt
Water, as needed

Preheat the oven or toaster oven to 350. Spread the almonds and coconut out onto a baking sheet and toast until the coconut is just beginning to brown on the edges and the mixture smells nutty, about 3 minutes. Keep a close eye on the mixture to ensure that it doesn’t burn.

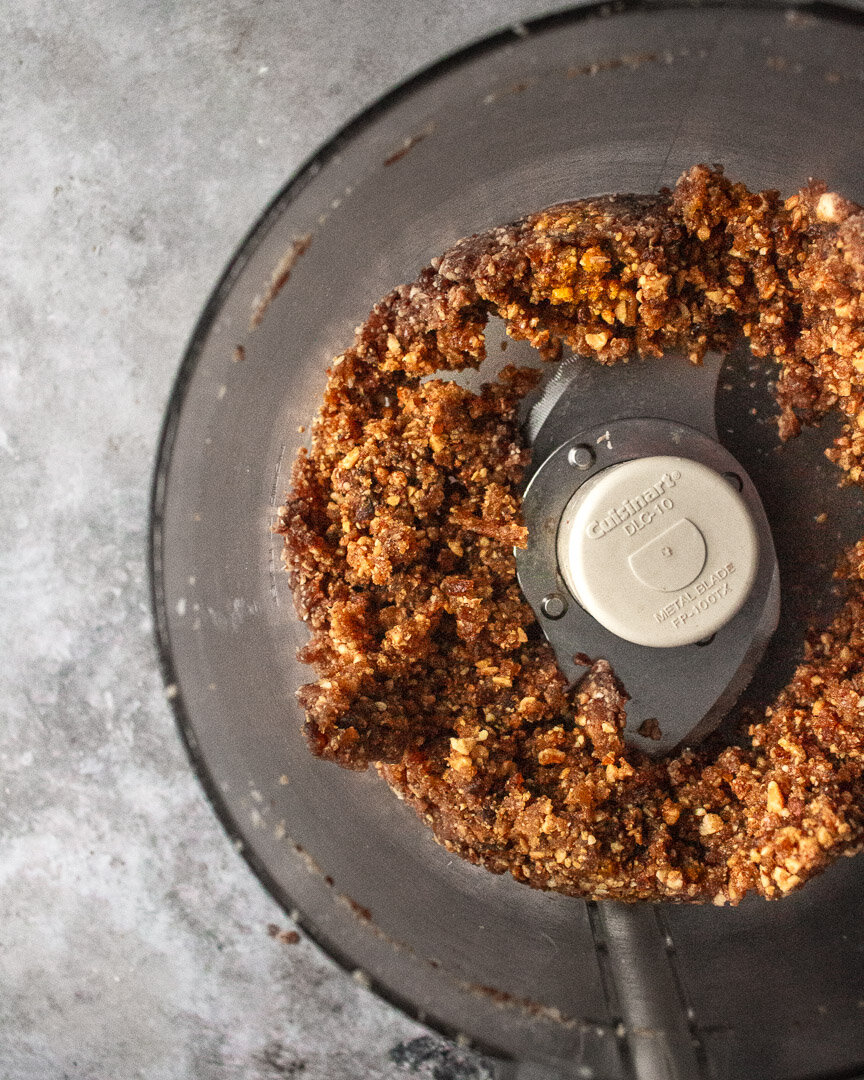
Put the toasted almonds and coconut in a food processor along with the dates, almond butter, almond extract, and salt. Whizz in the processor until the mixture comes together in one large mass, about 4-5 minutes. If the mixture doesn’t come together, sprinkle in about 1/2 tsp of water and try again, repeating about every 30 seconds until you have a large mass.

Scoop about 1 Tbsp of the mixture into wet hands and roll into a ball.

Chill the balls in the refrigerator to help them set.

Shortcut chicken soup

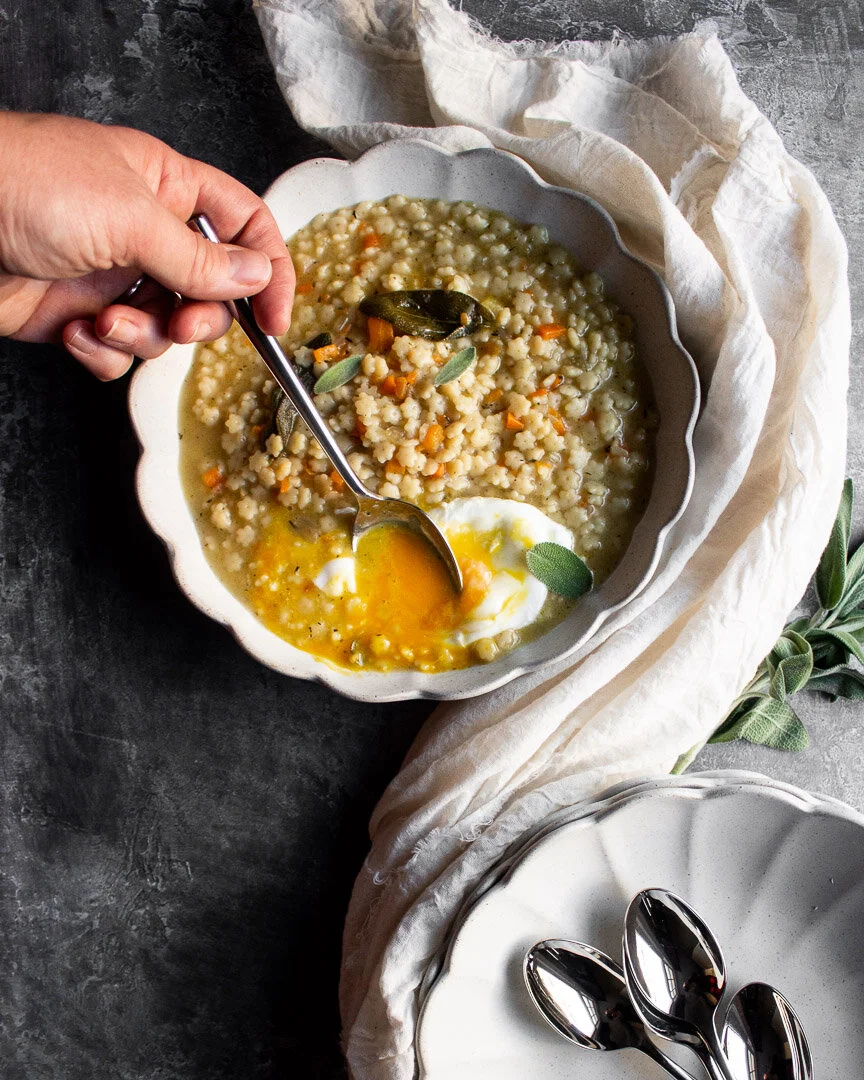
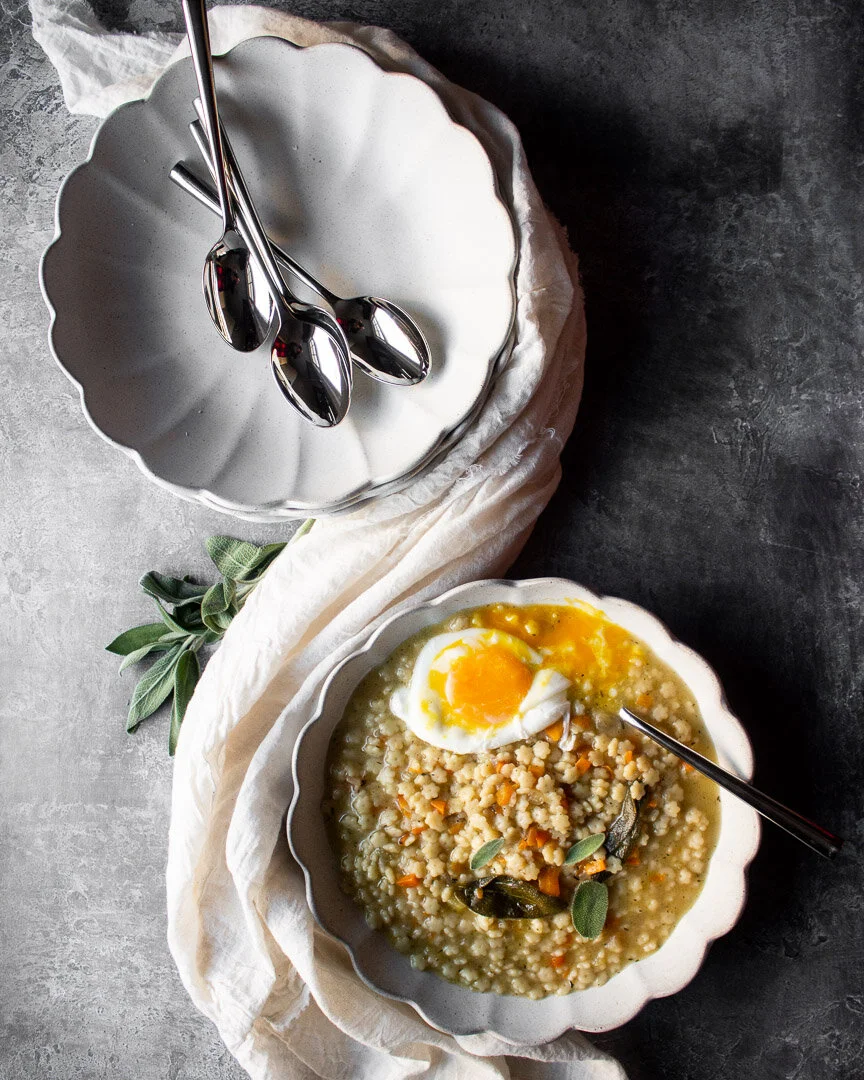
This shortcut chicken soup uses rotisserie chicken and store-bought stock but results in a thick, rich broth that’s warm and comforting on these bone-chilling days. #meandthemoose #soup #chickensoup #easysoup #souprecipe #chickensouprecipe #healthyc…

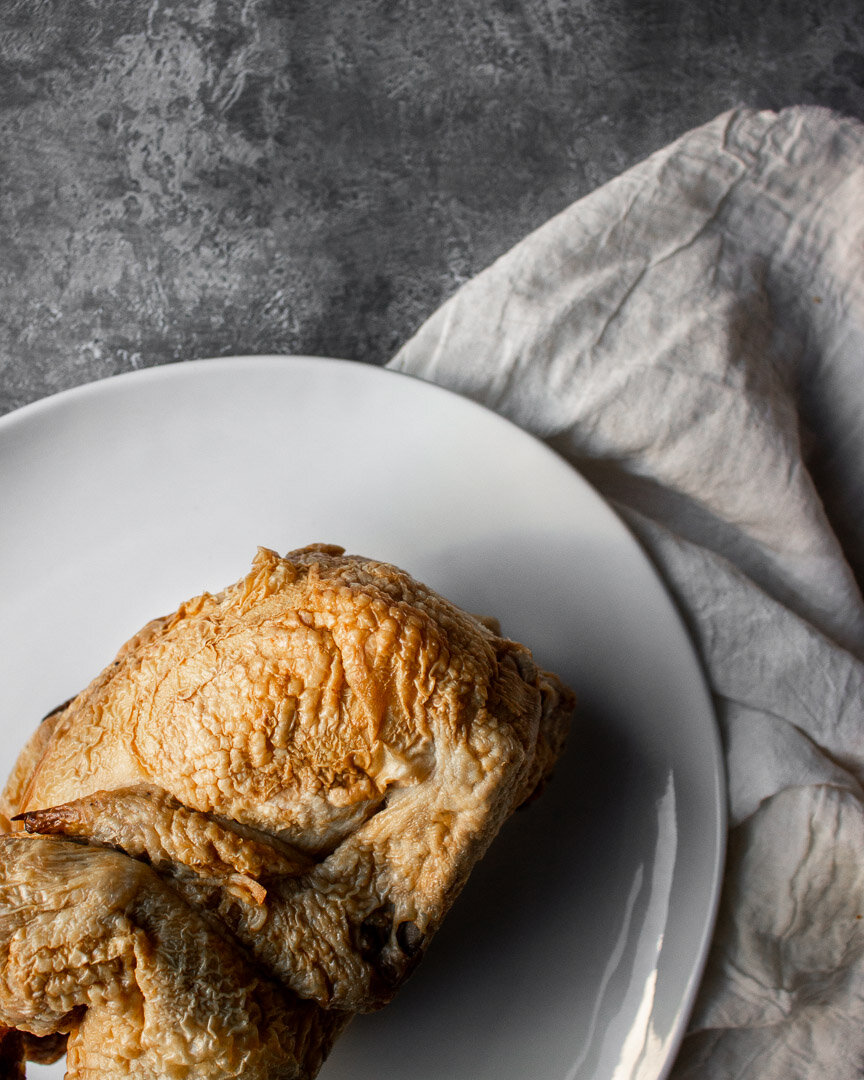
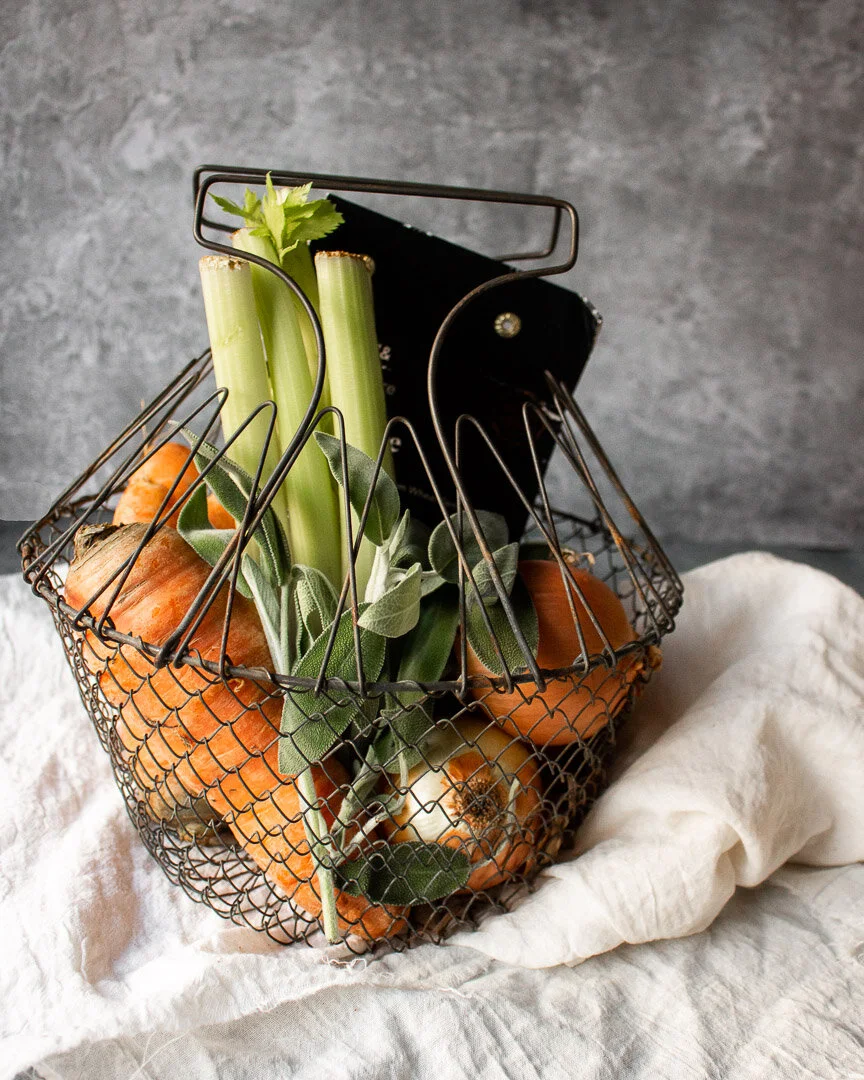
This chicken soup uses a few shortcuts like rotisserie chicken and store-bought broth to speed up the process, but gets extra oomph from plenty of aromatics, a little extra cooking oil, and teeny tiny pasta cooked right in the broth. A poached egg on top adds even more richness and depth.

Take me to the soup!

This shortcut chicken soup uses rotisserie chicken and store-bought stock but results in a thick, rich broth that’s warm and comforting on these bone-chilling days. #meandthemoose #soup #chickensoup #easysoup #souprecipe #chickensouprecipe #healthyc…

I originally called this “Quick and rich chicken soup,” but it sounded too much like a country band. However, the moniker still applies because this guy is indeed quite rich and quite quick (for a soup that tastes this good, that is!).

I’m not a huge fan of the chicken broth that comes in a box or a can. I mean, it’s fine as a replacement for water when cooking grains and beans, but for soup? It’s a little thin and bland for me. But, I don’t always have homemade stock in the freezer or the wherewithal to make it. (But if I do, this is my recipe!)

This shortcut chicken soup uses rotisserie chicken and store-bought stock but results in a thick, rich broth that’s warm and comforting on these bone-chilling days. #meandthemoose #soup #chickensoup #easysoup #souprecipe #chickensouprecipe #healthyc…

To spice and thicken it up, I use any combination of these:

  • Butter: Adding a little extra cooking fat when you start sautéing your aromatics adds richness to the final product.

  • Tiny pasta: The teenier the better! Orzo, stelline, ditalini, anilline, or any other pasta that’s about the size of a pencil eraser works perfectly. When cooked in the broth, the starch from the pasta thickens the broth significantly.

  • Cheese: Adding some grated cheese at the end is one strategy, but tossing in the leftover rind of any hard cheese adds salt, depth, and richness.

  • Salt: This might sound weird because a lot of canned and boxed broths have A LOT of salt in them, but if you use the unsalted or low salt variety, be sure to add enough salt back in.

  • Poached egg: When the soup is done, adding a poached egg on top enriches it even more!

This shortcut chicken soup uses rotisserie chicken and store-bought stock but results in a thick, rich broth that’s warm and comforting on these bone-chilling days. #meandthemoose #soup #chickensoup #easysoup #souprecipe #chickensouprecipe #healthyc…

In this soup, I used pasta and a poached egg to give it a rich, silky texture. I included a range for the amount of liquid to add depending on how much liquid you like in your soup. Six cups makes the soup very thick, eight cups make it less so.

This shortcut chicken soup uses rotisserie chicken and store-bought stock but results in a thick, rich broth that’s warm and comforting on these bone-chilling days. #meandthemoose #soup #chickensoup #easysoup #souprecipe #chickensouprecipe #healthyc…

Shortcut chicken soup

2 Tbsp olive oil 
1 small onion, diced 
1 medium carrot, peeled and diced (heaping ½ cup)
1 small stalk celery, diced (scant ½ cup)
6 large fresh sage leaves 
½ tsp dried thyme
1 bay leaf 
1 tsp kosher salt
Black pepper to taste 
6-8 cups chicken stock
1 cup tiny pasta 
1-2 cups shredded, precooked chicken
Serving sugggestions: 
Poached egg, parmesan cheese, more seasonin to taste


Time: About 45 minutes, mostly active
Yield: About 6-8 cups of soup, depending on how much water and chicken you add


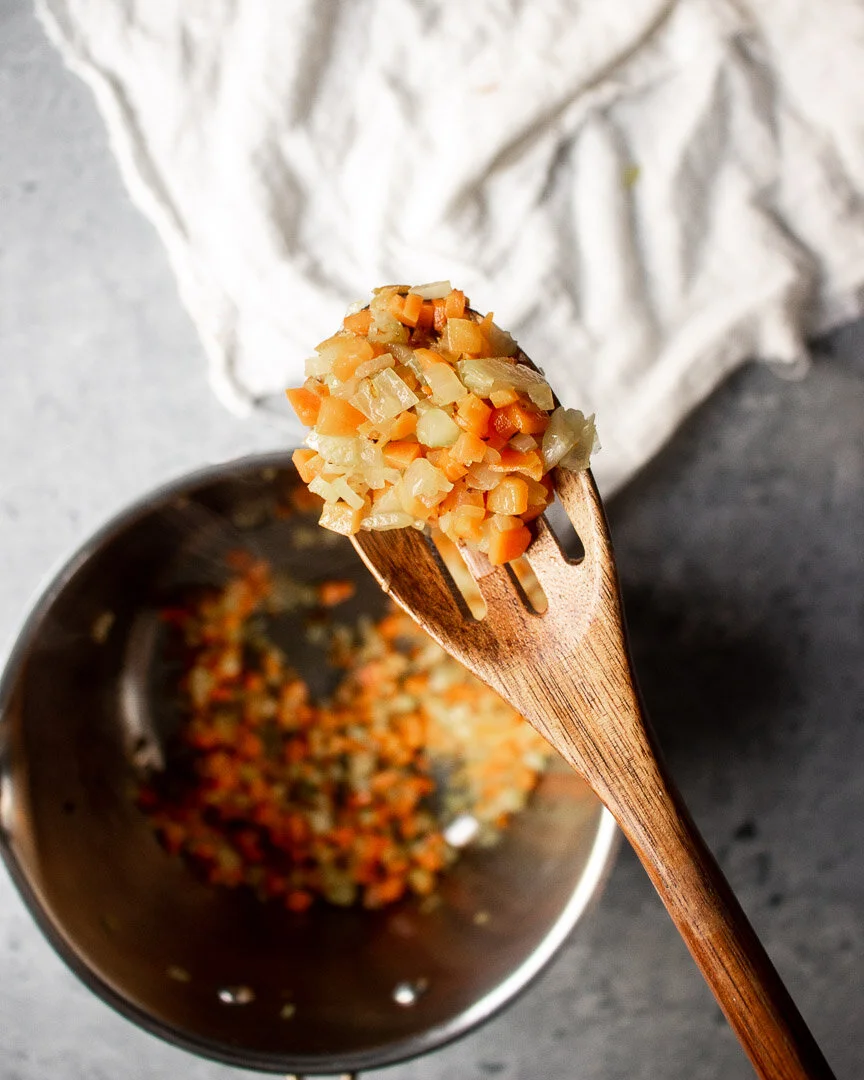
Heat the olive oil in a large, deep pot over medium high heat. Add the minced onion, carrot, and celery and cook, stirring frequently, until the veggies begin to brown and the onions are translucent, about 6-8 minutes. 

Add the sage and thyme and cook until fragrant, about one minute.

Add the bay leaf, salt, pepper, and chicken stock and mix well. Bring to a boil, reduce the heat, and simmer, covered, for 20 minutes. 

While the soup simmers, shred the chicken and set aside.

Bring back to a boil and add the pasta. Cook according to package directions until al dente. 
Add the shredded chicken and stir. 

Quick(ish) Meat Sauce

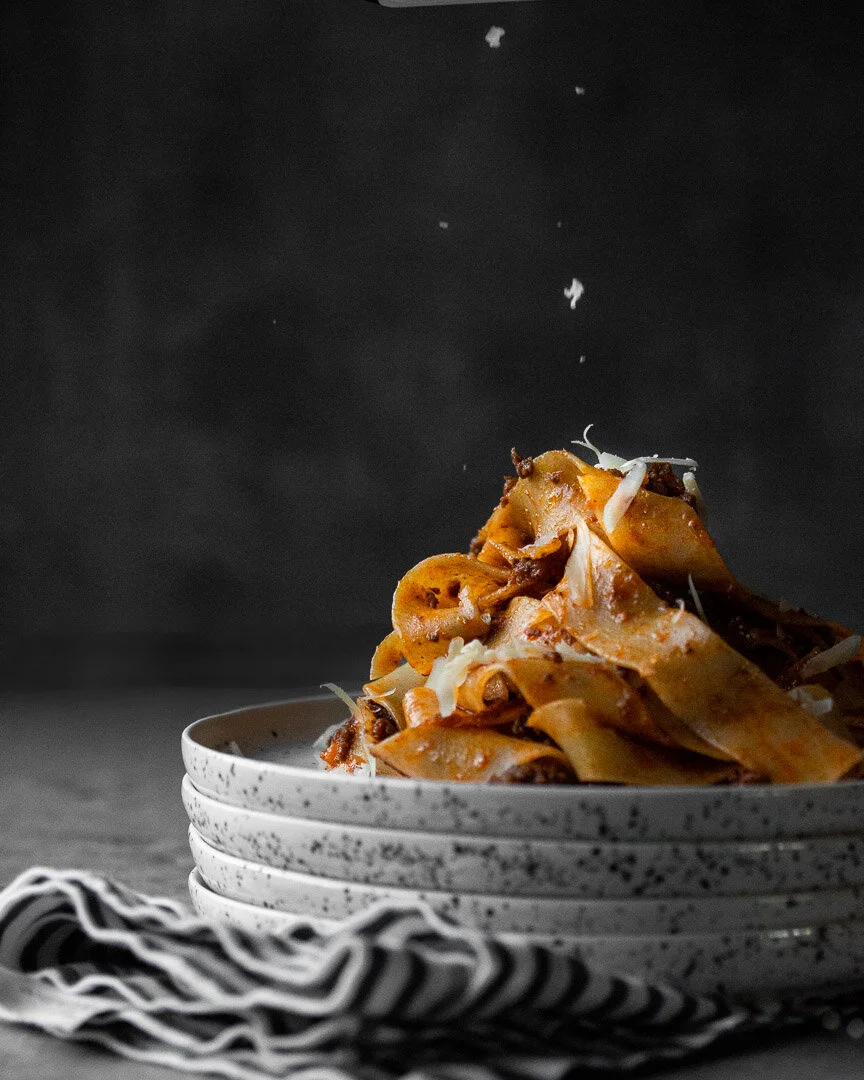
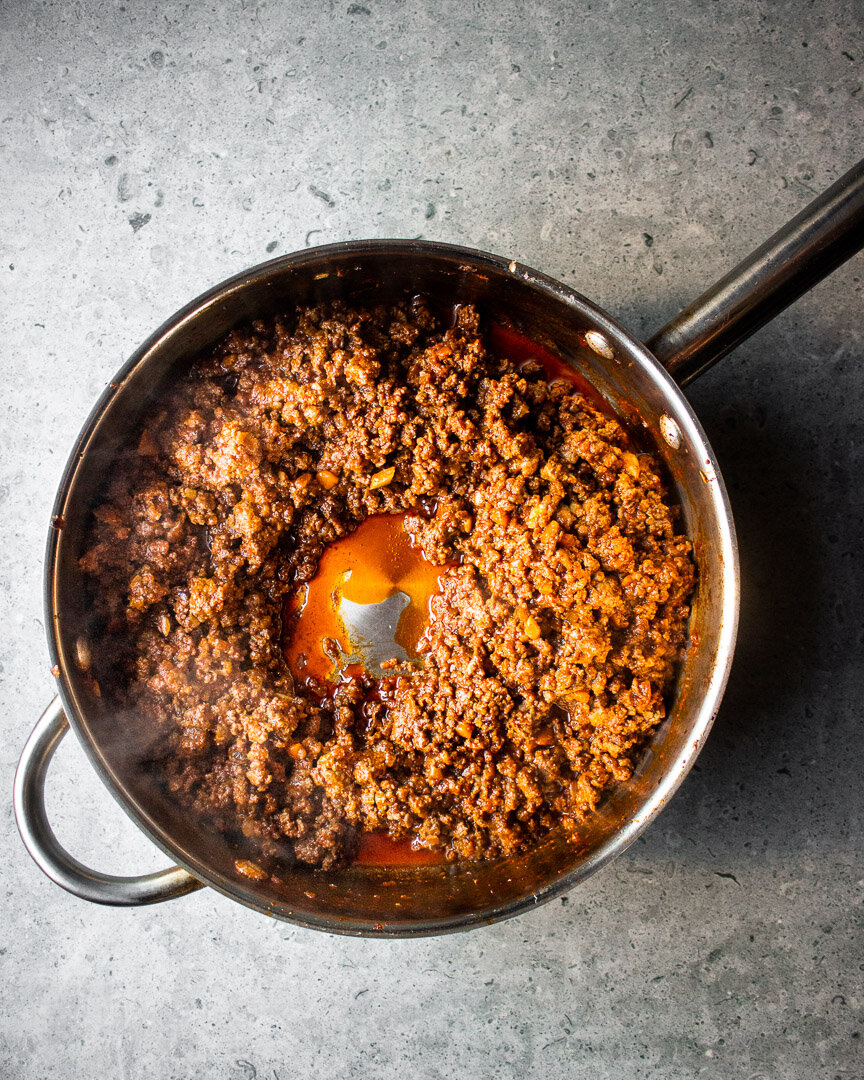
This quick meat sauce achieves that slow-cooked depth of flavor with a little beef stock, tomato paste, and high heat. #meandthemoose #dinner #meatsaucerecipe #meatsauce #pasta #quickdinner

Meat sauces are usually long and slow affairs, but this version speeds things up with high heat and beef stock to mimic the flavor of a cooked-all-day sauce in a fraction of the time.

Take me to the sauce!

This quick meat sauce achieves that slow-cooked depth of flavor with a little beef stock, tomato paste, and high heat. #meandthemoose #dinner #meatsaucerecipe #meatsauce #pasta #quickdinner

I love a great, long-simmered, deeply flavored, unctuous Bolognese more than almost anything. That falling apart meat with a hint of acidic tomatoes all clinging to some wide flat noodles with a sprinkle of salty, nutty parmesan? Swoon.

But realistically, we never have time to make one. Even during these quarantined weekends we need flexibility for when the children inevitably short circuit and need a change of scenery.

It’s hard to achieve that depth of flavor without the long, slow simmer, but I’ve tried! And I think succeeded! However, there’s a reason why I call this a “meat sauce” and not “Bolognese.” It’s not the original. But it is a delicious approximation in about an hour.

This quick meat sauce achieves that slow-cooked depth of flavor with a little beef stock, tomato paste, and high heat. #meandthemoose #dinner #meatsaucerecipe #meatsauce #pasta #quickdinner

A couple of notes:

  • Use the leanest beef you can find. If you can’t get 90/10 or 85/15, use half of the amount of pork listed or leave it out entirely

  • This recipe is meant to be made mostly at high temperatures, but you’ll need to keep an eye on the sauce at every step to ensure that the liquids are evaporating fast enough, but that nothing is burning. We want the heat to caramelize and brown everything, but we don’t want anything to burn and turn bitter. You may have to do a significant amount of fiddling with the temperature throughout the cooking to speed things up or slow them down at intervals.

  • I list a range of amount of the tomato paste. I like it less tomato-y, but my husband likes it with a little more. The largest amount (6 oz) is one small can of tomato paste.

This quick meat sauce achieves that slow-cooked depth of flavor with a little beef stock, tomato paste, and high heat. #meandthemoose #dinner #meatsaucerecipe #meatsauce #pasta #quickdinner

Quick (ish) meat sauce 

2 Tbsp olive oil 
½ large onion, finely chopped (about 1 cup) 
1 large stalk celery, finely minced  (about ½ cup) 
1 small carrot, finely minced (about ½ cup) 
5 large garlic cloves, smashed 
1 lb ground beef (90/10 if you can find it) 
¼ lb ground pork or sausage, casings removed
1 tsp kosher salt 
4-6 oz tomato paste (5-6½ tbsp)
¼ cup red wine 
2 cups beef broth 
Pepper to taste

Time: about 1 hour for the sauce and the pasta, mostly active
Yield: 3-4 cups of sauce, or enough for 1 lb of pasta 

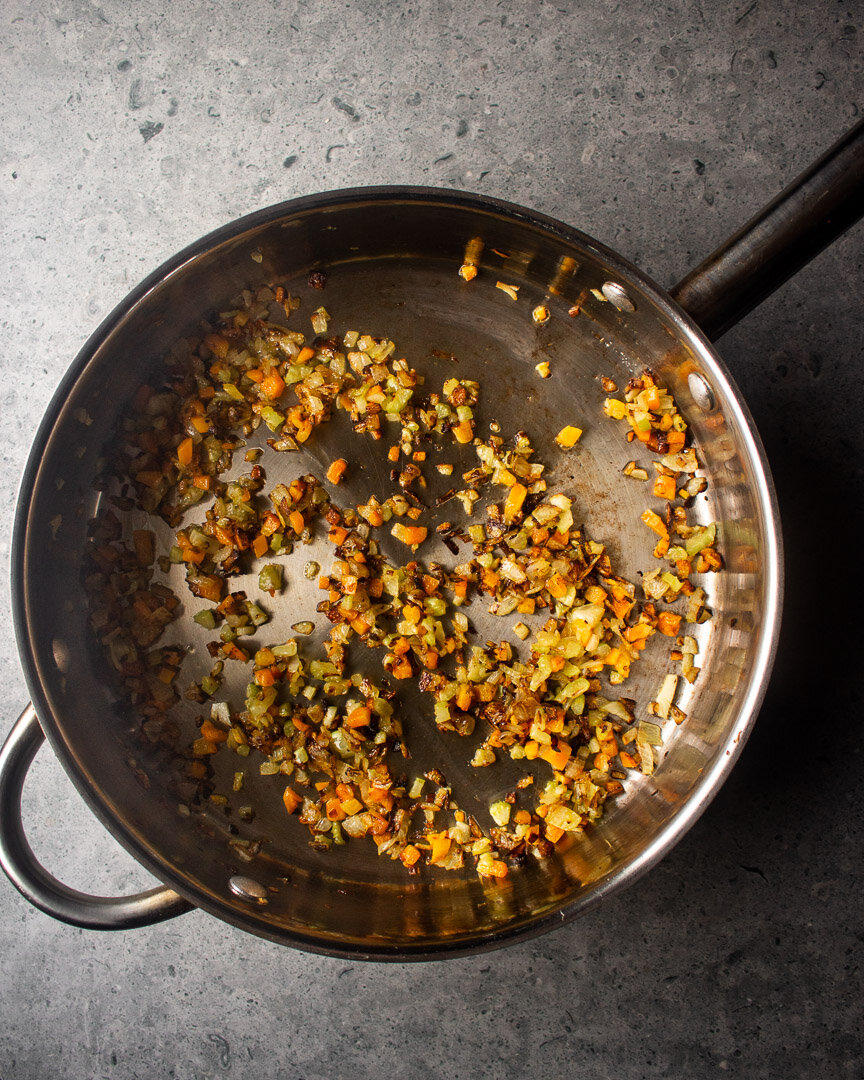
Heat a skillet over a medium flame. Add the oil and heat until the oil is shimmering and slips easily around the pan. Add the onion, celery, and carrots, and cook for about 10 minutes, stirring frequently, until the veggies soften and begin to brown.

Add the garlic. Cook until fragrant, 1-2 minutes, being careful not to burn. 

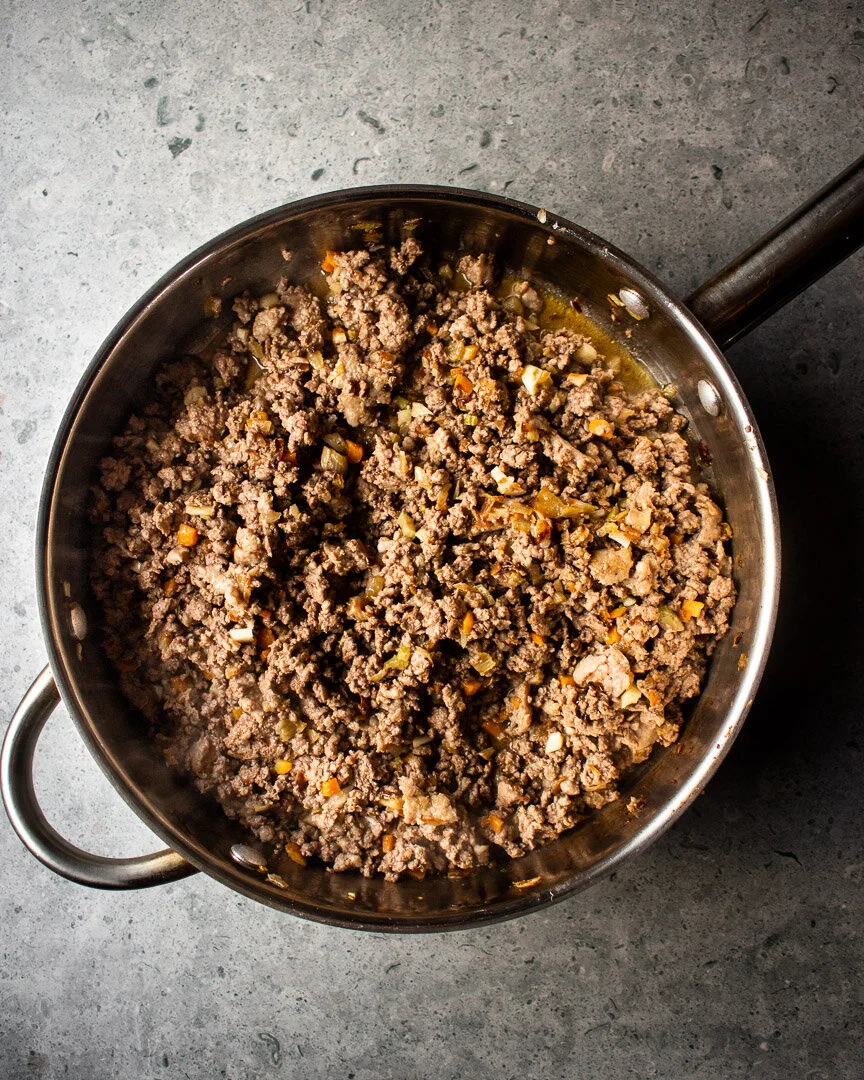
Add the meat and turn the heat back up to medium if you turned it down earlier. Stir and chop up the meat with your spatula breaking it into small pieces while cooking until no pink remains, about 5 minutes. 

Stop stirring and let the meat cook, undisturbed, until browned on the bottom, about 5 minutes. You should hear it sizzling and bubbling. If not, turn up the flame.

Add the tomato paste and wine and stir well to combine and deglaze the pan. Cook, stirring constantly, until the wine has evaporated, about 2 minutes. 

Add 1½ cup of beef broth and cook, stirring often, until it has evaporated, about 8-10 minutes. If the liquid isn’t evaporating fast enough, turn up the flame.

Add the final ½ cup of broth, turn the heat all the way down, and cover. Let simmer on the lowest heat while you cook your pasta. 

Bring your water to a boil and cook the pasta according to its package directions. Stir the sauce every few minutes while the pasta cooks.

Combine and serve.