Almond and coconut energy balls

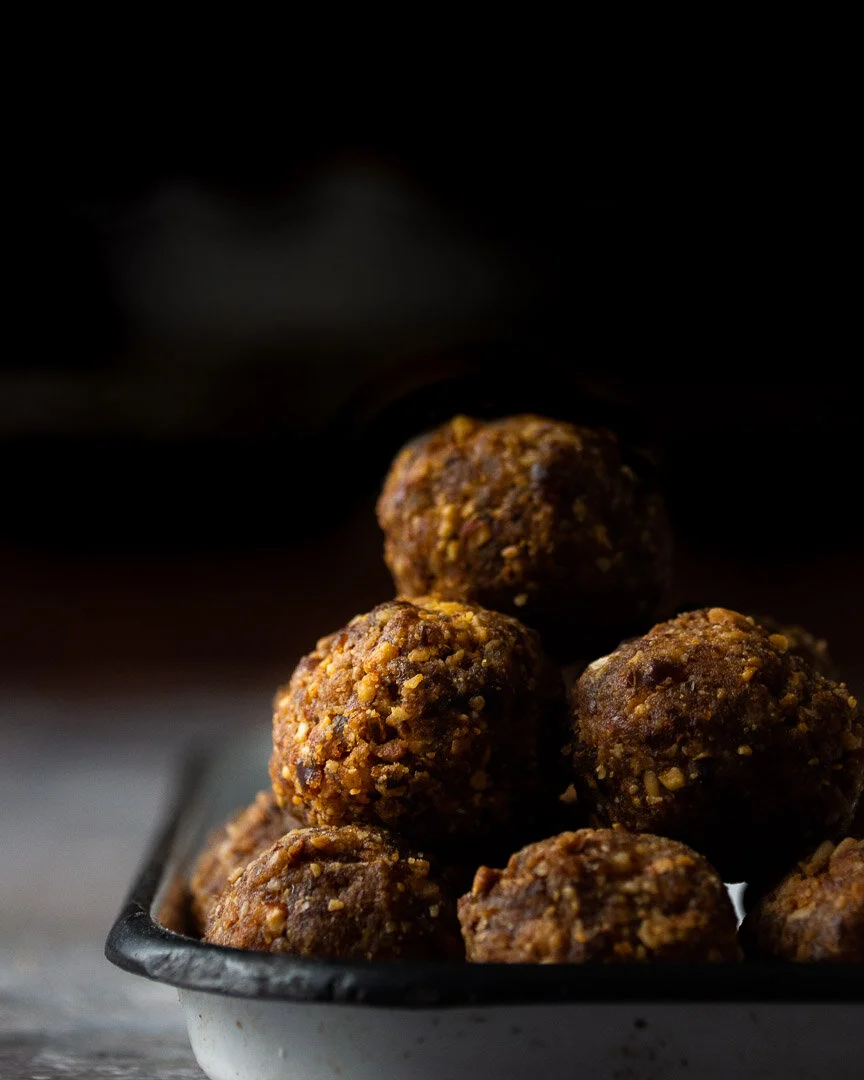
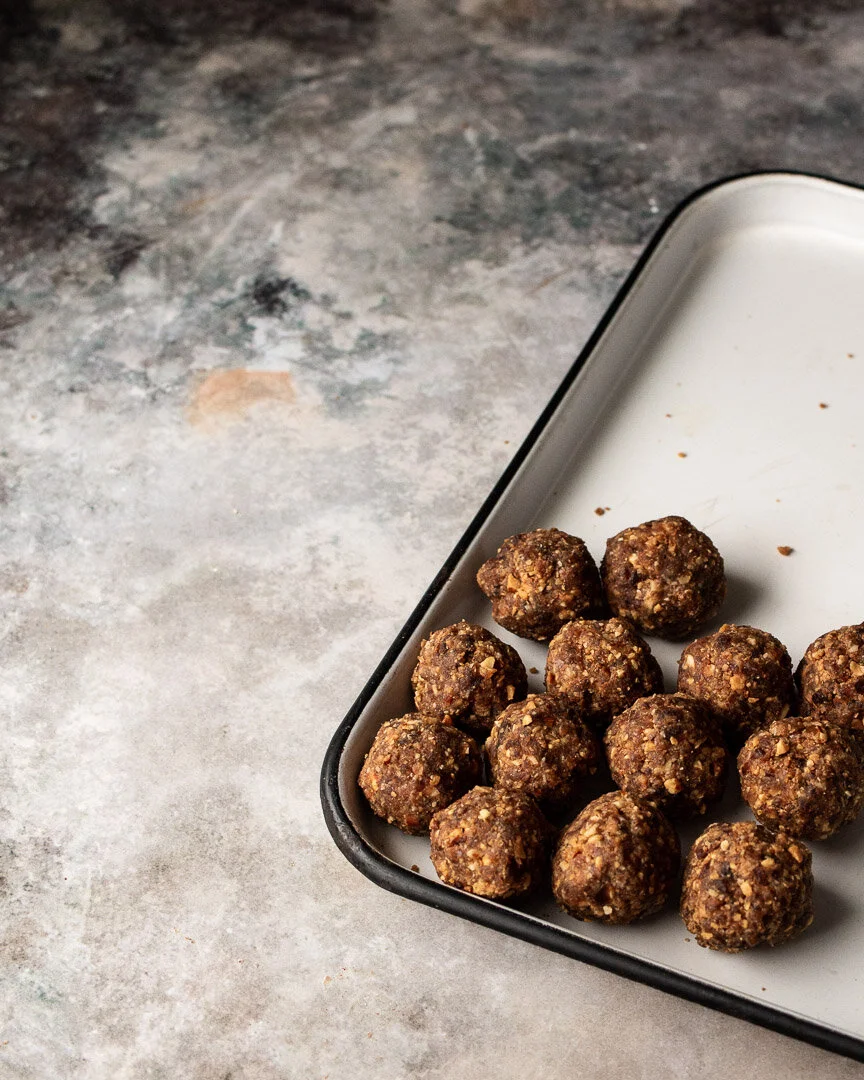
These coconut and almond energy bites are a quick snack to throw together, easy to eat, and last for weeks in the fridge. #meandthemoose #energyballs #energybites #snacks #almonds #dates #easysnacks

These throw-together snacks are easy to make and store for a filling, quick bite on the go.

Take me to the recipe!

These coconut and almond energy bites are a quick snack to throw together, easy to eat, and last for weeks in the fridge. #meandthemoose #energyballs #energybites #snacks #almonds #dates #easysnacks

Let’s talk energy balls, shall we? Sometimes called “energy bites,” these sticky, two-bite goodies are naturally sweetened with dates and come together in a food processor in minutes. They require minimal ingredients, can be modified to suit your tastes, and are surprisingly filling for such a tiny treat. Best of all, when stored in the fridge, they last for weeks.

These coconut and almond energy bites are a quick snack to throw together, easy to eat, and last for weeks in the fridge. #meandthemoose #energyballs #energybites #snacks #almonds #dates #easysnacks

This is the thing I grab when I absentmindedly open the fridge, looking for something (in both food and existential senses).

These coconut and almond energy bites are a quick snack to throw together, easy to eat, and last for weeks in the fridge. #meandthemoose #energyballs #energybites #snacks #almonds #dates #easysnacks

A couple of notes:

  • Make the balls small! The mixture is pretty caloric, so I make them no more than about 1 Tbsp each.

  • Do toast the almonds and coconut. That little bit of browning really enhances the flavor and makes the balls less sweet.

  • Test your dates before using. If they don’t squish almost effortlessly, they may be a bit too tough or dry. If that’s the case, cover them with boiling (or just really really hot) water and let sit for 5 minutes.

These coconut and almond energy bites are a quick snack to throw together, easy to eat, and last for weeks in the fridge. #meandthemoose #energyballs #energybites #snacks #almonds #dates #easysnacks

Almond and coconut energy balls


Time: 15 minutes
Yield: 16 balls

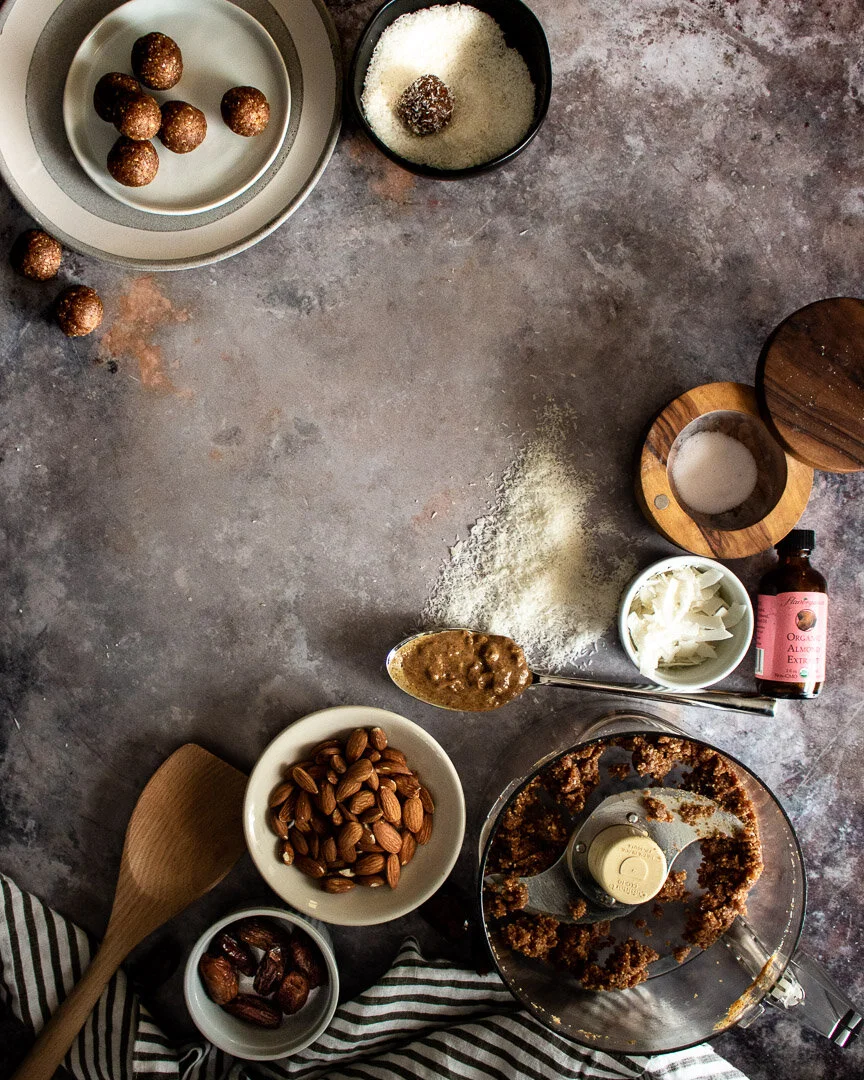
1/2 cup raw almonds
1/2 cup unsweetened shredded or flaked coconut
16 pitted dates, rehydrated if too tough or dry
2-3 Tbsp almond butter
1/8 tsp almond extract
Pinch of salt
Water, as needed

Preheat the oven or toaster oven to 350. Spread the almonds and coconut out onto a baking sheet and toast until the coconut is just beginning to brown on the edges and the mixture smells nutty, about 3 minutes. Keep a close eye on the mixture to ensure that it doesn’t burn.

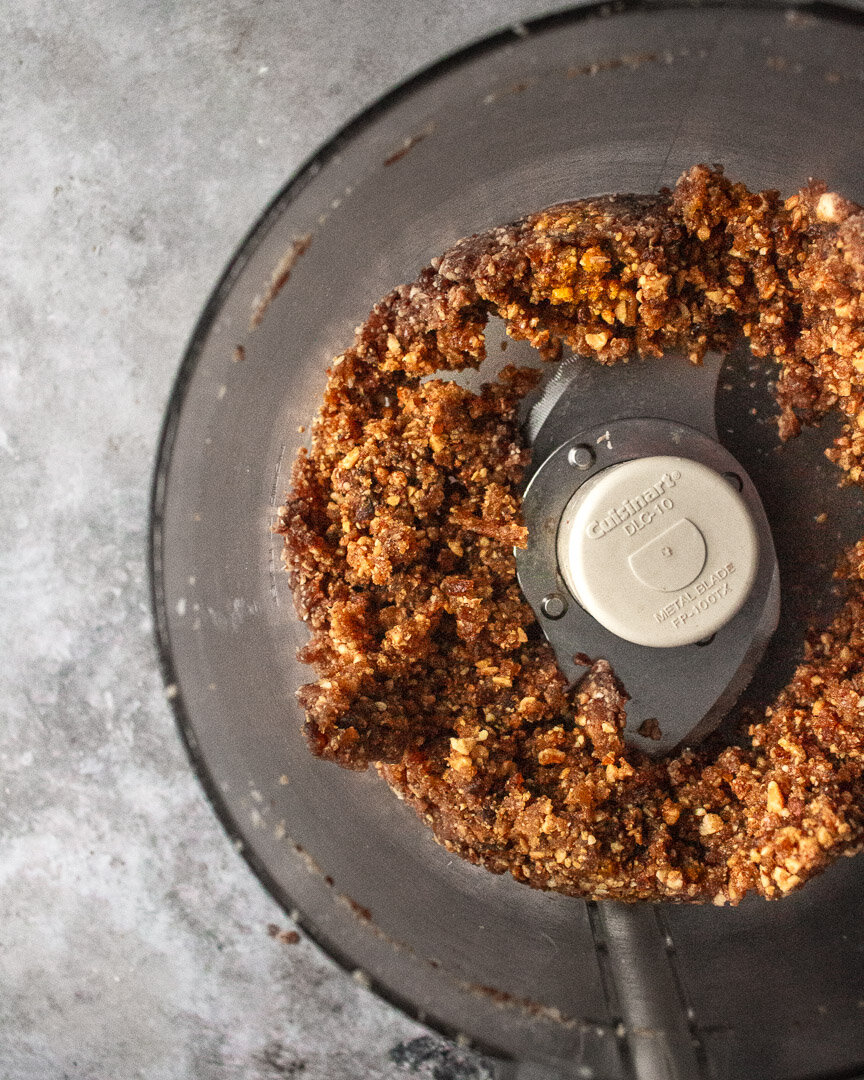
Put the toasted almonds and coconut in a food processor along with the dates, almond butter, almond extract, and salt. Whizz in the processor until the mixture comes together in one large mass, about 4-5 minutes. If the mixture doesn’t come together, sprinkle in about 1/2 tsp of water and try again, repeating about every 30 seconds until you have a large mass.

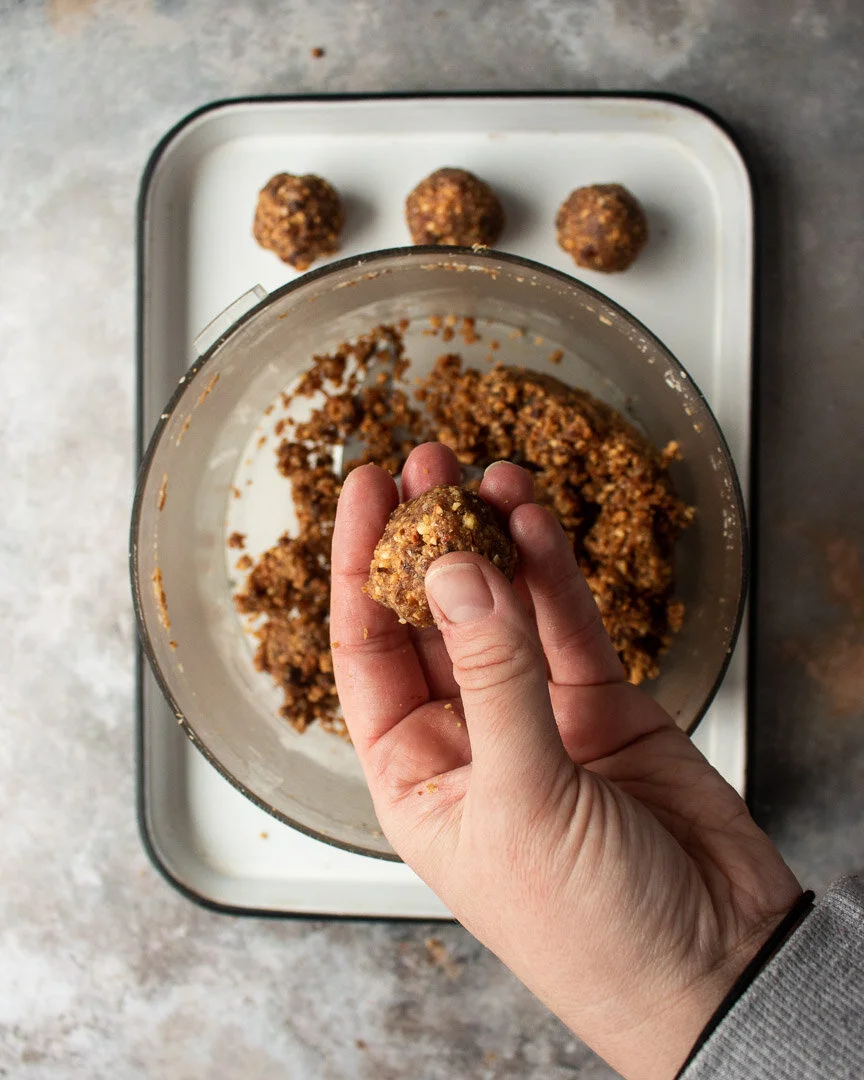
Scoop about 1 Tbsp of the mixture into wet hands and roll into a ball.

Chill the balls in the refrigerator to help them set.
Koginut squash soup

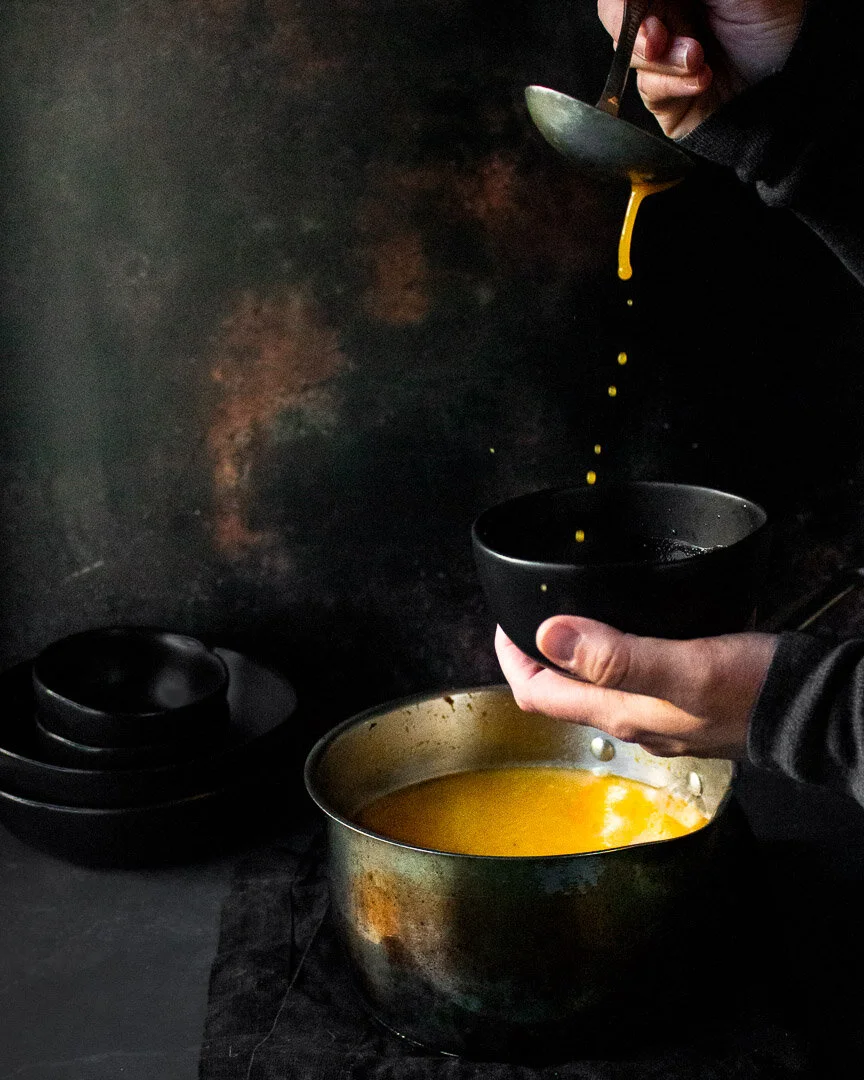
Koginut squash, a cross between butternut and kabocha, makes a creamy, herby, warm, and comforting soup. #meandthemoose #squashsoup #koginut #koginutsquash #squashrecipes #squashsouprecipes

This soup is so creamy, herby, warm, and comforting—everything a bowl of soup should be. I use Koginut, which is a cross between the butternut and kabocha varieties of squash, but use anything you have on hand!

Yes, soup for you!

Koginut squash, a cross between butternut and kabocha, makes a creamy, herby, warm, and comforting soup. #meandthemoose #squashsoup #koginut #koginutsquash #squashrecipes #squashsouprecipes

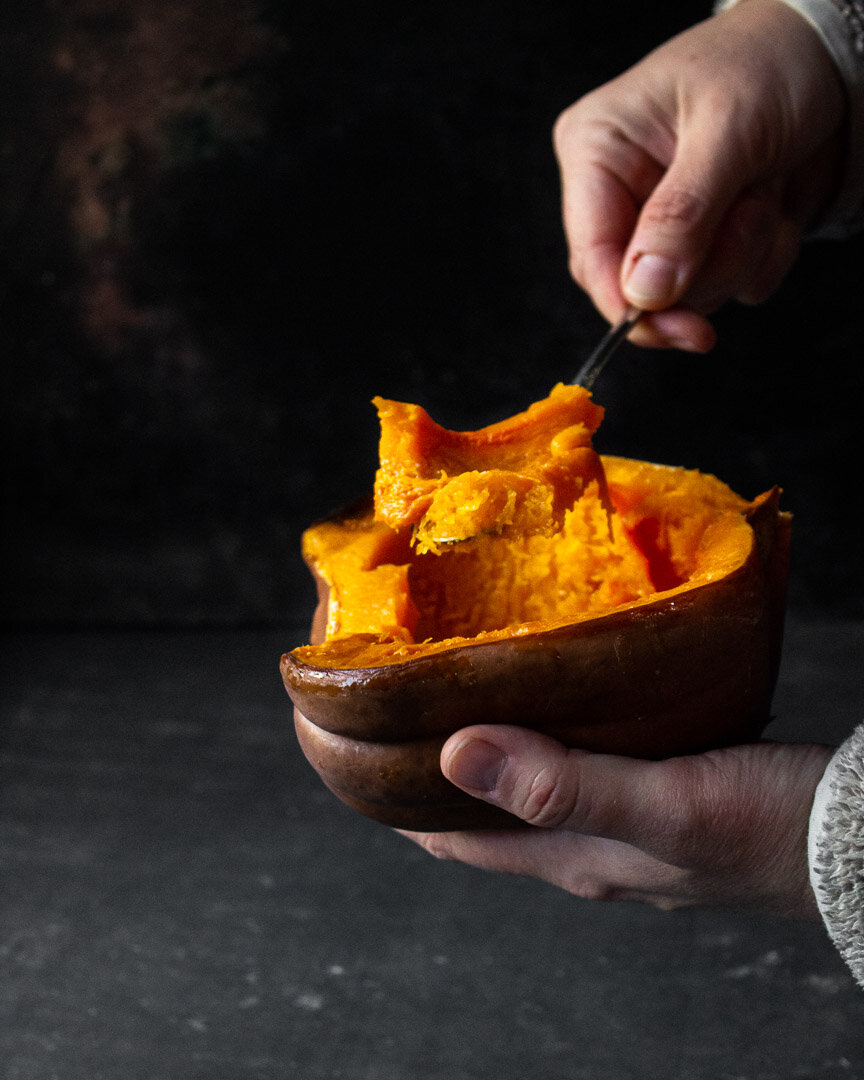
The koginut is my new favorite squash. It has the thick, creamy flesh of a kabocha squash but the mellow, sweet flavor of a butternut. If you can’t find one, have no fear. Basically any winter squash variety would be perfect here and all roast in roughly the same way. I’ve also used 2 extra large sweet potatoes in a pinch and the soup turned out equally delicious.

A note about roasting: One important element of this roasting method is to NOT trim the tops and bottom of the squash. Leaving them whole means that the steam gets trapped in the cavity of the squash so that it roasts and steams at the same time.

Also! In the recipe, you’ll note that I put the milk high up on the ingredients list even though we don’t add it until the end. That’s because, bringing it to room temperature and even microwaving it a bit makes it less likely that the milk solids will separate, which can happen if the cold milk is shocked by the hot soup. You can warm it in a pan on the stove while the soup simmers, but who wants to make another dish or worry about something scalding?

Koginut squash, a cross between butternut and kabocha, makes a creamy, herby, warm, and comforting soup. #meandthemoose #squashsoup #koginut #koginutsquash #squashrecipes #squashsouprecipes

Koginut squash soup 


Time: About 90 minutes, less than half of it active
Yield: 10 cups of soup 

3 cups roasted squash, about 1 medium winter squash or 2 very large sweet potatoes 
½ cup heavy cream or half and half 
1 Tbsp olive oil
½ large onion or 2 large shallots, roughly chopped 
5 large garlic cloves, roughly chopped 
1 Tbsp butter 
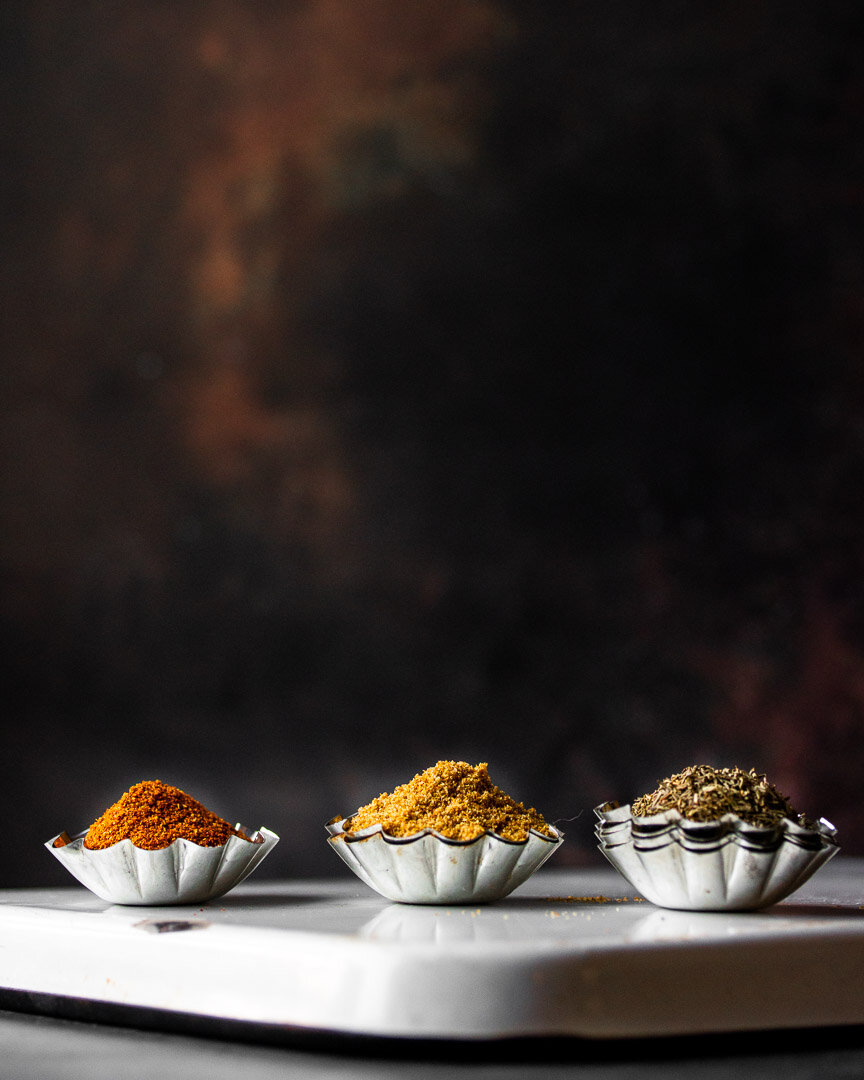
3 stems fresh thyme or ¼ tsp dried 
Heaping ¼ tsp cumin
Heaping ¼ tsp paprika 
1 tsp sea salt 
4-6 cups low sodium chicken stock 
2 Tbsp brown sugar (optional)

Heat oven to 425. Halve the squash and scoop out the seeds and stringy flesh inside. Place the squash cut side down on a parchment-lined baking sheet and roast for 30-45 minutes, until the squash is fork tender. 

Using a kitchen towel or oven mitt to protect your hands, scoop out the cooked flesh from the inside of the squash and set aside.

Measure out the cream or half-and-half. Let sit at room temperature while you prepare the rest of the soup.

In a large stock pot, heat the olive oil over a medium-low flame and then cook the onion until beginning to brown, about 5-6 minutes. Add the garlic and cook for 1 minute until fragrant. 

Add the butter and let melt and bubble slightly. 

Add the spices, stir well, and cook for 1 minute until fragrant. 

Add the squash and stir well to combine. Add the stock, stir well again, increase the flame to high, and let the liquid come to a boil.

Turn down the flame to low and let simmer for 15 minutes.

Puree the soup. 

Add the puree back to the original pot. Test the milk to see if any chill remains. If it feels cool to cold, microwave it for 30 seconds at a time until it feels room temperature or warmer. Add to the soup and stir.  

Test for seasoning and adjust as necessary. If desired, add 2 Tbsp of sugar (brown or white) and stir to combine.

Magical breadcrumbs with mushrooms and scallions

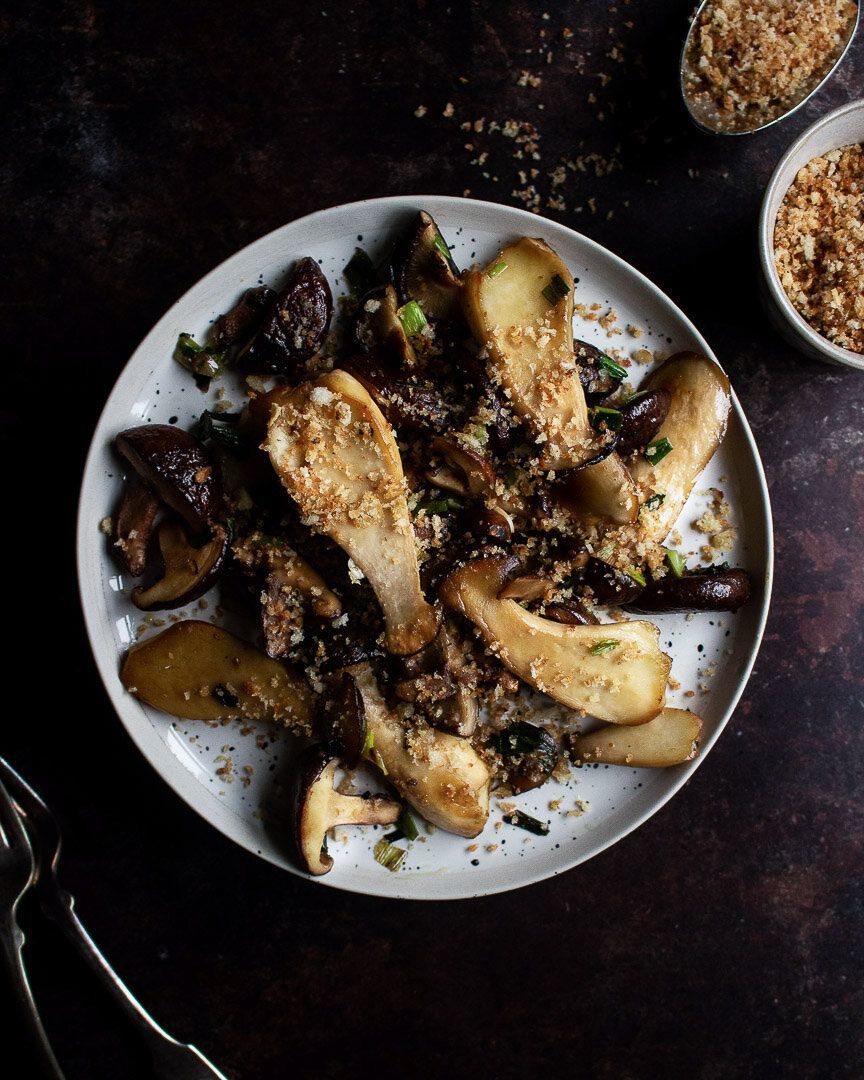
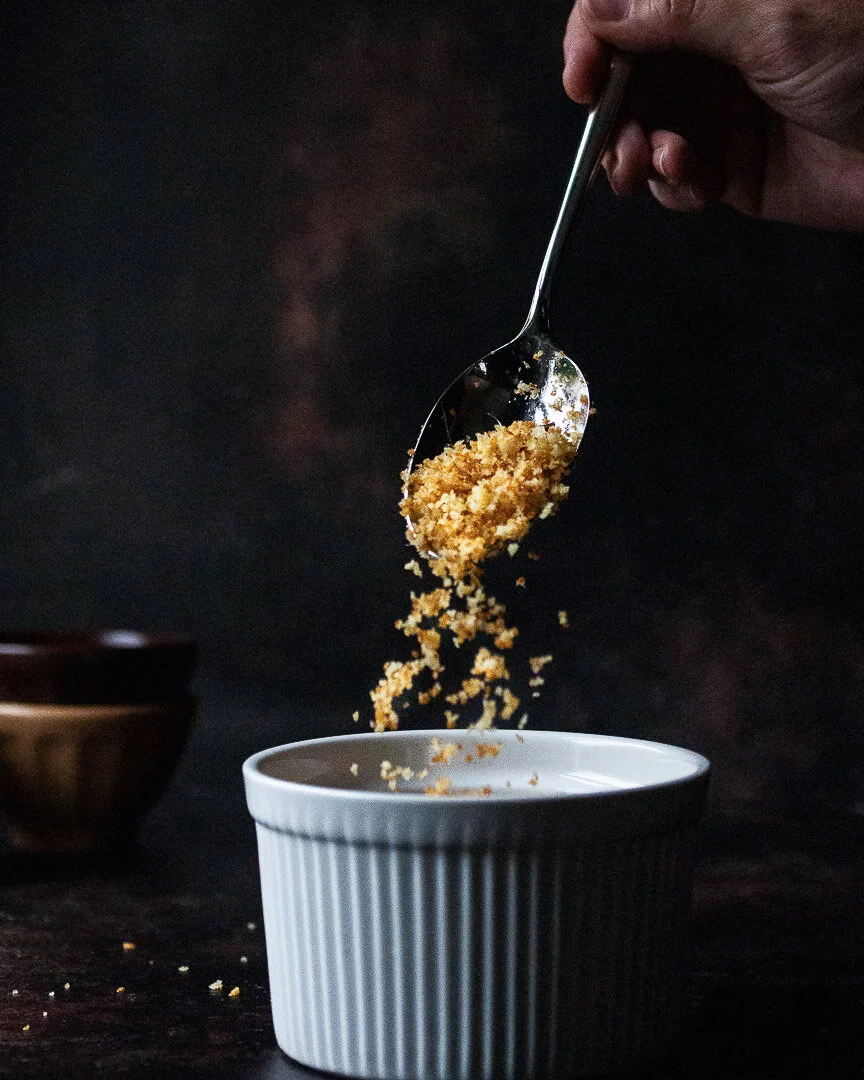
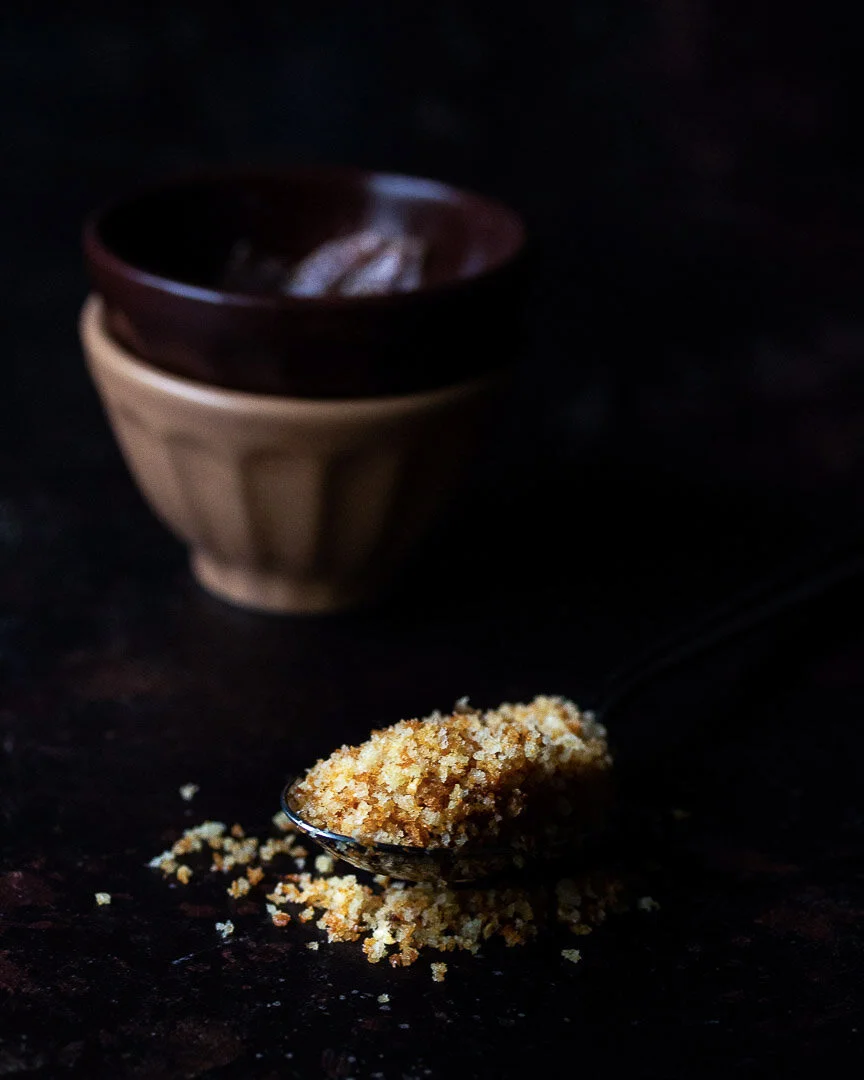
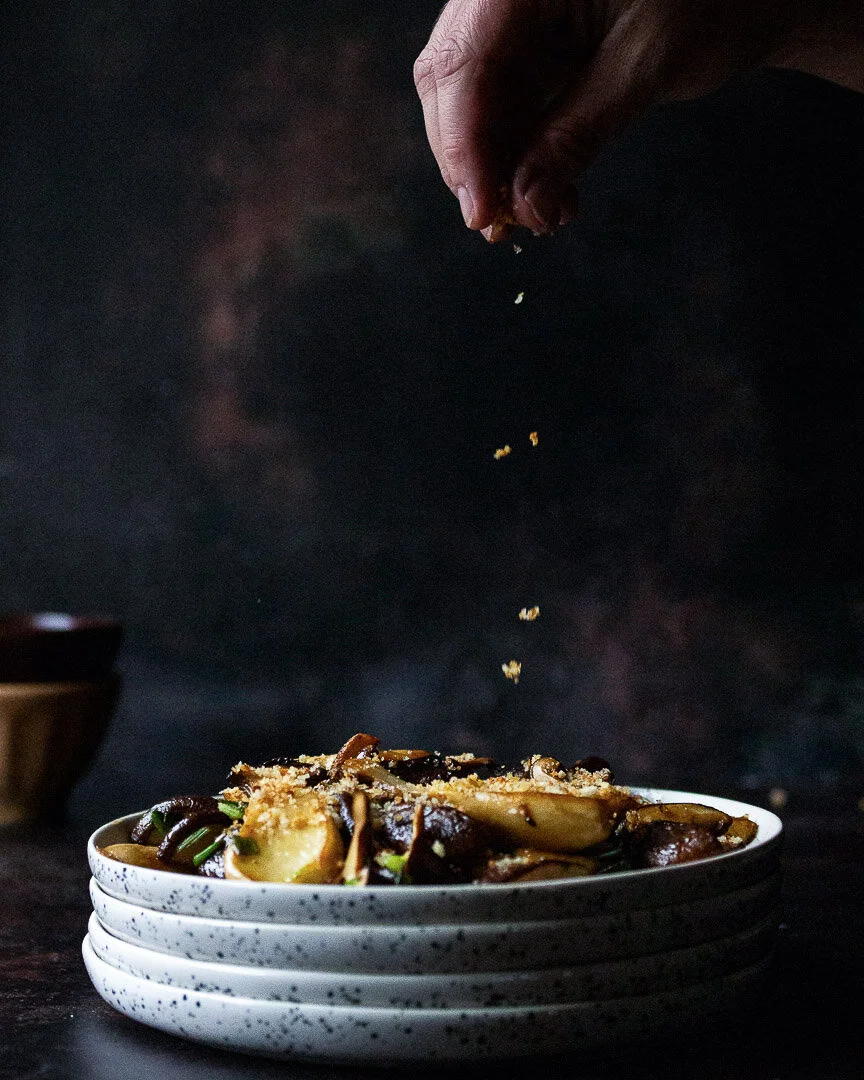
Make these easy, quick, and delicious magical breadcrumbs to top these mushrooms and scallions and then use them to add breading and crunch to literally anything. #meandthemoose #easysidedishes #sidedishes #pescatarian #recipes #easyrecipes

The breadcrumbs are the star of this show, but don’t sleep on the mushrooms and scallions either. A simple, make-ahead side dish that’s fast, easy, and relatively healthy, but seems just the opposite!

Take me to the recipe!

Make these easy, quick, and delicious magical breadcrumbs to top these mushrooms and scallions and then use them to add breading and crunch to literally anything. #meandthemoose #easysidedishes #sidedishes #pescatarian #recipes #easyrecipes

First things first, we have to talk about these magical breadcrumbs. What could be so great about a humble breadcrumb, you might ask? I’ll tell you!

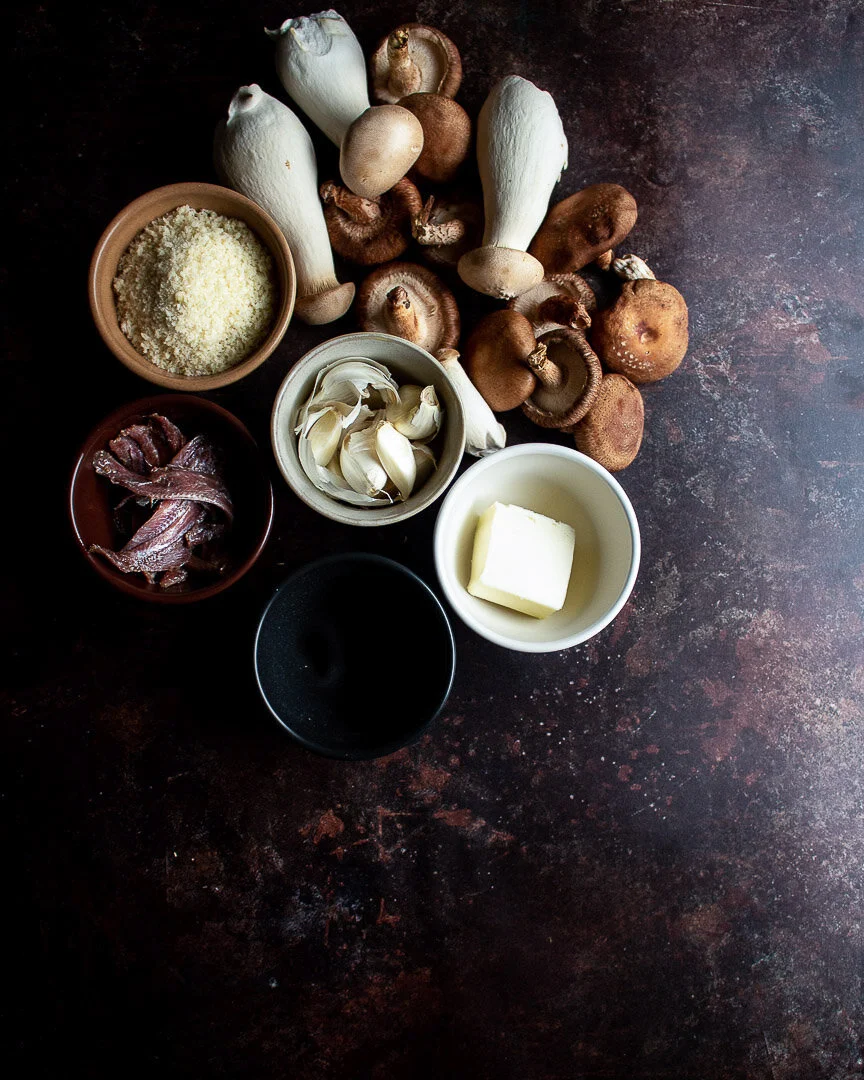
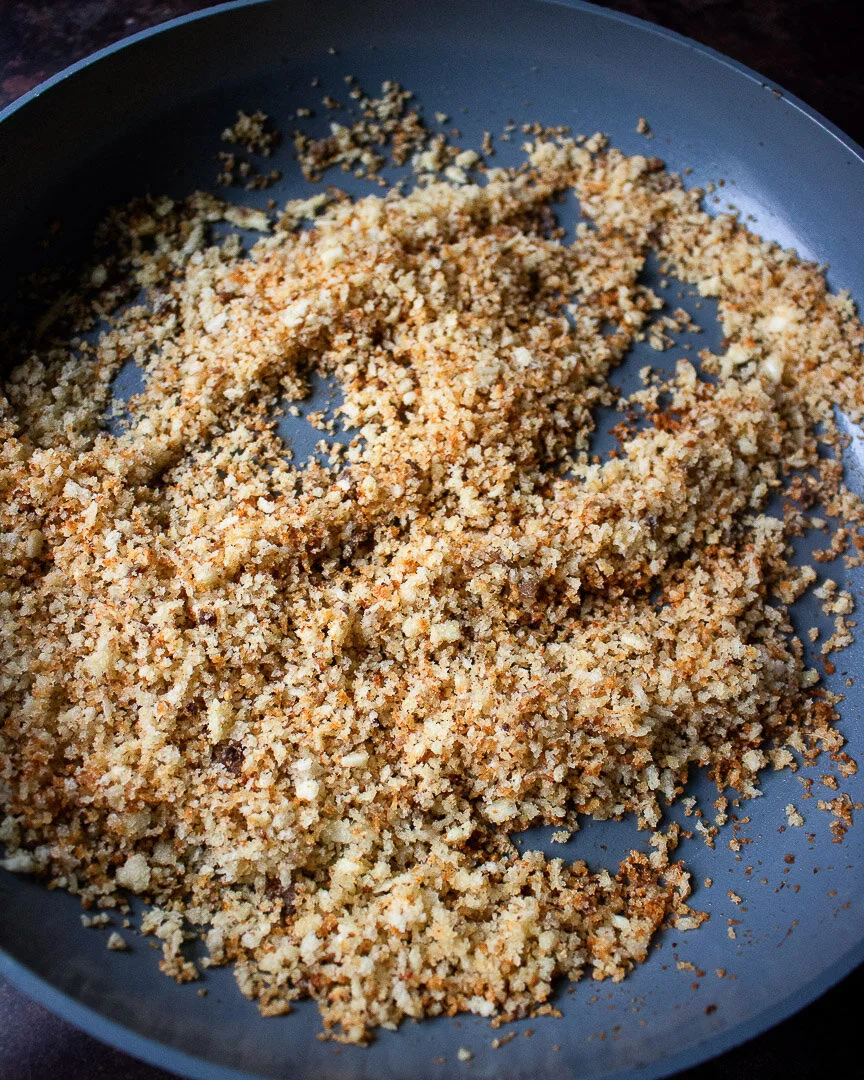
They’re crunchy, salty, briny, and aromatic and elevate anything they top. Using panko maximizes the crispiness while the anchovies add a salty, funky note and the garlic lends a spicy bite. We bathe everything in a little olive oil or butter to mildly tame the funk and the bite while increasing the crunch. The results: magical.

There are other fantastic things about these breadcrumbs too: Sub them in for breading or croutons and they make any dish lighter and easier to prepare. They also stay crispy in the fridge for up to 4 days, so make them in advance and top any side dish just before serving.

Make these easy, quick, and delicious magical breadcrumbs to top these mushrooms and scallions and then use them to add breading and crunch to literally anything. #meandthemoose #easysidedishes #sidedishes #pescatarian #recipes #easyrecipes

For this dish, I’ve used the breadcrumbs to top this umami bomb of mushrooms, scallions, butter, and soy sauce. Each time I’ve made these mushrooms, we’ve INHALED them. This dish is simple, quick, and tastes so much more complex than its humble ingredients would suggest.

A quick note: This is a relatively small recipe because I’m guessing (hoping, encouraging, BEGGING) that we’re all having small Thanksgiving meals this year, but if you’re cooking for a (socially distanced) crowd, definitely increase the mushroom portion of this recipe. You’ll have more than enough breadcrumbs with the measurements given.

Also: Be judicious with the salt in this recipe. We are SALT LOVERS in this house, but the anchovies are so salty that we didn’t really need much more than the big pinch of sea salt that I add while cooking the mushrooms. But you do you.

Make these easy, quick, and delicious magical breadcrumbs to top these mushrooms and scallions and then use them to add breading and crunch to literally anything. #meandthemoose #easysidedishes #sidedishes #pescatarian #recipes #easyrecipes

Magical breadcrumbs with mushrooms and scallions

Time: 10 minutes for the breadcrumbs, 12 minutes for the mushrooms, all active
Yield: About 1 1/2 cups of breadcrumbs (depending upon how “heaping” your cup of panko is), 3 adult side servings of mushrooms (but to be fair, I’ve eaten all of the mushrooms in one sitting topped with a runny egg for lunch)

Mushrooms and scallions:
2 Tbsp olive oil
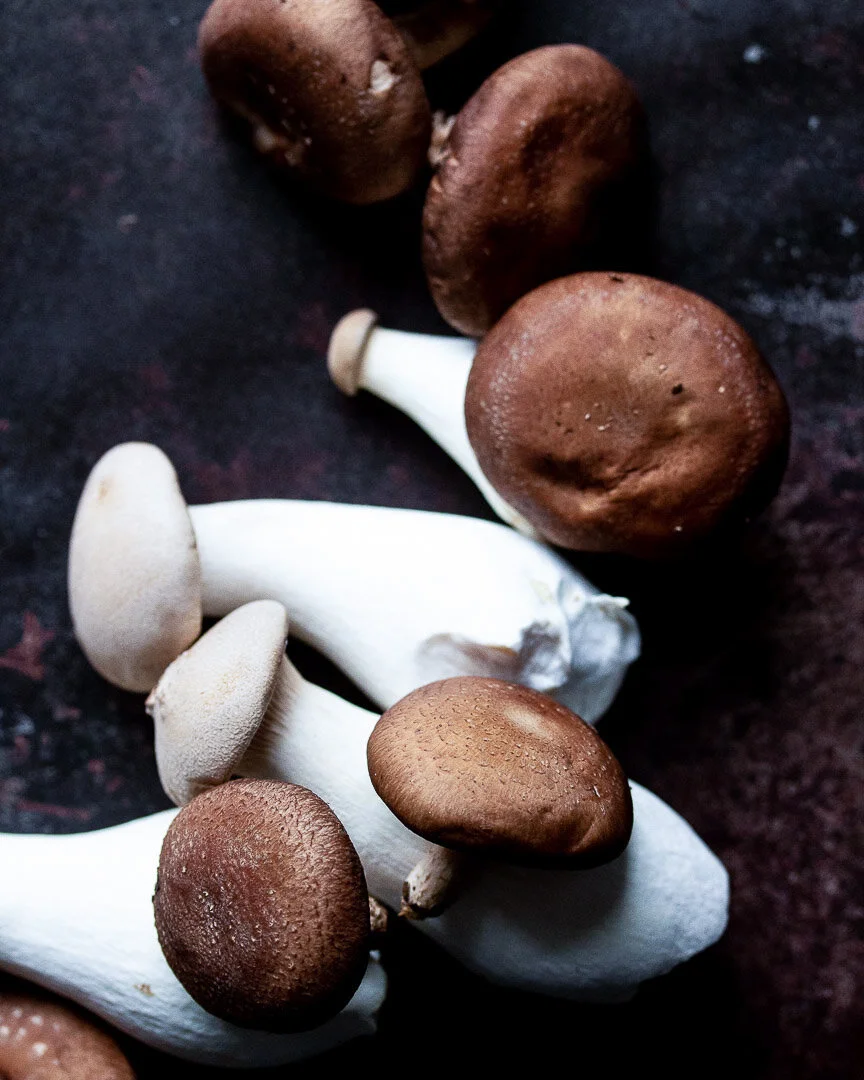
8 oz mushrooms (any variety, about two containers)
Large pinch of salt
4 large scallions, roughly chopped
1 Tbsp butter
1/2-1 tsp soy sauce, to taste
1/4- 1/2 cup Magical breadcrumbs (recipe below), to taste
Flaky sea salt, to taste

Heat the olive oil over a medium flame. When hot, sear the mushrooms on one side and then shake the pan and sear the other side. Cook, shaking the pan occasionally, until the mushrooms turn a darker, golden color, about 5 minutes. If cooking too fast, turn down the heat. Season with a large pinch of salt.

Add the scallions and cook until they begin to wilt and soften, about 4-5 minutes.

If, during the cooking of the mushrooms and scallions, the pan feels too dry or the veggies start to stick, add a little bit more olive oil. But keep in mind that the mushrooms may release their juices as they cook more."**

**Depending on the type of mushrooms you use, they may release a lot of water. If this happens, you can either turn up the flame and cook, stirring frequently to avoid burning, until the liquid has evaporated. Or, if your mushrooms and scallions are nearly cooked and there’s still a lot of water in the pan, drain it before adding the butter.

When the mushrooms and scallions are cooked, turn the flame all the way down. Add the butter. When it’s melted, add the soy sauce and stir to coat. Turn off the flame. Taste and add more soy sauce if necessary.

Top with breadcrumbs (recipe below) and flaky sea salt if necessary, just before serving.

Magical breadcrumbs
2 Tbsp olive oil or butter
2 whole anchovy filets (or 4 1/2 filets depending on how your anchovies are canned)*
1 heaping cup panko
2 large garlic cloves, minced (about 2 Tbsp)


Heat olive oil in a large skillet over a medium-low flame. Add the anchovies and cook, breaking them up with a wooden spoon or spatula until they’re completely dissolved, about 3-4 minutes.

Add the panko and cook, stirring frequently, for 3-4 minutes. If the breadcrumbs start to darken, turn the flame down.

Add the garlic and stir well. Let the mixture cook, untouched for 2-3 minutes or until the bottom of the breadcrumbs start to turn golden. Turn off the flame and mix the breadcrumbs. Let cool for a few minutes in the pan before using.

If saving for later, let the breadcrumbs cool completely and then store, covered loosely, in the fridge for up to 4 days.

*A quick note about anchovies: Sometimes they’re cleaned and the two sides are left connected when they’re canned. I consider that a “whole” anchovy. If they two sides are separated, I consider that 1/2 of a filet)

Roasted squash and pear salad with cider vinaigrette

This hearty fall salad is filling, healthy, and comforting. #meandthemoose #saladrecipe #noboringsalads #salad #fall #fallsalad #squash #kale #pear #fallcomfortfood

This salad is complex enough for the foodies in your life, but filled with ingredients yummy enough for even discerning little ones (maybe paired down to its component parts, but it depends on your kid).

Take me to the salad!

This hearty fall salad is filling, healthy, and comforting. #meandthemoose #saladrecipe #noboringsalads #salad #fall #fallsalad #squash #kale #pear #fallcomfortfood

So, I’ve mostly succumbed to my existential dread and begun inhaling the Halloween candy that I SWORE I wouldn’t open until October 31st. Since my snacking has taken a turn and I also feel like it’s not really fall until I post a kale salad with some sort of roasted squash, I’m coming in hot with this baby today.

Lacinto kale (Tuscan/Dinosaur kale) is the base. This is my favorite kale to use in salads because you can dress it way in advance and it’ll stay crisp for days (and no one can complain about soggy lettuce!). It also stands up well against the nuts, seeds, roasted veggies, and tangy dressing here.

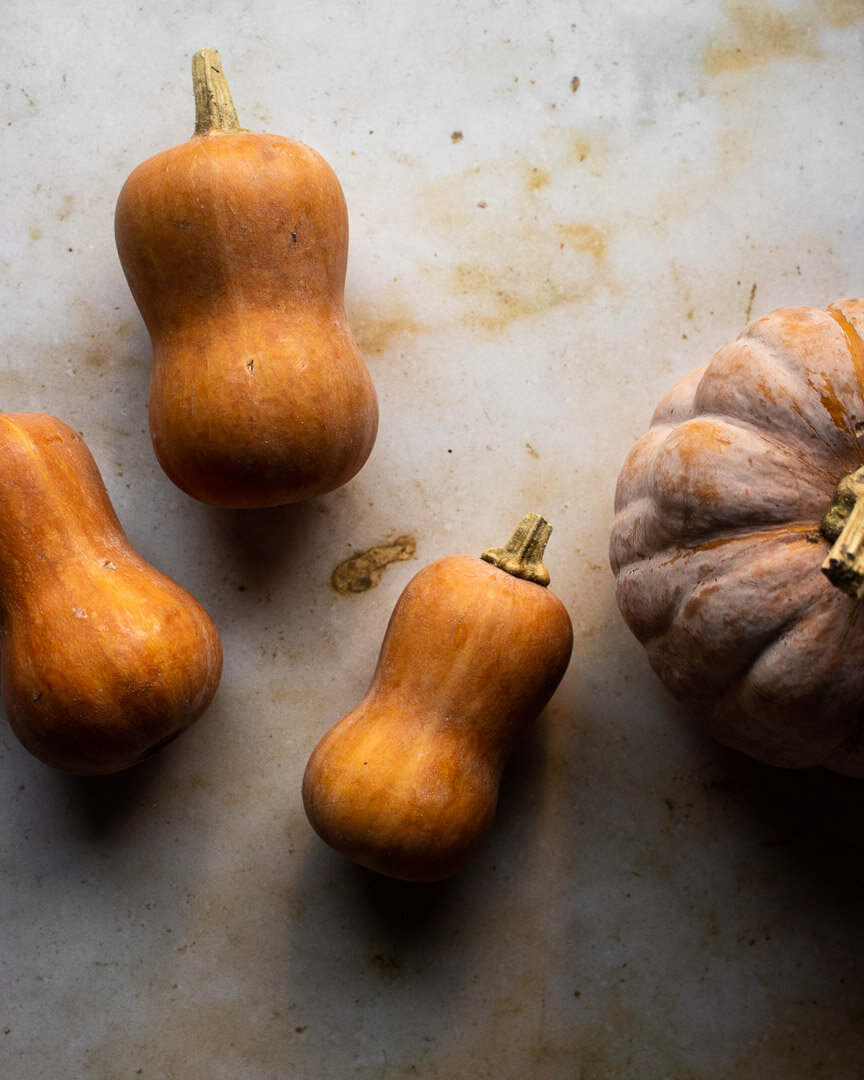
I roasted some honeynut squash (above) which looks like a mini butternut, but is oh so much better. I find butternut squash a little too bland and watery and there are so many other varieties with more taste and body like kabocha and koginut. Plus, they’re so puuuurty.

You might be thinking— “What is this woman smoking if she thinks I’m going to roast squash, toast nuts, fry sage and shallots, AND make a dressing mid-day on a Wednesday.” But hear me out. My squash-roasting method is so easy: split the squash in half, scoop out the seeds, and place it on a baking sheet cut side down and roast at 425 until fork tender (no peeling or stem trimming required!). Set it and forget it!

The nuts and seeds can be toasted alongside the squash in a separate small pan for like 4-5 minutes without any sort of prep at all (skins still on!).

Finally, the sautéed shallots and sage…well, there’s no way to make them easier. They’re not HARD by any stretch, but they require a little more work than your average salad, I’ll give you that. But they make this salad an EVENT, so if you CAN slow down and make yourself a nice lunch, I guarantee it’ll be worth it. Also, my kid loves fried shallots, so it’s a selling point in his book.

This hearty fall salad is filling, healthy, and comforting. #meandthemoose #saladrecipe #noboringsalads #salad #fall #fallsalad #squash #kale #pear #fallcomfortfood

Roasted Squash and Pear Salad with Cider Vinaigrette

Time: 1 hour (about 40 minutes active)
Yield: 2 meal-sized salads or 3 side salads

2-4 small, firm fleshed squash like Delicata, Koginut, or Kabocha
1 bunch Lacinto kale (also called Tuscan or Dinosaur), washed, de-stemmed, and torn
1 Tbsp olive oil
Large pinch of salt
1/4 cup raw hazelnuts
2 Tbsp raw pumpkin seeds
1 Tbsp butter
1 large or 2 small shallots, thinly sliced
5-6 large sage leaves
1/4 cup feta, goat’s cheese, or any other cheese you like
1 large pear, cored and sliced
Large pinch of Allepo pepper (optional)
Cider vinaigrette (recipe below)

For the cider vinaigrette
2 Tbsp olive oil
2-3 Tbsp apple cider vinegar
1/2 tsp honey
1/2 tsp kosher salt
1/4 tsp smoked paprika

Preheat the oven to 425. Split the squash down the middle with a sharp knife, scoop out the seeds and stringy bits from the center, and place cut side down on a parchment or foil lined baking sheet. DO NOT trim the ends or the stem off of the squash. Bake until the outer skin and inner flesh is fork tender, about 35-40 minutes depending upon the size and amount of squash (I like to roast a lot at once so I can freeze the extra and use it for future dishes). Let cool. The skin will slip off of the flesh easily.

While the squash is cooking, prep the kale. Wash, tear the leaves off of the tough inner stems, and then rip the leaves into medium pieces. Top with 1 Tbsp of olive oil and massage and squeeze the kale with your hands to make it more tender. Sprinkle with a large pinch of salt.

In a separate pan, place the raw nuts and seeds. Toast in the oven with the squash for 4-5 minutes or until the nuts and seeds begin to toast and smell nutty. Keep a close eye to prevent burning.

In a small saute pan, melt the butter over a medium high flame. Add the shallots and cook, stirring, until they begin to brown, about 5 minutes. Add the sage leaves and cook until they go dark and crispy.

Make the dressing: Combine all of the ingredients in a small bowl and whisk until well combined. Or use a small jar with a lid and shake until combined.

Top the lettuce with enough of the dressing to coat well. Add the squash, nuts, seeds, fried shallots, fried sage, and cheese. Just before serving, core and slice the pear and add to the salad (to prevent browning). Top with a large pinch of Aleppo pepper or other little bit of heat and more salt if necessary. Top with the rest of the dressing.

Cheap and easy chicken meal prep

Meal prepping made fast and easy! A mostly hands-off process yields lots of rich chicken stock and shredded chicken so you can be prepared for busy weeknights, but also be flexible about what you eat and when. #meandthemoose #mealprepping #chicken #…

If the idea of “meal prepping” makes you roll your eyes, then this post is for you! A mostly hands-off process yields lots of rich chicken stock and shredded chicken that allows you to be flexible with your week’s meals while also being prepared for busy weeknights.

Take me to the chicken!

Meal prepping made fast and easy! A mostly hands-off process yields lots of rich chicken stock and shredded chicken so you can be prepared for busy weeknights, but also be flexible about what you eat and when. #meandthemoose #mealprepping #chicken #…

October is Hunger Awareness Month and it’s honestly kind of embarrassing that we even need an “awareness” month for a problem that’s so huge. According to the USDA, in 2019, over 13 million households experienced food insecurity including 2.4 million households with children. On top of those stats, unemployment in the US hit an all-time high in April 2020, so that’s a lot more people facing food shortages this year.

To that end, over on Instagram, Chelsea from The Dancer’s Pantry has created a new account which highlights original meals from different food bloggers, each costing less than $10 and aiming to serve at least 2 adults, but most serve 4 or more. There are vegetarian and carnivorous meals; breakfasts, lunches, and dinners; and I’m contributing this meal prep strategy! Check out Feed for 10 to see more.

Meal prepping made fast and easy! A mostly hands-off process yields lots of rich chicken stock and shredded chicken so you can be prepared for busy weeknights, but also be flexible about what you eat and when. #meandthemoose #mealprepping #chicken #…

I finally wrote down the ratios and cooking times for my favorite (and basically only) weekly meal prep. I don’t like rigid meal planning because, while I’m a devoted rule follower most of the time, when it comes to food rules, (even ones I make for myself!) I have a real “burn it all down” vibe.

Also, with kids it’s important to be able to pivot when suddenly they HATE something that was previously a favorite.

Enter: This easy, cheap, and mostly hands-off meal prep strategy. You come away with a huge amount of rich chicken stock that is so much more delicious and filling than the boxed stuff or a bullion cube. It freezes well and lasts frozen for 6 months. It also makes soups and stews much richer, which is helpful when you’re trying to make things stretch. I use this stock in any recipe that calls for stock, obviously, but also to cook these super easy and fast one-pot pastas because it really boosts their flavor.

The shredded chicken is also a lifesaver on busy nights. Throw it into tacos or enchiladas (if you’re feeling ambitious), stovetop mac and cheese or any other simple pasta dish, or smother it with your favorite BBQ sauce and have some messy but delicious pulled chicken sandwiches. The chicken also freezes well if you want to save it for later dinners.

Meal prepping made fast and easy! A mostly hands-off process yields lots of rich chicken stock and shredded chicken so you can be prepared for busy weeknights, but also be flexible about what you eat and when. #meandthemoose #mealprepping #chicken #…

$10 Meal prep (chicken stock and shredded chicken)

Time: 1 hour, 45 minutes, mostly hands off +15 minutes for straining 
Yield: 11 cups stock, 4 cups cooked, shredded chicken

1 chicken, cut into pieces (about 3½-4½ lbs) $11.95 from Trader Joe’s (I bought a pre-cut chicken, but there were whole chickens available for $7-$9)
1 large bag frozen veggie and aromatic leftovers (save everything from the previous week’s cooking in a large bag in the freezer including onion skins, garlic skins, tiny cloves of garlic, leek and fennel fronds, lemon rinds, dried up fresh herbs, unused parts of celery, carrot peels, potato peels, etc)
14-18 cups water (enough to cover the chicken and veggies entirely, but the full amount will depend on how much chicken and veggies you use) 
3 Tbsp kosher salt

Place everything into a large stockpot and bring to a boil over a high flame, about 20 minutes. 

Once boiling, reduce the heat to medium-low or just high enough to achieve a low rolling boil. Cook, uncovered, until the water has reduced by ¼, about 1 hour. 

Add enough water to return to roughly the original amount (about 4 cups) and turn the flame back to high. Stir the mixture and check the seasoning. Add more salt if necessary.  Bring the mixture back to a boil and then reduce back to a low rolling boil.  

Boil for 20 more minutes. Let cool.

Remove the large pieces of veggies and chicken bones. Strain the broth into a large container. Save all of the cooked chicken meat.