Homemade granola base
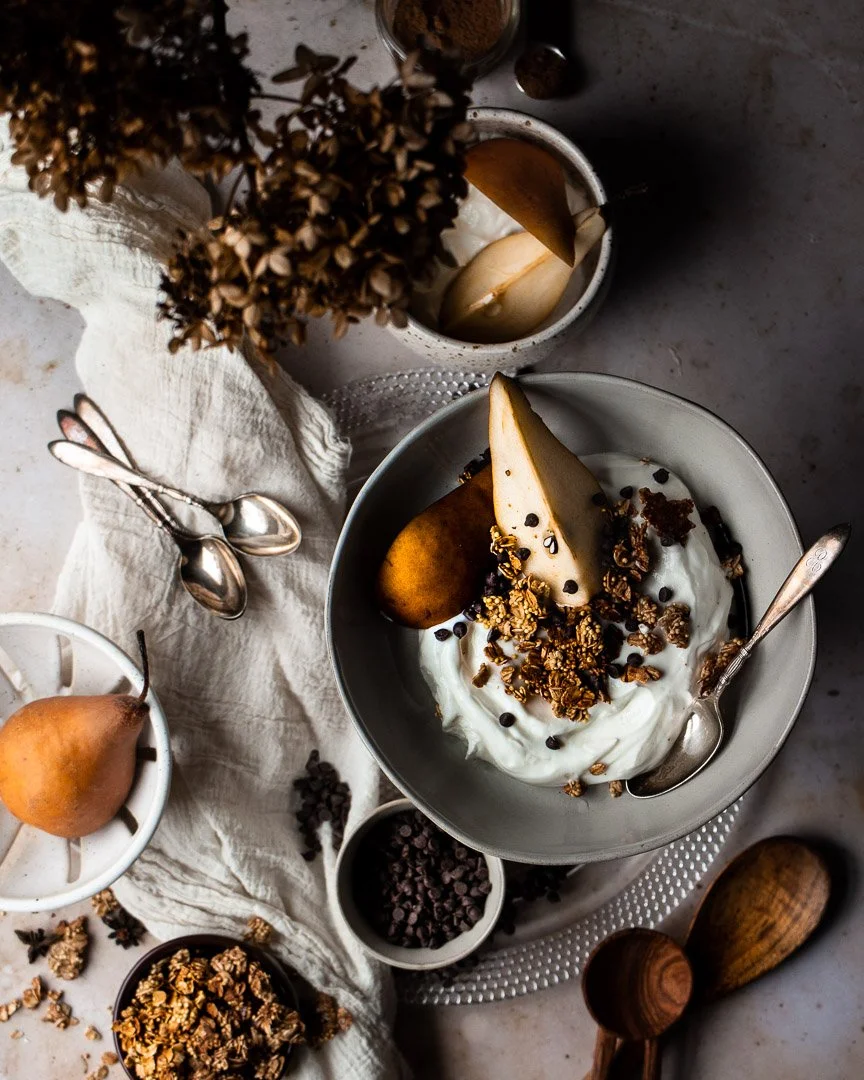
Granola may seem like something that’s easier to buy in a store, but let me set the record straight: Homemade granola is simple, fast, and so much better than most of the commercially made stuff. Also, it makes your house smell amazing.
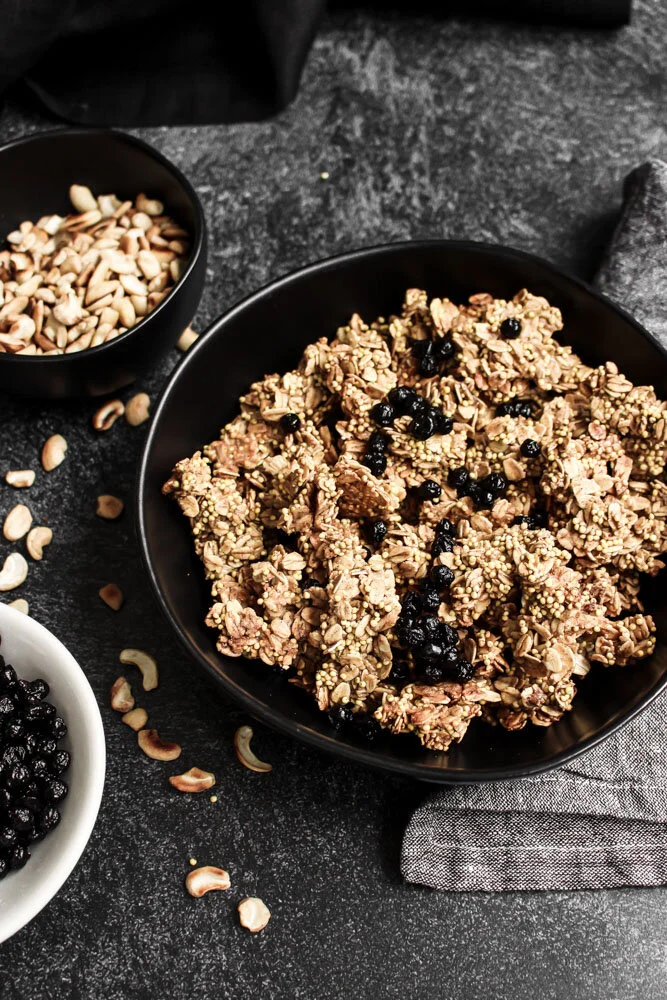
Let’s talk about granola and kids. I love granola because it’s a fun topper for lots of different things: yogurt, apple sauce, purees, pancakes, fruit, ice cream, etc. I like to pretend that it’s nature’s sprinkles. But there may be a chunk of kids who think granola is too crunchy or who don’t like the mix of textures. For them, I would add some mini chocolate chips or chocolate covered sunflower seeds and call it “trail mix.”
But granola is a great way to add some whole grains and make a more balanced snack.
I include millet in my granola and also my granola cups because it’s super crunchy and adds fiber, calcium, and iron, which we always need more of in our diet.
This recipe is a base and you can feel free to customize with whatever fruits and nuts you like best.
Also, if making this for a nut-free school snack, skip the nuts and double the fruit, sub in seeds like sunflower or pepitas, OR toast the nuts separately and toss them into an individual portion at home.
A couple of notes:
If you have trouble finding millet, check the bulk sections of Whole Foods or any health food store.
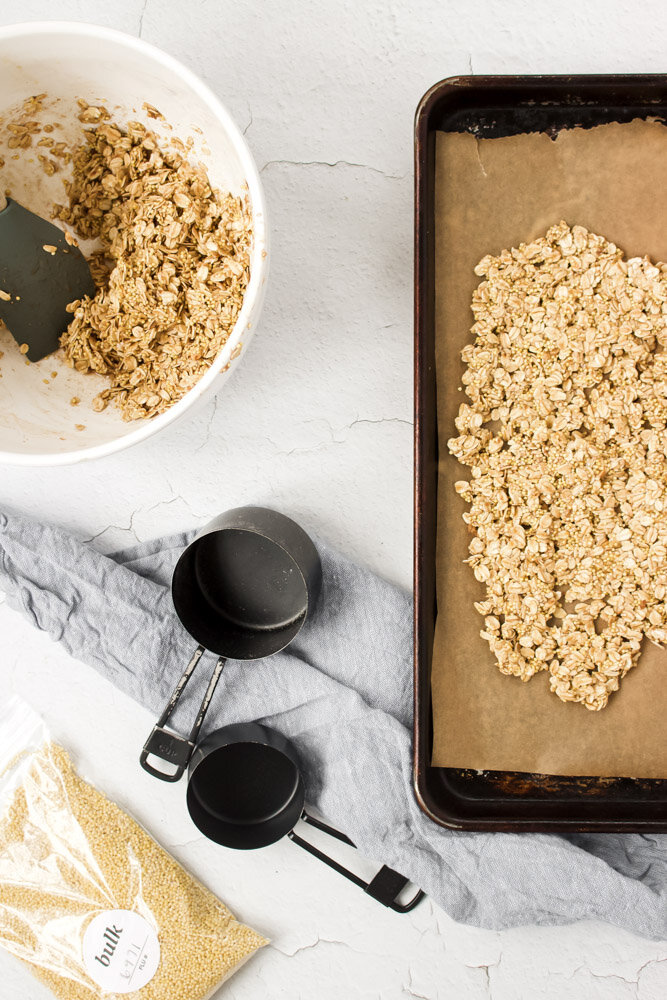
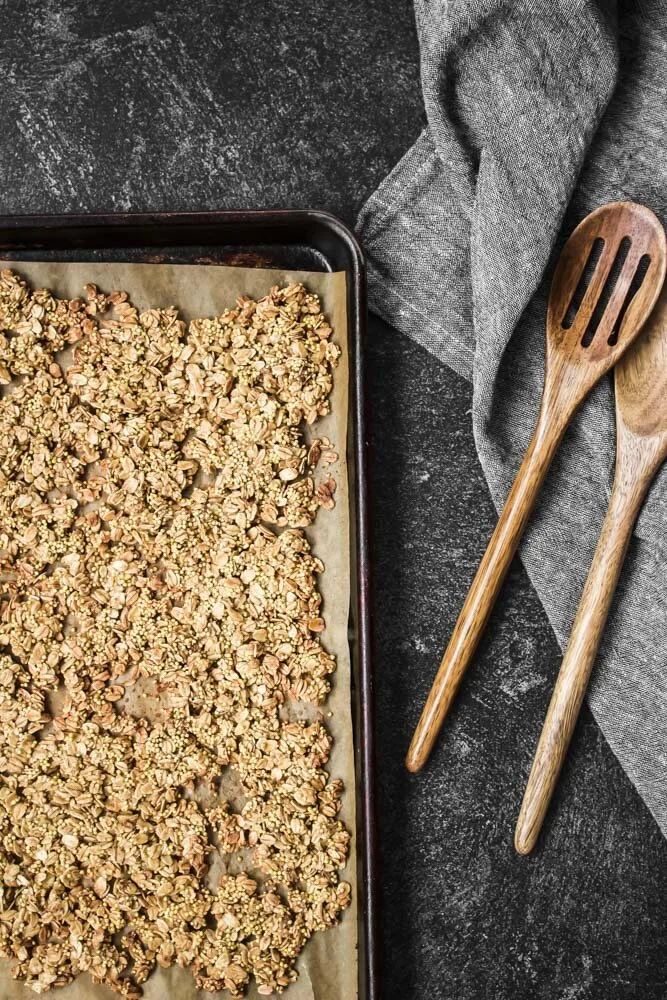
When spreading the raw granola mix onto your sheet pan, make sure to leave some holes in the middle of the pan. If you spread it as one large mass, the middle will be undercooked while the edges start to burn. With some holes and thinner spots in the middle, you’ll get a more even bake and better chunks in your final product!
Be mindful that when the outsides start to brown, the thicker parts may still be a bit undercooked, but that the whole thing will continue to cook and crisp while it cools. Once you see significant browning on the edges, take it out of the oven and let it cool completely. If there are any undercooked spots, feel free to re-toast them in the oven or a toaster oven for a few minutes before eating. But DON’T toast any fruit that you may add. Toasted dried fruit = hard as a rock!
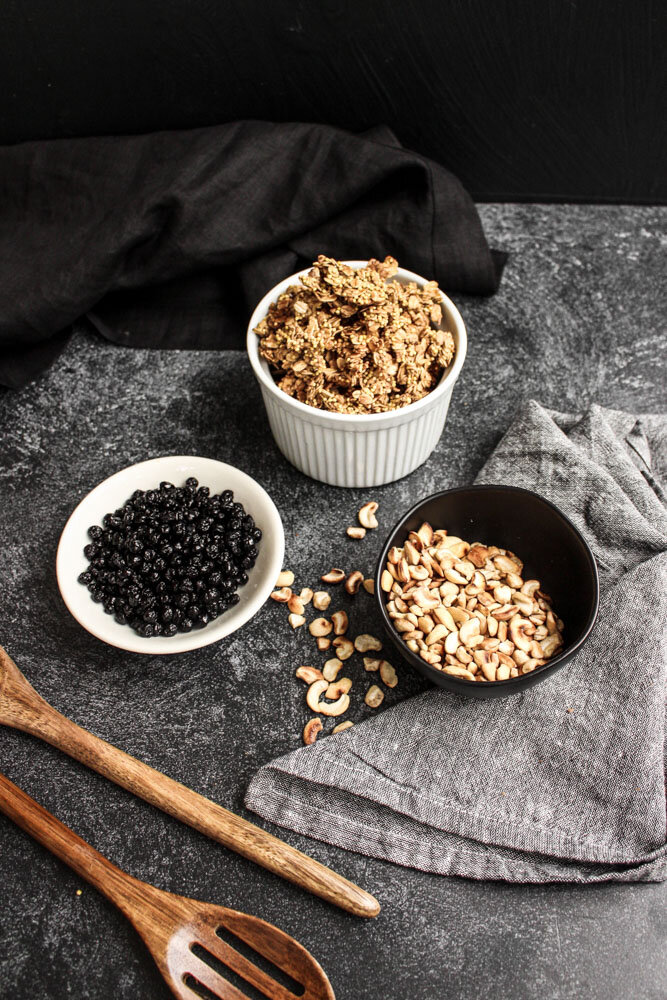
Homemade granola base
Yield: about 3-4 cups of granola, depending on how many nuts and berries you add
Time: 25-28 minutes (5 minutes active time, 20-23 minutes baking time)
2 cups old fashioned rolled oats
½ cup millet
2 Tbsp brown sugar
1 tsp cinnamon
2 large pinches of kosher salt
½ cup nuts (your choice!)
2 egg whites, slightly whipped
1 Tbsp olive oil
1 tsp vanilla extract
¼ cup maple syrup
1/3 cup dried fruit of choice
Preheat the oven to 350. In a large bowl, mix together the oats, millet, brown sugar, cinnamon, and salt. Add the untoasted nuts, if using.
In a large measuring cup, mix together the egg whites, olive oil, and vanilla. Pour over the dry ingredients and mix together thoroughly.
Spread out on the mixture on a large sheet pan, leaving gaps and holes in the middle.
Bake for 20-23 minutes, or until the edges of the pan and any edges next to gaps in the middle start browning.
Let cool completely.
Add the dried blueberries (or other dried fruit) and crunch up the baked granola so that you have some chunks and some smaller bits.
Store in an airtight container at room temperature for up to 3 weeks.
Sweet potato muffins
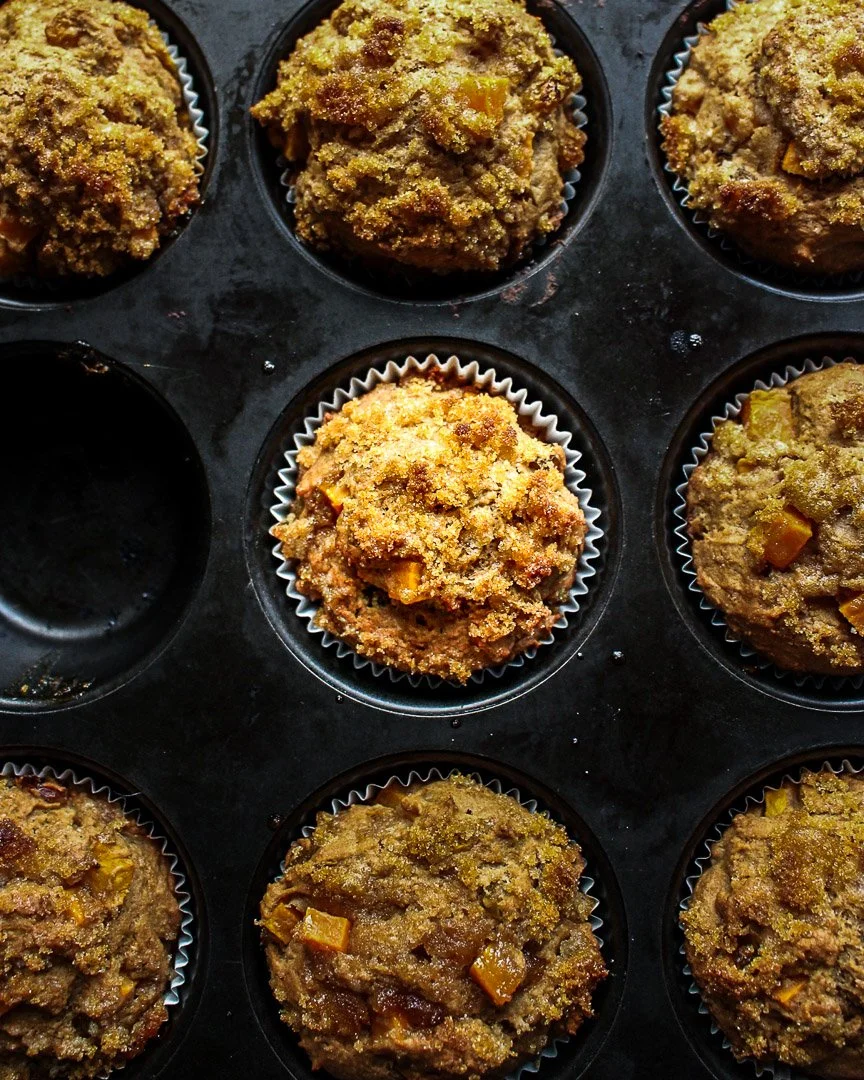
Thanksgiving is here! I love this holiday and the season that follows, but there are definite downsides. I’ve talked about keeping expectations in check with kids and holidays. And while it’s exciting and fun that there’s always something going on: Making cookies, making gifts, buying gifts, wrapping gifts, listening to music, decorating, holiday events, holiday parties, holiday-themed school things, concerts, visiting relatives, etc, it can be…a lot. And for a little one like mine who’s always searching for his equilibrium, it can be.. A WHOLE LOT.
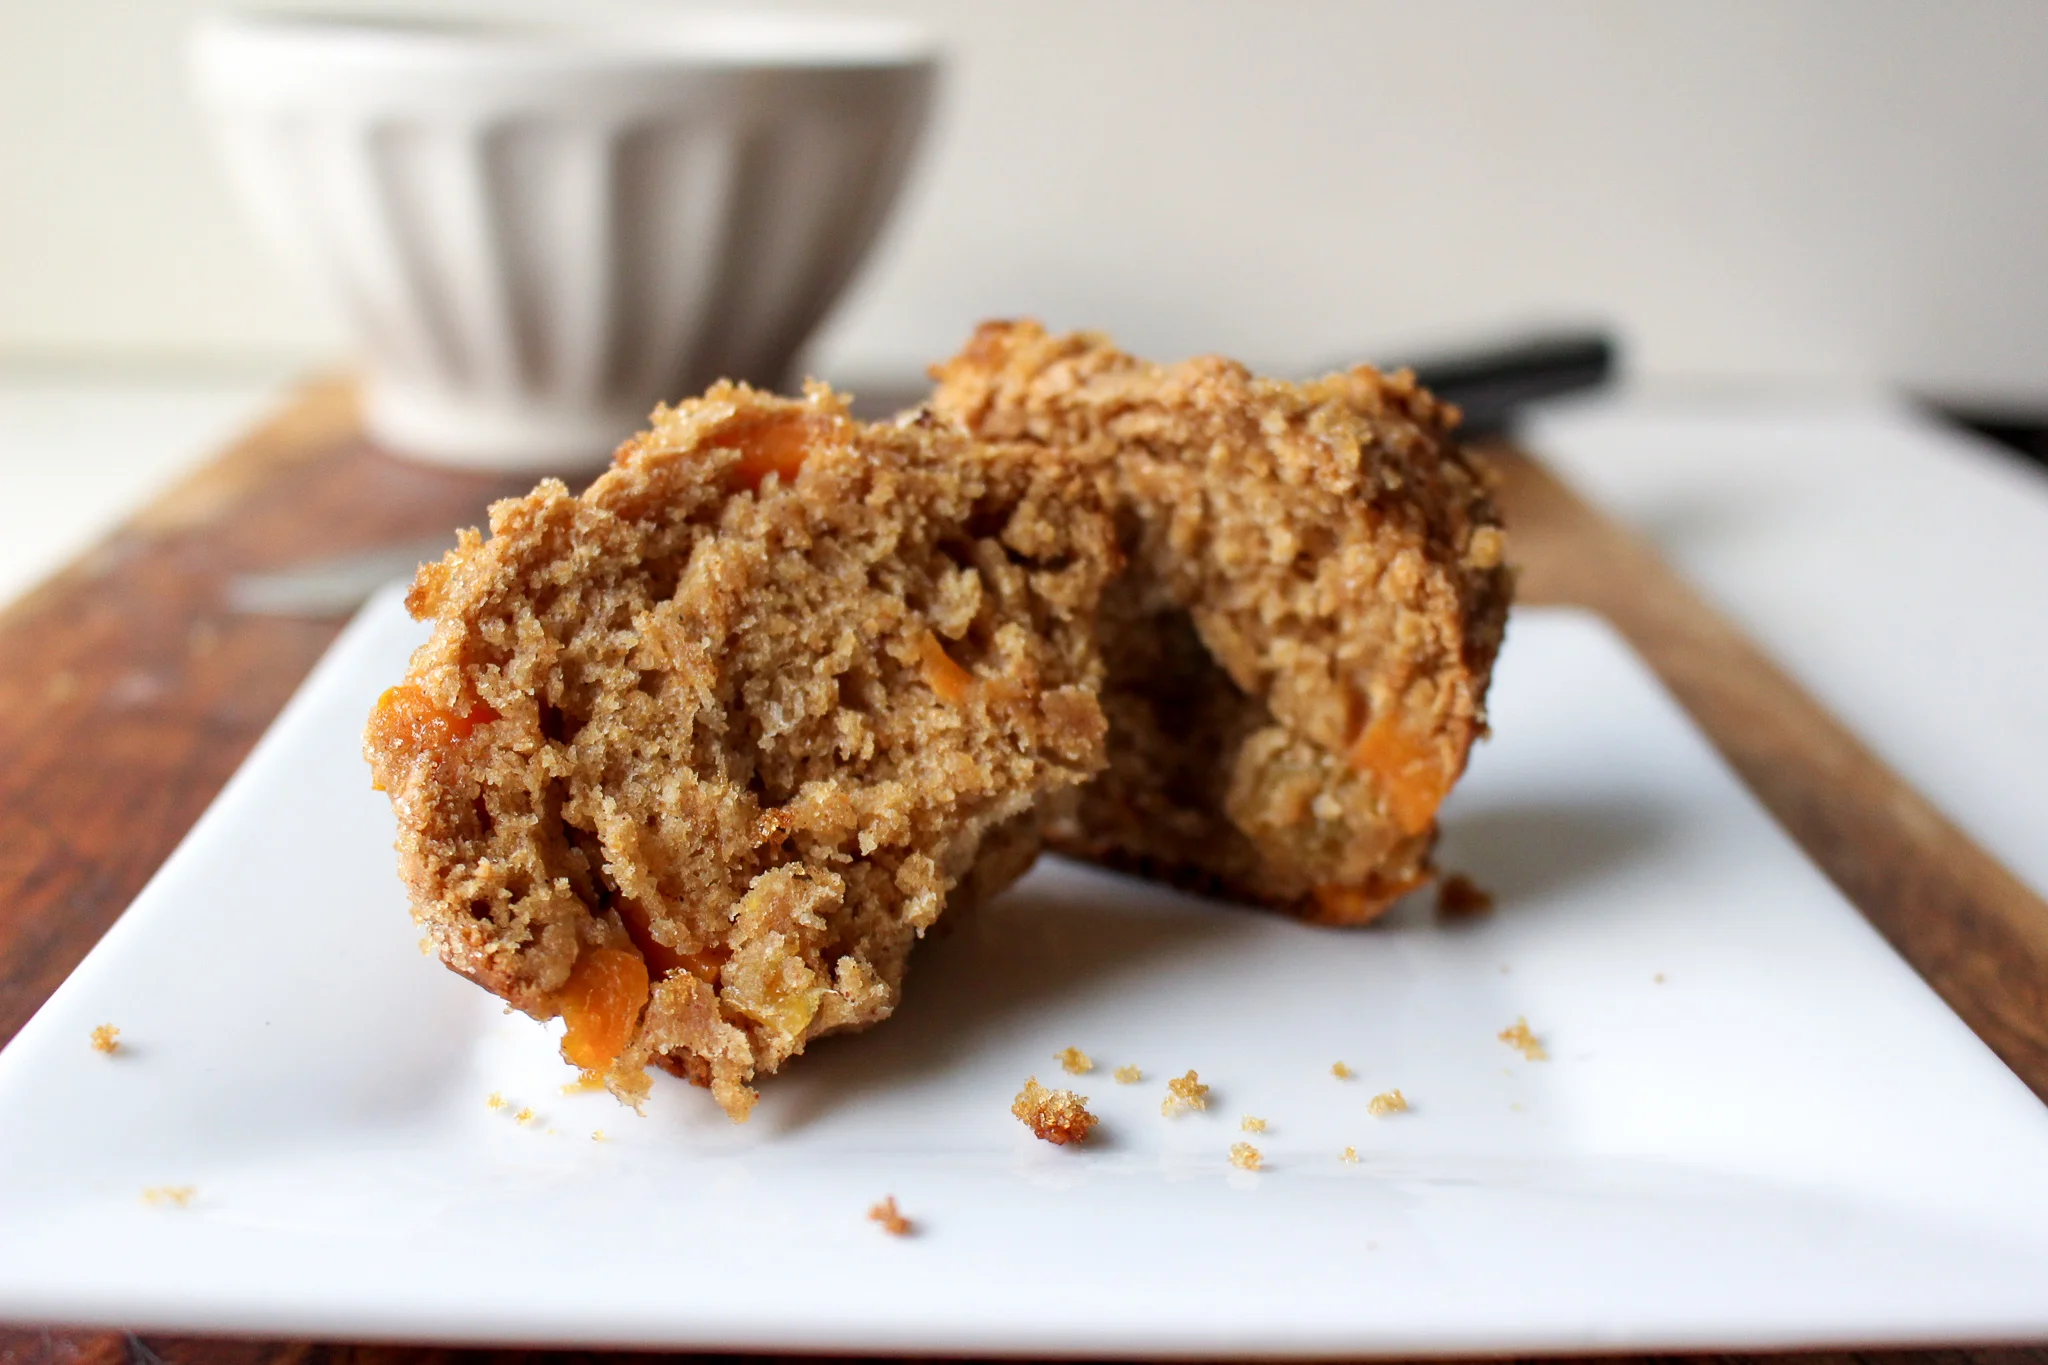
So, let’s not add even more by completely abandoning our commitment to balanced eating, mkay?
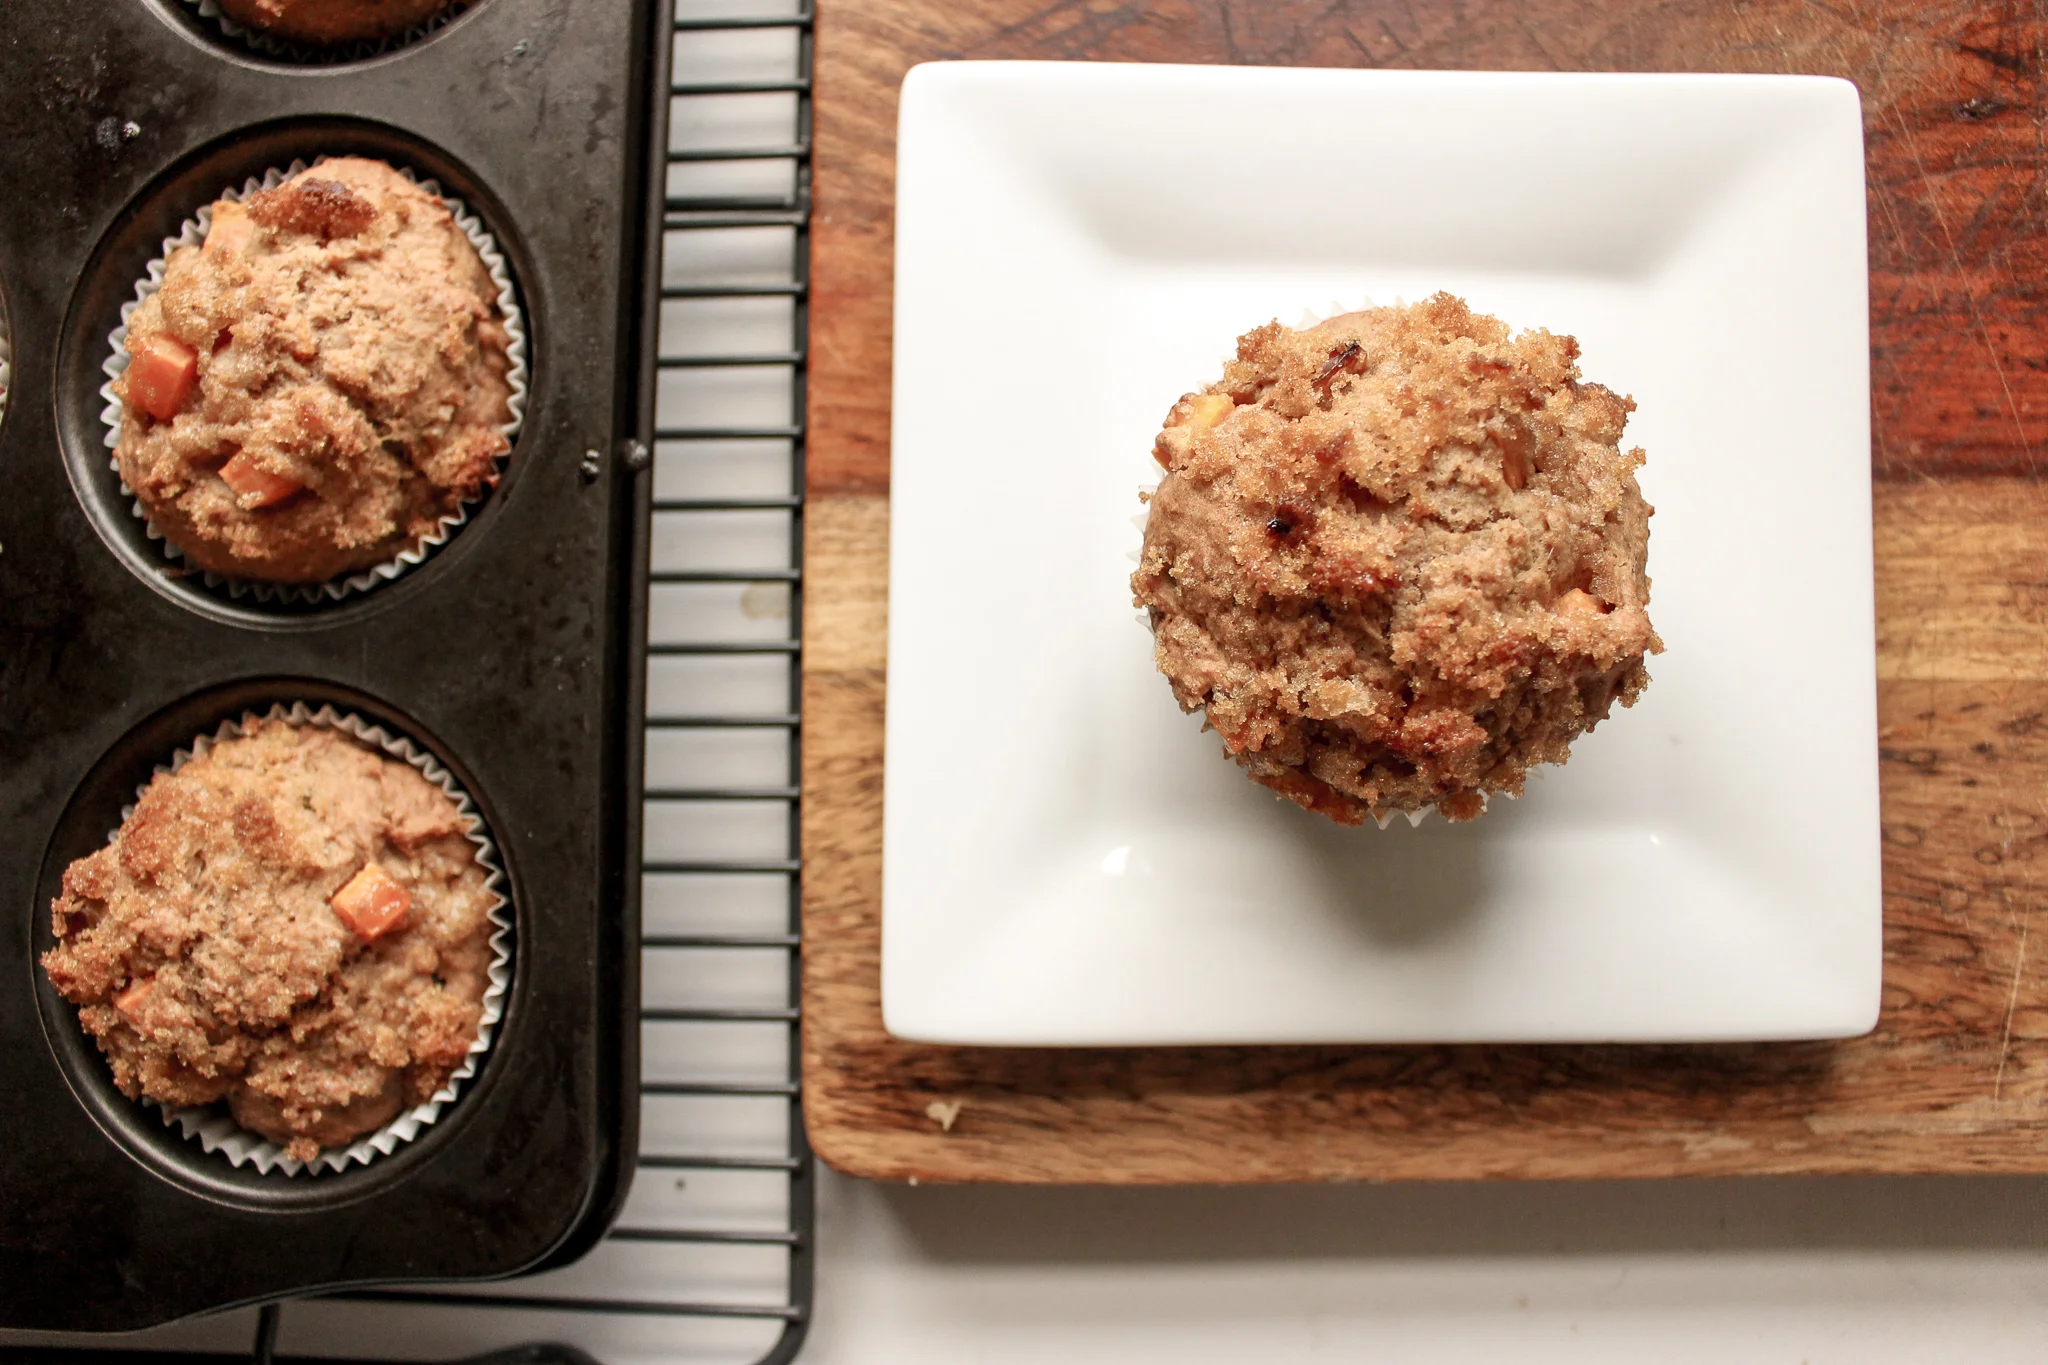
These sweet potato muffins are a fantastic “sweet” to have around. They feel festive and would certainly make a fitting Thanksgiving breakfast to watch in front of the parade or DOG SHOW (!!!!!!!), but are just sweet enough thanks to the applesauce, a few Tbsp of brown sugar divided between the batter and the muffin tops, a handful of golden raisins, and sweet potatoes.
And did I mention that they only require one bowl? You’ll have enough dishes this week.
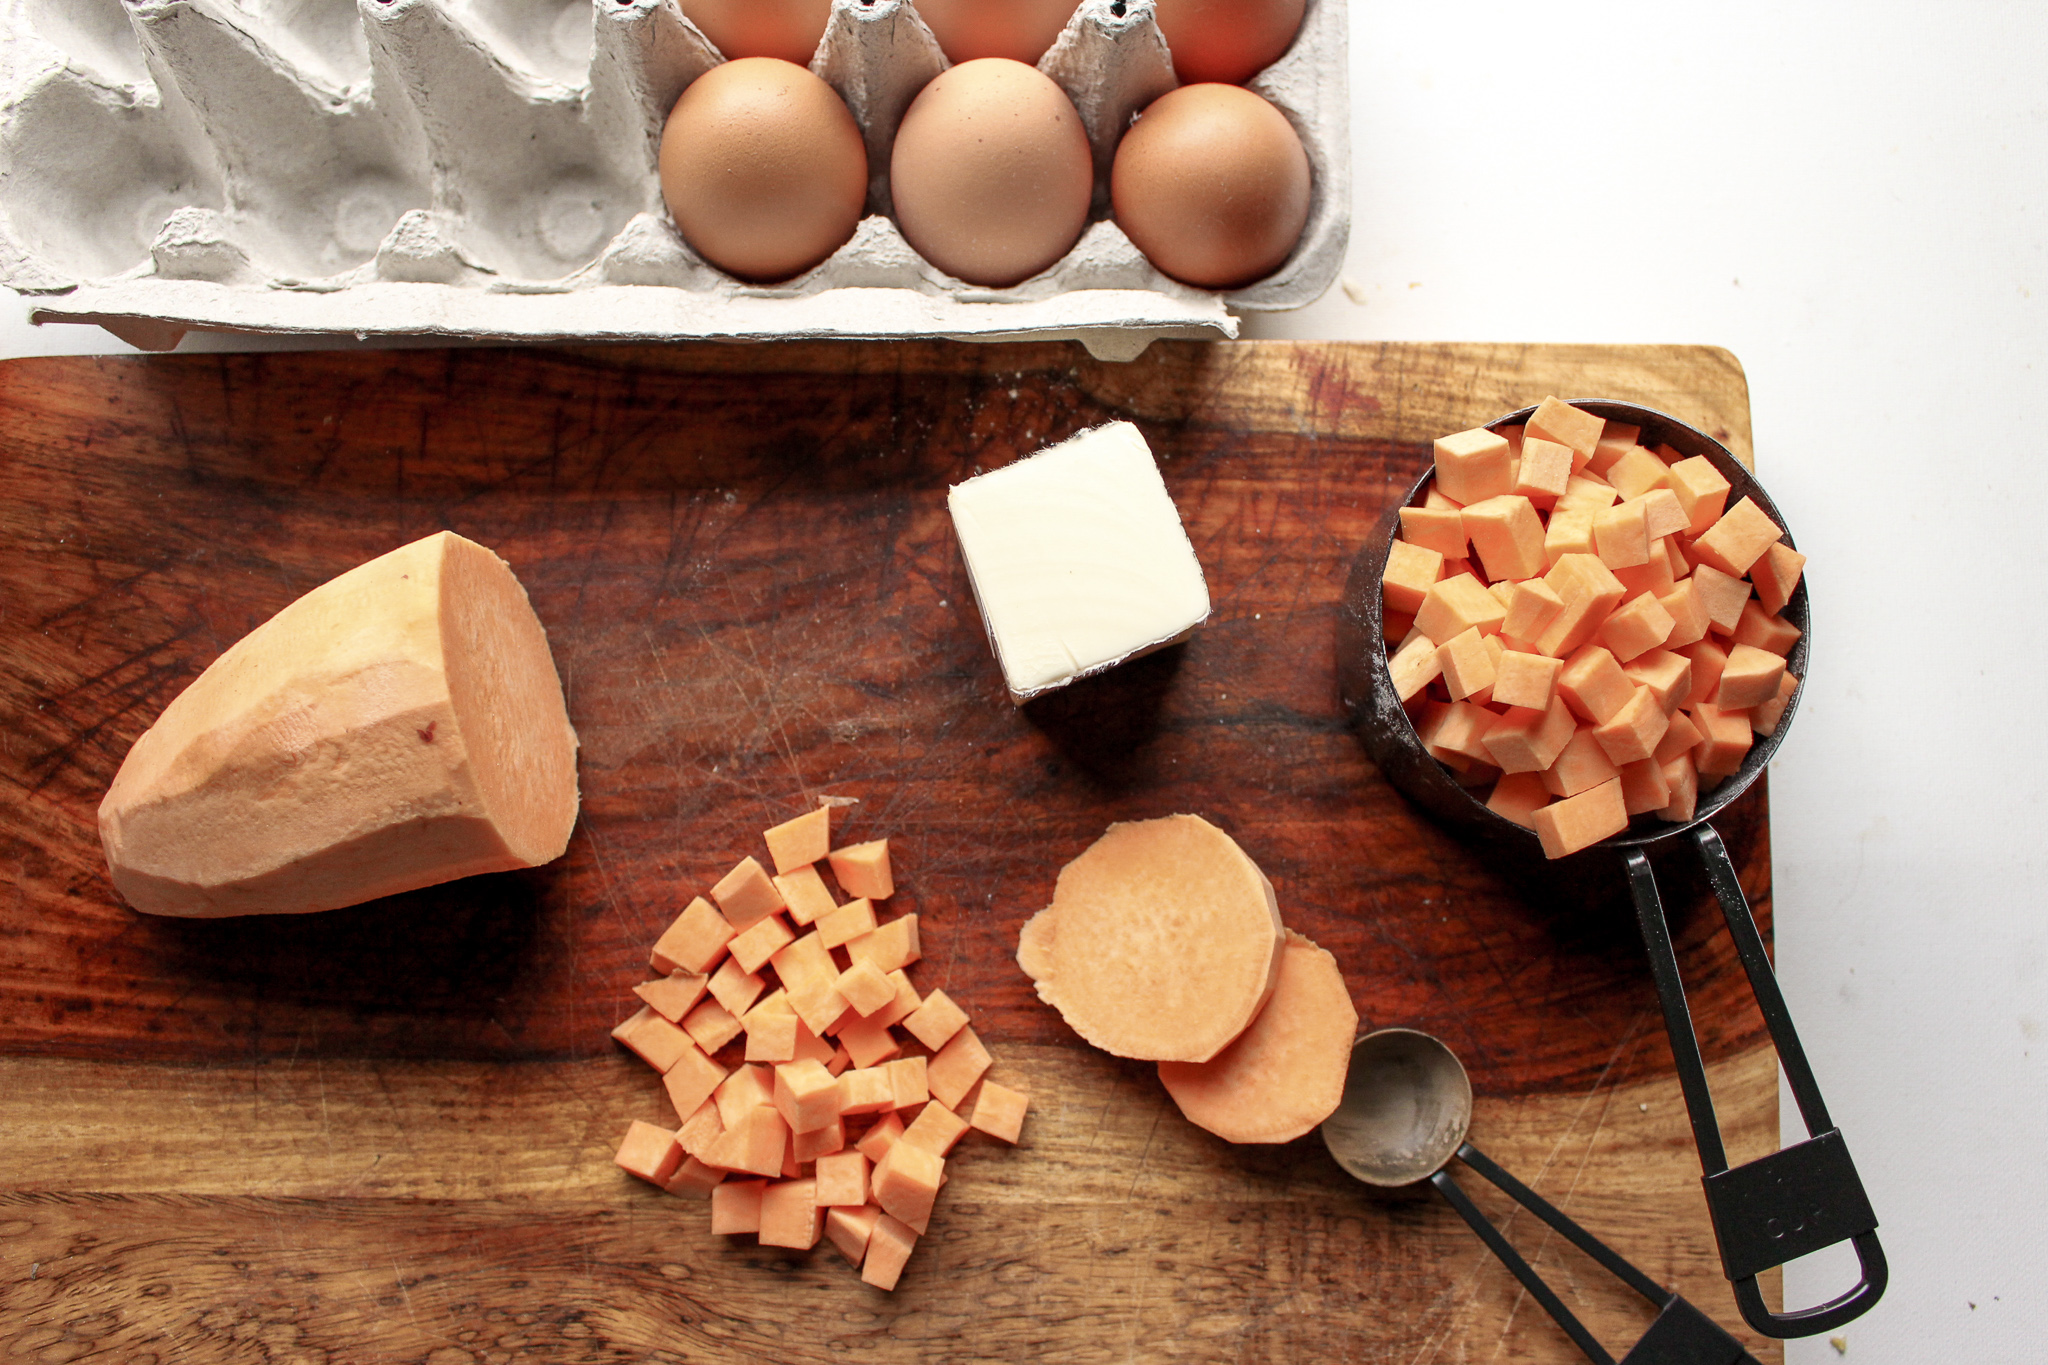
A couple of notes:
- Chop the sweet potatoes into 1/3-1/2 inch chunks. Any bigger and they may not soften enough during baking, but if you shred them, they disappear and make the batter a bit too wet.
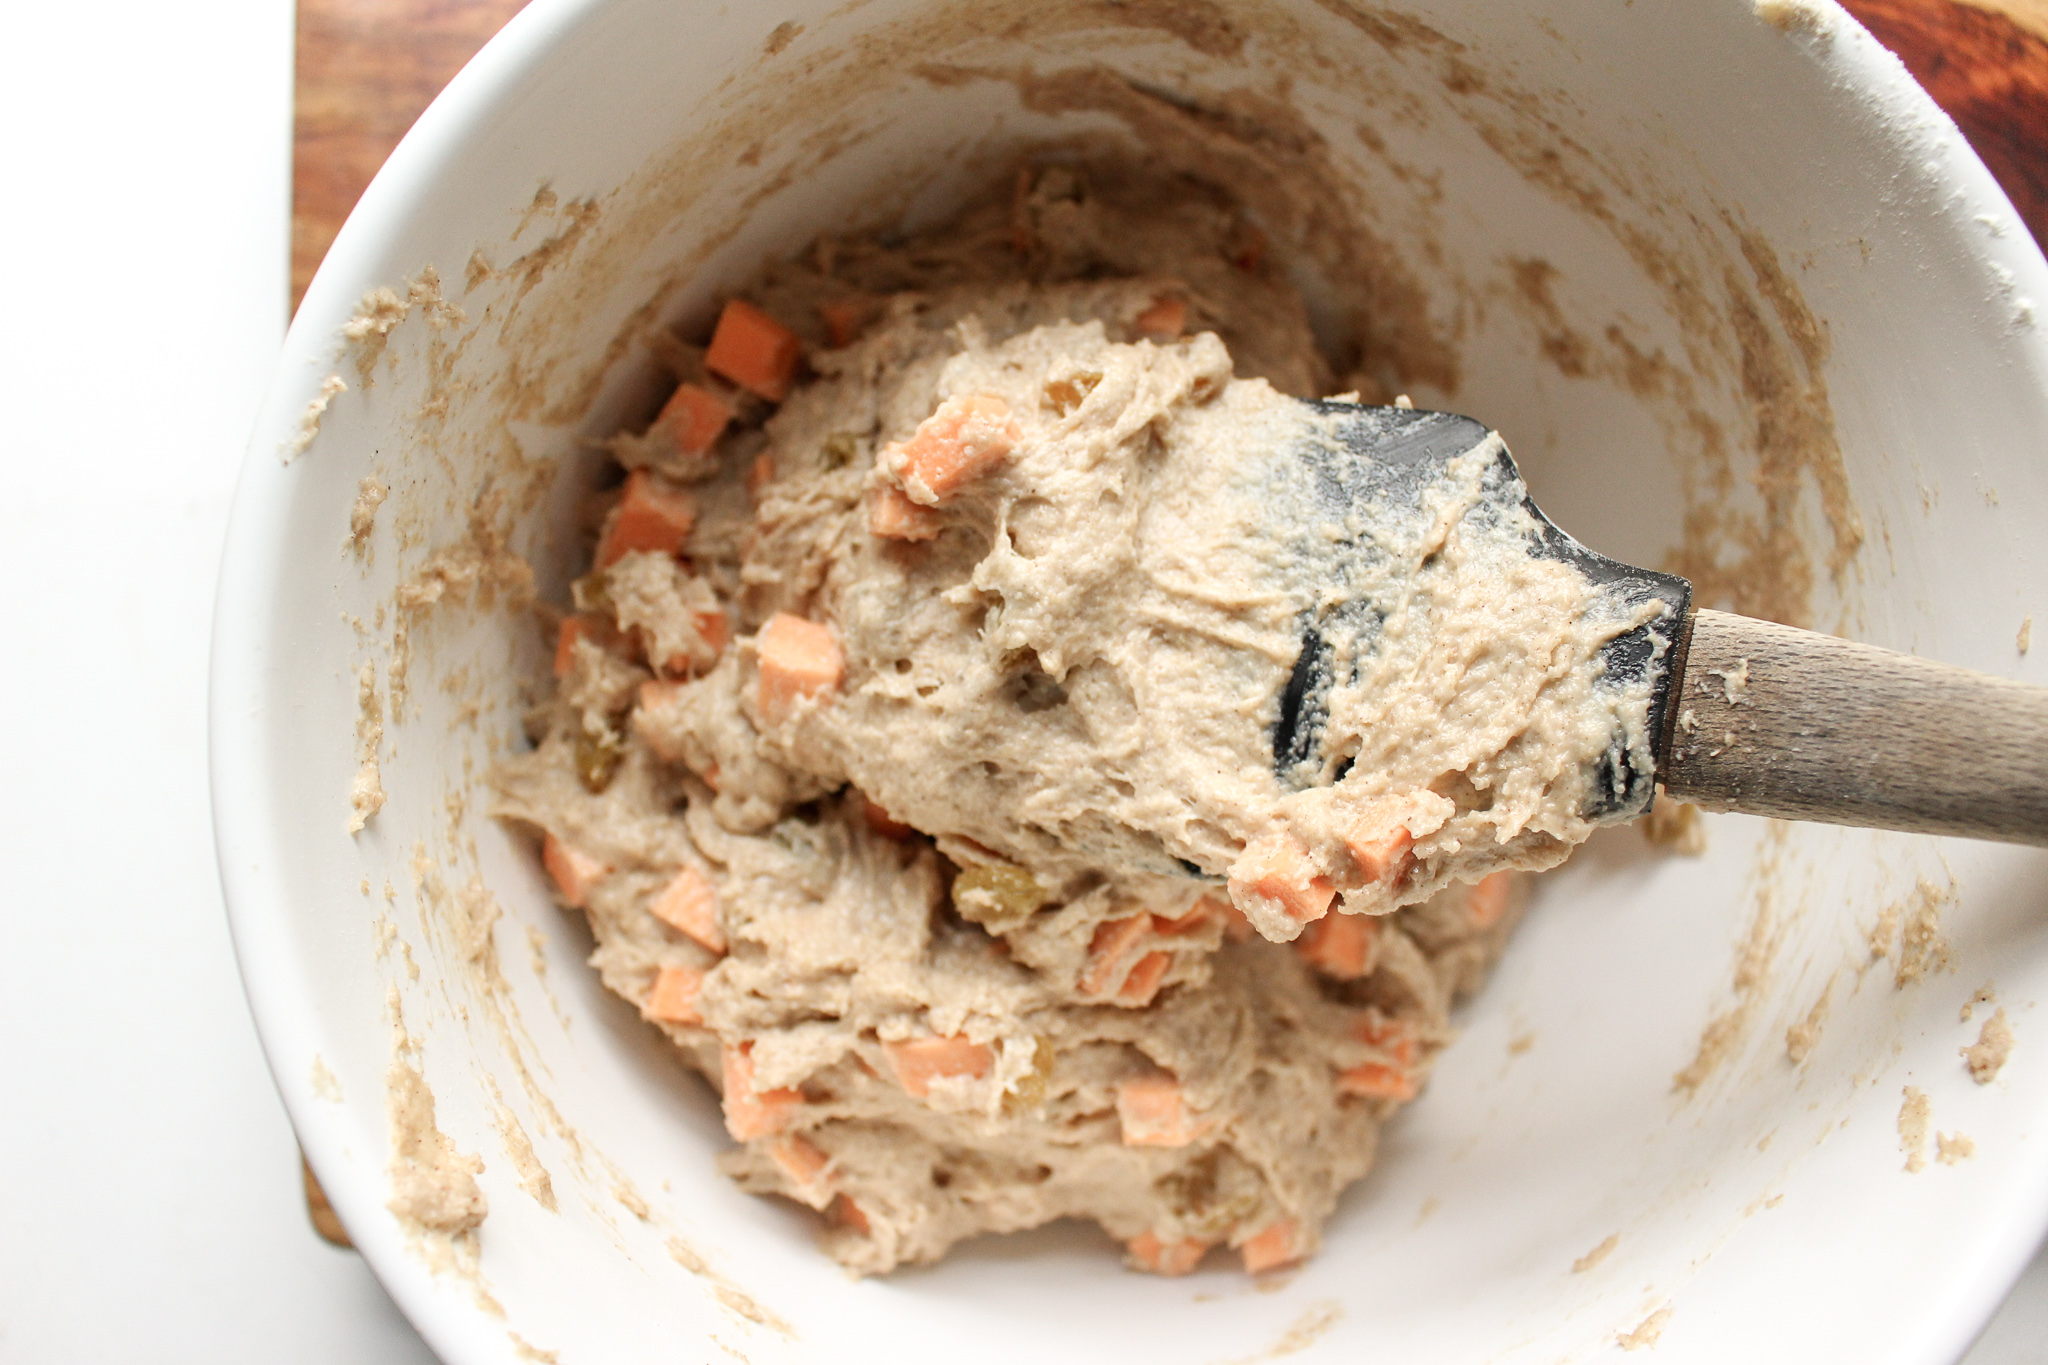
- This is a thick batter, almost dough-like in consistency. Don’t worry. It always puffs up well in the oven and results in an airy, light muffin.
Sweet potato muffins
4 Tbsp butter or coconut oil, partially melted
½ cup applesauce
1 egg
1/2 cup brown sugar, divided
3/4 cup yogurt
1 tsp vanilla extract
1 cup wheat flour
1 cup white flour
1 tsp baking powder
1 tsp baking soda
1 tsp cinnamon
1/4 tsp salt
1 medium sweet potato, cut into tiny squares (about 1.5 cups)
¼ cup golden raisins
Move your oven rack to the bottom or lower middle portion of the oven. Preheat to 375.
In a large bowl, partially melt the butter or coconut oil. Microwave it for a few seconds until it just begins to liquify, but is still partially solid.
Mix in the applesauce, egg, 1/4 cup of brown sugar, yogurt, and vanilla extract. Add the dry ingredients and mix until combined and no streaks of flour remain.
Add the chopped sweet potatoes and raisins and stir again to combine.
Spoon the batter into the cups of a muffin tin, filling about 3/4 of the way. Top each muffin with a large pinch or two of brown sugar.
Bake for 18-22 minutes until firm to the touch and a tester in the middle comes out clean. Check after 12-15 minutes and cover if the sugar browns too fast.
Chocolate hummus
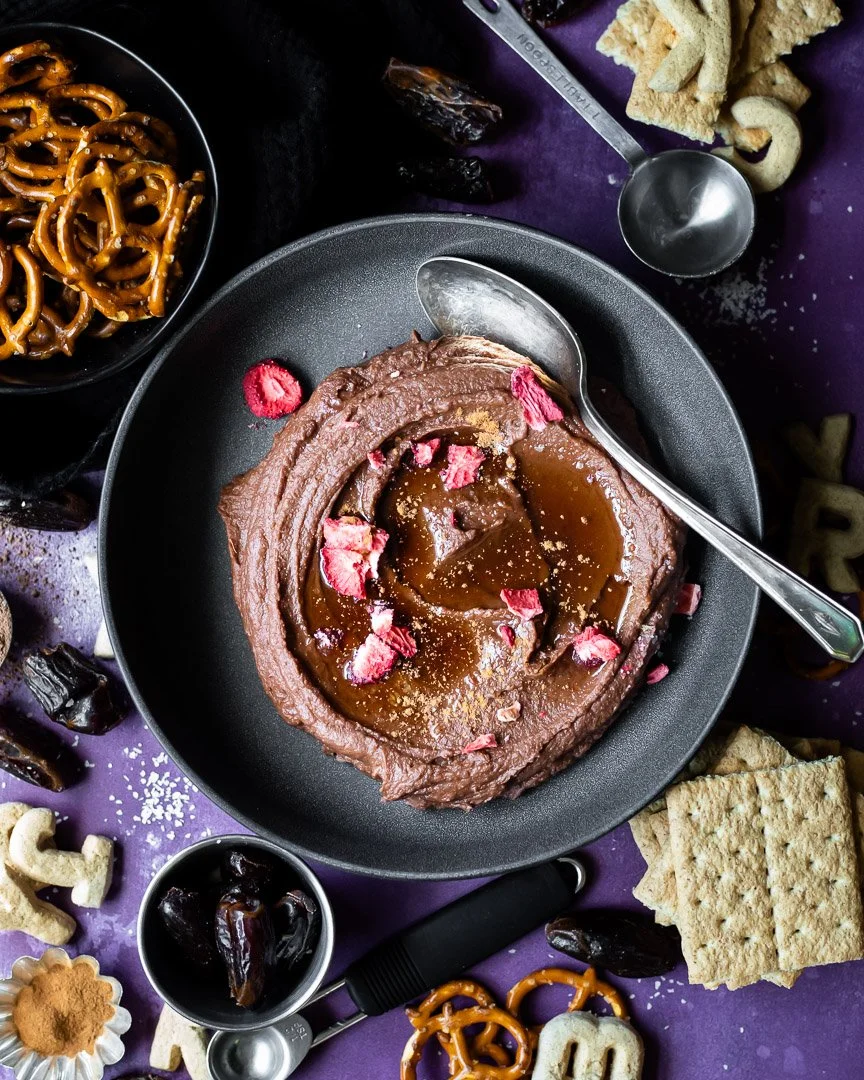
chocolate hummus | me & the moose | Chocolate hummus bears no resemblance to actual hummus, but is a fiber and protein rich sweet snack. #hummus #chocolate #snackrecipes #snacks #dips #dessert
I struggled with calling this recipe “hummus.” The only thing it has in common with actual hummus is chickpeas, but I wanted it to be clear that this spread is the same stuff you buy in the grocery store.
Even though it’s not really hummus, this spread is REALLY good. It’s a little sweet and very chocolate-y.
chocolate hummus | me & the moose | Chocolate hummus bears no resemblance to actual hummus, but is a fiber and protein rich sweet snack. #hummus #chocolate #snackrecipes #snacks #dips #dessert
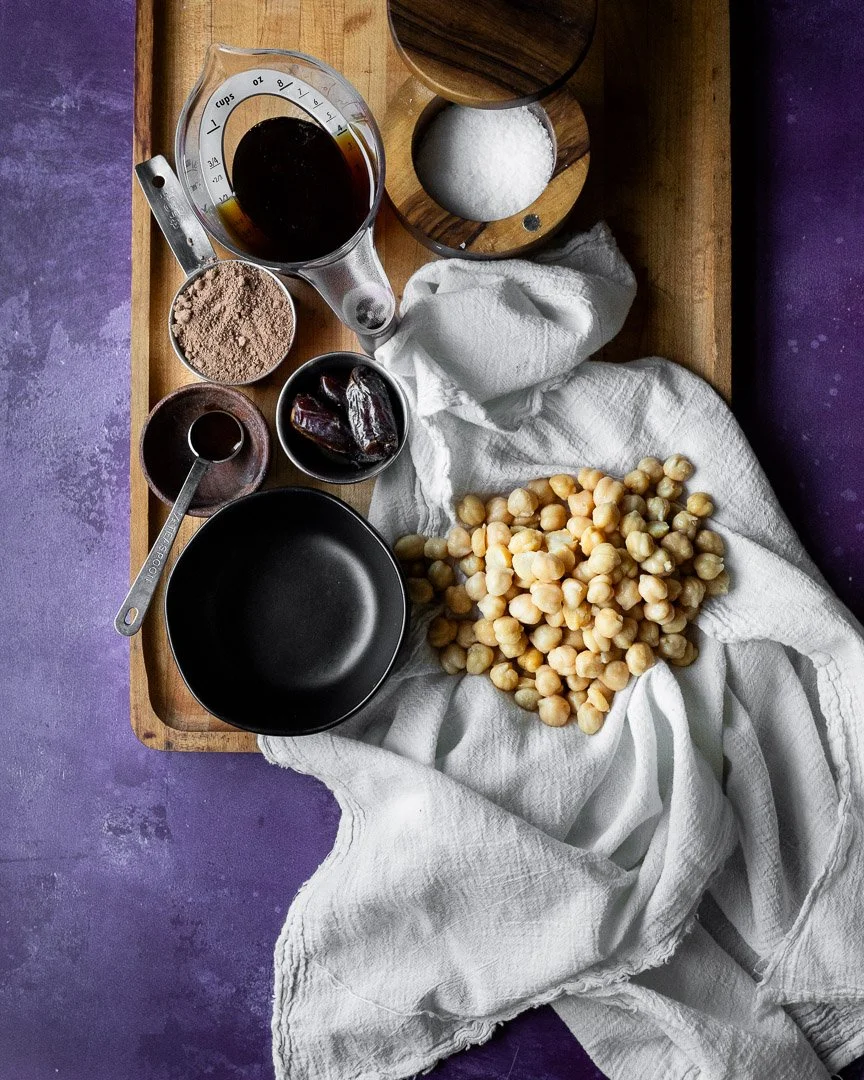
chocolate hummus | me & the moose | Chocolate hummus bears no resemblance to actual hummus, but is a fiber and protein rich sweet snack. #hummus #chocolate #snackrecipes #snacks #dips #dessert
I started making my own chocolate hummus after being introduced to this magical concoction (seriously, how did I not know that chocolate hummus existed until about 2 months ago?) at my book club.
A couple of notes:
- Soak 4 dates, though you may not need them all. This dip tends to get sweeter as it sits in the fridge, so be careful about adding all four dates up front.
- If the dip doesn’t taste sweet enough after two dates, try adding another pinch of salt. The salt really brings out the sweetness and the chocolate, so you may not need additional sweetener.
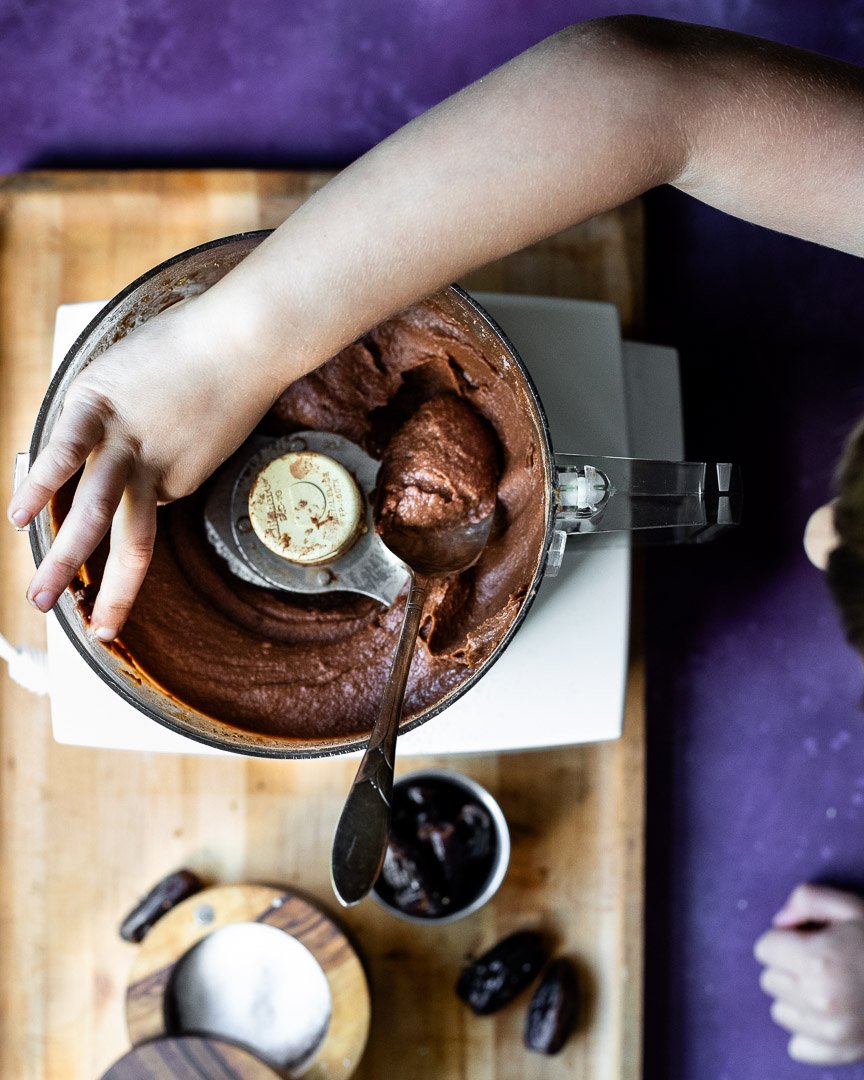
chocolate hummus | me & the moose | Chocolate hummus bears no resemblance to actual hummus, but is a fiber and protein rich sweet snack. #hummus #chocolate #snackrecipes #snacks #dips #dessert
Chocolate hummus
Time: about 20 minutes, all active
Yield:1.5 cups or about 14.5 ounces
1 can chick peas, rinsed and drained |
¼ cup cocoa powder
½ cup maple syrup
2-4 dates, soaked in boiling water for 5-10 minutes
¼ tsp salt, plus more to taste
½ tsp vanilla extract
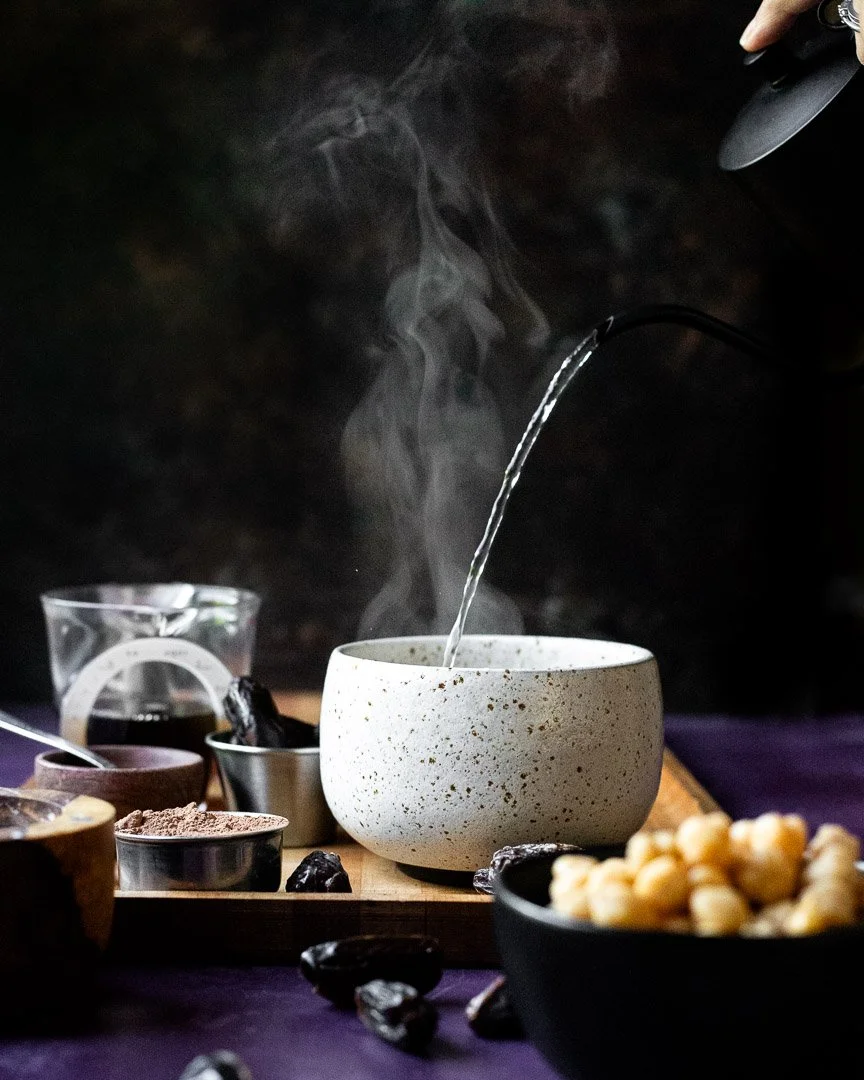
Boil some water and pour over 4 dates. Let sit for 5-10 minutes.
Meanwhile, thoroughly rinse your chickpeas and dry them lightly with a dishtowel or paper towel. Add to a food processor.
Measure the other ingredients and add to the food processor. When the dates are soft, add 3 to the other ingredients and blend until very smooth, about 3-4 minutes.
Serve or store in an air-tight container in the fridge.