Candy pretzel no-churn ice cream
/
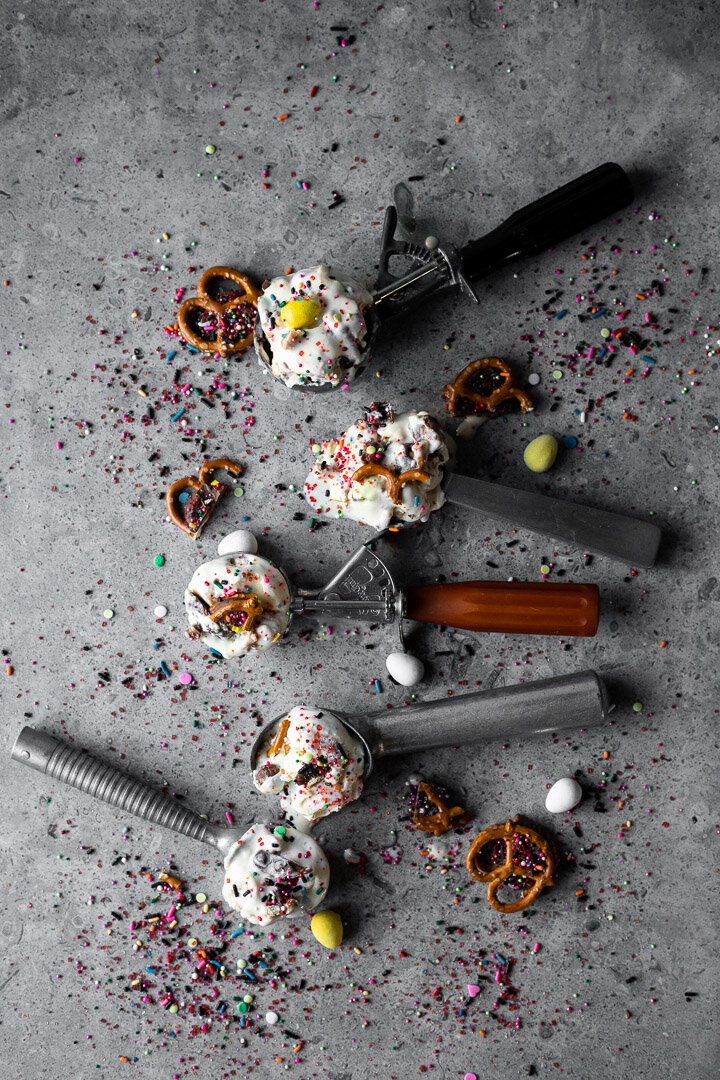
No-churn vanilla ice cream with Easter candy and pretzel mix-ins is the easy, fun cooking project that you can do with your kids to use up that holiday haul! #Easter #icecream #icecreamrecipe #nochurn #dessert #sweetandsavory
If the Easter Bunny left you a LOT of candy this year (or you stocked up on post-holiday sales), this Candy Pretzel No-Churn Ice Cream is a fun way to use it up. AND, it’s so easy that my (newly) 6-year-old can make it mostly by himself!
No-churn vanilla ice cream with Easter candy and pretzel mix-ins is the easy, fun cooking project that you can do with your kids to use up that holiday haul! #Easter #icecream #icecreamrecipe #nochurn #dessert #sweetandsavory
I’m obsessed with no-churn ice cream. Most recipes you’ll find are basically the same— a carton of heavy cream, a can of sweetened condensed milk, a pinch of salt (but not in this recipe because we’re using pretzels), some vanilla extract, and whatever mix-ins you like. Some recipes use a bit of cream cheese, but I prefer it without.
*There are two ways to make the ice cream base: You can whip the cream first and then fold in the condensed milk, OR you can combine them and whip the whole mess together. Obviously, it’s faster to do the milks together, but you risk over-mixing. Whipping the base too much can lead to a buttery texture in the final product, which is a little gross.
Whipping the cream on its own lets you see how thick it’s gotten, so you’re less likely to overdo it. If you’re a newbie or just worried, use this method.
I usually dump them both together and whip until I see tracks in the mixture that stay put for a few seconds before melting back into the gloop. Just note: When you mix the two liquids together, you WON’T achieve a stiff peak like you would with cream alone.

No-churn vanilla ice cream with Easter candy and pretzel mix-ins is the easy, fun cooking project that you can do with your kids to use up that holiday haul! #Easter #icecream #icecreamrecipe #nochurn #dessert #sweetandsavory

No-churn vanilla ice cream with Easter candy and pretzel mix-ins is the easy, fun cooking project that you can do with your kids to use up that holiday haul! #Easter #icecream #icecreamrecipe #nochurn #dessert #sweetandsavory

No-churn vanilla ice cream with Easter candy and pretzel mix-ins is the easy, fun cooking project that you can do with your kids to use up that holiday haul! #Easter #icecream #icecreamrecipe #nochurn #dessert #sweetandsavory
My favorite part of this particular recipe is the pretzel-Rolo concoction. You basically melt a Rolo (or any other chocolate and caramel candy) in the oven for 3 minutes and then smoosh another pretzel and some sprinkles on top. They’re like a chocolate-covered pretzel with a caramel sprinkle bonus! And much less messy to make!
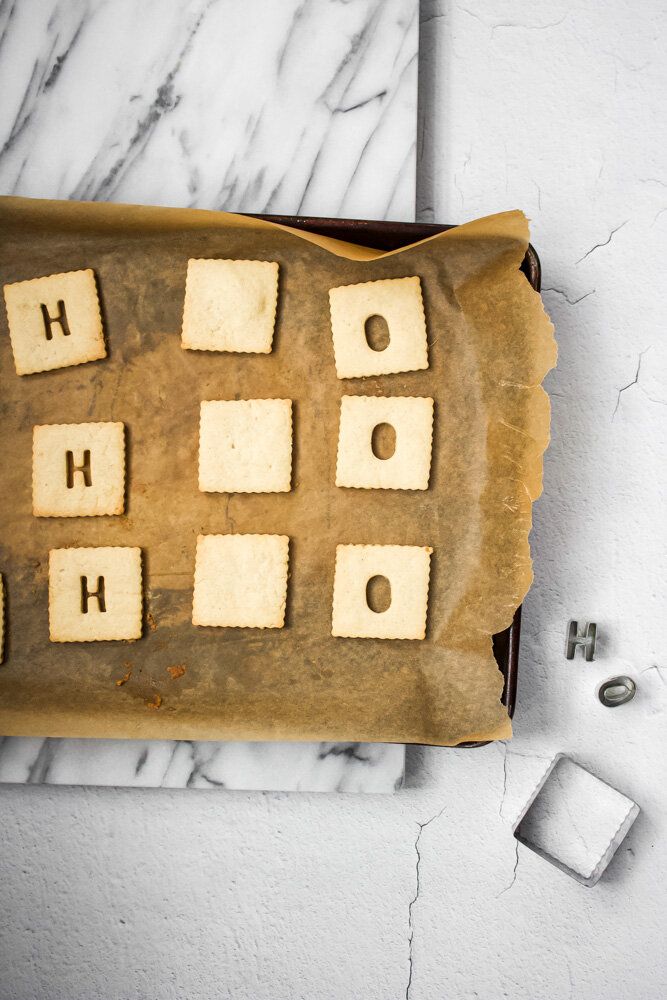
Also, if you’re like us, you always have some stale pretzels in the back of the cabinet that no one really wants to eat. This is a great way to resurrect them.
No-churn vanilla ice cream with Easter candy and pretzel mix-ins is the easy, fun cooking project that you can do with your kids to use up that holiday haul! #Easter #icecream #icecreamrecipe #nochurn #dessert #sweetandsavory
Candy pretzel No-Churn Ice Cream
Time: 20 minutes + 8 hours of freezing
Yield: About 5 cups of ice cream
10-15 Rolo candies (or other chocolate and caramel candy)
20-30 mini pretzels
2-3 Tbsp sprinkles
2 cups heavy cream (1 pint)
14 oz sweetened condensed milk (1 small can)
1 tsp vanilla extract
1-2 cups chocolate candy, roughly chopped (I used milk chocolate bunnies and Cadbury eggs, but use whatever you like!)
Heat the oven to 350.
Spread half of the pretzels on a parchment-covered sheet pan. Top with one Rolo or other chocolate and caramel candy. Melt in the oven for 2-3 minutes.
Remove from the oven and top each melted chocolate piece with another pretzel and glitz them up with some sprinkles. Put in the fridge to chill while you make the ice cream base.
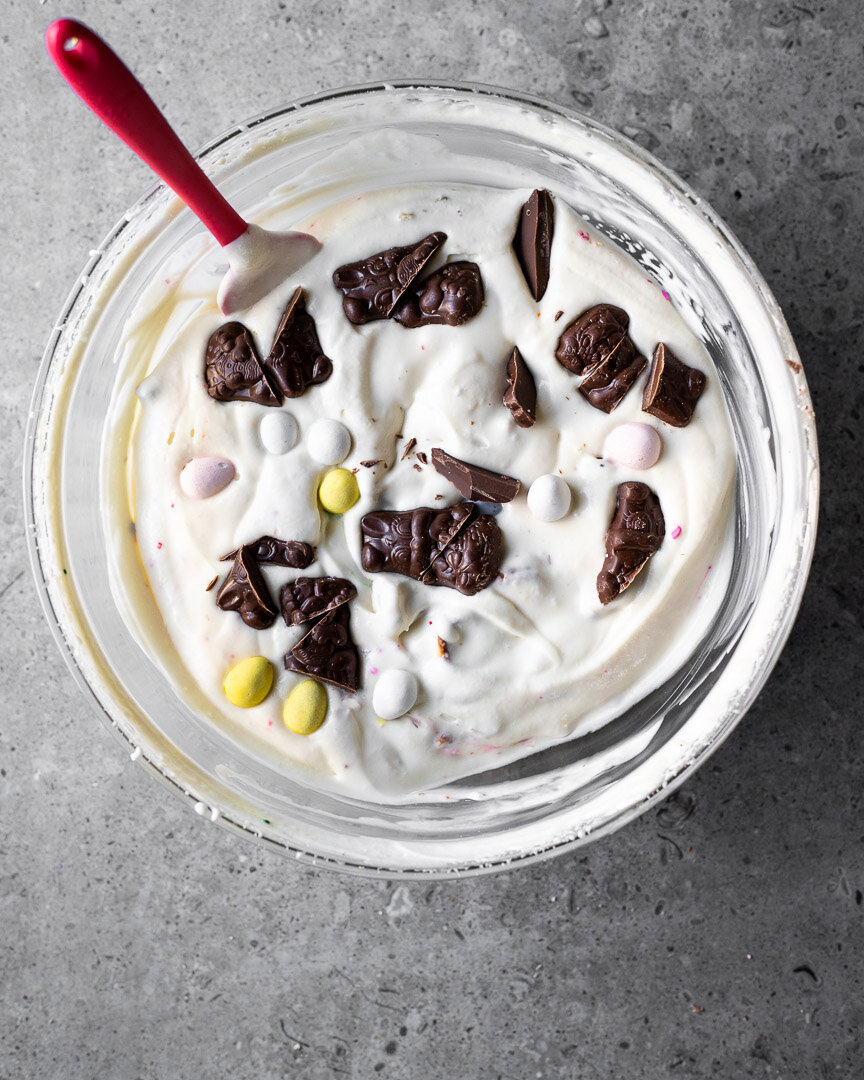
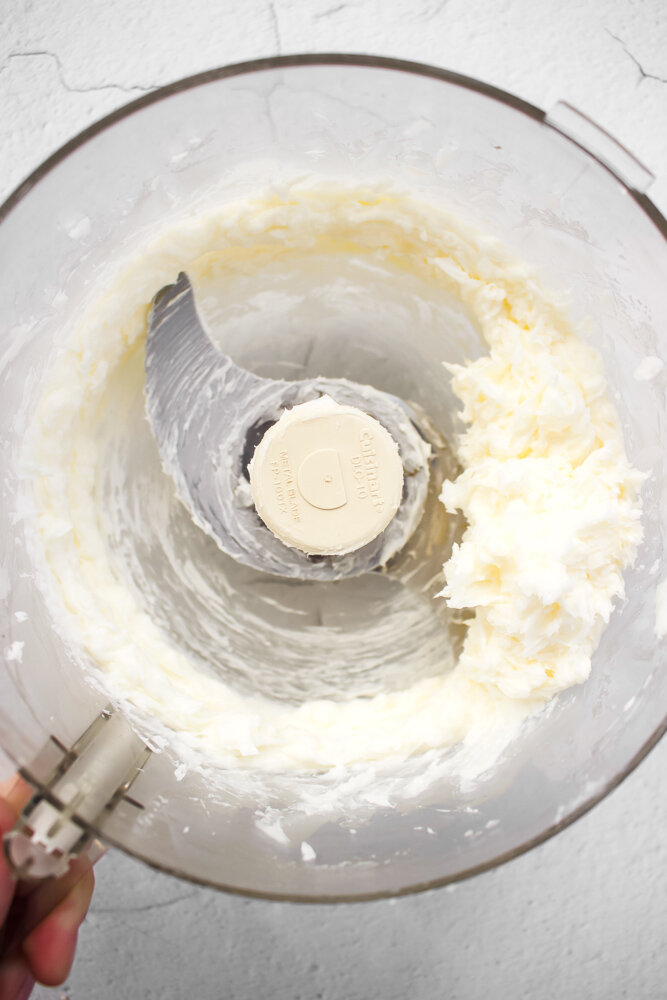
*Combine the heavy cream, condensed milk, and vanilla extract in a large bowl or in the bowl of a stand mixer. (See notes above for different methods for making the base.) Mix with the whisk attachment until you see visible tracks in the cream that stick around for a few seconds before melting back into the gloop.
Roughly chop whatever candy you’re using. Remove the pretzels from the fridge and roughly chop those too. Gently fold the chopped candies into the ice cream base. Pour the mixture into a metal or other freezer-safe container and freeze for at least 8 hours.


![[NEW RECIPE!] Thanksgiving leftovers hot pocket!
Thursday is going to be a great meal and a weird sad day for me. It’s the first Thanksgiving without my mom and this was HER holiday. Growing up, we were Jewish, but my mom’s family was Ch](https://images.squarespace-cdn.com/content/v1/546a33ffe4b0bff63b7b9405/1669075898662-2KJQA7P9W8KSRUJF47M4/image-asset.jpeg)


