Miso parmesan chickpeas and kale
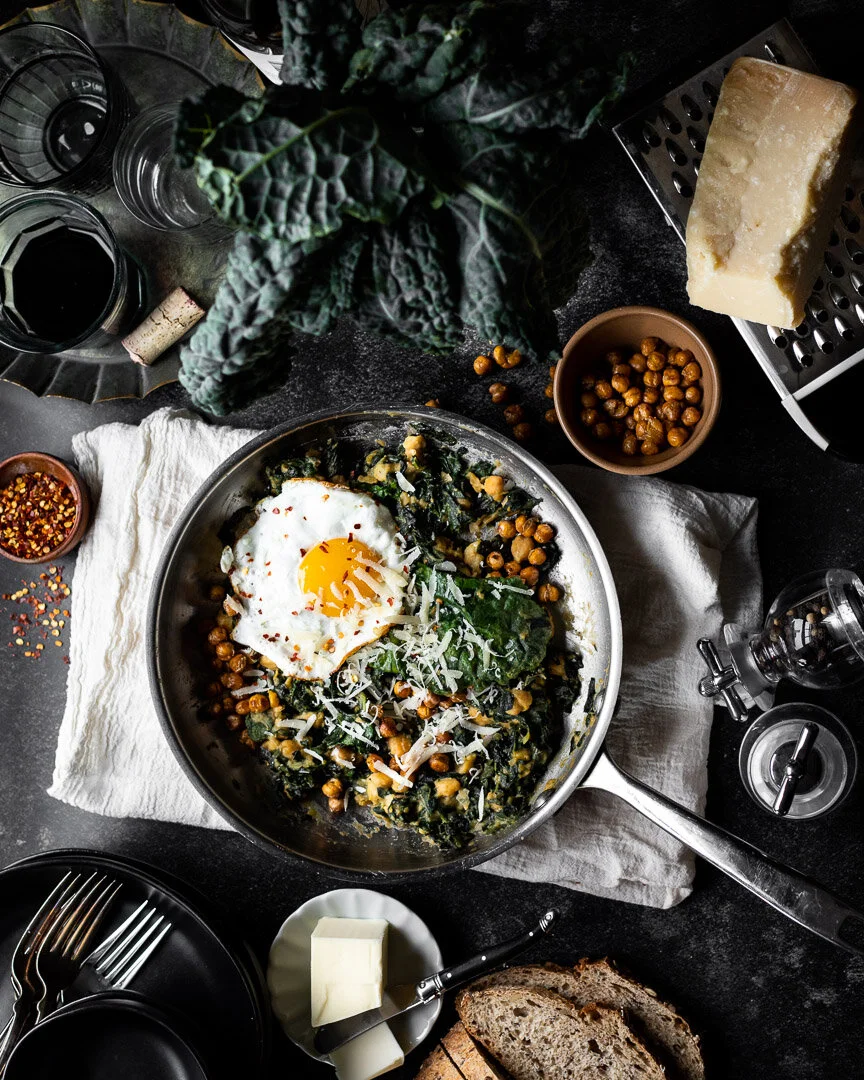
This quick dish is funky, salty, cheesy, and creamy with lots of greens and filling fiber thanks to the beans. #meandthemoose #lunch #dinner #sidedishes #kalerecipes #chickpearecipes #vegetarianrecipes
This quick side dish or light main is an easy way to add some greens to your meal that are both tasty and satisfying.
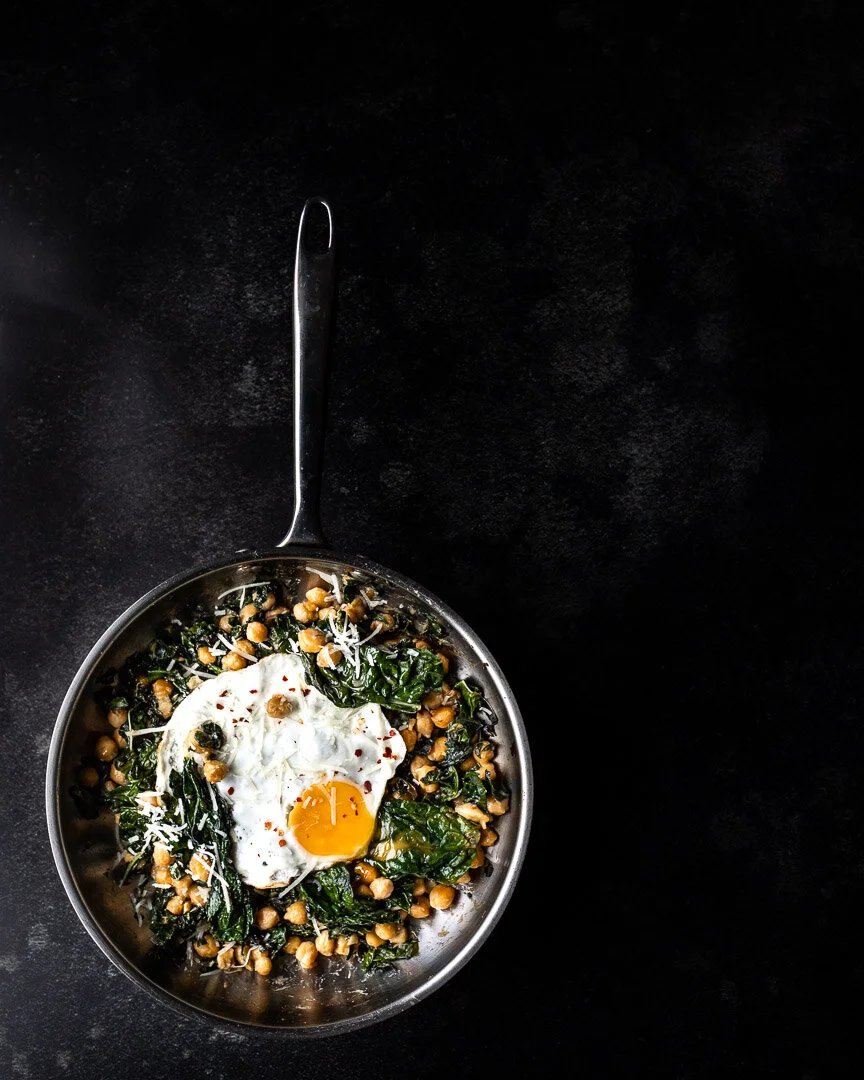
This quick dish is funky, salty, cheesy, and creamy with lots of greens and filling fiber thanks to the beans. #meandthemoose #lunch #dinner #sidedishes #kalerecipes #chickpearecipes #vegetarianrecipesall the difference.
The idea for these greens came from a New York Times Cooking recipe for Miso pasta. That simple recipe combines only butter, miso, and parmesan cheese with pasta, pasta water, and a little nori on top. My husband made this dish on a whim and we were all sort of stunned by its deliciousness— even the 6-year-old!
I mean, what’s not to love?? It’s funky, salty, cheesy, a little creamy, and a lot carby. I replaced the pasta with beans and greens, which is just a light nod to health, but if you wanted to add the pasta back in (or garbanzo pasta to double up on the bean-age!) that would also be delicious.
We typically eat this as a side dish with a simple chicken or fish that’s either grilled or roasted while the kale cooks.
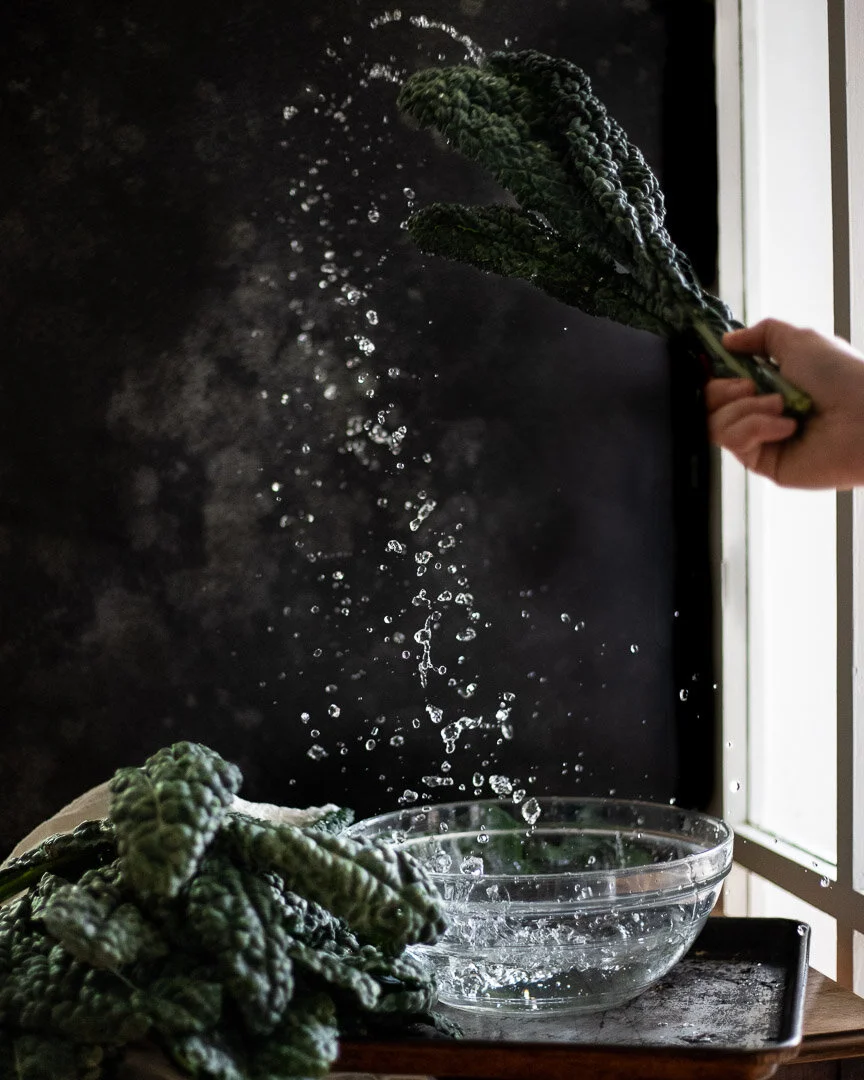
This quick dish is funky, salty, cheesy, and creamy with lots of greens and filling fiber thanks to the beans. #meandthemoose #lunch #dinner #sidedishes #kalerecipes #chickpearecipes #vegetarianrecipes
Just a quick note about this recipe: I used salted butter because I like things pretty salty. Between the butter, miso, and parmesan, there’s a lot of salt in this dish. While I normally advocate salting as you cook to build layers of flavor, I encourage you to hold off on adding any extra sodium until you’ve finished the dish.
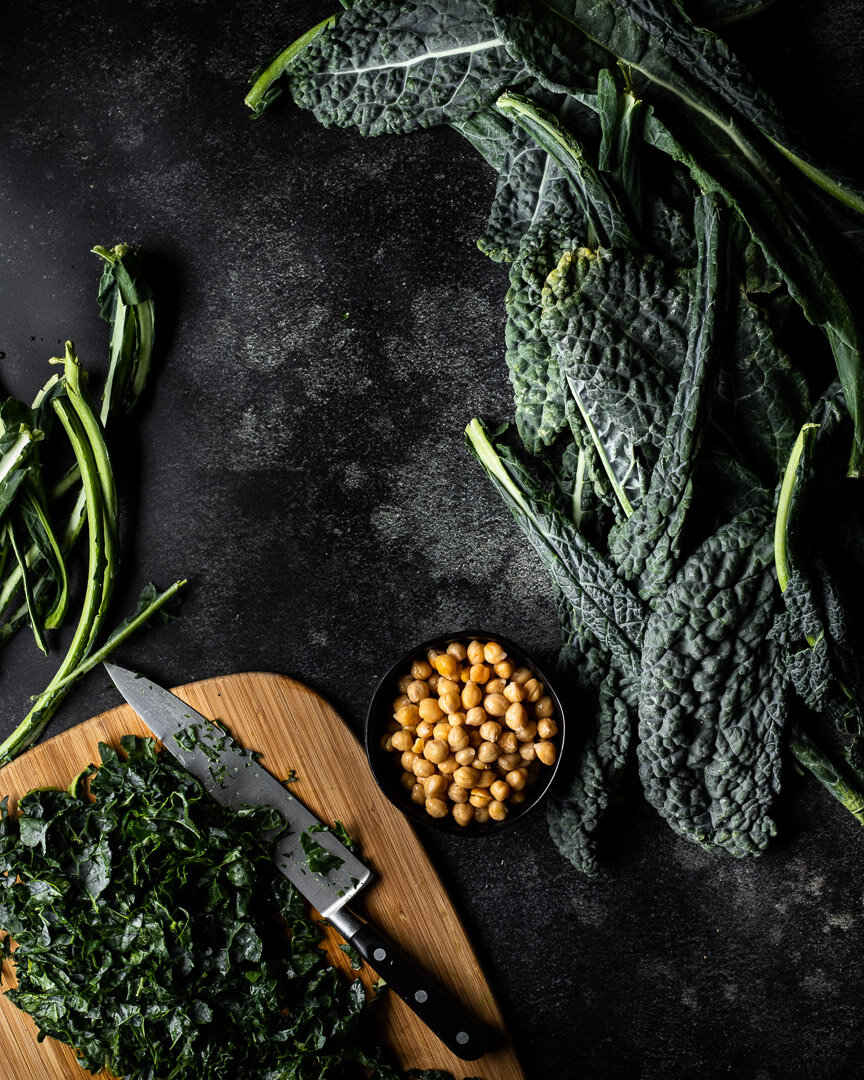
This quick dish is funky, salty, cheesy, and creamy with lots of greens and filling fiber thanks to the beans. #meandthemoose #lunch #dinner #sidedishes #kalerecipes #chickpearecipes #vegetarianrecipes
This quick dish is funky, salty, cheesy, and creamy with lots of greens and filling fiber thanks to the beans. #meandthemoose #lunch #dinner #sidedishes #kalerecipes #chickpearecipes #vegetarianrecipes
Miso parmesan chickpeas and kale
Time: about 20 minutes, all active
Yield: 4 side servings, 2 main servings
3 Tbsp butter (I use salted, but use whatever you have)
1 can chickpeas, drained and dried
1 bunch kale, stems removed and thinly sliced (about 3 firmly packed cups of you’re using prechopped or frozen)
1 heaping Tbsp white miso paste
3 Tbsp water, plus more as needed
½ cup parmesan cheese, shredded
Squeeze of lemon juice, to taste
Chili pepper flakes, optional
Fried egg, optional
Over medium high heat, melt your butter. This should only take 1-2 minutes and the butter might start bubbling on the sides, which is fine!
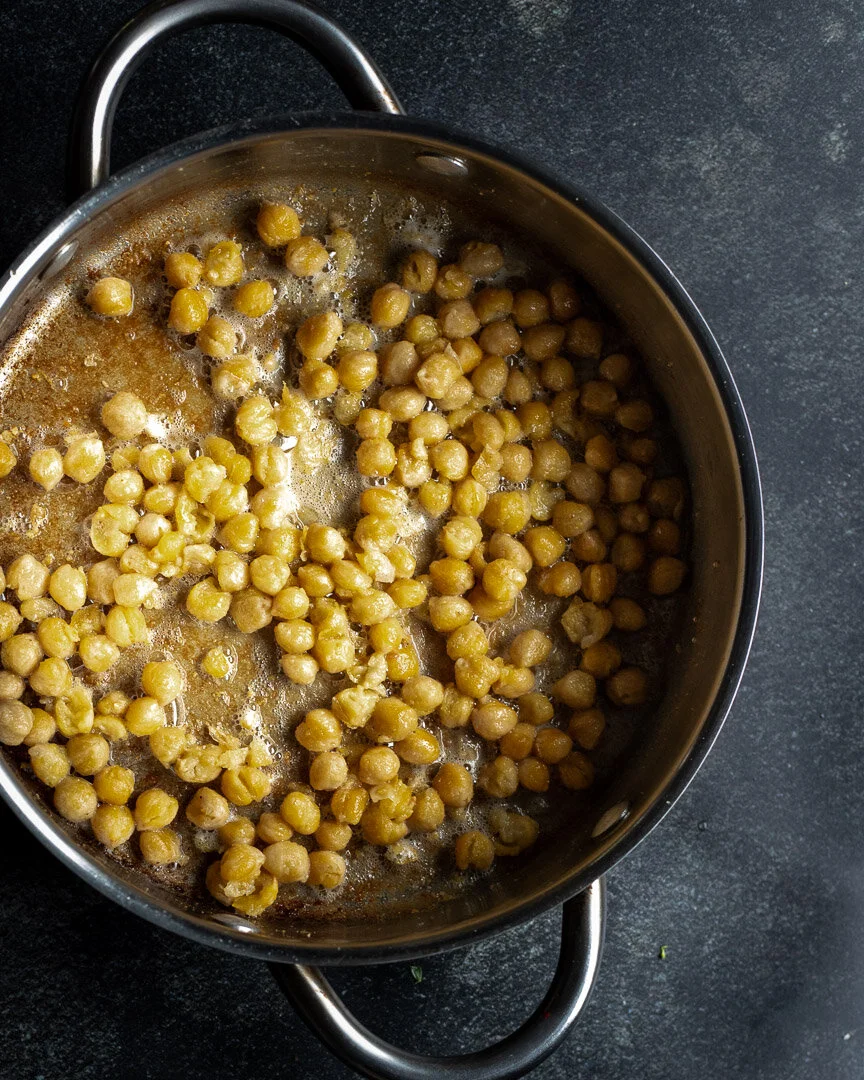
Add the chickpeas and cook, shaking the pan frequently, until the beans and the butter start to brown, about 4-5 minutes. If you don’t drain the chickpeas thoroughly, never fear! Your butter won’t get quite as brown and may need an extra minute or two to brown the chickpeas.
Add the kale and stir to coat. Turn the heat down to medium low and let cook for 1-2 minutes while you prep the miso.
Combine the water and miso paste in a small bowl or measuring cup and whisk to combine. Add to the pan and stir well. If the liquid boils off immediately or if there are brown bits stuck to the bottom of the pan, use 3-4 more Tbsp of water at a time to deglaze the pan. Repeat if necessary. You should have a little bit of liquid in the bottom of the pan before adding the cheese.
Turn off the heat and add the parmesan. Stir until melted.
Squeeze the lemon and garnish with chili pepper flakes, more cheese, and an egg if desired.
Broccoli tacos
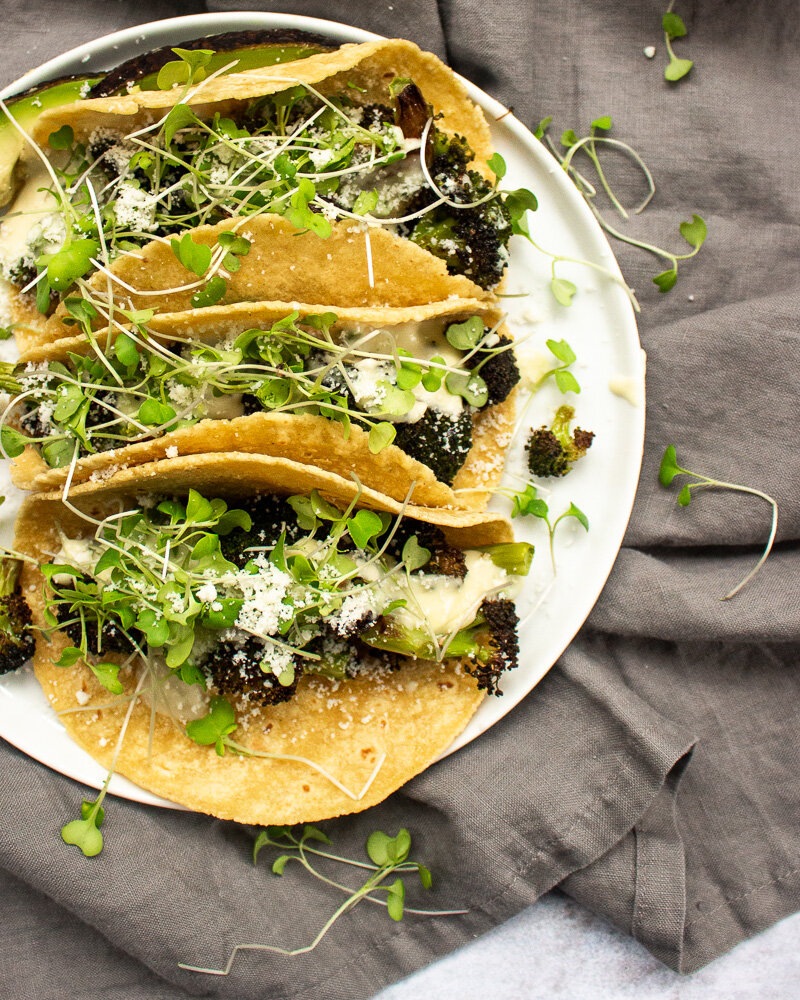
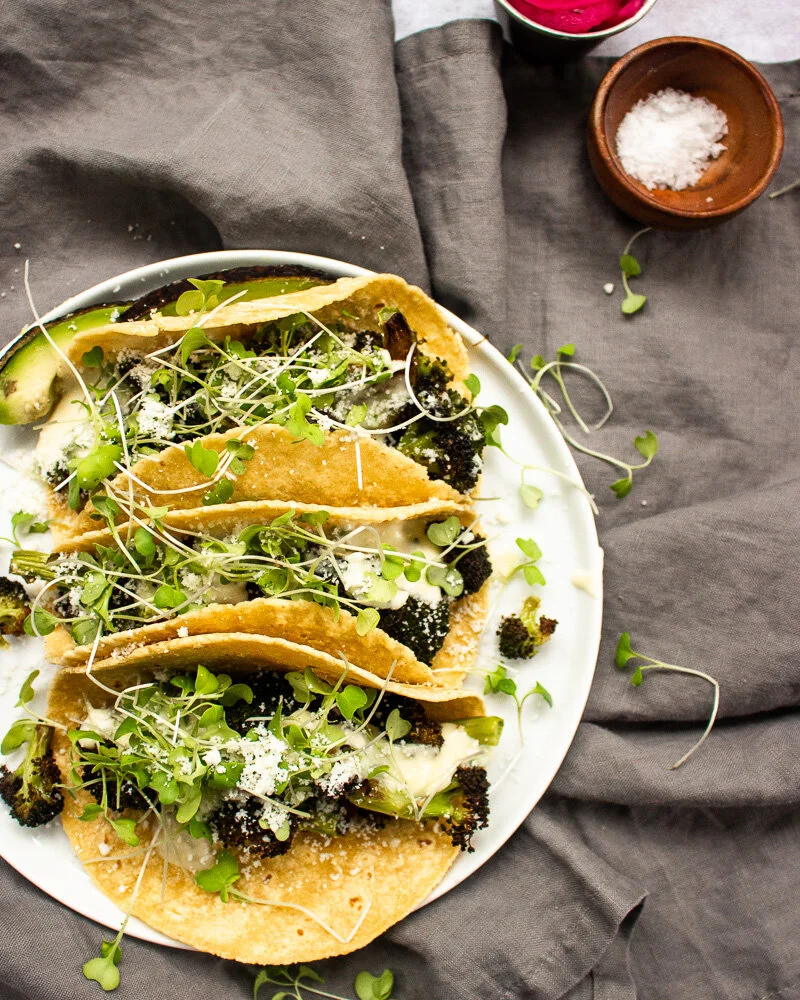
Roasted broccoli, poblano and meunster cheese sauce, and broccoli micro greens make for a quick, nutritious, and lip-smackingly good meatless monday or taco tuesday meal.
A few weeks ago, M decided that he didn’t like tacos. He still liked tortillas and all of the fillings, but brand anything as a “taco” and he was not interested. I only cared because often, the easiest route to dinner goes right through fridge-clearing-taco-ville. Maybe if I’d offered a Chocotaco he would have been into it? We’ll never know.
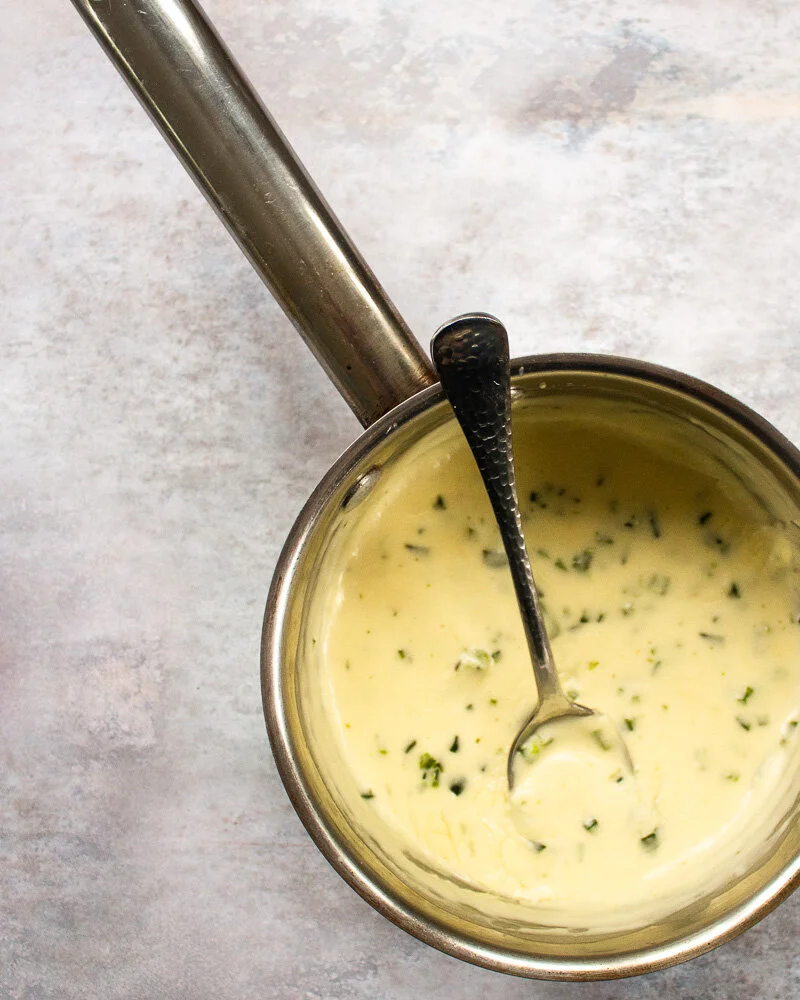
But while I was making these broccoli babies for the first time, he commented, “that smells really good.” Dear reader, he ate it. The whole thing. It was definitely the poblano cheese sauce, which I would like to put on everything for the rest of my life.
Instead of making a queso with cornstarch added at the end, I make a roux to start and added the cheese once the milk had thickened. I’m sure going the traditional queso route would also have been delicious. I just chose something else because life is about choices.
A couple of notes:
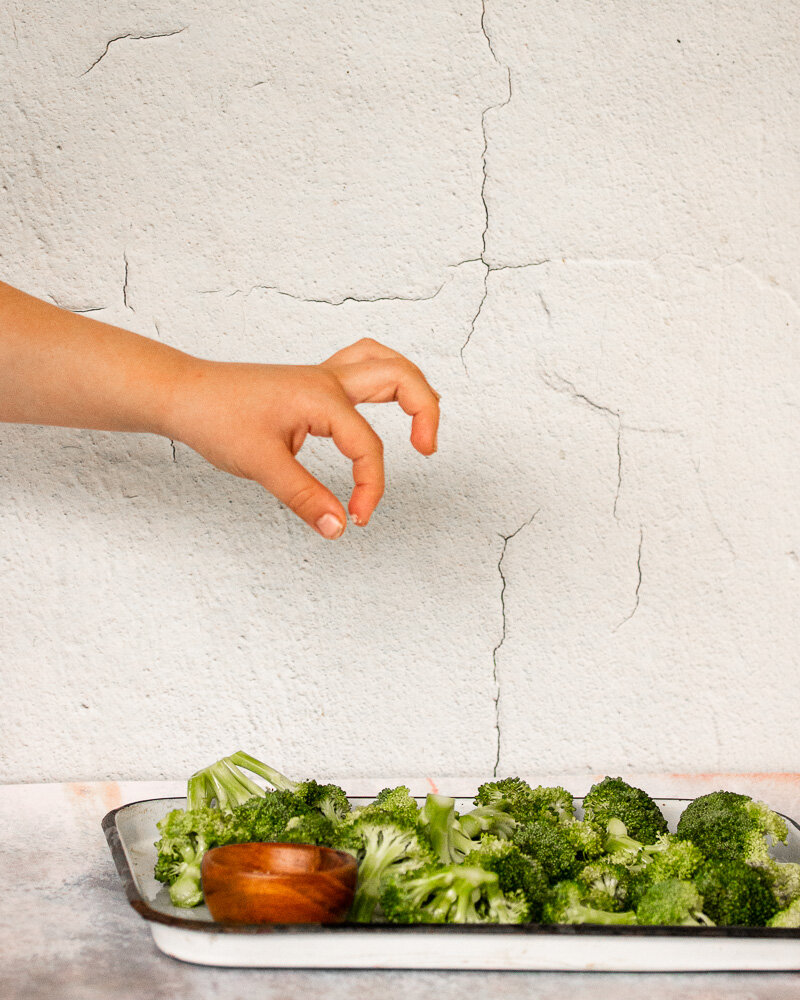
Keep an eye on the broccoli after about 15 minutes. The cooking time really depends on how fresh your broccoli is, how large your florets are, and how hot your oven runs.
Add in any other bits and bobs to the tacos that you want. I used broccoli because its a favorite in our house, but other roasted veggies or proteins would be delicious here.
Double the cheese sauce. Just do it. This recipe makes enough for about 6 tacos, but the sauce makes a delicious dip for chips or raw vegetables.
Broccoli tacos
Yield: 6 tacos
Time: About 40 minutes, mostly active
1 lb broccoli florets (buy 1.5 lbs because you’ll cut off the stalks)
3-4 Tbsp olive oil
Large pinch of salt
1 large poblano chili (or 1 small can of pre-roasted chili)
1 Tbsp butter
1 Tbsp flour
¾ cup whole milk
3 oz muenster cheese
1 oz cheddar cheese
½ tsp sea salt
¼ cup minced poblano chili
6 corn soft taco shells
Broccoli microgreens
Preheat the oven to 425. Spread out the broccoli florets on a baking sheet and toss with the olive oil and large pinch of salt. Roast for 20-25 minutes, or until the broccoli is as crispy as you’d like. Stir the florets around on the sheet pan halfway through cooking.
While the broccoli is roasting, make the sauce.
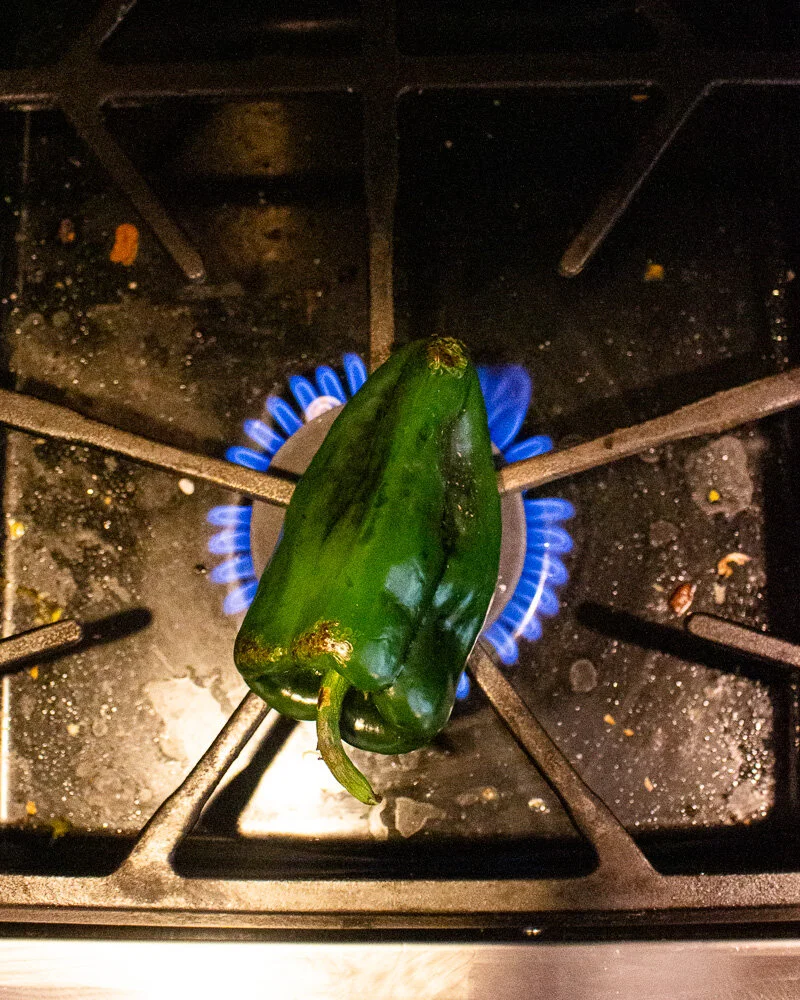
Roast your poblano pepper. Turn on the stove burner and place the washed and dried pepper directly on the flame. Have a pair of tongs handy and turn the pepper every 30 seconds or so to ensure that it’s charred everywhere. This usually takes me about 5 minutes.
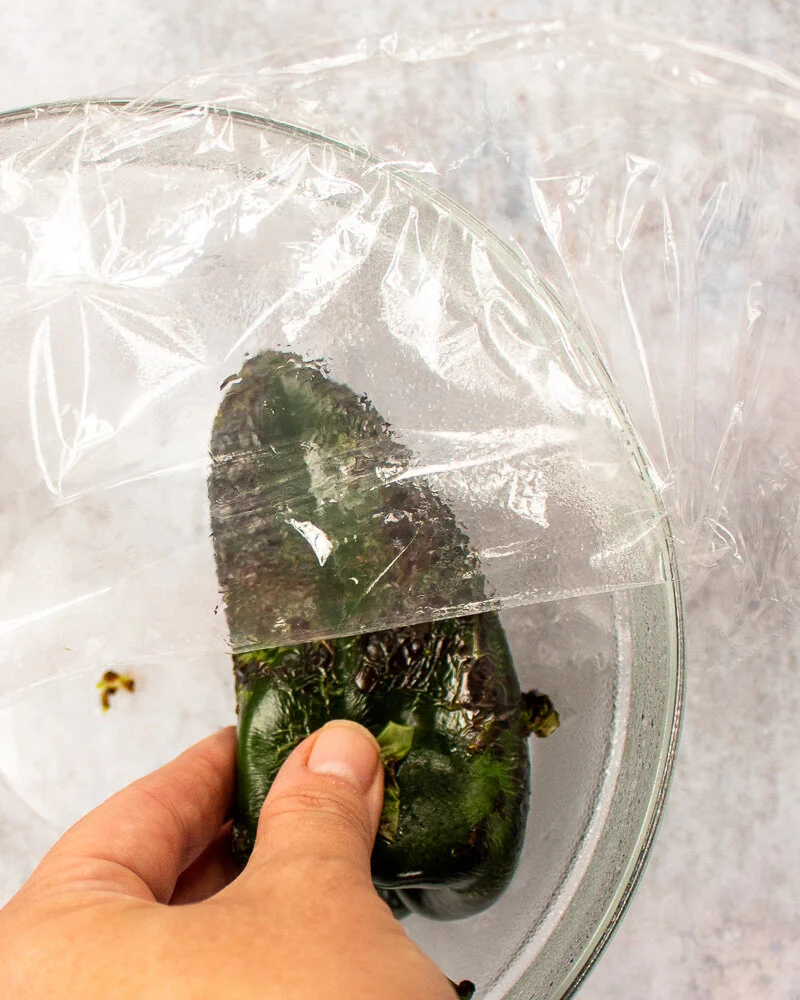
Once the skin is blistered all over, place the pepper in a large bowl or paper bag and either cover it with plastic wrap or a tea towel or close the paper bag tightly at the top. Let the pepper stand for 5-10 minutes until the steam has loosened the pepper’s skin. Check by pinching some of the pepper and the skin should slip off easily. If it doesn’t, let it steam for a few more minutes and try again.
Once the pepper has steamed, remove as much of the skin as you can, the top, and the inner seeds. Chop the pepper into small pieces. One pepper should make a scant ½ cup of chopped, roasted peppers.
In a small pot, melt the butter over medium heat. Whisk in the flour and let the mixture bubble lightly until it has turned a medium golden color, about 5 minutes.
Whisk in the milk and stir thoroughly to combine. Continue to stir as the milk bubbles very slightly on the edges. If the milk bubbles up too vigorously, turn down the heat. When the milk mixture has visibly thickened and coats the back of a spoon, add the salt and cheese and stir until the cheese has melted.
Stir in the chopped roasted poblanos.
Assemble the tacos.
Heat up the tortillas in a hot, dry pan for about 1 minute each. When hot, fill the shells with the roasted broccoli and top with the cheese sauce. Top with the broccoli microgreens, avocado, grated cotija cheese, and any other toppings you like.
Almond and coconut baked doughnuts
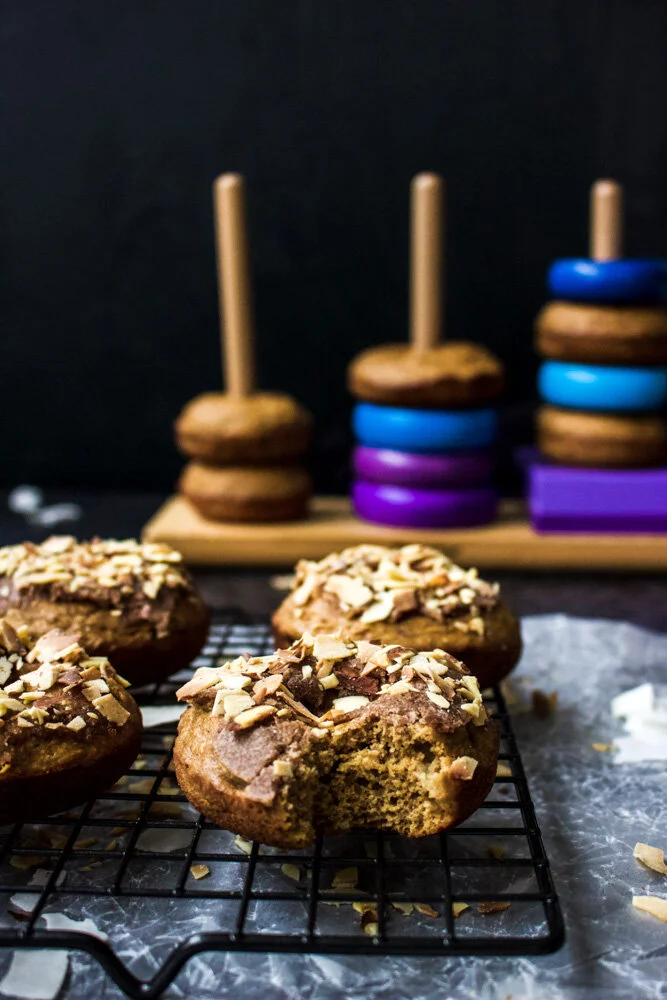
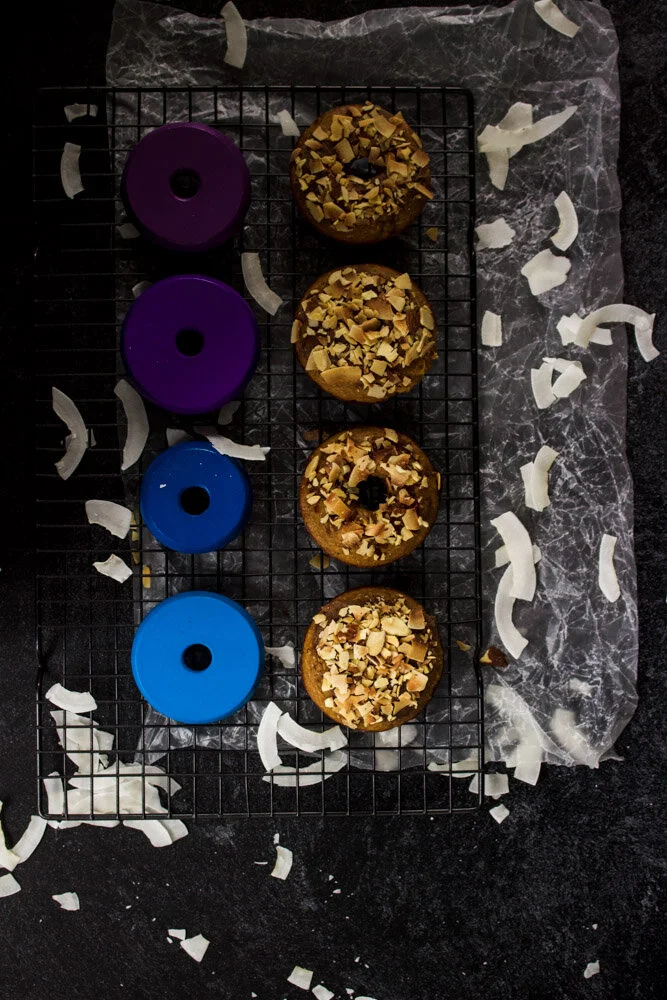
A healthier baked doughnut that features whole grains, lower sugar, and my favorite flavor combination: Almond and coconut. YES, PLEASE.
I have bad news and good news: I was diagnosed last week with gestational diabetes. Luckily, I’m in my third trimester and don’t have much longer to go, so what’s a few weeks of monitoring my blood sugar and trying to eat really healthy foods?
I did eat half of one of these doughnuts and it didn’t send my blood sugar soaring (thanks whole grains, coconut sugar, and healthy fats!), so that was another piece of good news. Obviously, if you have diabetes of any kind, you know what works best for your body or are working with your doctor to figure that out, so not everyone will be able to say the same. But I was glad to know that at lease some treats aren’t off the table.
What has made this so hard isn’t the dietary restrictions or even the blood sugar monitoring.
What’s hardest is the added layer of scrutiny over my body when pregnancy already casts a harsh, glaring spotlight. Every routine thing you eat, drink, use on your skin, or take for a headache feels so consequential. And anyone who’s had disordered eating in the past can tell you that it takes a lot of work to STOP feeling like these minor choices are so meaningful.
Ugh. It just feel like I’ve lost myself a little more with this diagnosis. I resigned myself 8 months ago to making all of the changes you have to make when pregnant for the greater, temporary good and I wish it didn’t feel like ever day meant cutting out one more thing that brings me joy.
And now i’ll stop complaining. There are real problems in the world.
But! Lack of a delicious, healthier doughnut option doesn’t have to be one of them!
A couple of notes:
We’re aiming for a batter that is thicker than pancake batter, but thinner than cookie dough. Depending on how much liquid you get from your banana and egg, you may want to add more flour. Start with an extra Tbsp and keep adding until you’re happy with the density.
These doughnuts are okay without the topping, but the extra sugar, almonds, and coconut really take them to a new place. I really don’t recommend skipping them.
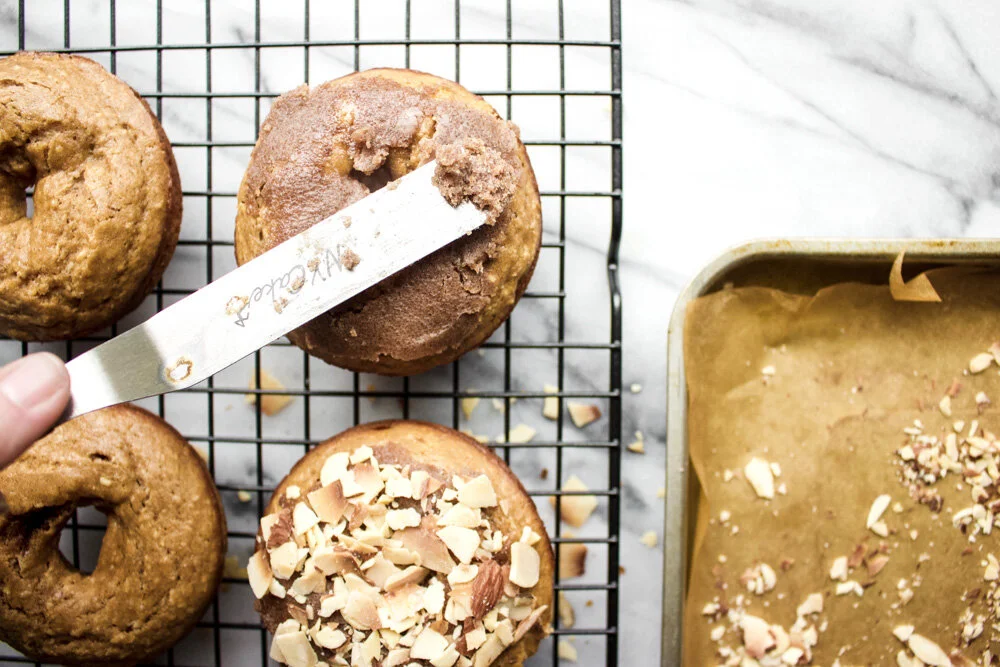
The brown sugar and coconut oil topping makes a pretty dense mixture and a lot of the topping will fall off. BUT, it’s delicious. If you’d like something a bit smoother and more glaze-like, you can swap in 6 Tbsp powdered sugar, enough water to make a thin glaze (start with ½ tsp and add slowly), and a few drops of almond extract.
Almond coconut doughnuts
Yield: 10-12 doughnuts
Time: about 35 minutes, mostly active
½ large, very ripe banana, thoroughly smooshed
½ cup milk (any type will do!)
3 Tbsp full-fat yogurt (Greek or otherwise)
1 large egg
¾ cup coconut sugar
½ tsp almond extract
3 Tbsp coconut oil, melted
1¼ + 1/4 (if needed) cups Whole Wheat pastry flour (regular whole wheat flour or white whole wheat flour work too, but the texture is slightly denser)
1¼ tsp baking powder
½ tsp salt
½ cup shredded unsweetened coconut
½ tsp cinnamon
¼ tsp cardamom
Topping:
3 Tbsp coconut oil
3 Tbsp brown sugar
½ cup toasted coconut slivers
½ cup toasted almond slivers
½ tsp cinnamon
Preheat oven to 375.
Grease your doughnuts pans with coconut or other neural oil and set aside
In a large bowl, smush the banana as much as possible. Add the rest of the wet ingredients except the coconut oil and whisk together.
Add 1¼ cups flour, baking powder, salt, shredded coconut, cinnamon, and cardamom. Mix well.
Add the coconut oil and mix well. If the mixture is too runny (if it looks like pancake batter), add the remaining ¼ cup of flour 1 Tbsp at a time and mix again.
Fill each doughnut tin about 2/3 full.
Cook both pans (if using 2 doughnut pans) in the same oven for 10-12 minutes, or until the doughnuts just spring back when poked lightly with a finger. Rotate and pans after 5 minutes to ensure even baking.
Let cool.
In a separate small bowl, combine the coconut oil (that should still be rather liquid) with the brown sugar and cinnamon and mix. If the mixture seems too liquid and not spreadable, chill it in the refrigerator until slightly more set.
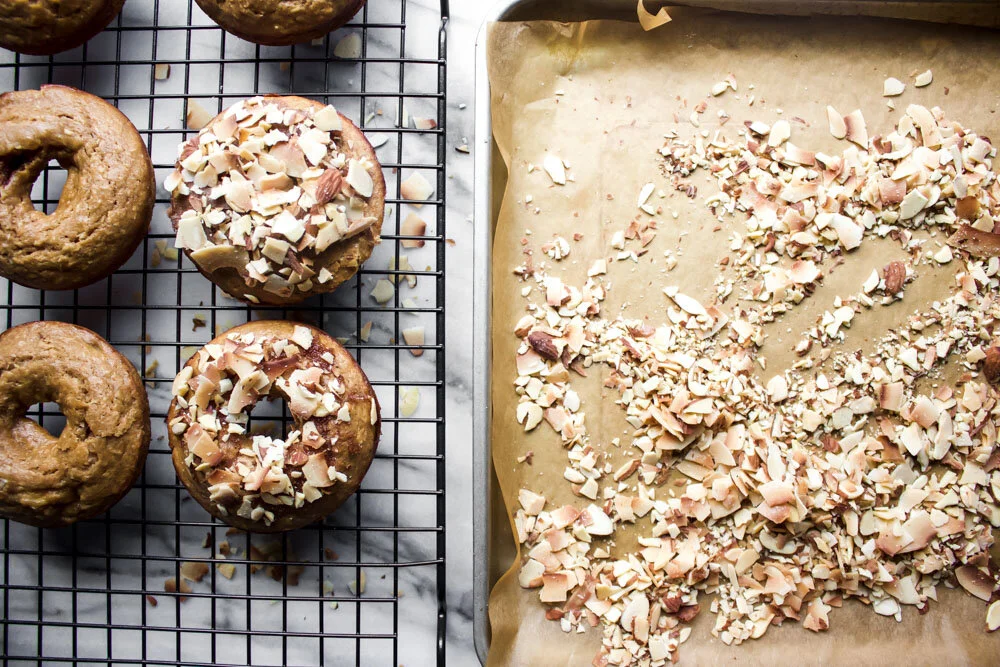
On a baking sheet, combine the coconut flakes and the sliced almonds and let brown in the cooling oven, abut 6 minutes or until you begin to smell the nuts.
Spread a small amount of the sugar and coconut oil mixture on each doughnut and sprinkle the toasted nuts and coconut over the top, pressing lightly to get them to stick.