Corn and hominy salad
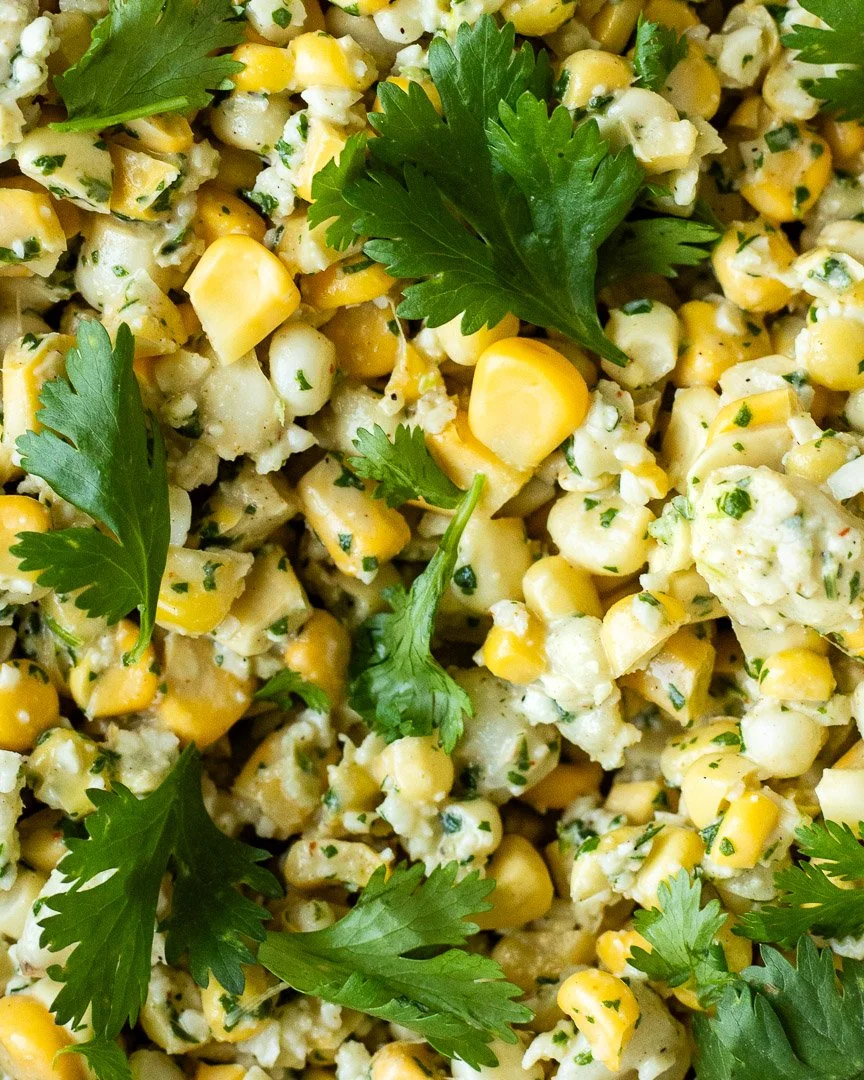
Take advantage of corn season with this raw, refreshing, and super flavorful corn and hominy salad.
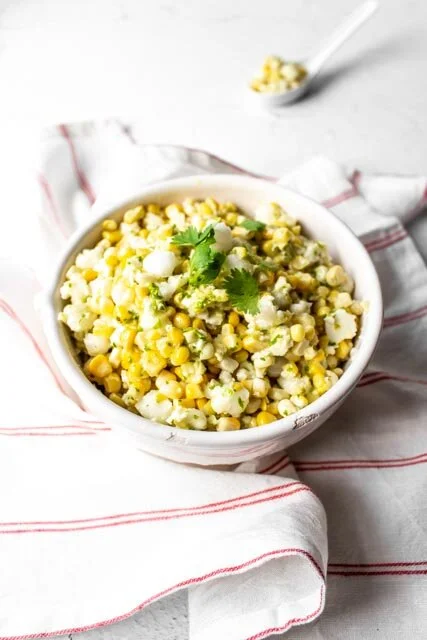
This salad was inspired by elote or Mexican street corn. When we lived in NYC, my favorite thing to get at the street fairs that popped up on summer weekends (we called them “socks and sausages”) was the grilled corn with mayo, chili powder, cilantro, and cotija cheese. Spray a little lime over those babies and they were the perfect mix of smoky, salty, creamy, and acidic.
I started developing this recipe last summer and never got around to posting it before corn season was over. This salad uses raw corn, so you really want to get the freshest cobs at the peak of their season. You can use frozen or otherwise not-peak corn and give it a quick saute before making the salad, but the fresh, raw stuff is truly the best.
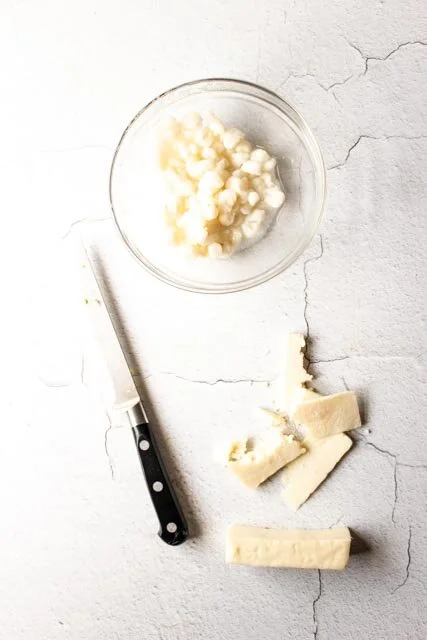
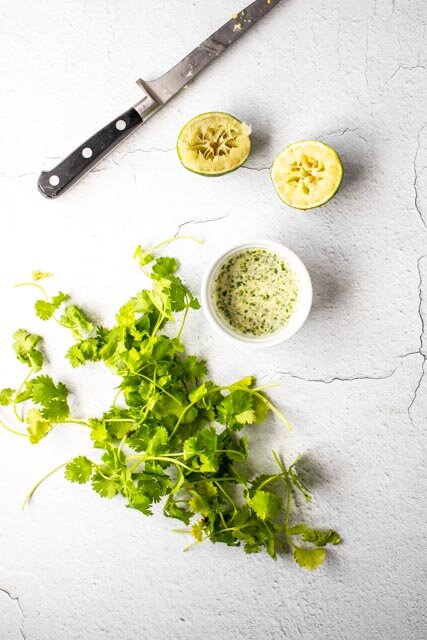
So, there are about 12 million elote salad recipes on the interwebs, so what makes this one different, you ask? Hominy!
Hominy is dried corn kernels that have been soaked in an alkaline solution. Hominy is actually used to make masa, which is the key ingredient in corn tortillas, tamales, and other staples of Mexican cuisine. It has a light corn flavor with a slightly nutty aftertaste. Actually, once you taste hominy, you know that it tastes exactly the way corn tortillas taste.
The hominy adds bulk to the salad that makes it more versatile than a side dish. I’ve added this corn concoction into other meal salads and eaten it on its own with some shredded rotisserie chicken. So, while technically a side dish, this salad can easily transform into the star of the show.
A couple of notes:
I only use 1/2 of a garlic clove because I want to be able to taste all of the ingredients rather than just raw garlic. If you really like garlic, feel free to use more, but I REALLY REALLY like garlic and 1/2 of a clove was more than enough for me.
You can find prepared hominy in cans at basically any grocery store. If you have some dried hominy that you want to rehydrate, find instructions here.
Cotija cheese is a dry, salty cheese that’s close to a farmer’s cheese. Kind of like if Feta and Parmesan had a baby. If you can’t find it, substitute a dry, nutty, crumbly cheese.
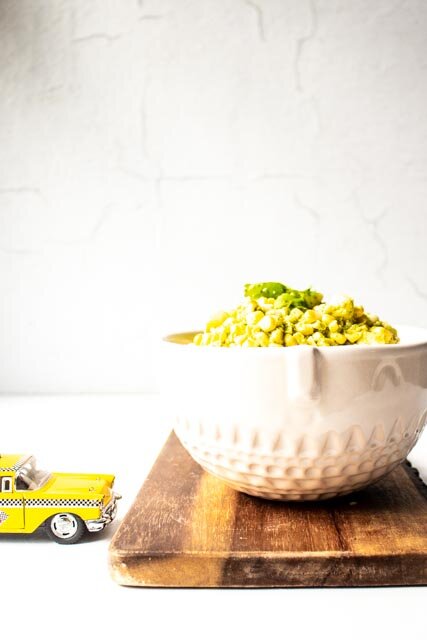
Corn and hominy salad
Yield: about 5 cups of salad
Time: 10 minutes
4 medium ears of corn, kernels removed (about 3½ cups)
1 cup hominy
1/3 cup fresh cilantro, tightly packed (stems and leaves are fine)
3 Tbsp mayo
½ tsp kosher salt
Juice of 1 large lime (1 Tbsp)
½-1 tsp chili powder, to taste
½ large garlic clove
Water, as needed to thin out the dressing, added 1 tsp at a time
3 oz cotija cheese
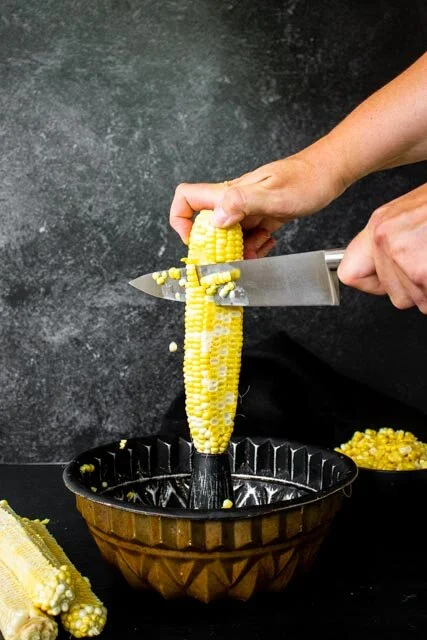
Remove the corn kernels with a knife. I like to use a bundt pan to catch them as they fly around, but any old bowl will do.
Rinse the hominy and add it to the bowl of corn.
In a blender or food processor, add the cilantro, mayo, oil, salt, lime juice, chili powder (start with 1/2 tsp and add more to taste), and garlic and blend until smooth, adding tiny amounts of water to thin out the sauce as necessary.
Mix the cilantro dressing into the corn and hominy.
Taste for seasoning and add more salt, chili powder or lime juice.
Mix in the shredded or grated cojita.
Sunflower seed butter with flax and chia
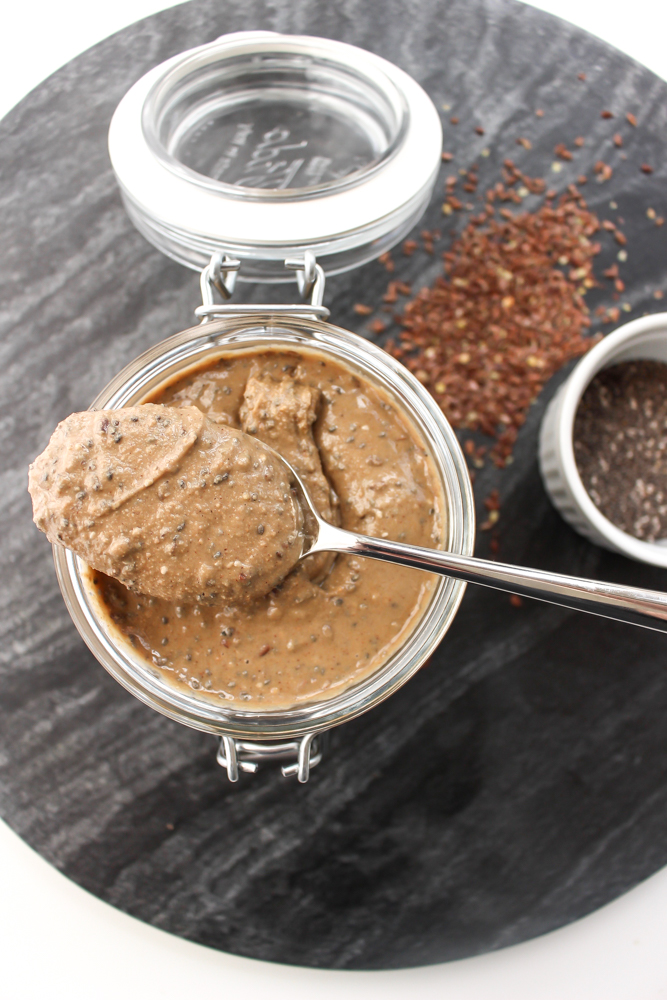
Once again, I’m copying Trader Joe’s. They have a peanut butter with flax and chia and it’s a fantastic way to get some extra nutrition into a picky eater. Here’s my school-safe version!
I have a confession to make: I go back and forth between caring A WHOLE LOT about M’s nutrition and then feeling like there are a million little struggles every day and I don’t want to add food to that list.
And he’s always been a contrarian with FOMO, which means he doesn’t love limits. The “perfect parent” voice in my head constantly beats me up about not being stricter. Don’t get me wrong, I say “no” to things 100 times a day and we obviously set lots of boundaries. But we’ve figured out that M does better when he has choice within those limits and that we have to say “yes” to some things or there will be a meltdown.
Anyway, part of M’s way of gaining control these days is that he has VERY strong opinions about food. What he loves one day, he hates the next. Peanut butter mixed into applesauce has been a constant and lately he’s been really into PB&J’s after watching this silly video.
BUT we can’t send any nuts to school, so sunflower seed butter it is. Unfortunately, a lot of the store-bought ones don’t taste great. I’ve made my own sunflower seed butter before and I do love this recipe. But if M’s eating this for at least one meal per day, I wanted to beef up the nutrition. And it tastes so good, he doesn’t complain!
A couple of notes about this nut butter:
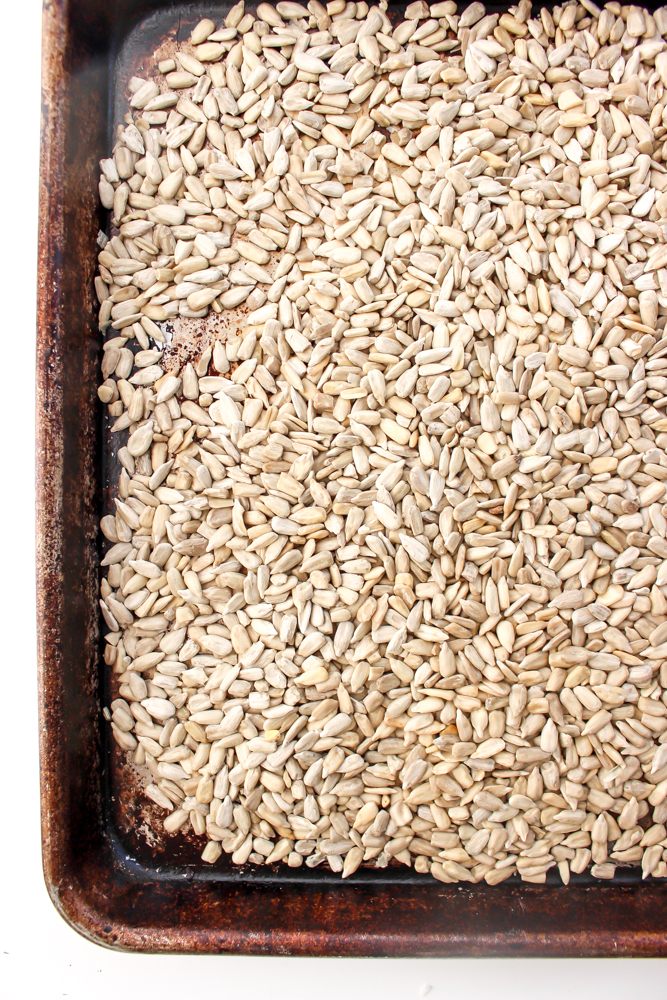
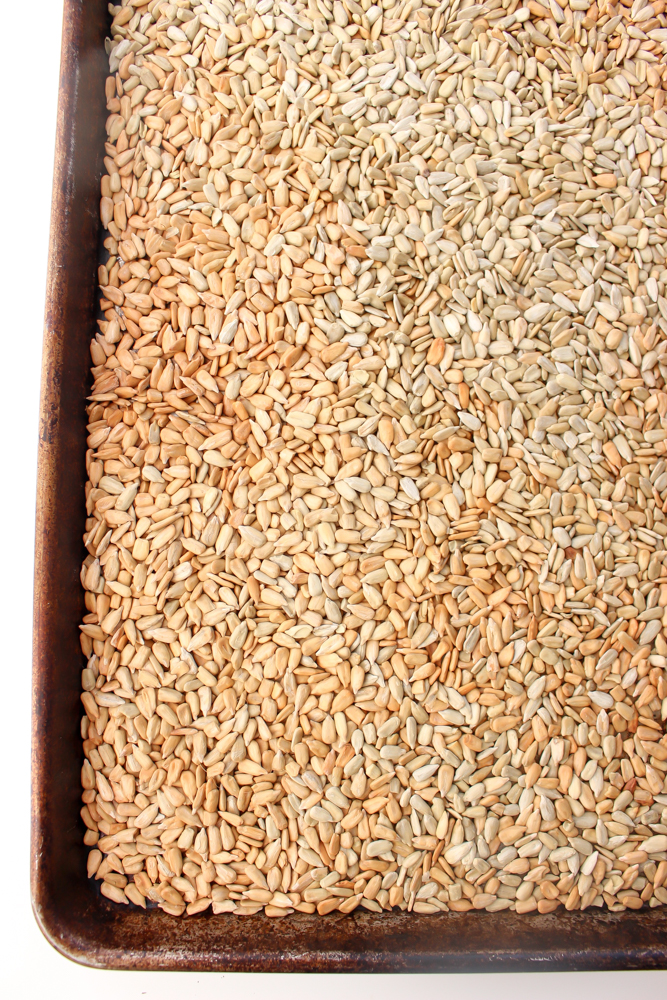
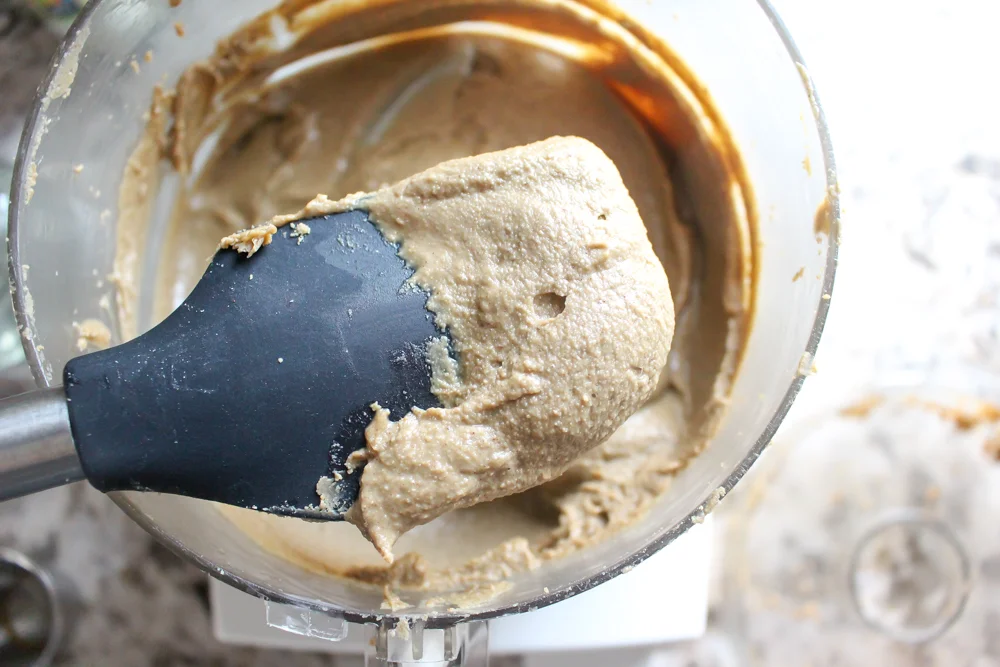
When roasting the nuts, you want them to be mostly brown and golden rather than gray. But watch to make sure that they don’t burn! (See the photos above for a before and after.) Well-roasted seeds are much easier to process than ones that are still partly raw.
The grinding process takes a bit of patience. If you let the machine run, the seeds will come together into a paste. There are more detailed instructions for the individual grinding steps in the recipe below. Be sure to read the recipe before starting this butter.
Storage: I store this seed butter in the fridge because I’ve read that flax and chia (and seeds in general) tend to get rancid quickly when left vulnerable to moisture and heat in the cabinet). The cold tightens the butter considerably, but 20 seconds in the microwave makes the butter easily spreadable again.
Sunflower seed butter with flax and chia
Yield: 2-2¼ cups
Time: 30-35 minutes
3 cups raw sunflower seeds
4-6 Tbsp coconut oil, melted
2 Tbsp maple syrup
2 tsp vanilla extract
1 tsp cinnamon
1 tsp flaky sea salt
3 Tbsp each chia seeds
3 Tbsp whole flax seeds
Preheat the oven to 350. Spread the raw sunflower seeds out on a large sheet pan. Roast for 5 minutes and shake the tray. Roast for 2-3 minutes more, checking to make sure that the seeds don’t burn. When the seeds are uniformly more golden brown than gray, they’re ready for processing.
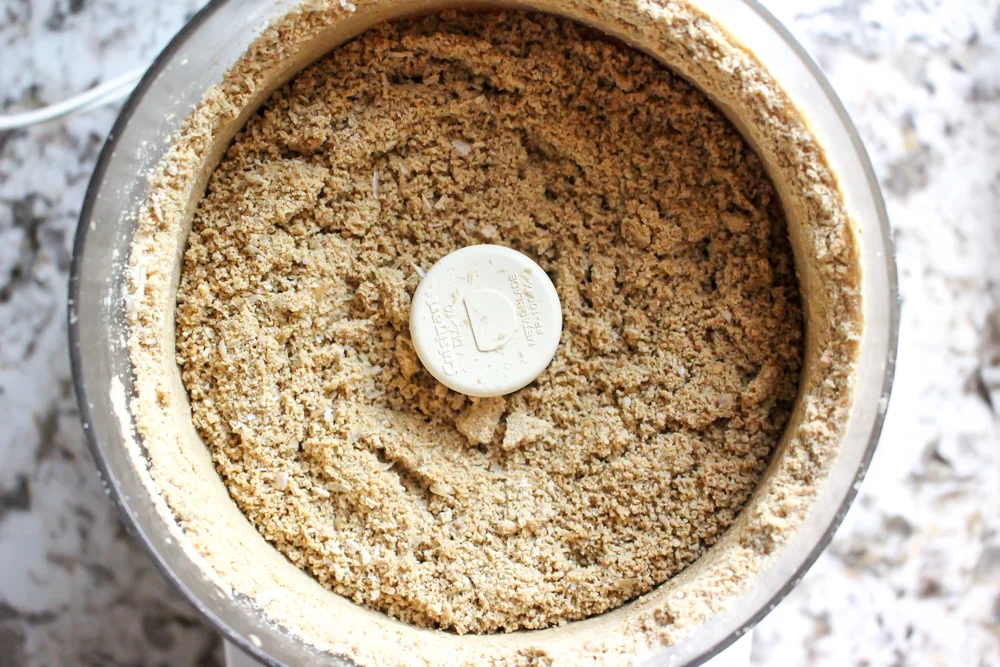
Add the roasted seeds to a large food processor and grind for 2 minutes. The seeds will break up and look very dry and like breadcrumbs.
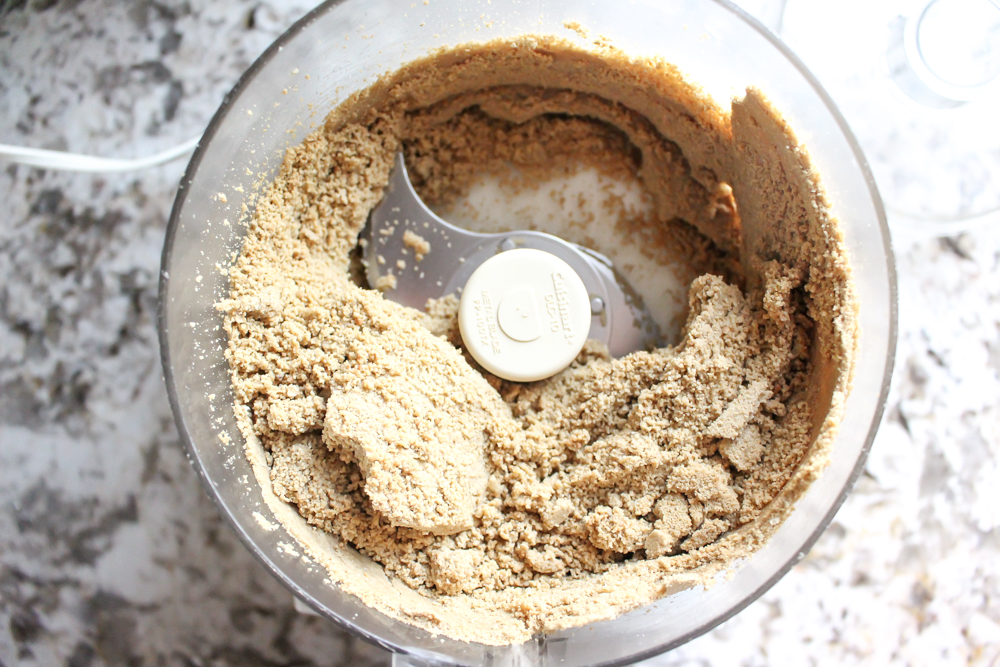
Add 2 Tbsp of coconut oil and the maple syrup and process for 2 more minutes. At this stage, the seeds start coming together in a large slow-moving glacier of seed butter. Scrape down the sides and break up the glacier as necessary. It will still feel dry and crumbly when you break up the glacier.
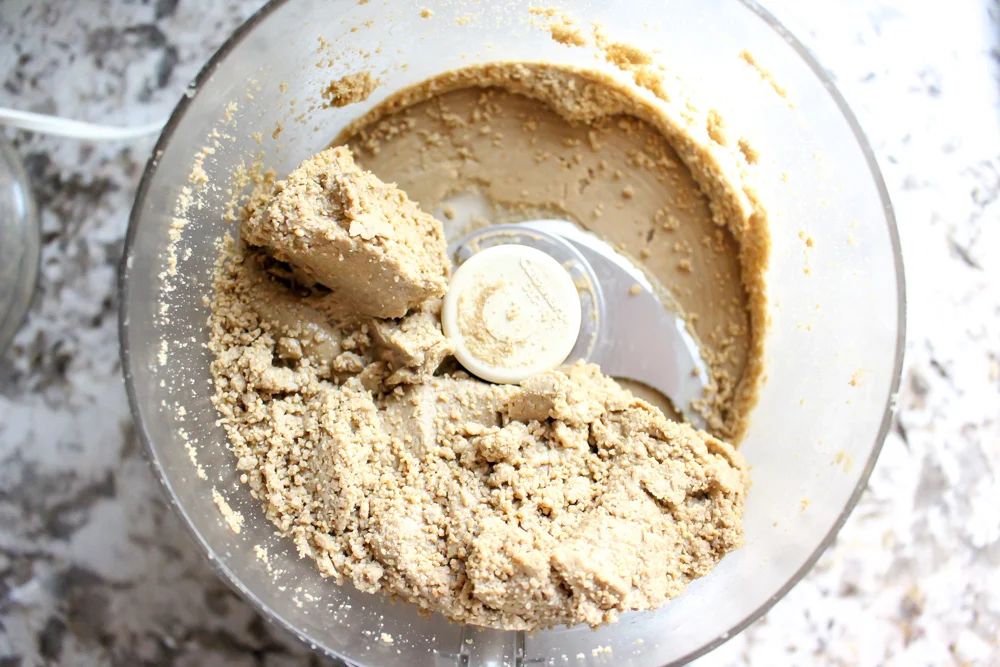
Add the vanilla and cinnamon and process again, this time letting the machine run. Let it go for at least 3-4 minutes before adding more coconut oil as the heat of the processor and the continued grinding will start to make the butter smoother and wetter. The glacier of seed butter will still be forming, but will be spinning around the food processor much faster.
After that 3-4 minutes, and while the food processor is running, add the other 2-4 Tbsp of coconut oil to achieve a silky consistency. Don’t add more maple syrup or water because it will make the seed butter stick together and clump more instead of smoothing it out.
The whole process of grinding the seeds into a smooth butter usually takes between 15 and 20 minutes (including stopping add ingredients), so patience is key.
Transfer to a large bowl and stir in the sea salt, chia seeds and flax seeds and stir well.

Purple kale pesto
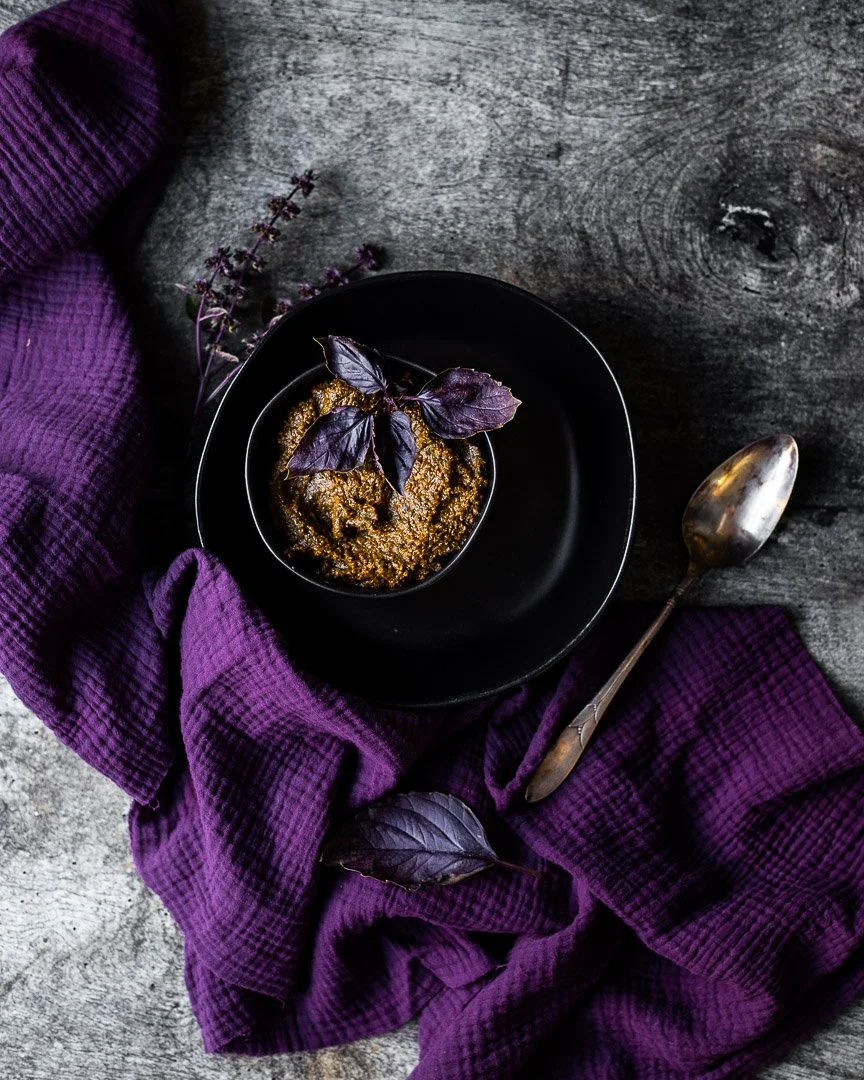
Use those gorgeous purple veggies at the store and sneak some extra veggies into your pasta tonight with this easy purple kale and basil pesto. Me & The Moose | Purple Kale and Basil Pesto #pesto #sauce #purple #basil #kale #dinnerrecipe #saucerecipe
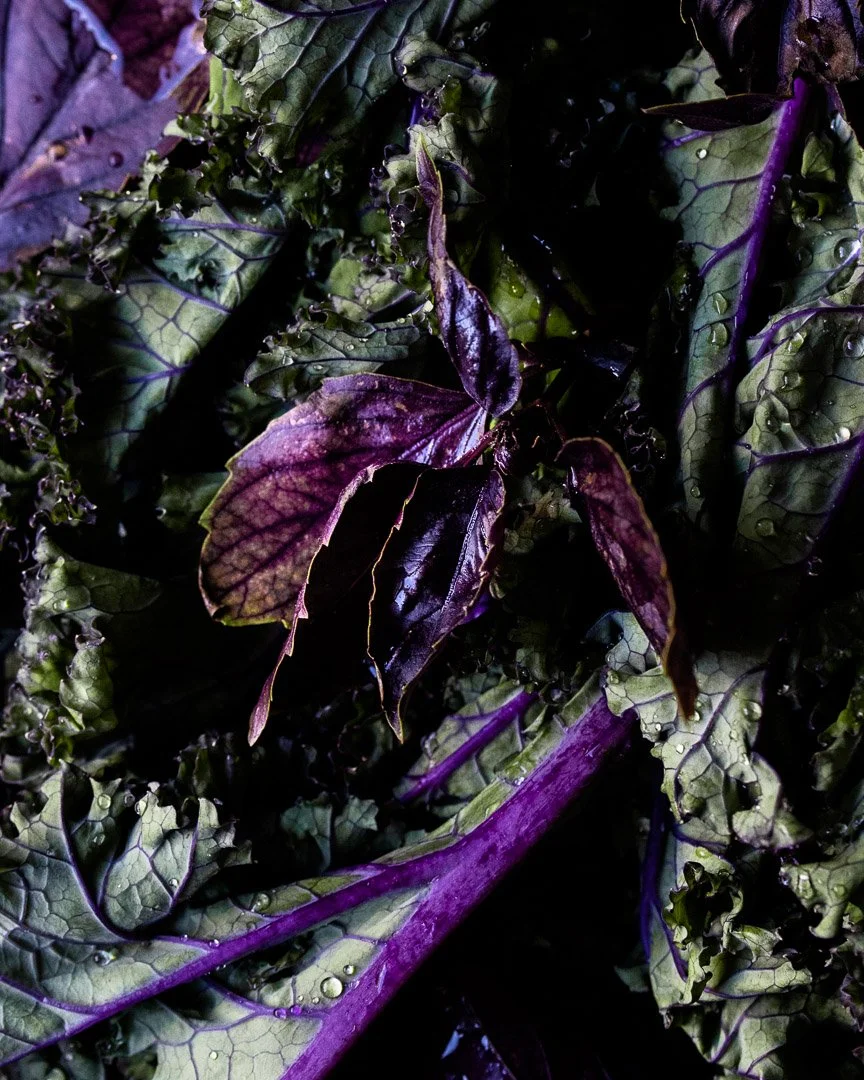
Purple veggies are JUST. SO. PRETTY. Blend them into an equally gorgeous sauce that is fast, easy, and a perfect way to get more veggies into some comfort food.
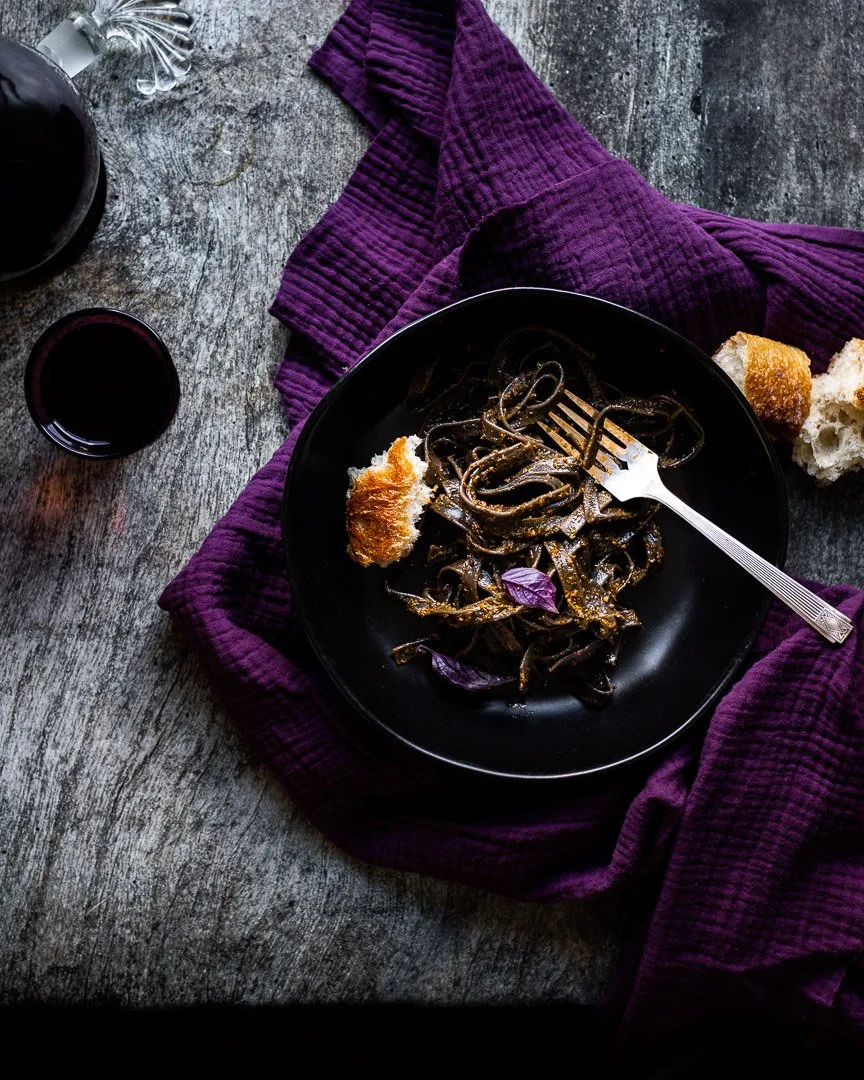
Use those gorgeous purple veggies at the store and sneak some extra veggies into your pasta tonight with this easy purple kale and basil pesto. Me & The Moose | Purple Kale and Basil Pesto #pesto #sauce #purple #basil #kale #dinnerrecipe #saucerecipe
I've been with my mom in the hospital for the past few days, hence the long pause in posting. I'll spare you the details, but it was pretty brutal for my mom and will continue to be a rough course of treatment in the coming weeks and months.
Seeing someone I love be so sick brings out competing urges in me. On the one hand, I want to be optimistic and wait to freak out until we see what happens in the next few weeks. On the other hand, I want to mentally prepare for the worst, or, as I usually do, talk about/worry about "the worst" as though somehow saying it out loud or thinking about it constantly will keep it at bay. Like the Scheherazade of cancer.
Anyway, as always, I can only control what I can control. I'll try my best to carry on and eat well and get veggies into my child and not let him watch all the television though I mostly want to curl into a ball and stare at the wall.
Use those gorgeous purple veggies at the store and sneak some extra veggies into your pasta tonight with this easy purple kale and basil pesto. Me & The Moose | Purple Kale and Basil Pesto #pesto #sauce #purple #basil #kale #dinnerrecipe #saucerecipe
This pesto is so vibrant and delicious. And purple feels on brand for Valentine's day, no?
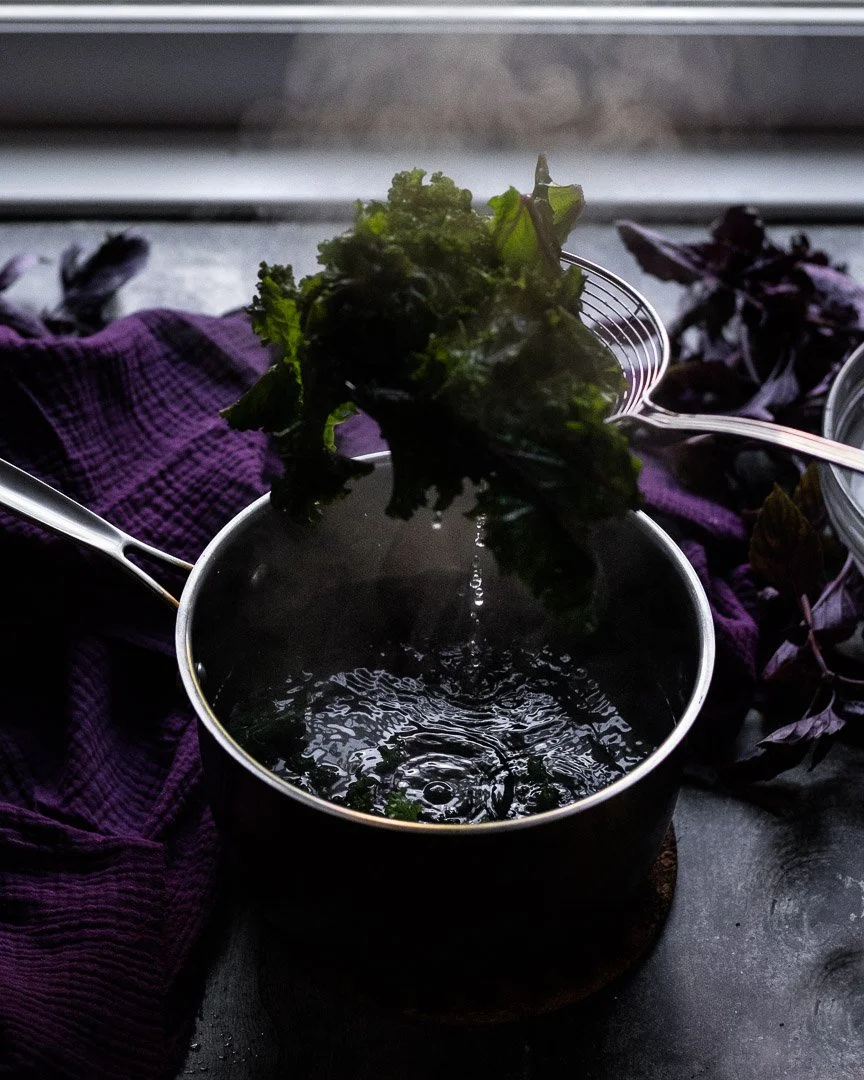
Though I'm always in favor of shortcuts in recipes and against dirtying unnecessary dishes, you really must blanch the kale before making this sauce. But I sometimes go straight from the pot to the food processor (shaking off the excess water in the process) and skip the post-blanch ice bath that is supposed to stop things from overcooking. I find that the blending does the trick and a little excess water doesn't hurt the mixture either.
I initially skipped the dairy in this pesto, but have since added it back in because, cheese. This is also a great way to get vegetables into your child since they're blended into the sauce. I find that the purple color is fascinating to small people and some of it comes out in the blanching water, turning it a gorgeous shade of lavender, which is also compelling to the wee ones. If nuts are a no-go for your kids' lunchboxes, try swapping in tiger nuts (they're not actually nuts) or pumpkin seeds for the cashews.
Use those gorgeous purple veggies at the store and sneak some extra veggies into your pasta tonight with this easy purple kale and basil pesto. Me & The Moose | Purple Kale and Basil Pesto #pesto #sauce #purple #basil #kale #dinnerrecipe #saucerecipe
Purple kale pesto
Time: 10 minutes
Yield: about 3 cups
6 oz purple kale, stalks removed (1 large bunch)
1/2 cup basil, packed
1/3 cup tomato paste
2 large cloves garlic
½ cup roasted, unsalted cashews or other nuts/nut replacement
1/3 cup grated parmesan or other nutty, dry cheese
½ cup olive oil
1 Tbsp white wine vinegar
1/2 tsp salt, plus more to taste
Pepper to taste
Bring a large pot of salted water to a boil. Rinse the kale and rip the leaves from the stalks into large chunks. Put in the boiling water and blanch for 1 minute. Give it a few stirs to ensure that all of the kale is submerged. Add directly to the blender or food processor.
Add the rest of the ingredients and blend until you've reached your desired consistency. If too thick, add more water or oil by the tsp to thin out.