Chocolate hummus
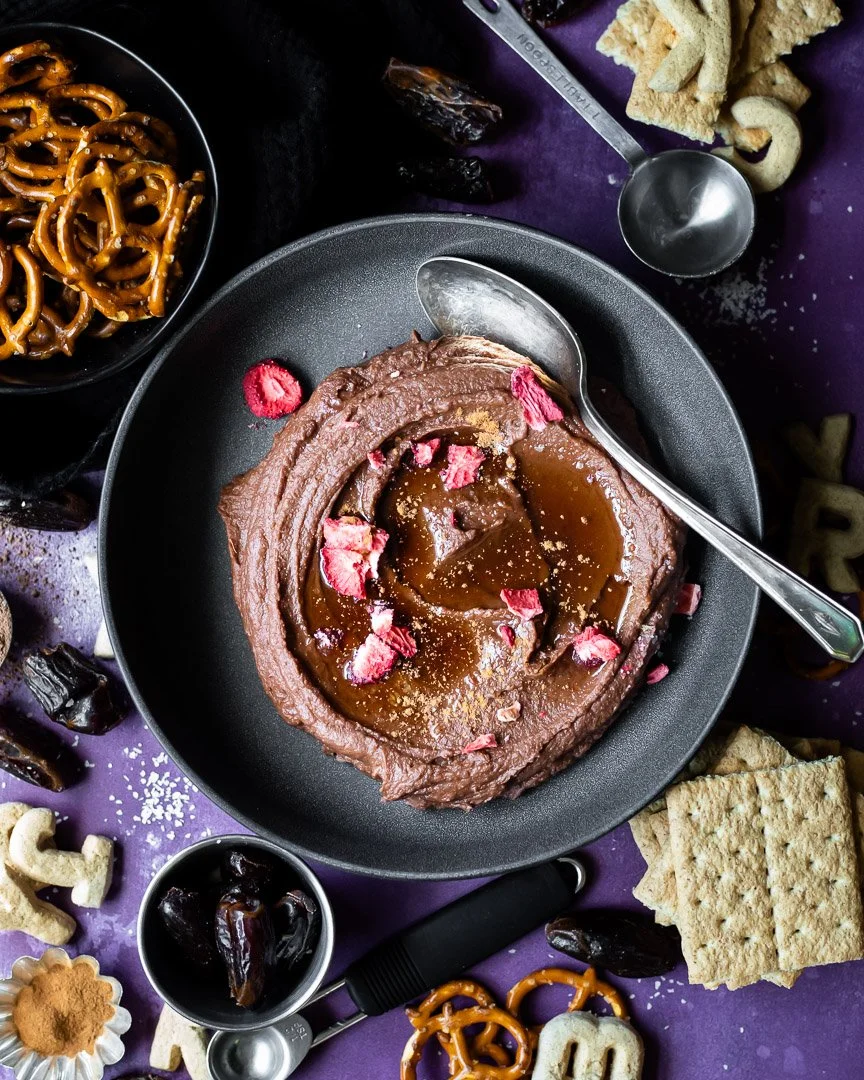
chocolate hummus | me & the moose | Chocolate hummus bears no resemblance to actual hummus, but is a fiber and protein rich sweet snack. #hummus #chocolate #snackrecipes #snacks #dips #dessert
I struggled with calling this recipe “hummus.” The only thing it has in common with actual hummus is chickpeas, but I wanted it to be clear that this spread is the same stuff you buy in the grocery store.
Even though it’s not really hummus, this spread is REALLY good. It’s a little sweet and very chocolate-y.
chocolate hummus | me & the moose | Chocolate hummus bears no resemblance to actual hummus, but is a fiber and protein rich sweet snack. #hummus #chocolate #snackrecipes #snacks #dips #dessert
chocolate hummus | me & the moose | Chocolate hummus bears no resemblance to actual hummus, but is a fiber and protein rich sweet snack. #hummus #chocolate #snackrecipes #snacks #dips #dessert
I started making my own chocolate hummus after being introduced to this magical concoction (seriously, how did I not know that chocolate hummus existed until about 2 months ago?) at my book club.
A couple of notes:
- Soak 4 dates, though you may not need them all. This dip tends to get sweeter as it sits in the fridge, so be careful about adding all four dates up front.
- If the dip doesn’t taste sweet enough after two dates, try adding another pinch of salt. The salt really brings out the sweetness and the chocolate, so you may not need additional sweetener.
chocolate hummus | me & the moose | Chocolate hummus bears no resemblance to actual hummus, but is a fiber and protein rich sweet snack. #hummus #chocolate #snackrecipes #snacks #dips #dessert
Chocolate hummus
Time: about 20 minutes, all active
Yield:1.5 cups or about 14.5 ounces
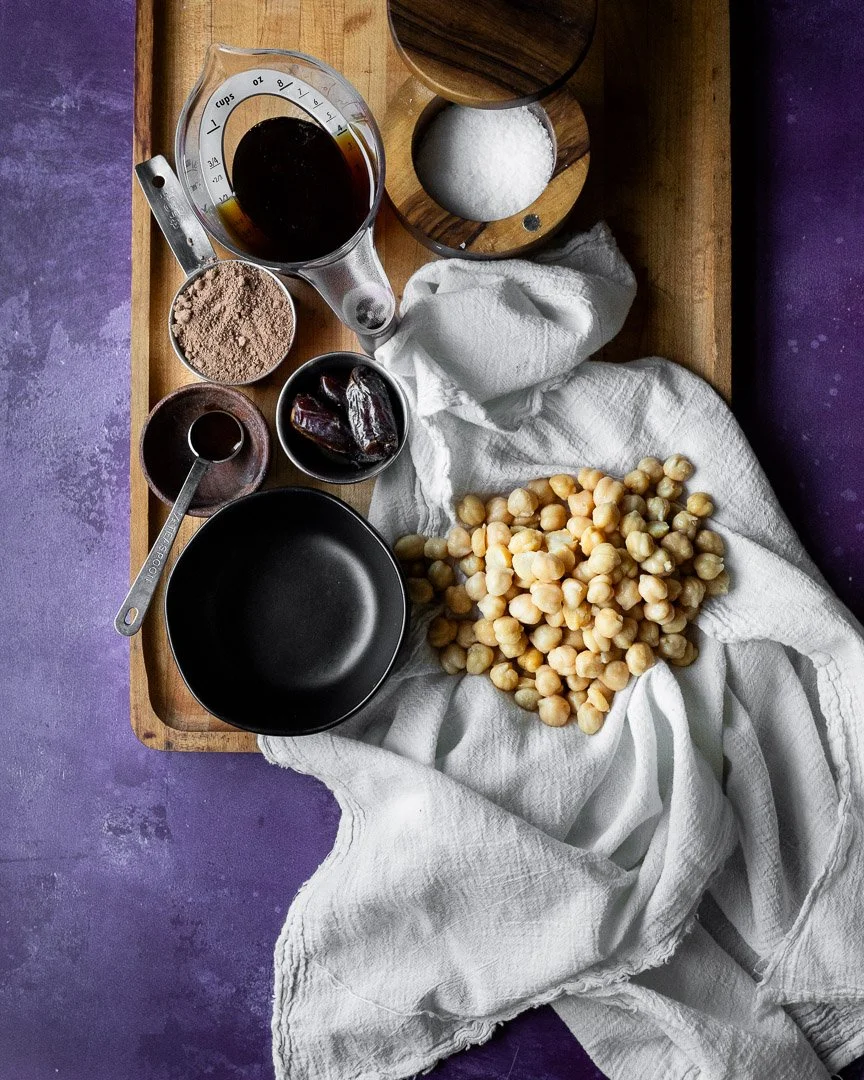
1 can chick peas, rinsed and drained |
¼ cup cocoa powder
½ cup maple syrup
2-4 dates, soaked in boiling water for 5-10 minutes
¼ tsp salt, plus more to taste
½ tsp vanilla extract
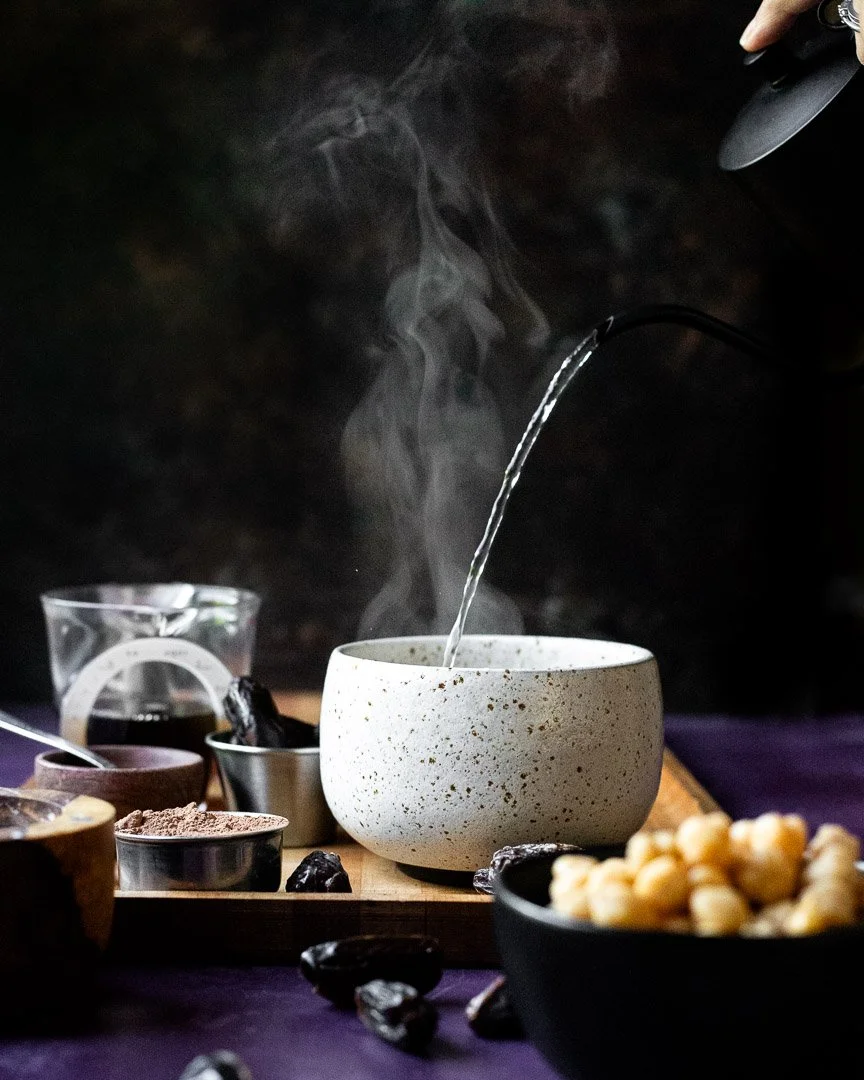
Boil some water and pour over 4 dates. Let sit for 5-10 minutes.
Meanwhile, thoroughly rinse your chickpeas and dry them lightly with a dishtowel or paper towel. Add to a food processor.
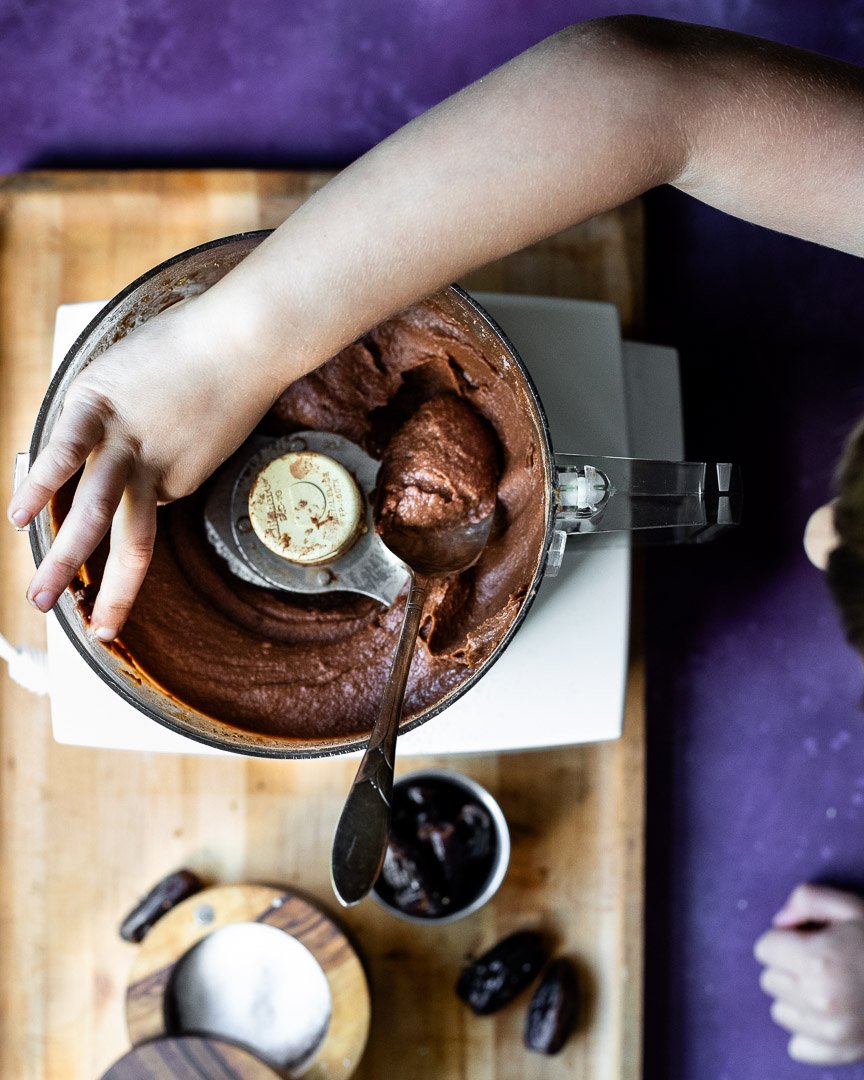
Measure the other ingredients and add to the food processor. When the dates are soft, add 3 to the other ingredients and blend until very smooth, about 3-4 minutes.
Serve or store in an air-tight container in the fridge.
Meatless Monday: Pumpkin mac and cheese
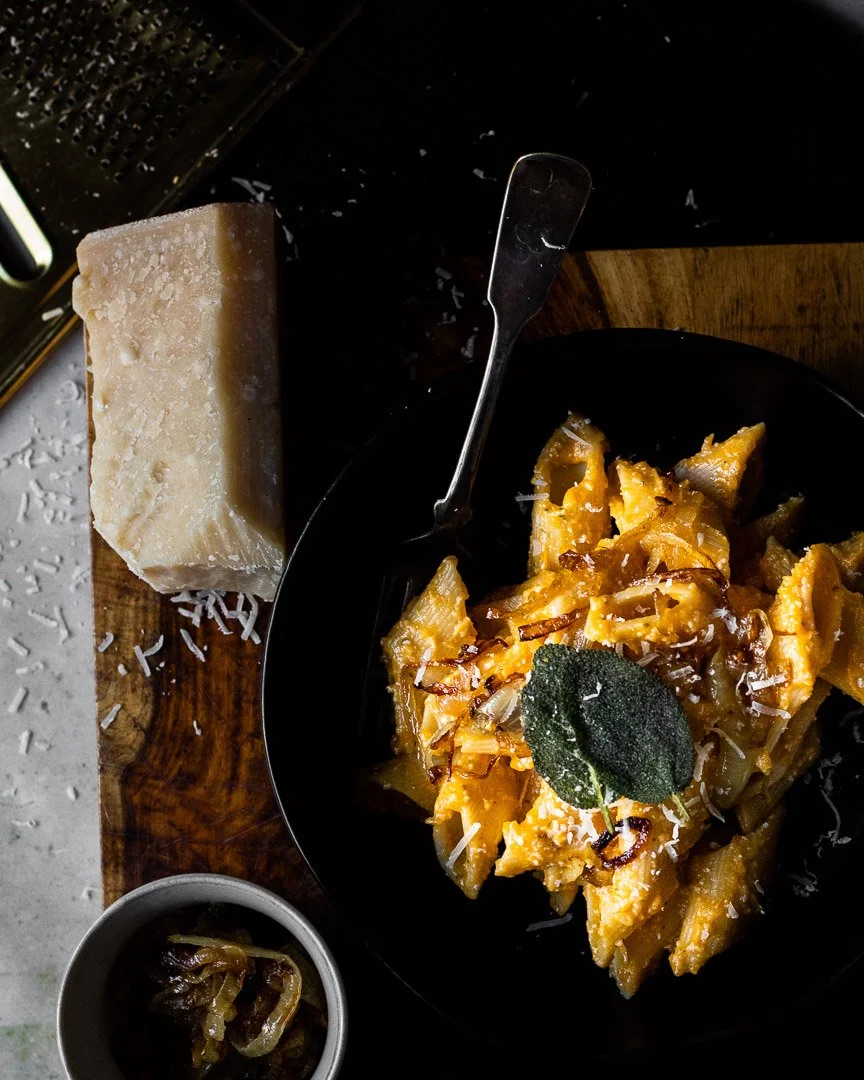
This autumnal pasta is creamy and rich thanks to the roasted squash, a little unctuous thanks to the cooked onions, and gloriously herby thanks to the fresh sage.
Take me to the recipe!
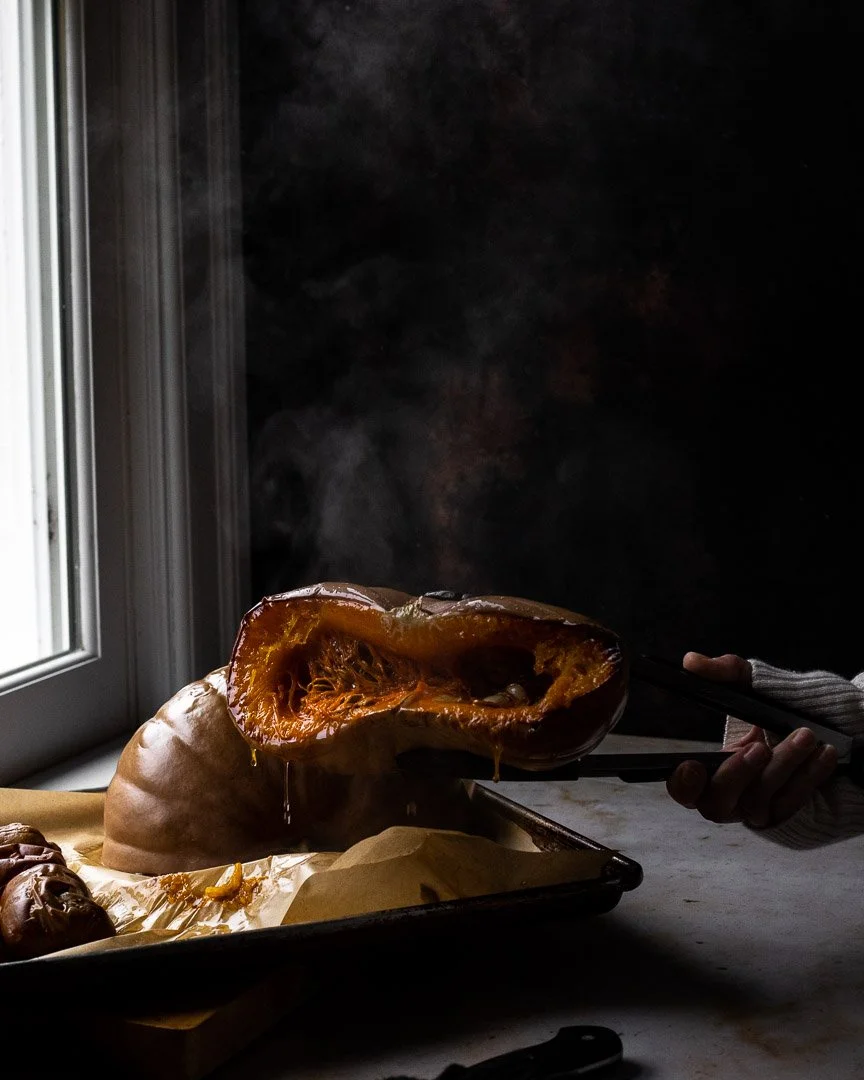
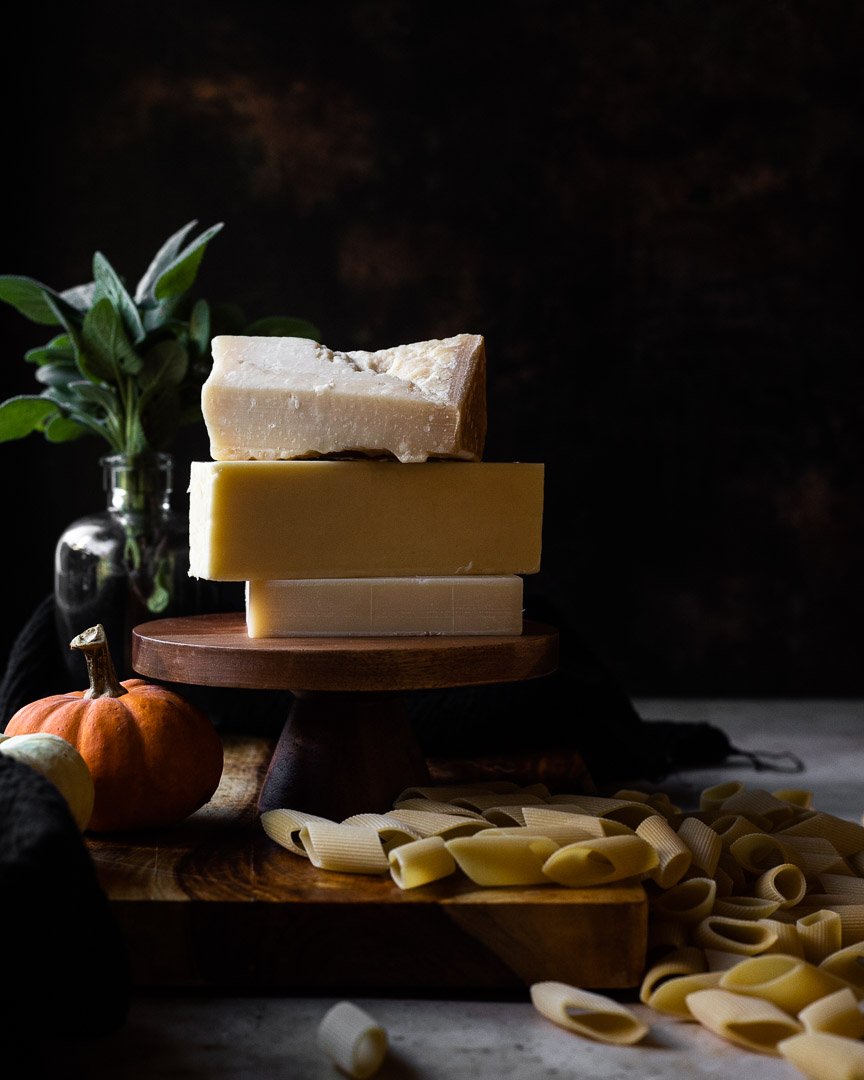
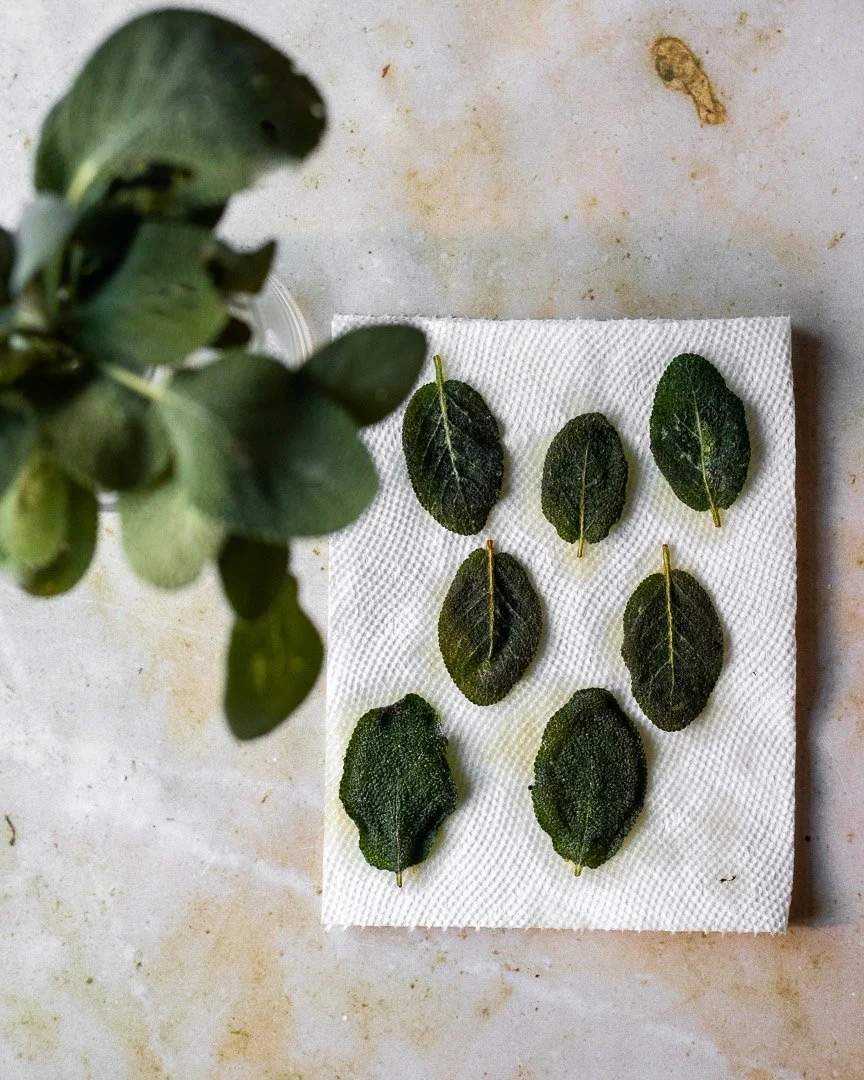
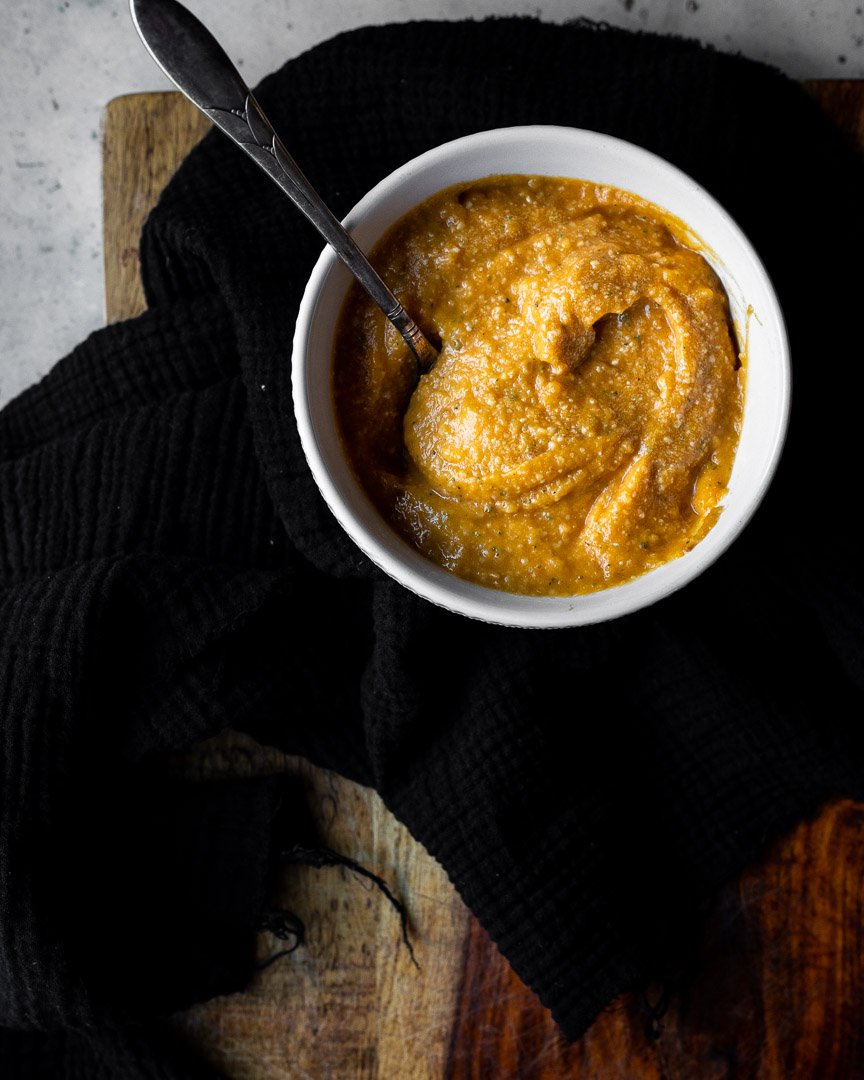
This mac and cheese is warming, cheesy, and chock full of veggies. It also works as dinner or lunch (or both!). I’ve made this with some sausage on the side for an even heartier meal, but it’s very filling on its own.
A couple of notes:
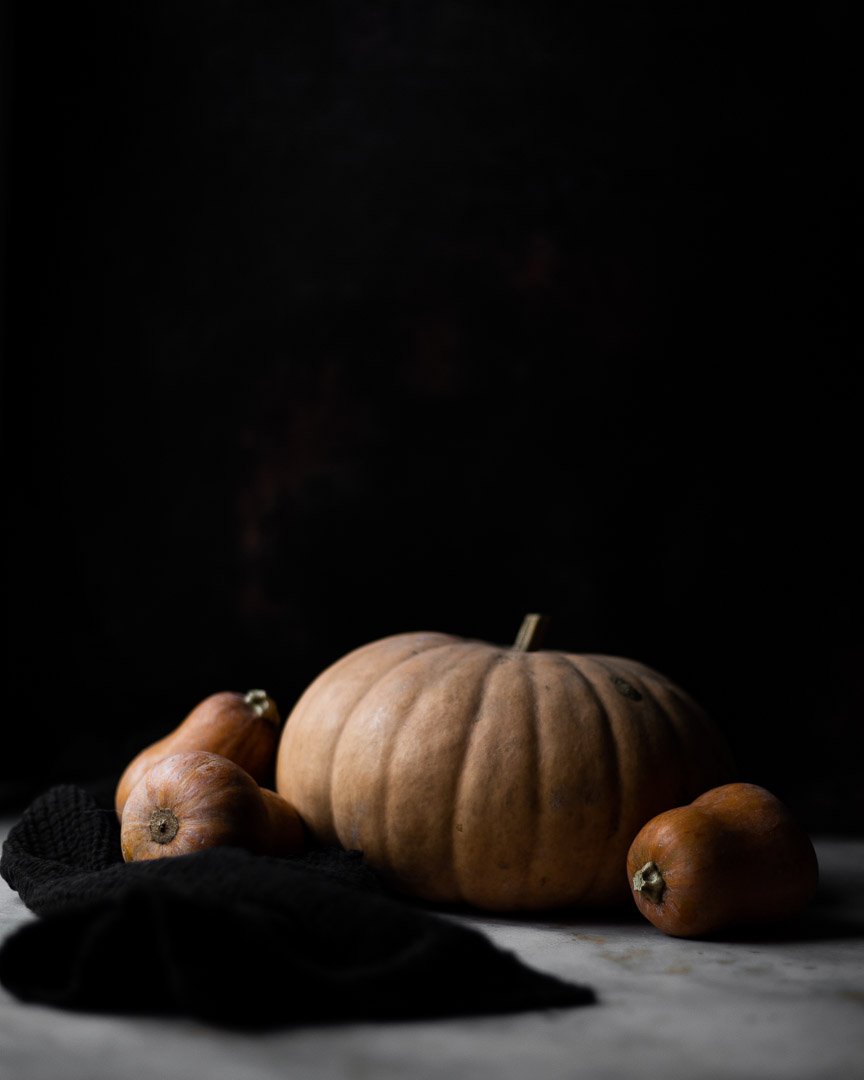
- I use half roasted squash and half pumpkin (butternut or acorn squash is my favorite, but you could use kobocha or delicata) because I don’t always love straight pumpkin pasta sauces. There is something heavy and somehow both flavorless and overwhelming about a sauce made with just pumpkin.
- The most time consuming part of this recipe is cooking the onions. A longer, slower cook yields much better flavor that significantly improves the final dish. I recommend taking the time.
- This recipe makes twice as much sauce as you need for a pound of pasta. You can either freeze half, or make two boxes of pasta for a large family. We’ve found that using 1 box of pasta and freezing half of the sauce yields one dinner for the four of us and some leftovers for lunch the next day.
Pumpkin mac and cheese
Time: 45 minutes, mostly active
Yield: 4 adult-sized dinner servings, 6 kid-sized dinner servings, or more if you’re serving this for lunch
2 Tbsp olive oil, butter, ghee, or your fat of choice
1 large onion, sliced thinly
2 large cloves garlic, diced
10 large sage leaves, minced
2/3 cup pumpkin puree
1 cup squash, roasted
½ tsp kosher salt
1/2 cup milk, or more, to create desired consistency
½ cup gruyere, shredded
½ cup cheddar cheese, shredded
¼ cup grated parmesan
1 lb pasta
1/2 cup reserved pasta water
Preheat the oven to 425. Cut your squash in half lengthwise and place cut side down on a parchment-covered baking sheet. Bake until fork tender, about 20-30 minutes.
Bring a large stock pot of salted water to a boil. Cook your pasta according to package directions (towards the end of cooking your onions). Reserve 1/2 cup of pasta cooking water.
Heat a large sauté pan with the cooking oil over medium heat. Turn the heat down slightly and add the thinly sliced onions. Cook, stirring often, until caramelized, about 25- 30 minutes.
Add the garlic and sage to the pan with the onions and cook until fragrant, about 2-3 minutes. Remove from the heat.
In a blender or food processor, combine the cooked onions, garlic, sage, squash, pumpkin, salt, and cheese. Blend on high. Slowly add the milk until you’ve reached your desired consistency.* Scrape down the sides as needed.
Pour about 1/2 of the sauce into a large container for another time.
Drain your pasta, but reserve ½ cup of the pasta water. Put the pasta back into the pasta pot, top with ½ of the sauce, and thin out as needed with the reserved pasta water. Taste for seasoning and add salt and pepper as needed.
*The amount of milk you’ll need depends largely on your squash. Some squash have more water in them, so you’ll need less milk. Start with ¼ cup and add more as needed.
Coconut creamed corn
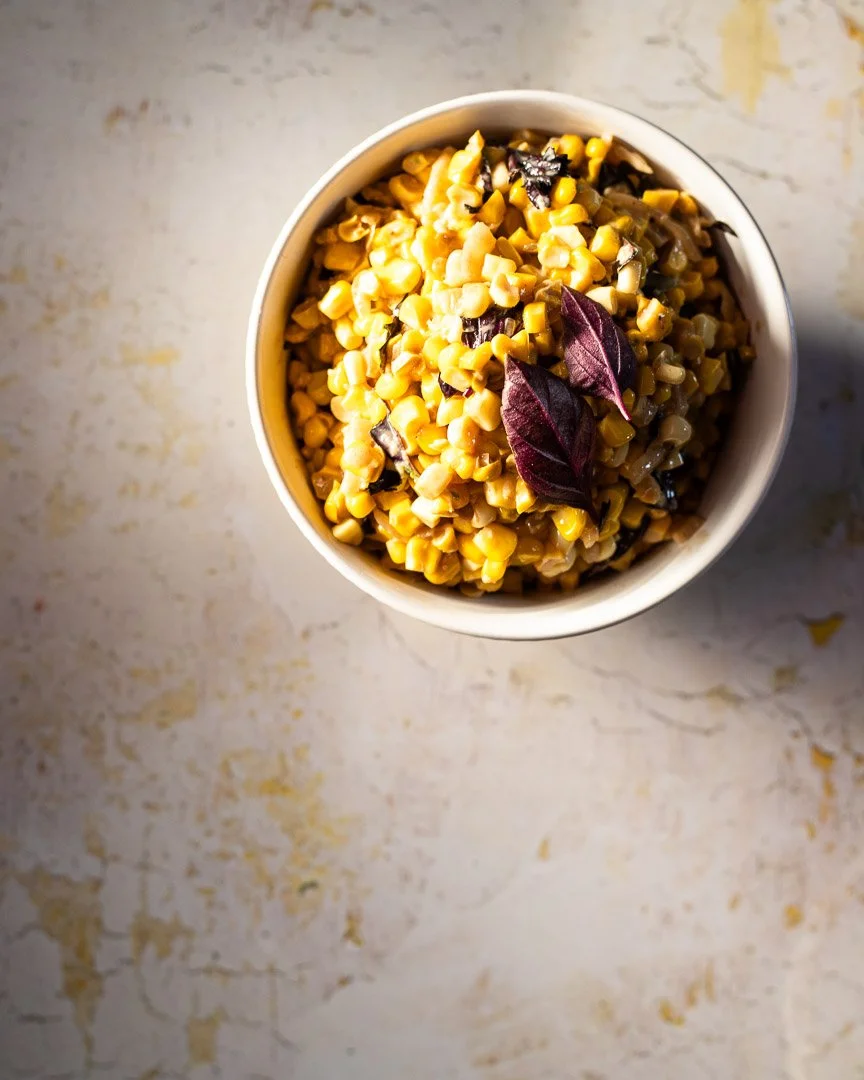
Creamed corn isn’t generally considered a “healthy” side. But swap in coconut milk for regular old dairy or a heavy bechamel sauce and you have a much lighter version of this classic that celebrates the beauty of late summer corn.

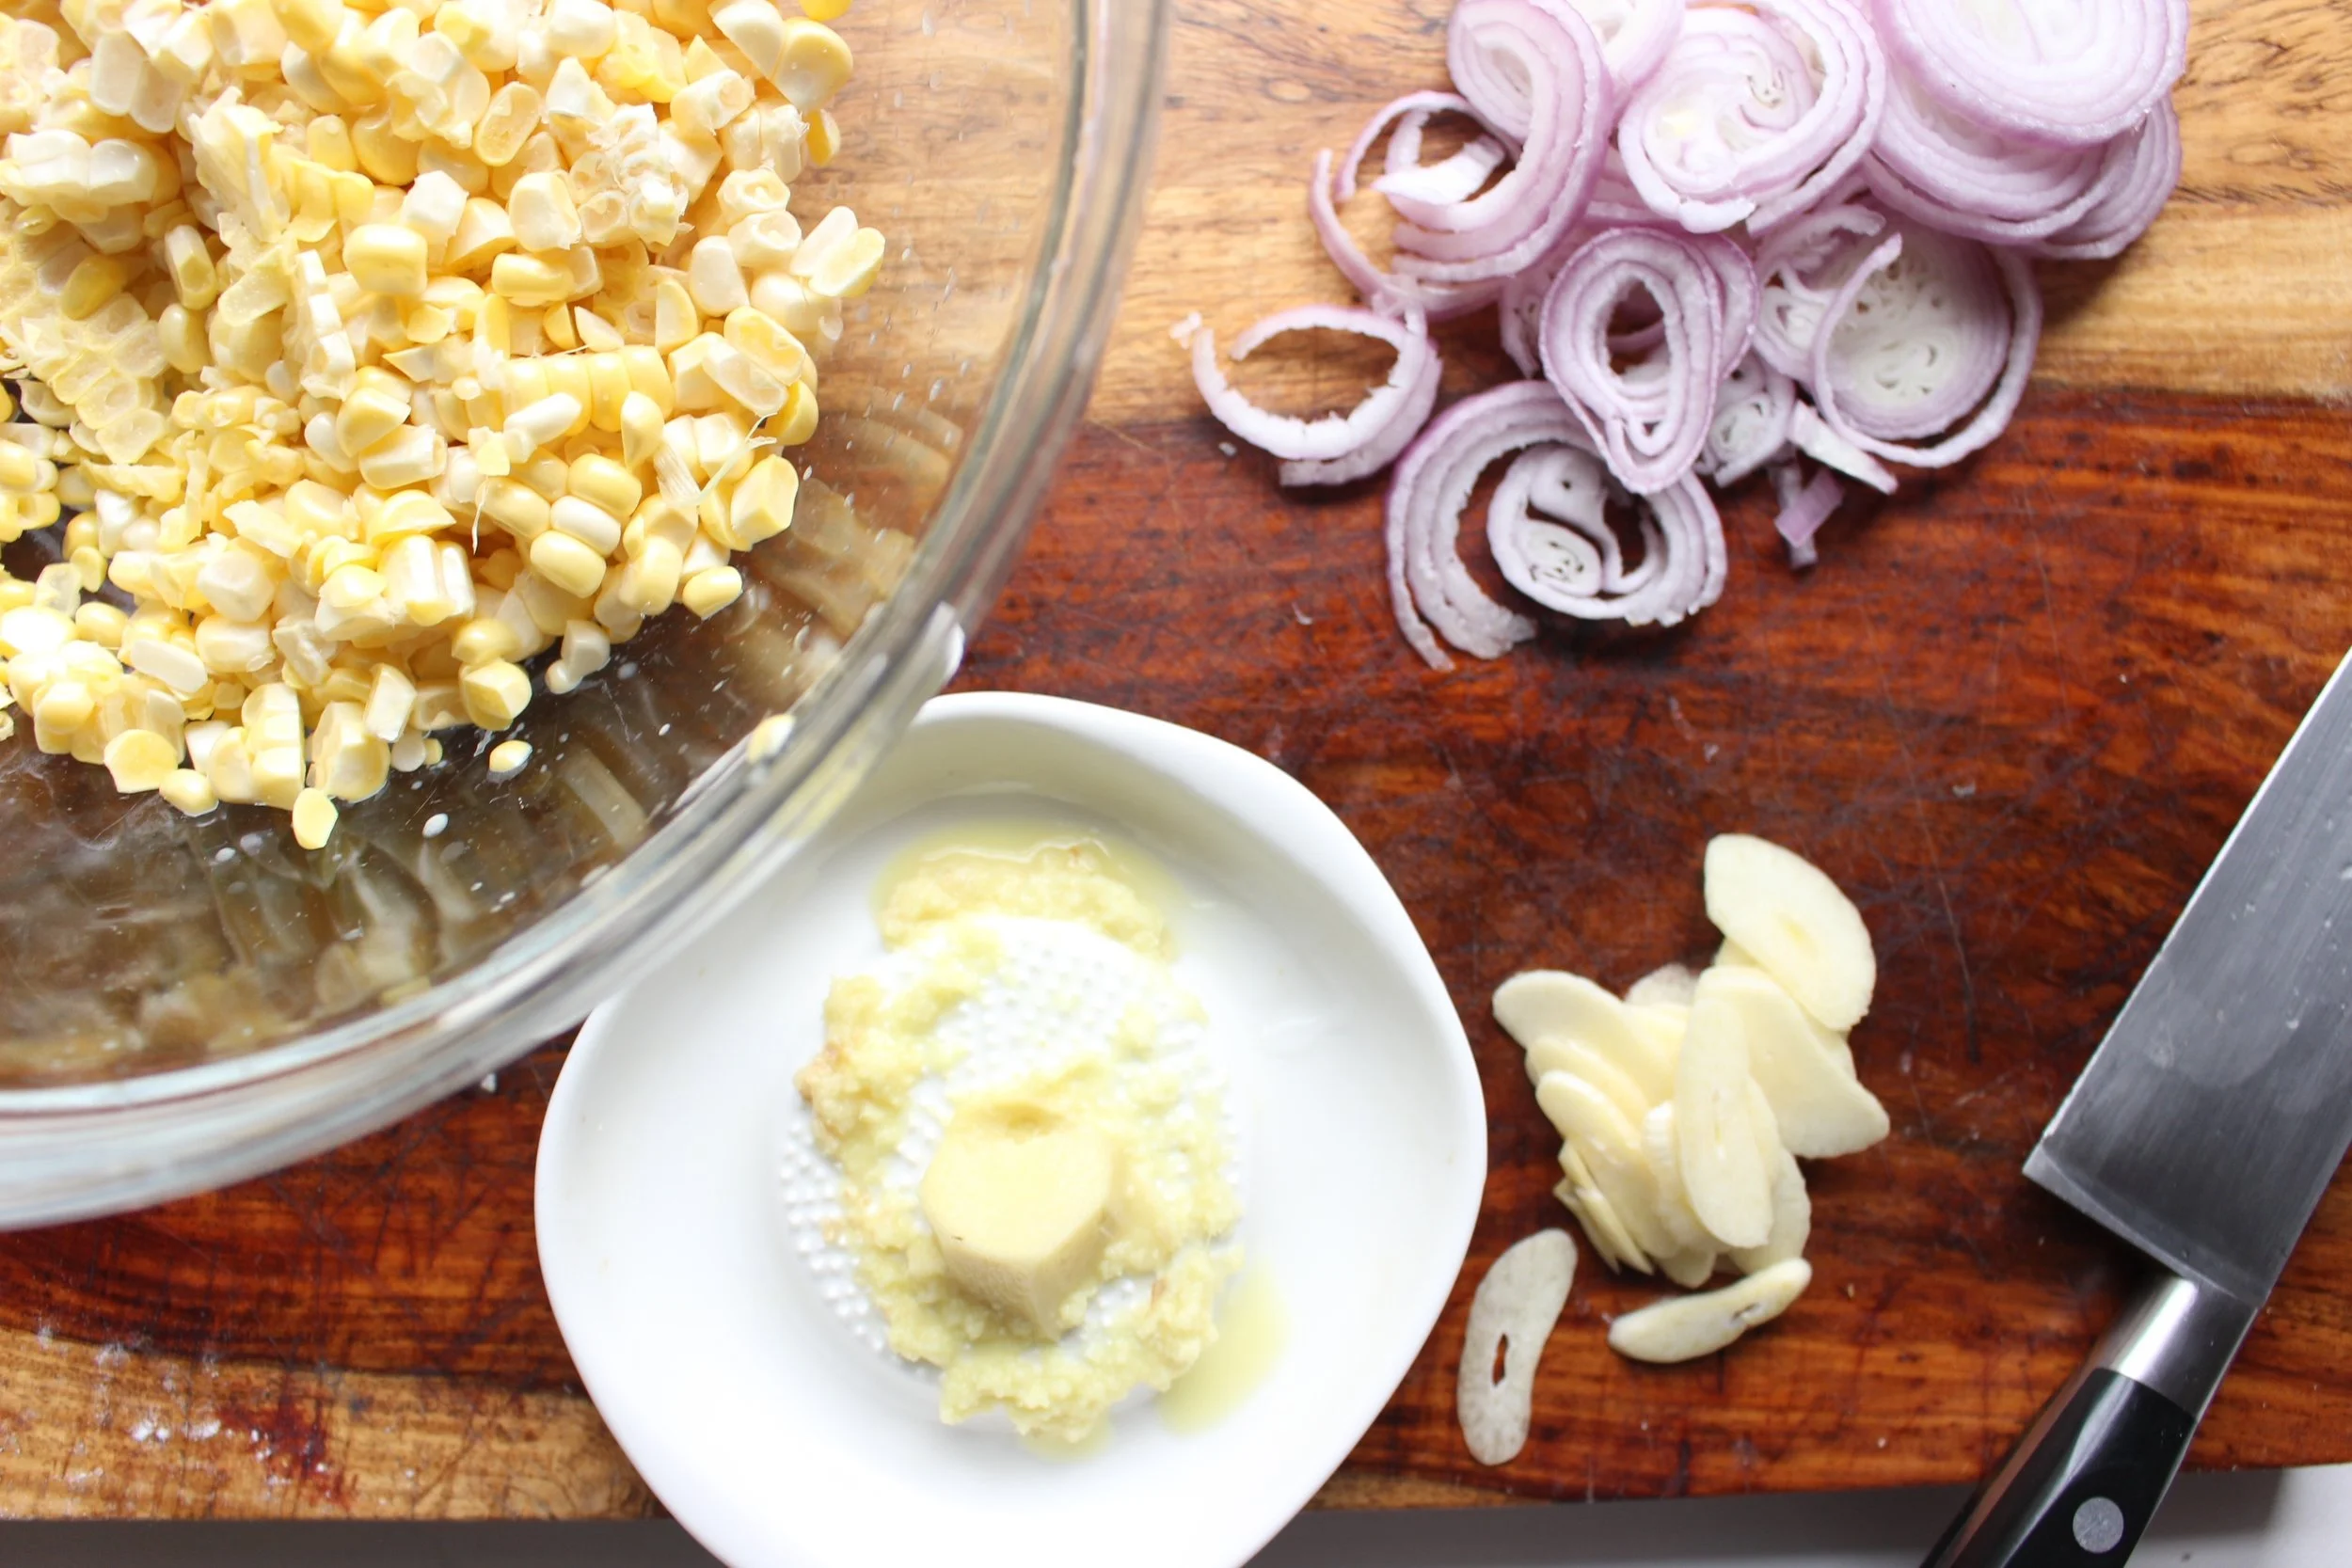
This dish also comes together in minutes and is full of herbs and aromatics like garlic, shallot, ginger, lime zest, and basil. Add some quick sauteed shrimp, some grilled or roasted white fish, or a rotisserie chicken and you have a very quick dinner filled with healthy fats and real ingredients. You’re also free of gluten, dairy, sugar, nuts, and soy if you have corn leftovers for tomorrow’s lunchbox.
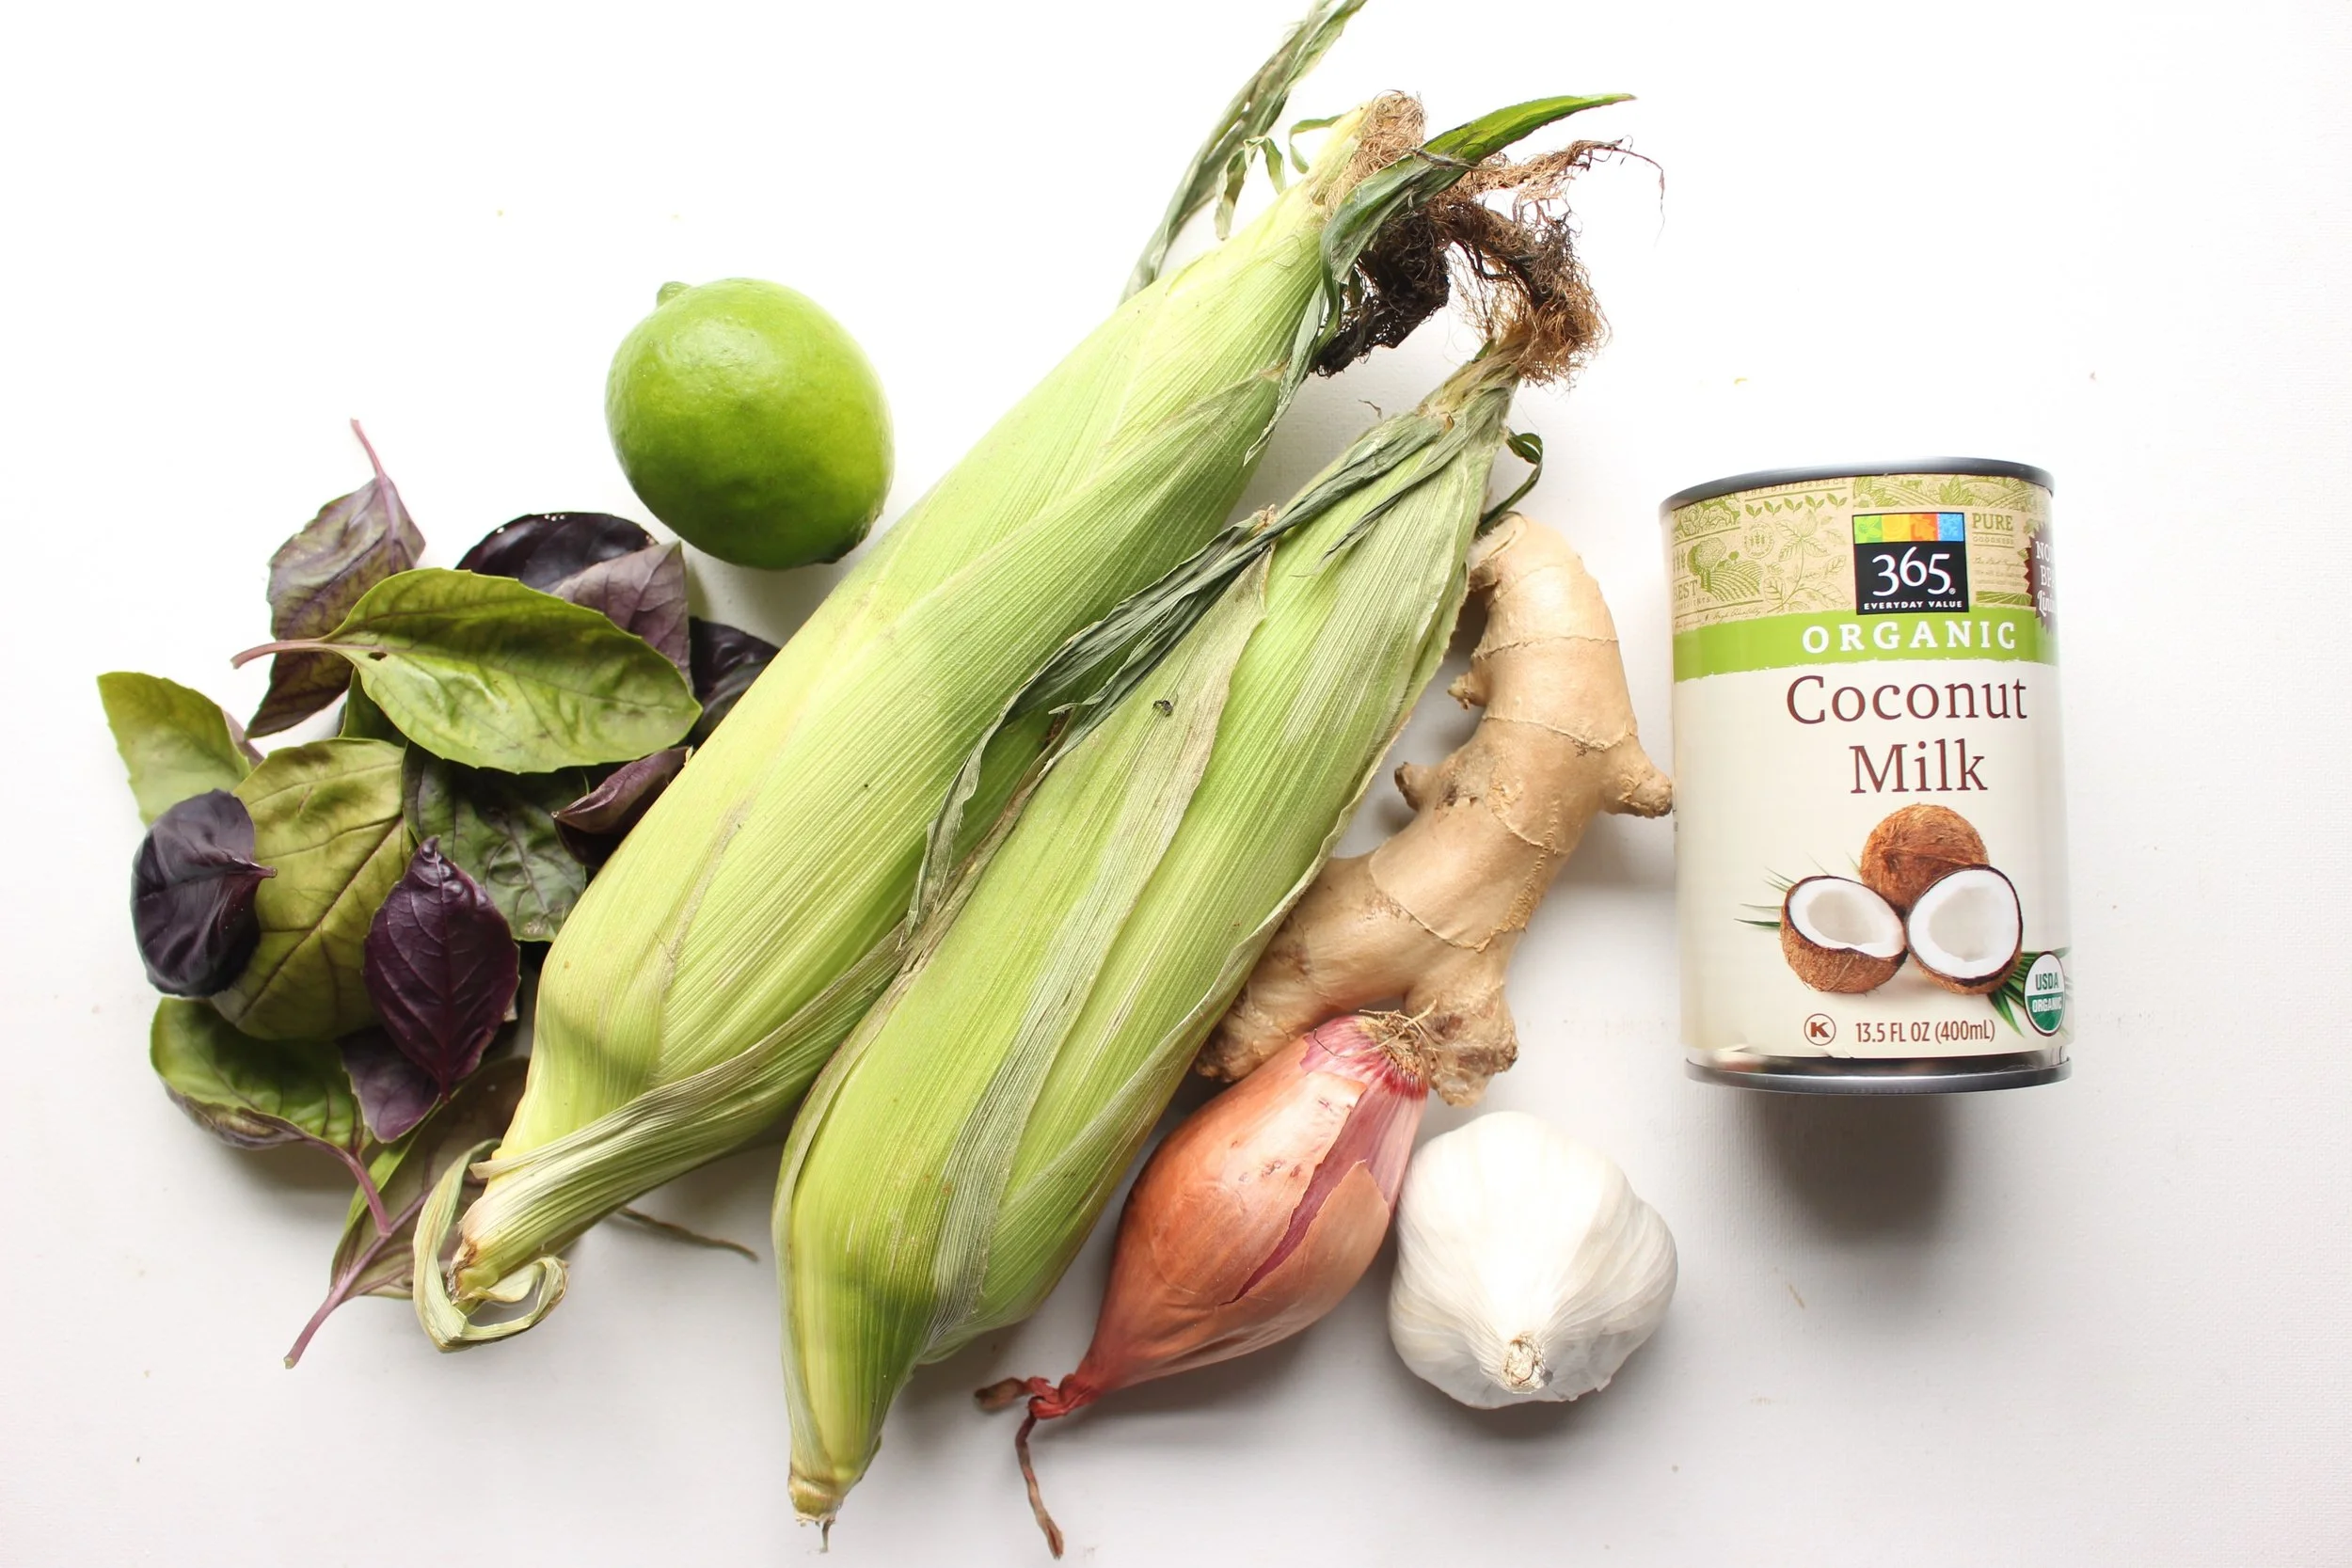
Coconut creamed corn
½ tsp coconut oil
2 medium or 3 small garlic cloves, sliced or minced
1 very large or 2 smaller shallots, sliced or minced
½-inch piece of fresh ginger, minced or shredded
3 large ears corn with kernels removed from the cob (about 2 heaping cups of kernels)
6 Tbsp coconut milk
Heaping ¼ tsp lime zest
15-20 basil leaves, chopped
¼-½ tsp flaky sea salt
Pepper
Heat the coconut oil over a medium flame and when hot, add the sliced or minced shallots. Saute for 1-2 minutes, until the shallots are translucent and starting to brown.
Turn the heat down to medium low and add the sliced or minced garlic. Saute for another 1-2 minutes until fragrant. If the onions or garlic brown too quickly, turn down the heat.
Add the minced or shredded ginger and sauté for one more minute.
Add the corn kernels and sauté for 4-5 minutes. Add the coconut milk and let bubble for one minute until the milk has reduced to more of a sauce than a milk, but don’t let it disappear.
Remove from the heat. Add the lime zest, minced basil, salt, and pepper and stir to combine. Taste for seasoning and adjust according to your taste.
Yield: 3 servings
