Weeknight beef stew

A deeply flavored, rich, and cozy beef stew is usually an all-day, multiple-pan affair. But this recipe simplifies the steps so that you can have this stew, which is mostly hands-off cooking, on the table in a maximum of 2 hours. #meandthemoose #beefstew #dinnerrecipes #beefrecipes
A deeply flavored, rich, and cozy beef stew is usually an all-day, multiple-pan affair. But this recipe simplifies the steps so that you can have this stew, which is mostly hands-off cooking, on the table in a maximum of 2 hours.
A deeply flavored, rich, and cozy beef stew is usually an all-day, multiple-pan affair. But this recipe simplifies the steps so that you can have this stew, which is mostly hands-off cooking, on the table in a maximum of 2 hours. #meandthemoose #beefstew #dinnerrecipes #beefrecipes
Okay, so I’ve tried every beef stew recipe out there. (No, I haven’t, but I’ve tried A LOT.) The best ones require time and effort: Multiple cooking methods, multiple steps, multiple pans, etc. And the results have largely been worth the effort. BUT, if you have a busy family, young kids, a demanding job, or just don’t feel like tending a stew all day, there is a simpler beef stew option!
I did a bunch of research and tried a bunch of tricks. My goal was to achieve a rich flavor without using every pan in my kitchen and without requiring a ton of work. Some of my shortcuts worked and some didn’t. I think I’ve landed at a happy medium that isn’t exactly “set it and forget it” but that will get you a lot more bang for your flavor buck than a quick stew made in, say, the slow-cooker.
A deeply flavored, rich, and cozy beef stew is usually an all-day, multiple-pan affair. But this recipe simplifies the steps so that you can have this stew, which is mostly hands-off cooking, on the table in a maximum of 2 hours. #meandthemoose #beefstew #dinnerrecipes #beefrecipes
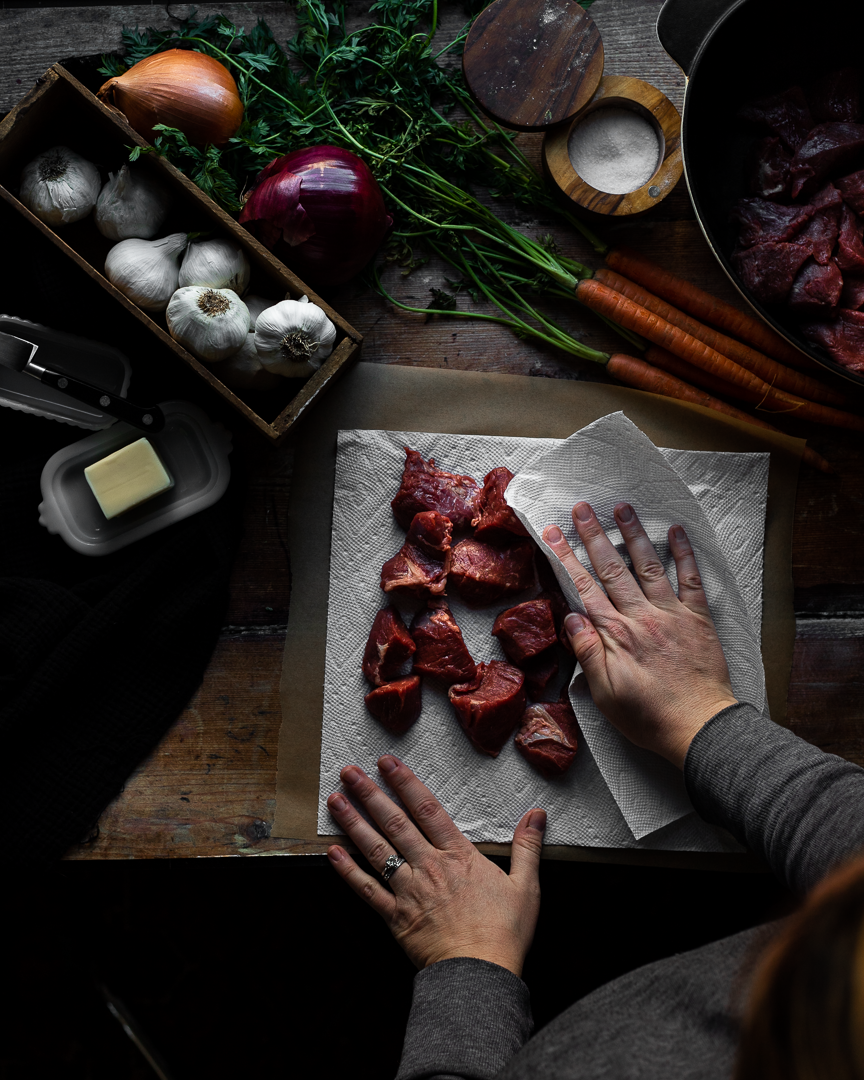
My first shortcut was to brown the meat in one batch in the oven instead of searing it in multiple batches on the stovetop. I know searing is the way to lock in moisture and to achieve some caramelization on the outside of the meat, but it takes me FOREVER and my hand gets very tired from holding the tongs and rotating the cubes until they’re evenly browned. So instead, I patted everything dry and roasted it at high heat in the oven for a few minutes to get that caramelization.
AN IMPORTANT NOTE ABOUT SALT: I found that if I didn’t salt the meat at all before the roasting, the end results were slightly bland. However, when I over salted the meat before roasting, it dried out because too much moisture came out during that initial cook. So, use a judicious pinch of salt before roasting and then generously salt the rest of the dish at various points in the cooking.
A deeply flavored, rich, and cozy beef stew is usually an all-day, multiple-pan affair. But this recipe simplifies the steps so that you can have this stew, which is mostly hands-off cooking, on the table in a maximum of 2 hours. #meandthemoose #beefstew #dinnerrecipes #beefrecipes
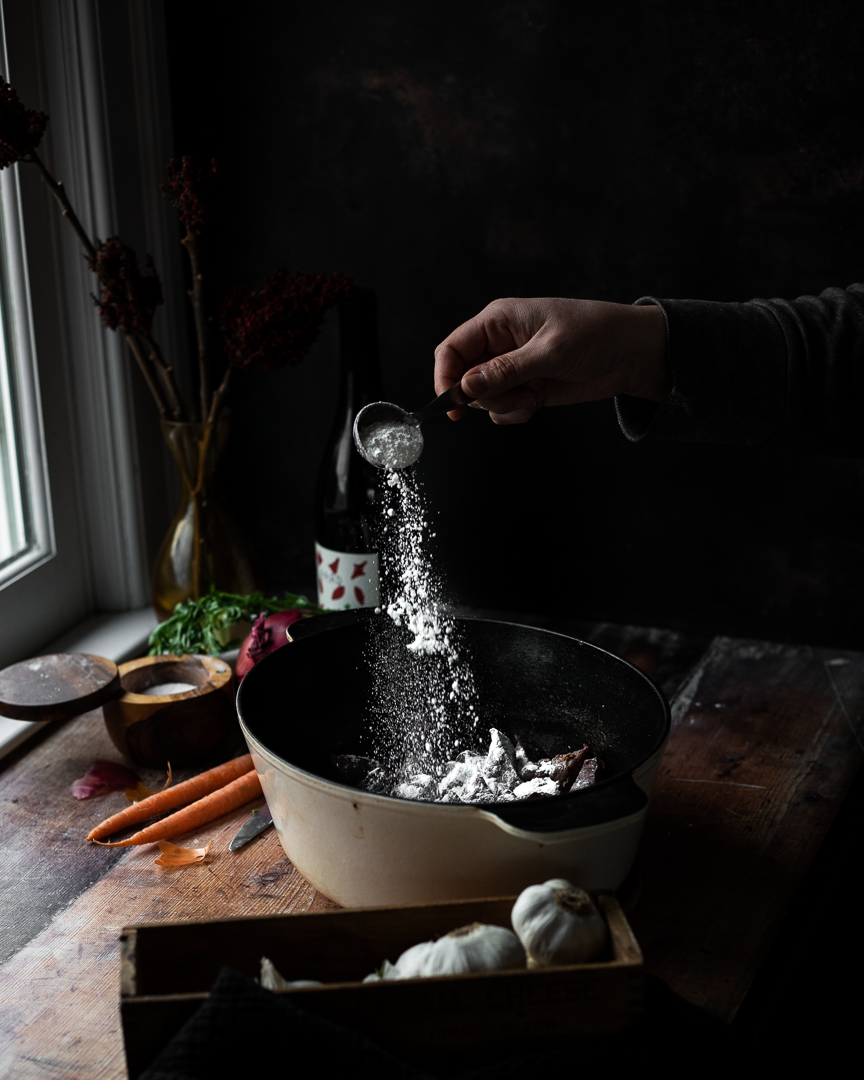
Then, I stirred in some flour right after that initial roast and along with the onions and carrots. I found that adding in the flour at this stage rather than at the end, allowed the flour to cook and thicken the sauce without any added fuss.
A deeply flavored, rich, and cozy beef stew is usually an all-day, multiple-pan affair. But this recipe simplifies the steps so that you can have this stew, which is mostly hands-off cooking, on the table in a maximum of 2 hours. #meandthemoose #beefstew #dinnerrecipes #beefrecipes
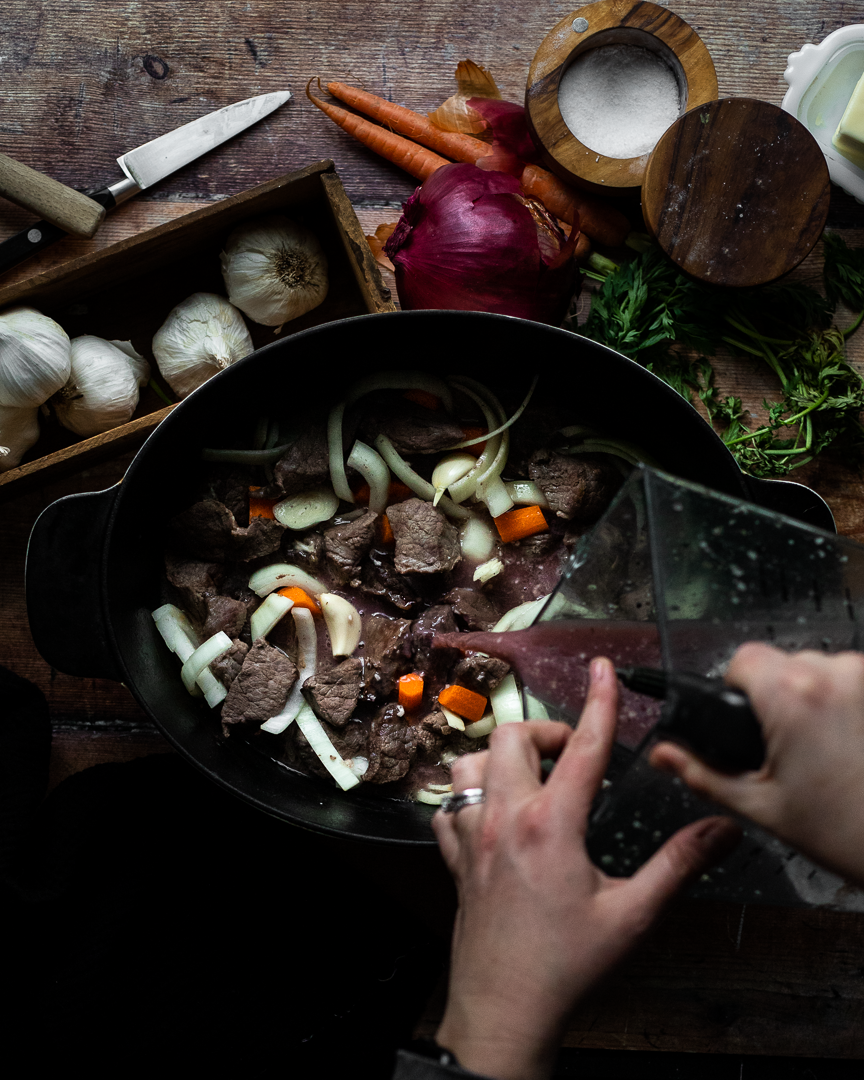
My next major shortcut was to whizz a majority of the ingredients in a blender and pour it all over the meat and veggies before a long, slow braise. Less chopping! No garlic fingers! Win win! But, if you don’t want to dirty your blender or food processor (which I completely understand) a traditional chop will do just fine.
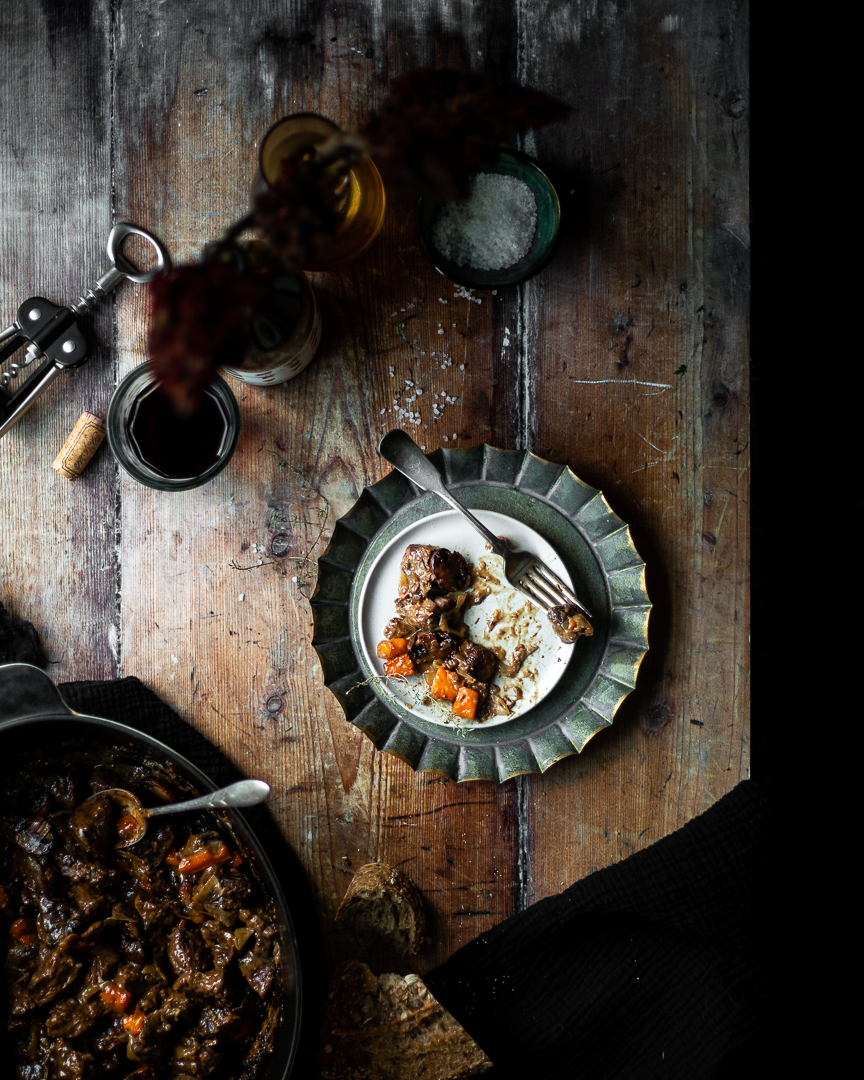
A deeply flavored, rich, and cozy beef stew is usually an all-day, multiple-pan affair. But this recipe simplifies the steps so that you can have this stew, which is mostly hands-off cooking, on the table in a maximum of 2 hours. #meandthemoose #beefstew #dinnerrecipes #beefrecipes
Weeknight beef stew
Time: 1 3/4- 2 hours
Yield: 4-6 servings
2 lbs stew beef cubes
1 Tbsp kosher salt, divided (see note above)
3 Tbsp butter
2 Tbsp flour
2 cups beef stock
1 cup red wine
2 anchovies
6 large garlic cloves, divided
1/2 tsp dried thyme
1/2 tsp black pepper
1 large onion
2 large carrots
Optional topping:
1/2 lb mushrooms (optional)
1 Tbsp olive oil or butter, or a combination
1 tsp balsamic vinegar
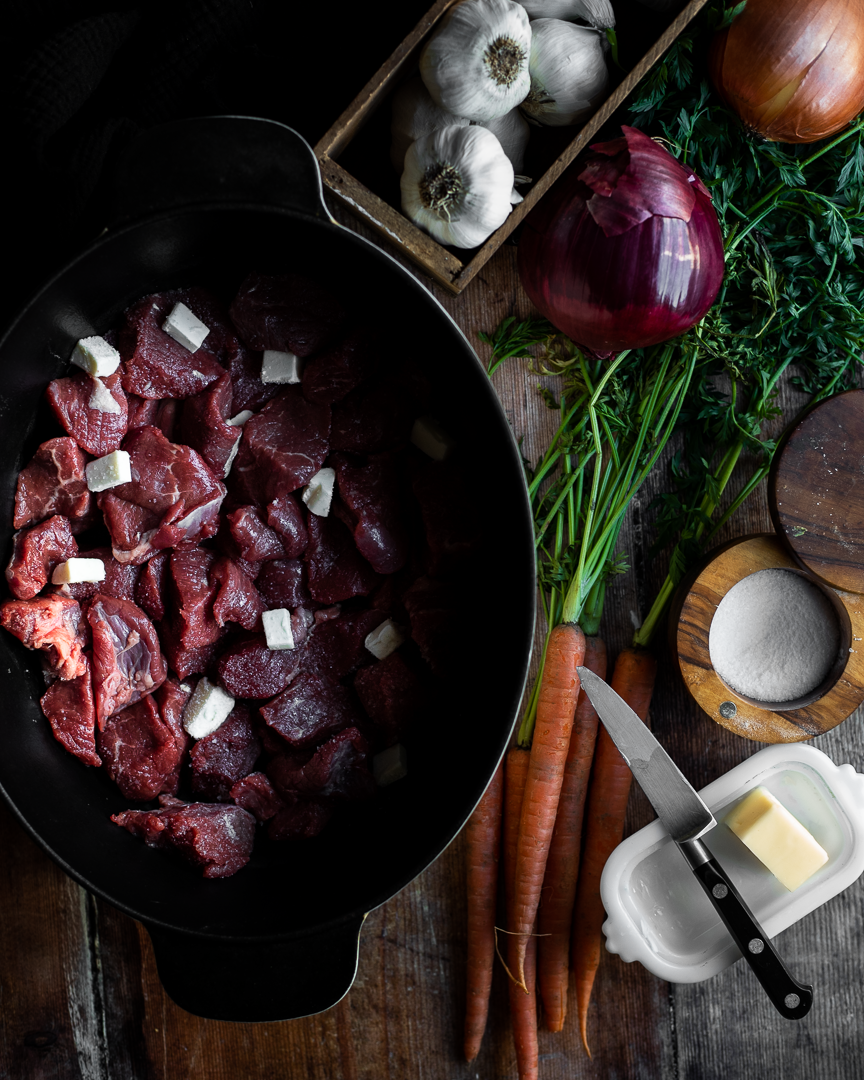
Preheat oven to 500. Pat the beef cubes dry. Add in a single layer to a large Dutch oven. Top with 3 Tbsp of butter cut into 6-9 small cubes. Sprinkle very lightly with salt. Roast, uncovered, for 15 minutes. Remove from the oven.
While the beef is roasting, add the beef stock, wine, anchovies, 3 cloves garlic, thyme, 1-2 very large pinches of salt, and pepper to a blender or food processor and whizz for 30 seconds.
Once the beef is quickly caramelized, turn the oven down to 375. Sprinkle 2 Tbsp of flour over the meat and mix. Add the onions and carrots and remaining 3 large garlic cloves to the pot. Sprinkle with another judicious pinch of salt. Stir.
Top with the liquid and bake in the oven, uncovered, for 1¼-1½ hours, stirring once halfway through the cooking time. The dish is done once the liquid has cooked down and thickened into a gravy-like consistency.
Optional topping:
While the beef is cooking, chop or slice the mushrooms and sauté in butter and olive oil. Once they have released their water and that water has evaporated, add the vinegar and cook for 1-2 more minutes until the vinegar has also evaporated.
Creamy mushroom soup
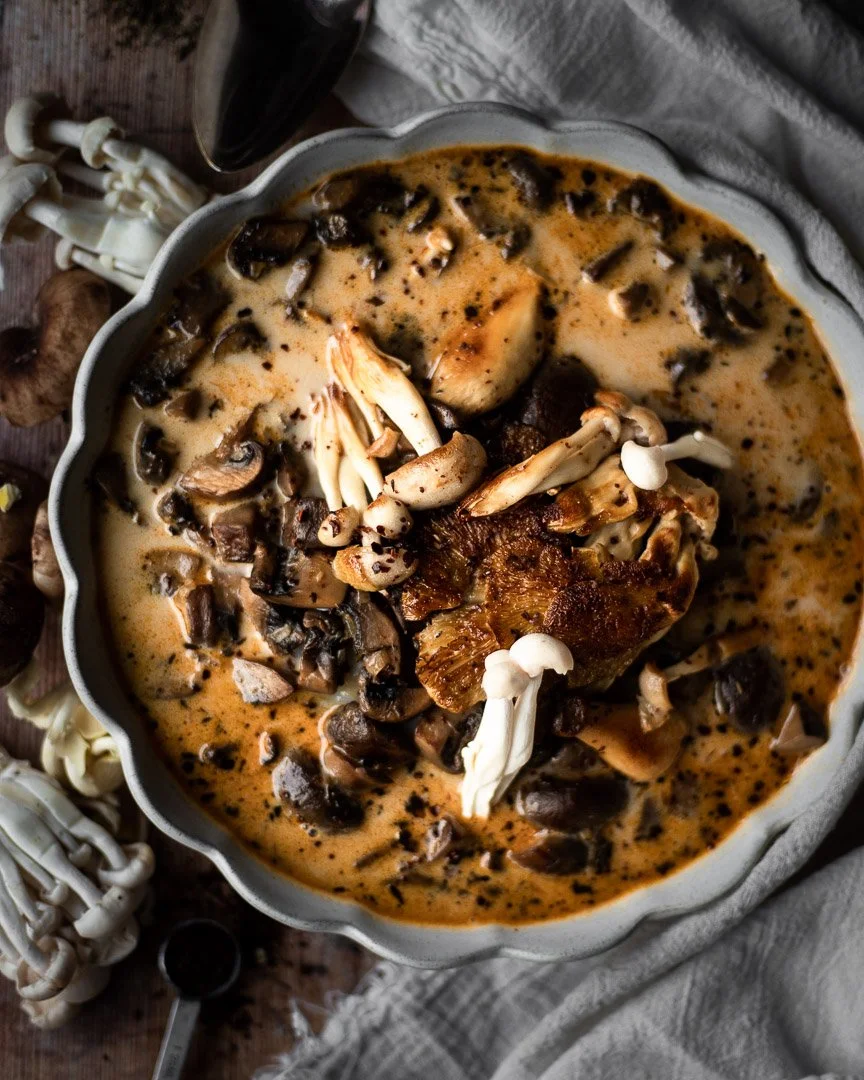
This creamy mushroom soup is a far cry from the gloopy, gray stuff that comes in a can, but is almost as easy to make.
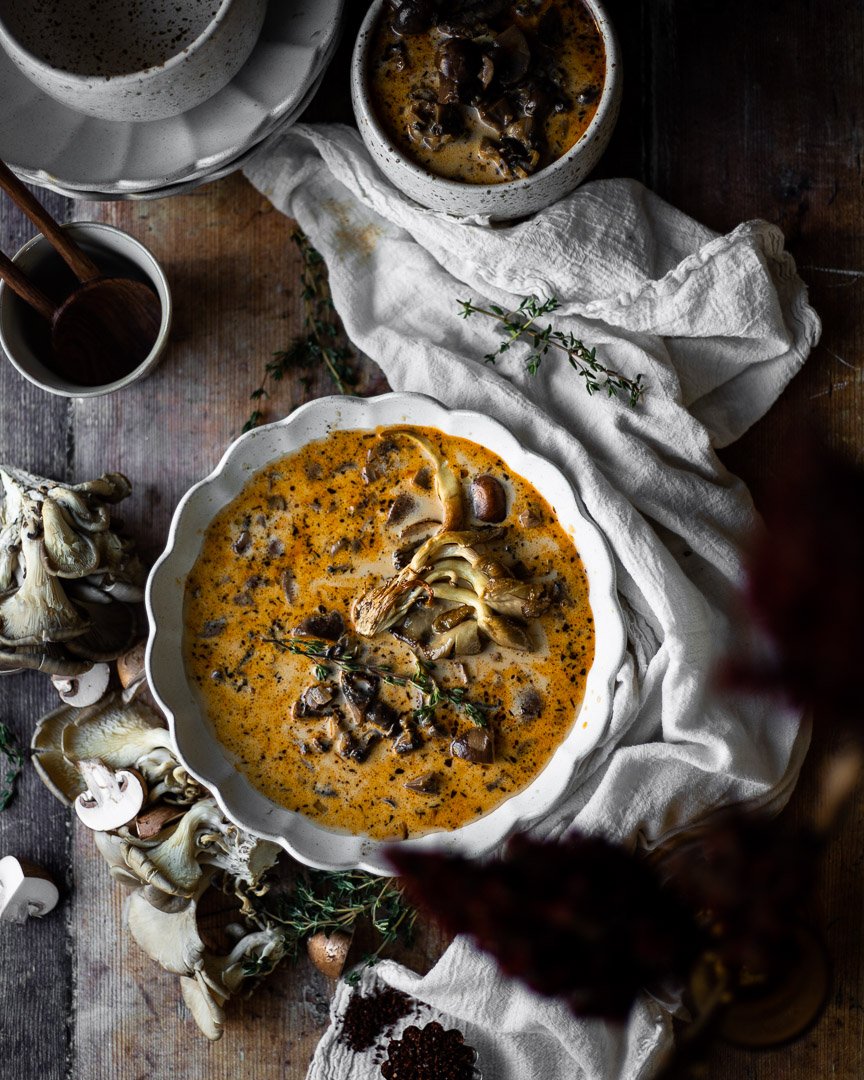
Two mushroom recipes so close together, huh? Yes! But hear me out. This recipe is so unctuous, so creamy, so warming, and so filling, that I couldn’t hold onto it any longer.
What makes this better than the canned version? Well, the color, first of all. The golden sautéed mushrooms, the purple shallots, and the red paprika lend this soup a much richer and nicer color than the gray stuff (it’s not delicious).

A note about adding dairy to hot soup: It’s possible to split the cream if you add cold dairy to other hot liquids. Split dairy basically looks like you’ve added thousands of little dots of cream rather than the soup looking uniformly creamy. Does that makes sense? It’s totally fine to eat and will taste good, but it sometimes doesn’t look as appetizing.
To avoid this, you can either heat up the dairy or cool down the base soup. The fattier the dairy, the less likely it is to split, so if you’re using heavy cream as I recommend for this recipe, let the cream sit at room temperature while making the rest of the soup. If it still feels chilly when you’re ready to add it, microwave it for 30 seconds before adding. If using a lighter milk or non-dairy milk, I would actually heat it to just simmering in a separate pan on the stove or significantly cool the base soup before adding it.

The texture is also completely different to the canned version. Theoretically, you could throw the mushrooms into a food processor and whizz for a few seconds to quickly chop the whole lot, but I like to cut them myself to get a range of sizes and shapes. I halve the really small shrooms, quarter the medium sized ones, and chop up the large ones. Remove the stems or don’t- that’s entirely up to you.
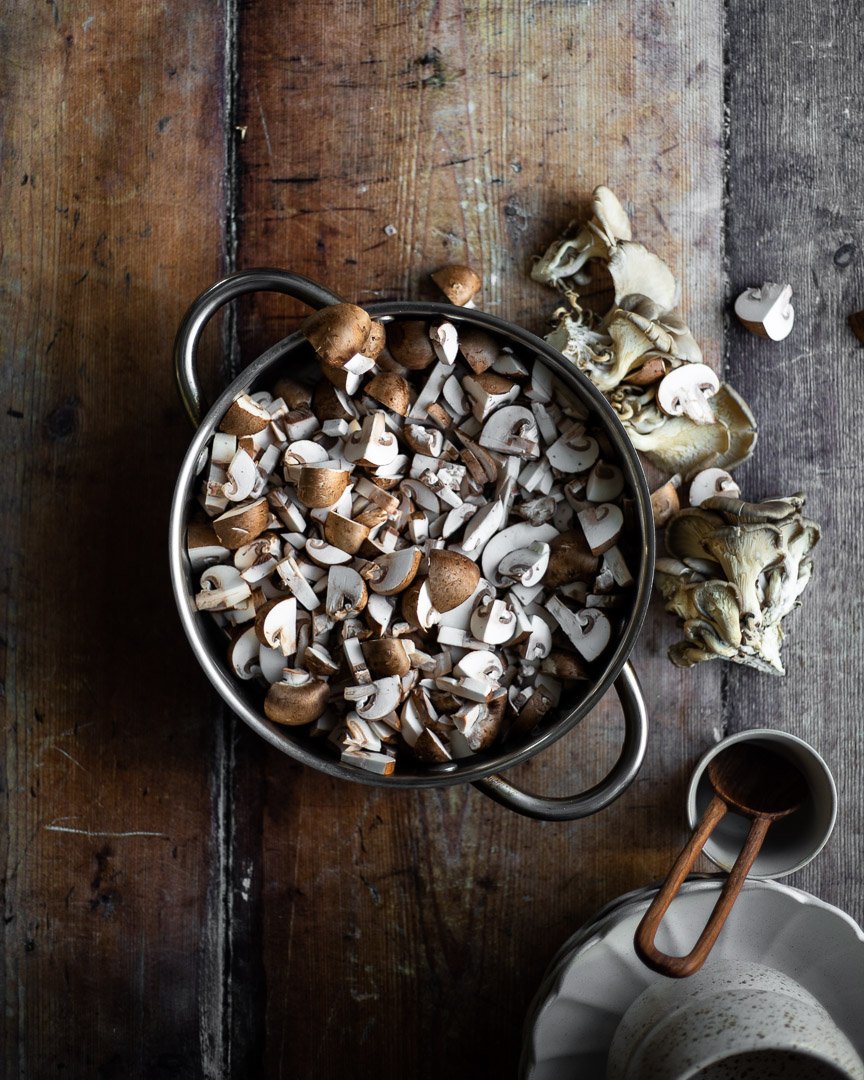

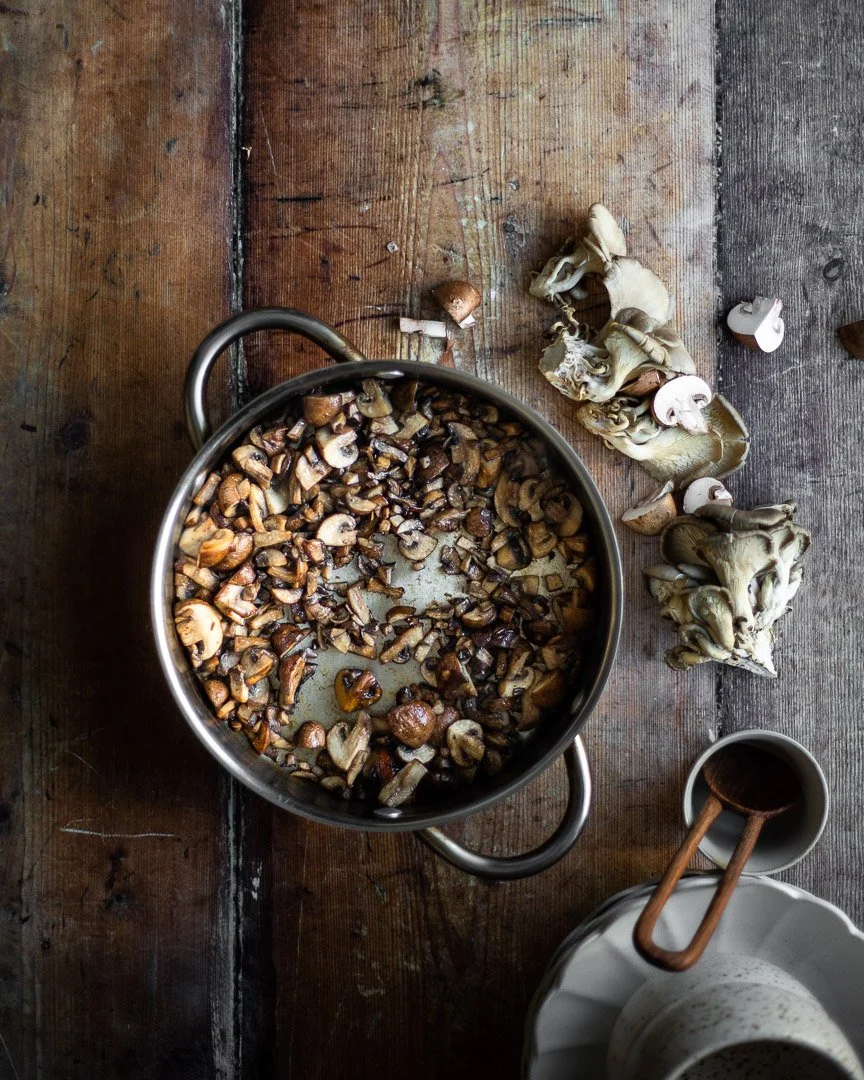
A note about how I tell if my mushrooms are cooked enough: I cook the mushrooms until they release some water and then that water evaporates. They will have cooked down significantly.
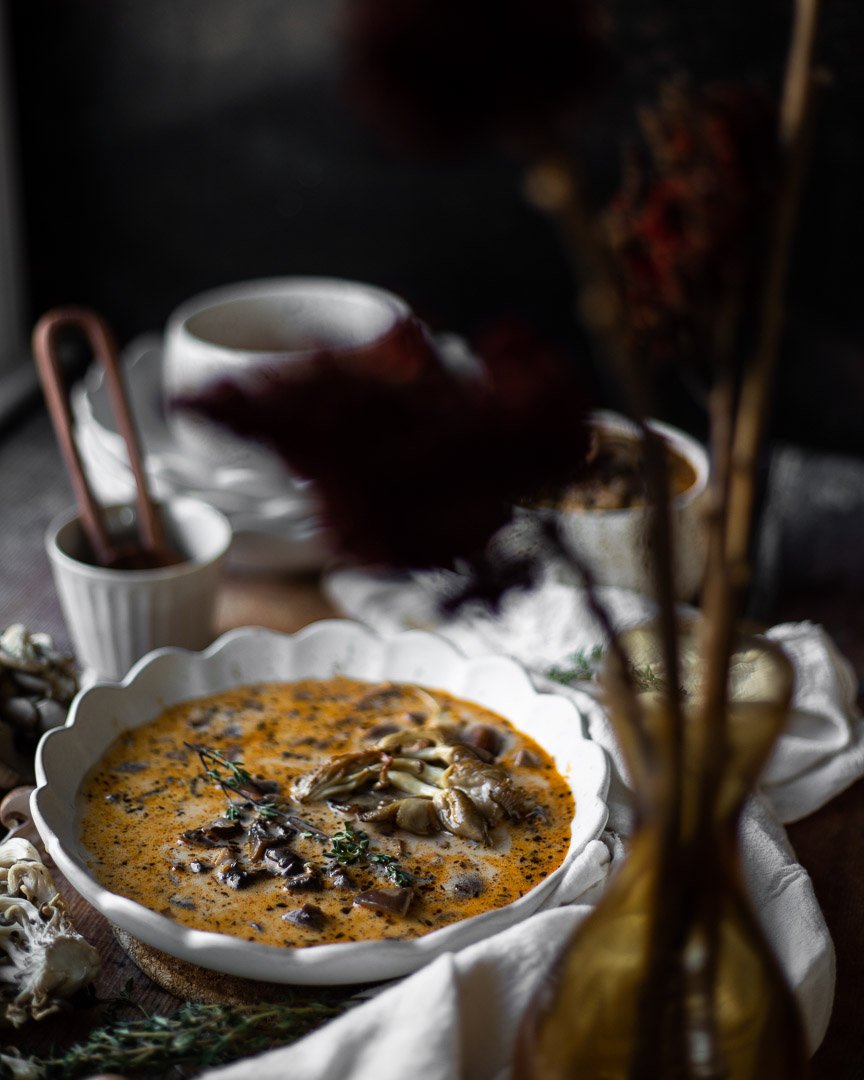
Creamy mushroom soup
½ cup heavy cream
24 oz mushrooms, cut into various sizes
1 Tbsp butter
2 Tbsp olive oil, divided
Heaping ½ tsp dried thyme
½ tsp paprika
2 tsp kosher salt
3 large garlic cloves, minced
2-3 large shallots, minced
½ cup white wine
4 cups stock (chicken, beef, or vegetable)
Time: about 45 minutes
Yield: 5-6 cups of soup
Measure out the heayy cream and let sit at room temperature while you make the rest of the soup. See note above about using other types of dairy in this soup.
Chop the mushrooms in varying sizes (see note above).
In a large pan, melt 1 Tbsp of butter and 1 Tbsp of olive oil over a medium flame. Once the pan is heated, add the mushrooms and cook over a medium flame, until the mushrooms have released their liquid and that liquid has evaporated, about 8-10 minutes.
Prep the rest of the ingredients while the mushrooms cook.
Once the mushrooms are relatively dry, add the thyme, paprika, salt, garlic, and shallots. Cook until the garlic and onions are fragrant and translucent, about 3 minutes. If the mixture seems very dry, add another Tbsp of olive oil.
Add the wine and stir, while scraping the brown bits from the bottom of the pan. Cook for another 2-3 minutes.
Add the stock and increase the flame to medium high. Bring to a boil. Lower the flame all the way and simmer, covered, for 20 minutes.
Add the cream and stir.
Chocolate anise crinkle cookies

These are the easiest, fastest, one-bowl, low-fuss, sophisticated, delicious Chocolate Anise Crinkle Cookies for your holiday (or any day!) baking. #meandthemoose #Christmascookies #chocolateanisecrinklecookies #chocolate #crinklecookies #cookierecipes
Heading to the spice cabinet can up your cookie game considerably! A subtle hint of anise elevates this basic chocolate crinkle cookie, but is still chocolate-y enough to be a crowd favorite.
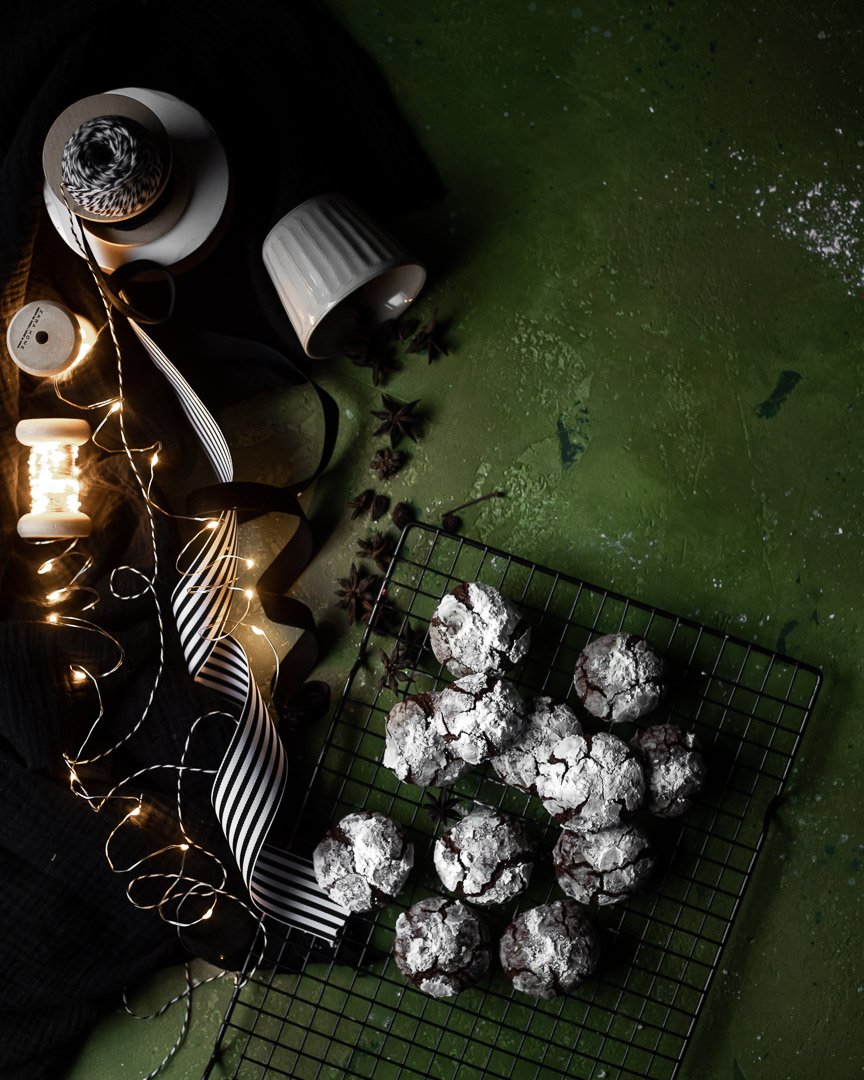
These are the easiest, fastest, one-bowl, low-fuss, sophisticated, delicious Chocolate Anise Crinkle Cookies for your holiday (or any day!) baking. #meandthemoose #Christmascookies #chocolateanisecrinklecookies #chocolate #crinklecookies #cookierecipes
I used to hate the flavor of licorice. HATE with a hard H, long A, and hard T. Hate. But somewhere between kid one and kid two, I had a weird impulse to try black licorice again and…I love it. I can eat a whole bag in one sitting. I can’t explain it. Except to say that tastes change and I’m not sure I ate a piece of licorice between the ages of 5 and 37, so I may have been unnecessarily denying myself for years.
So, if you think you hate the taste of licorice, maybe try again? Or try these cookies instead? The anise flavor is VERY subtle. It’s just enough to make you take another bite and wonder, “What is that? Licorice?”
The chocolate is still the star of the show and the texture is her very talented co-star.
This recipe is BARELY adapted from Dorie Greenspan’s one for Snowy Topped Brownie Drops from her cookbook Dorie’s Cookies. I made about 1 million of these cookies before circling back to this base recipe. I swapped in bread flour for the AP, tried a combo of melted chocolate and cocoa powder, and fiddled with many ingredient ratios. Nothing beat the original, which should come as absolutely no surprise to anyone who’s baked or tasted one of Dorie’s recipes.
What I love about these cookies isn’t just the taste and texture. I also love how they are SO EASY to make. Nothing needs to come to room temperature. You don’t need a mixer. You only need one pan. There are only a handful of ingredients, all of which you probably have in your cabinets right now. They are perfect.
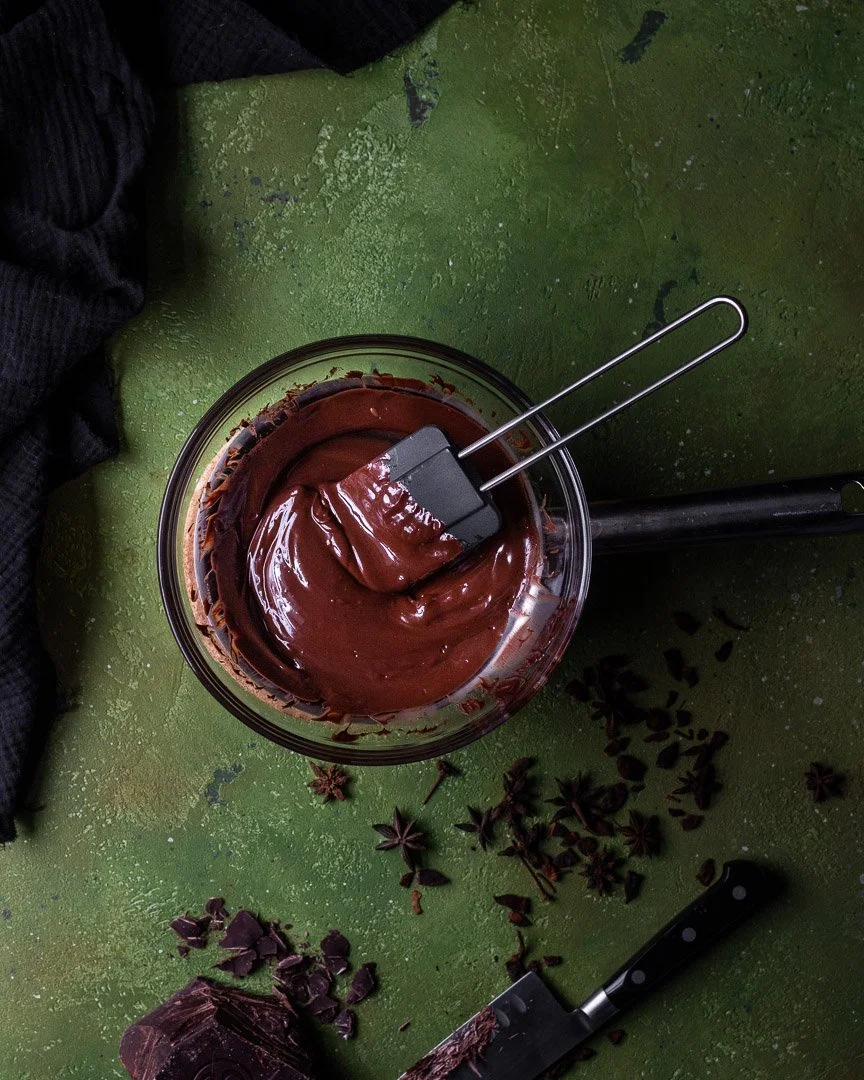
These are the easiest, fastest, one-bowl, low-fuss, sophisticated, delicious Chocolate Anise Crinkle Cookies for your holiday (or any day!) baking. #meandthemoose #Christmascookies #chocolateanisecrinklecookies #chocolate #crinklecookies #cookierecipes
These are the easiest, fastest, one-bowl, low-fuss, sophisticated, delicious Chocolate Anise Crinkle Cookies for your holiday (or any day!) baking. #meandthemoose #Christmascookies #chocolateanisecrinklecookies #chocolate #crinklecookies #cookierecipes
These are the easiest, fastest, one-bowl, low-fuss, sophisticated, delicious Chocolate Anise Crinkle Cookies for your holiday (or any day!) baking. #meandthemoose #Christmascookies #chocolateanisecrinklecookies #chocolate #crinklecookies #cookierecipes
A quick note about oven temperatures: If I’ve said in once, I’ve said it 1,000 times: Get to know your oven. It will make you a better baker and save you heartache and wasted ingredients. I bought two cheap oven thermometers and placed one in the back of my oven and one in the front. Wouldn’t you know it, the back of my oven is about 25 degrees warmer than the front. So now I always set the oven slightly below whatever temp the recipe calls for and rotate my pans halfway through baking. Works like a charm!

These are the easiest, fastest, one-bowl, low-fuss, sophisticated, delicious Chocolate Anise Crinkle Cookies for your holiday (or any day!) baking. #meandthemoose #Christmascookies #chocolateanisecrinklecookies #chocolate #crinklecookies #cookierecipes
Chocolate anise crinkle cookies
Adapted from Dorie Greenspan
Time: 20 minutes of prep, 30 minutes of chilling, 12 minutes of baking
Yield: 12 cookies
2 1/2 Tbsp butter
4 oz chocolate chips
6 Tbsp granulated sugar (75 g)
1 egg
1/2 tsp vanilla extract
3/4 - 1 tsp ground anise
Heaping 1/4 tsp fine sea salt
6 Tbsp AP flour (51 g)
Powdered sugar for rolling
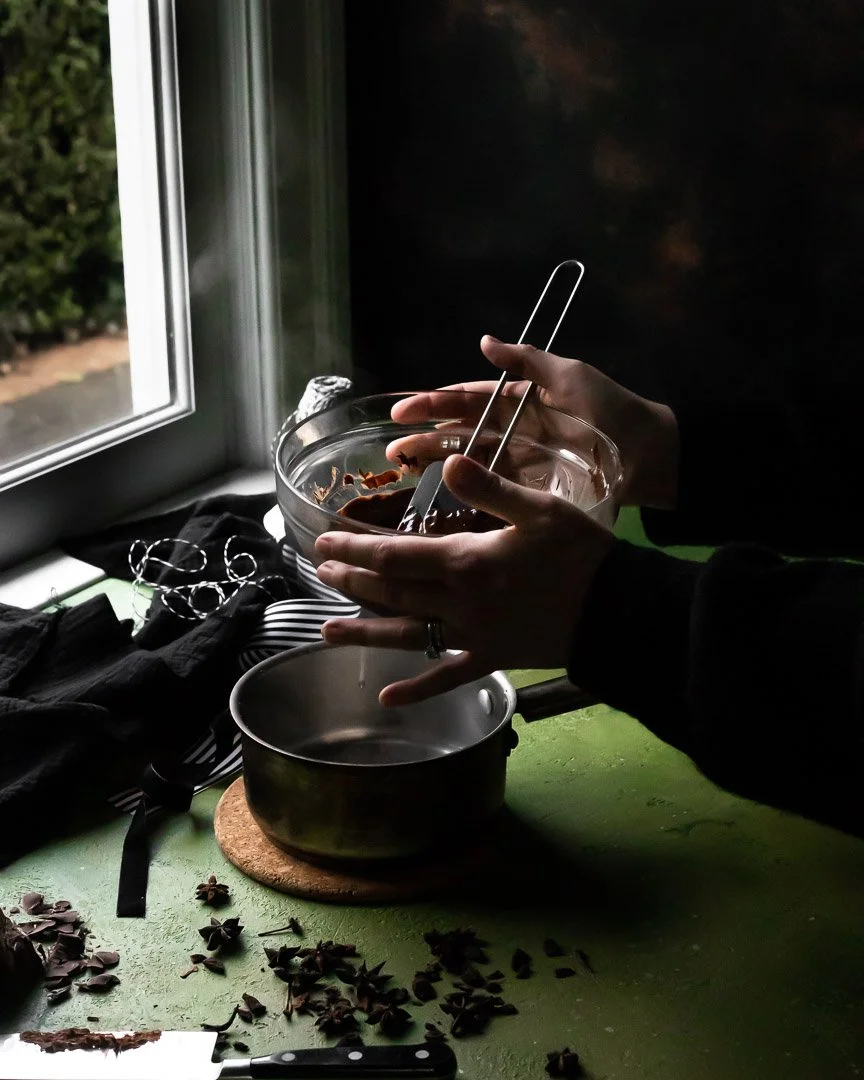
In a large bowl, melt the butter and chocolate chips in the microwave or over a small pan with 1/2 an inch of simmering water. If using the microwave, start by heating on high for 30 seconds. Stir, and then heat in 10-second bursts until everything is nearly melted. Stir well to let the residual heat finish the job.
Let cool for about 5 minutes.
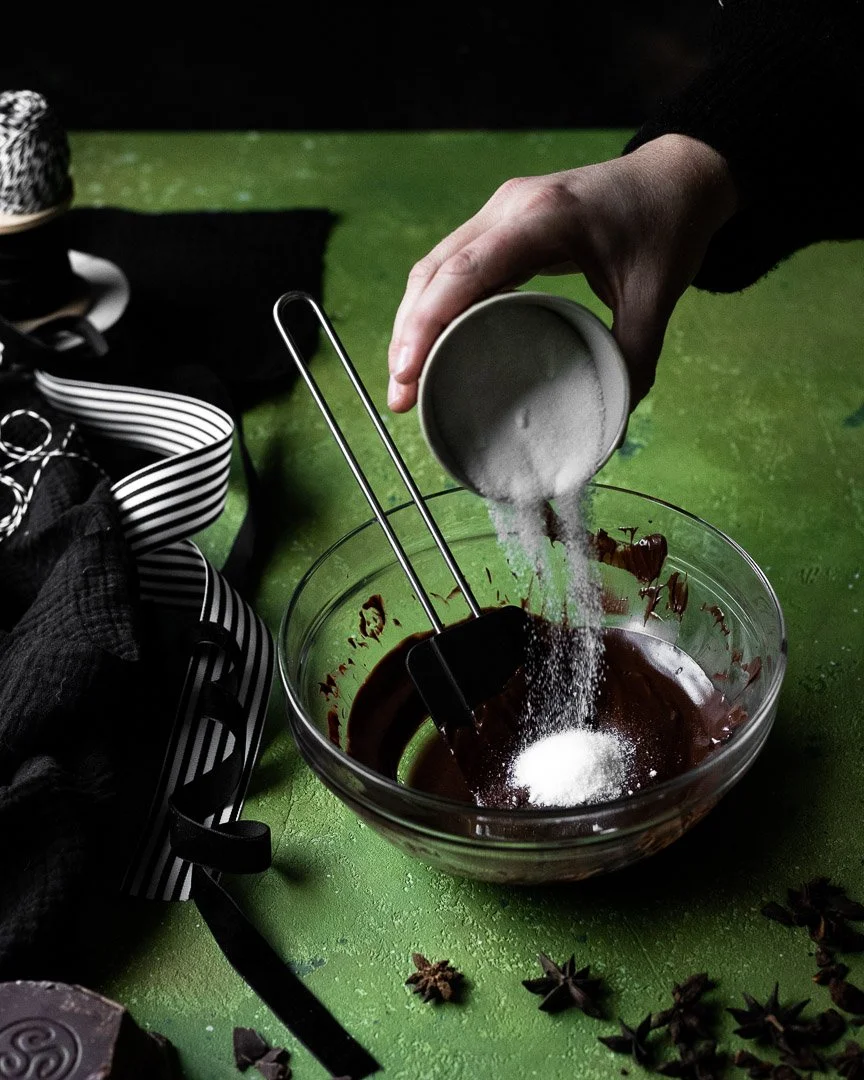
Add the sugar and mix well with a spatula. Add the egg and the vanilla and mix well.
Add the anise, salt, and flour and mix well. If you are feeling fancy, you can whisk the dry ingredients together separately and then add them to the wet ingredients, but I have not had a problem with distribution when dumping everything into the bowl together.
Cover and freeze for 30 minutes.
Preheat the oven to 350. (See note above!)
Scoop about 1-2 Tbsp of batter and roll into a ball between your palms. Drop into the powdered sugar and cover completely and liberally with the powdered sugar.
Bake for 10-12 minutes, rotating the pans halfway through. The cookies should be slightly under-baked because we want them to have a gooey, brownie-like texture in the middle.