Macadamia nut brittle no-churn ice cream

Since we’re all still social distancing this summer, cut down on your trips out for ice cream by making this simple, but fancy-seeming caramel-y, nutty, and creamy no-churn ice cream at home.

This dish is the epitome of “looks harder than it is” cooking. There are some tricky parts, but all told, the ice cream base only takes 10 minutes to put together and the brittle is about 10 minutes of prep and then 10 minutes of watching like a hawk and then you’re done!
So why should you bother with this recipe if it’s tricky? Well, it’s the best combination of a '‘project” because we all need things to fill the day, especially when those things result in delicious ice cream, and something simple. You won’t end up with hundreds of dishes and the ingredients are pretty easy to come by. (I mean, so far, there’s no run on sweetened condensed milk, but who knows. I got everything through a curb-side order from Target.)
I also love no-churn ice cream because, even if you have one, who really wants to haul out an ice cream maker? The texture falls somewhere between soft serve (the love of my life) and hard ice cream,
This is also a great kids’ cooking project. Maybe do the scalding-hot-sugar portion yourself, but the rest (smashing brittle to pieces! whipping cream! Gently folding the two together!) is 5-year-old approved.
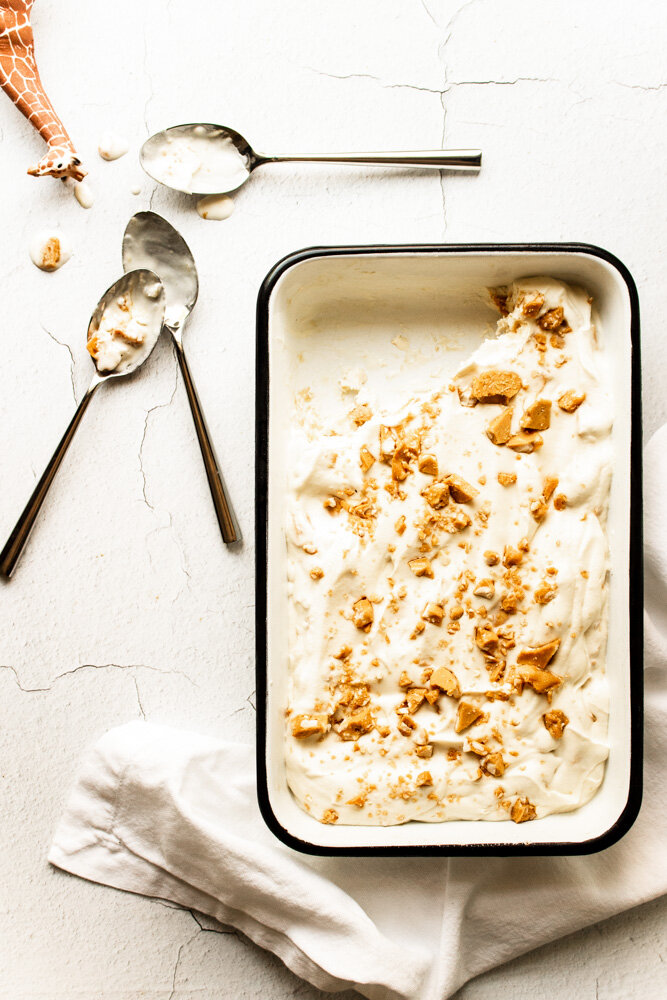
And best of all, the final ice cream is so much better than the sum of its parts. I literally couldn’t stop eating it. It’s caramely and crunchy, but also super creamy. It’s sweet, but not overly sugary. And for my husband, it brings him right back to childhood when he used to eat this now discontinued Haagen Dazs flavor with his dad.
A couple of notes:
I barely adapted this recipe for the brittle from Bon Appetite, and added copious notes to demystify this process (don’t be put off by the length of the recipe below! it’s actually really simple!). Caramel is basically just-burned-enough sugar, but it goes from perfectly browned to acrid in a matter of seconds. So, to save you from redoing the brittle a few times and wasting ingredients, I’ve added a lot of notes within the recipe itself.
Read the directions through one or two times before making this. It’ll really streamline the process and help you anticipate what’s happening with the super hot sugar.
I’ve used salted nuts and salted butter, but both are optional: Use what you can find. If opting for unsalted nuts and butter, add some salt to the dry brittle ingredients (see note in the recipe).
Macadamia nut brittle no-churn ice cream
Yield: 2½ cups brittle; about 5 cups ice cream
Time: About 20-25 active minutes for the brittle; 10 minutes for the ice cream; 8 hours freezing time
For the brittle
(Adapted from Bon Appetite)
1 cup roasted, salted macadamia nuts, roughly chopped into peanut-sized pieces (you can also use unsalted, raw nuts, but you’ll need to roast them yourself in a 400 degree oven until they start to smell nutty and are slightly golden; and add ½ tsp of sea salt to the dry mixture)
1 Tbsp butter (salted or unsalted), straight from the fridge and chopped into 9 pieces
1 tsp baking soda
1 cup sugar
½ cup water (plus an extra ½ cup for wiping the sides of the saucepan while cooking)
2 Tbsp light corn syrup
Line a baking sheet with parchment paper and set aside.
Grease a spatula with butter and set aside.
Place a trivet or oven mitt on an area of your counter.
Fill a cup with some water and unearth your pastry brush. Set aside.
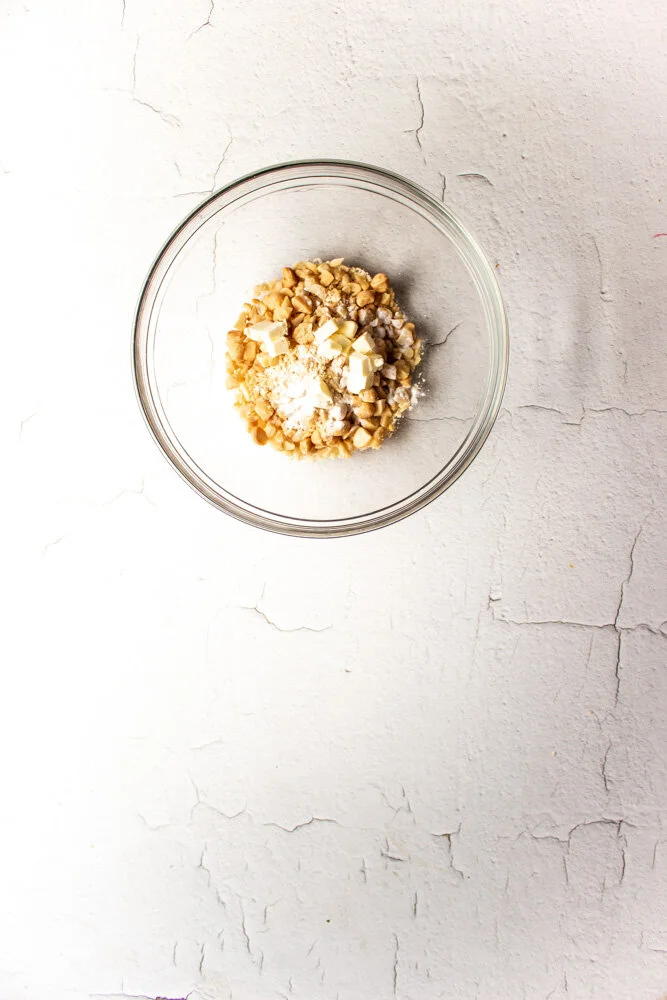
In a medium bowl, combine the chopped nuts, butter, and baking soda. Set aside.
In a medium-sized, but deep (not wide) saucepan, combine the sugar, water, and corn syrup. Stir to combine with a second spatula (other than your greased one). Place over a medium-high flame and stir until the sugar dissolves and you can’t feel any grit, about 2-3 minutes.
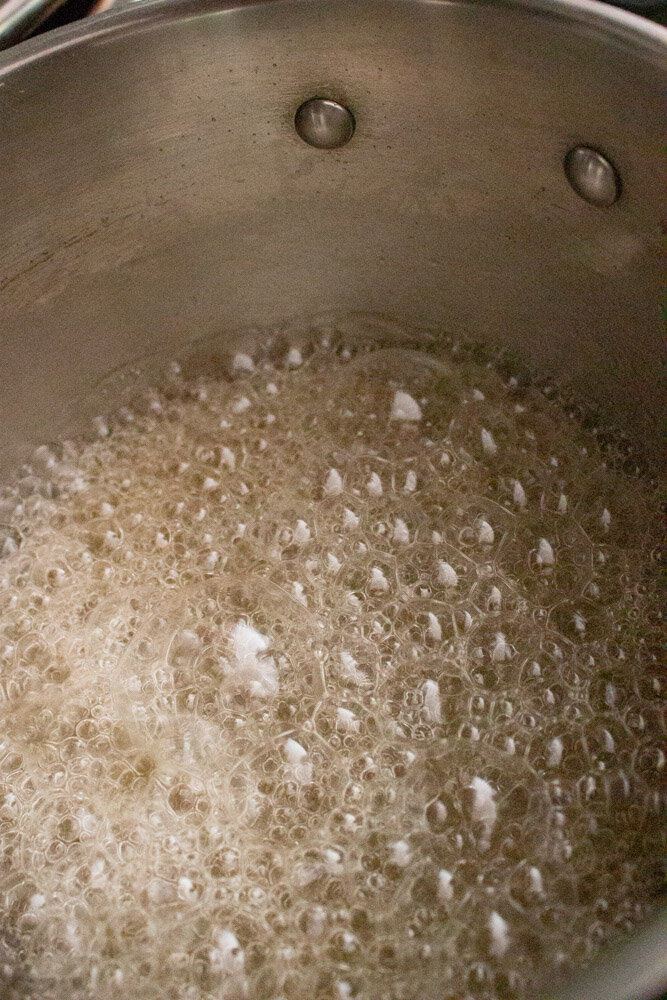
Leave the flame at medium-high and let the mixture come to a big, rolling boil for anywhere from 7-9 minutes. Do not stir.
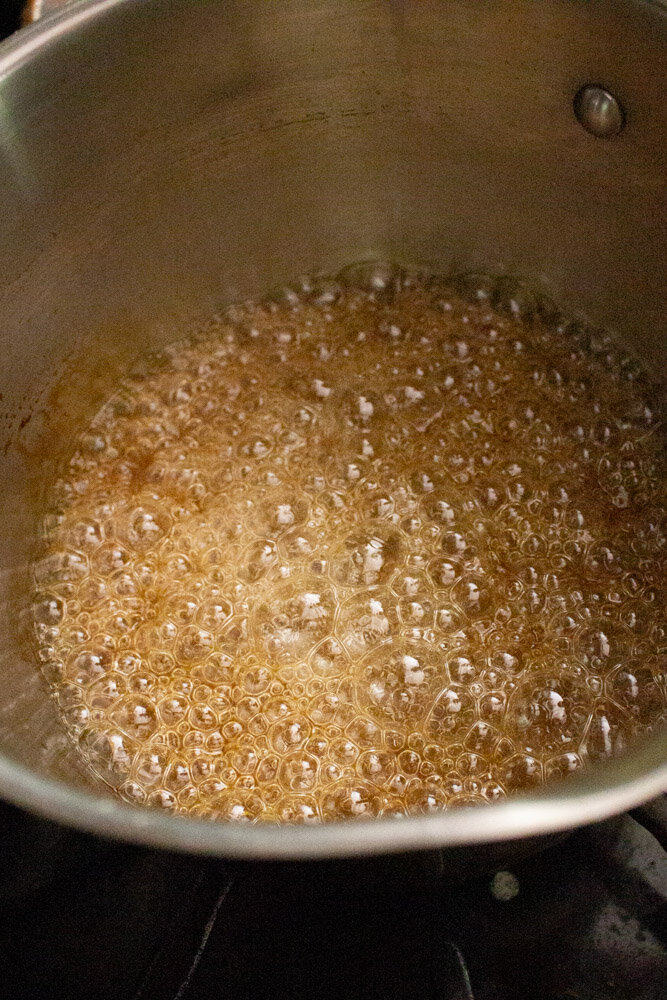
The sugar usually turns from a clear, light-ish yellow to a golden camel color in about 8 minutes, but if your flame is slightly cooler or hotter than mine, it may take an extra minute or one minute less.
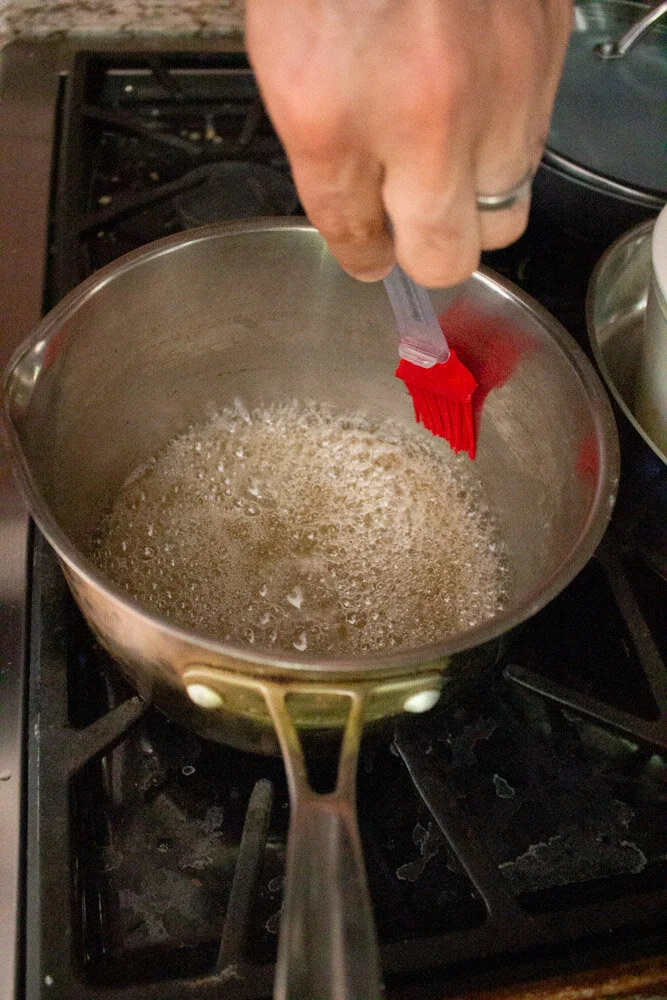
Every minute or so, wipe the insides of the pan with a wet pastry brush to remove thin layers of sugar water that may have splashed up the sides of the pan. Start with your brush about an inch away from surface of the hot sugar and then work your way down the sides of the pan with the wet brush, shimmying it from side to side, dissolving that thin layer as you go. Re-wet the brush often.
It’s hot in there, so be careful. If the water bubbles or crackles so much that it spits onto your skin when you touch the sides with the wet brush, the pan is too hot. Turn down the flame slightly and try again in 30 seconds.
However, if you brush the insides of the pot with the water and it doesn’t make any hissing sound, your pan isn’t hot enough. Turn up the flame slightly and try again in 30 seconds.
Another temperature gauge is the steam or smoke coming off of your pan. You DO want some steam, you DO NOT want smoke. It can be hard to tell the difference. For me, the volume of that vapor is the easiest way to tell: Really visible, obvious steam that looks at all smoky means that your pan is too hot.
Once you’ve found a comfortable angle for wiping the sides, rotate the pan to ensure that you get everywhere, but aren’t sticking your hand awkwardly over burning hot sugar.
This cleaning method isn’t perfect and you’ll likely smell some burning sugar. Don’t let it fool you into thinking that your sugar is cooked too early. Just try to find the burning spot and give it an extra brush with water.
Let the pan bubble until the sugar turns that medium camel color. Every 30 seconds to 1 minute, give the pan a few swirls to make sure the sugar browns evenly. The edges of the sugar will cook faster than the center.
These swirls should be vigorous enough to really mix the sugar, but not so vigorous that you splash more sugar onto the pan’s sides than necessary. Rotate the pan occasionally too.
If the bubbles make it hard to judge the color, use a rubber spatula to gently move the bubbles to one side and try to spot the color underneath.
Once you reach your desired camel color, remove the pan from the heat. (Don’t just turn the flame off, actually move the pan to the trivet we placed earlier. The caramel can burn quickly.)
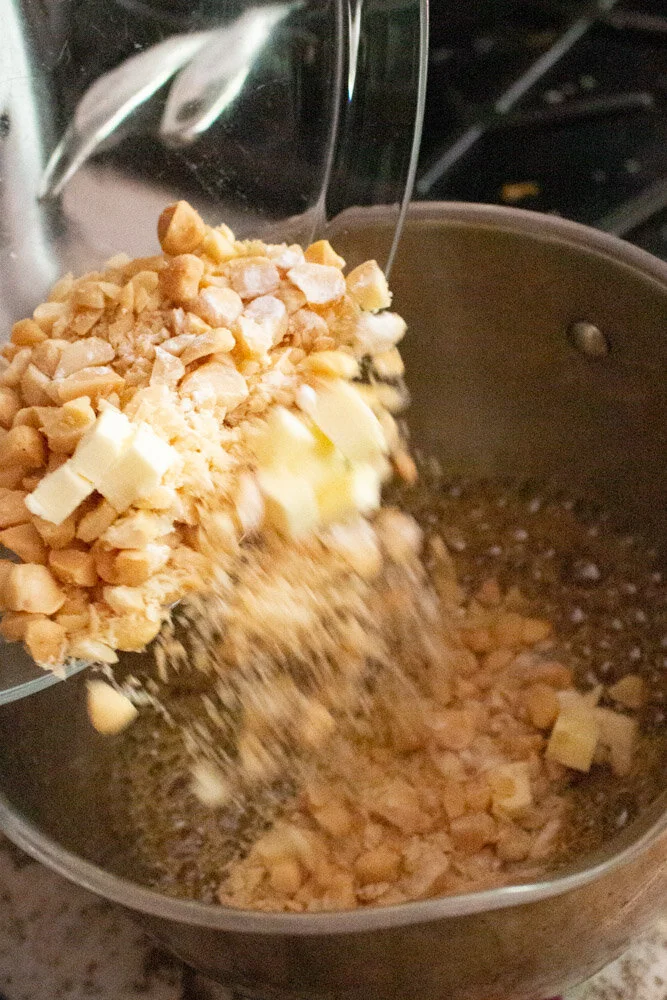
Using the buttered spatula. stir in the nuts, butter, and baking soda and combine vigorously. It may take a minute for the butter to melt completely. The mixture should bubble up a bit thanks to the baking soda.
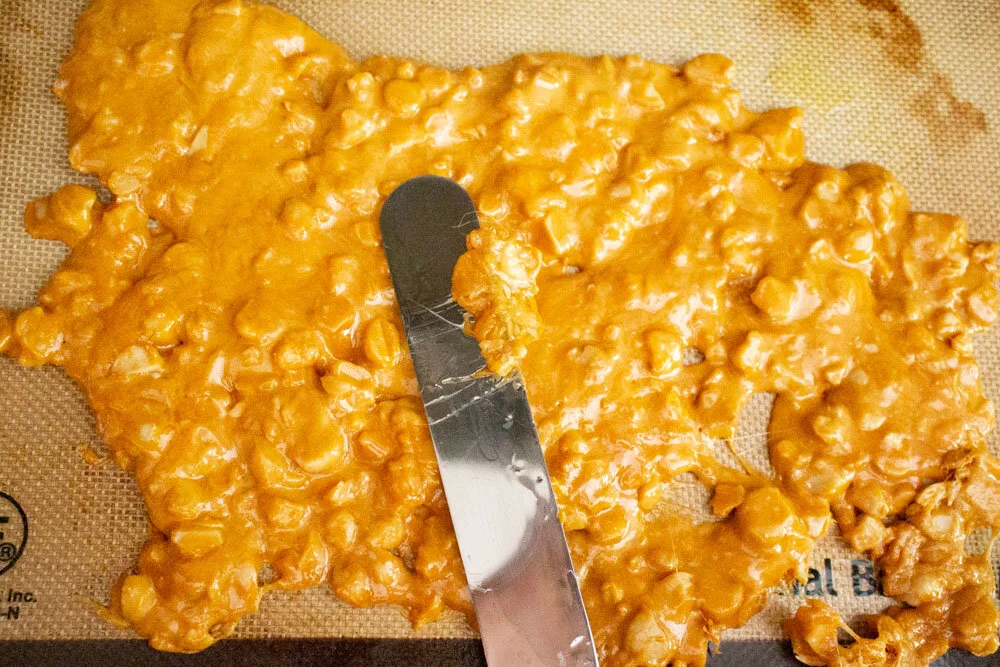
Immediately dump the mixture onto the parchment and spread into a thin layer with the buttered spatula. Let harden and cool completely while you make the ice cream base.
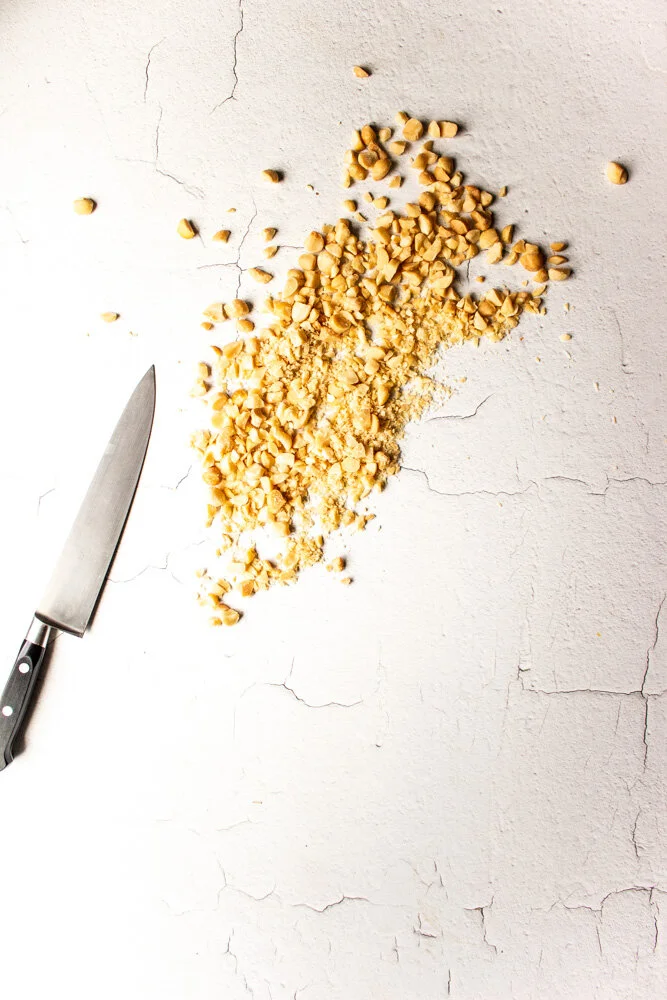
When it has completely cooled, smash the brittle into lots of small, pea-sized pieces. I use a kids’ hammer for this part.
For the ice cream
(Adapted from literally hundreds of recipes for no-churn vanilla ice cream)
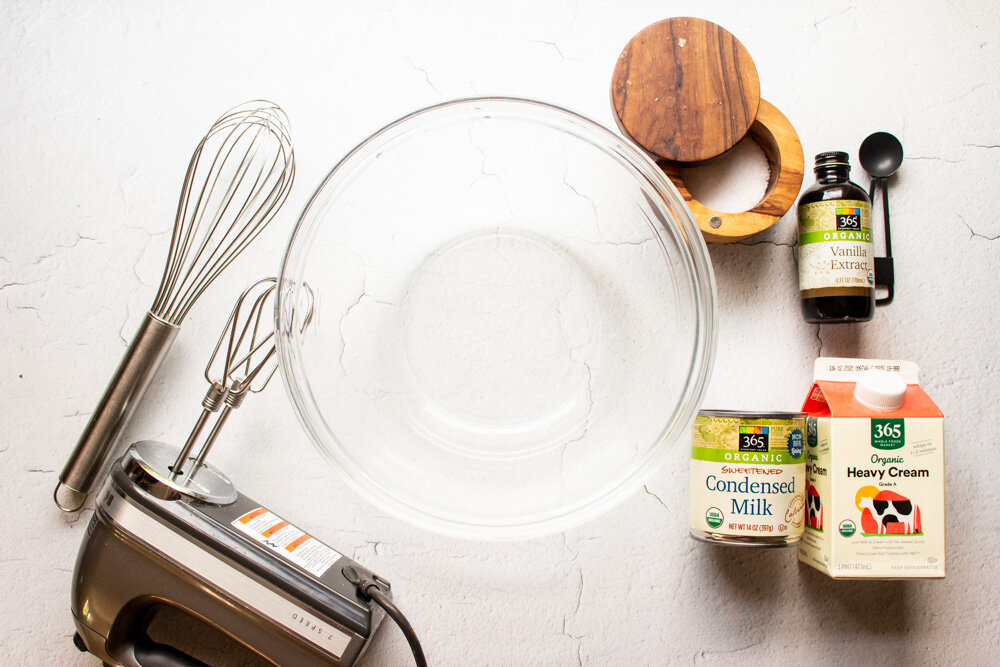
2 cups heavy cream (1 pint)
14 oz sweetened condensed milk (1 small can)
1 tsp vanilla extract
1 generous pinch salt
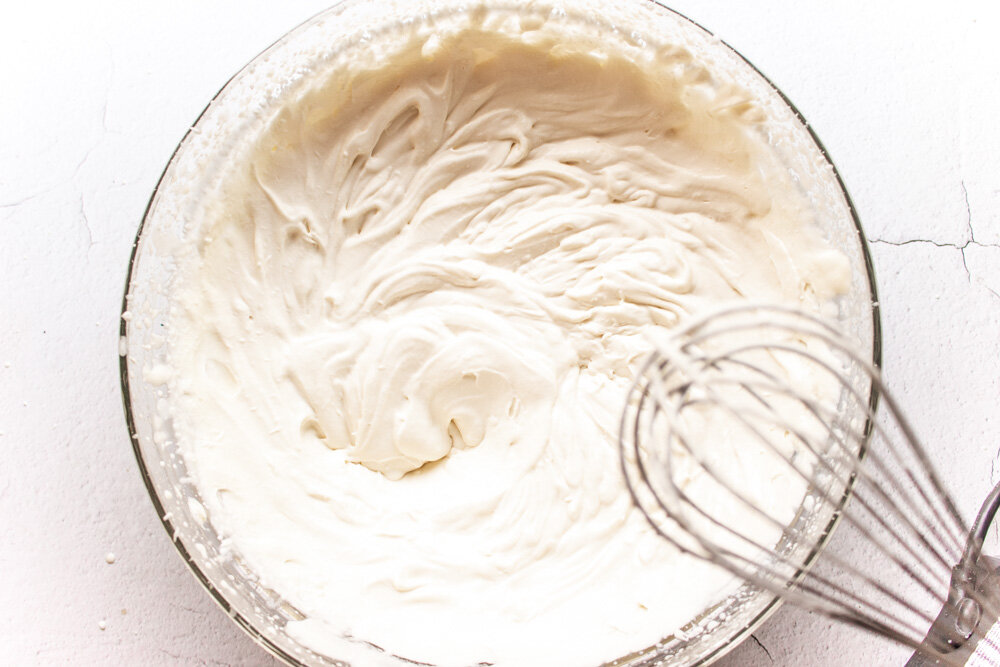
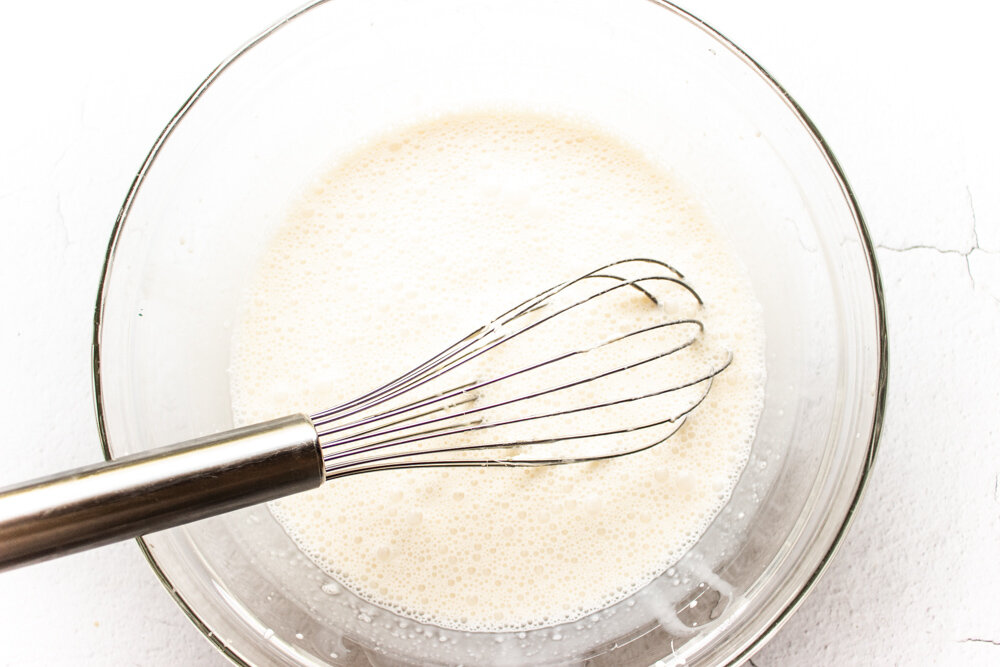
In a large bowl or the bowl of stand mixer, combine all of the ingredients. Whisk slowly to combine.
Gradually increase speed until you’ve reached the highest setting or second highest setting on your hand mixer or high speed on your stand mixer. It will splatter either in the bowl of the mixer or all over your kitchen if using a hand mixer. Keep mixing..
Slowly, you’ll begin to see tracks in the cream from the whipping of the whisk attachment. When those tracks deepen and remain after the whish has gone through the cream, keep whisking for one more minute.
This entire process should take about 5 minutes.
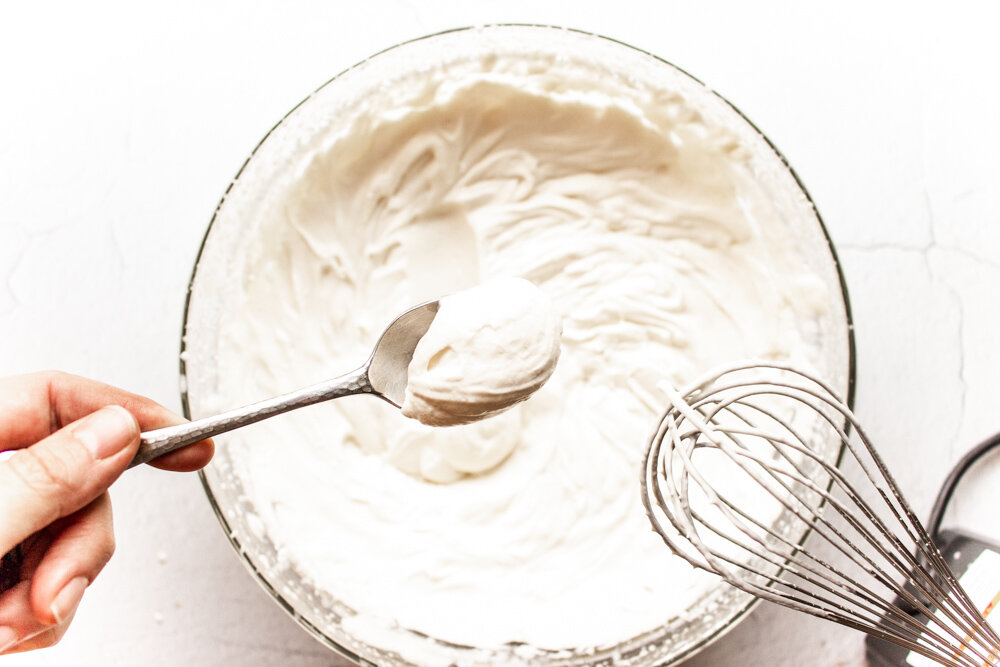
When the cream is whipped to “stiff peaks” stage (when you run a spoon through it, the indentation from the spoon should stay firmly in place), Gently fold in 1¾ cups of the brittle.
Move to the container you’ll use for freezing the ice cream. Top with another ¼ cup of brittle.
Freeze for at least 8 hours or overnight.
Creamed broccoli

A little garlic, cream, and parmesan transform ho hum frozen broccoli to a delicious side dish that even my 5-year-old, hot-dogs-for-breakfast kid will eat.

I don’t actually feed my kid hotdogs for breakfast, but he WISHES that I would. I’m pretty sure he’s cried about it at least once this week.
How are you all feeling about your kids’ nutrition during quarantine? I know I’ve been eating like a maniac for a few reasons. First, I’m nursing, so I need at least 10,000 calories a day, right? Second, we can’t go anywhere or do anything, so we’ve definitely been using food as recreation, pleasure, and fun; all of the things we used to get outside of our house and with people besides one another. Third, I’m awake so many more hours per day with a newborn that I have more time to graze in a fatigued stupor.
All of this has set a really bad example for my kid. He wants to eat only comfort, pleasure foods and I’m too tired to fight it a lot of the time. Also, he’s kind of a jerk when he’s hungry, which I’m pretty sure is genetic. This broccoli has been helpful because I feel good about him eating something green and he feels good about eating something with cream and cheese.
I’m really trying not to sweat the eating too much. I think we’re all feeling like some degree of failure if the number of “It’s okay to______ or not to _______during quarantine” think pieces I’ve seen is any indication. It’s hard to do anything all the time. Like I always say, too much of a good thing is still too much. Family time is great, but no one gets a break from each other. I like being a homebody, but what I wouldn’t give for a playdate so my kid could destroy someone else’s house for a change.
If eating a fourth cookie means I can laugh at the AWFUL haircut my husband gave M and not cry with rage because he looks like Eleven from Stranger Things, so be it.

A couple of notes:
This recipe is barely adapted from one I found on epicurious. Some commenters didn’t love it, but extra Parmesan and garlic really help, I think.
This is a little soupier than other “creamed” things like spinach or corn. A lot of recipes call for a roux, which I opted against because I wanted this recipe to be fast and also, AP flour is about as scarce here as toilet paper or hope. What? Too dark??
I kind of like the soupyness because we all have enough homemade bread to last until the next pandemic, right? So we need something to sop up with all those carbs. This is also nice tossed with some noodles or zoodles or the like.
I use frozen broccoli for this recipe because I feel like that might be more accessible currently, but you can definitely use fresh broccoli.
If you don’t have a shallot, sub in some really finely minced onion or just another clove of smashed garlic.
When I say “well-smashed” I really want you to give the garlic a good squish with the side of your knife. Get aggressive. You want each clove to be in several pieces.

Creamed broccoli
1 bag frozen broccoli or 1 large head of raw broccoli (about 4 cups of florets and stems)
1 Tbsp butter
4 large garlic cloves, smashed well
1 large shallot, thinly sliced
1 cup heavy cream
½ cup grated parmesan cheese
Salt and pepper to taste
Yield: About 3-4 cups of broccoli
Time: 15 minutes, all active
In a large bowl, microwave the frozen broccoli until completely defrosted, about 4 minutes. Drain and place the broccoli on a paper towel while making the sauce.
If using fresh broccoli, bring a large pot of water to a boil and drop in the florets. Cook for 3-4 minutes and drain. Set on a paper towel to dry while making the sauce.
In a medium pot, melt butter over a medium flame. Add the garlic and shallots and cook until fragrant, about one minute, reducing the heat if the shallot or garlic start to burn.
Add the cream and allow it to bubble. If it isn’t coming to a boil, increase the heat slightly. Similarly, if the cream is scalding or bubbling too fast, reduce the heat slightly. You want the cream to bubble pretty vigorously and it’s okay if it bubbles up and seems to expand, but we don’t want browning or burning.
Keep a close watch and stir occasionally until the cream has reduced and thickened so that when you scrape the bottom of the pot, the liquid doesn’t immediately re-cover the metal, about 4-5 minutes.
Add the parmesan and stir until melted, about 30 seconds.
Carefully taste the sauce (don’t burn your mouth!) and season with salt and pepper.
Add the broccoli and cook, stirring, until the sauce has covered the broccoli to your liking. The broccoli will release some water and thin out the sauce.
SPD: Gnocchi, sausage, and fridge leftovers
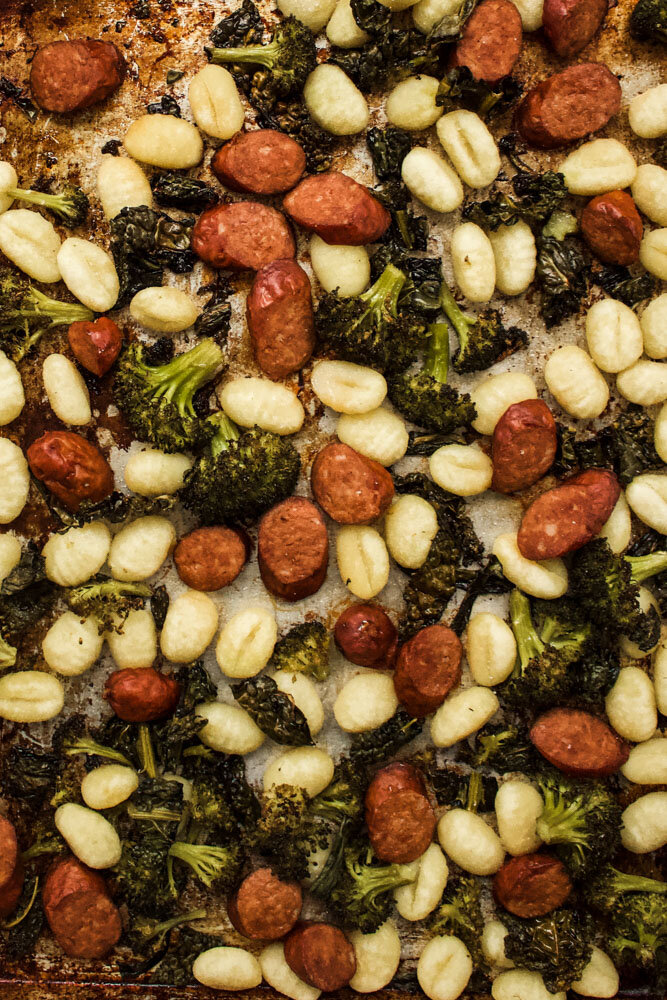
Truly clean out your fridge or freezer with this sheet pan dinner that combines textures and flavors to make something much greater than the sum of its ingredients.
Around the new year, we decided to work on minimizing our food waste because, as any parent of young children can tell you, kids don’t give A SHIT about wasting food. Without resorting to the whole “there are starving children in the world, so you will eat this broccoli” threat that just leads to power struggles, we’re trying to be creative about getting M to eat whatever we make. Especially now that groceries are a little harder to come by (but not that hard, really).
I’ve seen millions of recipes about roasting gnocchi and for some reason, I’ve resisted. Though I feel like gnocchi should really appeal to M, the soft kind leaves him cold. When they’re roasted, however, they get crispy on the outside and soft on the inside, so they’re closer to tater tots or french fries than soft pasta. Let me tell you: Anything french fry-related appeals to my child.
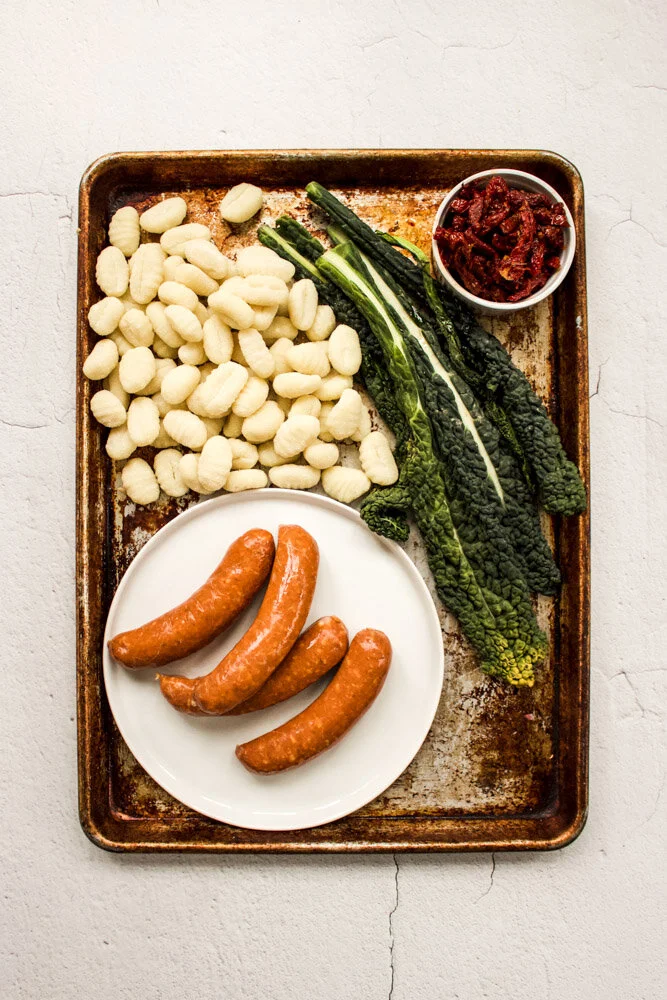
We also included sausages (these are chorizo) because sausage is almost always eaten around here. You could also use hot dogs if that’s something your children will actually eat. Desperate times, people. Desperate times.
I can also confirm that this sheet pan dinner can be made with one hand while holding a baby.
A couple of notes:
When I started making this sheet pan dinner, I was trying to mimic the flavors of a Portuguese sausage and kale soup, so I used chorizo, Lacinto kale, potato gnocchi, and sundried tomatoes, but as I said above, you can use any kind of sausage that you like, including hot dogs.
You can also use any veggies in this sheet pan. I initially used just kale, which gets nice and crispy, but ended up using a combination of kale and broccoli or kale and something else that was about to go bad. I like the crispy kale, but for a meal, I feel like you need more textures. But really, use what you have on hand.
I finish this dish with oil packed sundried tomatoes, but if you only have the dried ones, reconstitute them in boiling water for a few minutes before adding to the sheet pan. I would NOT recommend throwing any fresh tomatoes onto the sheet pan because the water that comes out of the fresh tomatoes will steam the veggies and gnocchi and prevent them from crisping.
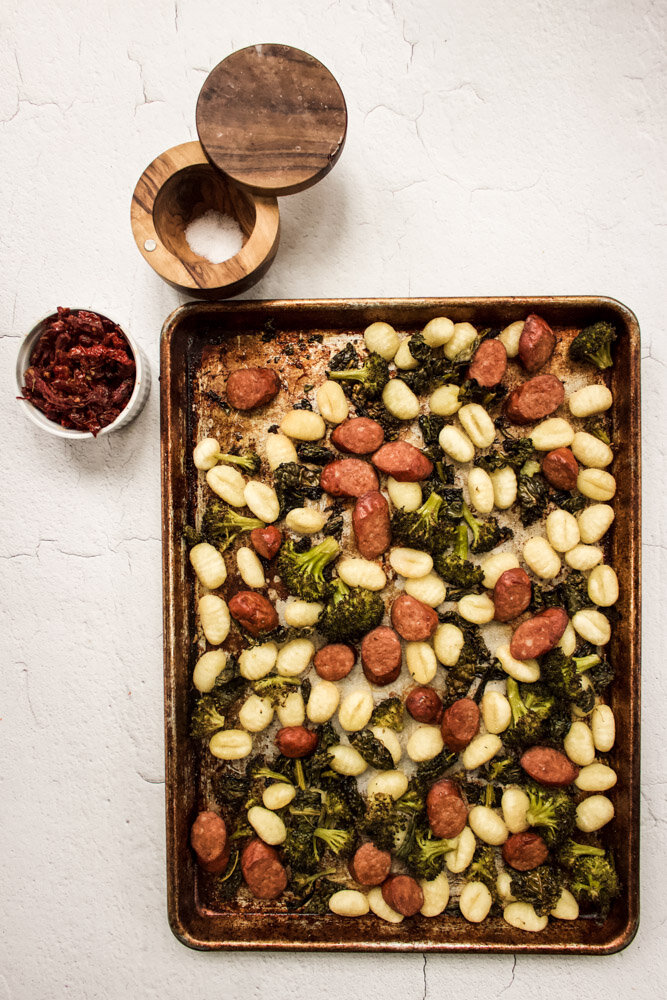
SPD: Gnocchi, sausage, and fridge leftovers
Yield: 4 grown up servings
Time: 30-35 minutes, (5 minutes active time, 25-30 minutes waiting time)
2-3 cups roughly chopped kale, broccoli, green beans, brussels sprouts, etc (defrosted first, if frozen)
1 package shelf-stable potato gnocchi
¼ cup olive oil
½ tsp kosher salt, plus more to taste
1 lb precooked sausage, cut into large chunks (defrosted, if previously frozen)
¼ cup sundried tomatoes
Preheat the oven to 450.
Toss the gnocchi and roughly chopped veggies with olive oil and salt. Add the sausage.
Cook for 25-30 minutes, or until the veggies are roasted and the gnocchi are golden and crispy.
Remove from the heat and top with sundried tomatoes.
Serve immediately.