Mushroom pasta
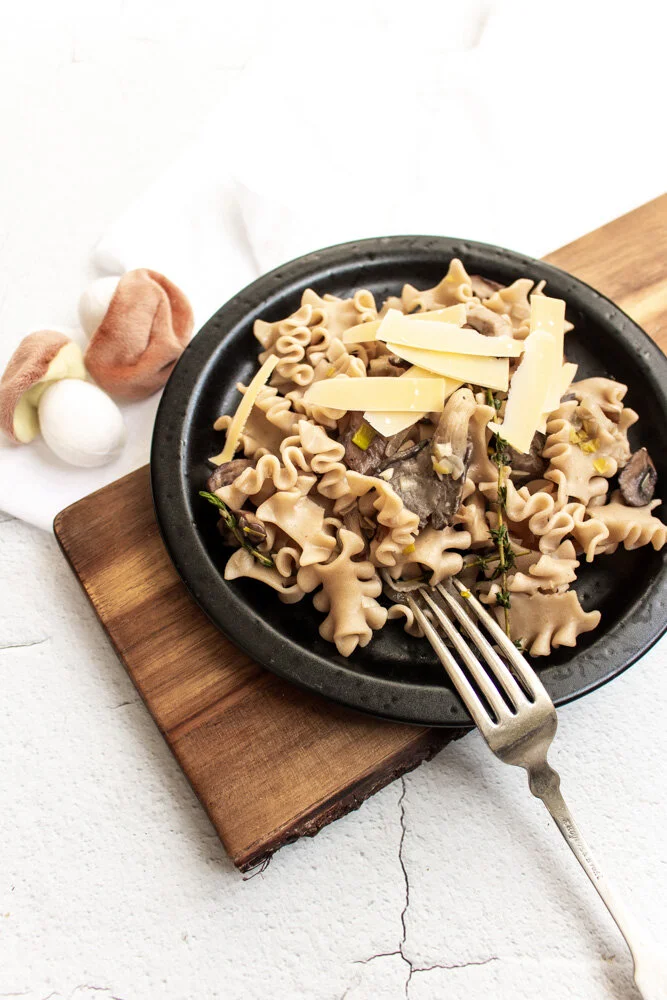
I know we’re all eating canned goods from here on out, so maybe bookmark this one as a spring-y, post-virus meal for when the world feels real again? Or, if you impulse bought mushrooms during your panic shop, use them now!
I don’t want to hear more about this freaking virus: Take me to the recipe!
I haven’t posted much in recent weeks because, and I know I’m not alone here, I’ve been in a deep, dark pit of worry about Coronavirus. While healthy kids are at much lower risk for developing symptoms, I’m 38 weeks pregnant and about to bring a newborn into this mess. Like, any day now. Newborns are not kids. This also means, I have to go to a HOSPITAL in a few days, just about the last place I want to be.
Oh, and we’re self-quarantining for as long as possible because we need a grandparent to come watch M when I go into labor and all of them have between two and seven of the risk factors that make this a much more serious illness. Can you imagine if we infected one of them because we were carriers and didn’t know?
And, in the event that one of us gets sick, I don’t know what that means for delivery. If M or Ethan are sick and a grandparent can’t come, do I have to give birth alone? Do I have to stay in the hospital and away from M for longer? Will I be separated from my newborn if it’s me that develops symptoms?
Everything feels so scary and overwhelming and unknown. I don’t generally think of myself as someone with strong “mama bear” instincts, but this crisis has awakened a desperate need to protect my family.
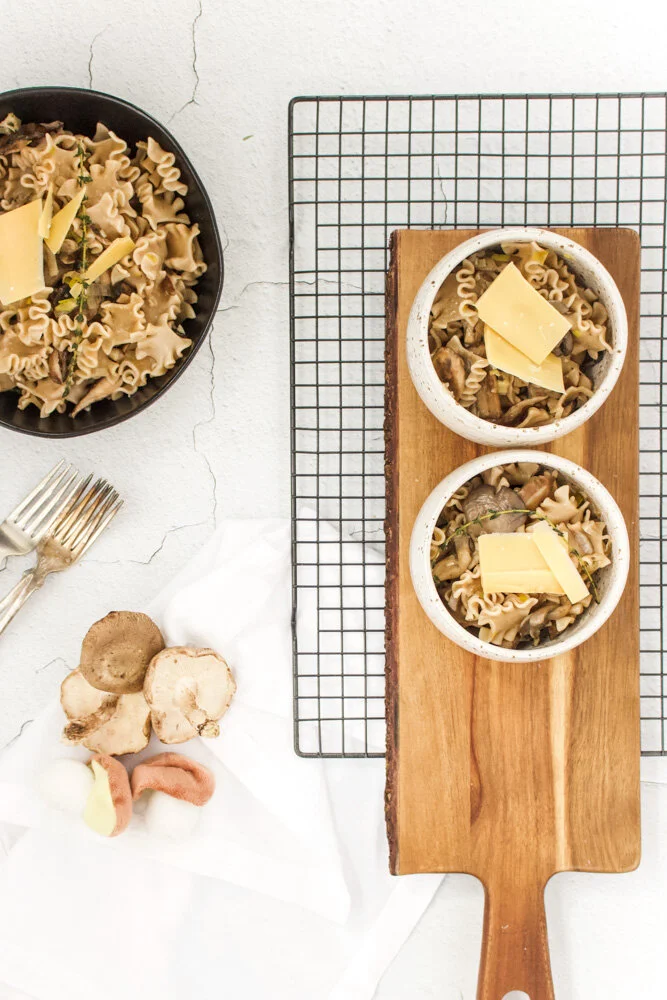
So, anyway, you probably just want to hear about food, yes? This pasta is really good. It’s also fast and easy and full of flavor. The preschooler didn’t love it, though he did have a few bites. I think he’ll learn to like it. He has no choice because it’s so good, I’m not going to stop making it!
A couple of notes:
- Feel free to swap in dried thyme for fresh if you don’t have any.
-The vinegar gives the pasta a little tang and acid, but if you don’t like it or LOVE IT and want more of it, feel free to skip or add more. I also like a little sprinkle of vinegar splashed on at the end.
-I add the cheese at the end as a garnish, but fee free to add up to a cup of cheese while the pasta is still hot and mixing it in with the melting butter to make a thicker sauce.
-Julia would be APPALLED by how much I crowd the mushrooms when I make this dish. I can’t help it. I have no sense of volume when it comes to mushrooms and the appropriate pan in which to cook them. I find that it doesn’t really matter. They cook down significantly, so as long as you’re okay with rescuing a few escaped shrooms at the start of cooking while you give things a mix, eventually, they’ll all fit in the pan just fine.
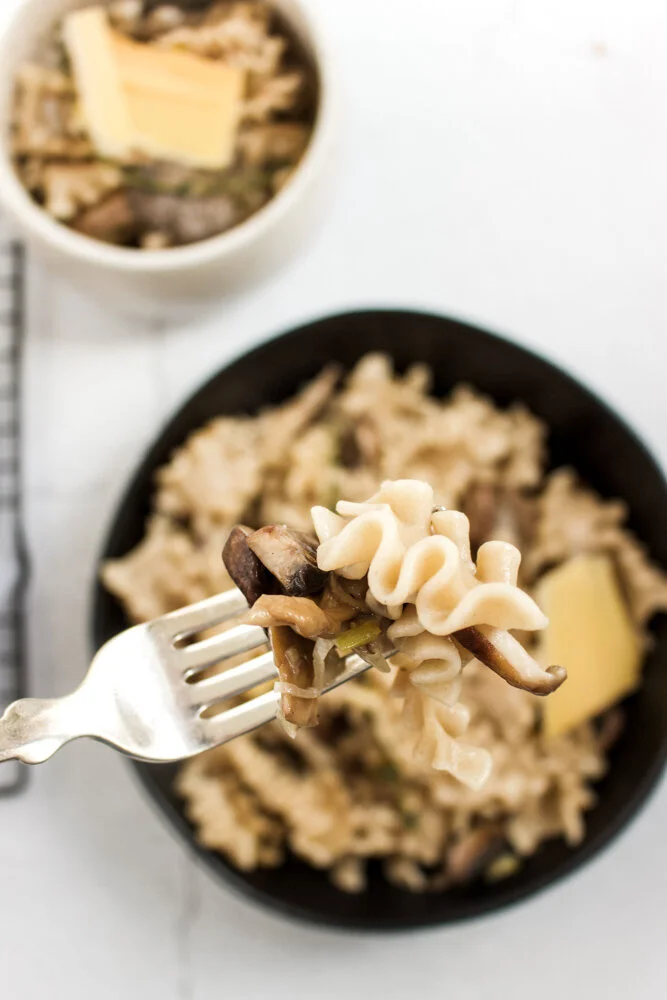
Mushroom pasta
Yield: 5-6 adult servings
Time: 25 minutes, mostly active
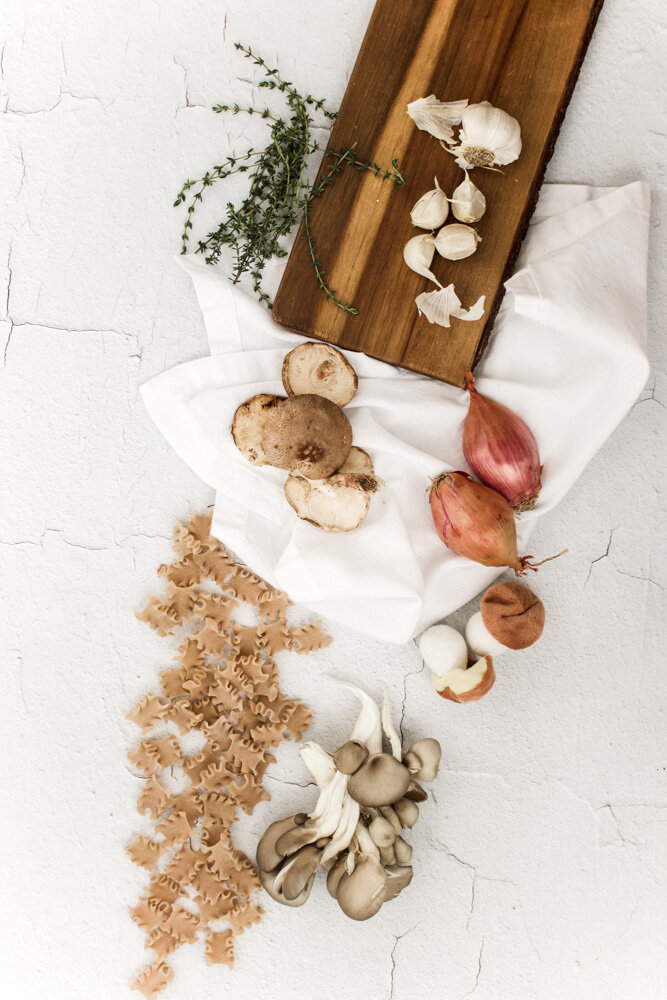
14 oz-1 lb whole wheat pasta, cooked until al dente
4 Tbsp butter, divided
1 Tbsp olive oil
2 large shallots, thinly sliced
1 leek, halved and thinly sliced
1 lb mixed mushrooms, sliced
4 large garlic cloves, minced
1 tsp fresh thyme (3-4 stems), or ½ tsp dried
½ Tbsp red wine vinegar (or more to taste)
Salt/ pepper to taste
Nutty cheese, such as Parmesan, Gruyere, Romano, or Gouda
Cook pasta in well-salted water.
In a large skillet, melt 2 Tbsp butter and 1 Tbsp olive oil over medium heat. Add the shallots and leeks and let cook for 5 minutes until translucent and soft., stirring frequently to avoid browning.
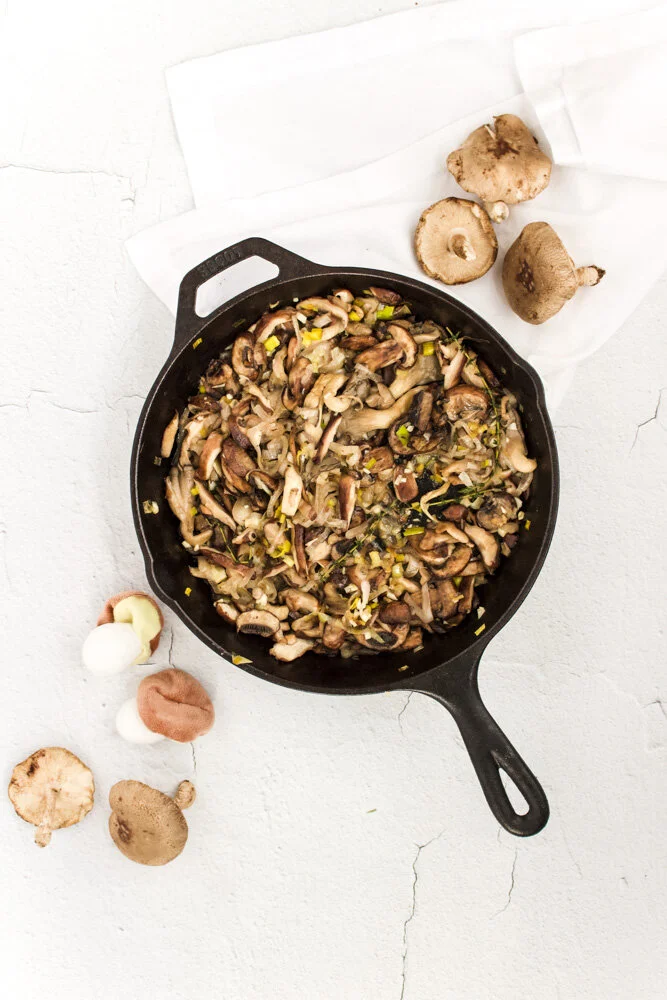
Add the mushrooms and cook for another 5 minutes, stirring occasionally, until the mushrooms start to cook down and release some of their juices. If they haven’t cooked enough at the 5-minute mark, keep going until there’s a fair amount of liquid in the pan.
Add the garlic and let cook for 1 minute, or until fragrant.
Add the vinegar and let cook until evaporated, about 1 more minute.
Season the mushroom mixture with salt and pepper to taste.
Drain the pasta, but don’t go crazy- a little water will help keep the pasta loose. Add the noodles to the mushroom mixture along with the remaining 2 Tbsp of butter. Stir well and turn off the heat. Taste again for seasoning and serve immediately.
Homemade granola base
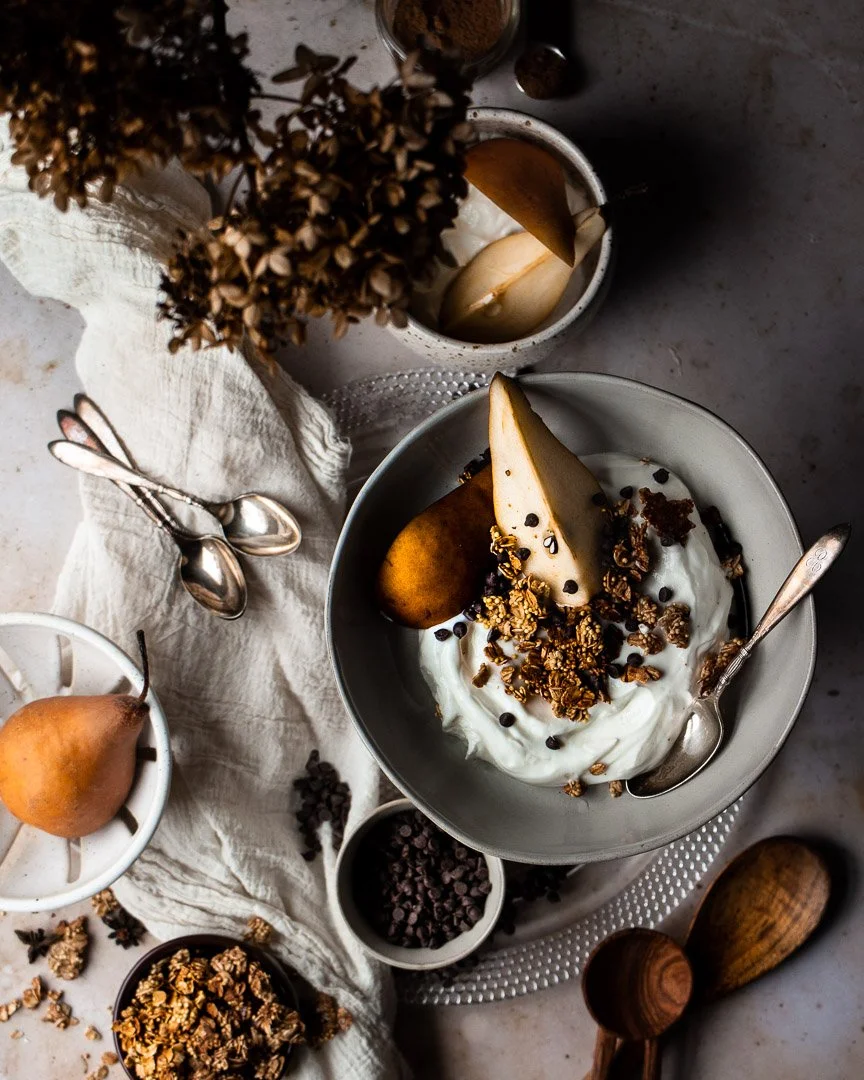
Granola may seem like something that’s easier to buy in a store, but let me set the record straight: Homemade granola is simple, fast, and so much better than most of the commercially made stuff. Also, it makes your house smell amazing.
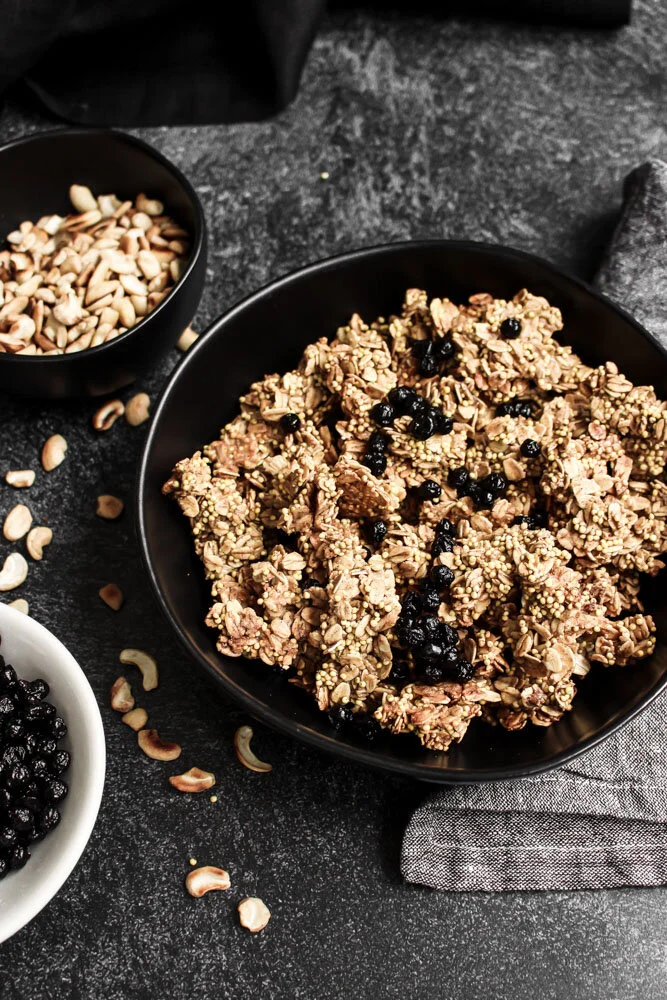
Let’s talk about granola and kids. I love granola because it’s a fun topper for lots of different things: yogurt, apple sauce, purees, pancakes, fruit, ice cream, etc. I like to pretend that it’s nature’s sprinkles. But there may be a chunk of kids who think granola is too crunchy or who don’t like the mix of textures. For them, I would add some mini chocolate chips or chocolate covered sunflower seeds and call it “trail mix.”
But granola is a great way to add some whole grains and make a more balanced snack.
I include millet in my granola and also my granola cups because it’s super crunchy and adds fiber, calcium, and iron, which we always need more of in our diet.
This recipe is a base and you can feel free to customize with whatever fruits and nuts you like best.
Also, if making this for a nut-free school snack, skip the nuts and double the fruit, sub in seeds like sunflower or pepitas, OR toast the nuts separately and toss them into an individual portion at home.
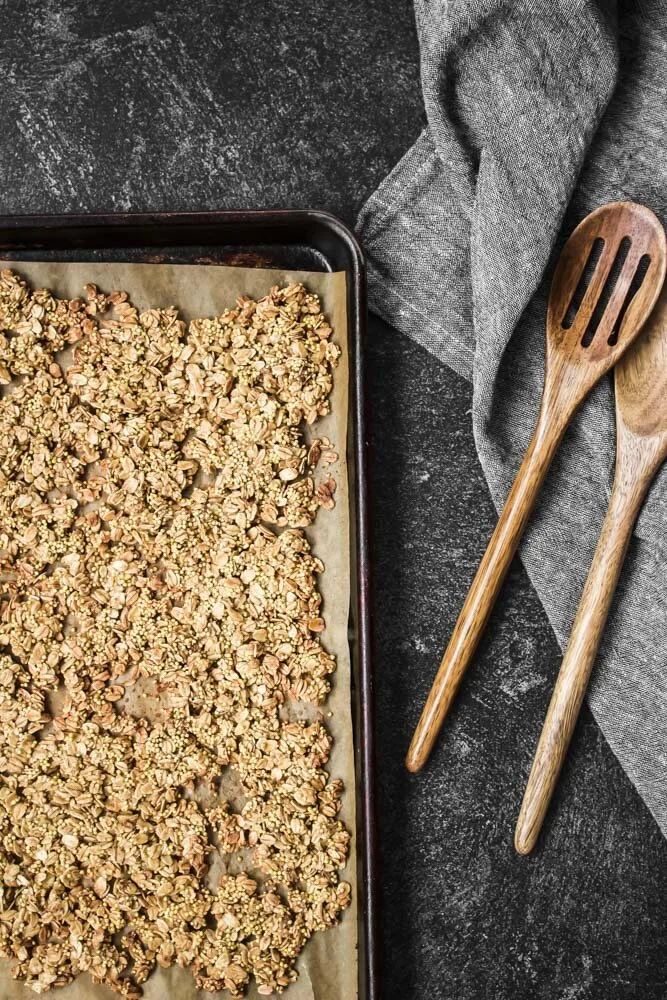
A couple of notes:
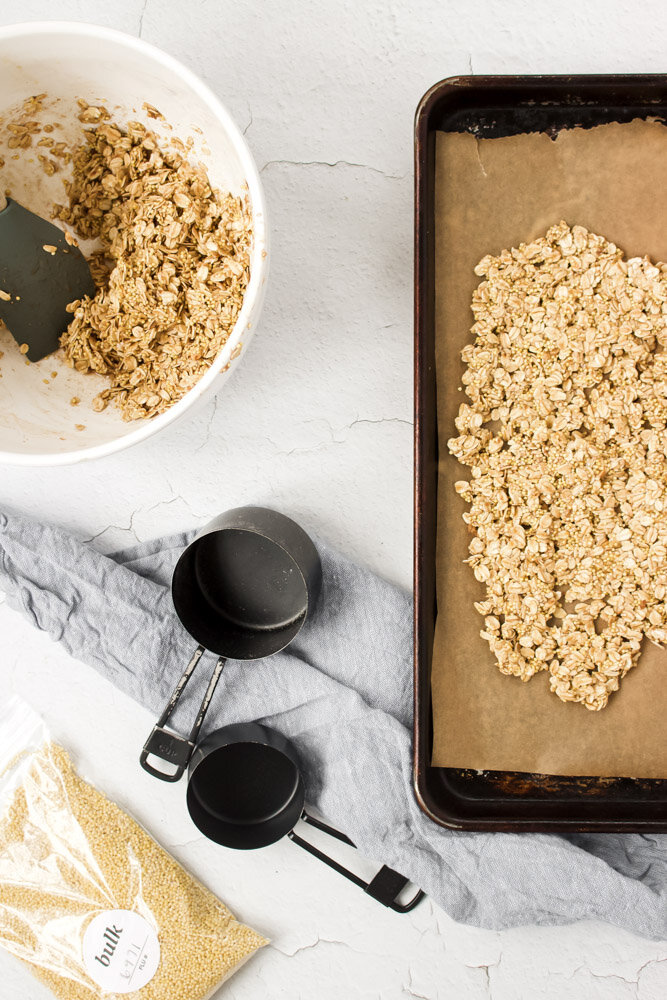
If you have trouble finding millet, check the bulk sections of Whole Foods or any health food store.
When spreading the raw granola mix onto your sheet pan, make sure to leave some holes in the middle of the pan. If you spread it as one large mass, the middle will be undercooked while the edges start to burn. With some holes and thinner spots in the middle, you’ll get a more even bake and better chunks in your final product!
Be mindful that when the outsides start to brown, the thicker parts may still be a bit undercooked, but that the whole thing will continue to cook and crisp while it cools. Once you see significant browning on the edges, take it out of the oven and let it cool completely. If there are any undercooked spots, feel free to re-toast them in the oven or a toaster oven for a few minutes before eating. But DON’T toast any fruit that you may add. Toasted dried fruit = hard as a rock!
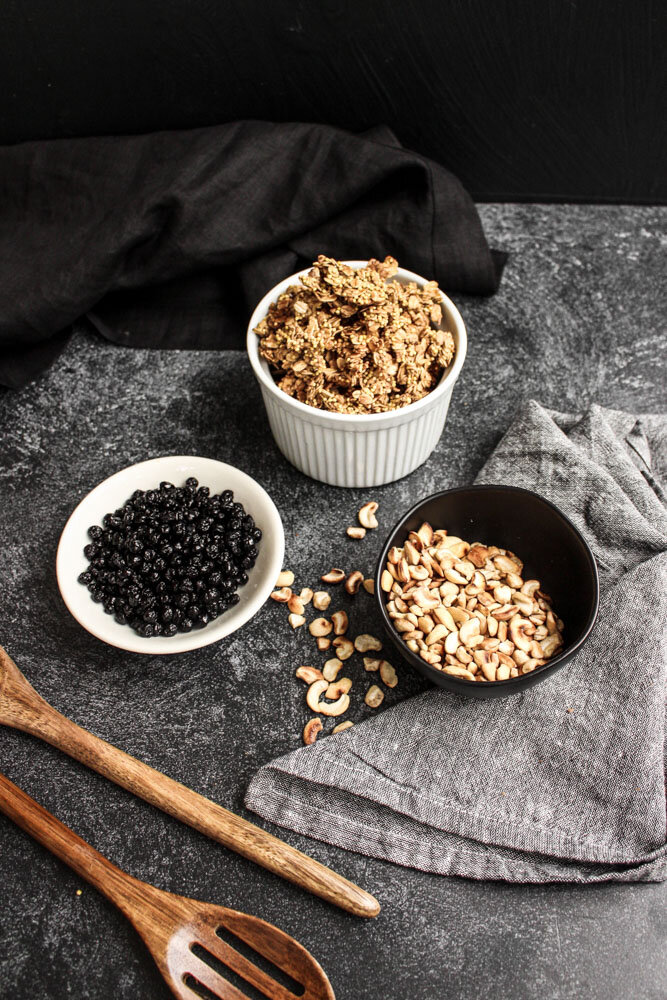
Homemade granola base
Yield: about 3-4 cups of granola, depending on how many nuts and berries you add
Time: 25-28 minutes (5 minutes active time, 20-23 minutes baking time)
2 cups old fashioned rolled oats
½ cup millet
2 Tbsp brown sugar
1 tsp cinnamon
2 large pinches of kosher salt
½ cup nuts (your choice!)
2 egg whites, slightly whipped
1 Tbsp olive oil
1 tsp vanilla extract
¼ cup maple syrup
1/3 cup dried fruit of choice
Preheat the oven to 350. In a large bowl, mix together the oats, millet, brown sugar, cinnamon, and salt. Add the untoasted nuts, if using.
In a large measuring cup, mix together the egg whites, olive oil, and vanilla. Pour over the dry ingredients and mix together thoroughly.
Spread out on the mixture on a large sheet pan, leaving gaps and holes in the middle.
Bake for 20-23 minutes, or until the edges of the pan and any edges next to gaps in the middle start browning.
Let cool completely.
Add the dried blueberries (or other dried fruit) and crunch up the baked granola so that you have some chunks and some smaller bits.
Store in an airtight container at room temperature for up to 3 weeks.
Almond and coconut baked doughnuts
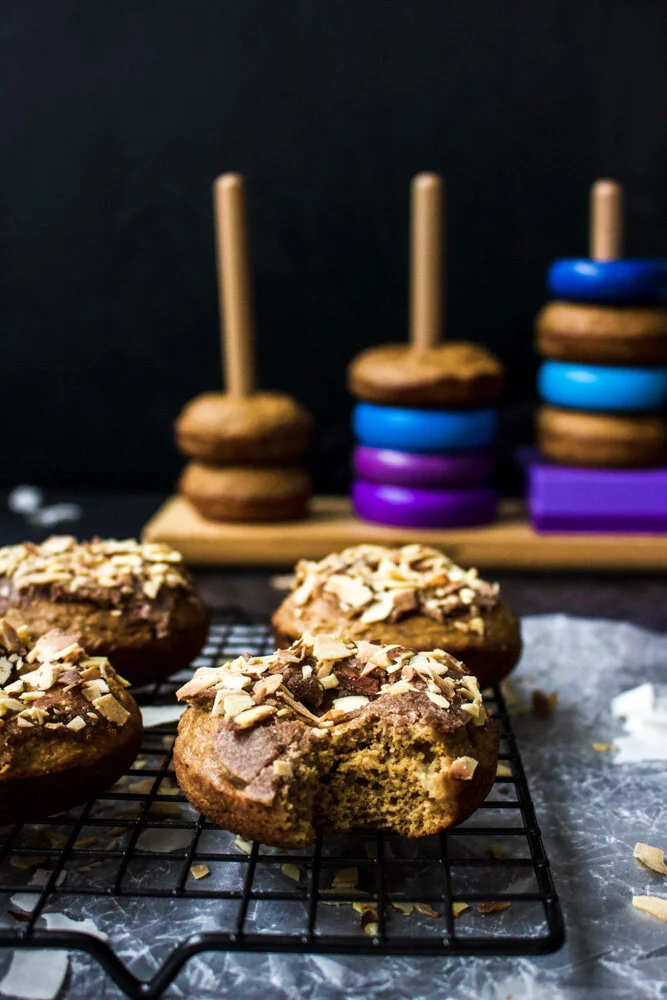
A healthier baked doughnut that features whole grains, lower sugar, and my favorite flavor combination: Almond and coconut. YES, PLEASE.
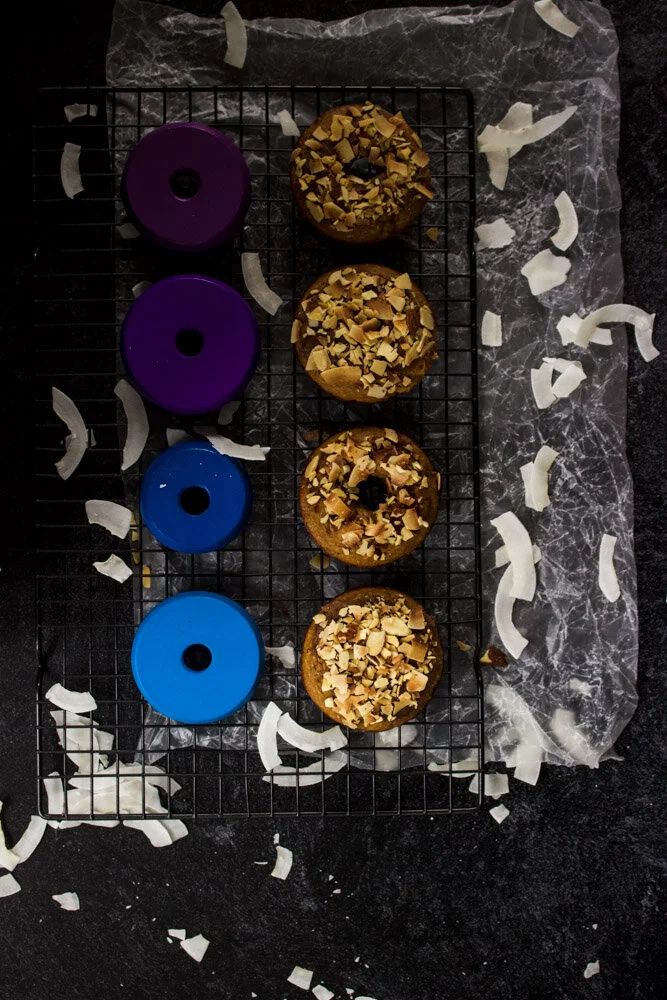
I have bad news and good news: I was diagnosed last week with gestational diabetes. Luckily, I’m in my third trimester and don’t have much longer to go, so what’s a few weeks of monitoring my blood sugar and trying to eat really healthy foods?
I did eat half of one of these doughnuts and it didn’t send my blood sugar soaring (thanks whole grains, coconut sugar, and healthy fats!), so that was another piece of good news. Obviously, if you have diabetes of any kind, you know what works best for your body or are working with your doctor to figure that out, so not everyone will be able to say the same. But I was glad to know that at lease some treats aren’t off the table.
What has made this so hard isn’t the dietary restrictions or even the blood sugar monitoring.
What’s hardest is the added layer of scrutiny over my body when pregnancy already casts a harsh, glaring spotlight. Every routine thing you eat, drink, use on your skin, or take for a headache feels so consequential. And anyone who’s had disordered eating in the past can tell you that it takes a lot of work to STOP feeling like these minor choices are so meaningful.
Ugh. It just feel like I’ve lost myself a little more with this diagnosis. I resigned myself 8 months ago to making all of the changes you have to make when pregnant for the greater, temporary good and I wish it didn’t feel like ever day meant cutting out one more thing that brings me joy.
And now i’ll stop complaining. There are real problems in the world.
But! Lack of a delicious, healthier doughnut option doesn’t have to be one of them!
A couple of notes:
We’re aiming for a batter that is thicker than pancake batter, but thinner than cookie dough. Depending on how much liquid you get from your banana and egg, you may want to add more flour. Start with an extra Tbsp and keep adding until you’re happy with the density.
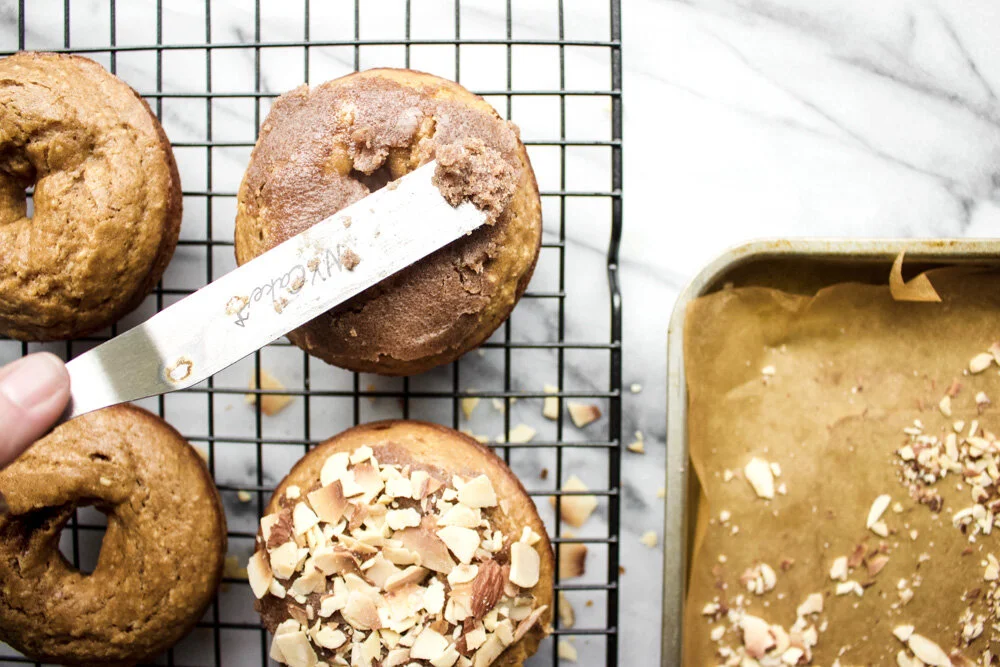
These doughnuts are okay without the topping, but the extra sugar, almonds, and coconut really take them to a new place. I really don’t recommend skipping them.
The brown sugar and coconut oil topping makes a pretty dense mixture and a lot of the topping will fall off. BUT, it’s delicious. If you’d like something a bit smoother and more glaze-like, you can swap in 6 Tbsp powdered sugar, enough water to make a thin glaze (start with ½ tsp and add slowly), and a few drops of almond extract.
Almond coconut doughnuts
Yield: 10-12 doughnuts
Time: about 35 minutes, mostly active
½ large, very ripe banana, thoroughly smooshed
½ cup milk (any type will do!)
3 Tbsp full-fat yogurt (Greek or otherwise)
1 large egg
¾ cup coconut sugar
½ tsp almond extract
3 Tbsp coconut oil, melted
1¼ + 1/4 (if needed) cups Whole Wheat pastry flour (regular whole wheat flour or white whole wheat flour work too, but the texture is slightly denser)
1¼ tsp baking powder
½ tsp salt
½ cup shredded unsweetened coconut
½ tsp cinnamon
¼ tsp cardamom
Topping:
3 Tbsp coconut oil
3 Tbsp brown sugar
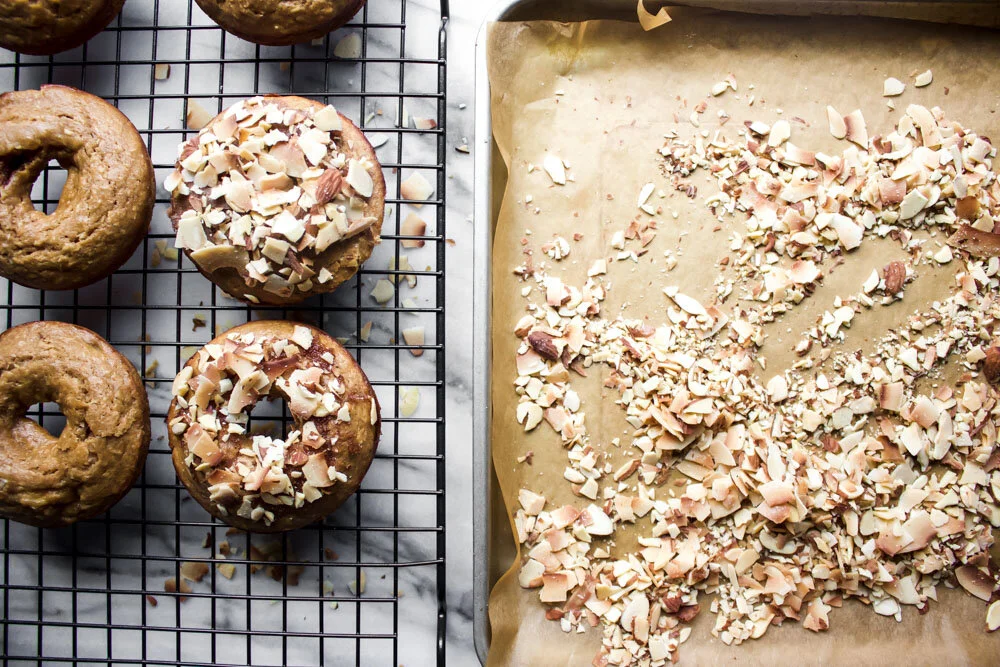
½ cup toasted coconut slivers
½ cup toasted almond slivers
½ tsp cinnamon
Preheat oven to 375.
Grease your doughnuts pans with coconut or other neural oil and set aside
In a large bowl, smush the banana as much as possible. Add the rest of the wet ingredients except the coconut oil and whisk together.
Add 1¼ cups flour, baking powder, salt, shredded coconut, cinnamon, and cardamom. Mix well.
Add the coconut oil and mix well. If the mixture is too runny (if it looks like pancake batter), add the remaining ¼ cup of flour 1 Tbsp at a time and mix again.
Fill each doughnut tin about 2/3 full.
Cook both pans (if using 2 doughnut pans) in the same oven for 10-12 minutes, or until the doughnuts just spring back when poked lightly with a finger. Rotate and pans after 5 minutes to ensure even baking.
Let cool.
In a separate small bowl, combine the coconut oil (that should still be rather liquid) with the brown sugar and cinnamon and mix. If the mixture seems too liquid and not spreadable, chill it in the refrigerator until slightly more set.
On a baking sheet, combine the coconut flakes and the sliced almonds and let brown in the cooling oven, abut 6 minutes or until you begin to smell the nuts.
Spread a small amount of the sugar and coconut oil mixture on each doughnut and sprinkle the toasted nuts and coconut over the top, pressing lightly to get them to stick.