Thanksgiving dinner pie
Ice cream and candy Thanksgiving pie | Me & The Moose. This genius way to use up leftover Halloween candy is also a hilarious make-ahead Thanksgiving dessert that will please the pickiest kids. #Thanksgivingrecipes #Thanksgiving #dessert #pumpkinpiealternative #icecream #leftoverHalloweencandy
This hilarious pie is a great way to use up your leftover Halloween candy AND have a kid-friendly dessert for any holiday meal.
Ice cream and candy Thanksgiving pie | Me & The Moose. This genius way to use up leftover Halloween candy is also a hilarious make-ahead Thanksgiving dessert that will please the pickiest kids. #Thanksgivingrecipes #Thanksgiving #dessert #pumpkinpiealternative #icecream #leftoverHalloweencandy
Ice cream and candy Thanksgiving pie | Me & The Moose. This genius way to use up leftover Halloween candy is also a hilarious make-ahead Thanksgiving dessert that will please the pickiest kids. #Thanksgivingrecipes #Thanksgiving #dessert #pumpkinpiealternative #icecream #leftoverHalloweencandy
Ice cream and candy for dessert might seem odd after a heavy meal, but let me tell you: We had a store-bought version of this plate a few years ago (from the UConn Dairy Bar) and my family tore through it like we hadn’t eaten in weeks.
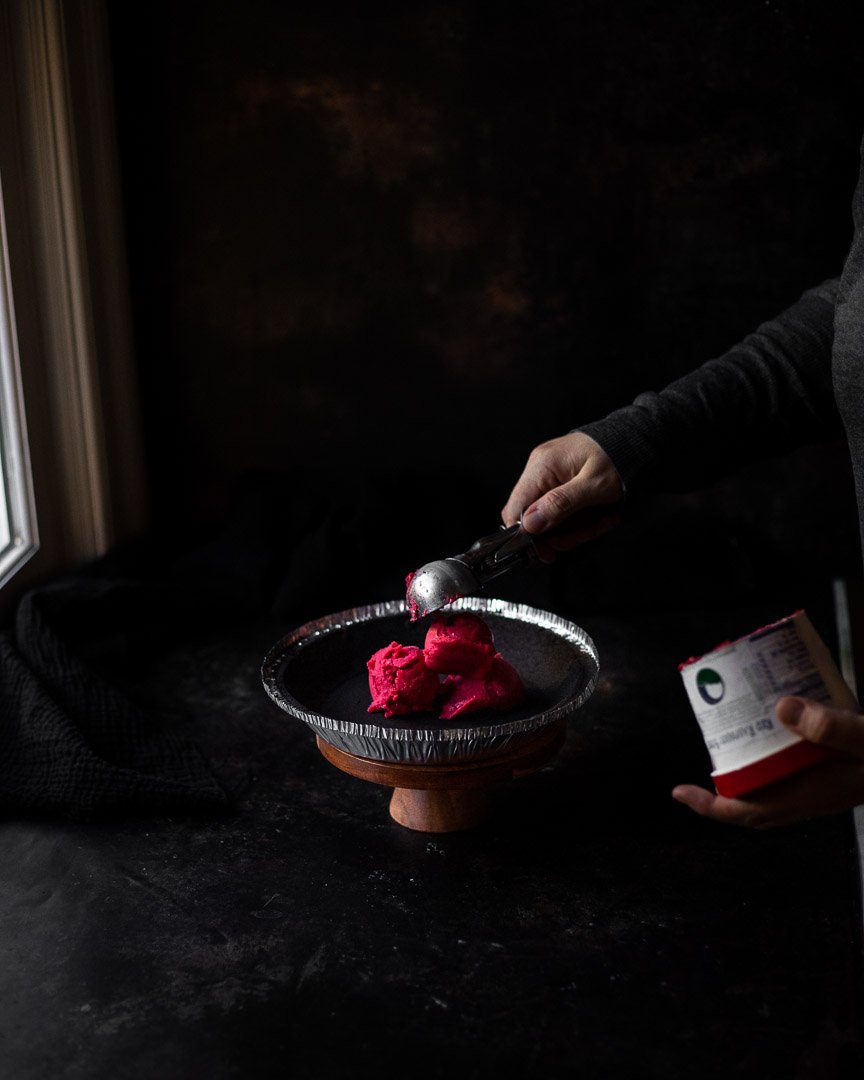
My version of this pie starts with a layer of raspberry sorbet because the sharpness of the raspberries cuts through the super sweet candy and ice cream really nicely.
Ice cream and candy Thanksgiving pie | Me & The Moose. This genius way to use up leftover Halloween candy is also a hilarious make-ahead Thanksgiving dessert that will please the pickiest kids. #Thanksgivingrecipes #Thanksgiving #dessert #pumpkinpiealternative #icecream #leftoverHalloweencandy

Ice cream and candy Thanksgiving pie | Me & The Moose. This genius way to use up leftover Halloween candy is also a hilarious make-ahead Thanksgiving dessert that will please the pickiest kids. #Thanksgivingrecipes #Thanksgiving #dessert #pumpkinpiealternative #icecream #leftoverHalloweencandy
Ice cream and candy Thanksgiving pie | Me & The Moose. This genius way to use up leftover Halloween candy is also a hilarious make-ahead Thanksgiving dessert that will please the pickiest kids. #Thanksgivingrecipes #Thanksgiving #dessert #pumpkinpiealternative #icecream #leftoverHalloweencandy
Ice cream and candy Thanksgiving pie | Me & The Moose. This genius way to use up leftover Halloween candy is also a hilarious make-ahead Thanksgiving dessert that will please the pickiest kids. #Thanksgivingrecipes #Thanksgiving #dessert #pumpkinpiealternative #icecream #leftoverHalloweencandy
Ice cream and candy Thanksgiving pie | Me & The Moose. This genius way to use up leftover Halloween candy is also a hilarious make-ahead Thanksgiving dessert that will please the pickiest kids. #Thanksgivingrecipes #Thanksgiving #dessert #pumpkinpiealternative #icecream #leftoverHalloweencandy

Ice cream and candy Thanksgiving pie | Me & The Moose. This genius way to use up leftover Halloween candy is also a hilarious make-ahead Thanksgiving dessert that will please the pickiest kids. #Thanksgivingrecipes #Thanksgiving #dessert #pumpkinpiealternative #icecream #leftoverHalloweencandy
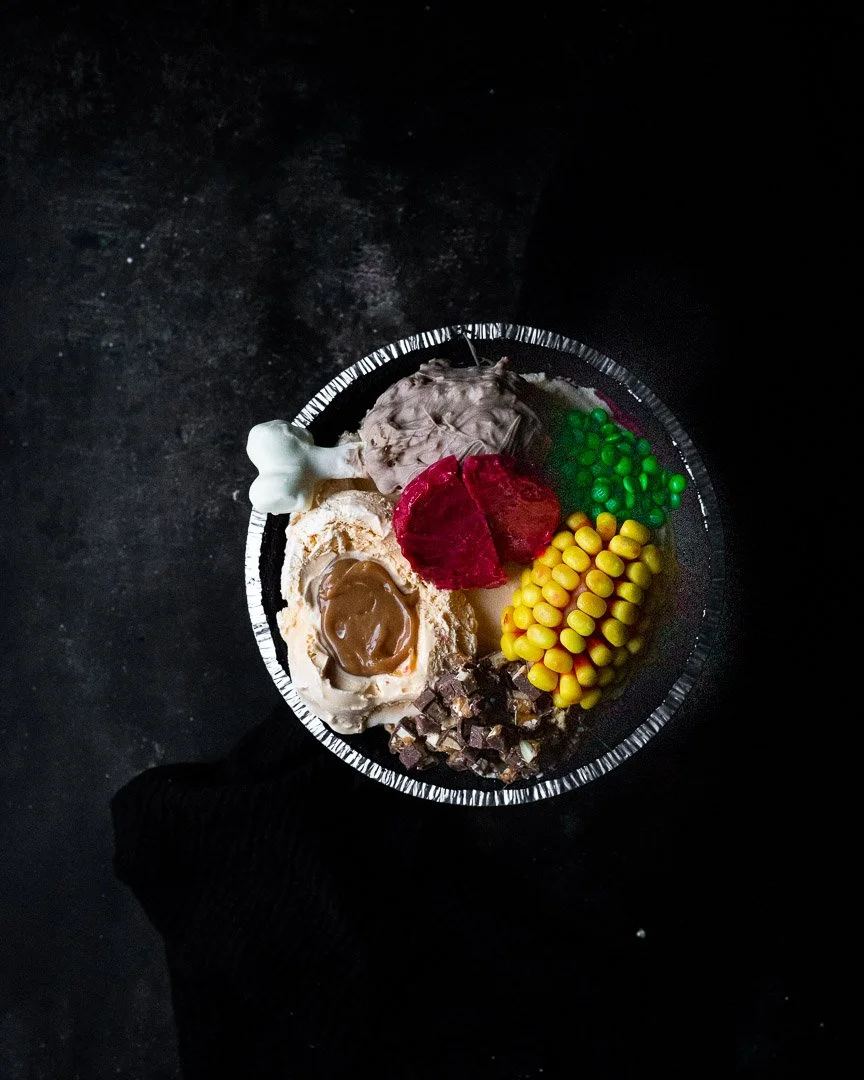
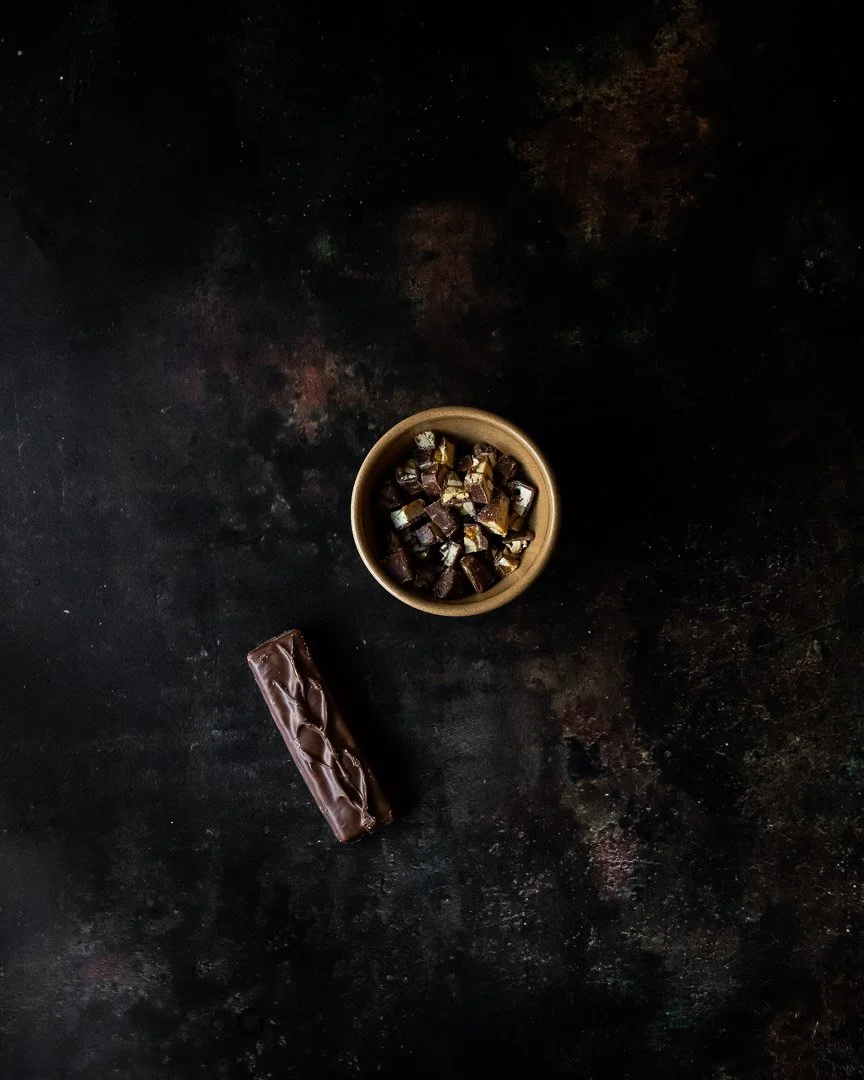
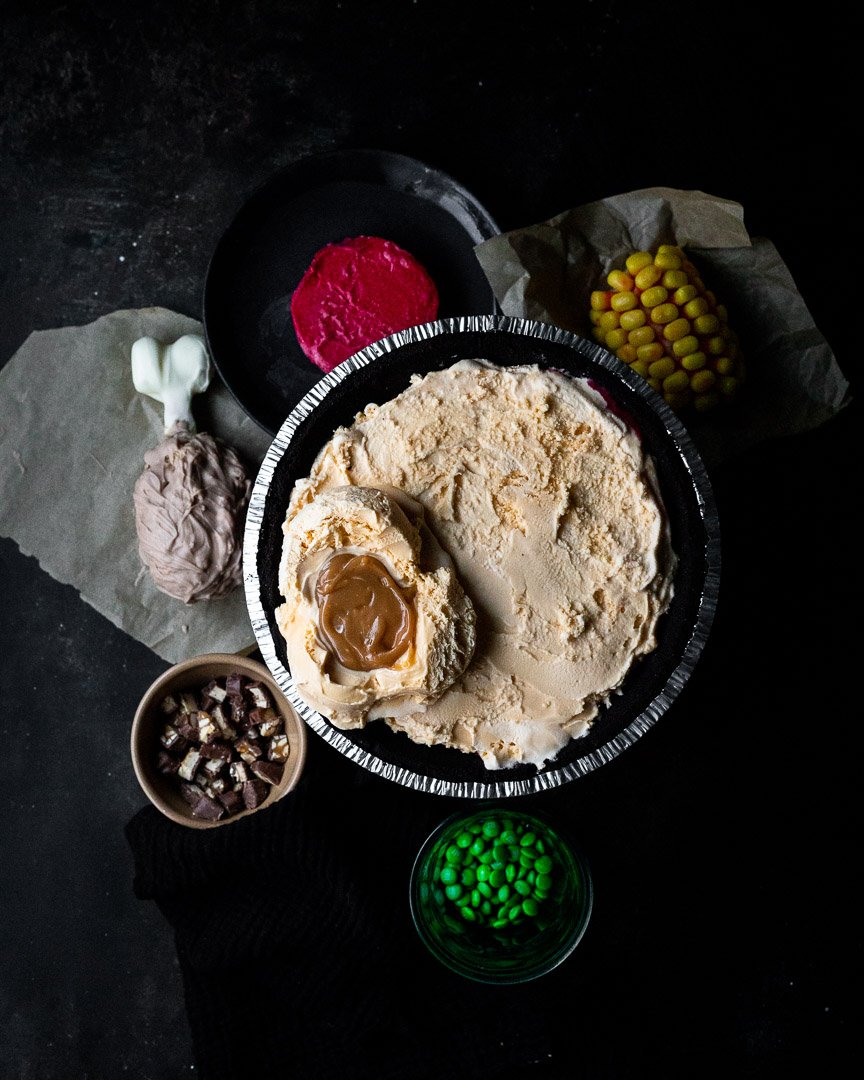
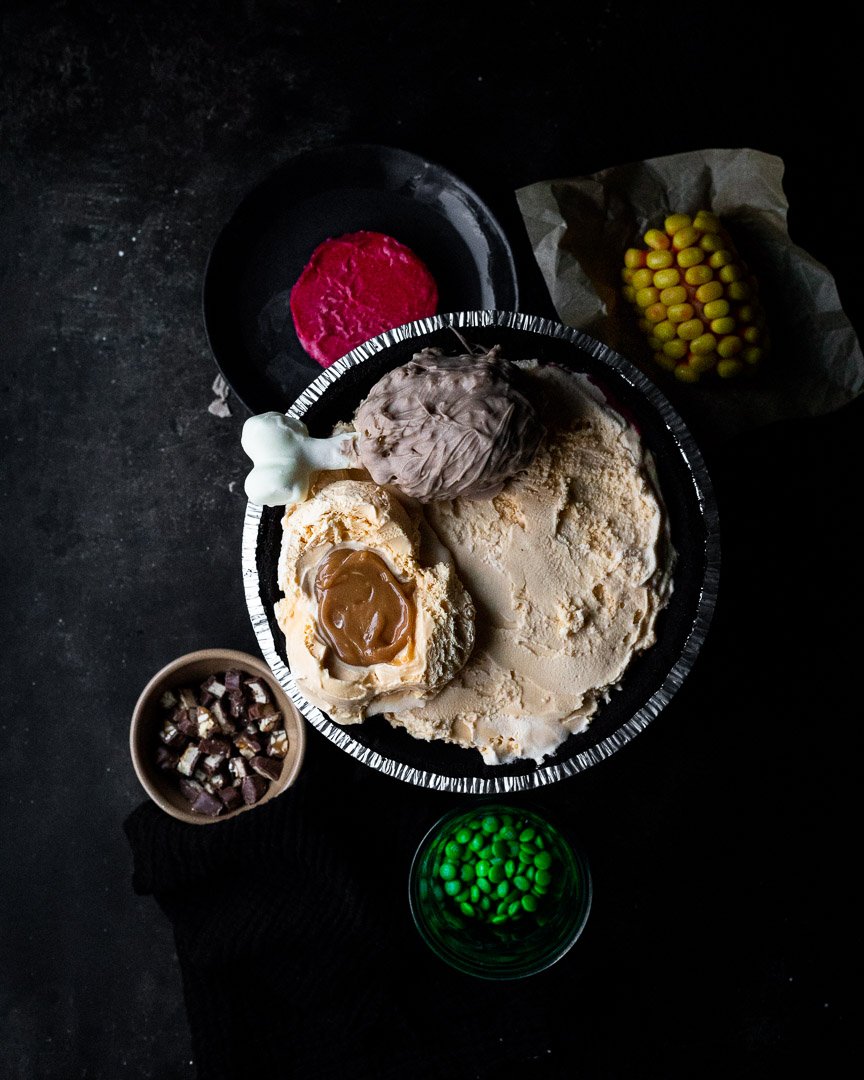
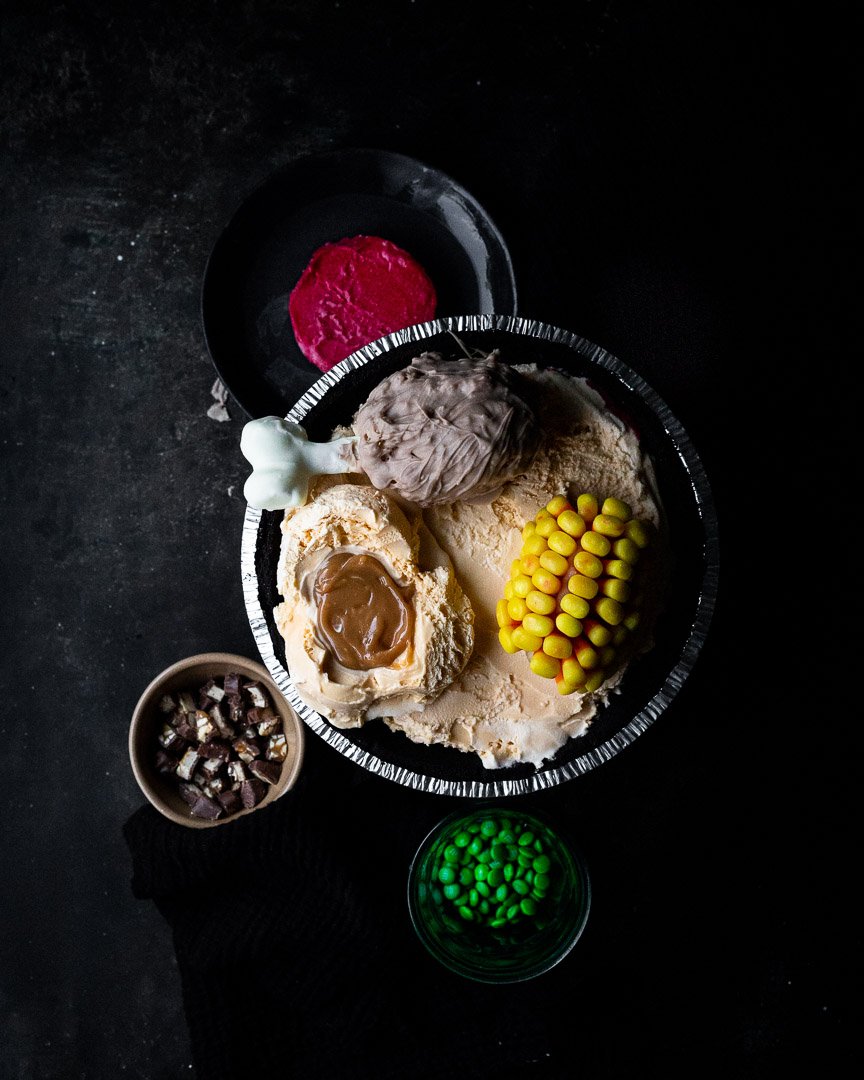
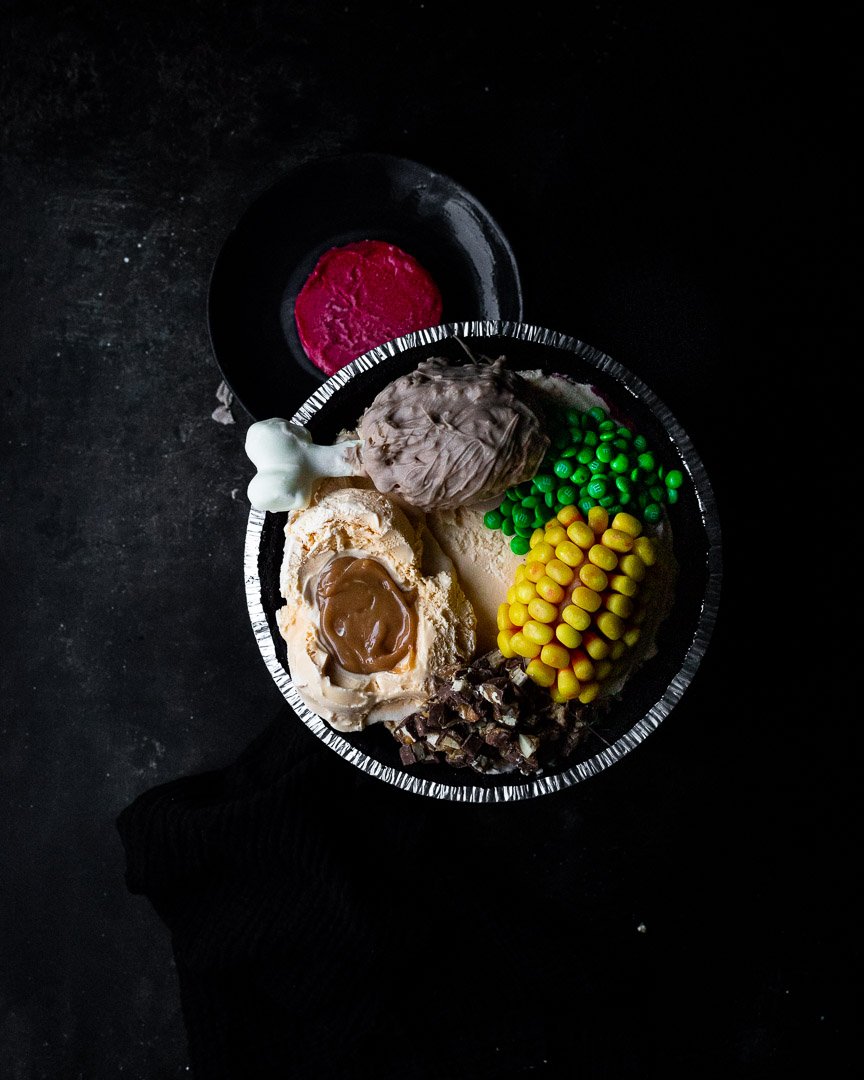
I chopped up some mini Snickers for stuffing; green M&Ms are peas; Rice Krispies treats covered with chocolate and sporting a white chocolate, pretzel, and marshmallow “bone” become a turkey drumstick; vanilla ice cream with melted caramels are mashed potatoes and gravy; raspberry sorbet is sliced to look like canned cranberry sauce; and candy corn is stuck into some almond paste as a corn cob.
Extra bonus: There are many ways for kiddos to help make this pie: They can separate the green M&Ms, chop and smash the candy, unwrap the caramels, and spread the sorbet and ice cream layers. If they’re older, they could probably make the whole darn thing themselves.
And extra extra bonus: You can make this dessert now, pop it in the freezer, and be ready for turkey day in a few weeks.
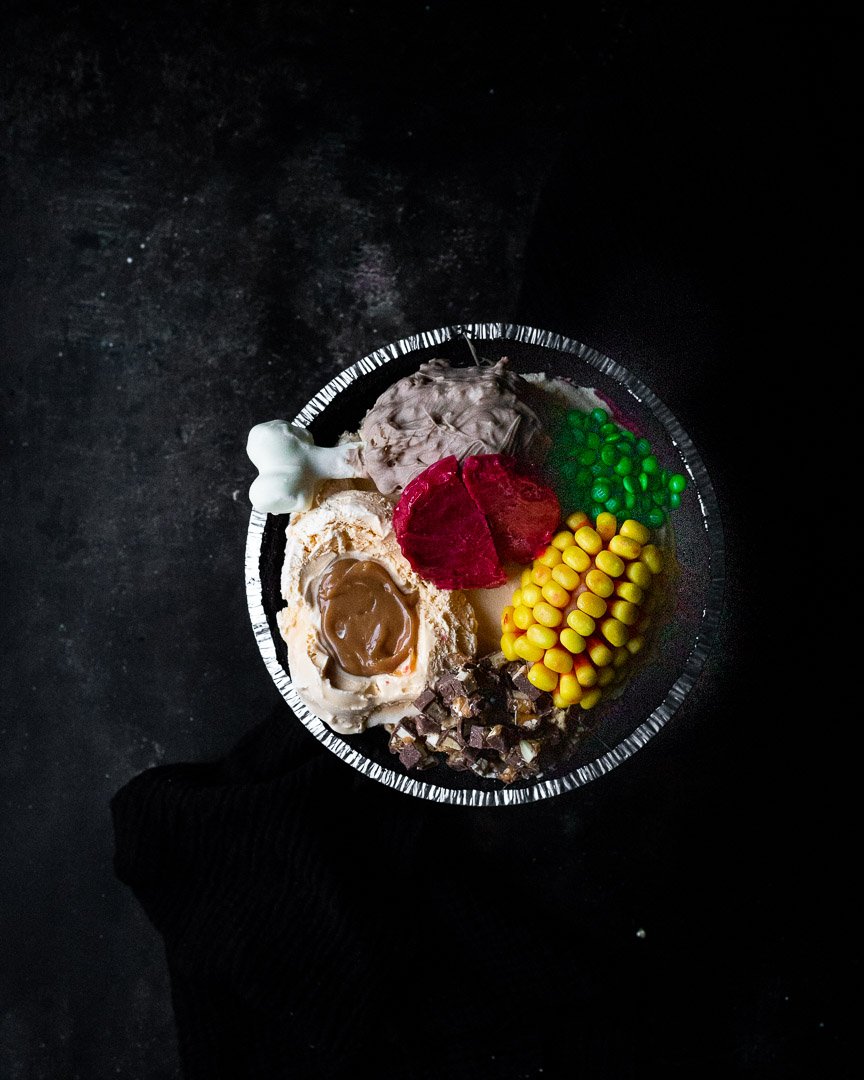
Thanksgiving dinner pie
Time: About 45 minutes-1 hour, all active + freezing overnight
Yield: 10-12 servings
10-inch oreo pie crust
2 pints vanilla ice cream (or 1 quart)
1 pint raspberry sorbet (IN A PAPER, NOT PLASTIC, CONTAINER!!)
2-3 Tbsp caramel bits or 4-5 wrapped caramels
1-2 tsp heavy cream
Flaky sea salt
1 cup white chocolate chips
1 tsp coconut oil
1/2 large pretzel rod
1 large marshmallow, cut into quarters
3-4 Rice Krispies treats
1/4 cup milk chocolate chips or 2 mini milk chocolate bars
1 cup candy corn
1/8 log of marzipan or almond paste
½ cup mini green m&ms
6-7 fun-sized snickers, chopped
Step 1: Make the “cranberry sauce“
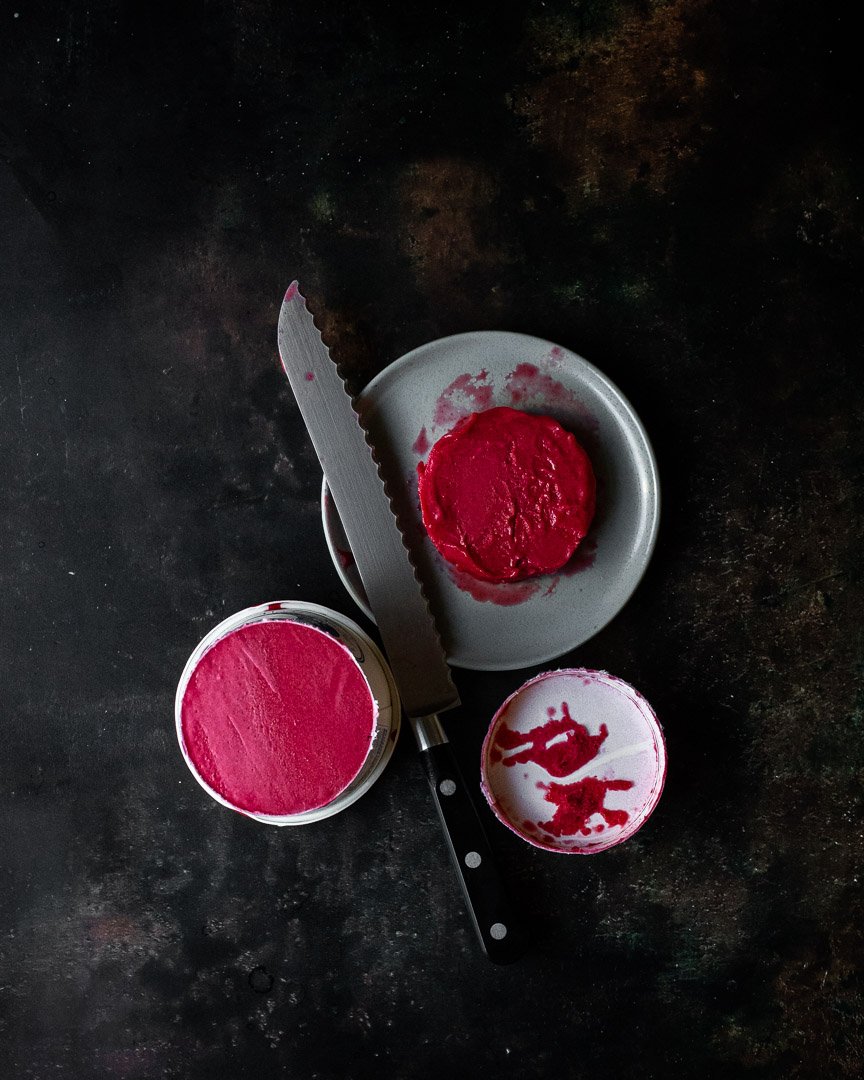
Using a serrated knife, cut off about 1 inch from the bottom of a paper container of raspberry sorbet. Place on a bit of parchment and return to the freezer.
Step 2: Spread the sorbet layer
Let the sorbet and ice cream sit out for a few minutes to make them easier to spread. Starting with the sorbet, drop a few scoops (I use 2-3 large scoops) into the pie shell and gently smoosh and spread the raspberry into an even layer. Put back in the freezer.
Step 3: Make the “mashed potatoes”
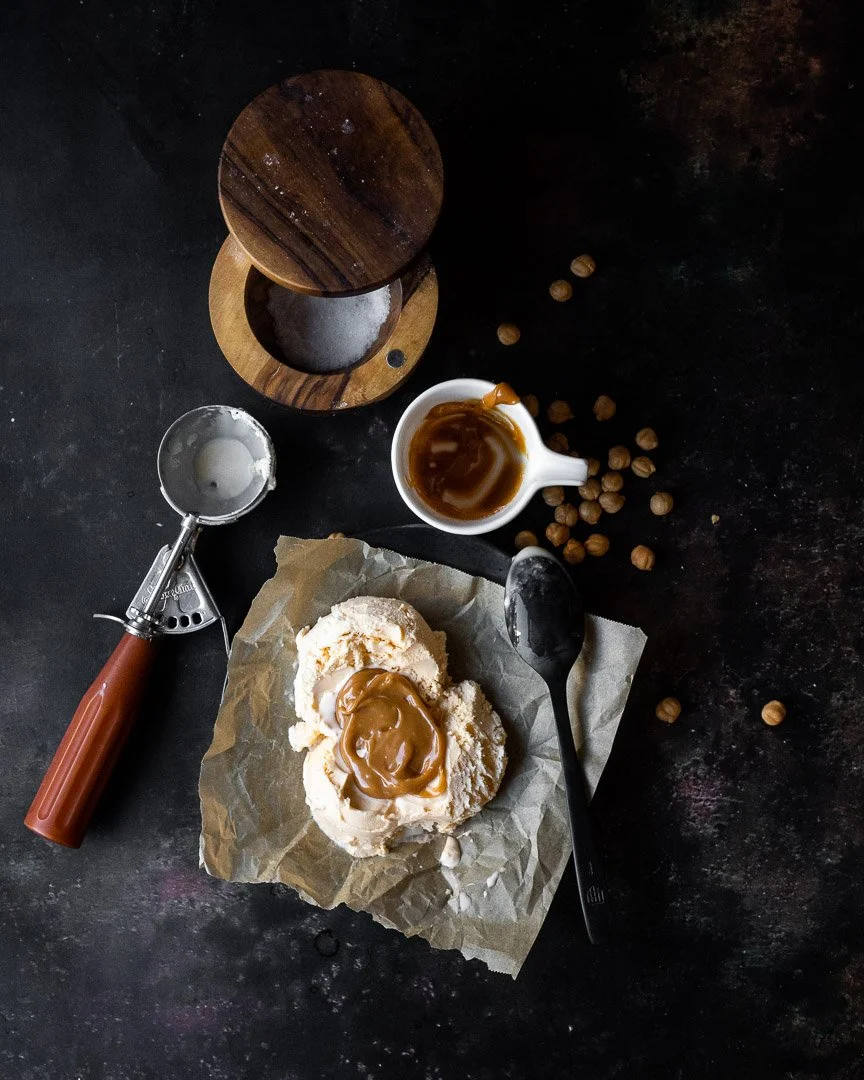
Place 2 scoops of vanilla ice cream onto a small parchment-covered plate and smoosh it out with spoon or spatula until it looks like mashed potatoes with a deeper well in the middle.
In a small bowl, combine the caramels with the heavy cream. Melt by microwaving for 10 seconds, stirring, and heating for 10 seconds more, as needed, until the caramels are just melted. I usually only need 1, 10-second burst.
Let cool slightly and pour into the well in the middle of the ice cream. Sprinkle with sea salt. Store in the freezer.
Return the ice cream container to the freezer for now as well.
Step 4: Melt the white chocolate
Combine the white chocolate and coconut oil.. Microwave for 30 seconds on high. Stop and mix. Microwave for another 30 seconds on high. Stop and mix. Microwave for 10 second bursts, stopping to mix until the chocolate is melted.
Step 5: Make the “turkey leg”
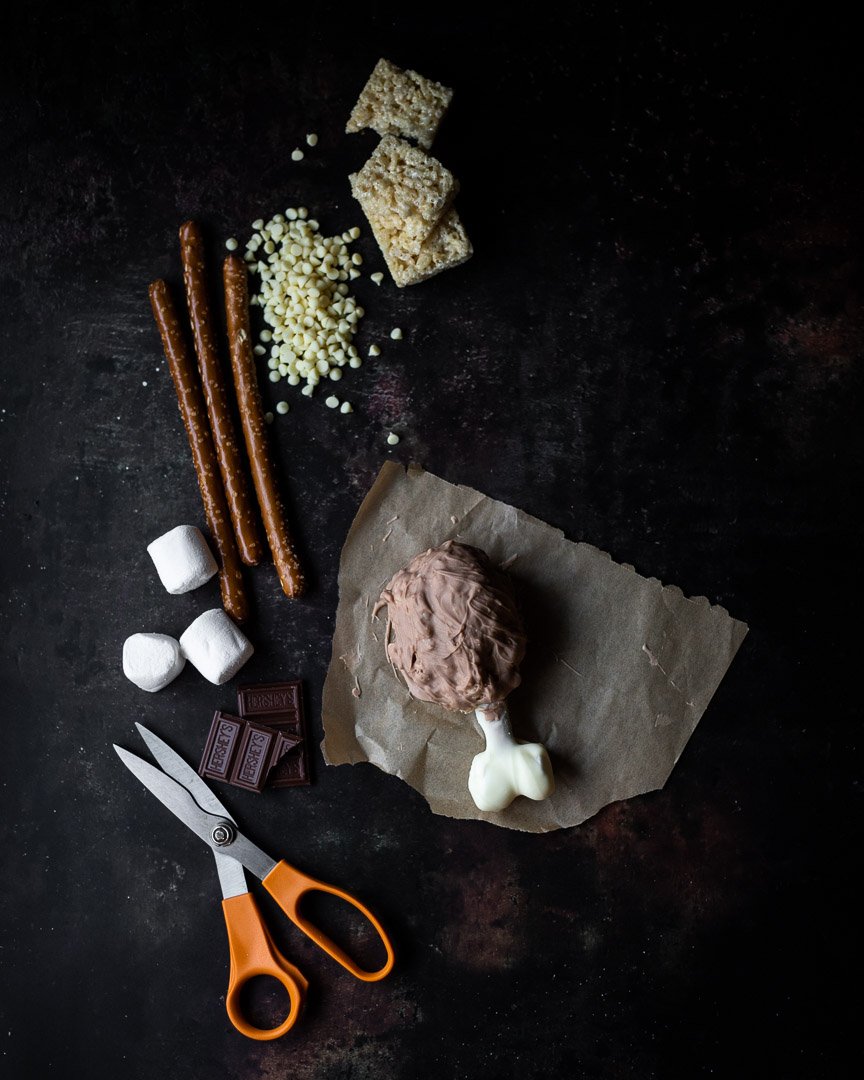
Snap a large pretzel rod in half. Cut a large marshmallow into fourths. Dip the non-broken end of the pretzel rod into melted white chocolate and press one quarter of the marshmallow on either side of the rod and hold in place for 10 seconds. Place on a sheet of parchment paper and refrigerate until set, about 3 minutes.
Smoosh 2 Rice Krispies treats together into an oval shape. Add bits of Rice Krispies treat and smoosh to make it look like a turkey drumstick. With a chopstick or something similar, push a hole into the Rice Krispies treats where the “bone” of the drumstick will go. Set aside.
Remove the “bone” from the fridge. Dip the marshmallows and pretzel into white chocolate about halfway up the pretzel rod. Tap off the excess chocolate and set down on a sheet of parchment. Return to the refrigerator. Let set for about 5 minutes.
Add a little bit of milk chocolate to the melted white chocolate and microwave for 10 seconds. Stir until melted. Add more chocolate to achieve the light brown color you desire. Set aside.
When the “bone” has set, remove from the fridge and gently push into the Rice Krispies treats that are shaped like the meat of the turkey. Place back onto the parchment and brush the light brown chocolate over the Rice Krispies and any remaining pretzel that isn’t covered with white chocolate. Return to the fridge to set.
For more, see this tutorial.
Step 6: Make the “corn cob”
Pinch off roughly 2 Tbsp of marzipan or almond pasta and roll into a small log about the size of a thumb. Place on a small piece of parchment. Gently stick the white end of the candy corn pieces into the marzipan in a straight line going lengthwise. Add another row not he opposite side. Repeat on each side until there’s room for one more row straight down the middle. Add another small snake of marzipan in the open space and add a final row of candy corn. Put in the fridge.
For more, see this tutorial.
Step 7: Prep your candy
Take the vanilla ice cream out of the freezer again. Let warm up to make spreading easier.
Chop the snickers and separate the green M&Ms.
Step 8: Assemble
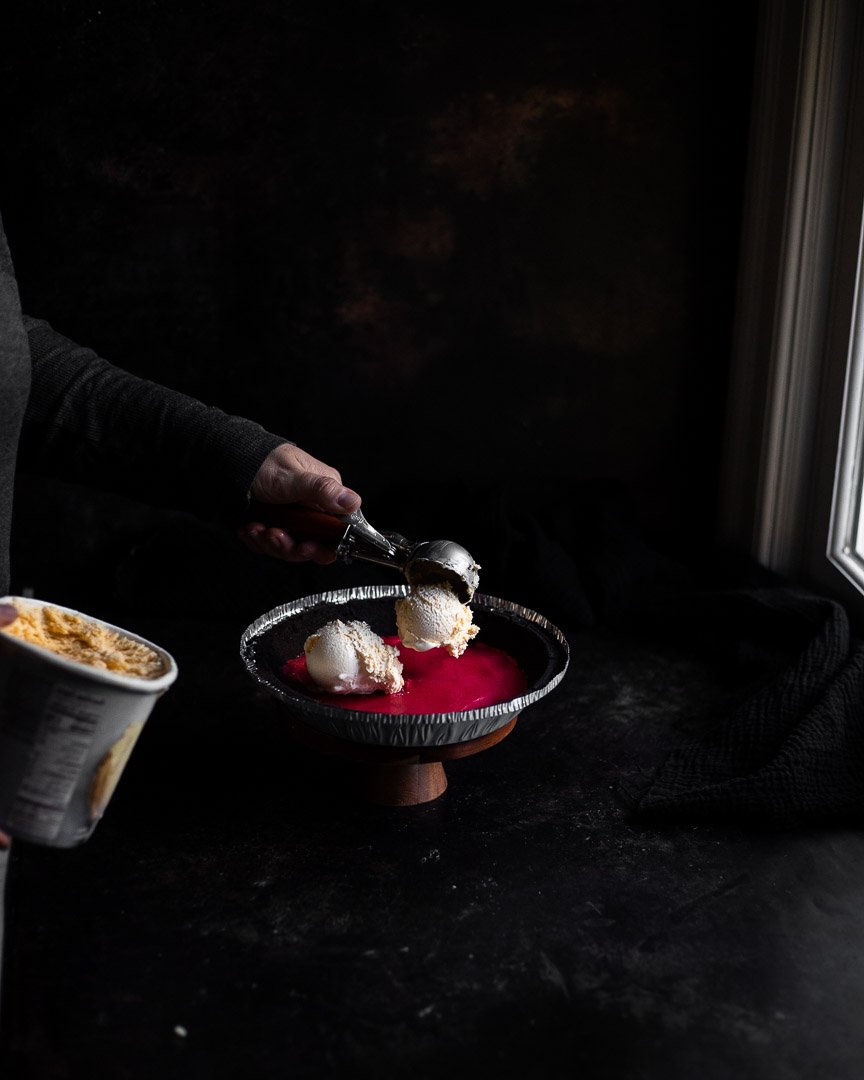
Scoop 1/2 pint of vanilla ice cream onto the sorbet layer of the pie. Gently smoosh and spread the ice cream into a thin layer.
Arrange the rest of the pie elements.
Peel the “mashed potatoes” off of the parchment and place on the pie. Do the same with the “turkey leg” and the “corn cob.” Add the chopped snickers “stuffing” and the M&M “peas.” Add the sorbet “cranberry sauce” in the center. Cover loosely with plastic wrap and place in the freezer. Let freeze for about 24 hours and then wrap more tightly with either plastic wrap or tin foil (or both).
Chocolate hummus
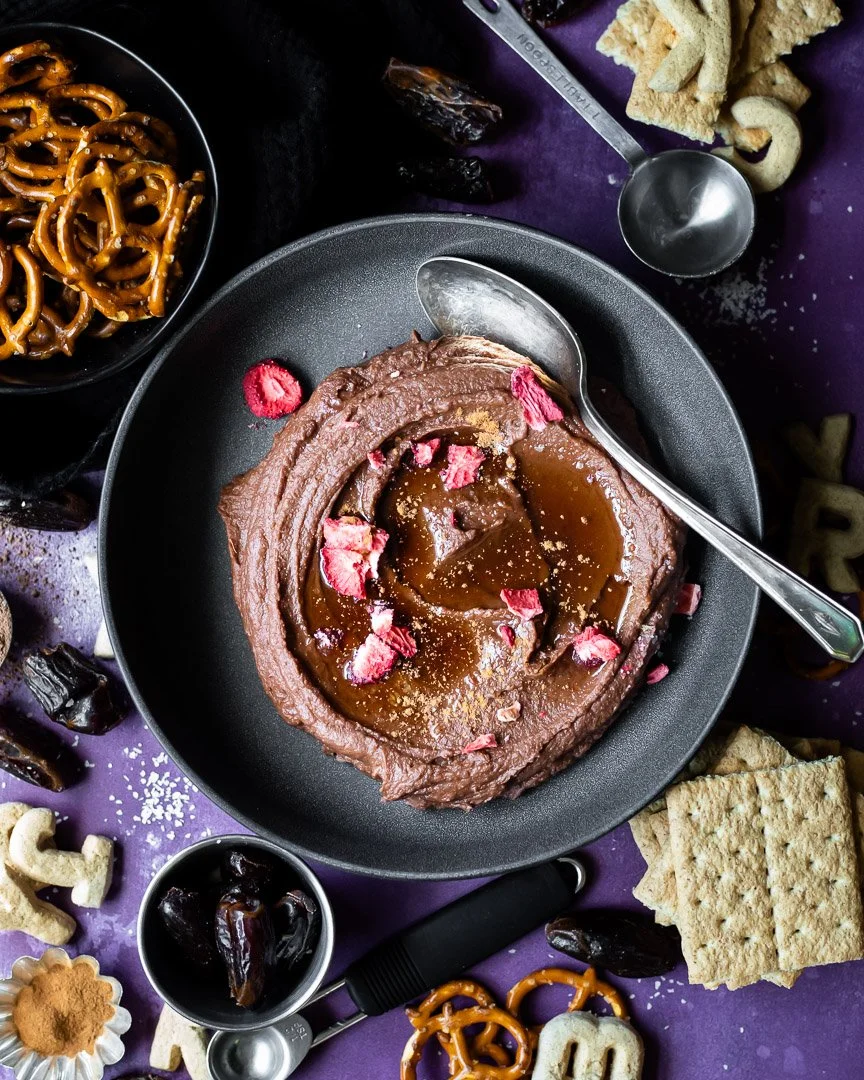
chocolate hummus | me & the moose | Chocolate hummus bears no resemblance to actual hummus, but is a fiber and protein rich sweet snack. #hummus #chocolate #snackrecipes #snacks #dips #dessert
I struggled with calling this recipe “hummus.” The only thing it has in common with actual hummus is chickpeas, but I wanted it to be clear that this spread is the same stuff you buy in the grocery store.
Even though it’s not really hummus, this spread is REALLY good. It’s a little sweet and very chocolate-y.
chocolate hummus | me & the moose | Chocolate hummus bears no resemblance to actual hummus, but is a fiber and protein rich sweet snack. #hummus #chocolate #snackrecipes #snacks #dips #dessert
chocolate hummus | me & the moose | Chocolate hummus bears no resemblance to actual hummus, but is a fiber and protein rich sweet snack. #hummus #chocolate #snackrecipes #snacks #dips #dessert
I started making my own chocolate hummus after being introduced to this magical concoction (seriously, how did I not know that chocolate hummus existed until about 2 months ago?) at my book club.
A couple of notes:
- Soak 4 dates, though you may not need them all. This dip tends to get sweeter as it sits in the fridge, so be careful about adding all four dates up front.
- If the dip doesn’t taste sweet enough after two dates, try adding another pinch of salt. The salt really brings out the sweetness and the chocolate, so you may not need additional sweetener.
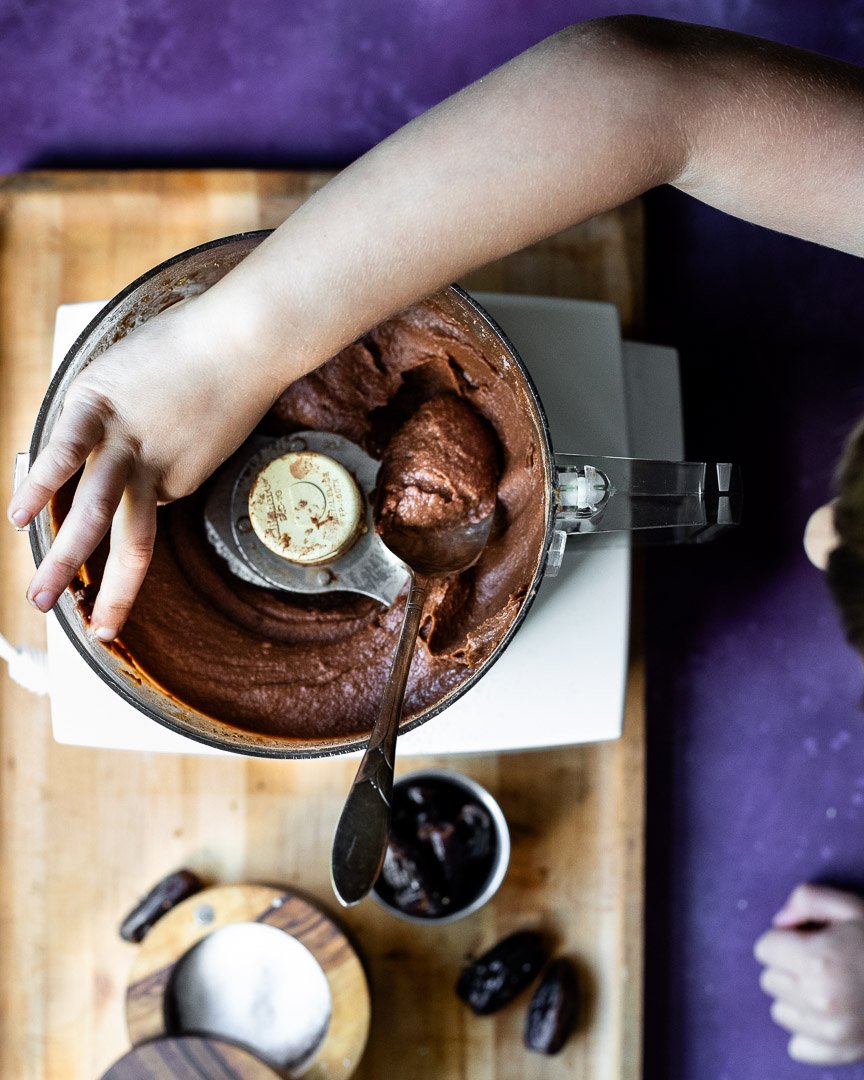
chocolate hummus | me & the moose | Chocolate hummus bears no resemblance to actual hummus, but is a fiber and protein rich sweet snack. #hummus #chocolate #snackrecipes #snacks #dips #dessert
Chocolate hummus
Time: about 20 minutes, all active
Yield:1.5 cups or about 14.5 ounces
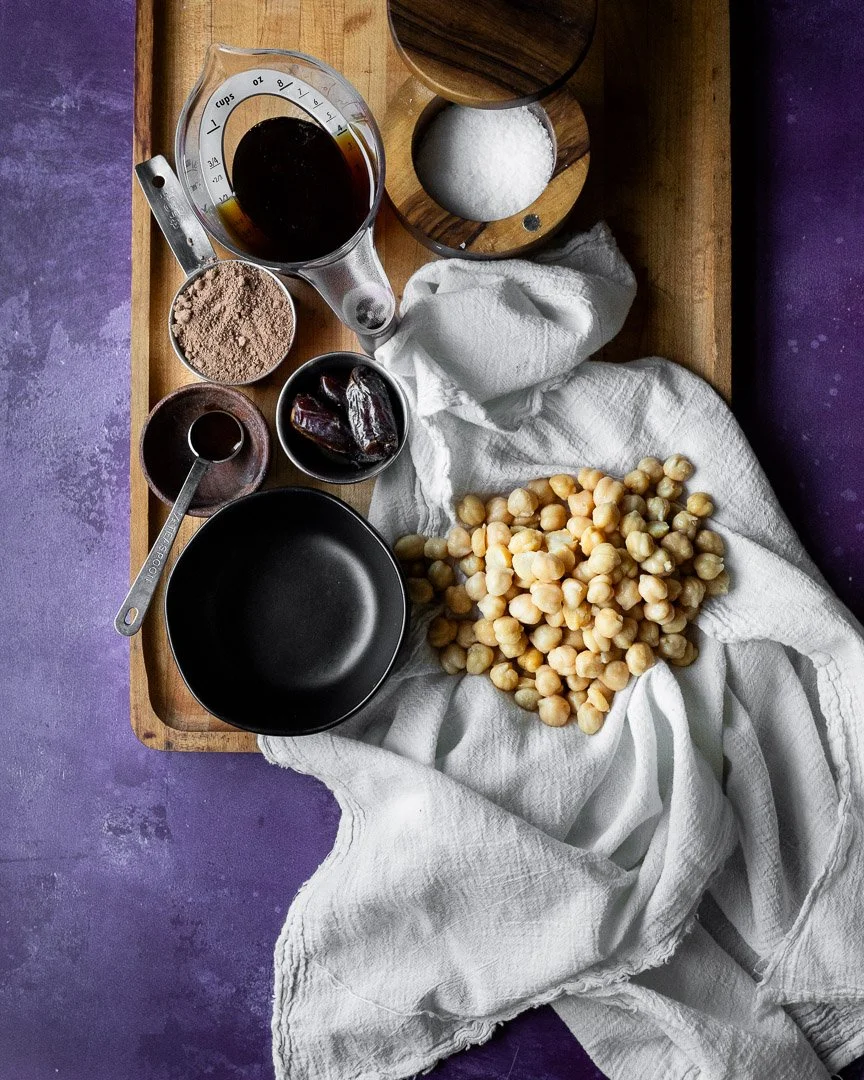
1 can chick peas, rinsed and drained |
¼ cup cocoa powder
½ cup maple syrup
2-4 dates, soaked in boiling water for 5-10 minutes
¼ tsp salt, plus more to taste
½ tsp vanilla extract
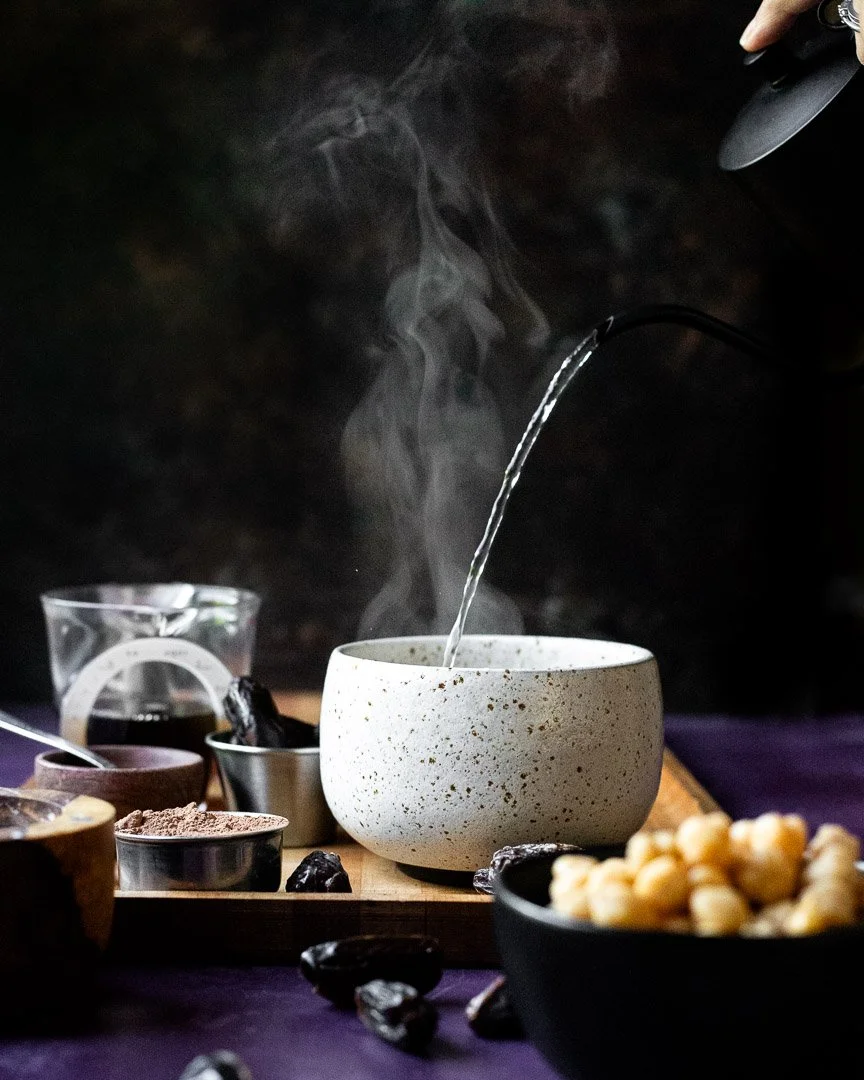
Boil some water and pour over 4 dates. Let sit for 5-10 minutes.
Meanwhile, thoroughly rinse your chickpeas and dry them lightly with a dishtowel or paper towel. Add to a food processor.
Measure the other ingredients and add to the food processor. When the dates are soft, add 3 to the other ingredients and blend until very smooth, about 3-4 minutes.
Serve or store in an air-tight container in the fridge.
Salted honey and rosemary teiglach
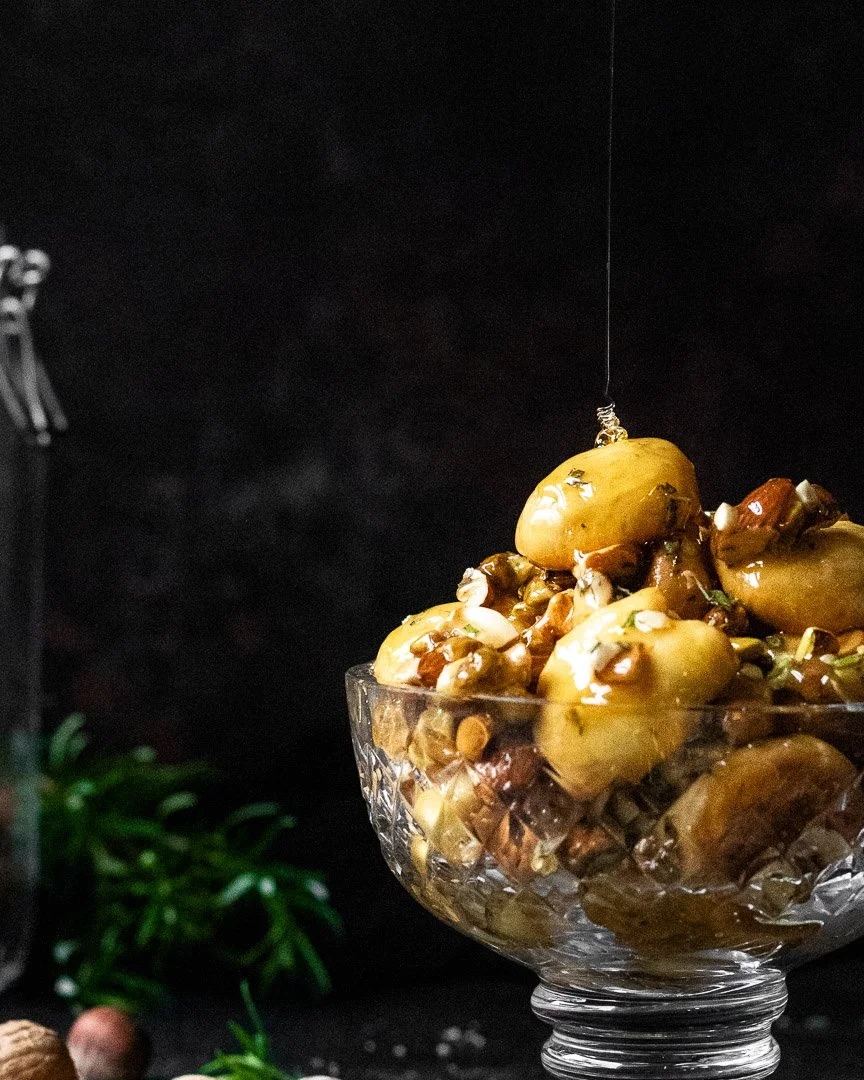
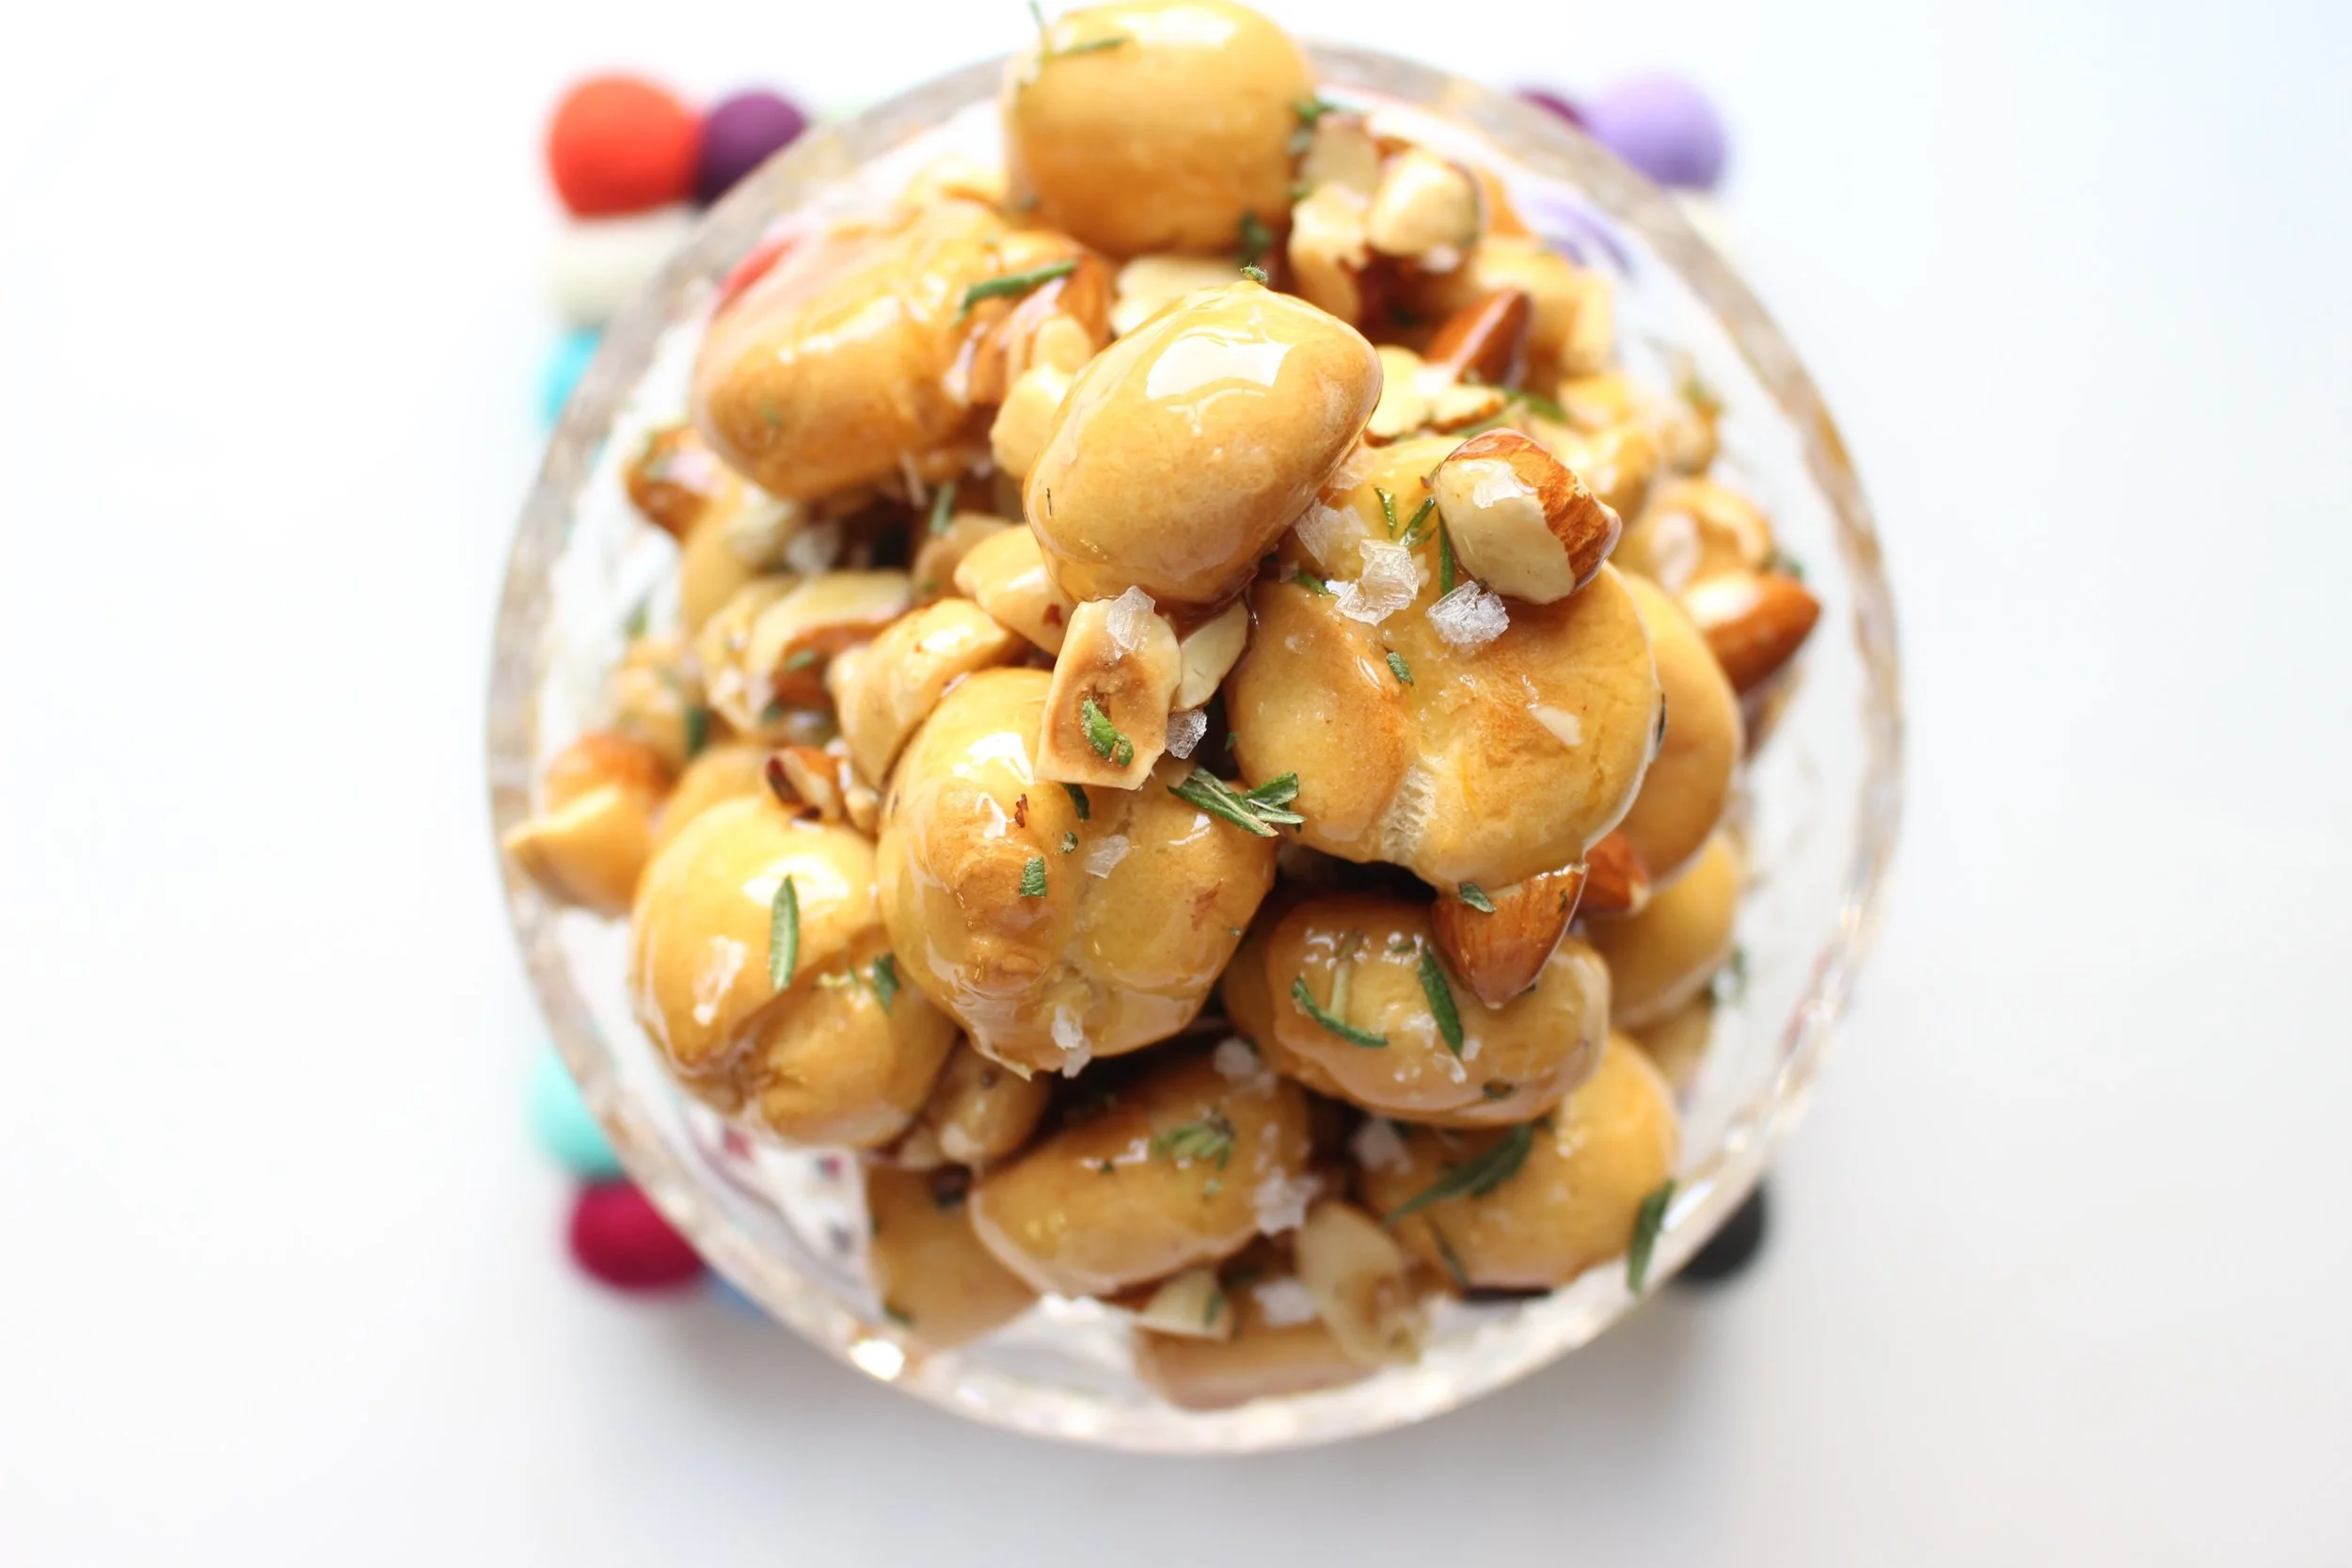
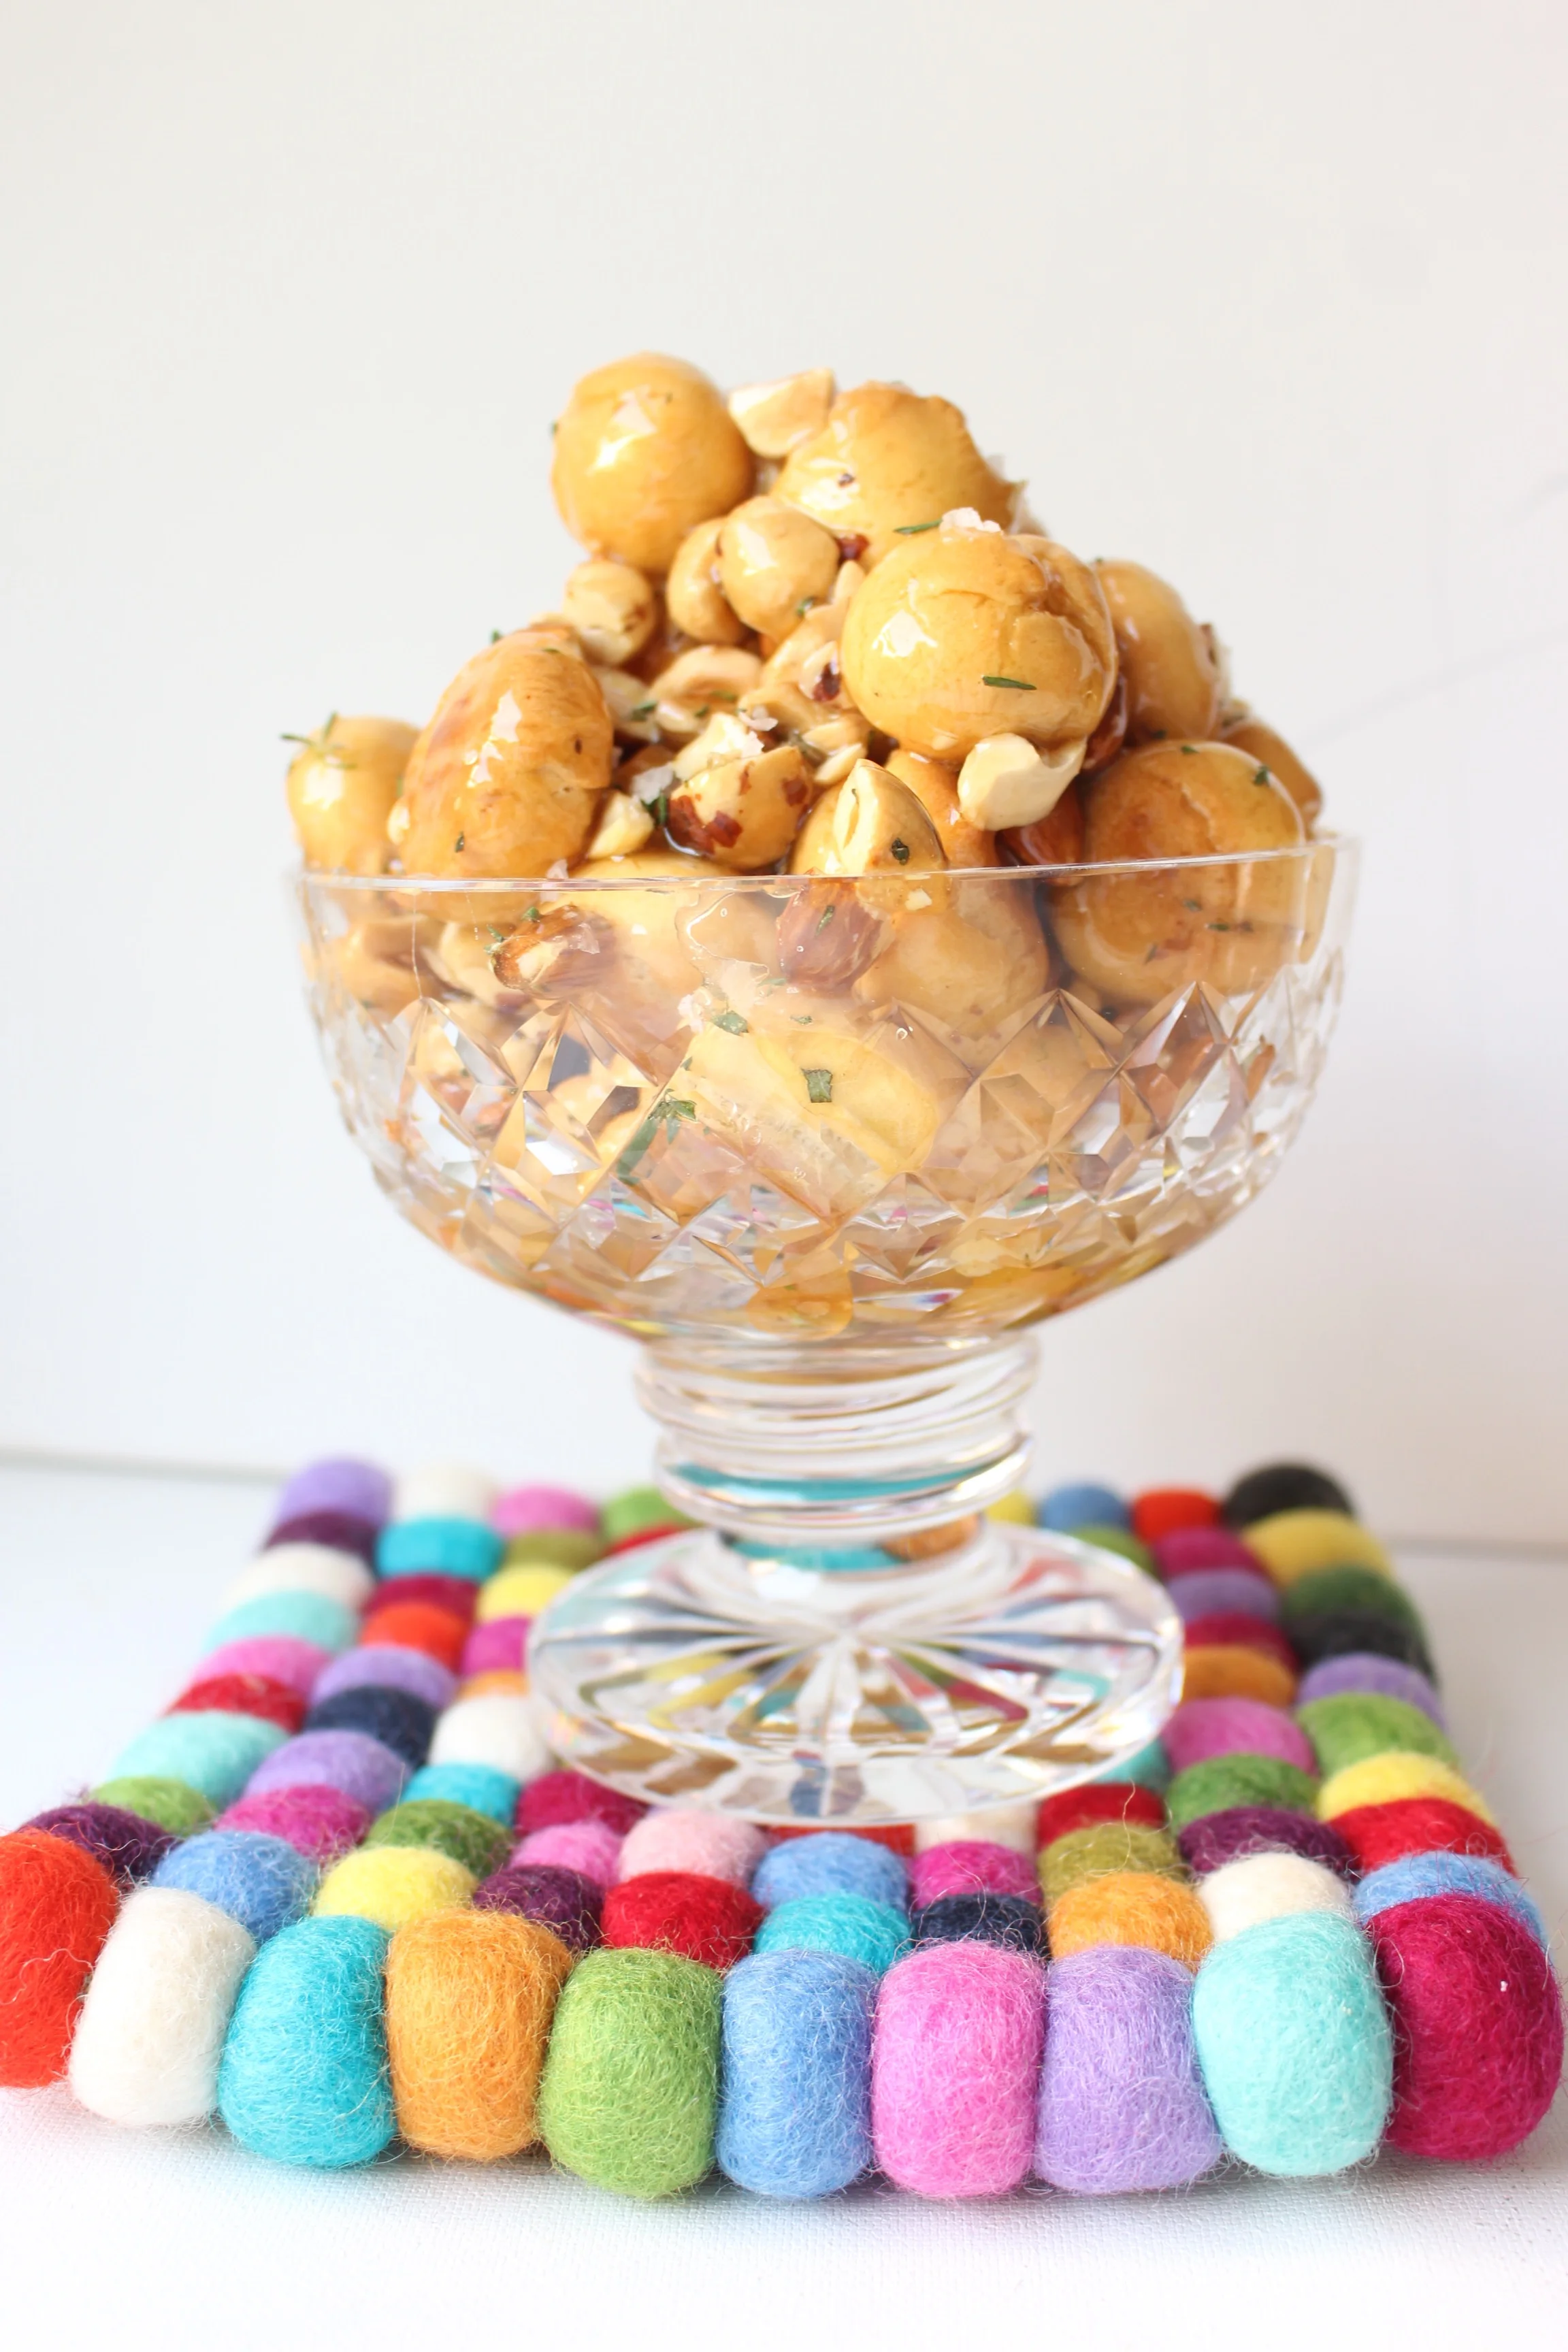
Teiglach! This sweet honeyed dessert reminds me so much of my childhood Rosh Hashanah dinners. It is a mountain of baked or fried dough balls that are combined with nuts, dried fruits, and sprinkles by a honey syrup. And though it looks complex, it is stupidly easy.
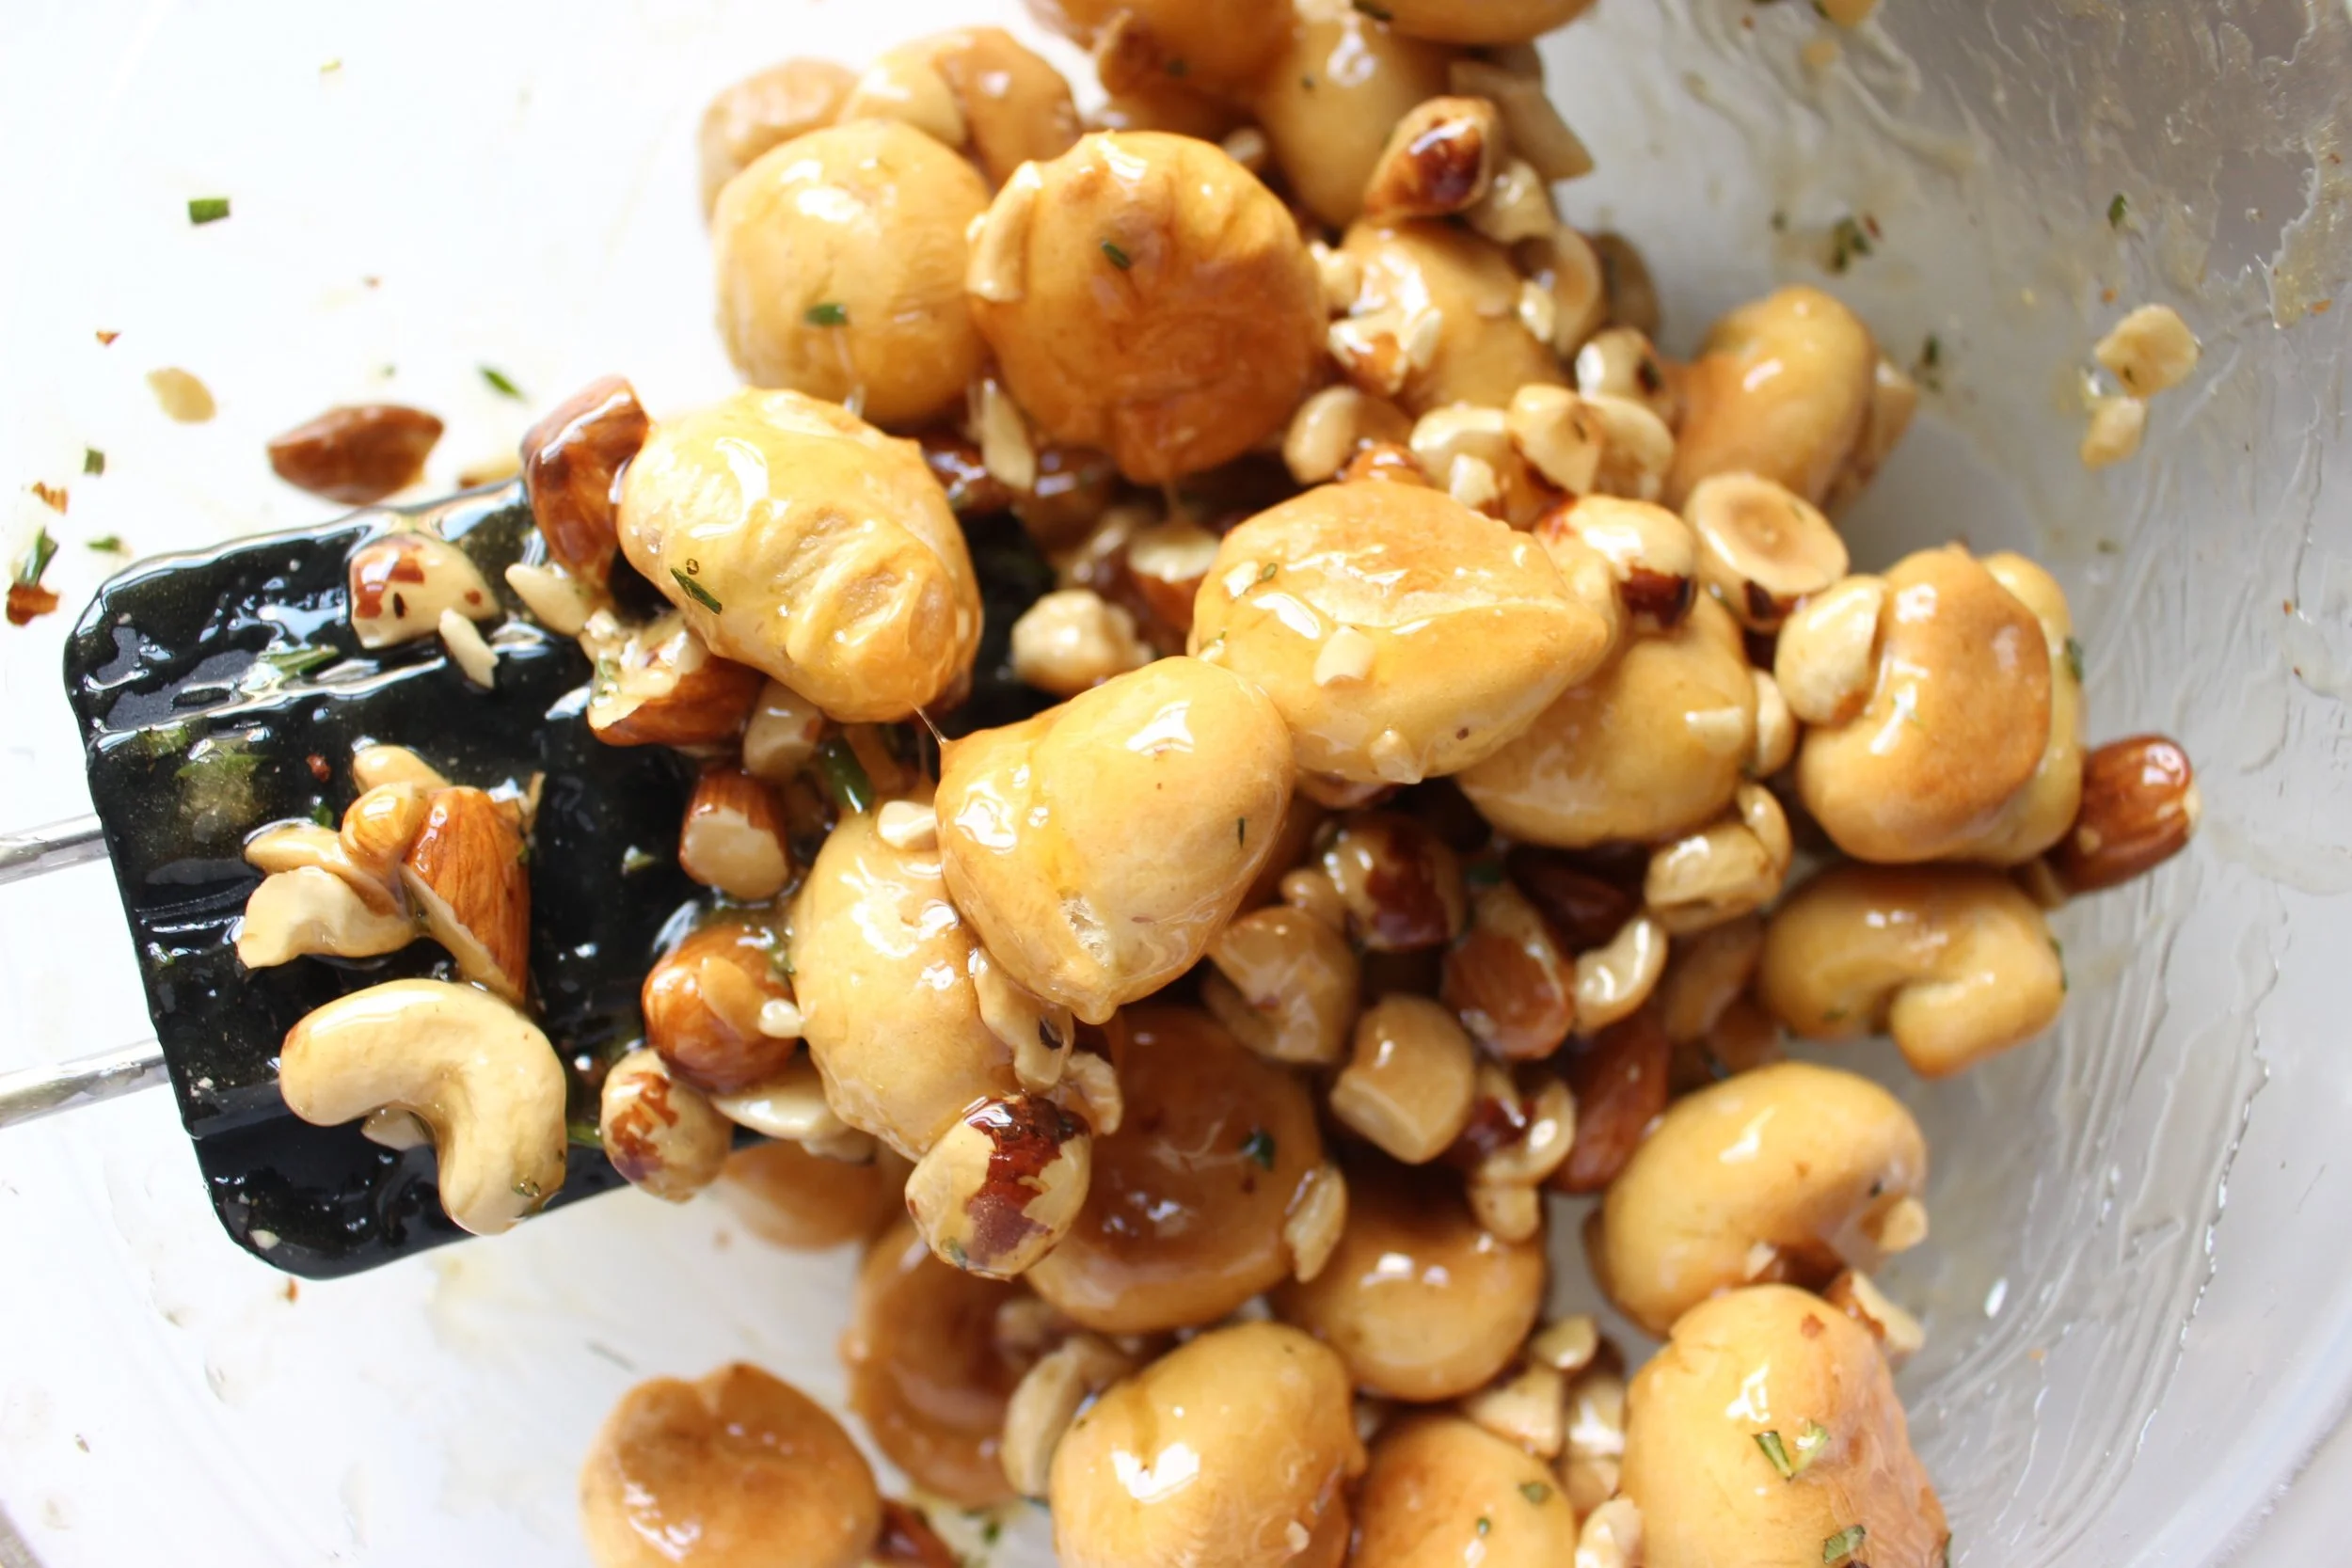
Though teiglach, for me, tends to be specific to the Jewish Holidays, it’s a close cousin of the Italian struffoli, which is traditionally served for Christmas or Easter. So, you can feel good about serving this sticky treat for any occasion, really.
I added flaky sea salt and rosemary to my version because traditional teiglach is very sweet (hello, honey) and both of those ingredients tone down the sweetness. I also added almond extract to my dough, which makes for a more complex overall taste. The almond, rosemary, sea salt, and honey also play very well together.
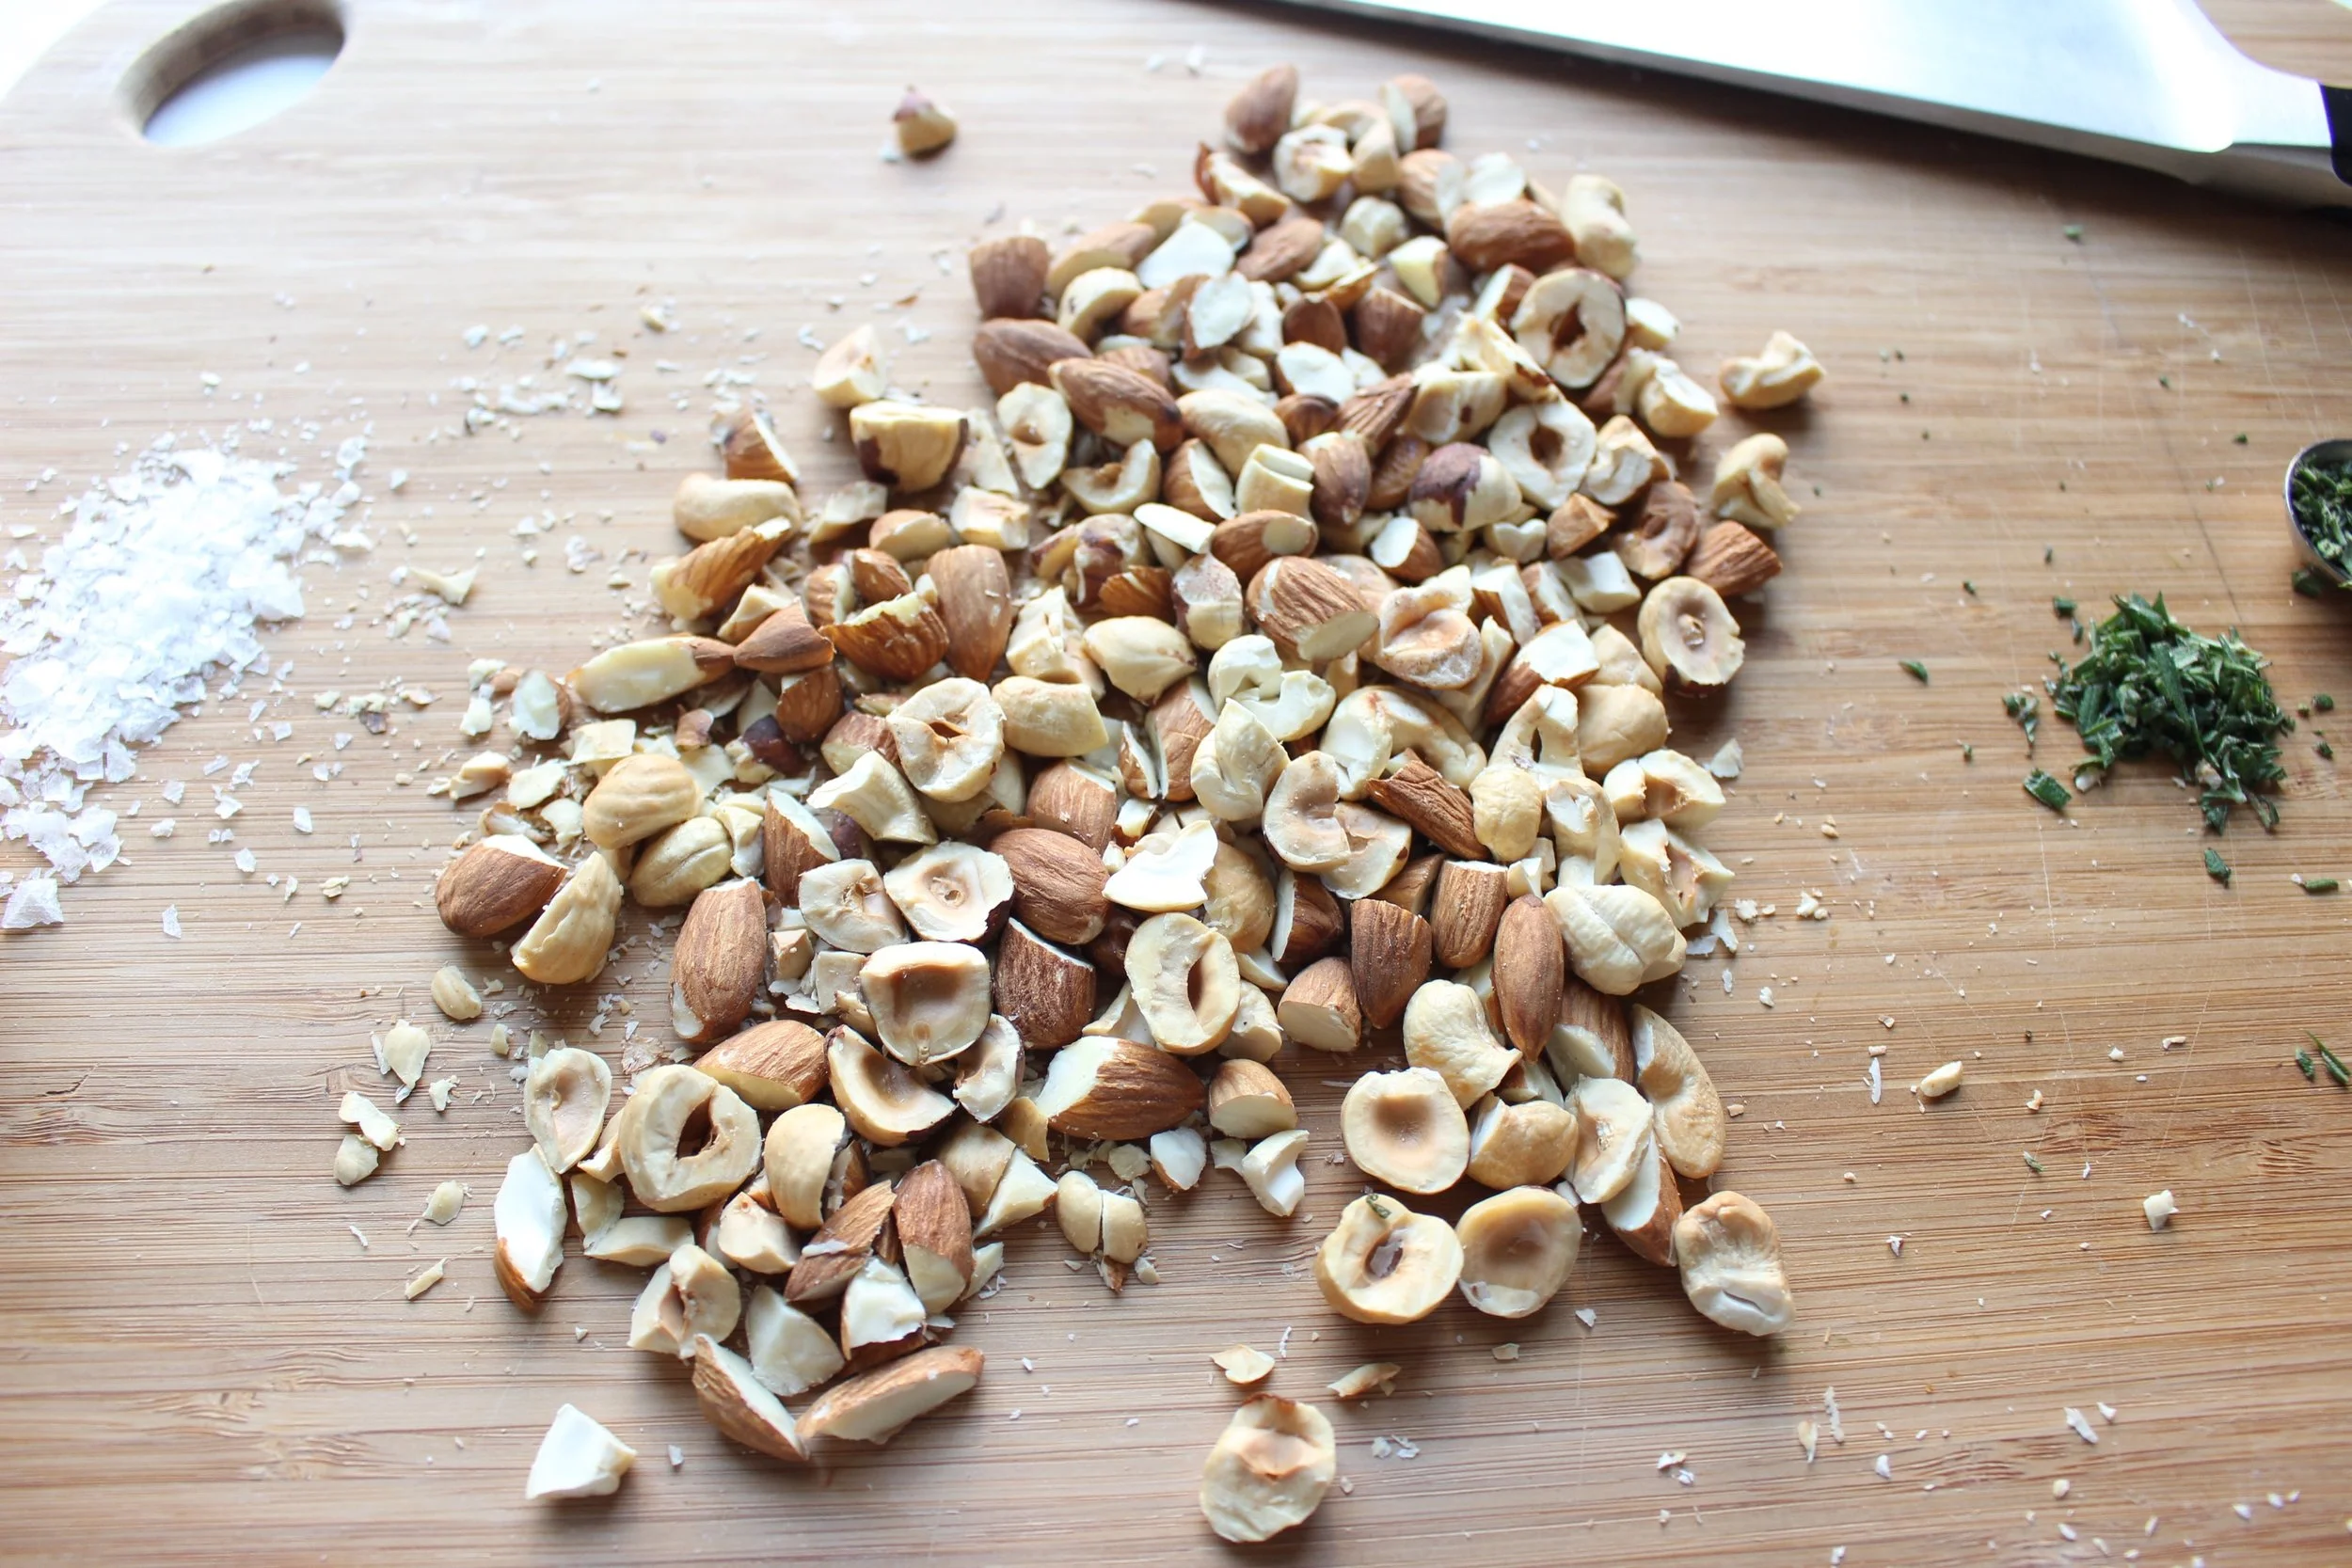
I baked the dough because a) it’s marginally easier; b) it’s marginally healthier; and c) I hate nothing more than smelling like fried oil. Don’t be afraid to overbake the dough balls slightly as this will help them to stay crunchy when they’re covered in honey.
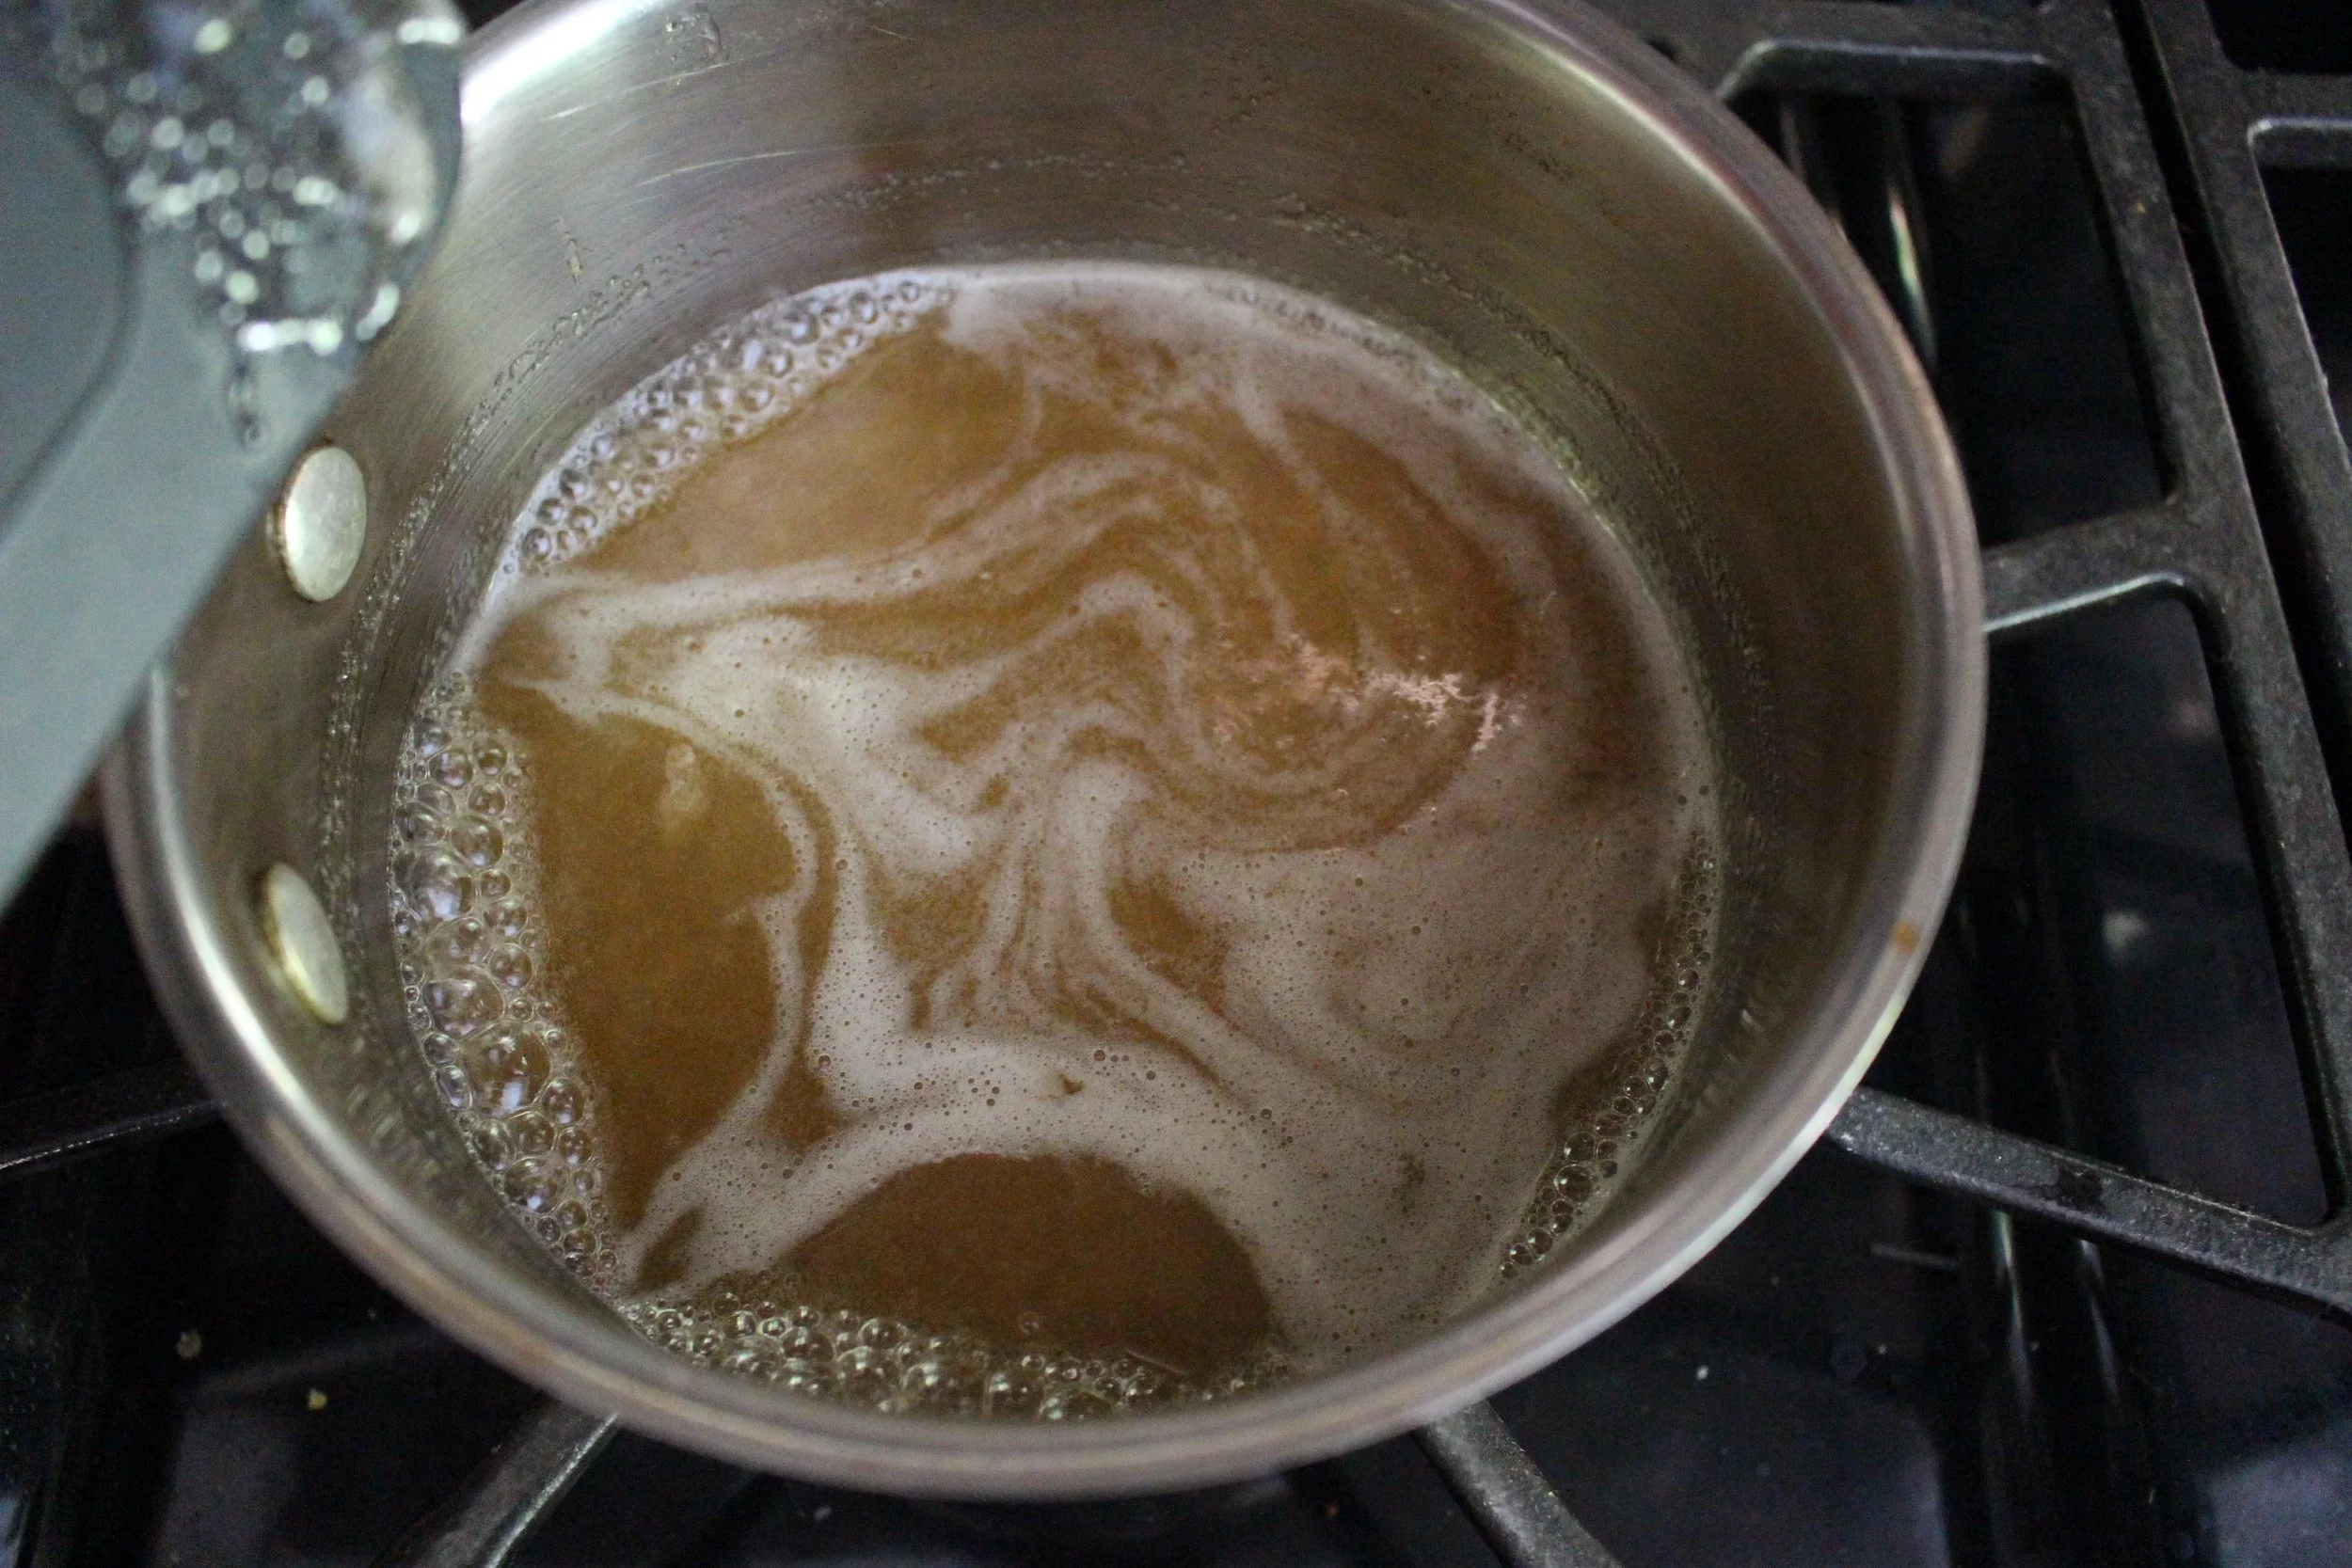
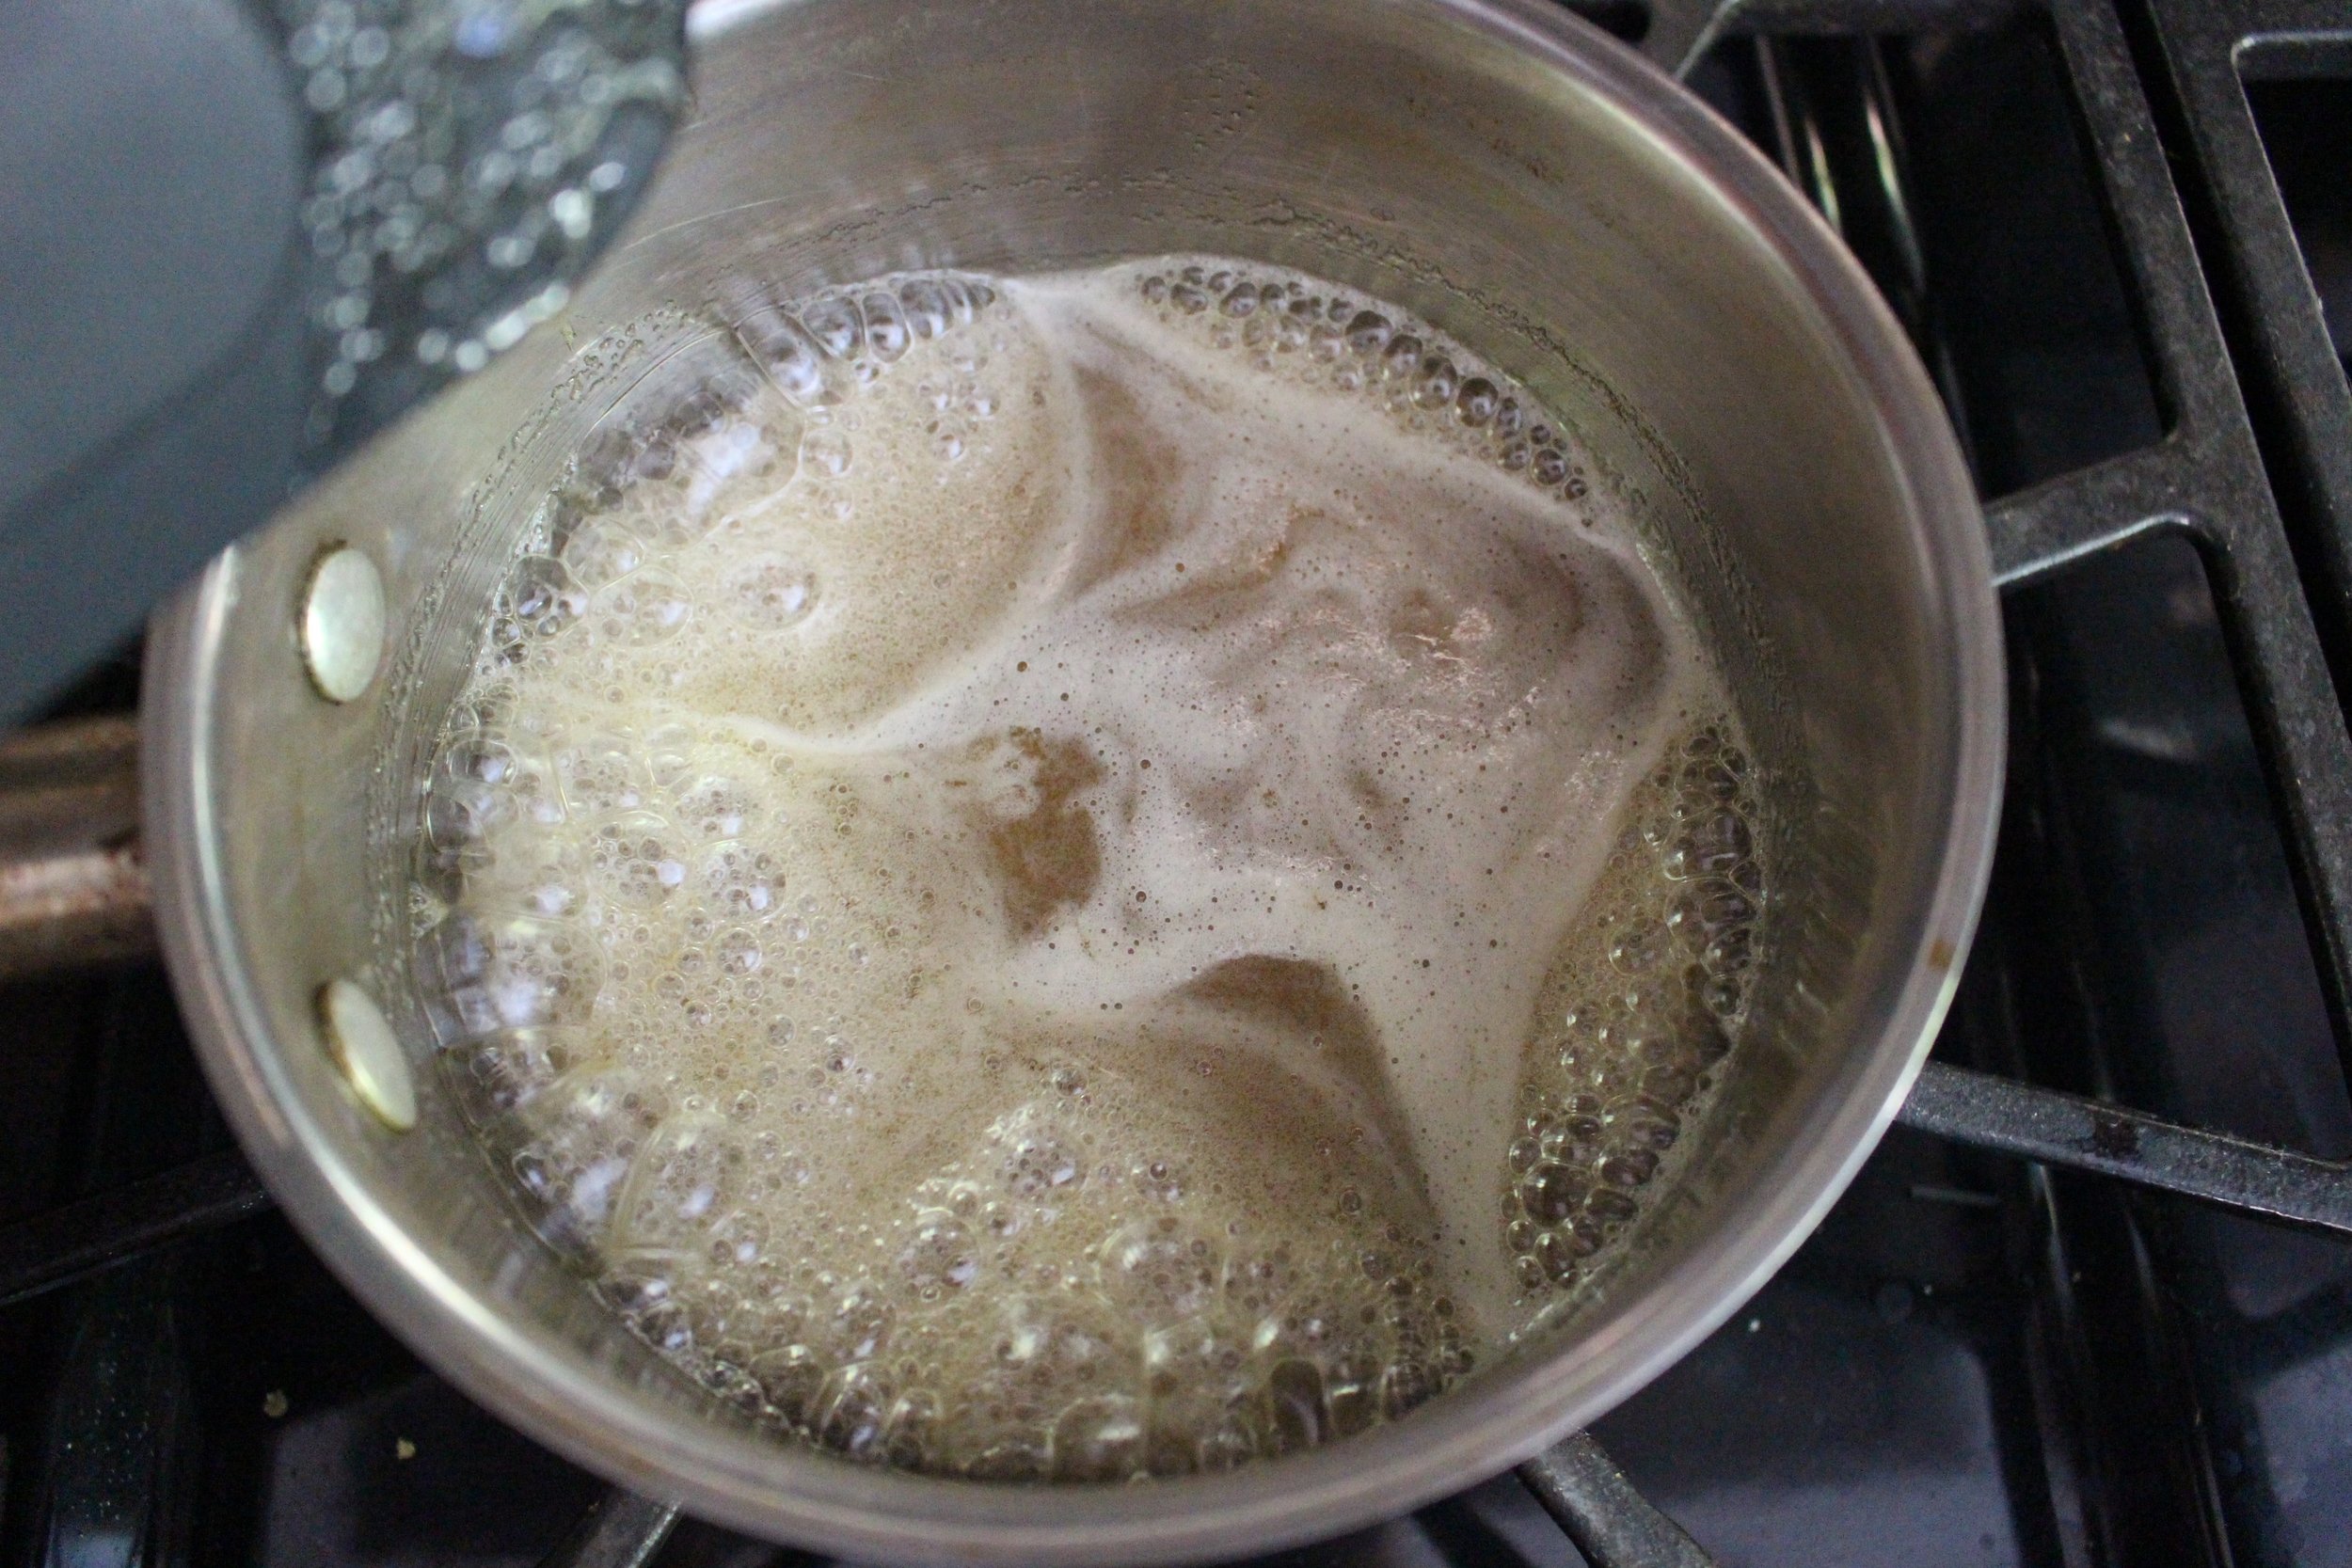
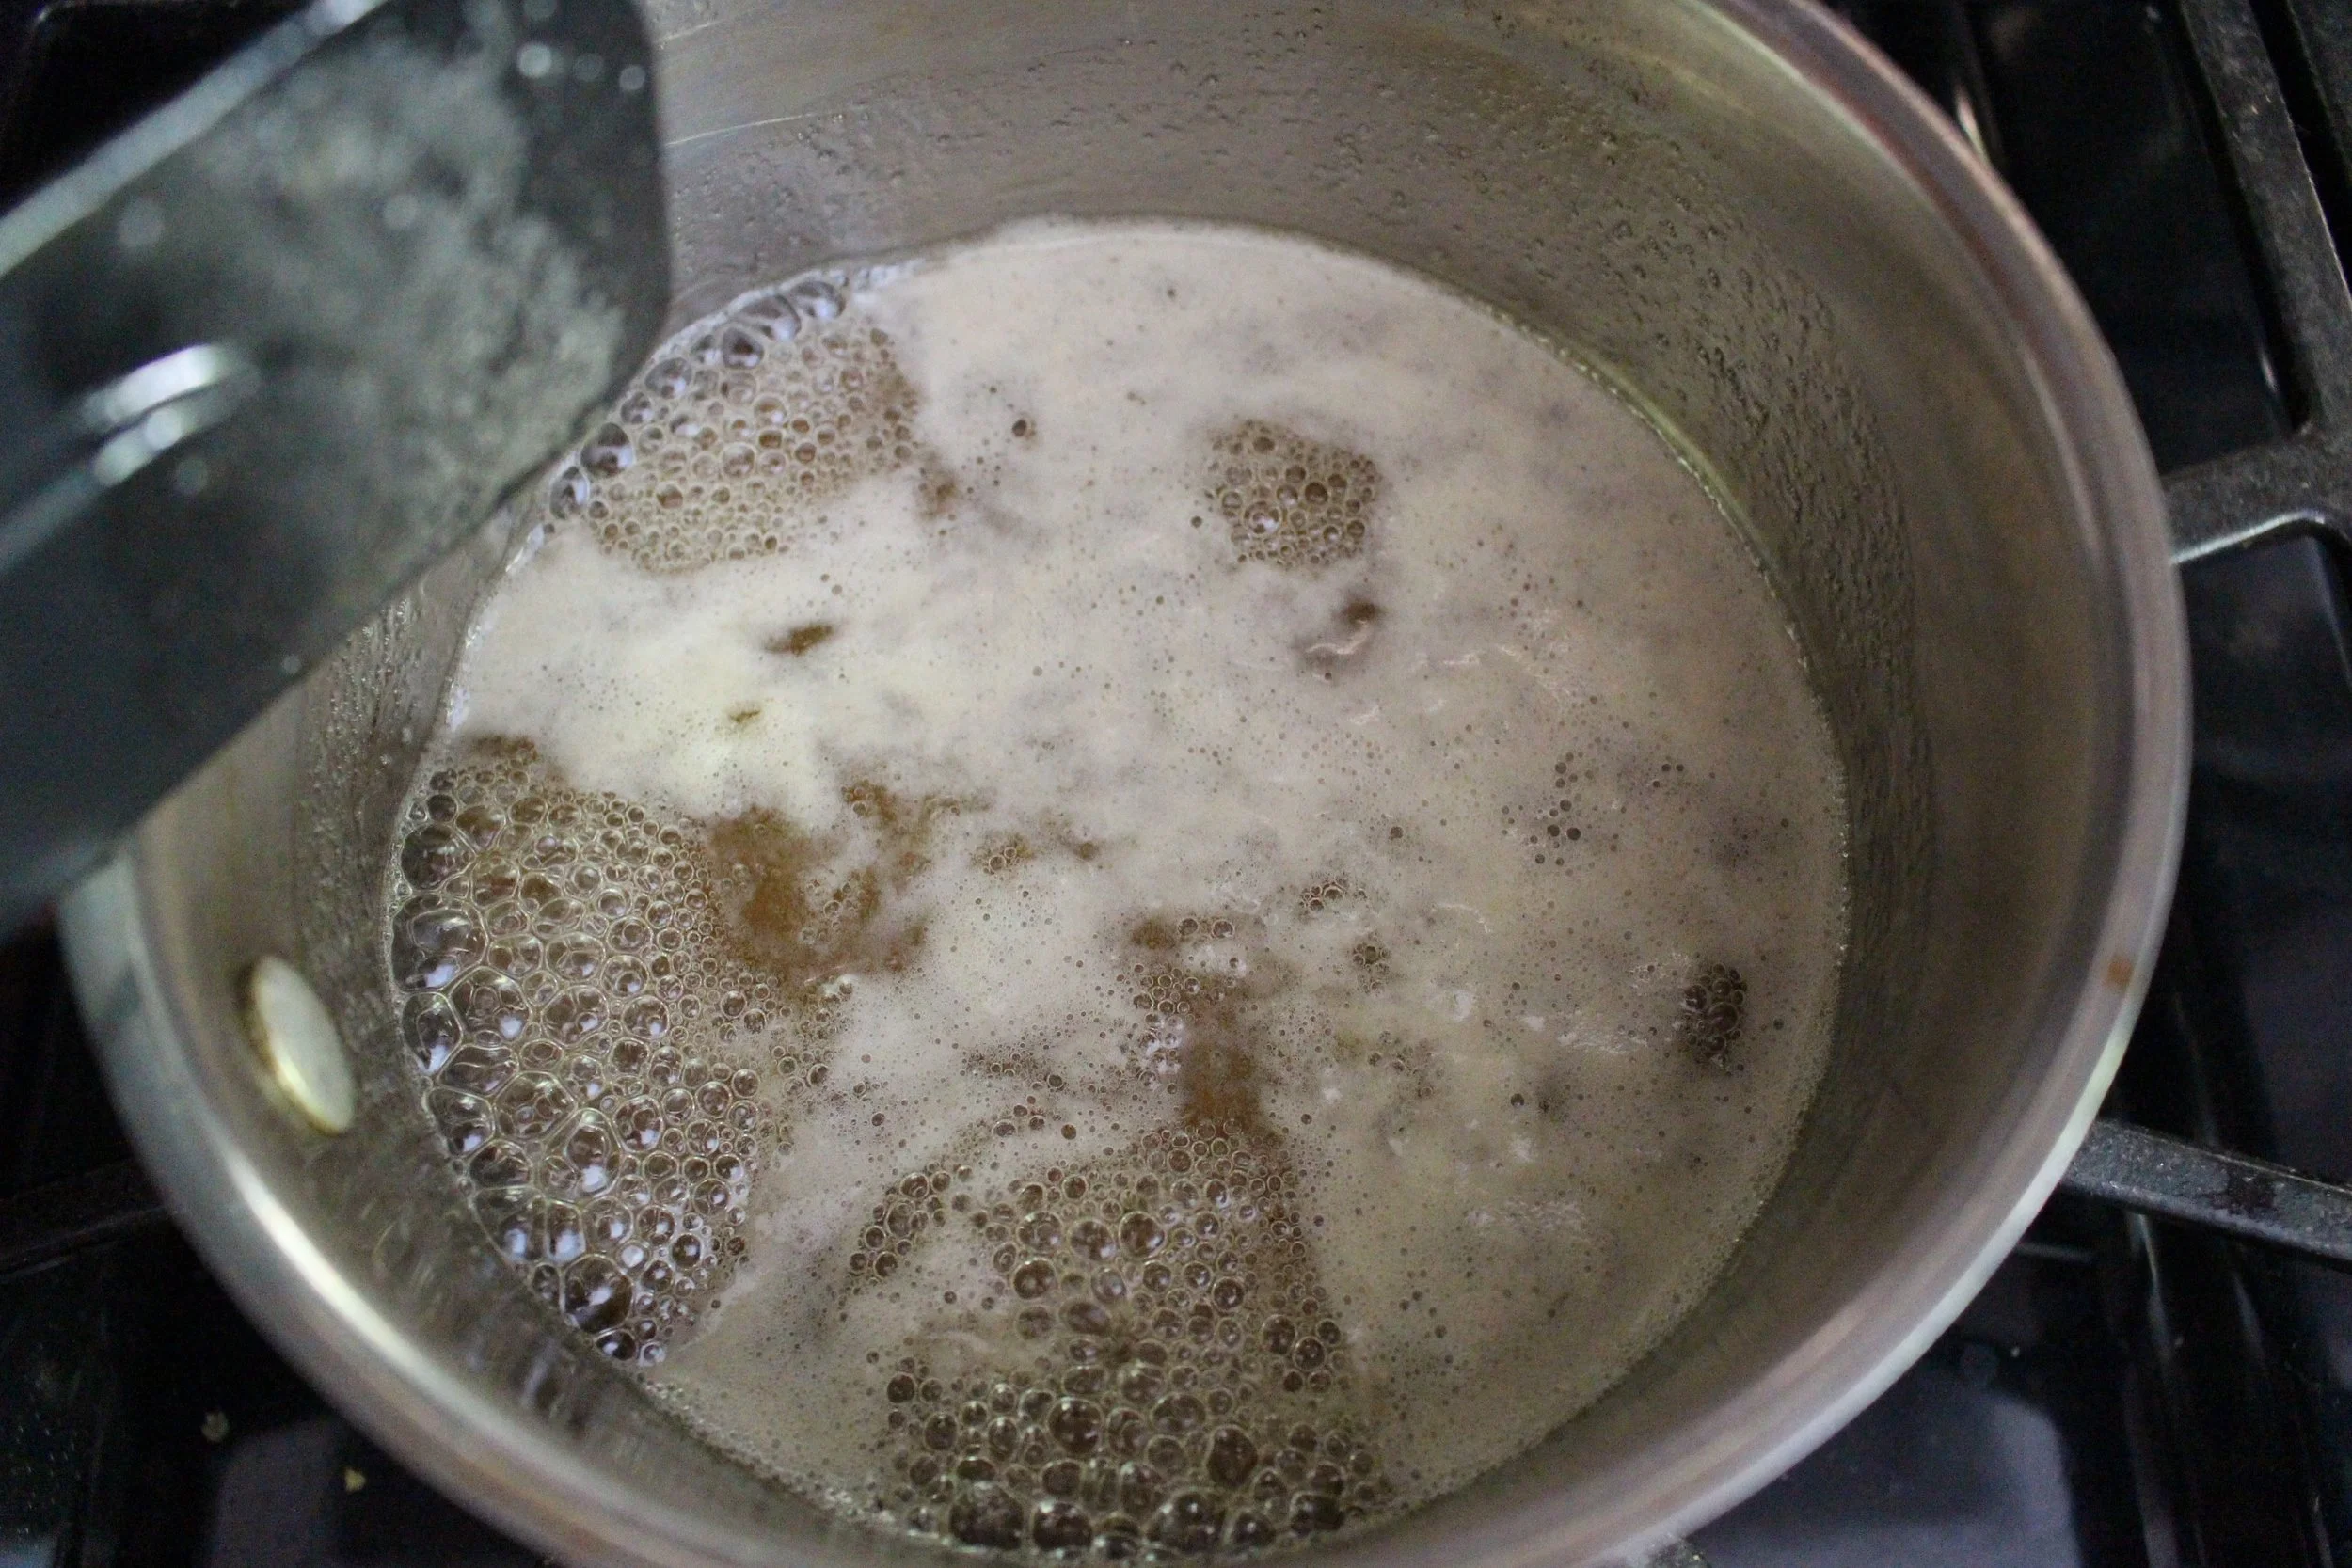
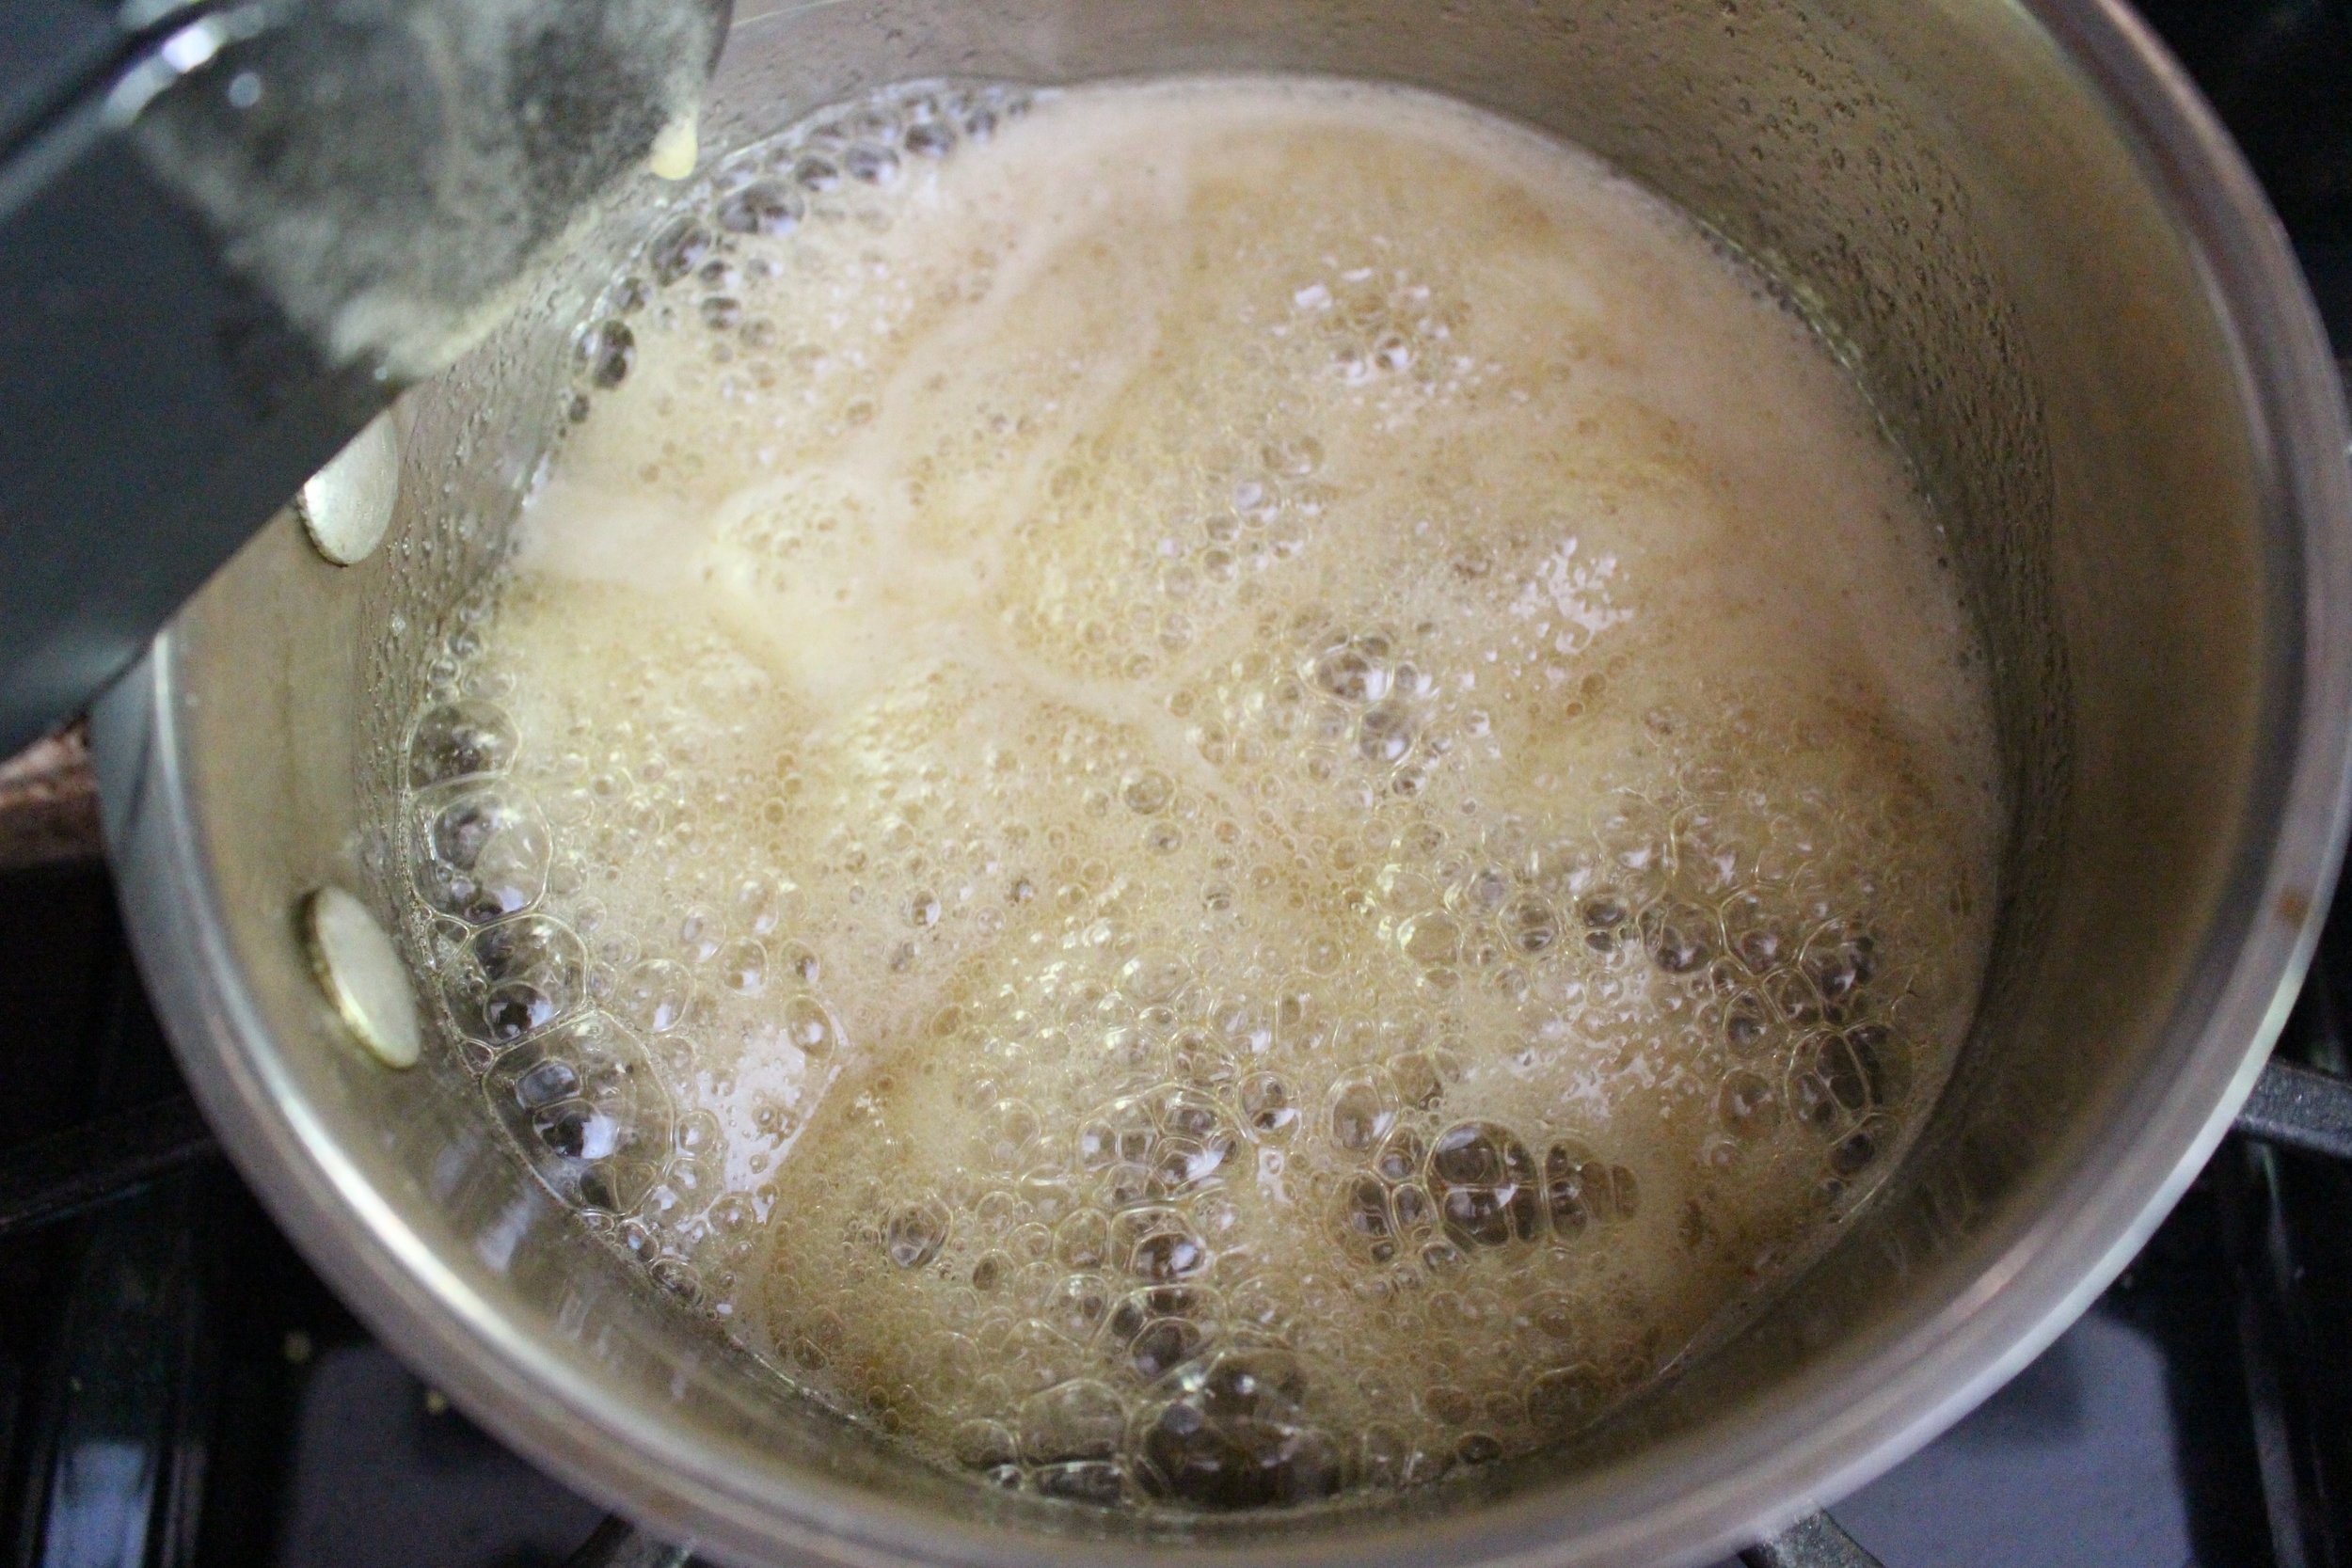
The only tricky part is making sure the honey syrup doesn't burn. I will admit that during recipe testing, I didn't turn the heat down fast enough and my honey almost boiled over. I used it anyway and it was completely fine.
Two quick notes:
This is a relatively small batch of teiglach. So, if you're feeding a crowd for the holidays, I would double it.
Use a cheap, grocery store honey for this. I’ve used a darker, local, wildflower honey and the flavor was a bit too strong. The stuff in a bottle shaped like a bear or something equally cheap is perfect.
Salted honey and rosemary teiglach
2 eggs, whisked
1 Tbsp olive oil
1 tsp lemon zest (zest of 1 large lemon)
½ tsp almond extract
1 cup AP flour
½ Tbsp granulated sugar
¼ tsp baking powder
¼ tsp salt
¾ cup toasted mixed nuts, roughly chopped
½ cup light-colored and lightly flavored honey
2 Tbsp sugar
1 ½-2 tsp fresh rosemary, minced and divided (to taste)
¾ tsp Sea salt, divided
Preheat the oven to 350. Line a sheet pan with parchment paper and set aside.
In a large bowl, combine the eggs and olive oil and whisk until well mixed and lightly bubbly. Add the lemon zest and almond extract and whisk again to combine.
Add the flour, sugar, baking powder, and salt and mix just until all of the flour is incorporated. It will be a thick batter.
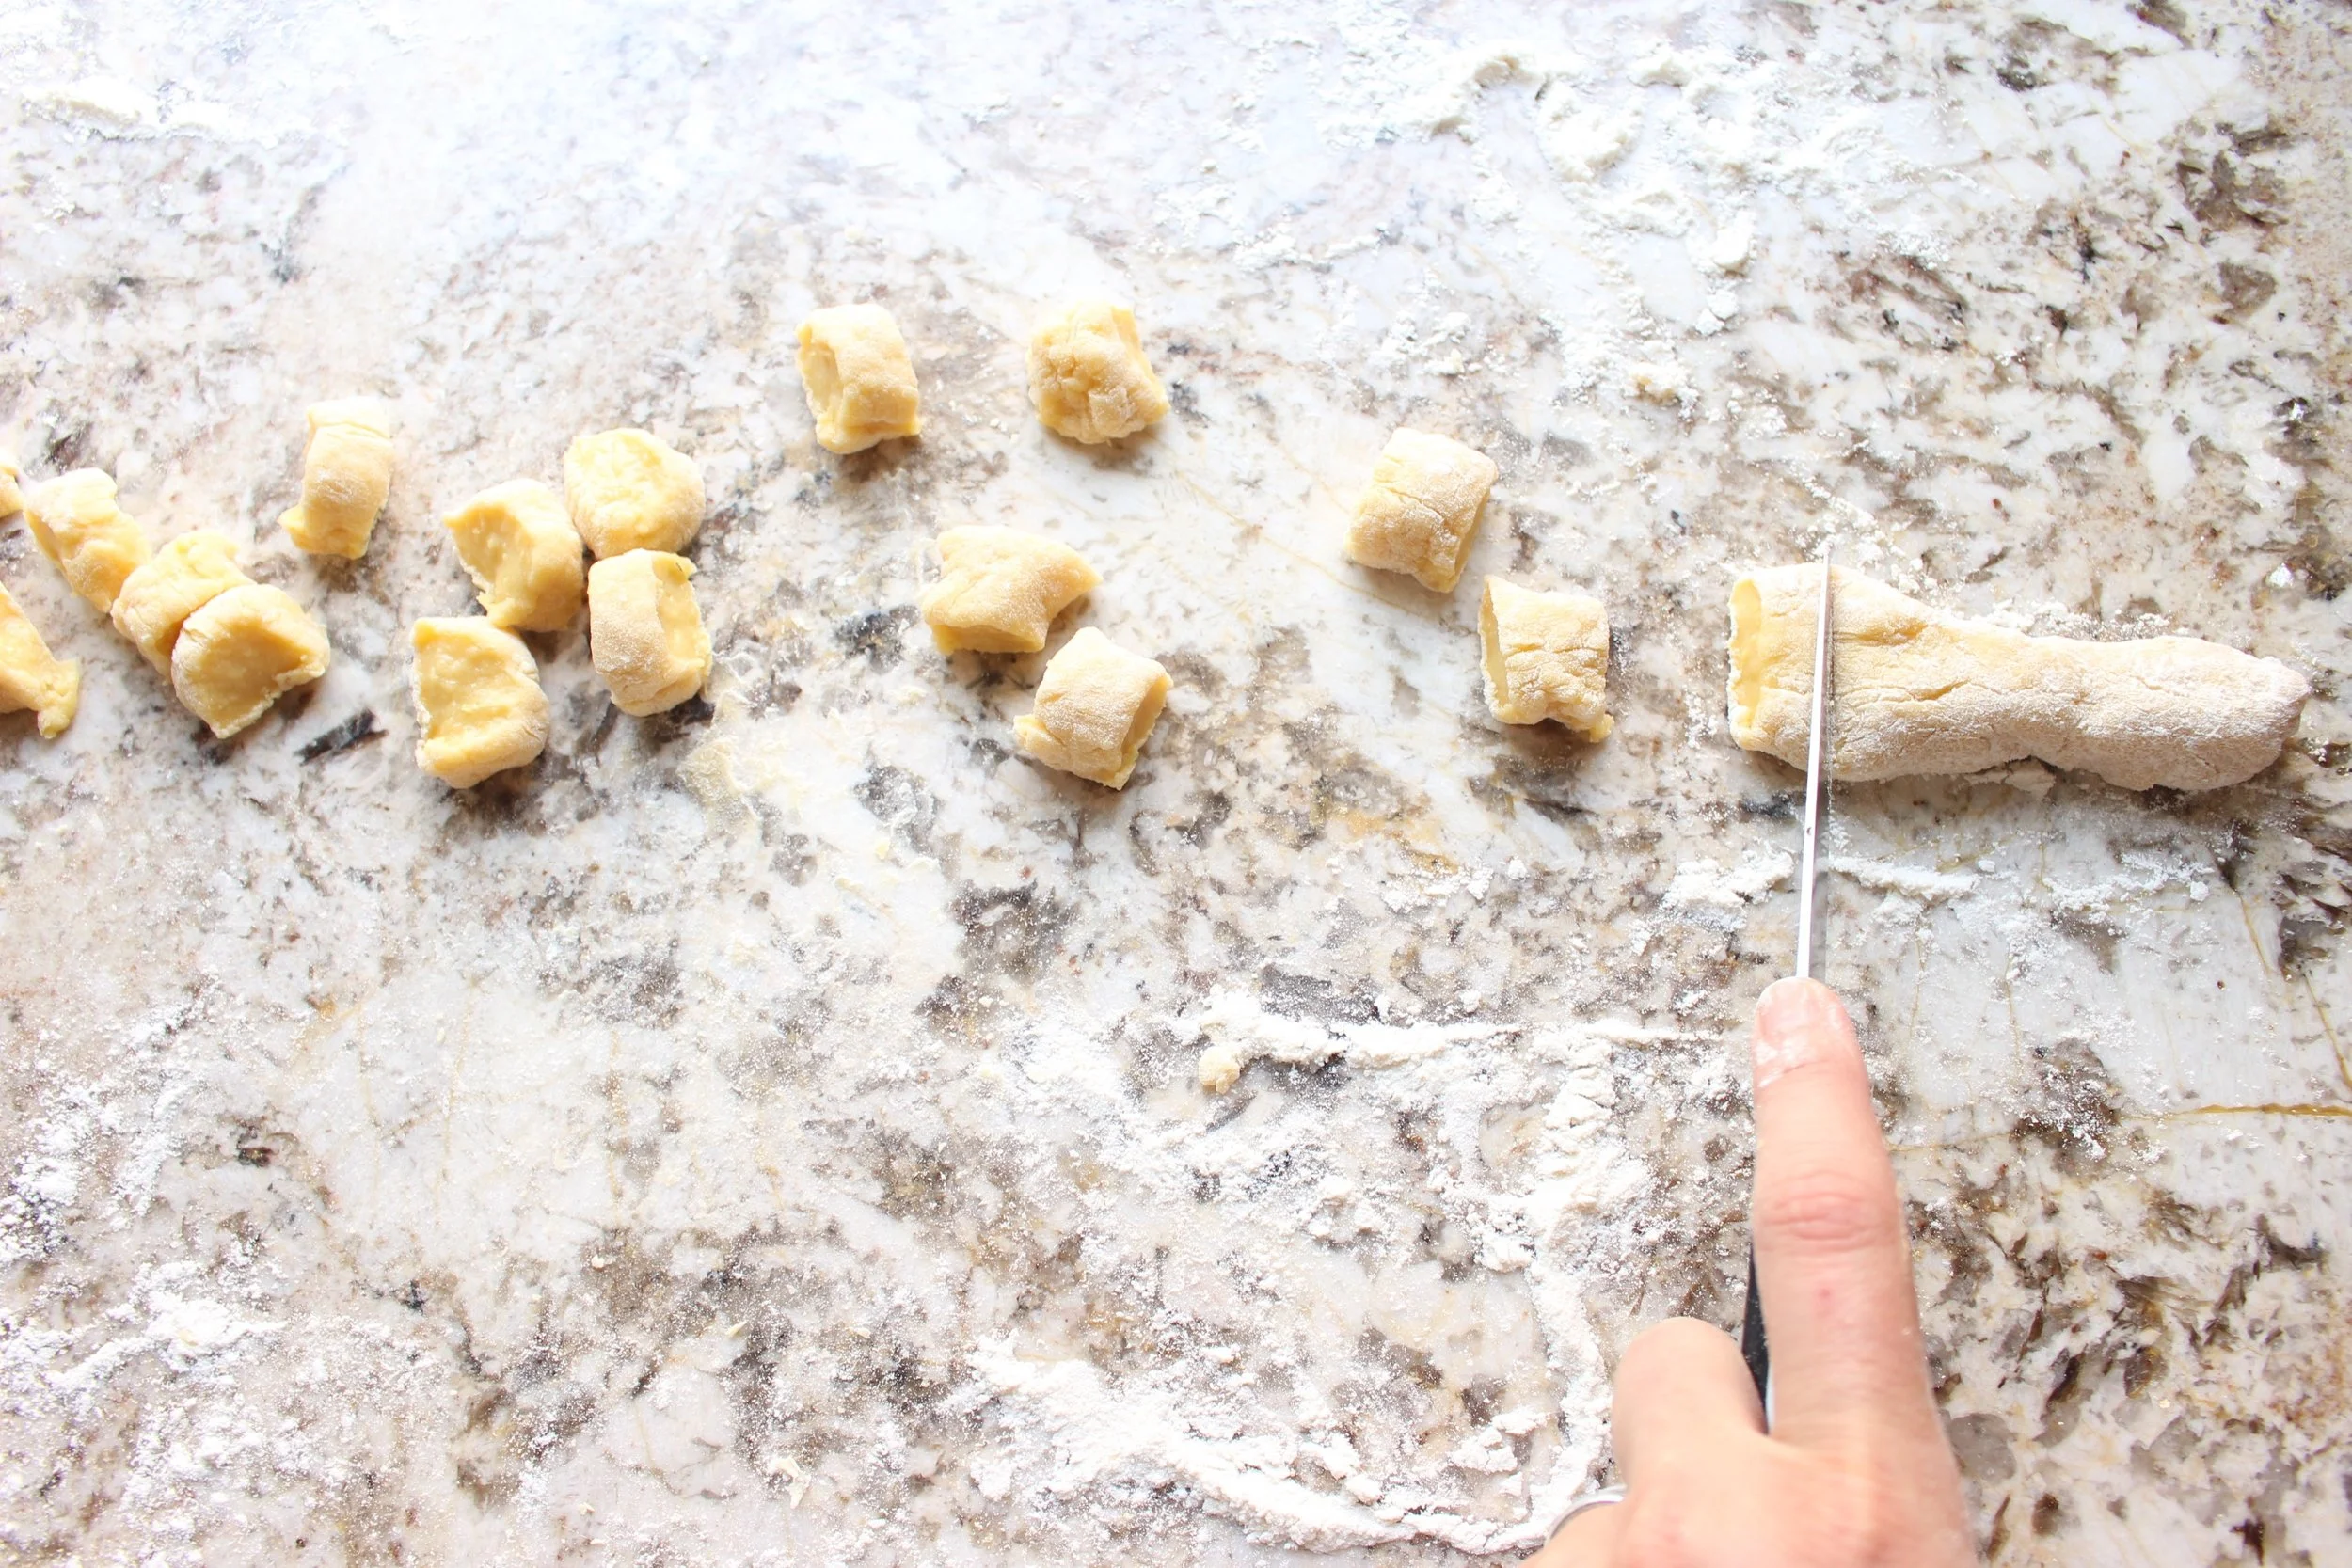
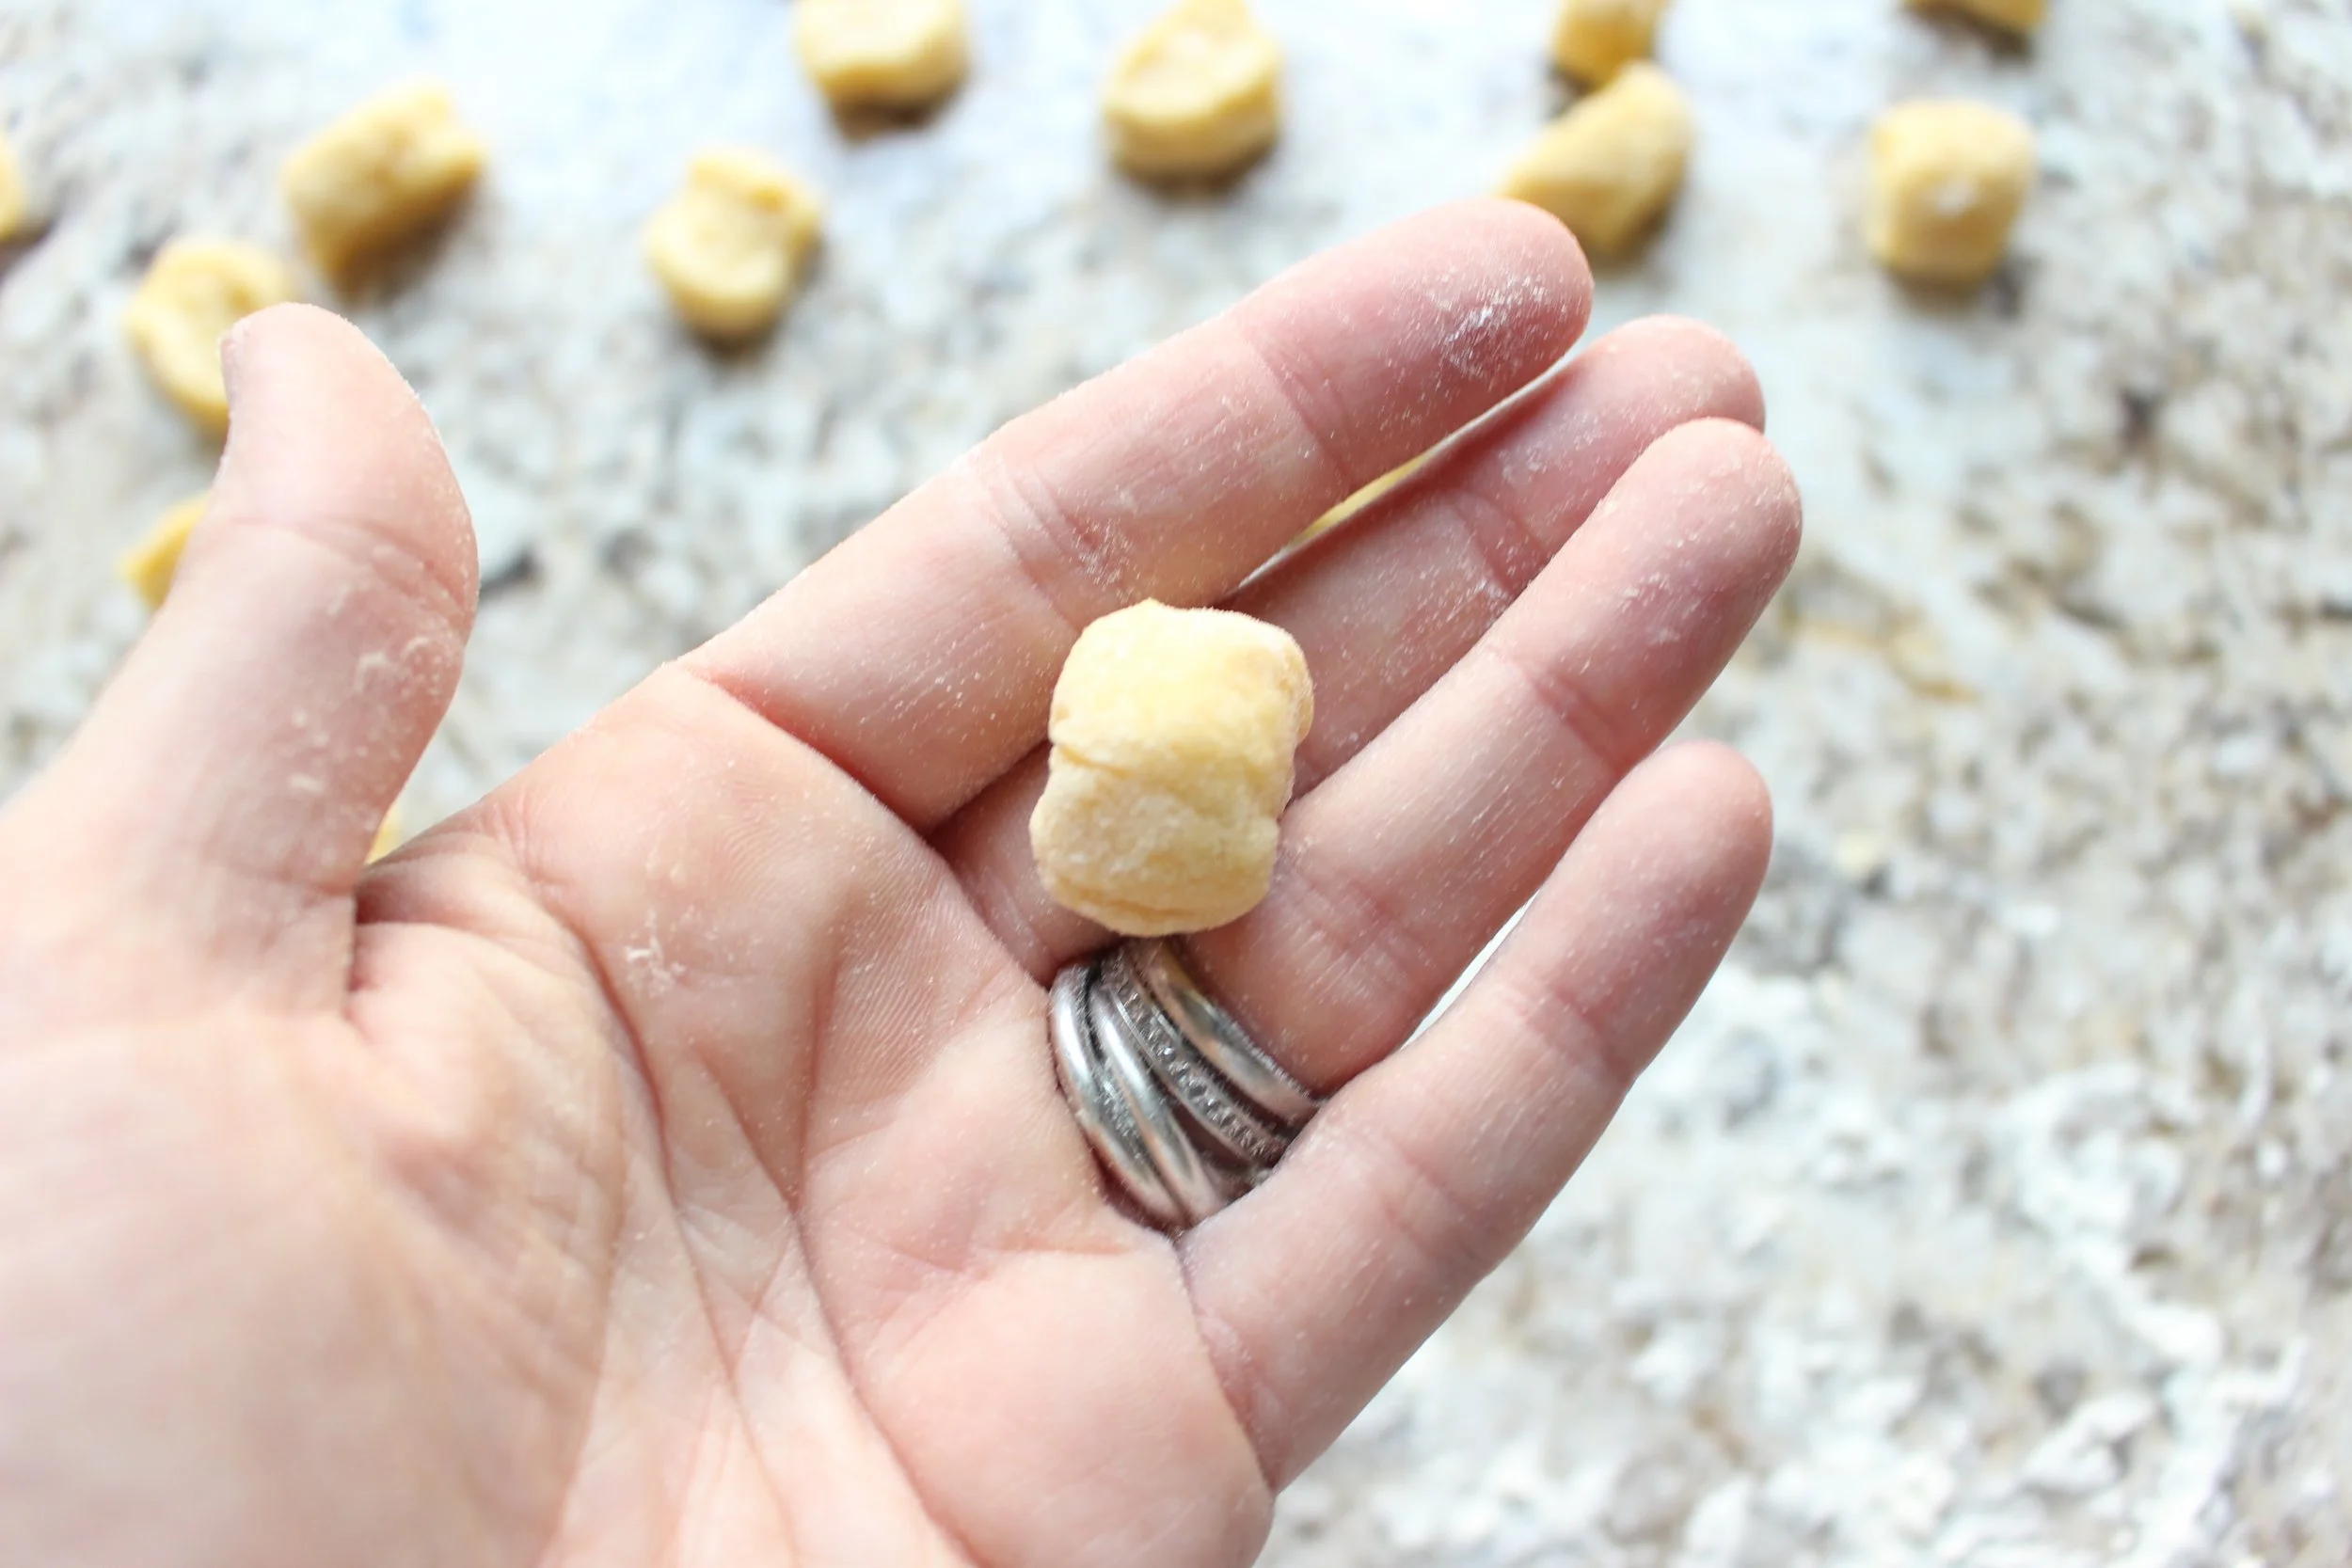
Turn out the dough onto a lightly floured surface and knead 5-6 times, just until it feels a little springy and less sticky. Divide the dough in half and roll out each half into a long, thin snake, about ¾ of an inch thick. Chop the snake into ½-inch pieces. Roll each piece into a small ball. The balls should be between the size of a dime and a nickel.
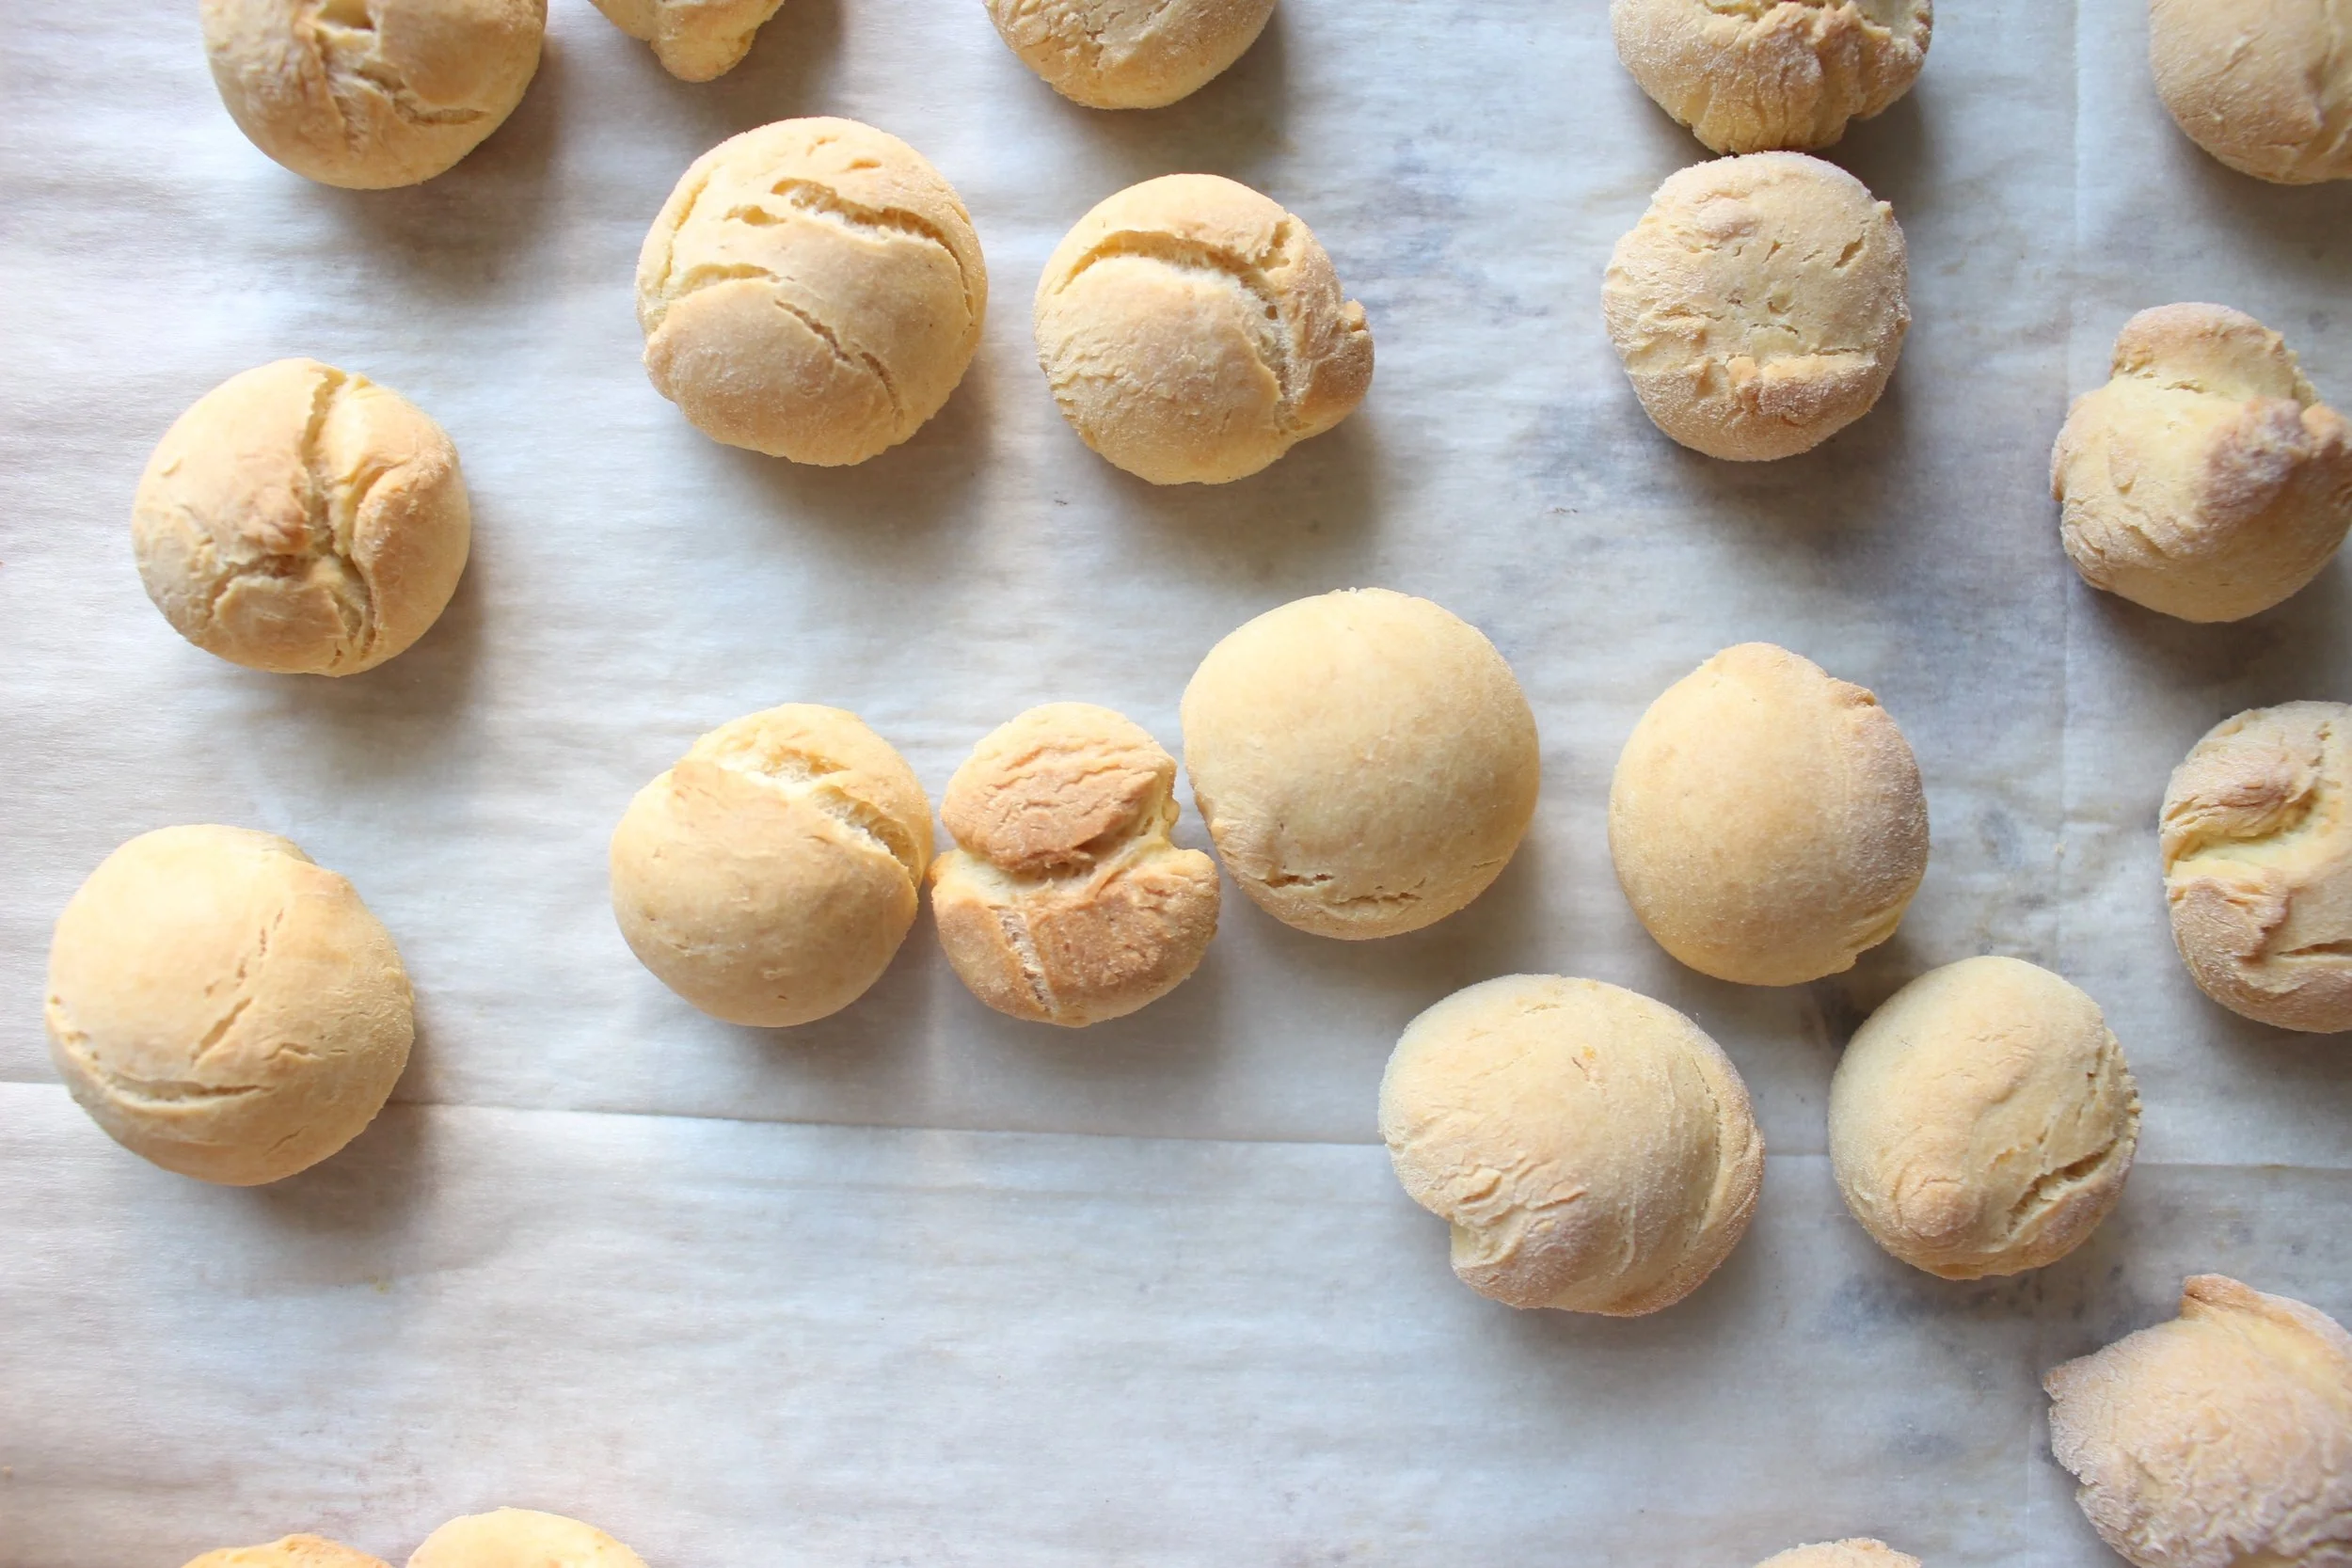
Bake at 350 for 20-23 minutes until the balls are lightly golden brown and hollow sounding. If you feel like they’re not browning, check the bottoms. If they're golden brown, the balls are done. Remove from the heat and let cool slightly.
While the balls are baking, roast the nuts in a toaster oven or stick them into the oven with the balls (on a separate sheet) until they start to smell nutty. Remove and let cool. Chop roughly, if desired.
Mince the rosemary and set aside ½ tsp. Combine the mixed nuts, 1 tsp of rosemary, and ½ tsp of flaky sea salt and mix well.
Once the balls are out of the oven, in a small saucepan, bring the honey and sugar to a boil over medium heat, stirring often. Once the sugars starts boiling throughout (not just on the edges), reduce heat to low and simmer, stirring often, for 2-3 minutes. Remove from the heat.
Place the balls in a large bowl with the nuts, rosemary, and salt and stir. Pour the honey mixture over the cookies, nuts, and spices and mix well. This will take some elbow grease as the honey cools.
Pour the entire mixture into your serving bowl making a pyramid shape as your pour. If the honey is too warm and the mixture won’t form into a mound, let it cool for a few minutes and try again. Once you get the mixture into a mound, let cool completely in the fridge.
Bring back to room temperature for serving. Just before serving, top with the remaining ½ tsp of rosemary and ¼ tsp of flaky sea salt.
This dessert is best served the day it's made, but will keep well, covered with plastic wrap at room temperature, for up to two days.
Yield: Enough for 5-6 adults, depending on appetites and tolerance for sweet things