Almond butter quinoa muffins
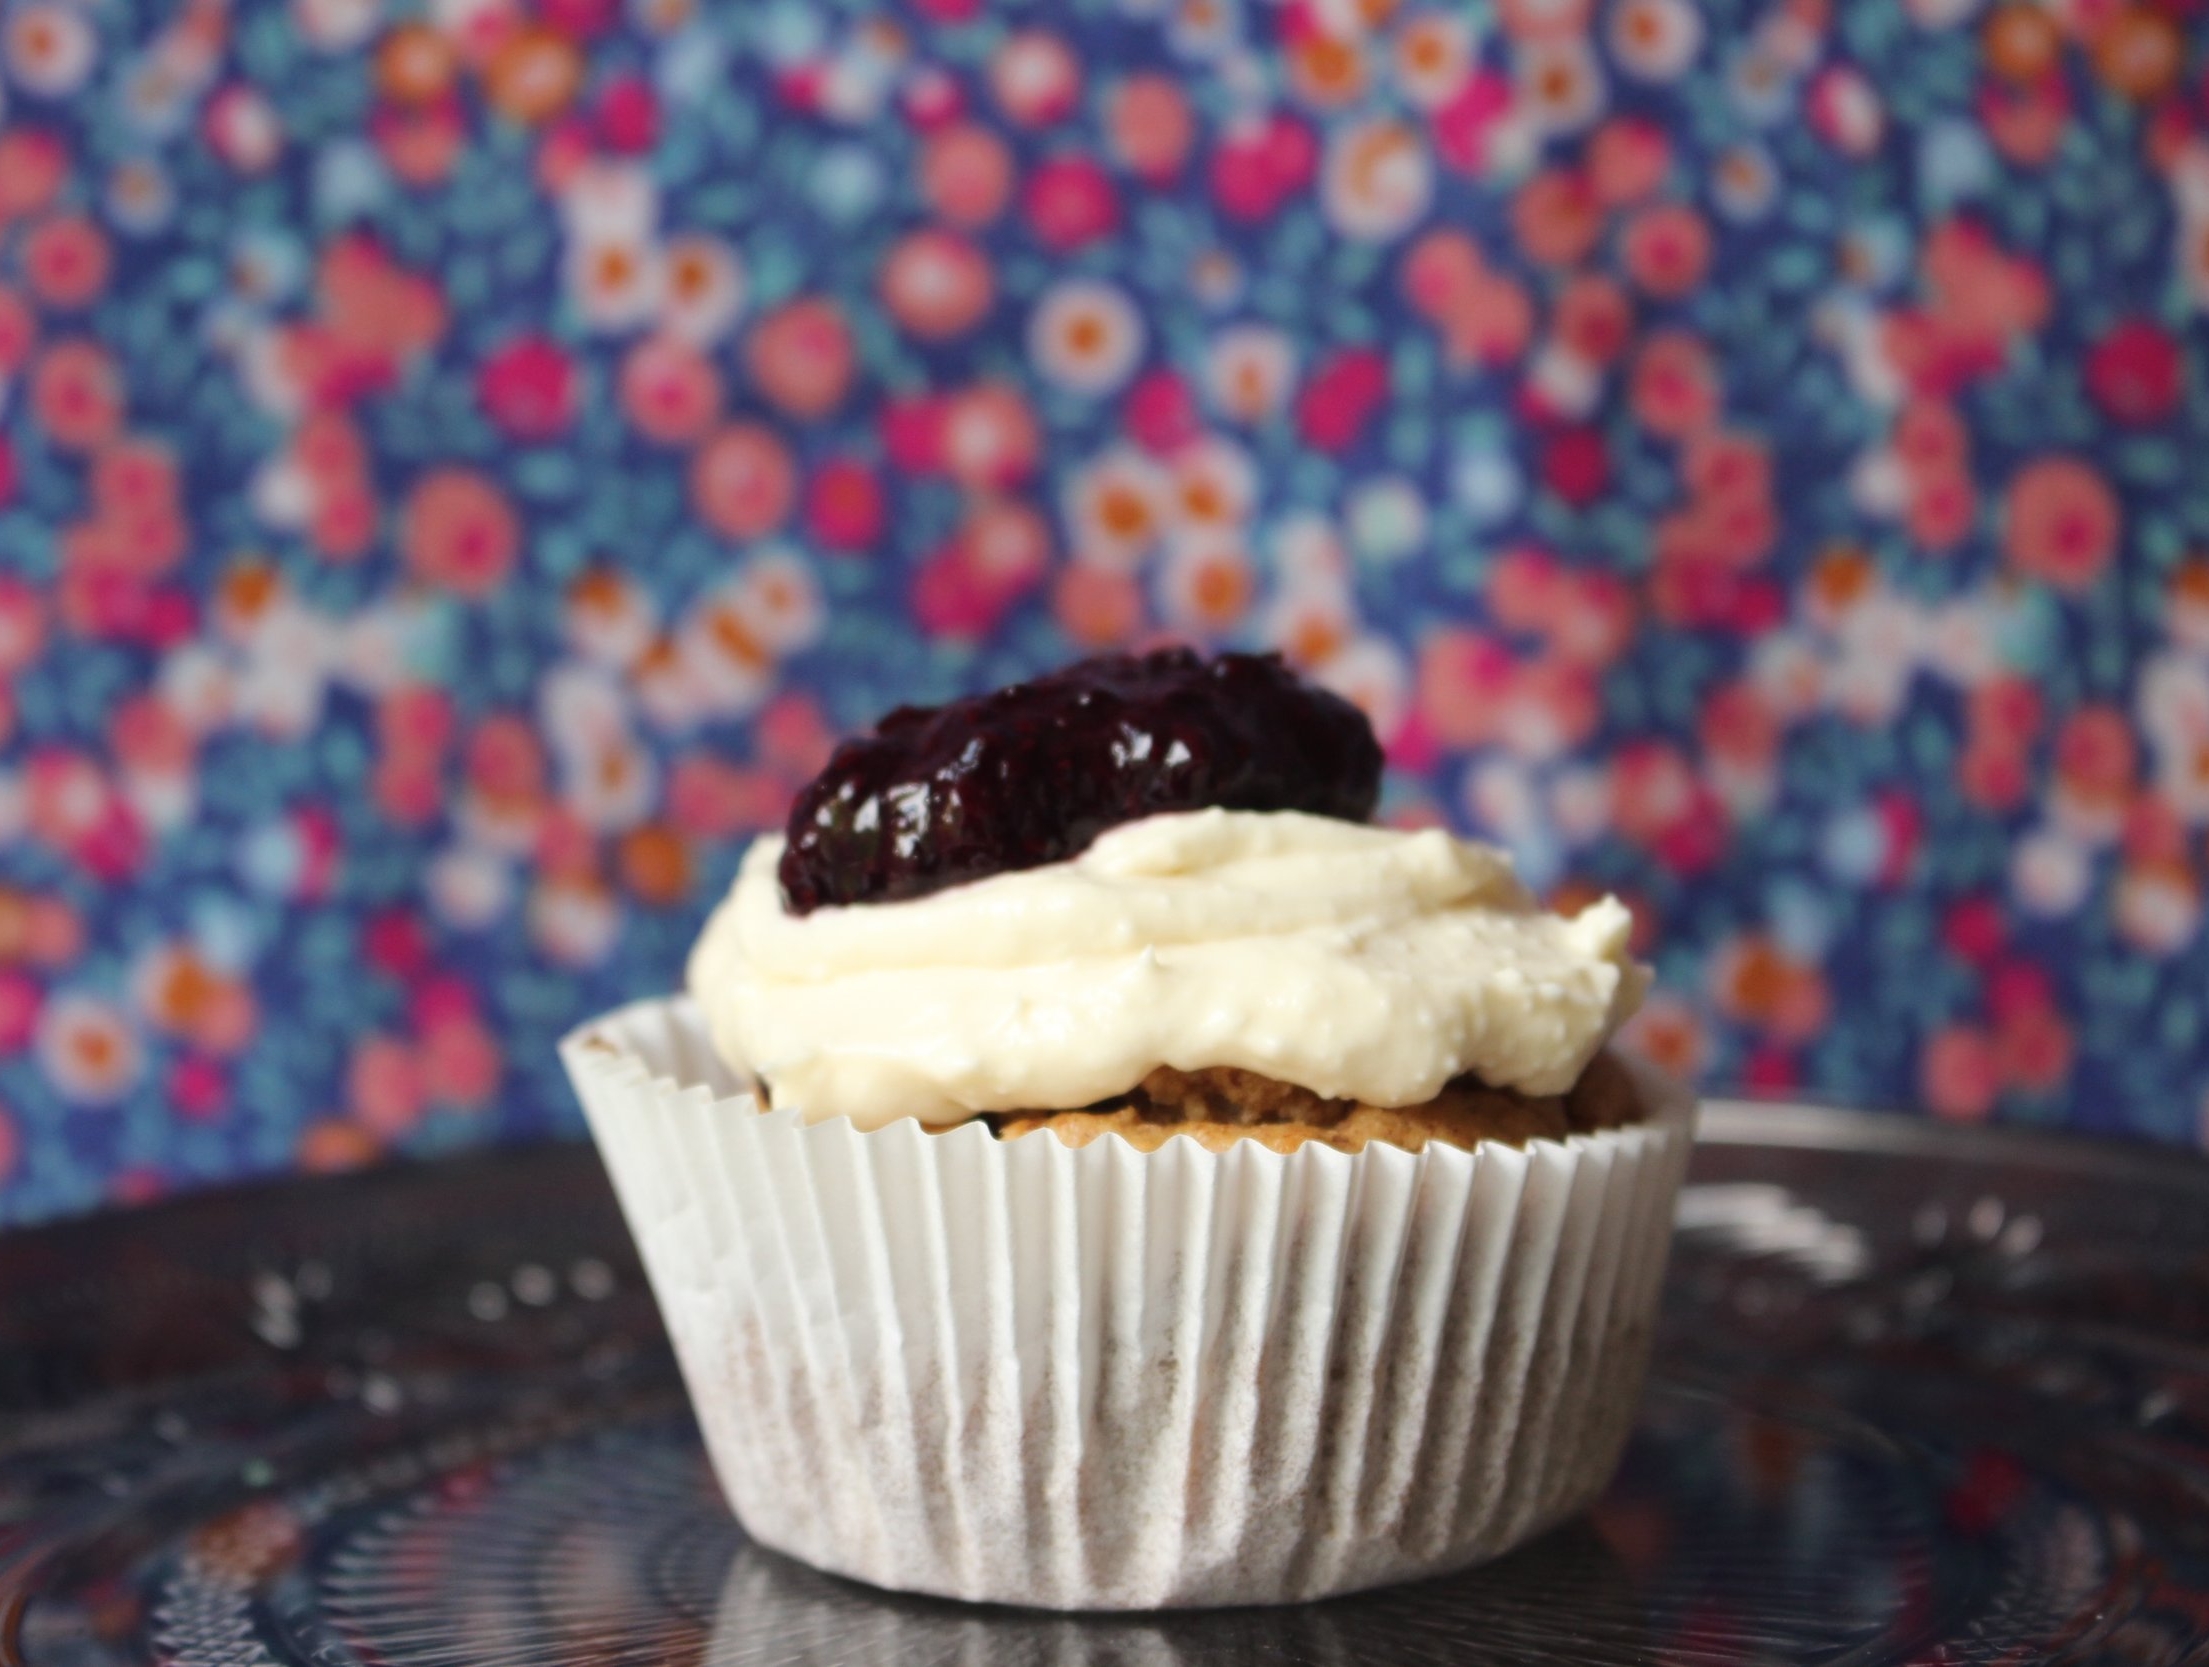
What these muffins have: Good fats, protein, Omega-3s, deliciousness.
What these muffins don't have: Gluten, dairy, refined sugar, wheat, eggs, soy.
Bonus feature: The muffins only require one bowl!
The new school year already started for lots of the country, but here in CT, M's preschool starts again on Monday. I've been thinking about quick ways to begin our day with protein that don't require cooking in the morning. These muffins are the answer!
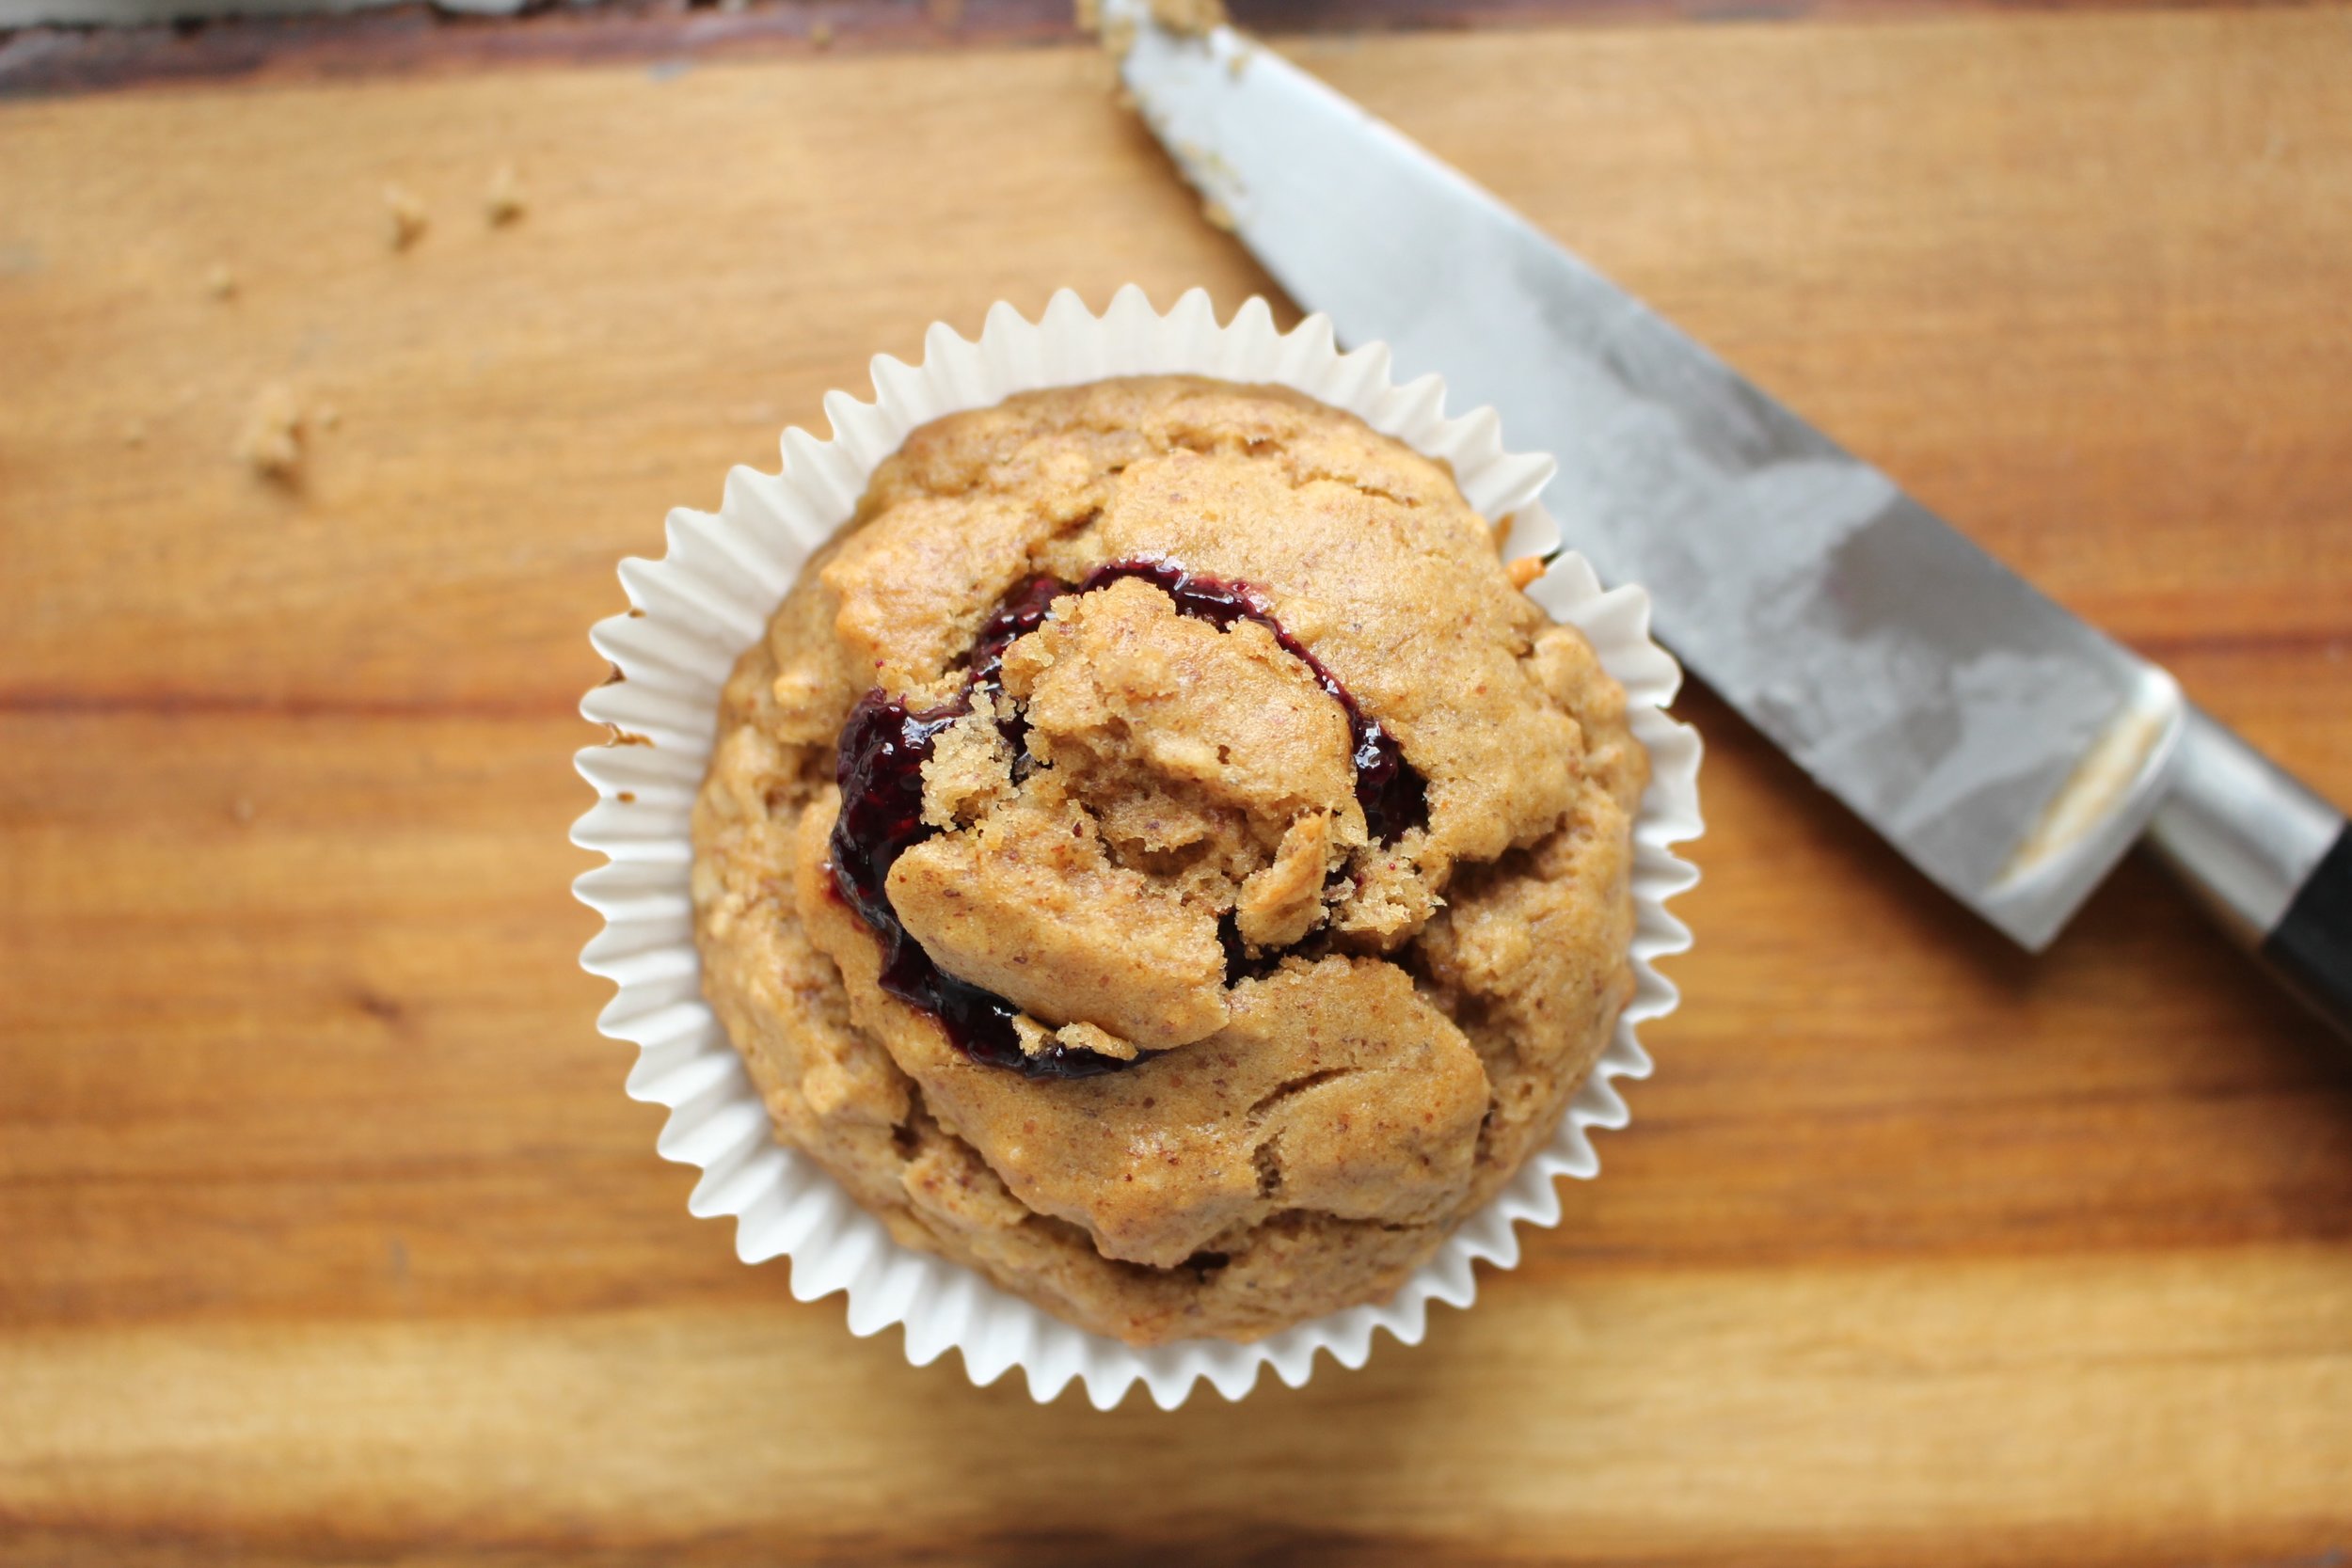
Half of the flour is ground quinoa, which has lots of protein. The other half is oatmeal. I originally made these muffins with almond flour instead of oats for even more protein, but the almond flour was so dense that the muffins stuck to the roof of your mouth. You could just feed your kid a spoonful of almond butter and save yourself the trouble.

With the oatmeal, the muffins are still substantial, but they're no longer dense. They're actually a smidge crumbly because I omitted eggs and any other binding agent. I wanted them to stay vegan and I don't always have the patience to make a flax egg. Letting them cool completely before eating them made them sturdier too.
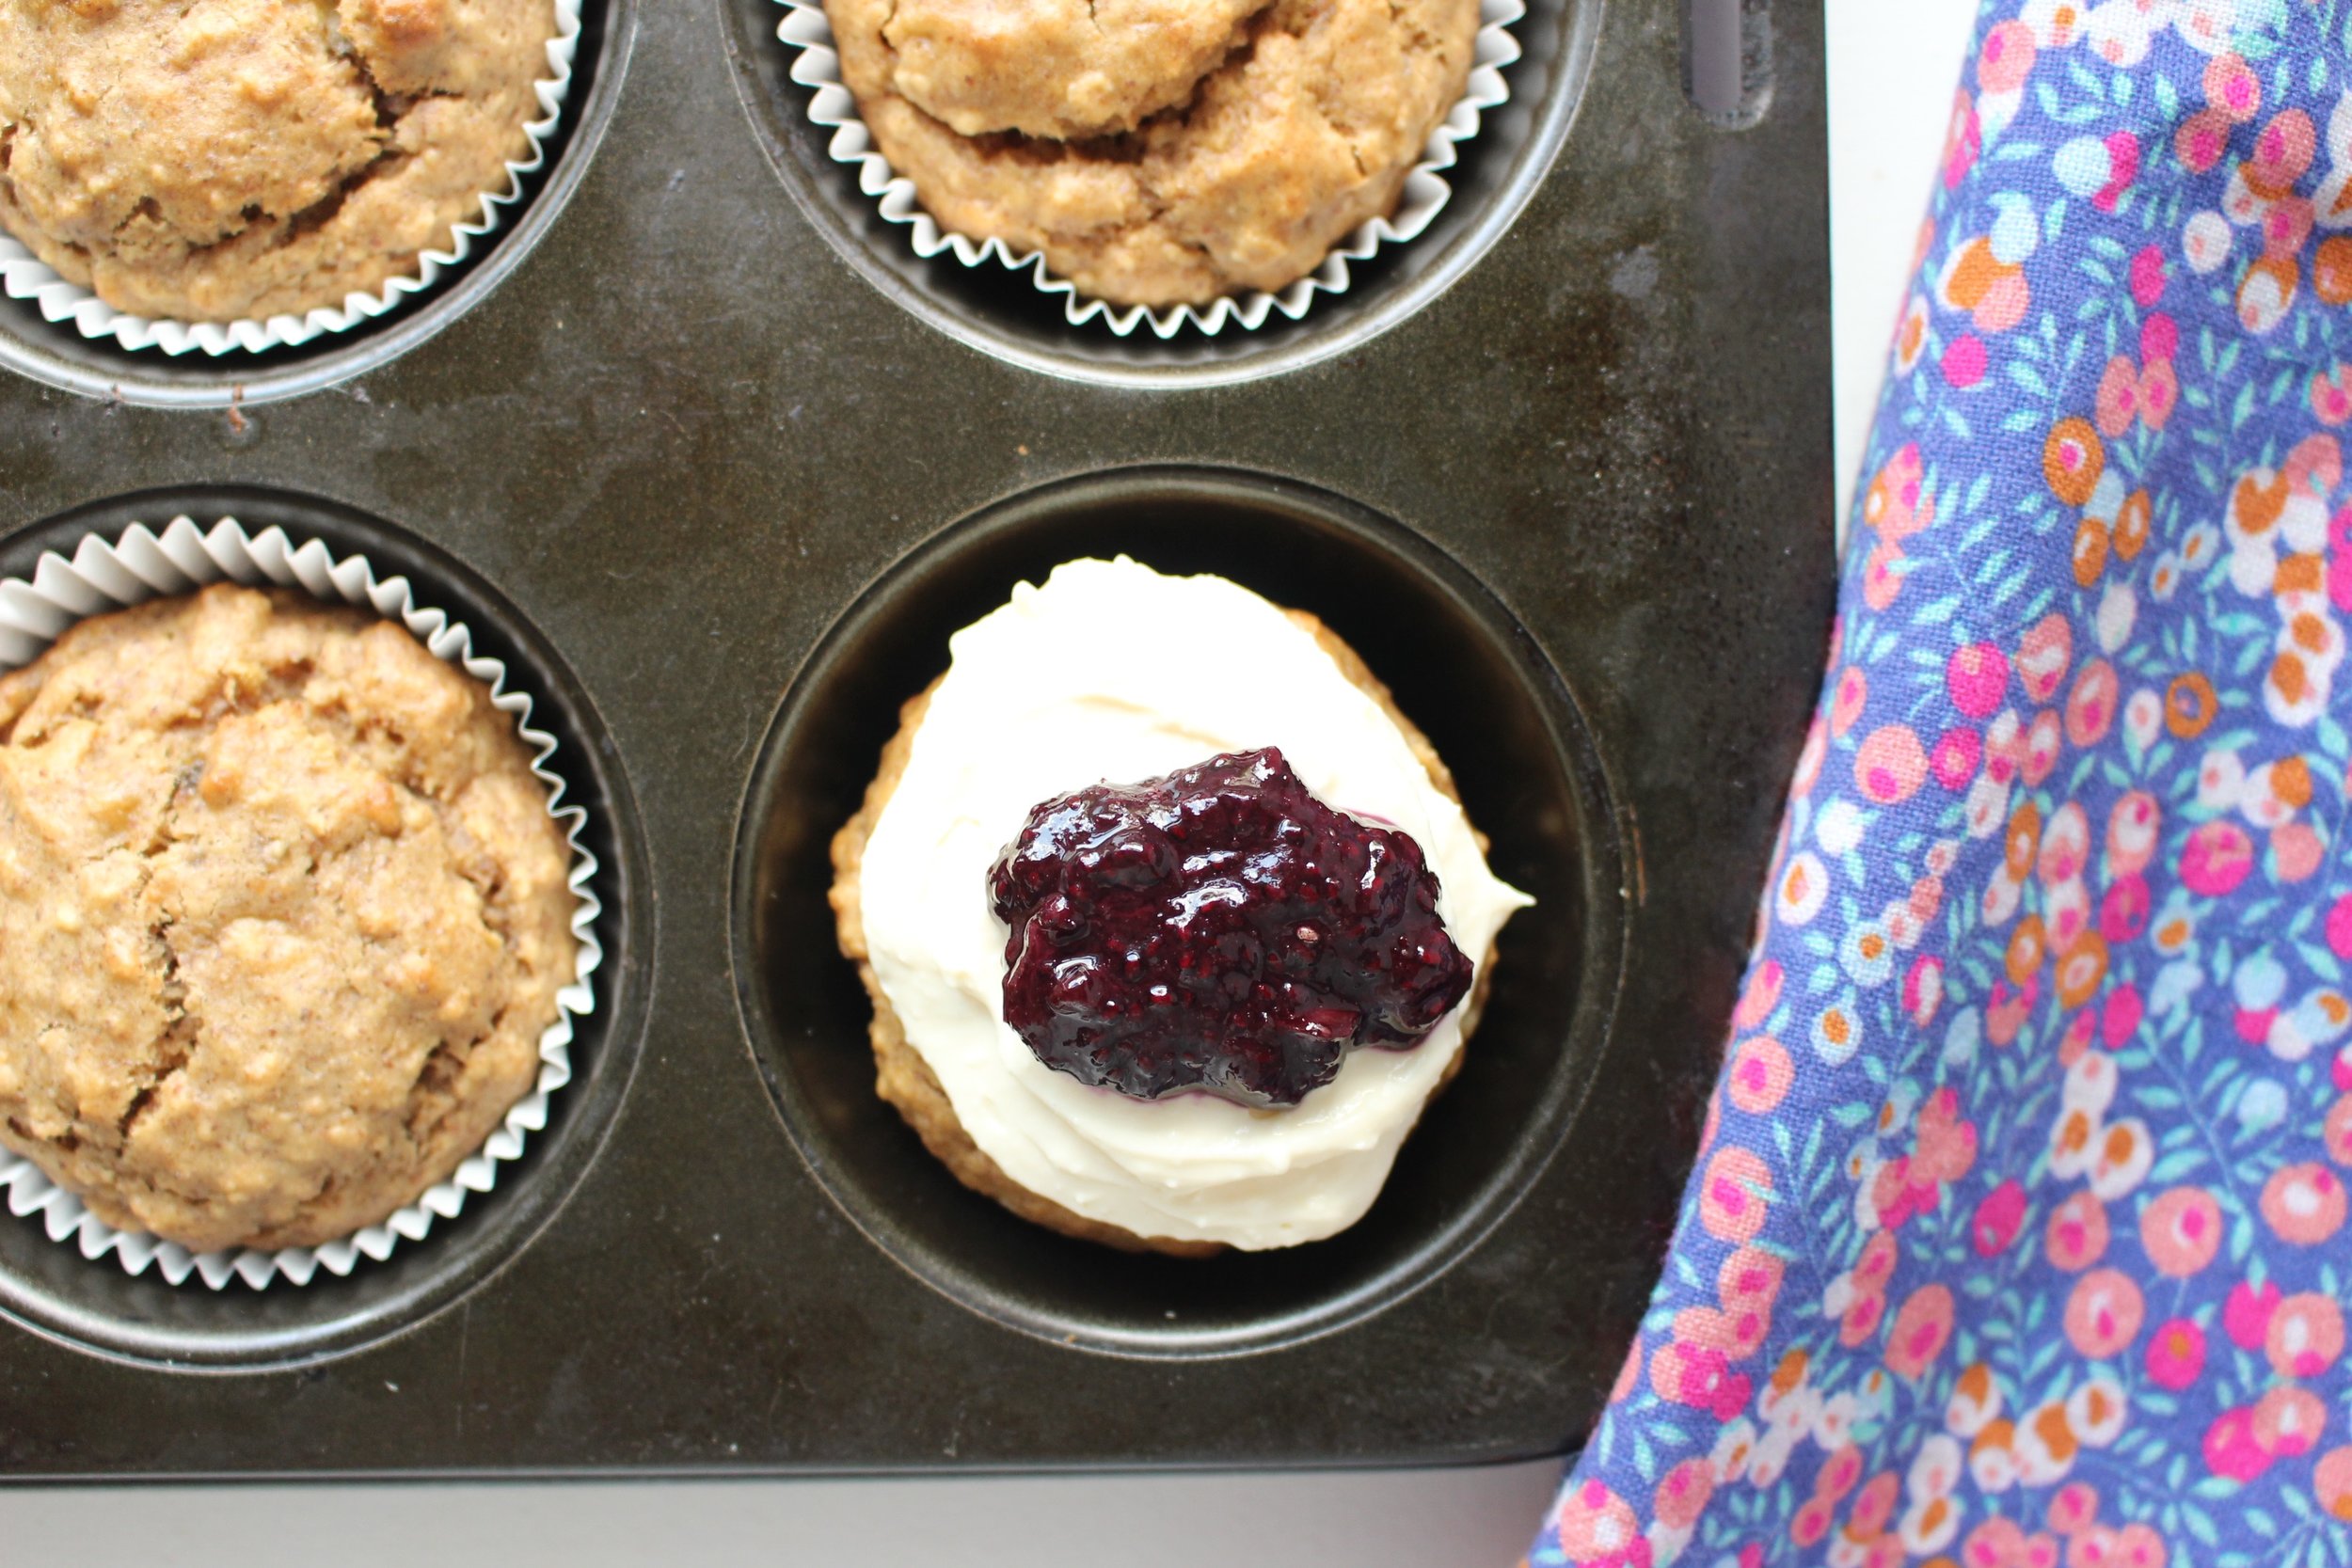

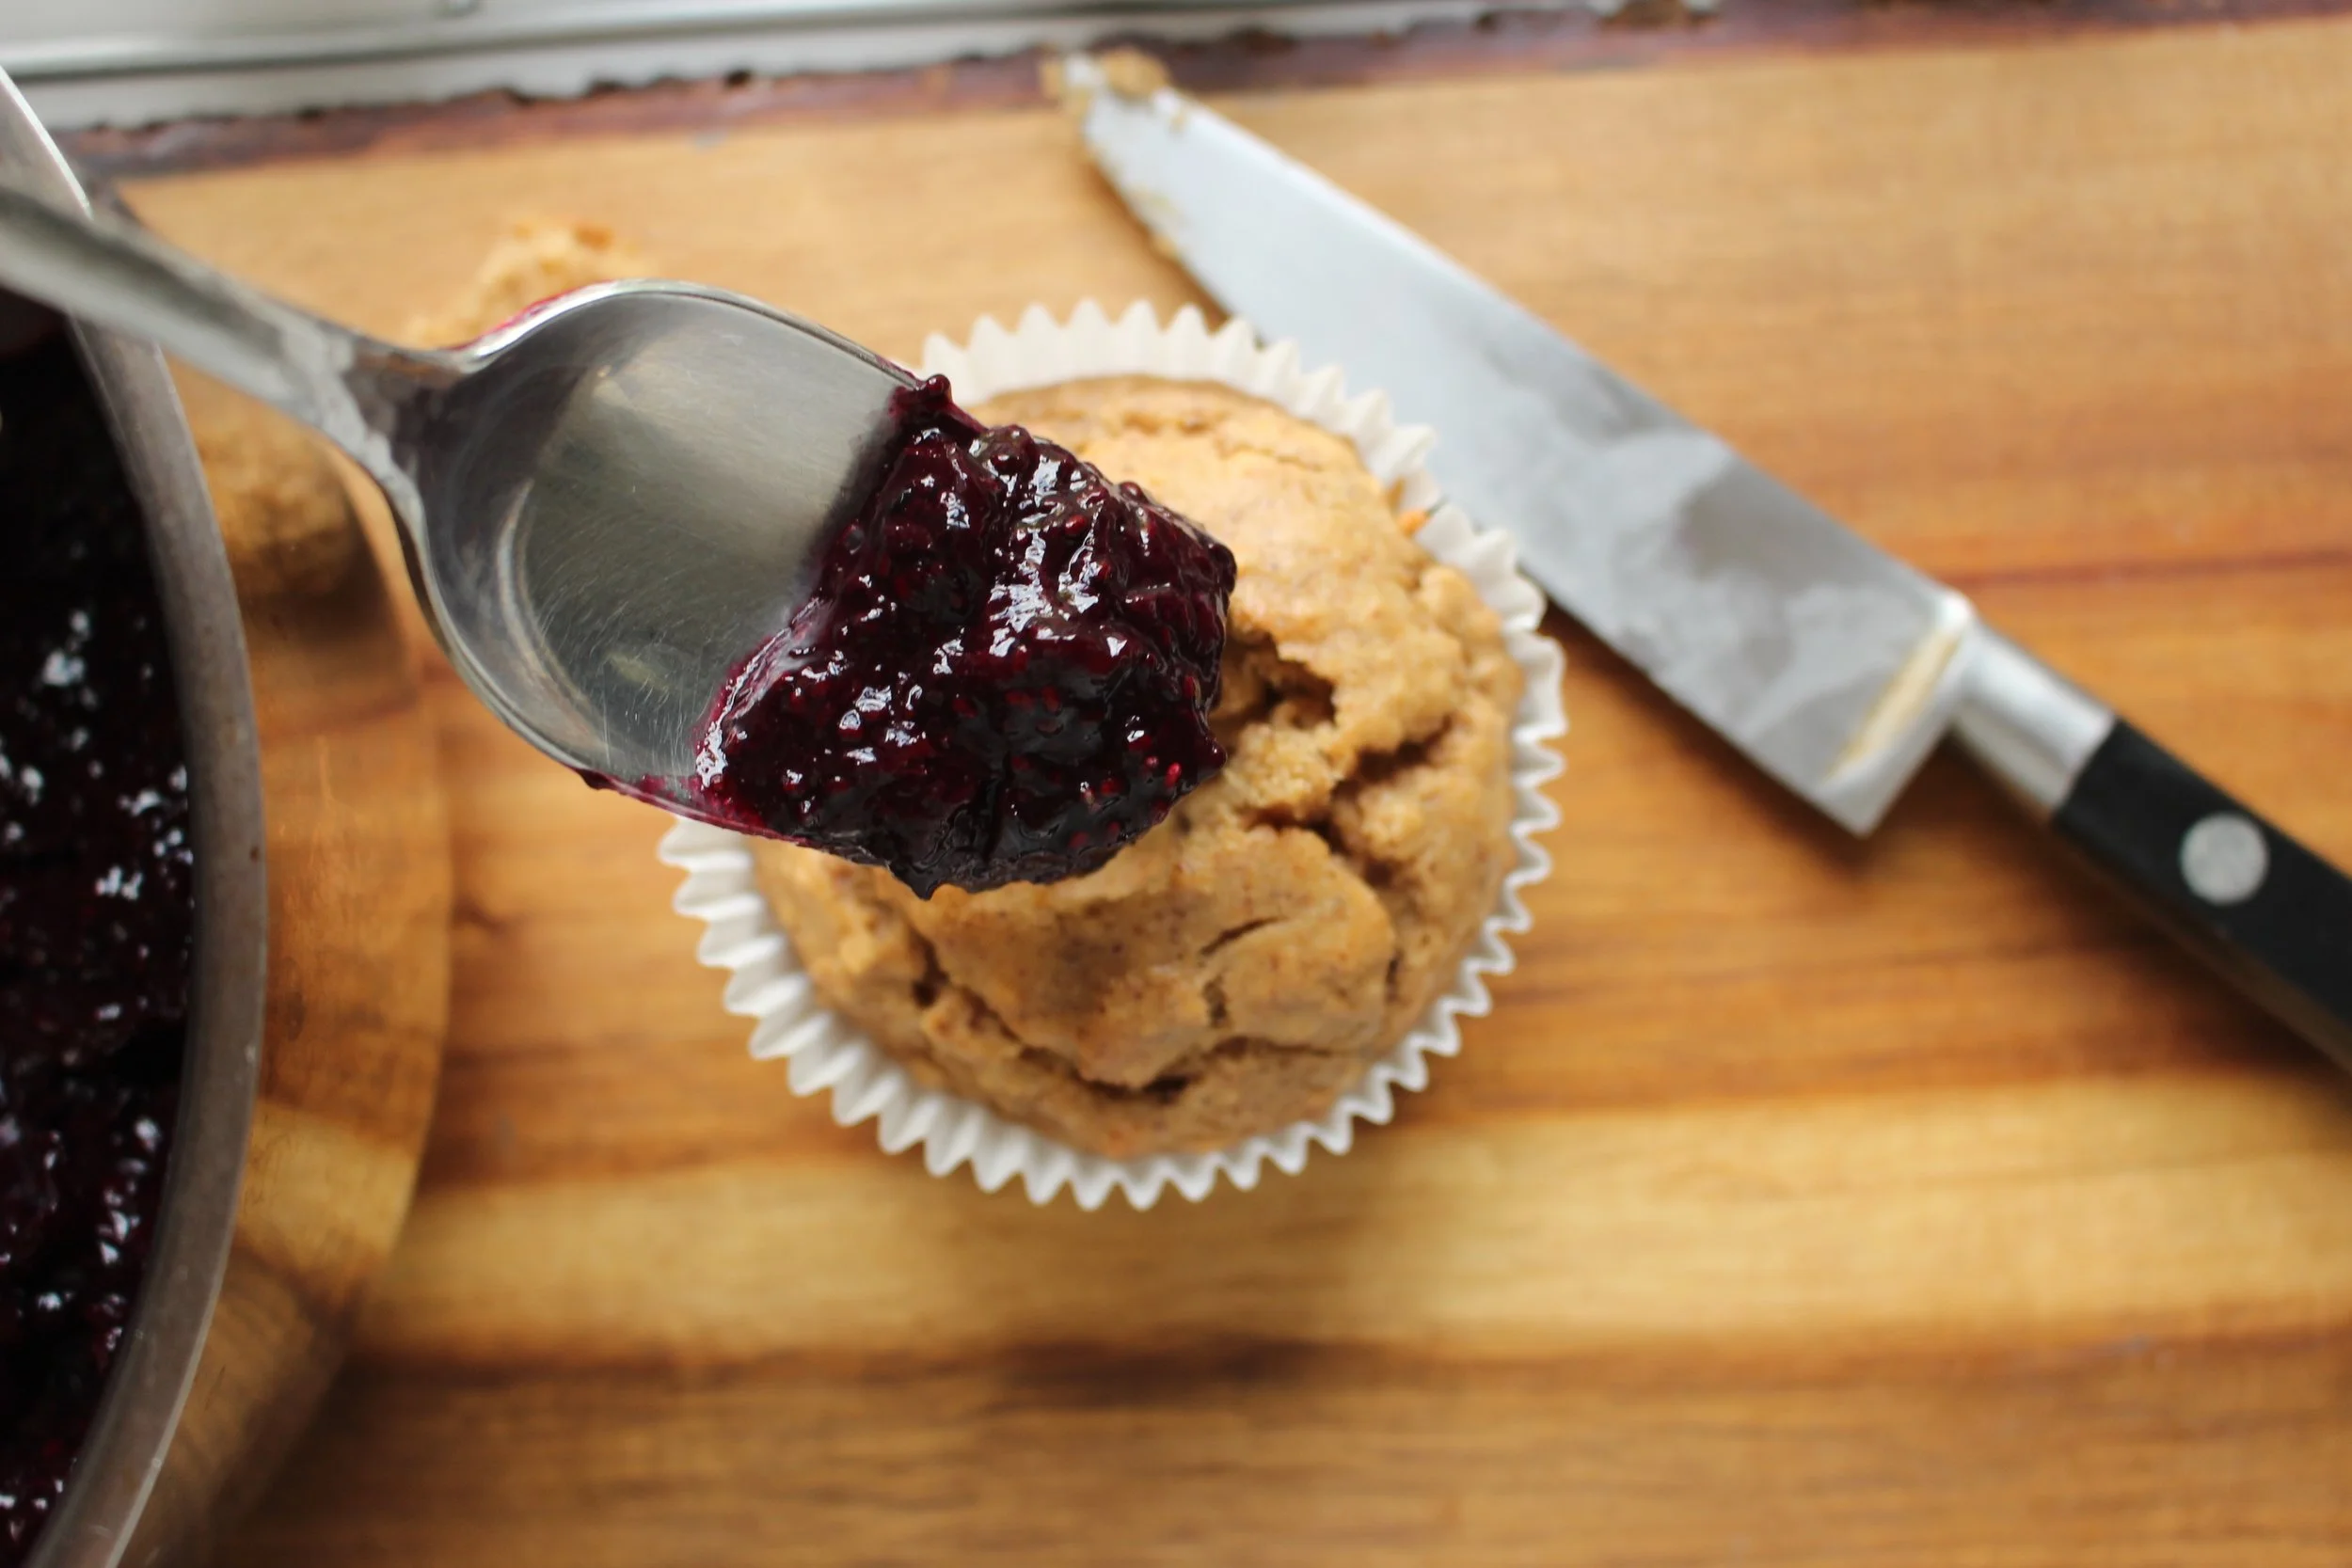
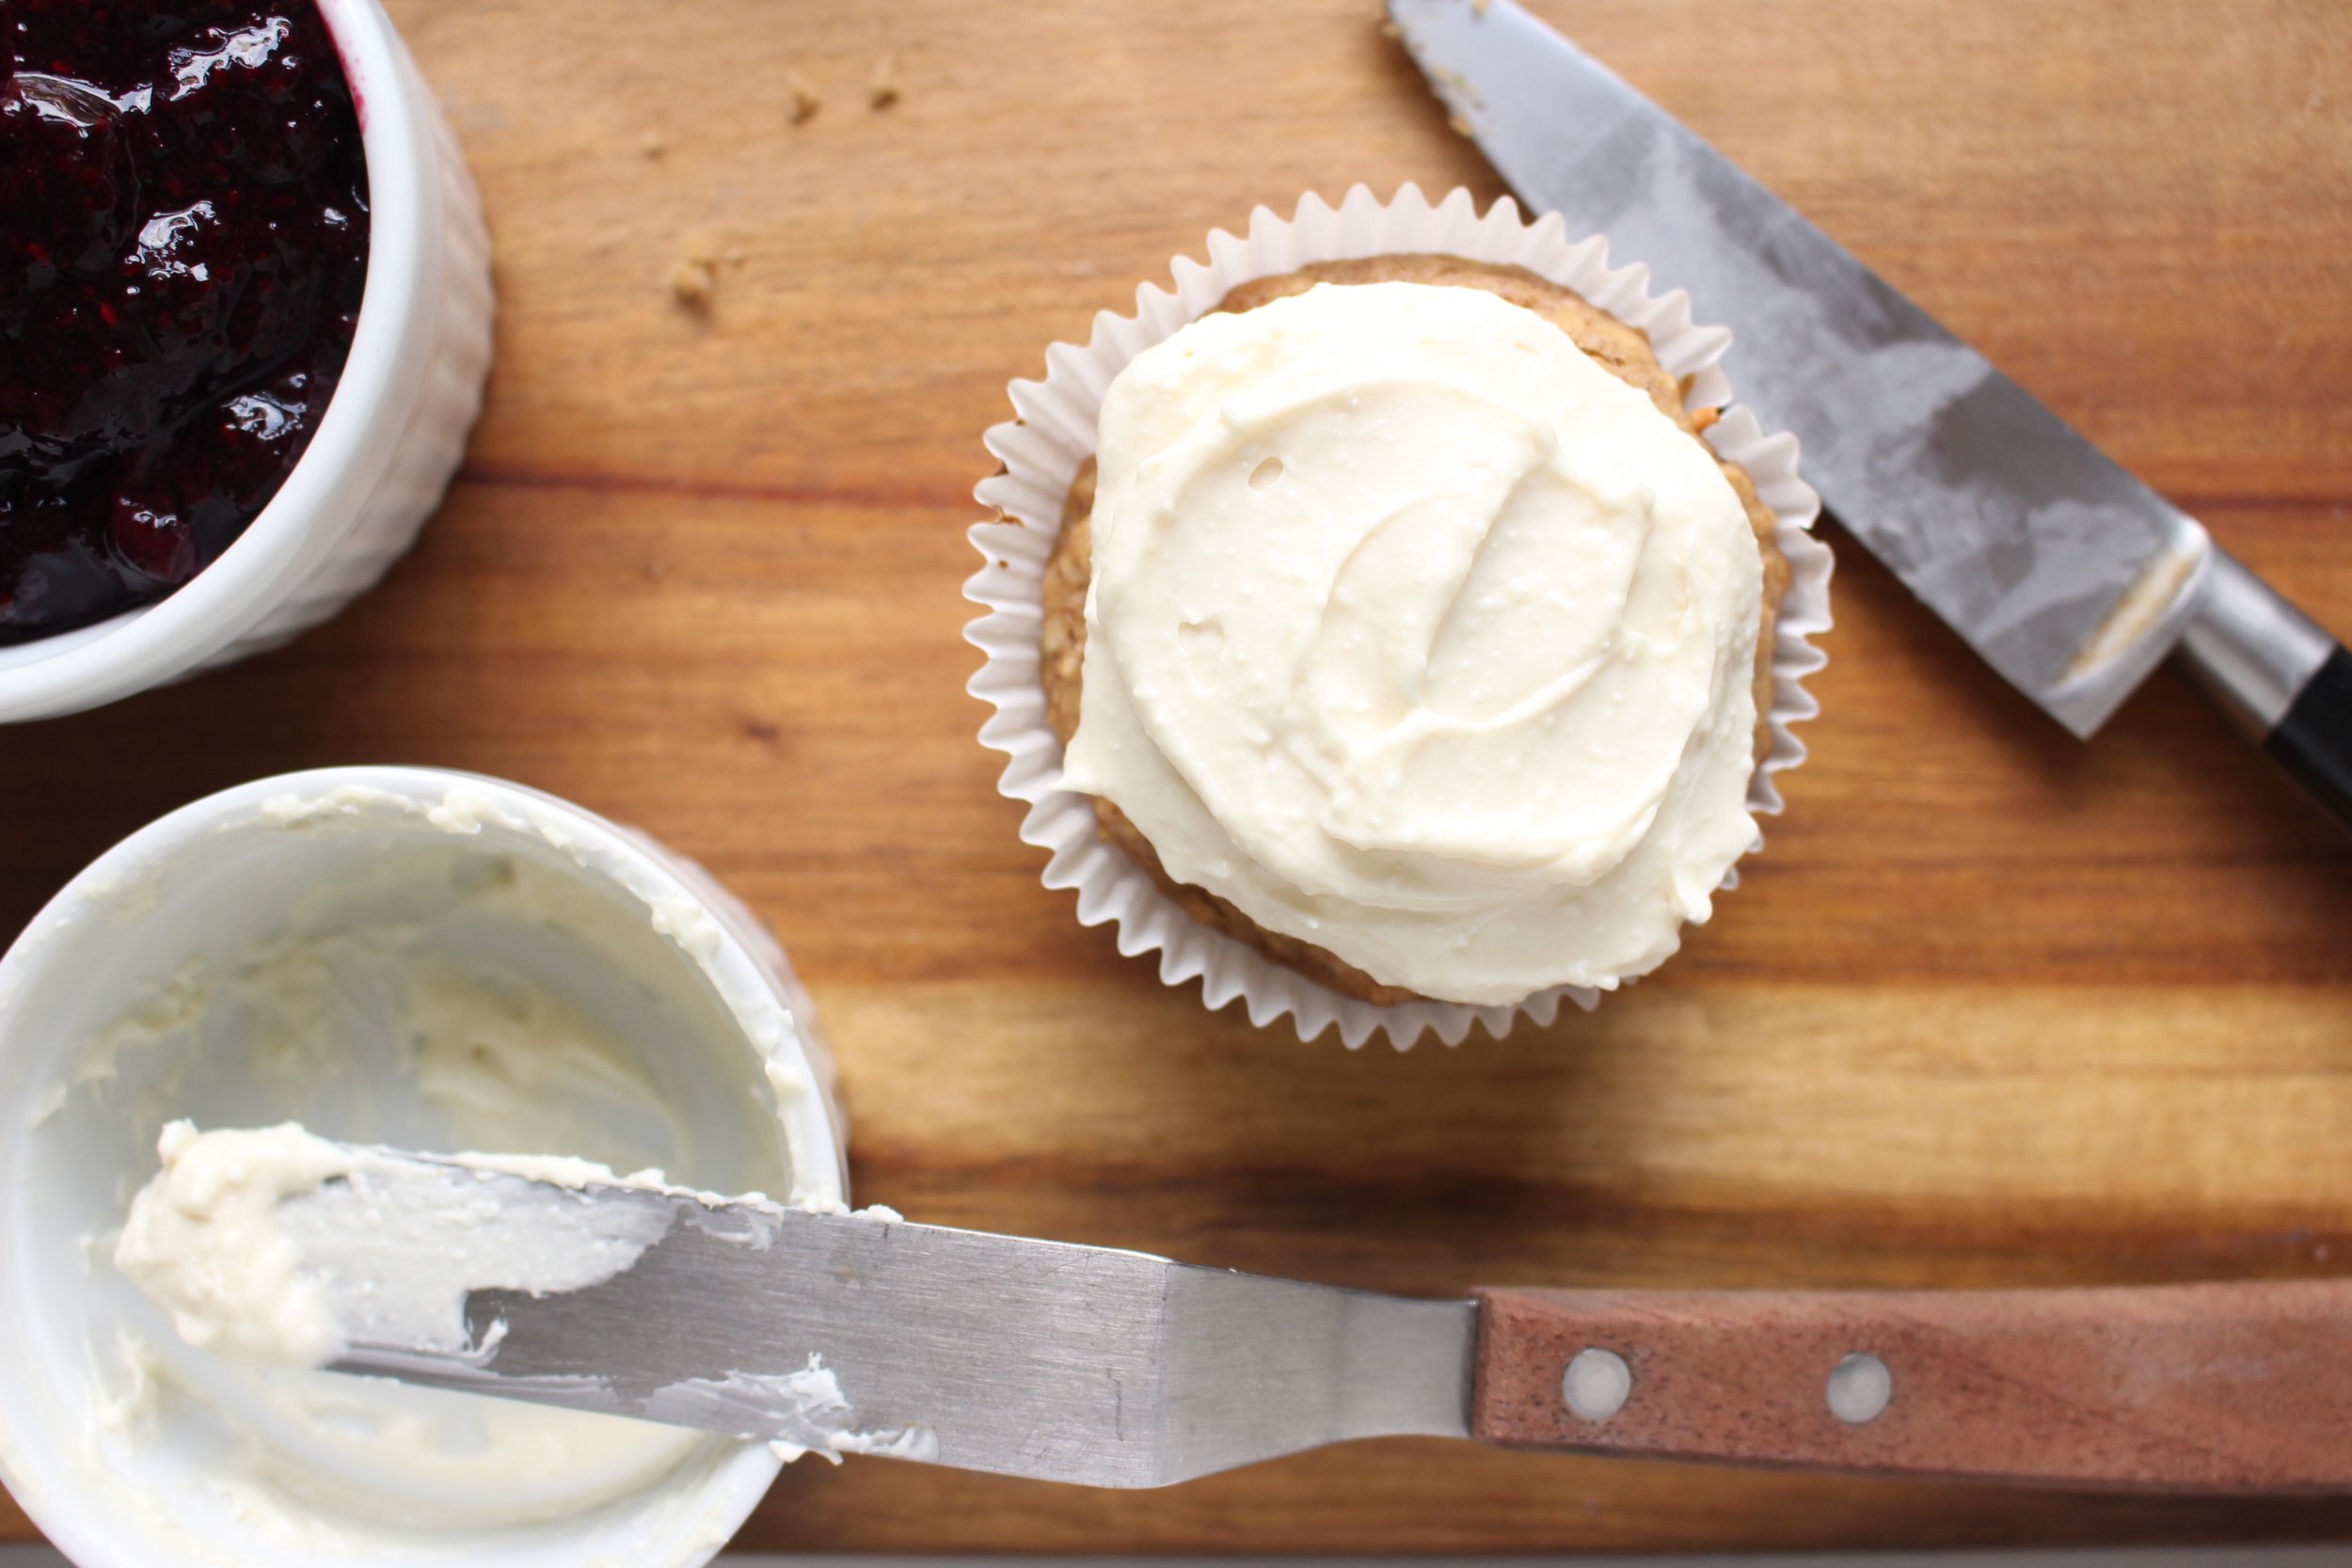
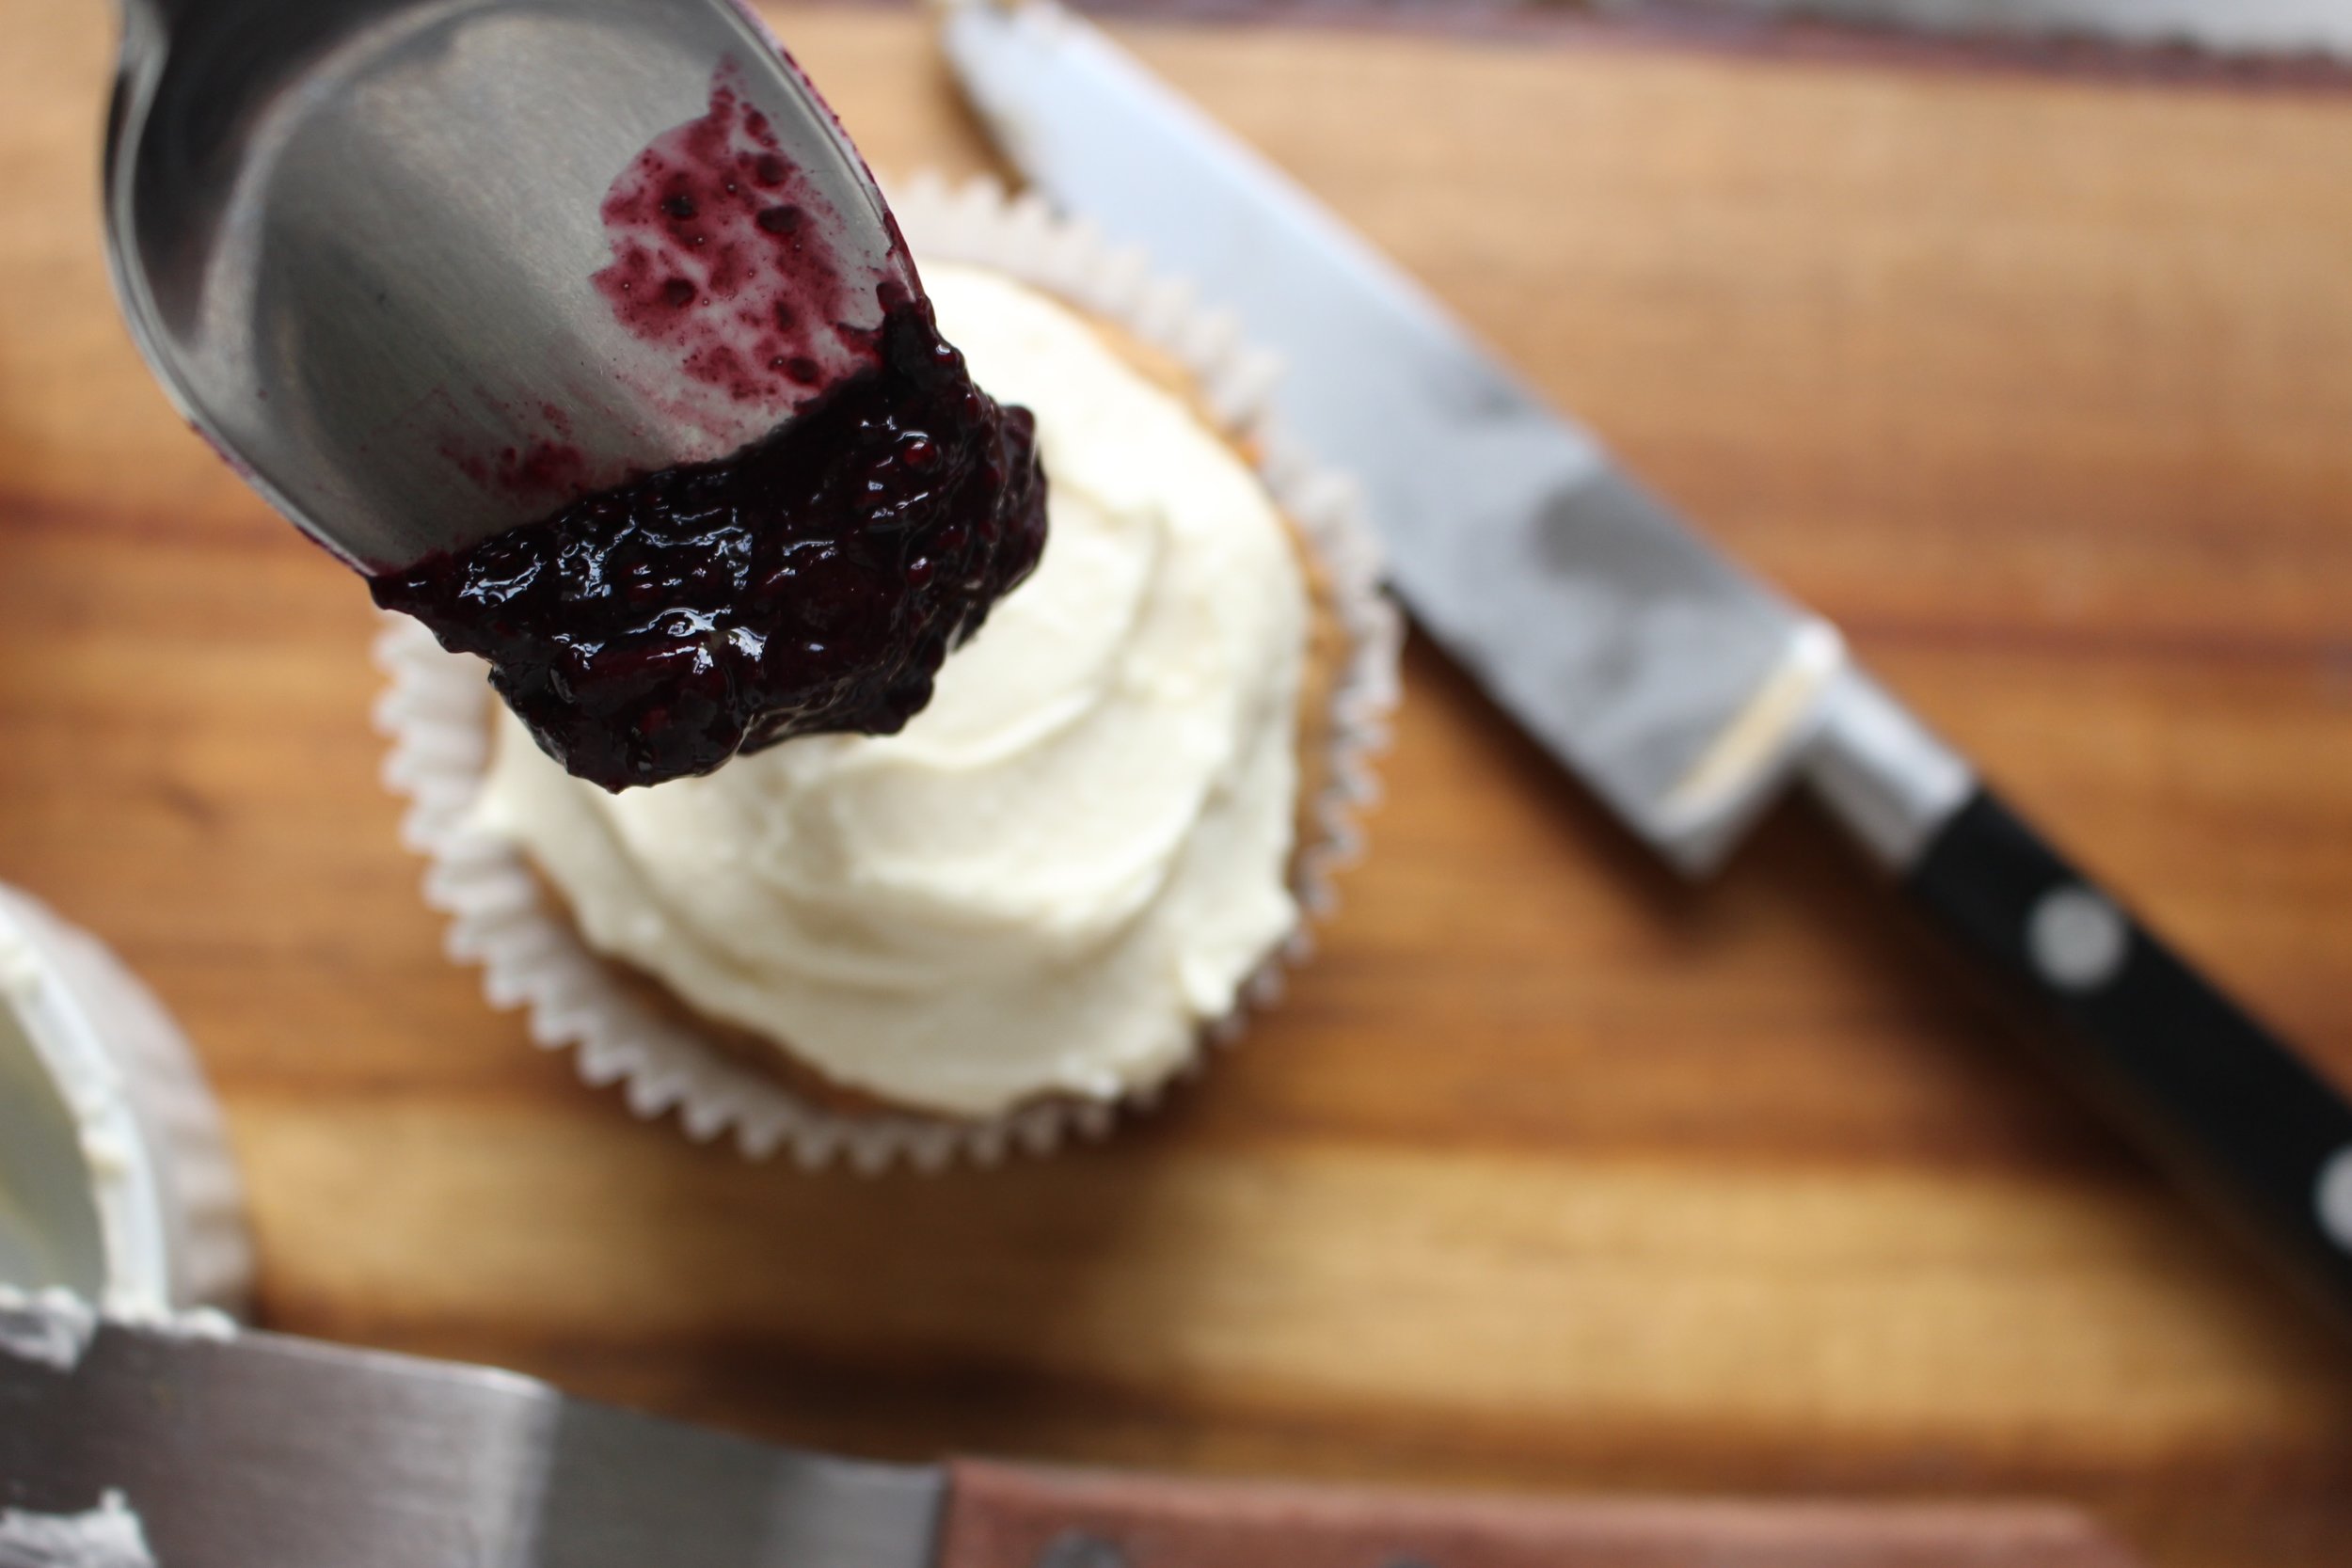
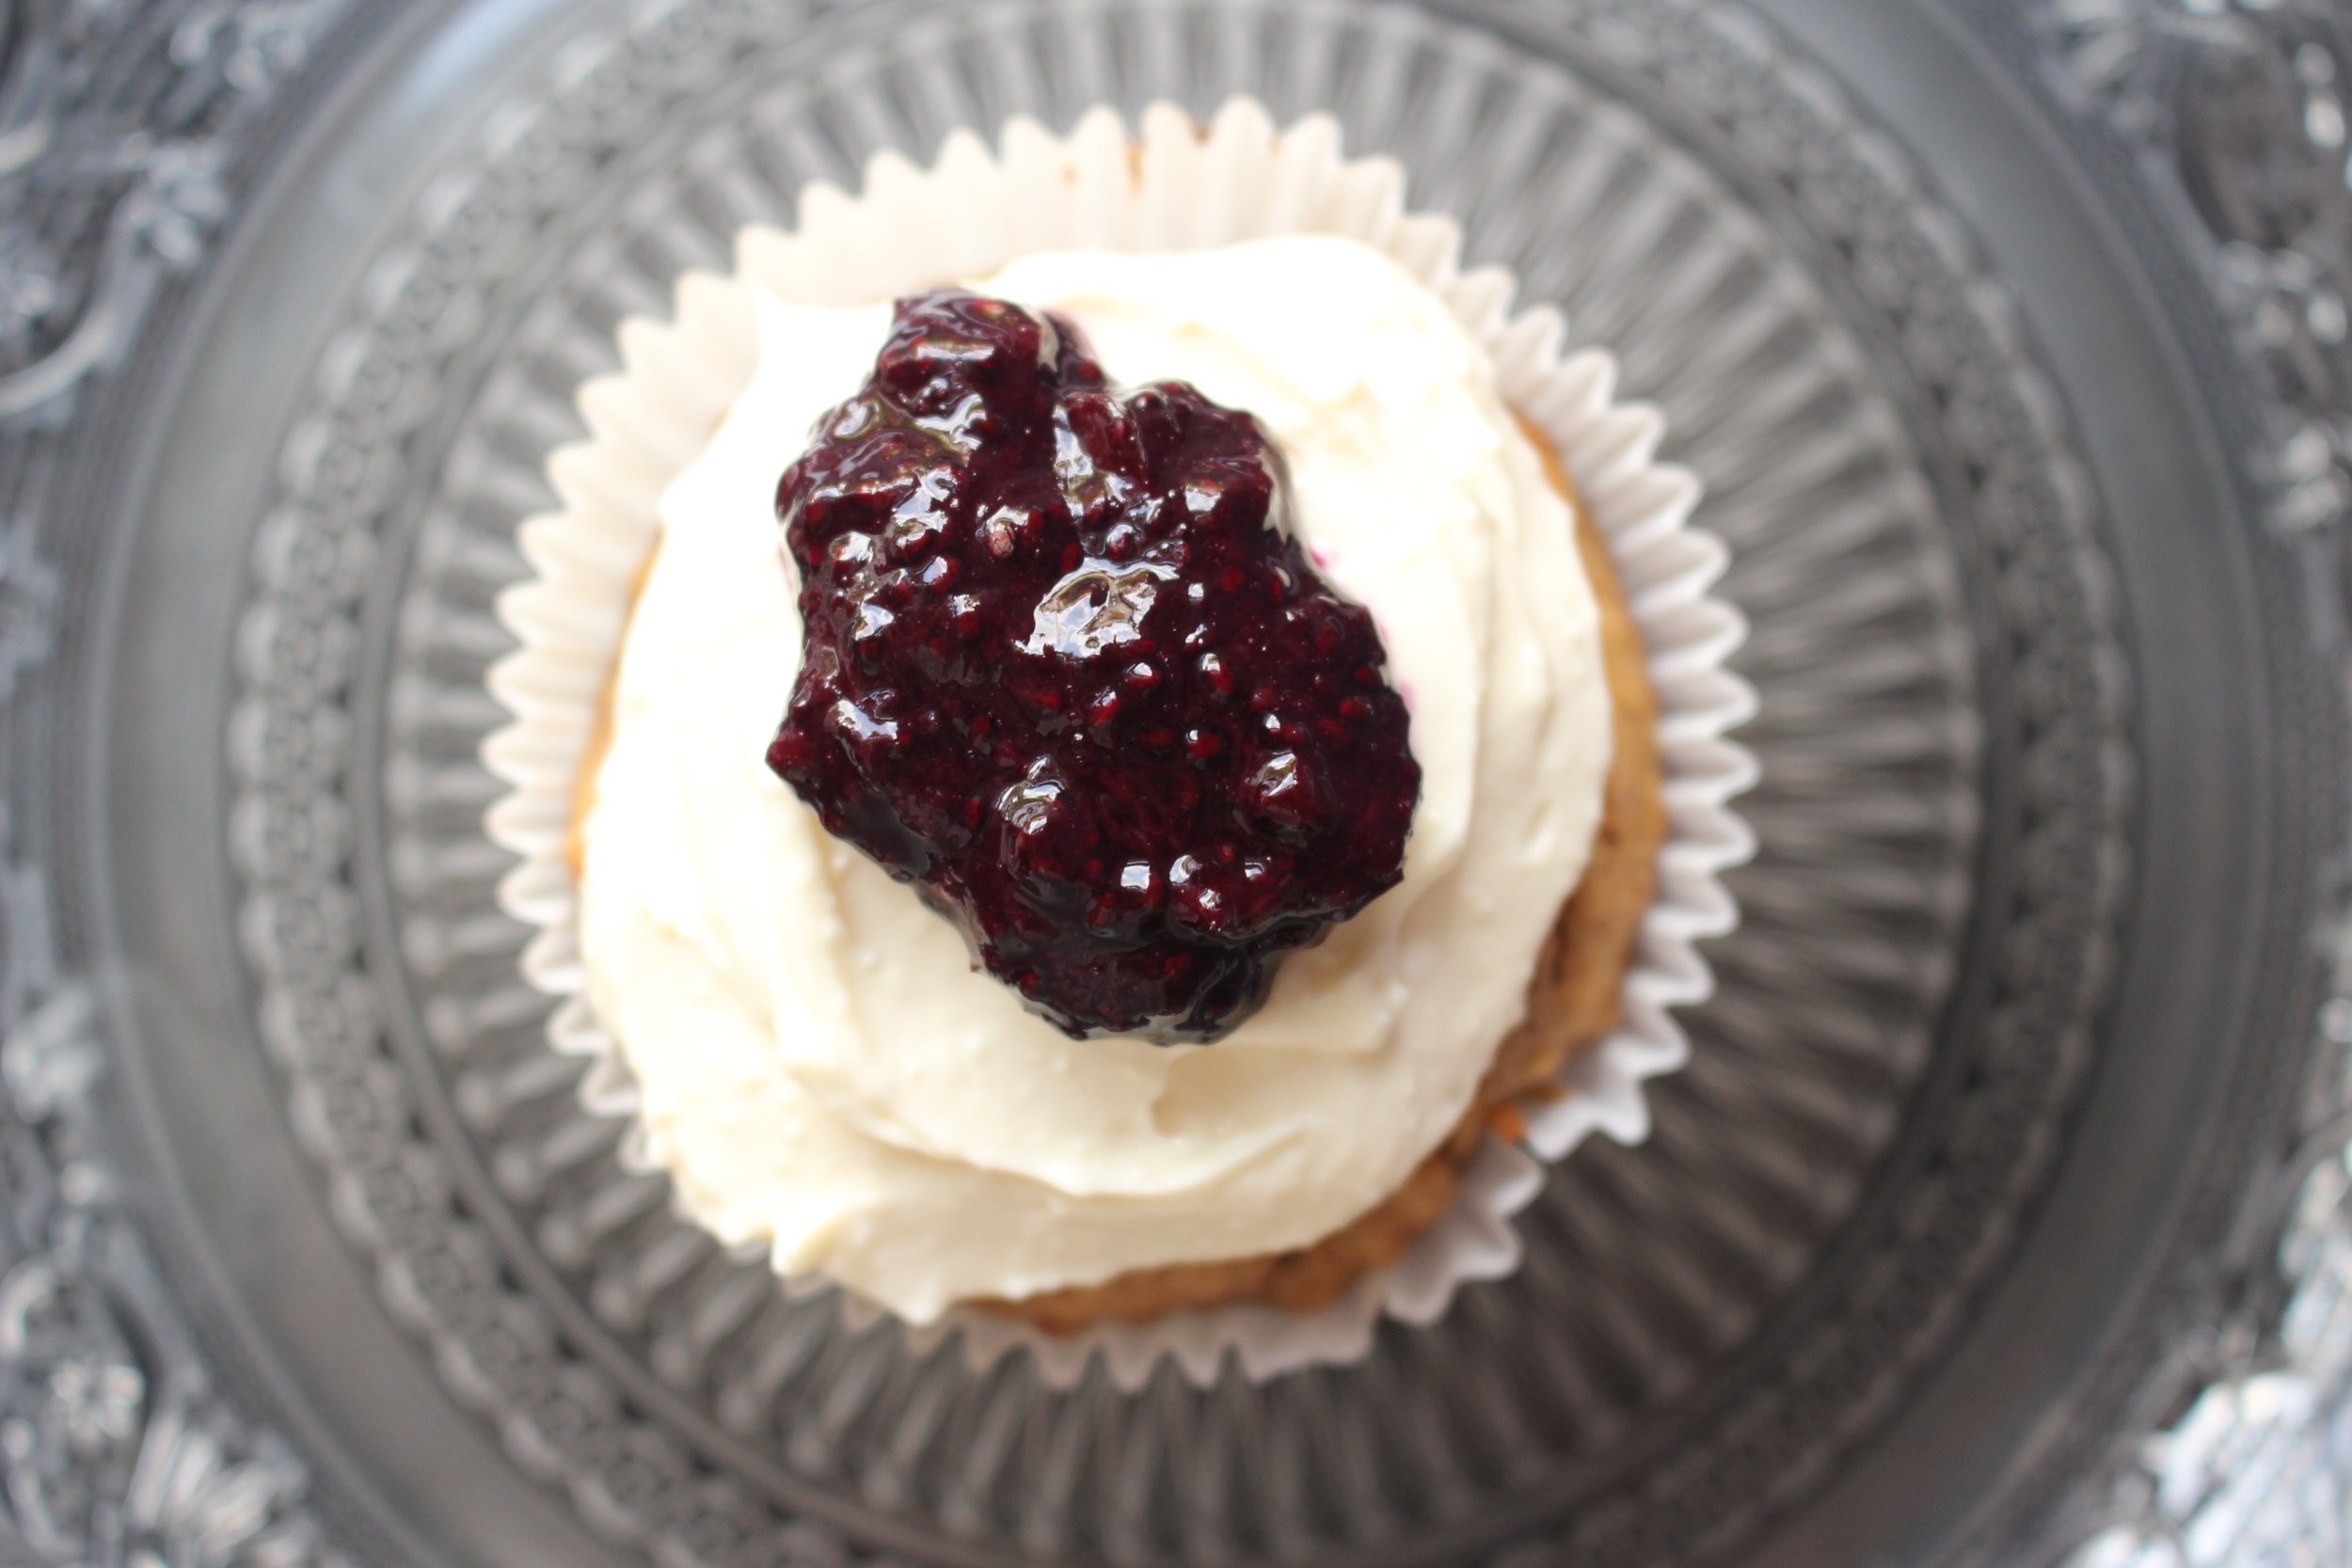
For the first day of school, I thought it might be nice to add some blueberry chia jam and a quick icing to make the muffins more special. (I also called them breakfast cupcakes, which went over VERY WELL.) The jam is simple and free of any added sugar. I used cream cheese and maple syrup for my frosting, but you could also use coconut cream or a pre-made dairy-free topping.
You could also mix the chia jam with some yogurt for a delicious breakfast for the younger set (or the parental set, if I'm honest).
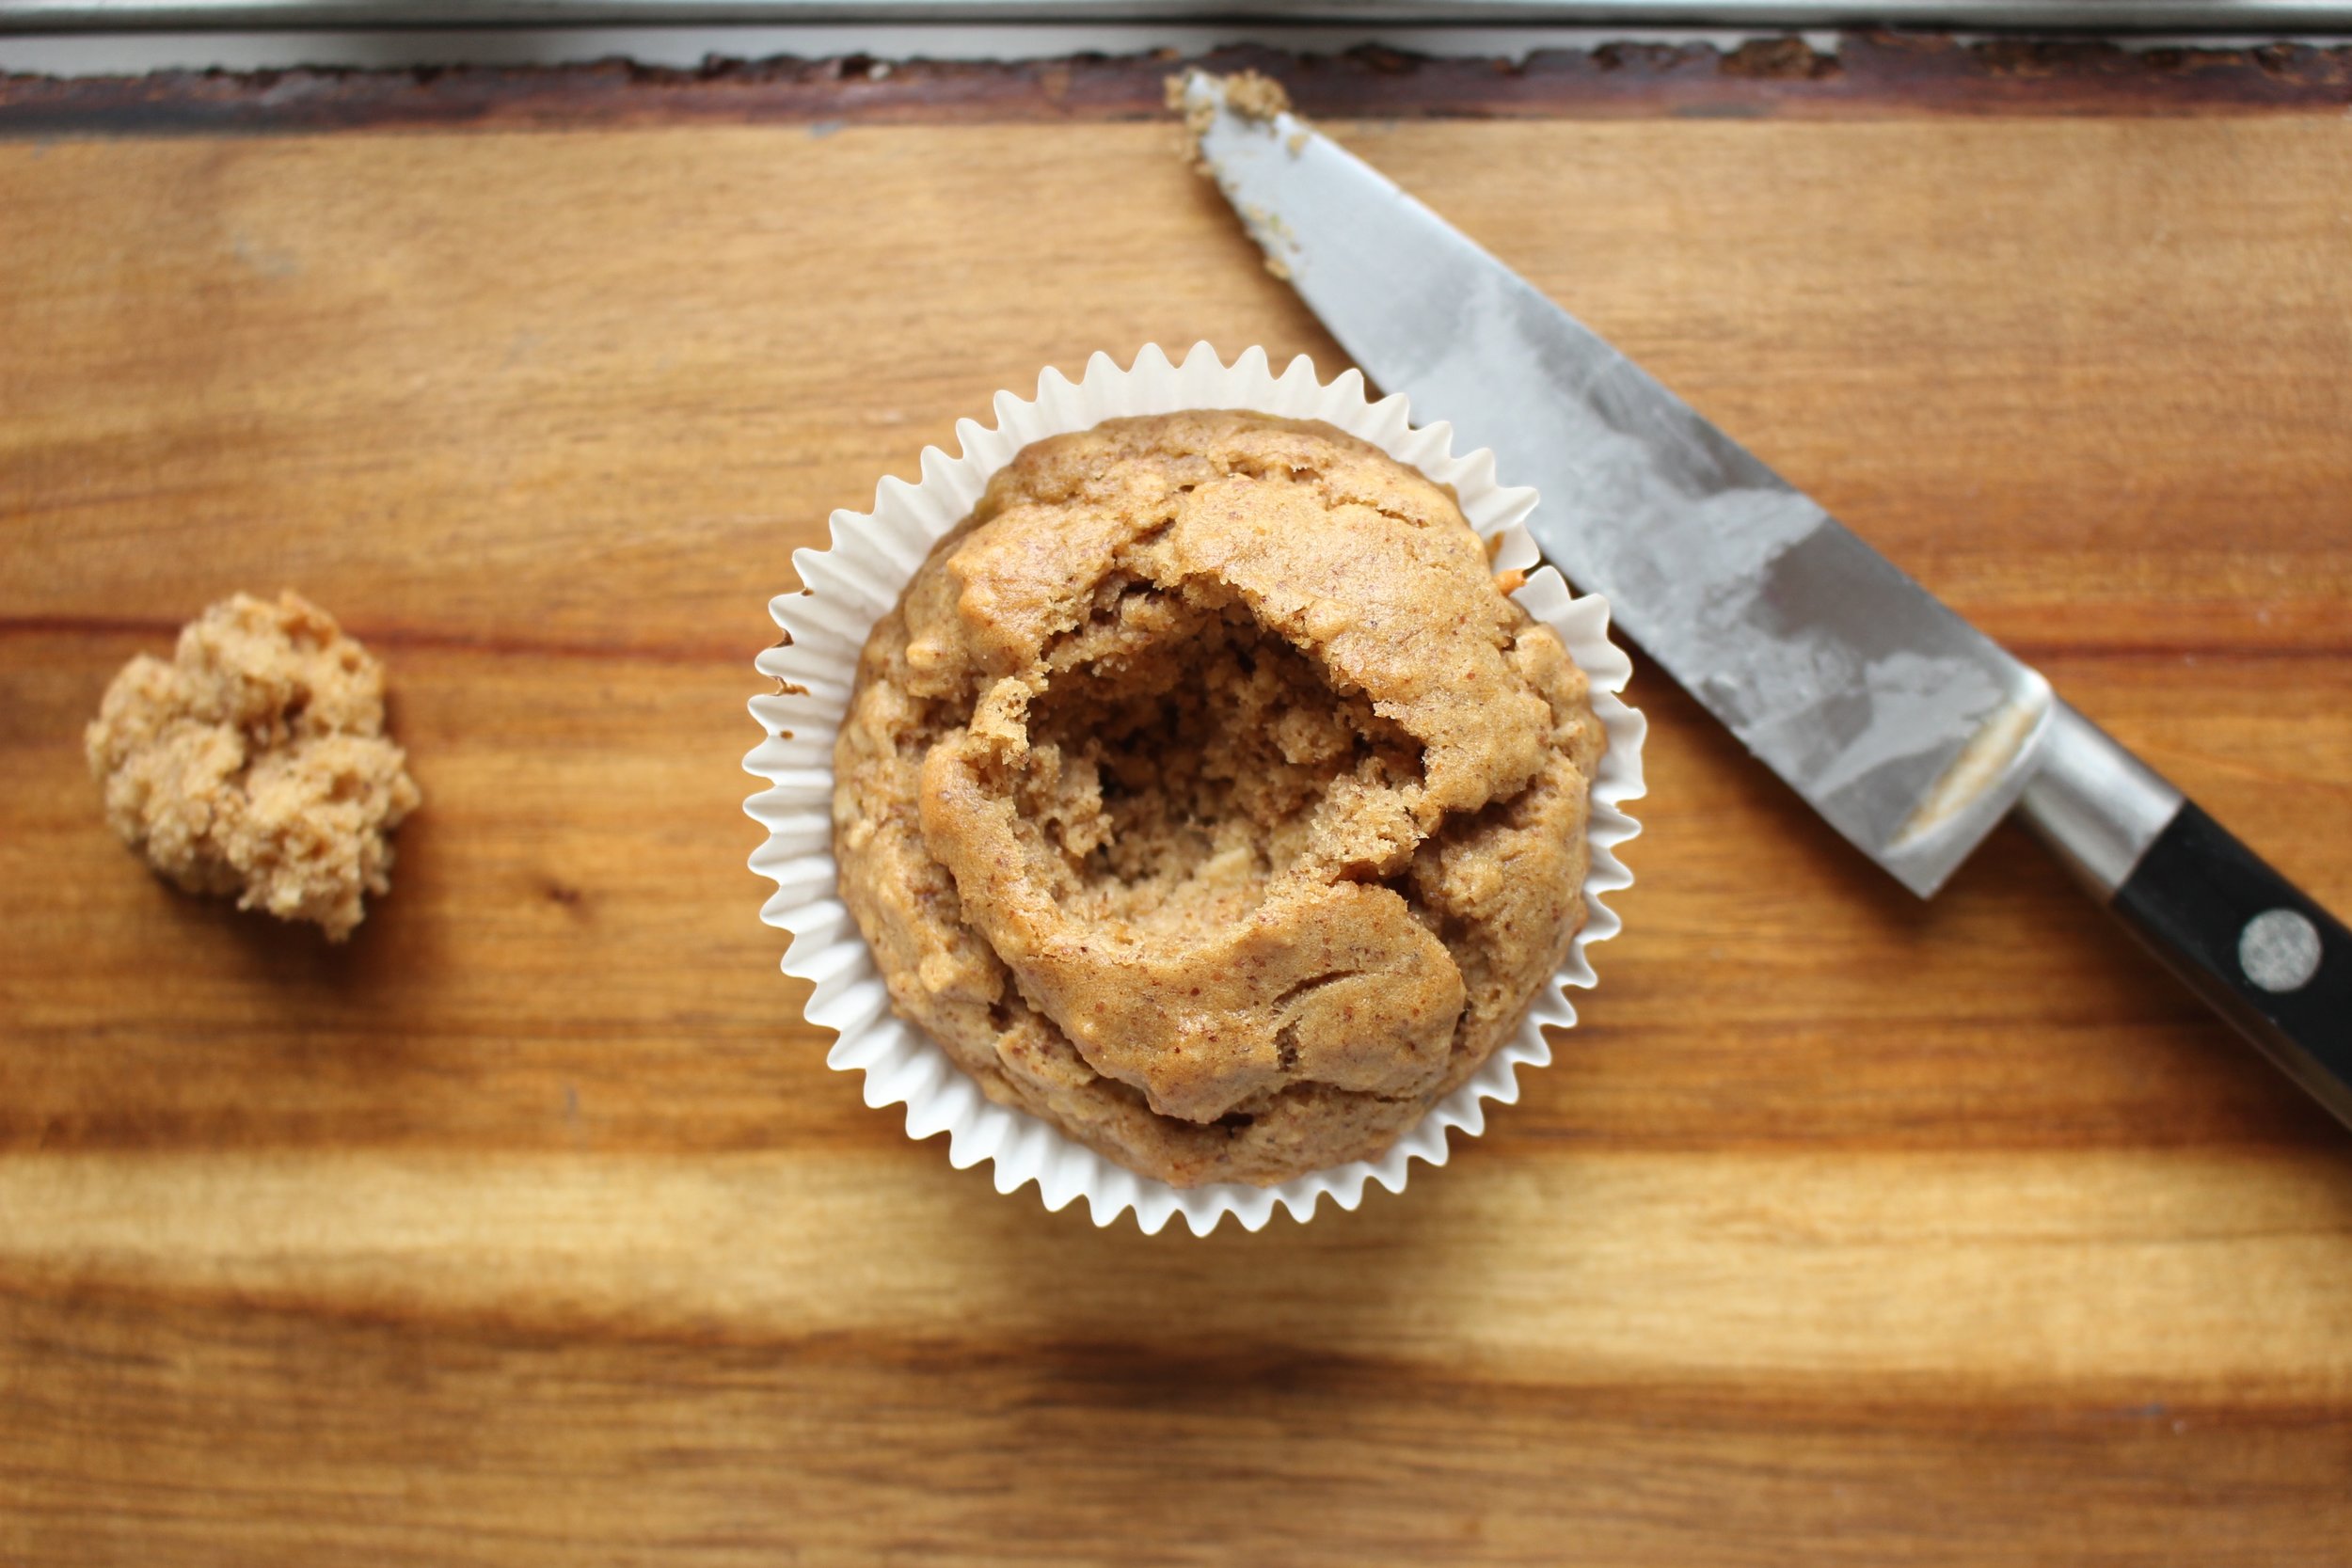
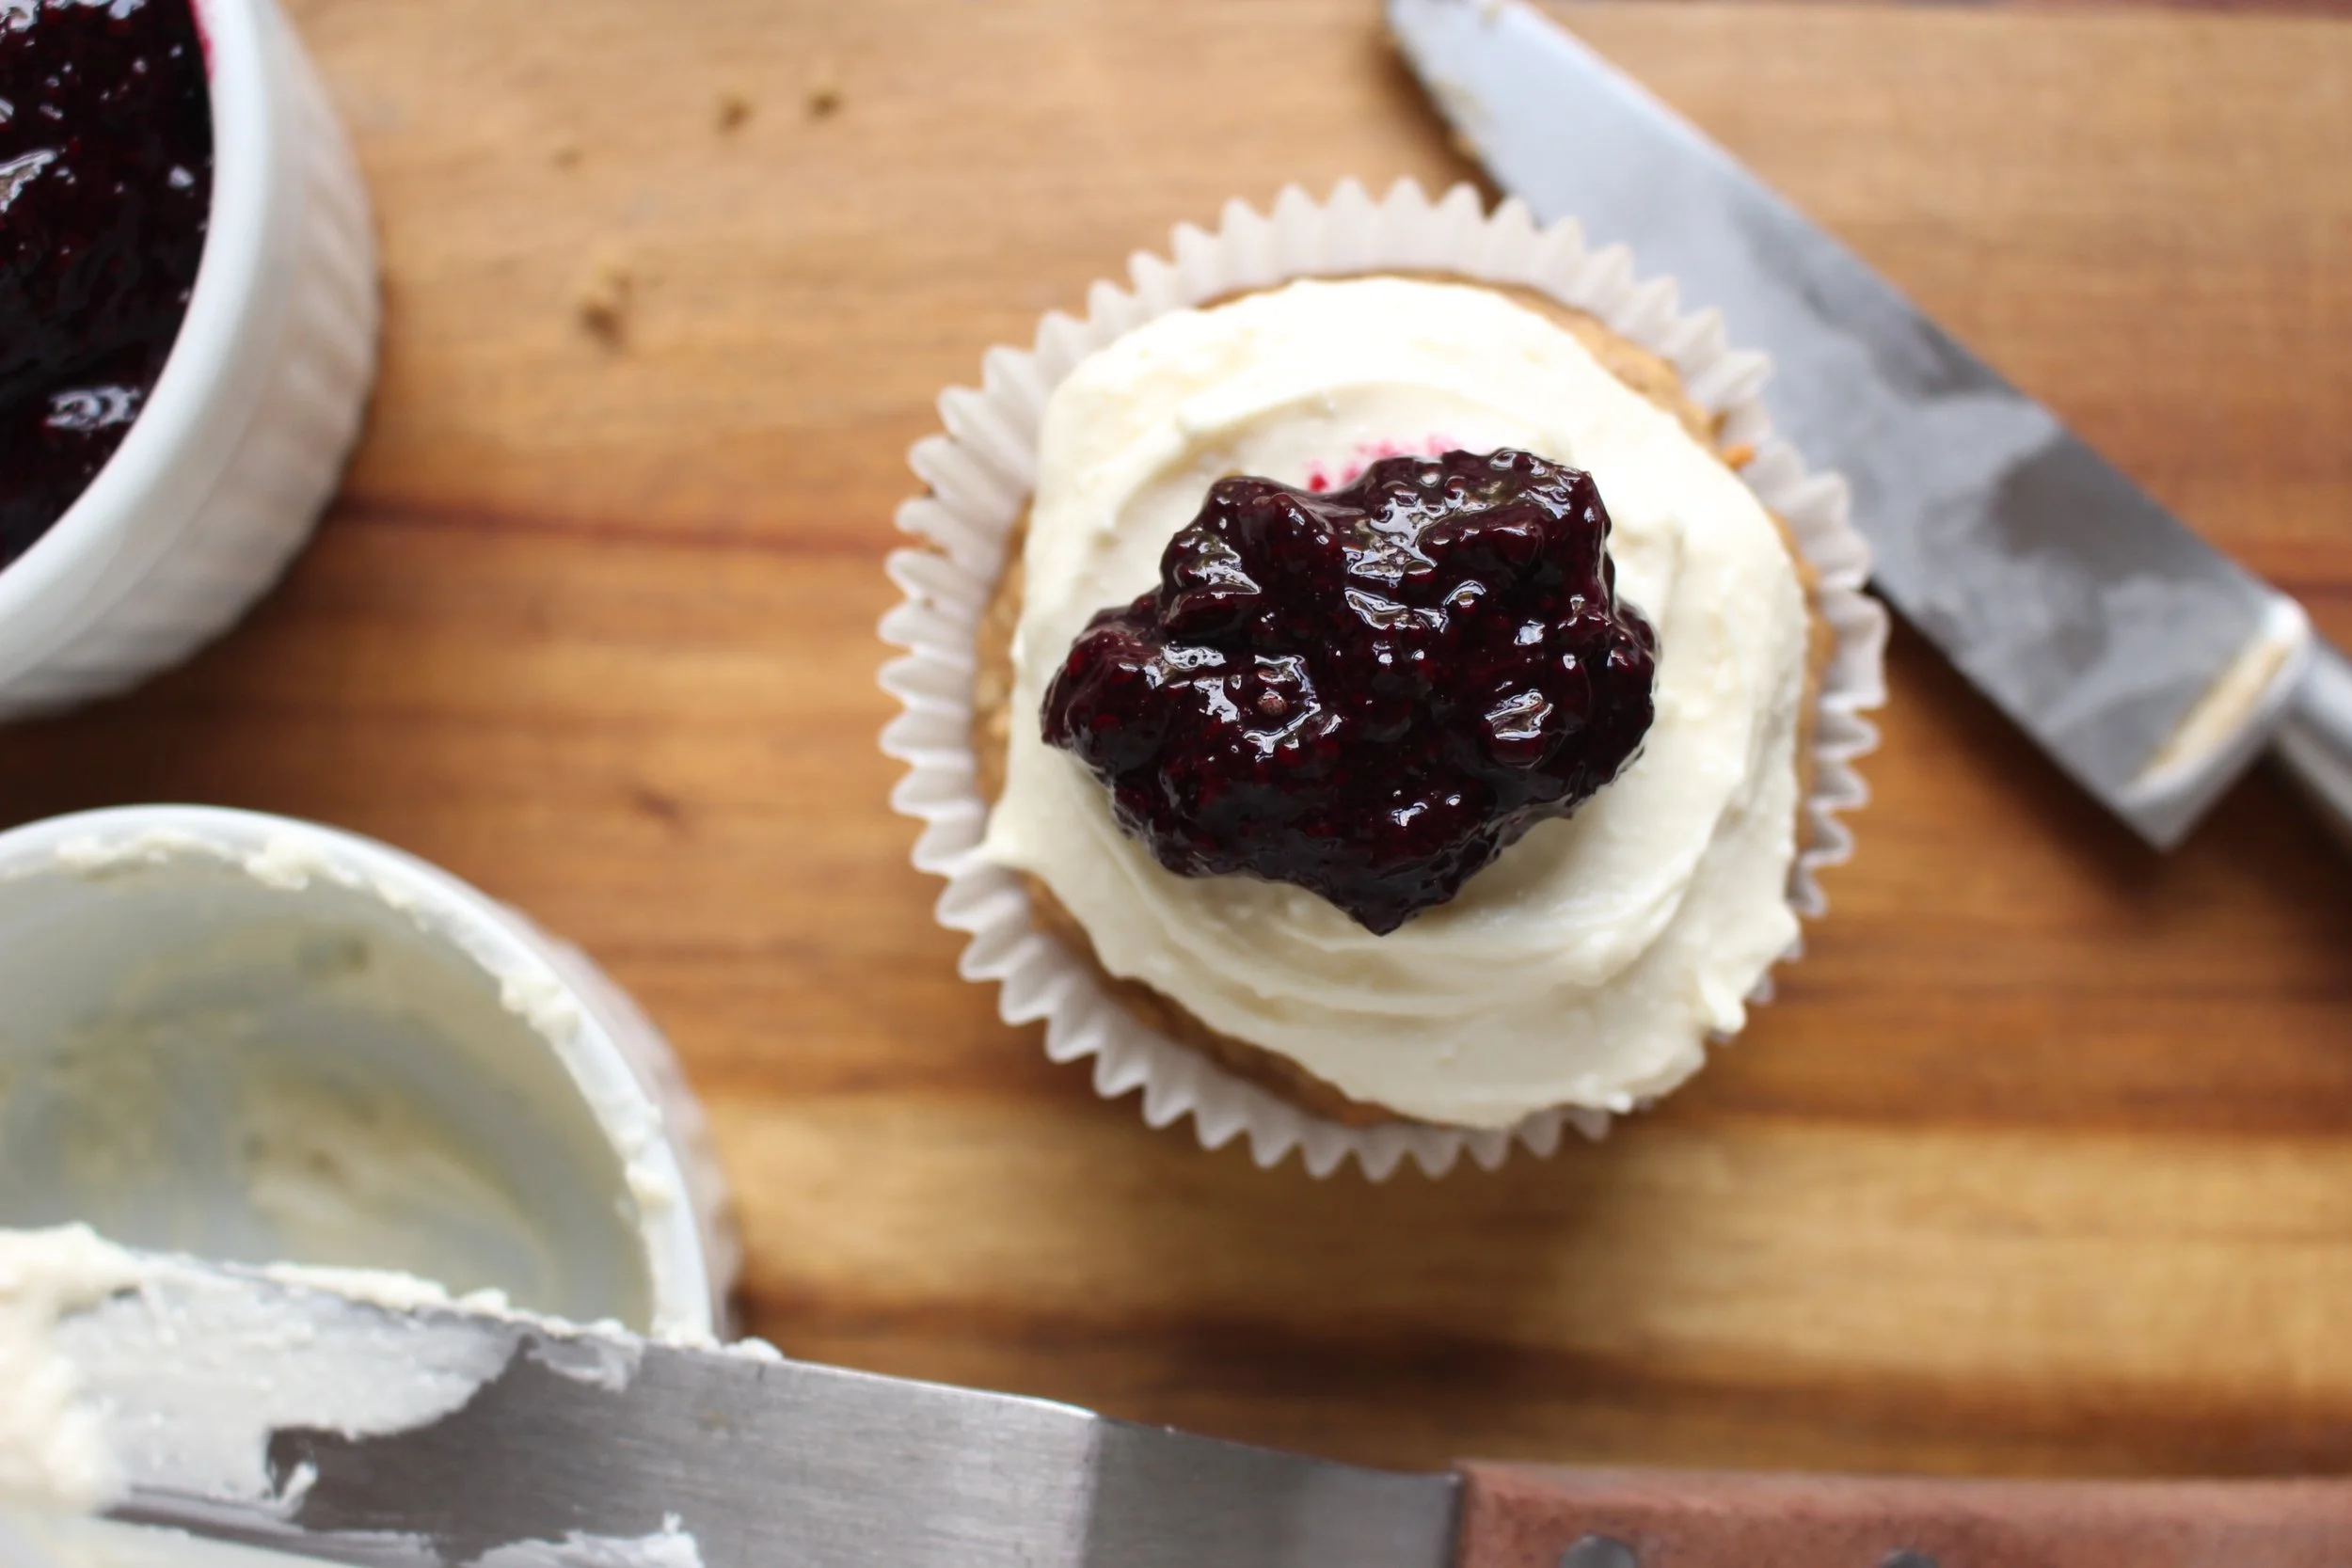
If you're avoiding nuts, substitute coconut or rice milk for the almond milk and use sunflower seed butter in place of the almond butter. Still delicious!
Important note: These muffins are best when fresh, so I recommend freezing 3/4 of the batch and then either defrosting a serving at night for breakfast the next morning, or toasting a frozen one right before eating it.
Almond butter quinoa muffins
2 large mashed banana
1 cup creamy natural almond butter, well mixed (or nut butter or seed butter of your choice)
½ cup maple syrup
¼ cup unsweetened vanilla almond milk (or rice, coconut, or other non-dairy milk of choice)
1 Tbsp vanilla extract
1 cup quinoa flour
1 cup quick oats
½ tsp salt
1½ tsp baking powder
1 tsp baking soda
1 tsp pie spice (or cinnamon)
2 tsp apple cider vinegar
Preheat oven to 350.
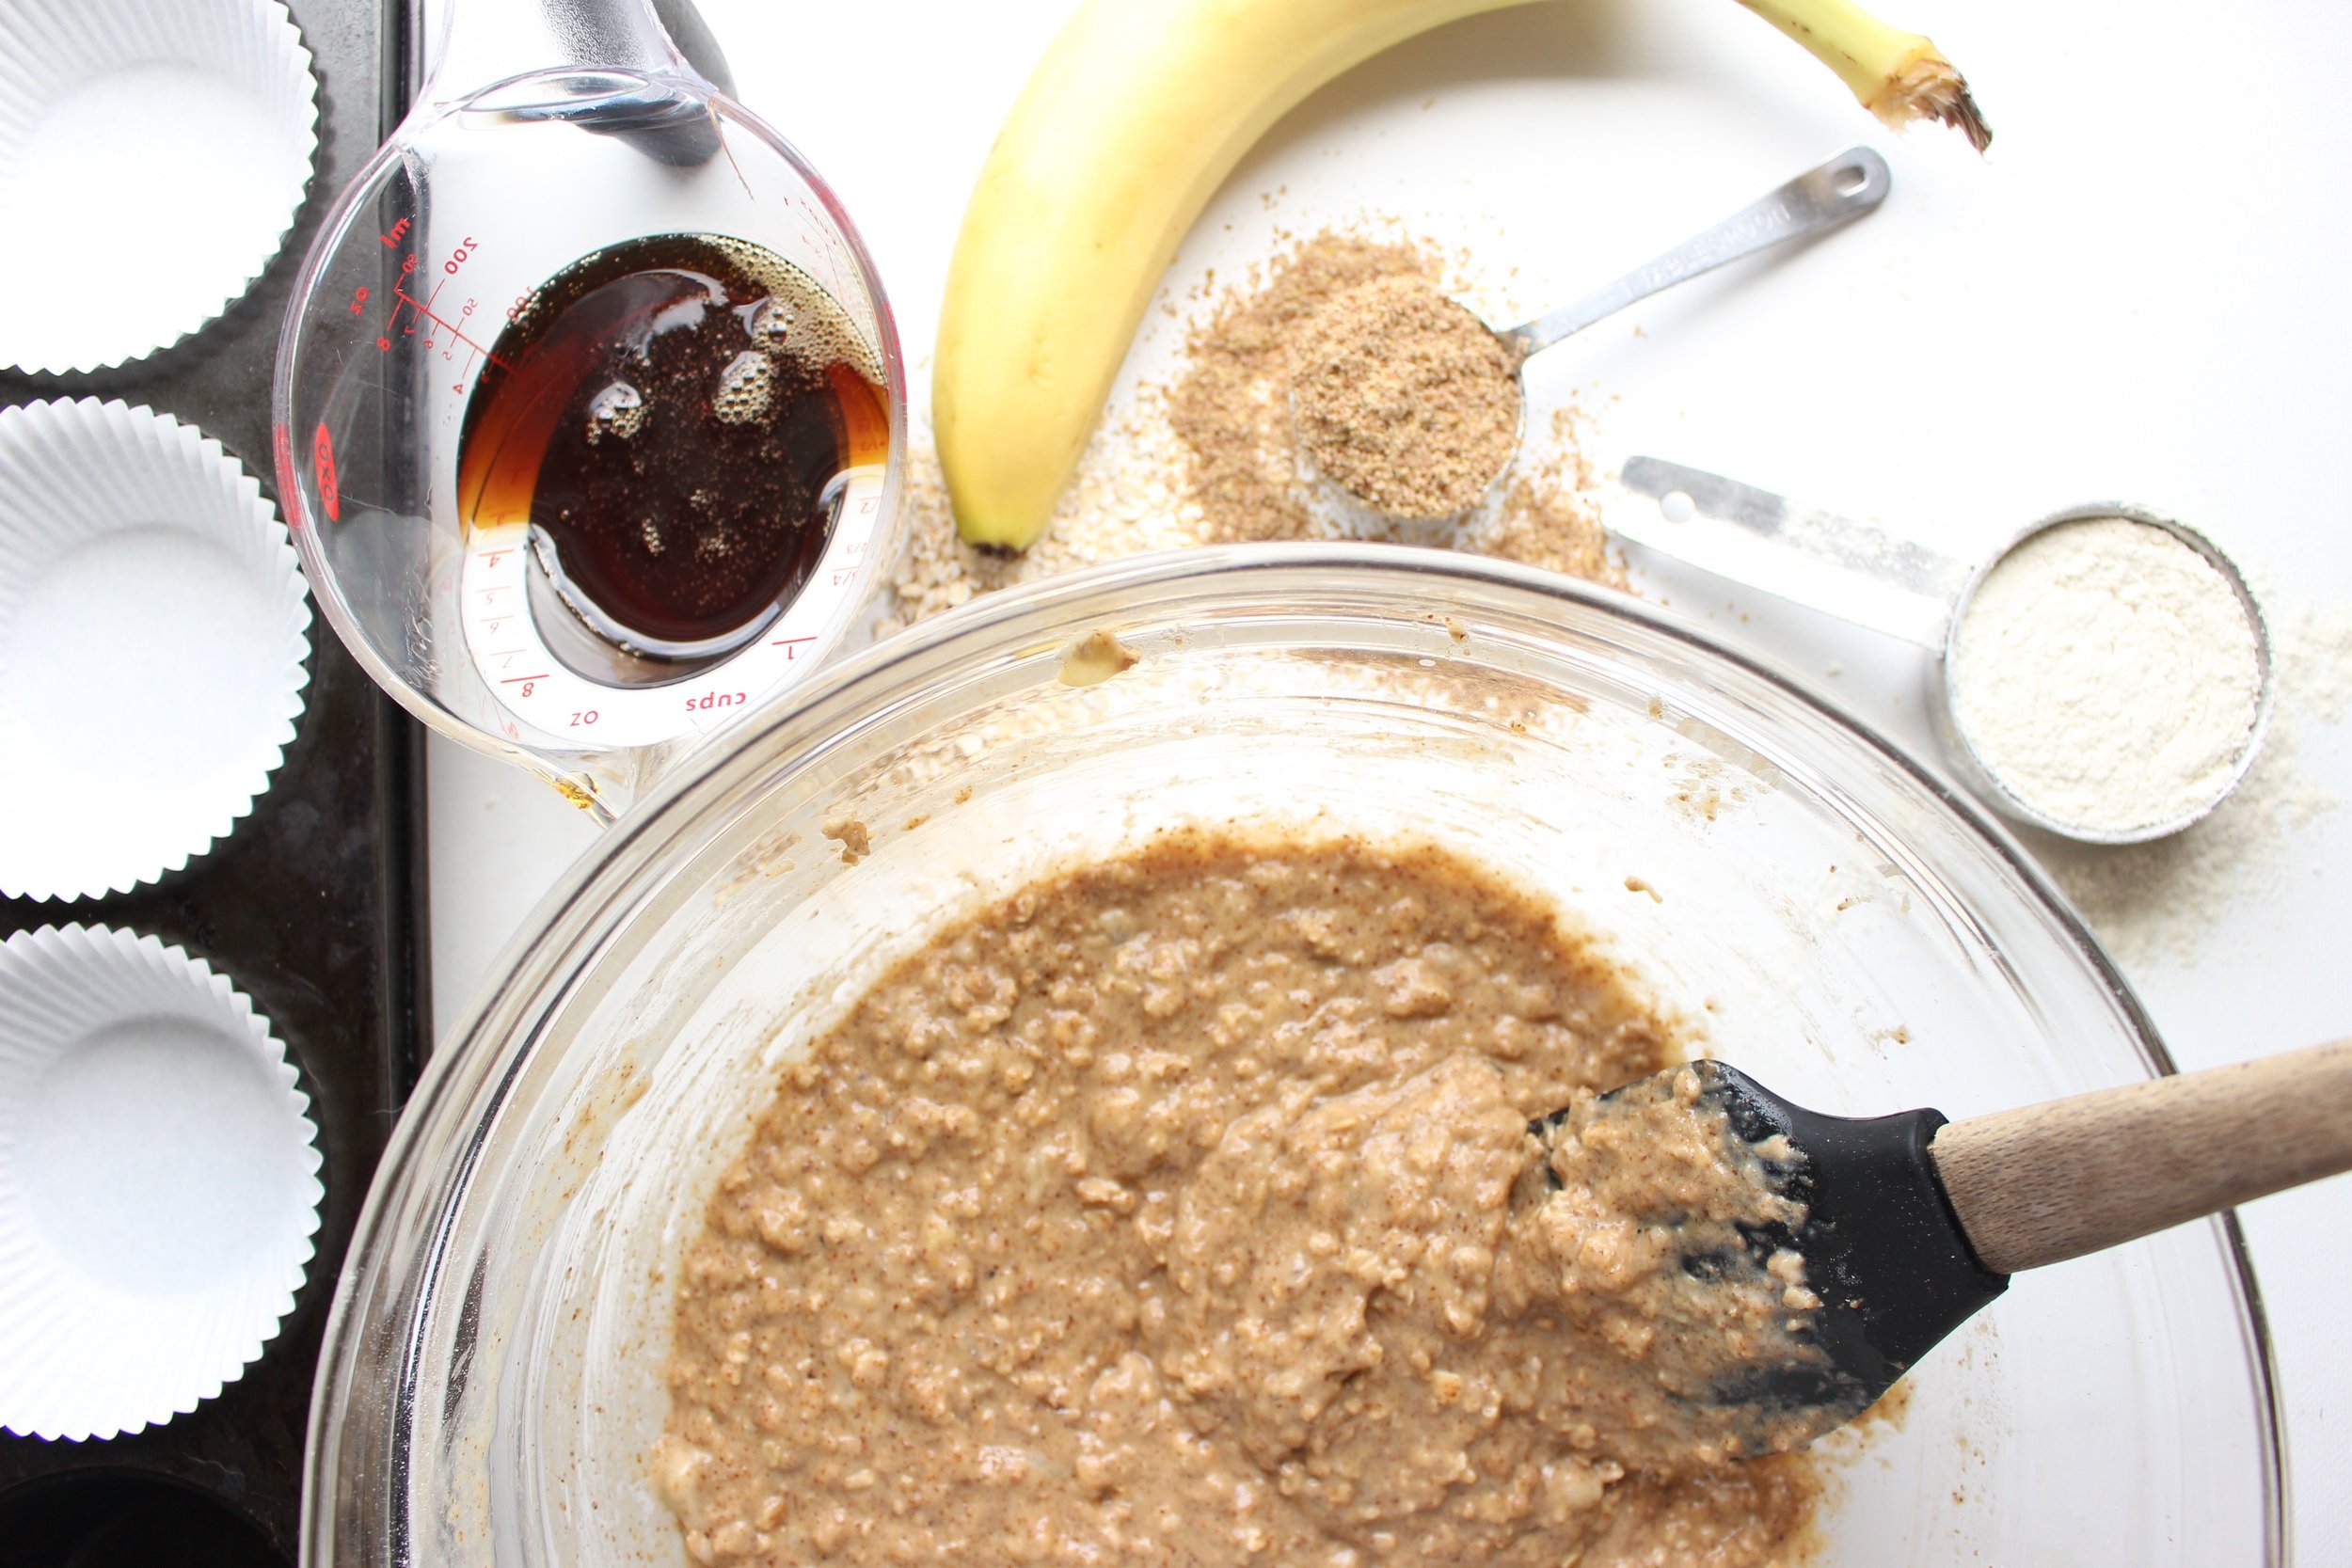
In a large bowl, mash the bananas. Add the almond butter, maple syrup, almond milk, and vanilla extract and mix well.
Add the flours, salt, baking powder, baking soda, and spices. Mix well. Add the apple cider vinegar and mix again. Let the mixture sit while you prep the muffin tin and prepare the jam and icing (if using).
When ready, spoon the mixture into your muffin tin until each opening is half full.
Bake for 12-14 mins or until the tops turn golden brown and the muffins are firm to the touch.
Let cool completely in the muffin tin before serving.
Yield: 18 muffins
For the Blueberry chia jam:
1 pint blueberries
1 ½ Tbsp chia seeds
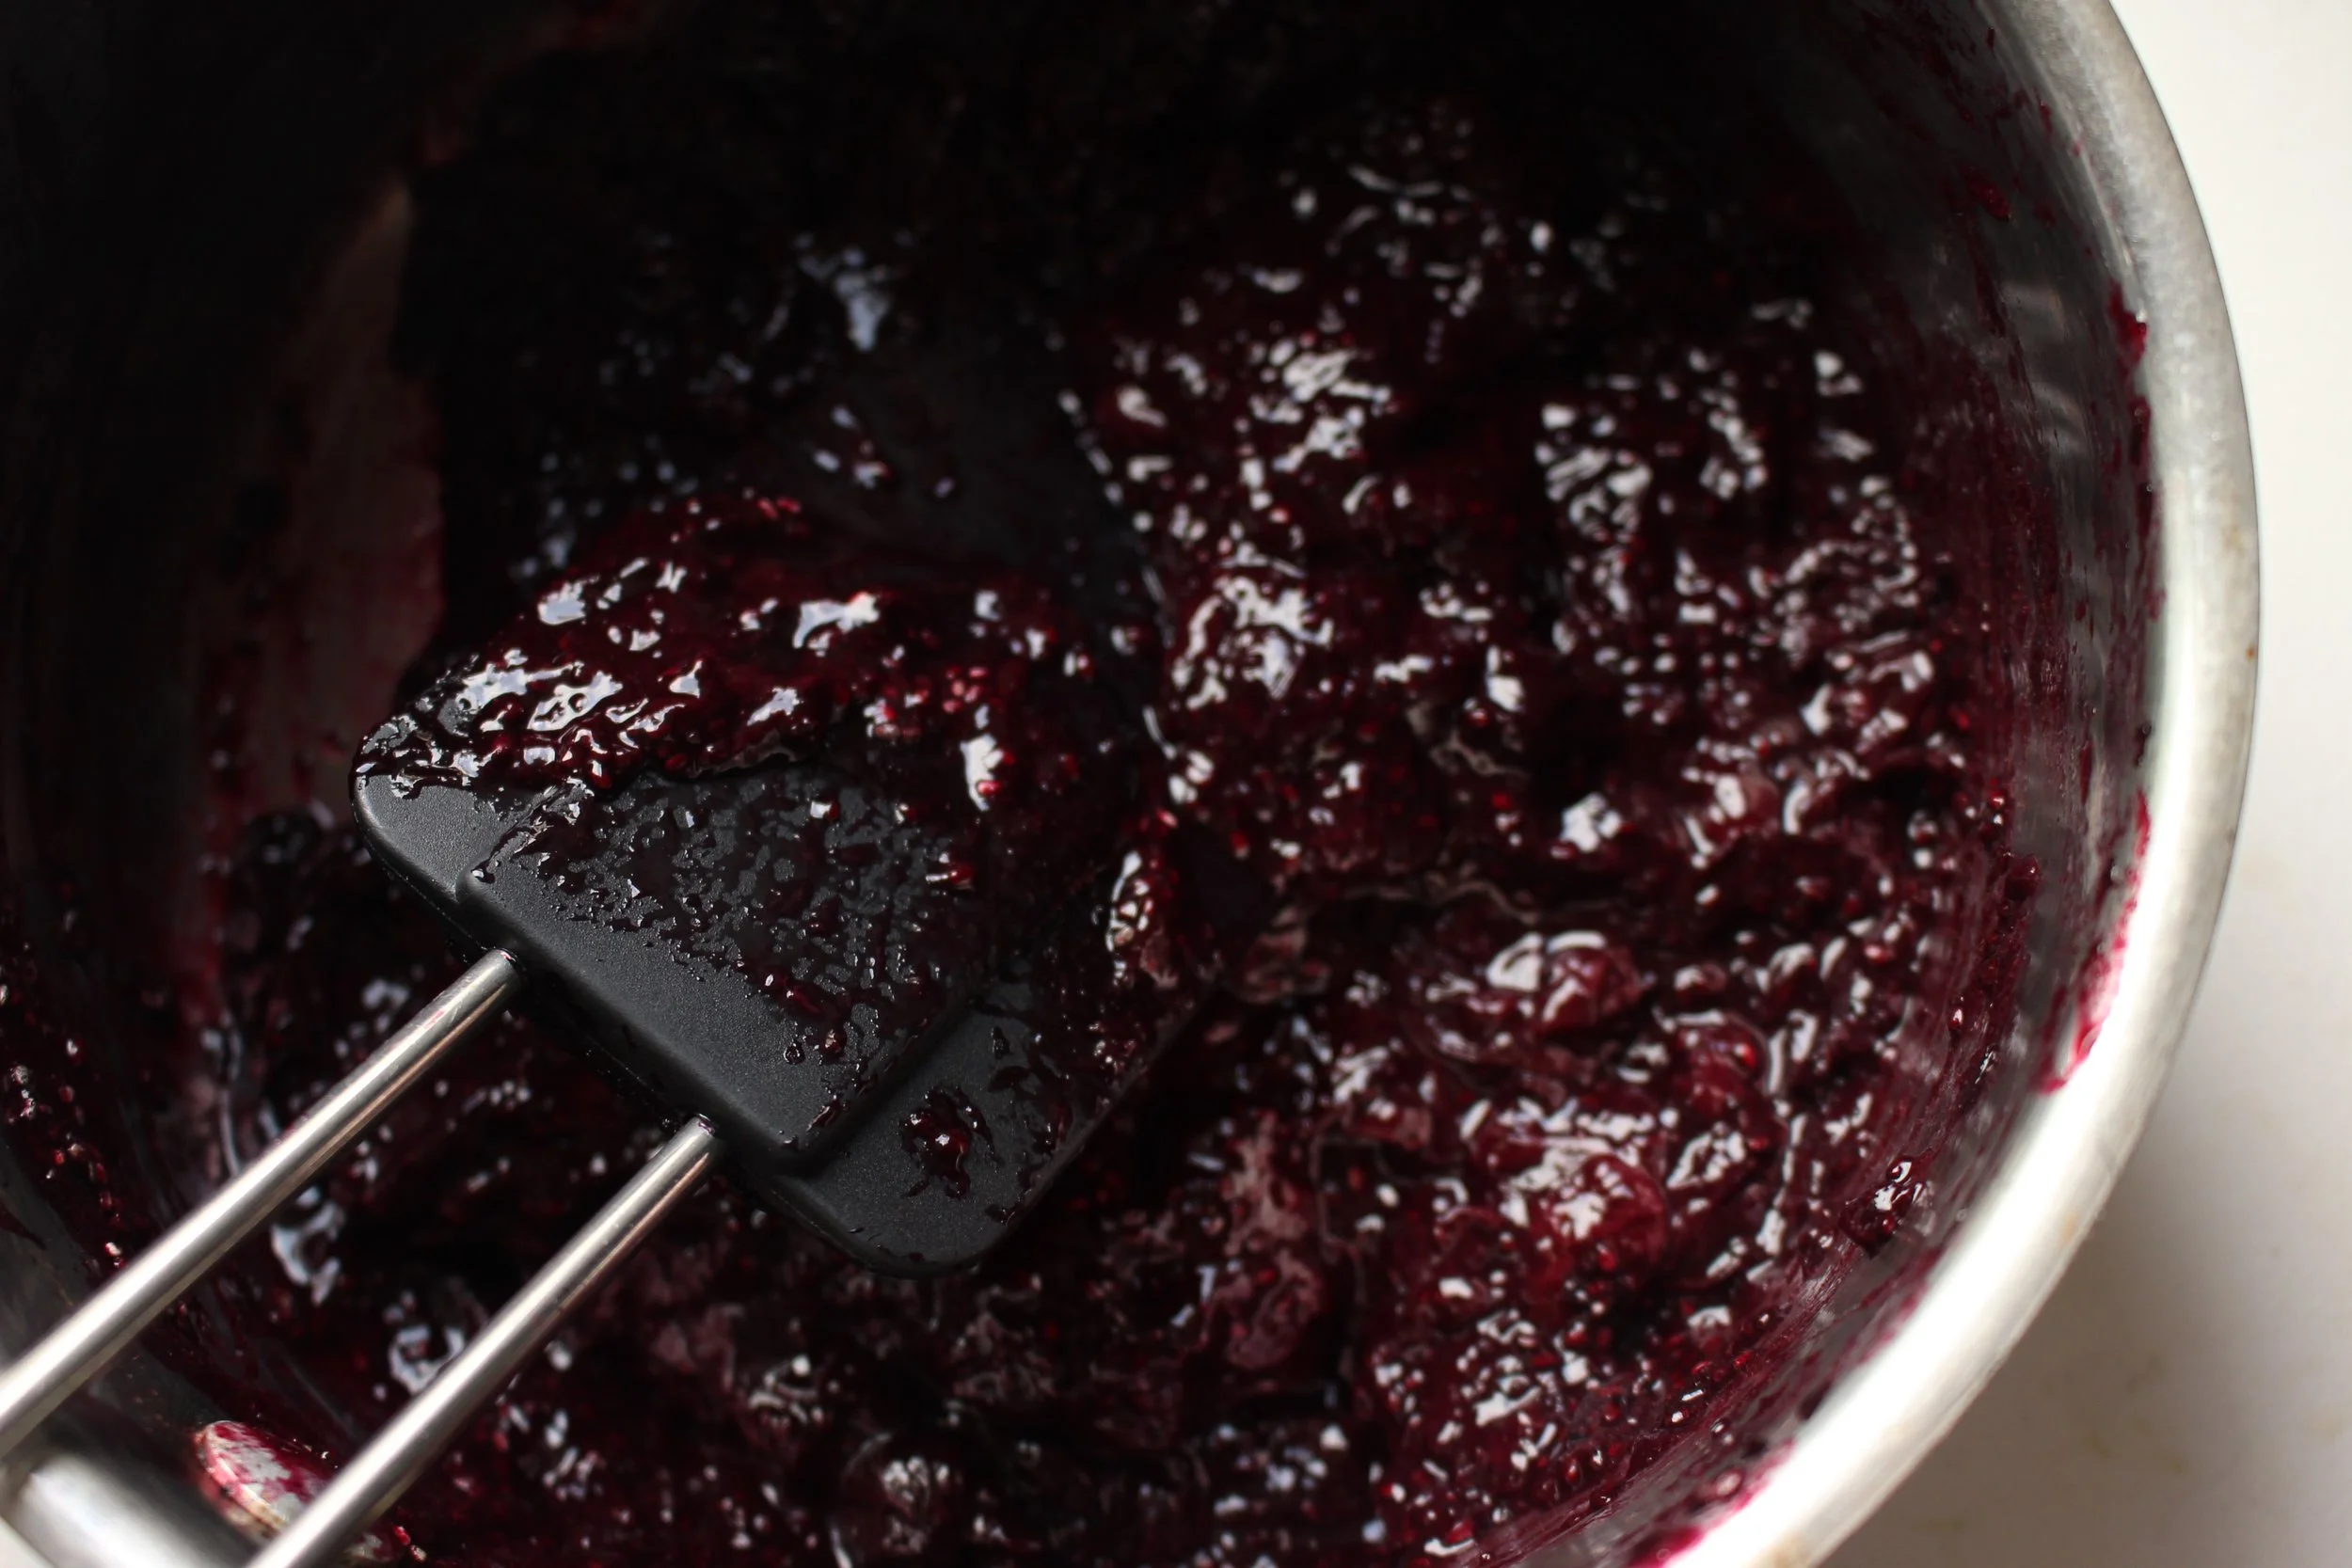
Put the blueberries into a small sauce pan and cook over a medium low flame until the berries have broken down and become syrupy, about 15 minutes.
Let cool for 5 minutes and add the chia seeds. Mix well.
Place the mixture in the refrigerator for 10-15 minutes or until ready to use.
Yield: 1 Tbsp per muffin
For the frosting (optional):
2 ¼ cups whipped cream cheese
6 Tbsp maple syrup
Mix the cream cheese and maple syrup well with a spatula. The mixture will look curdled at first. Continue mixing until the two ingredients have come together. Refrigerate until ready to use.
Yield: 2 Tbsp per muffin
S'mores energy balls
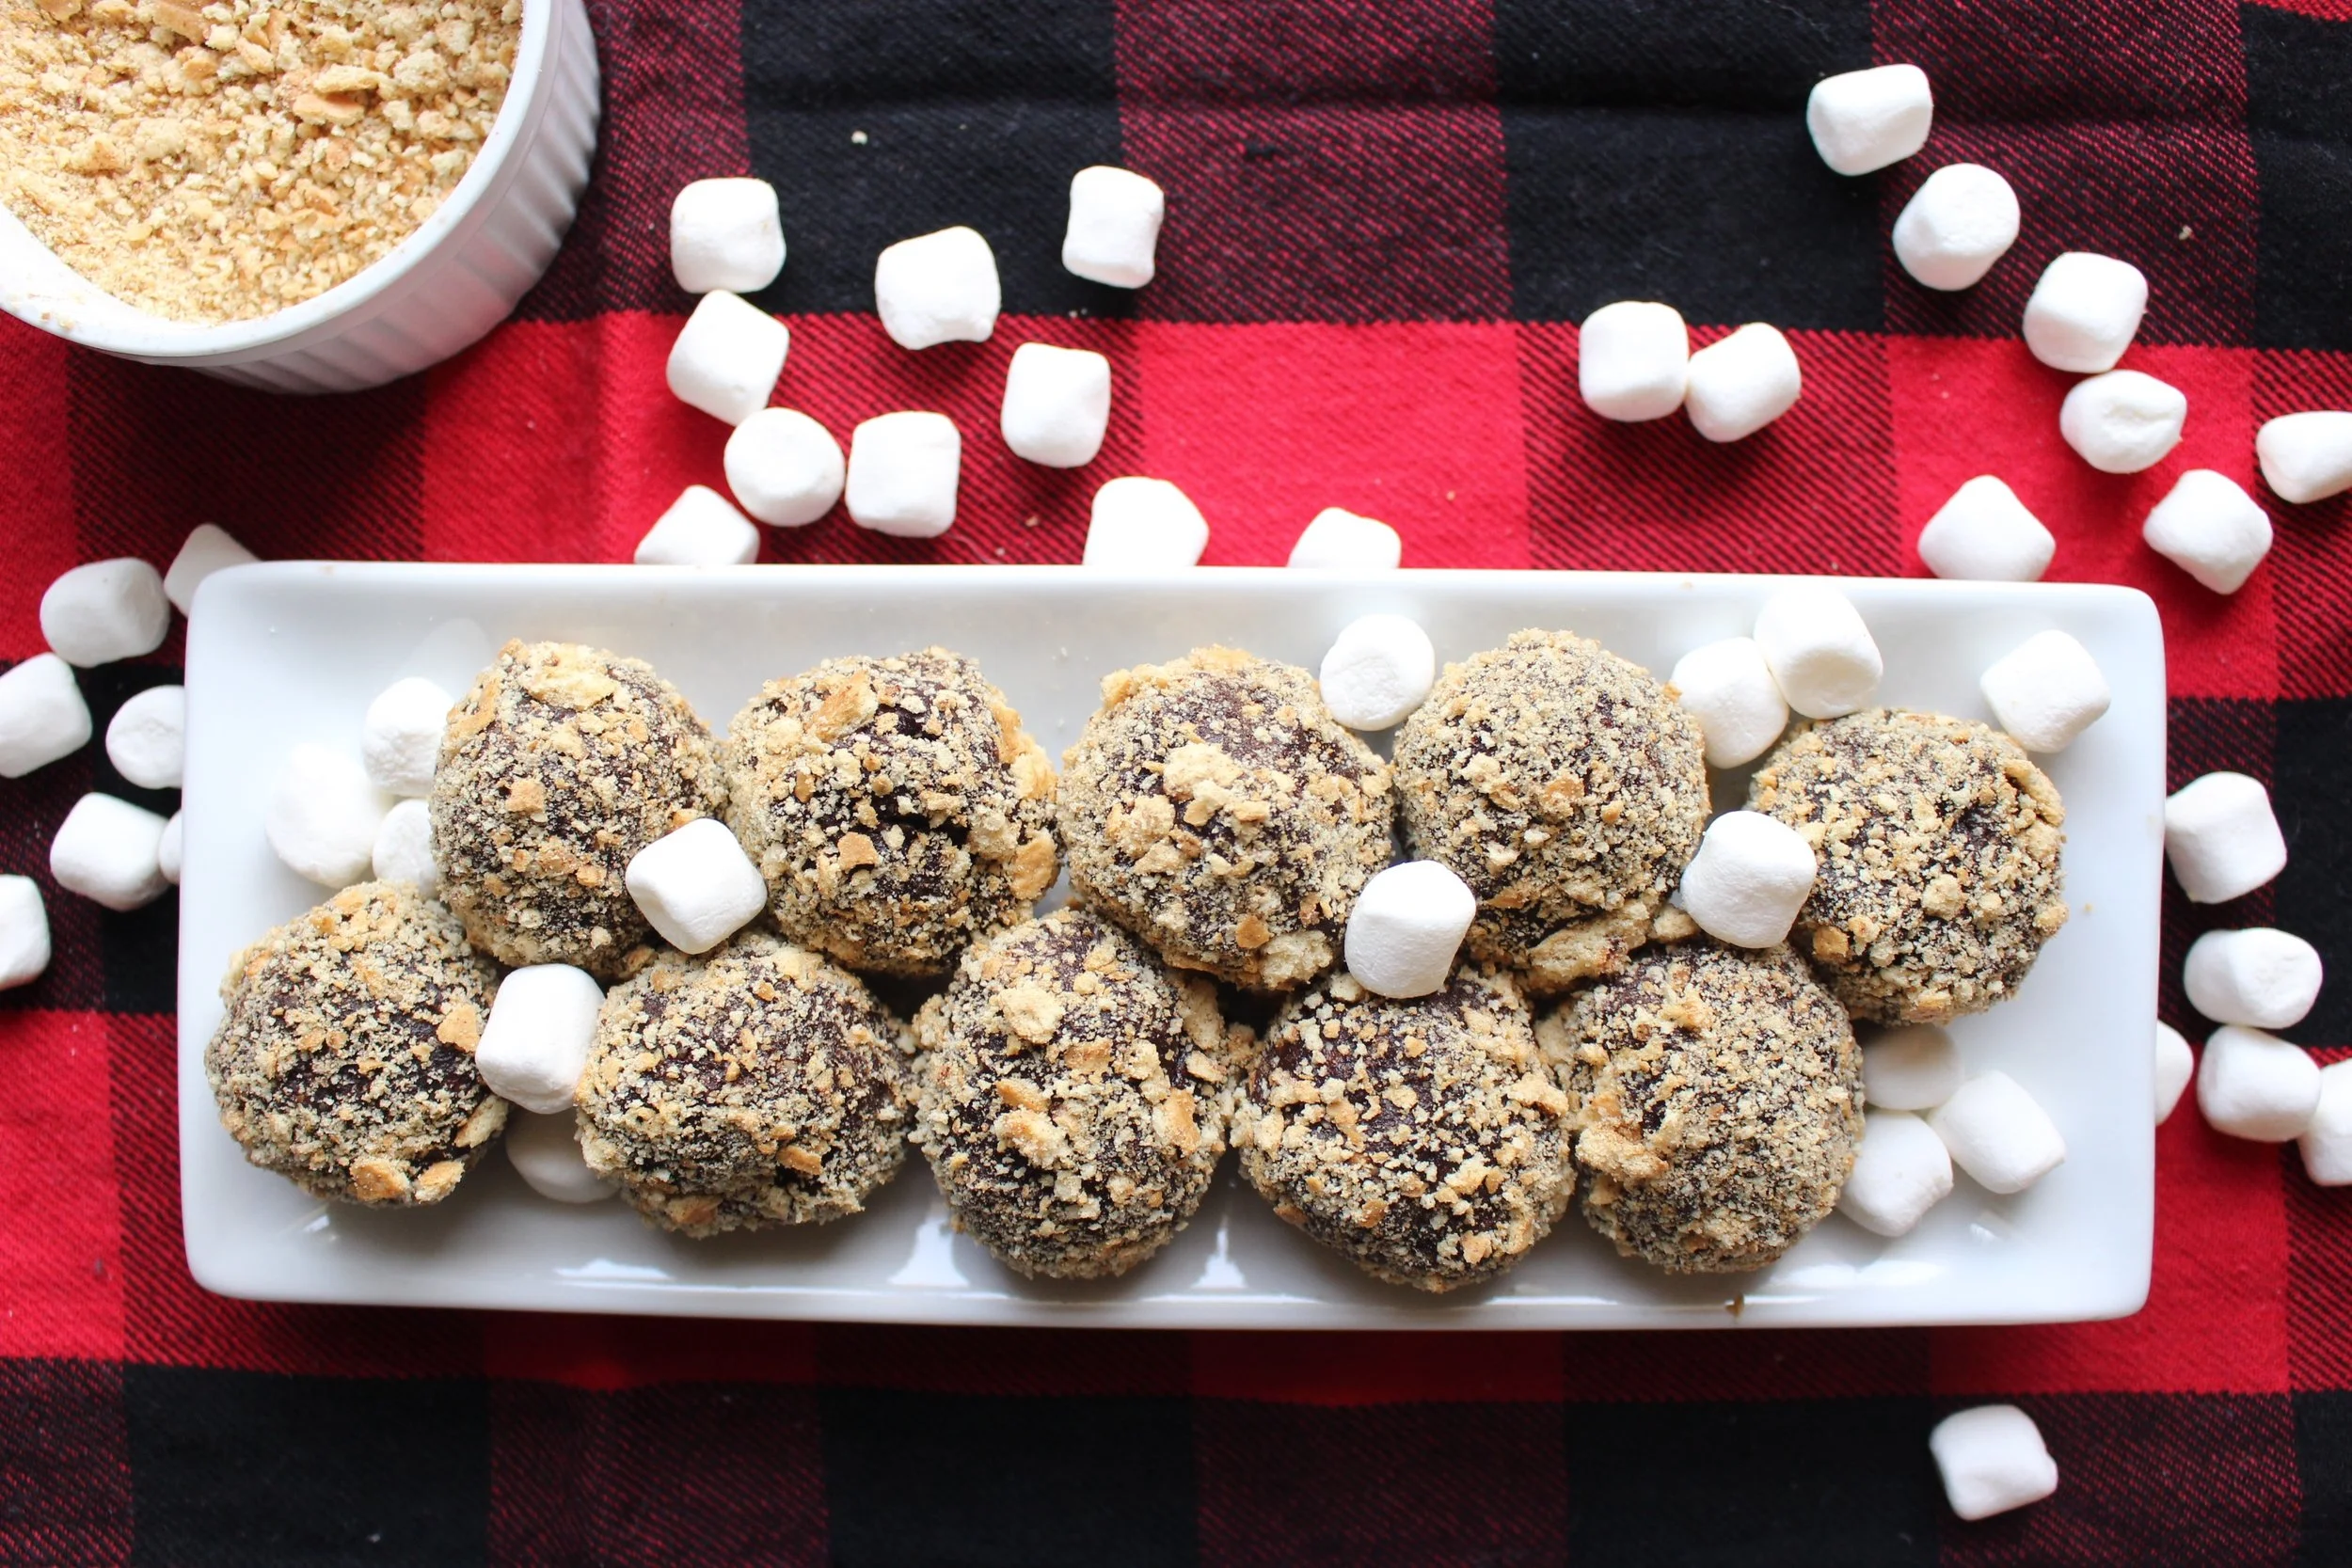
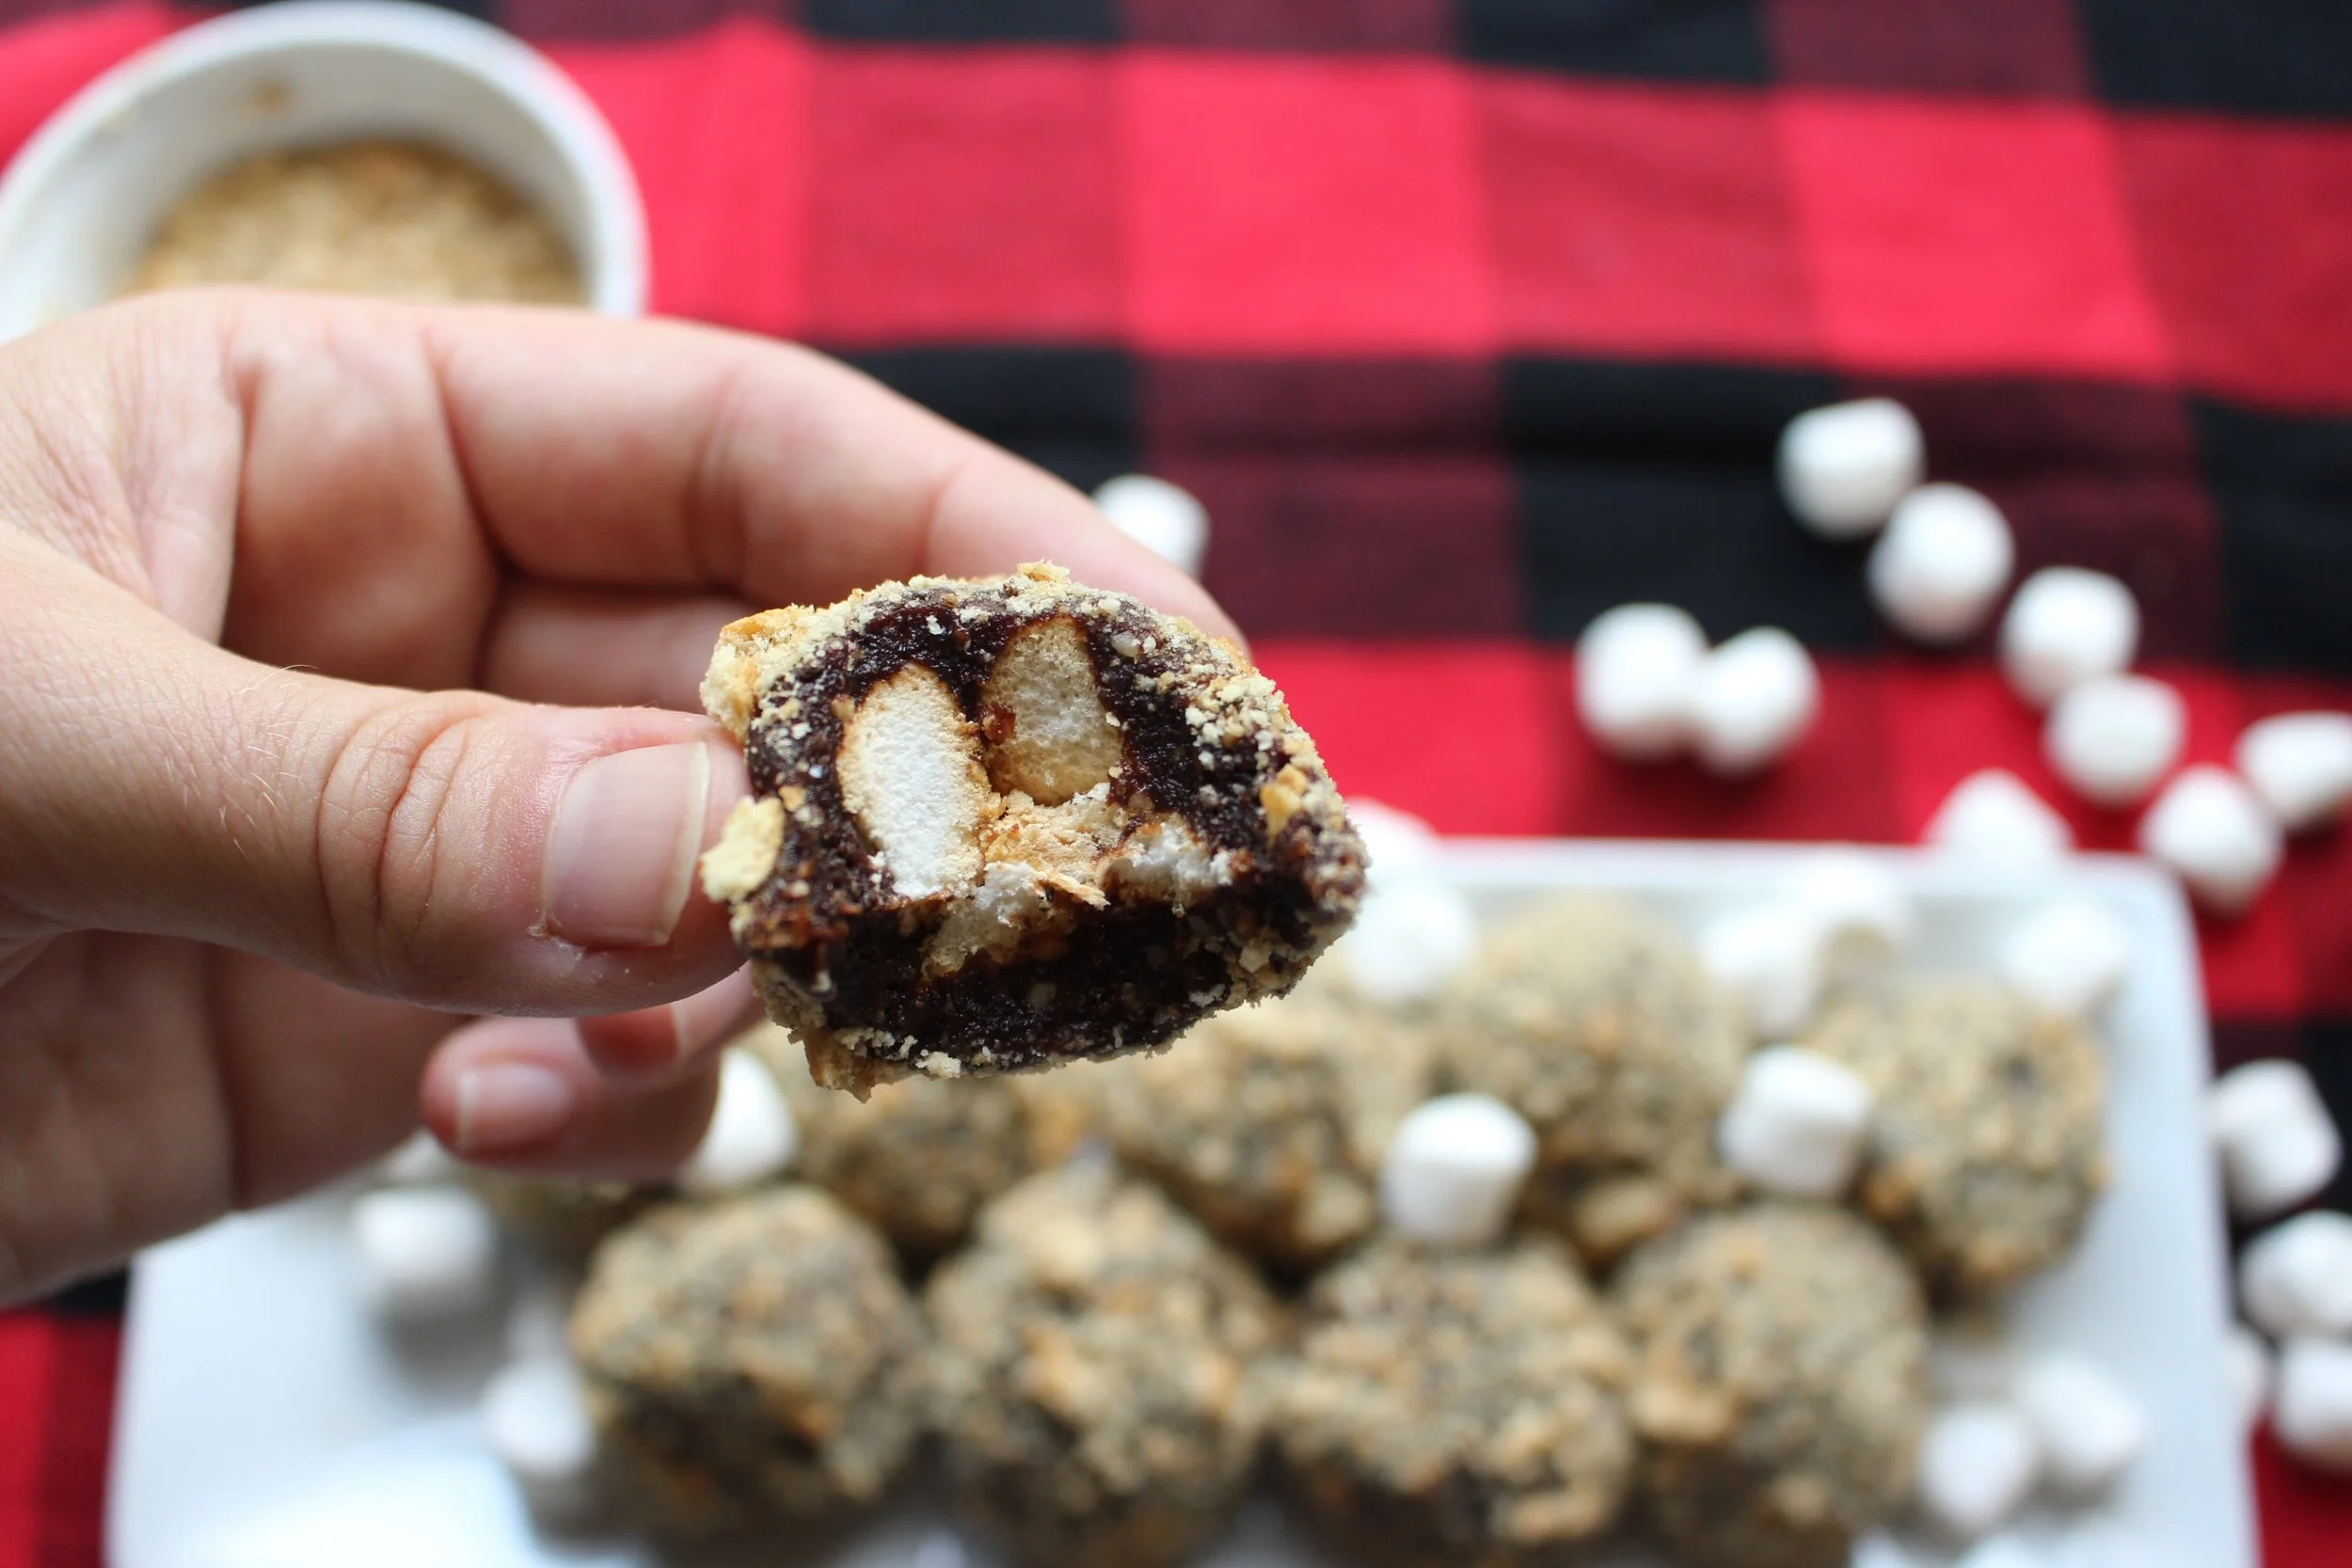
Happy national s'mores day everyone! While I love a real s'more, I don't dig activities that include both my toddler and fire, so we're sticking with this faux, somewhat healthier version. Also, these energy balls can be packed in a lunchbox (after subbing the nuts for pumpkin or sunflower seeds if necessary).
Your kids' teachers and counselors will thank you for skipping the sticky marshmallows and melted chocolate.
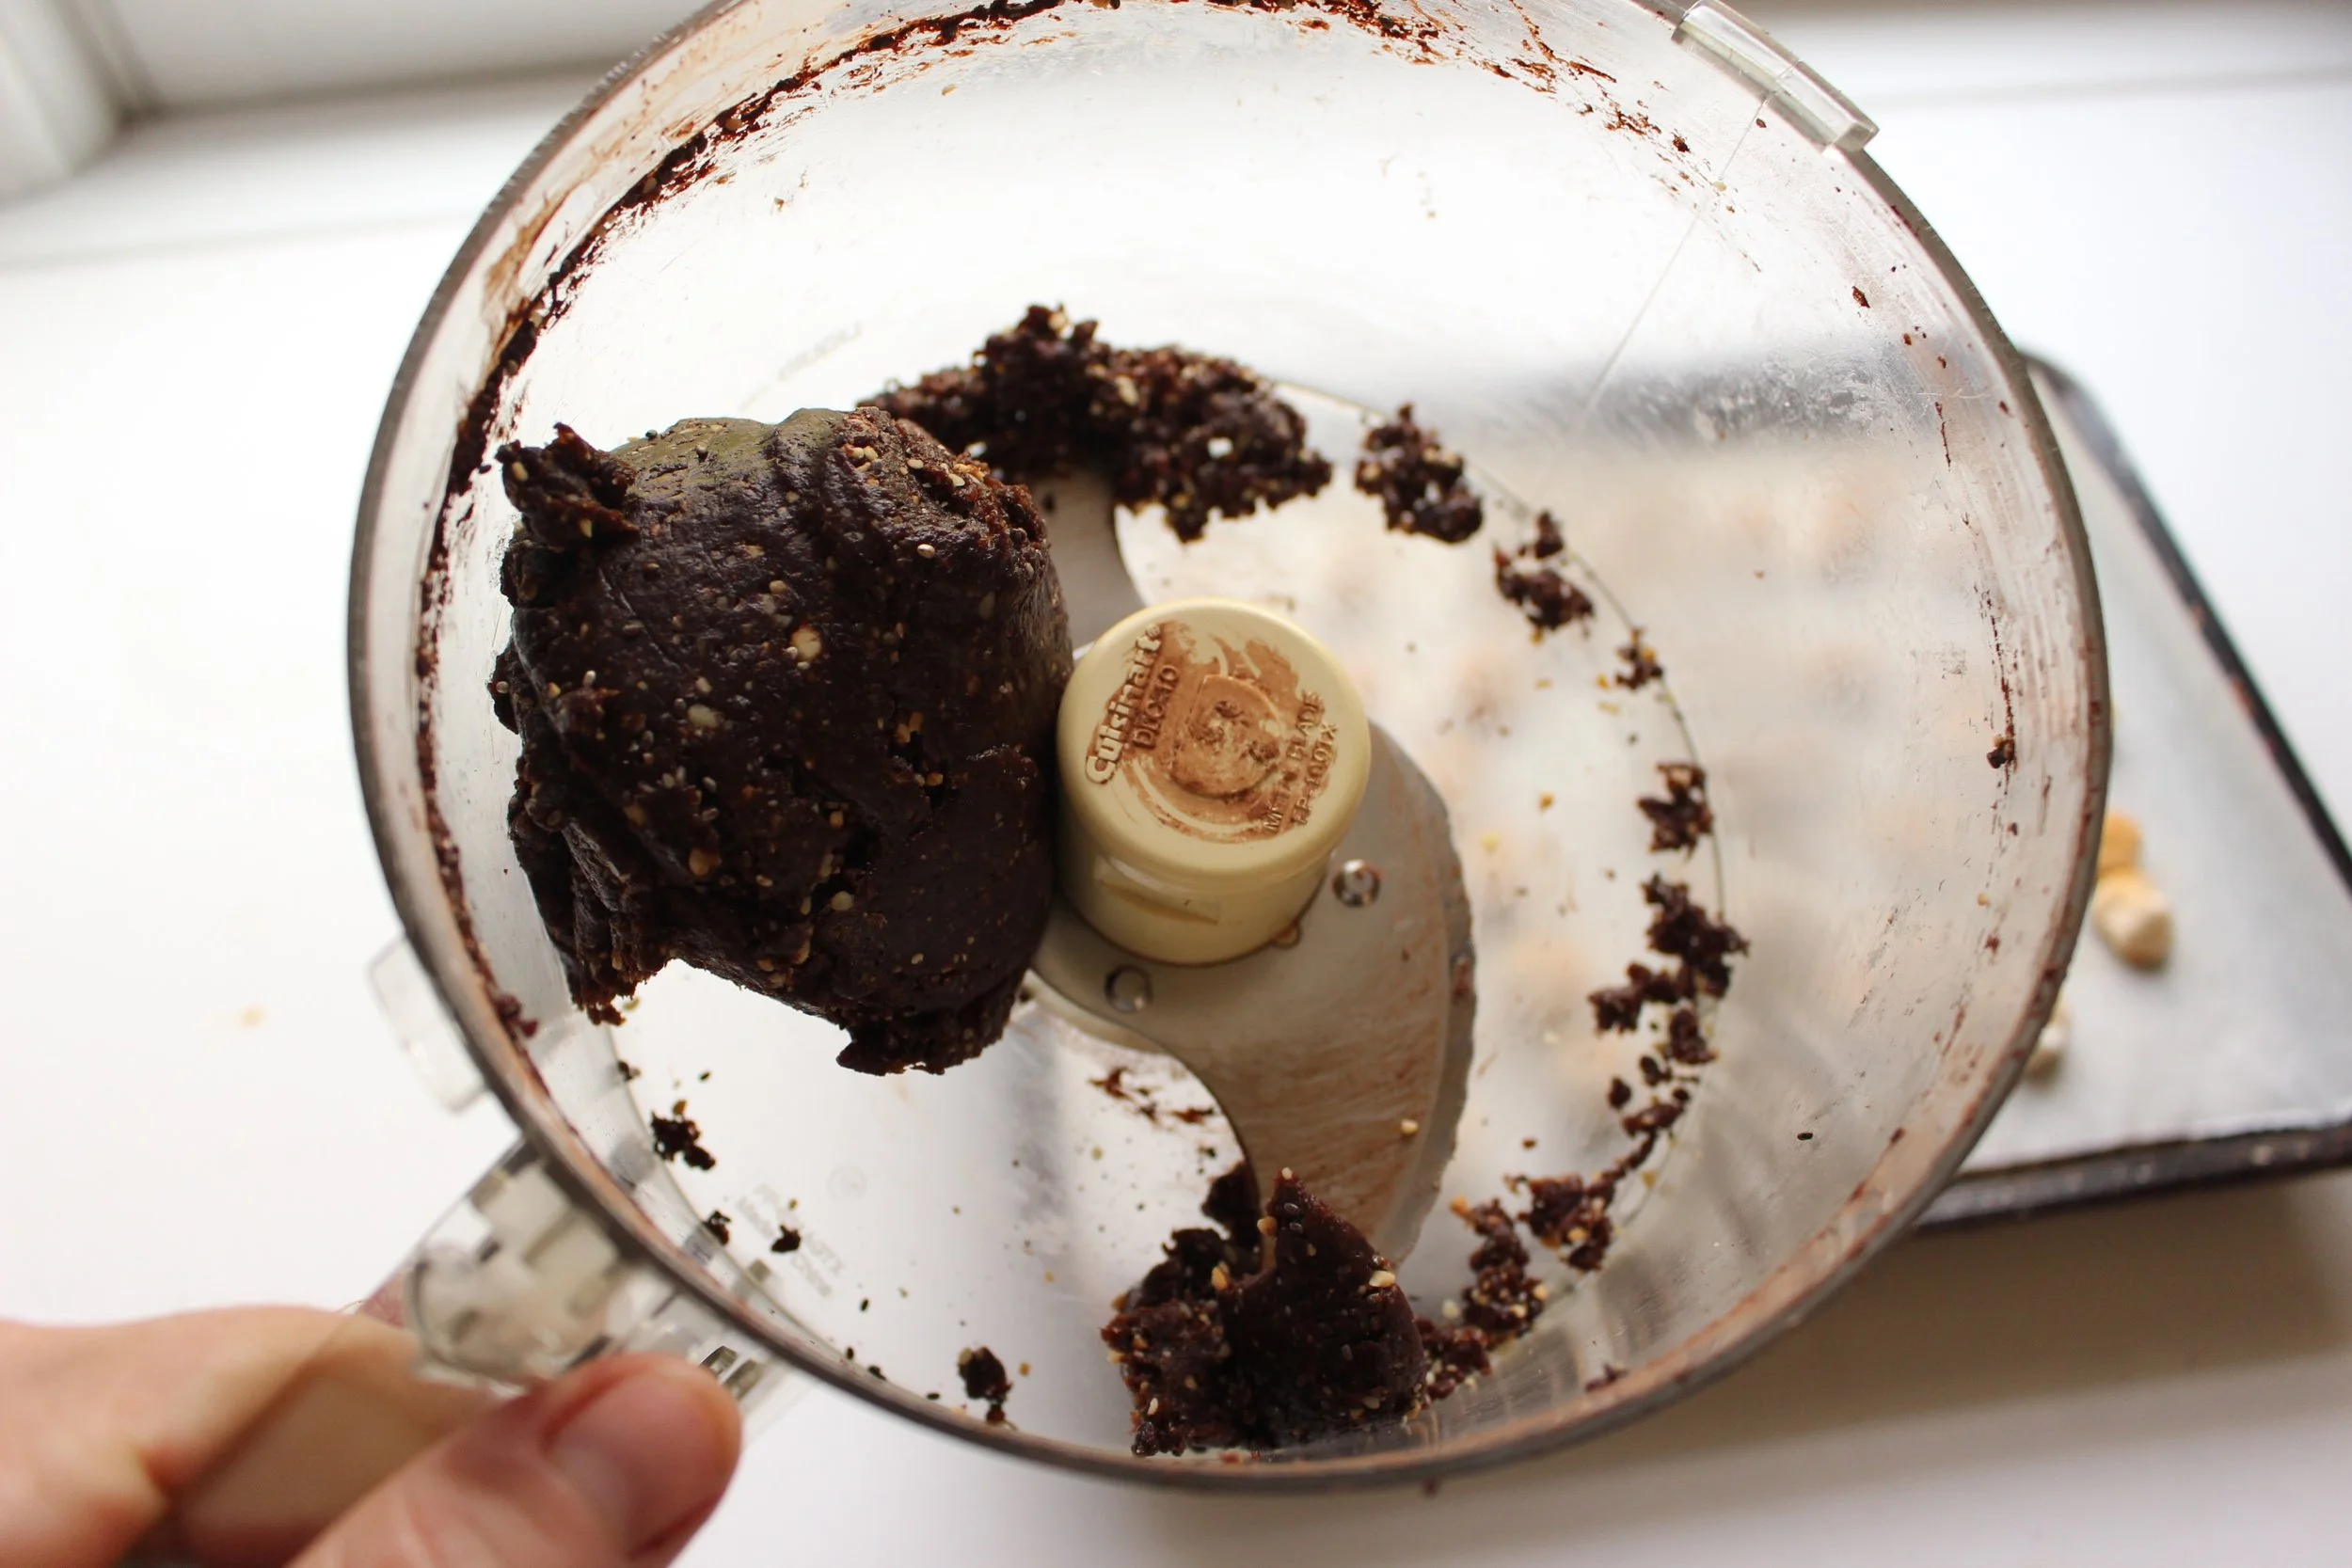
These balls start as your basic date, cocoa powder, nut, and chia seed energy ball. And if s'mores aren't your thing, you can absolutely stick with this base and have a delicious treat.
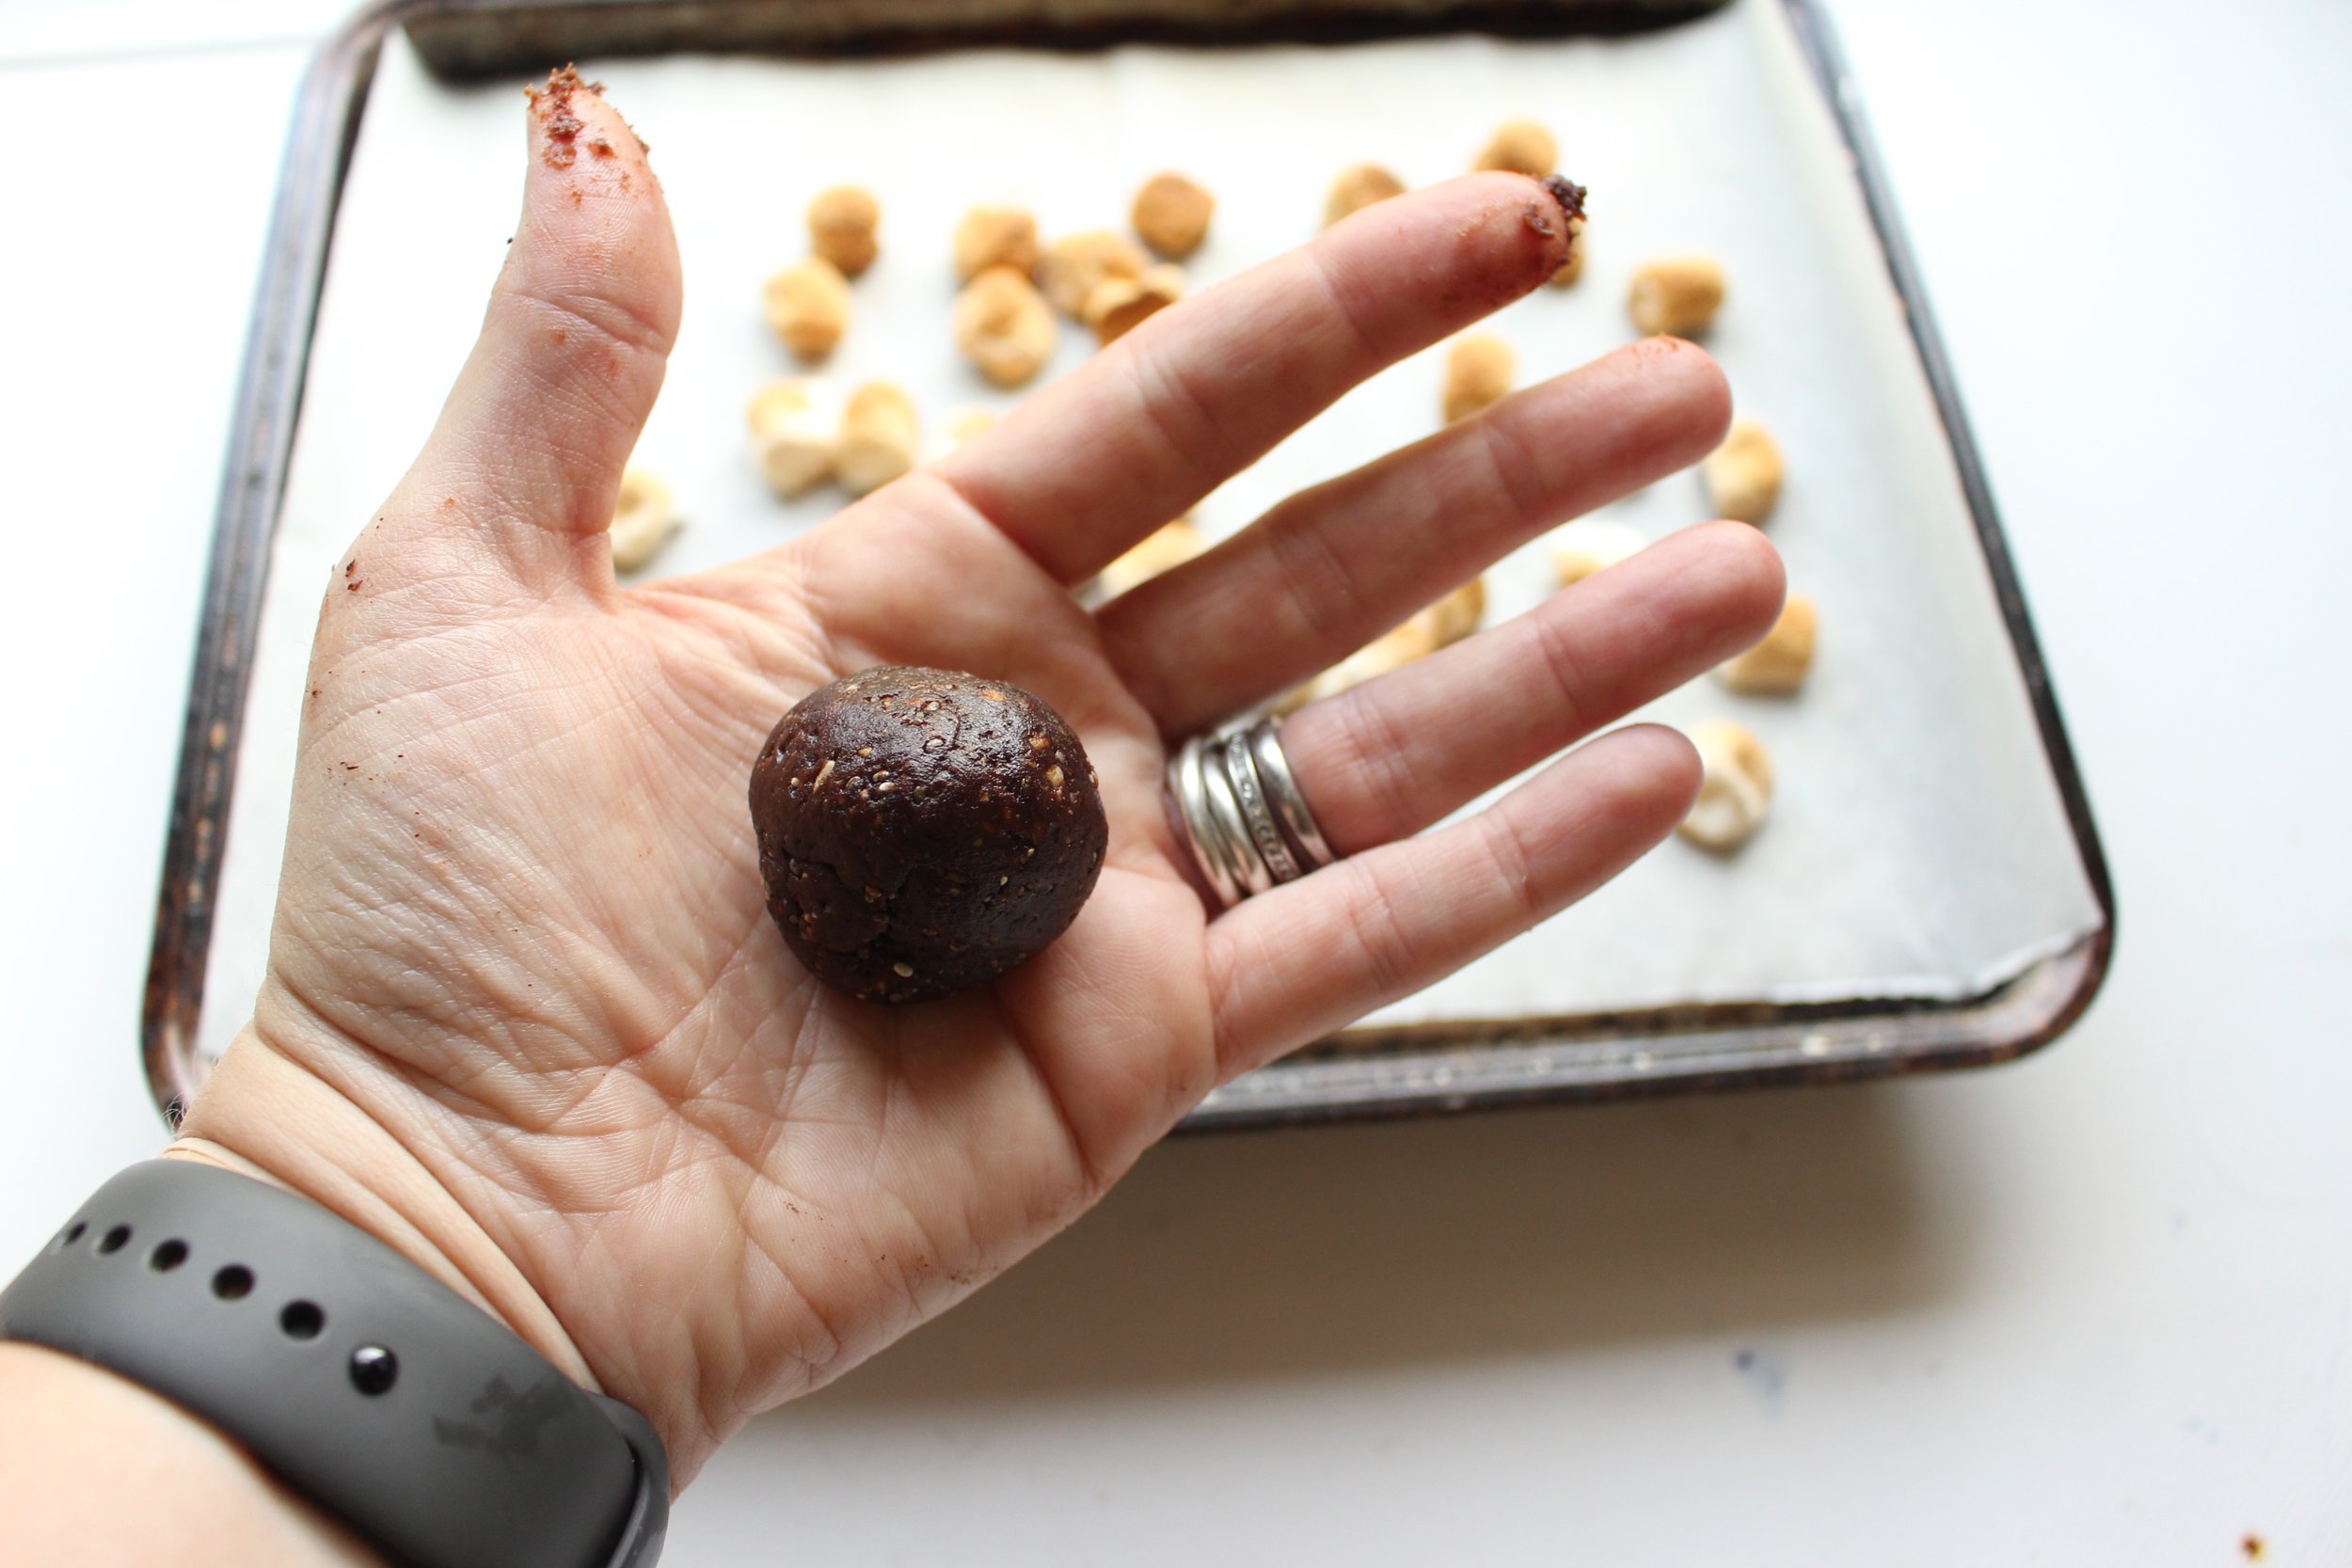
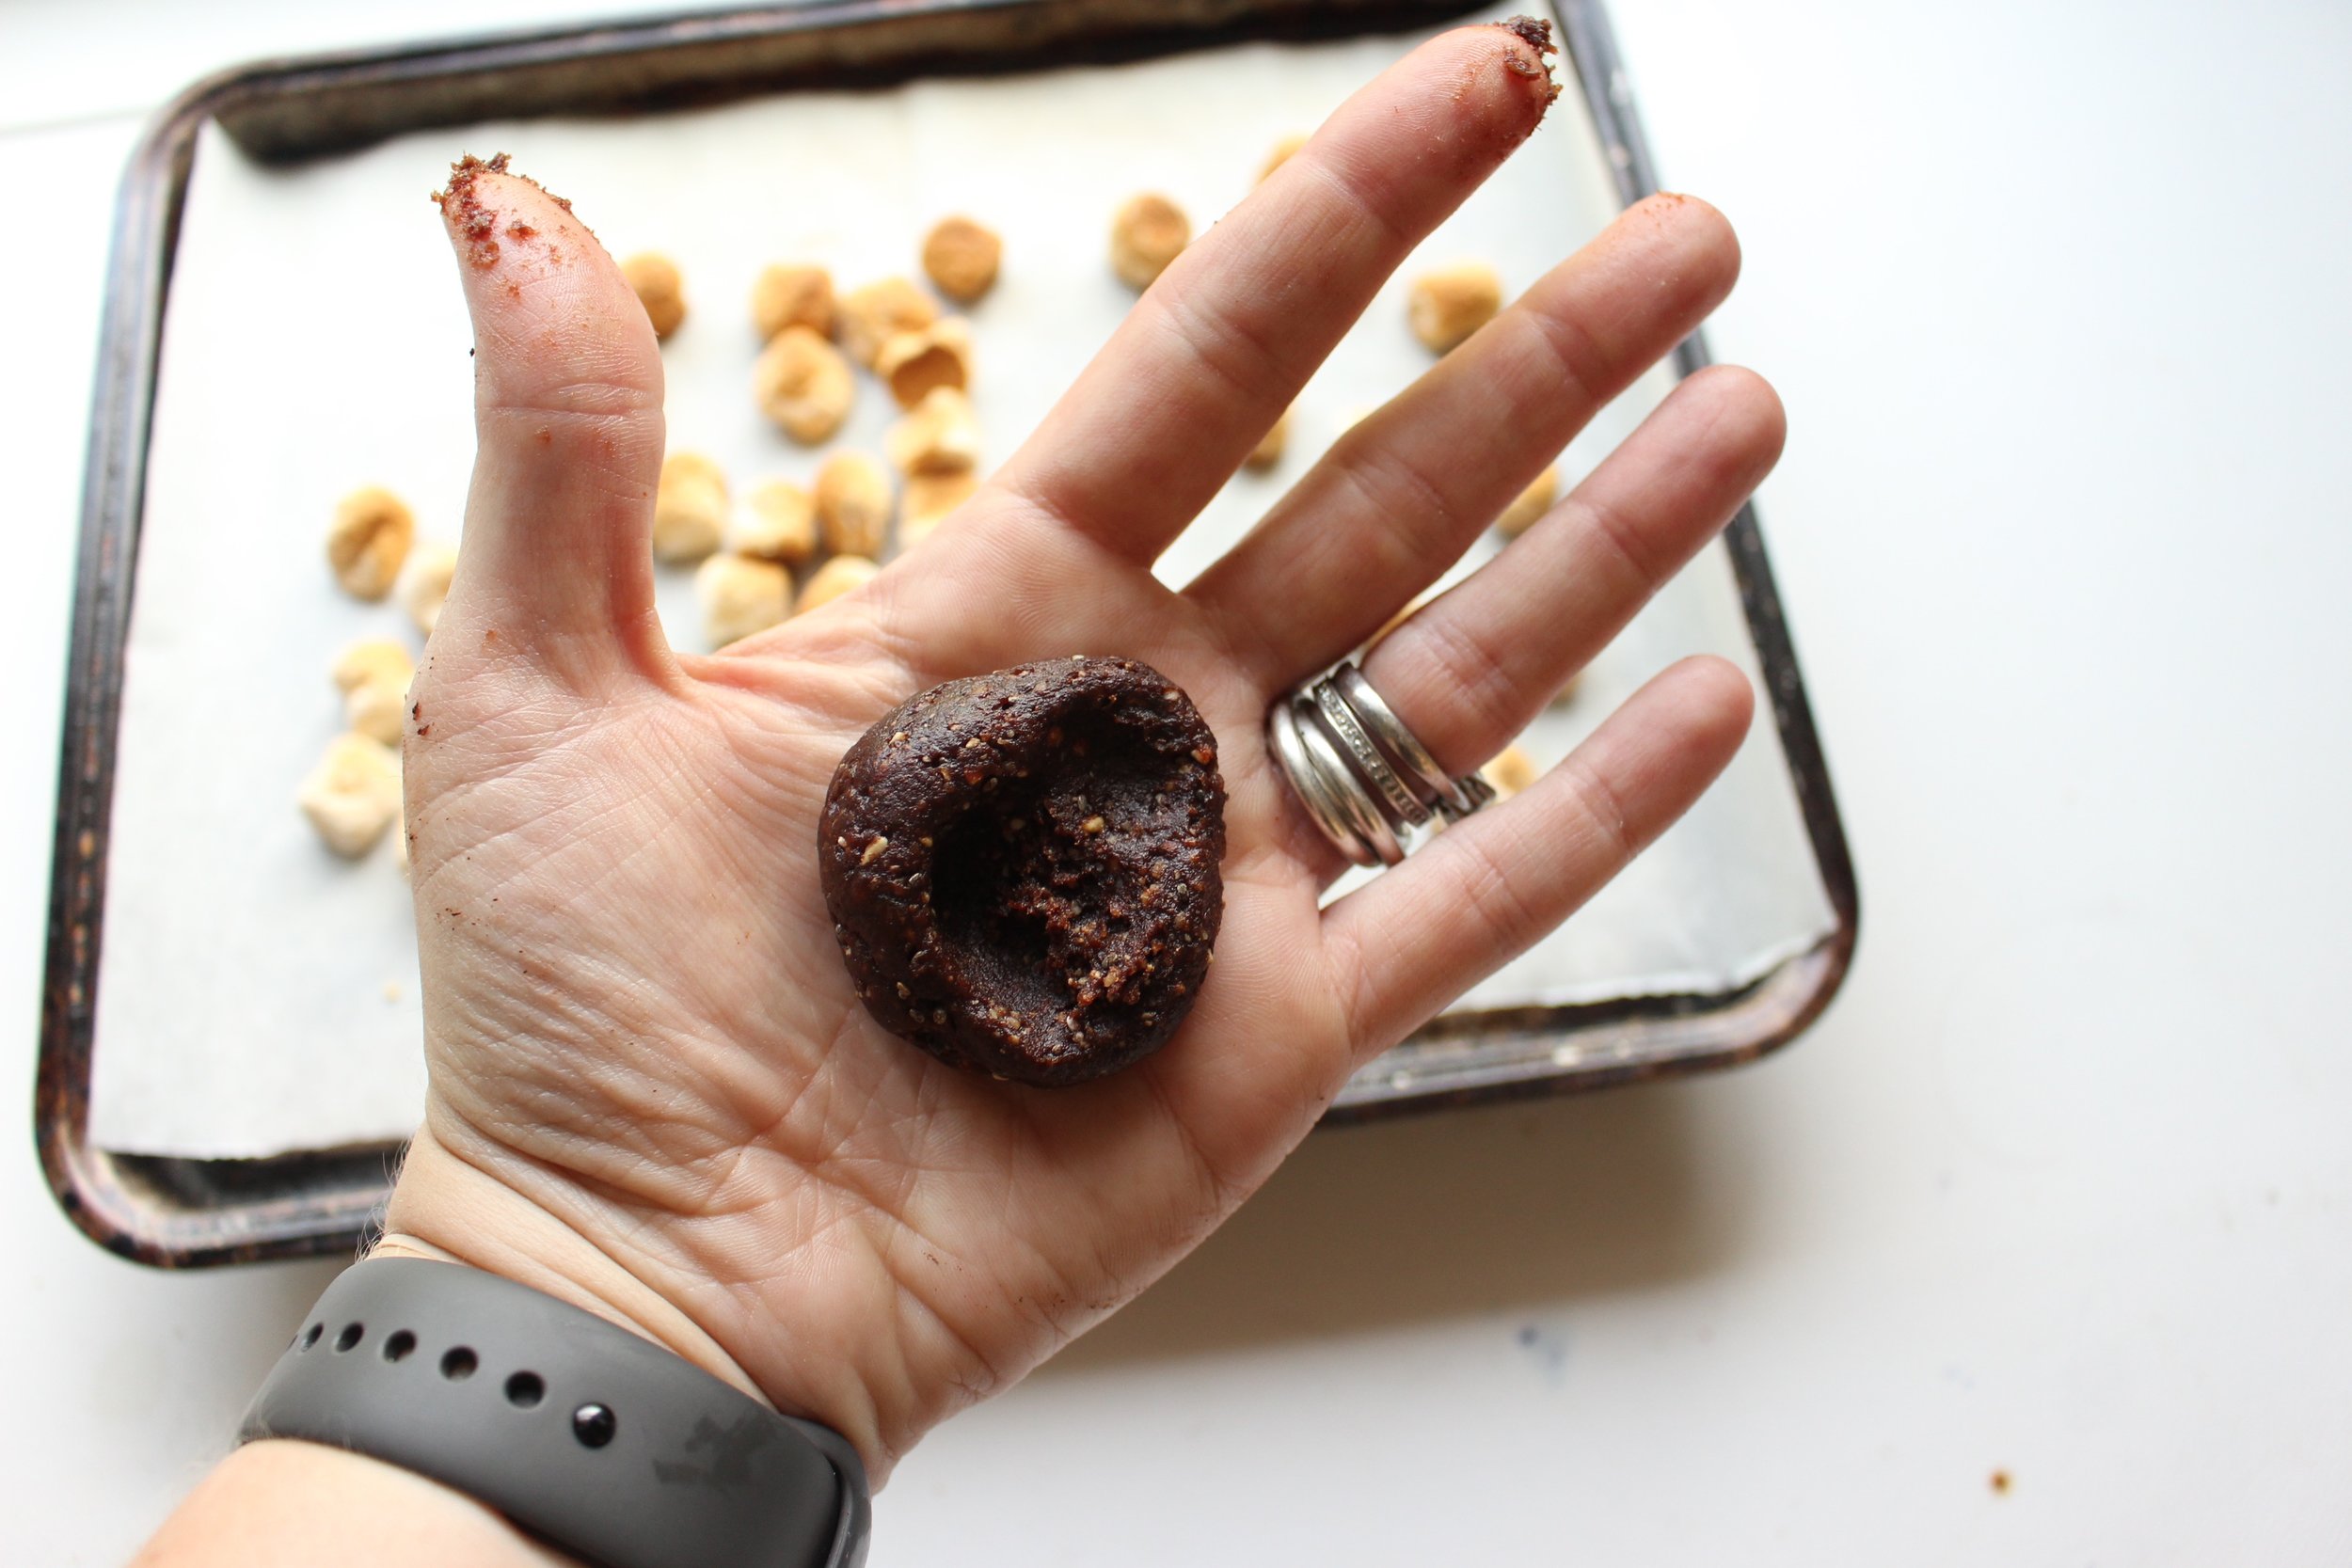
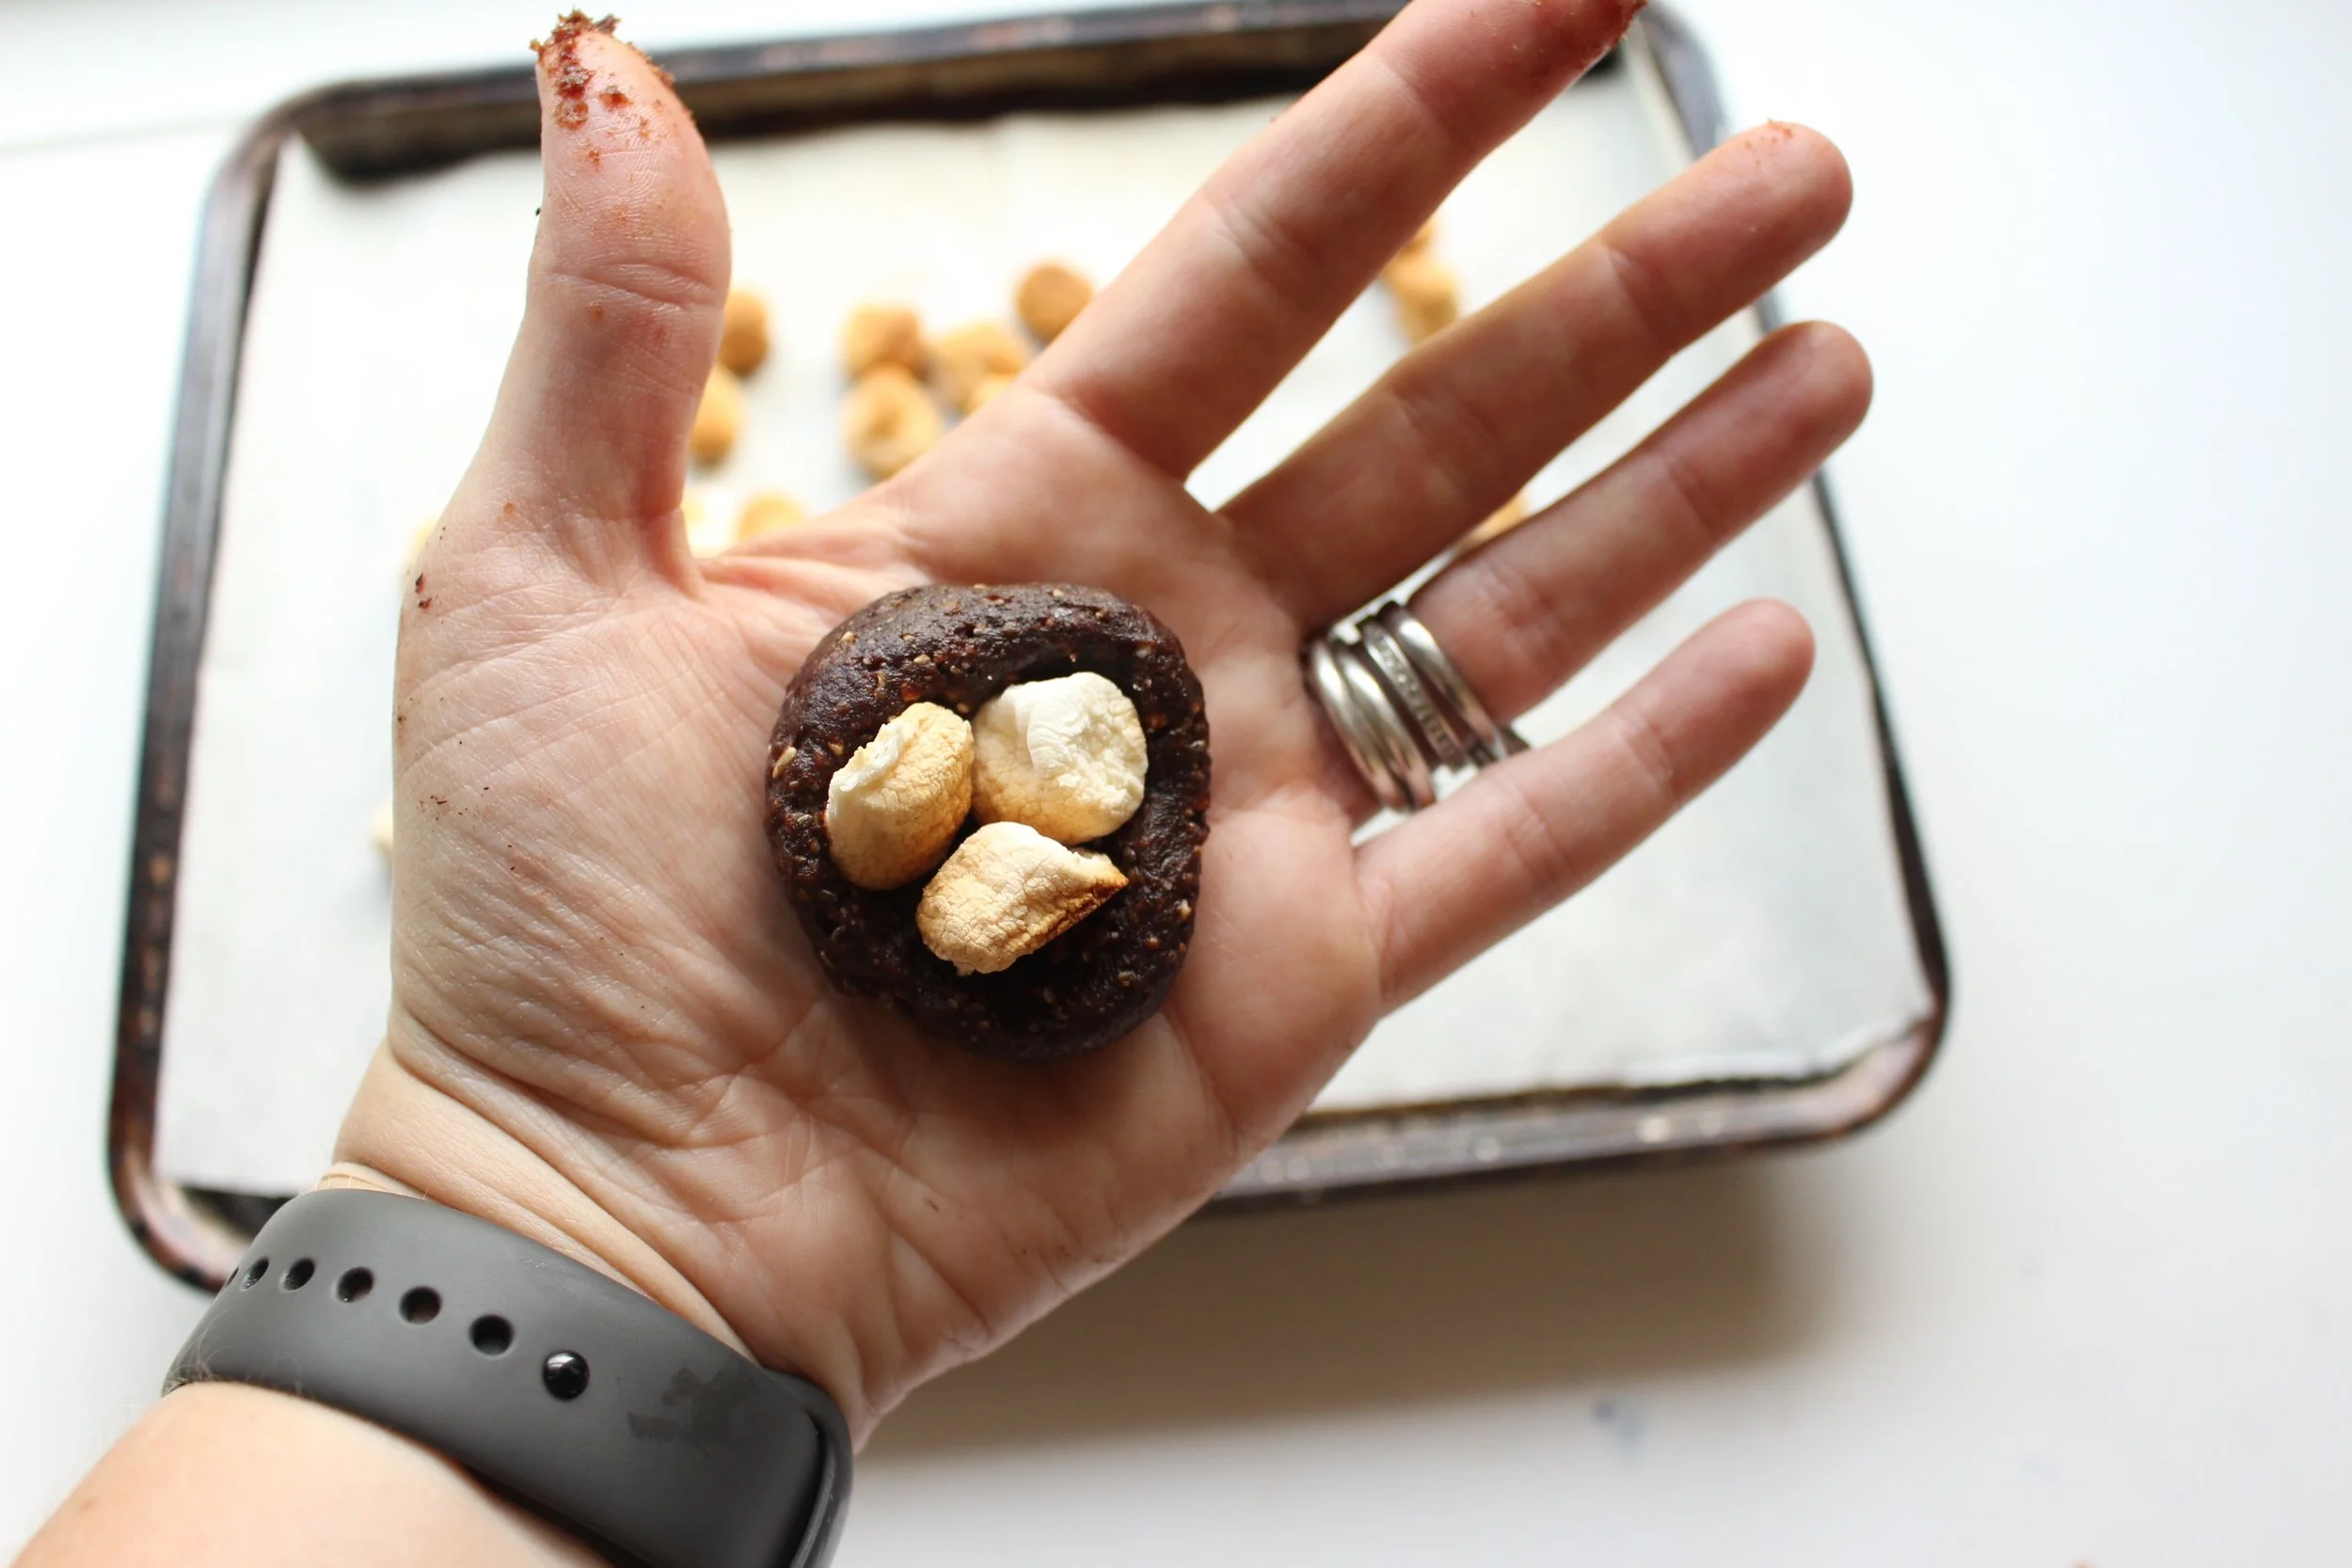
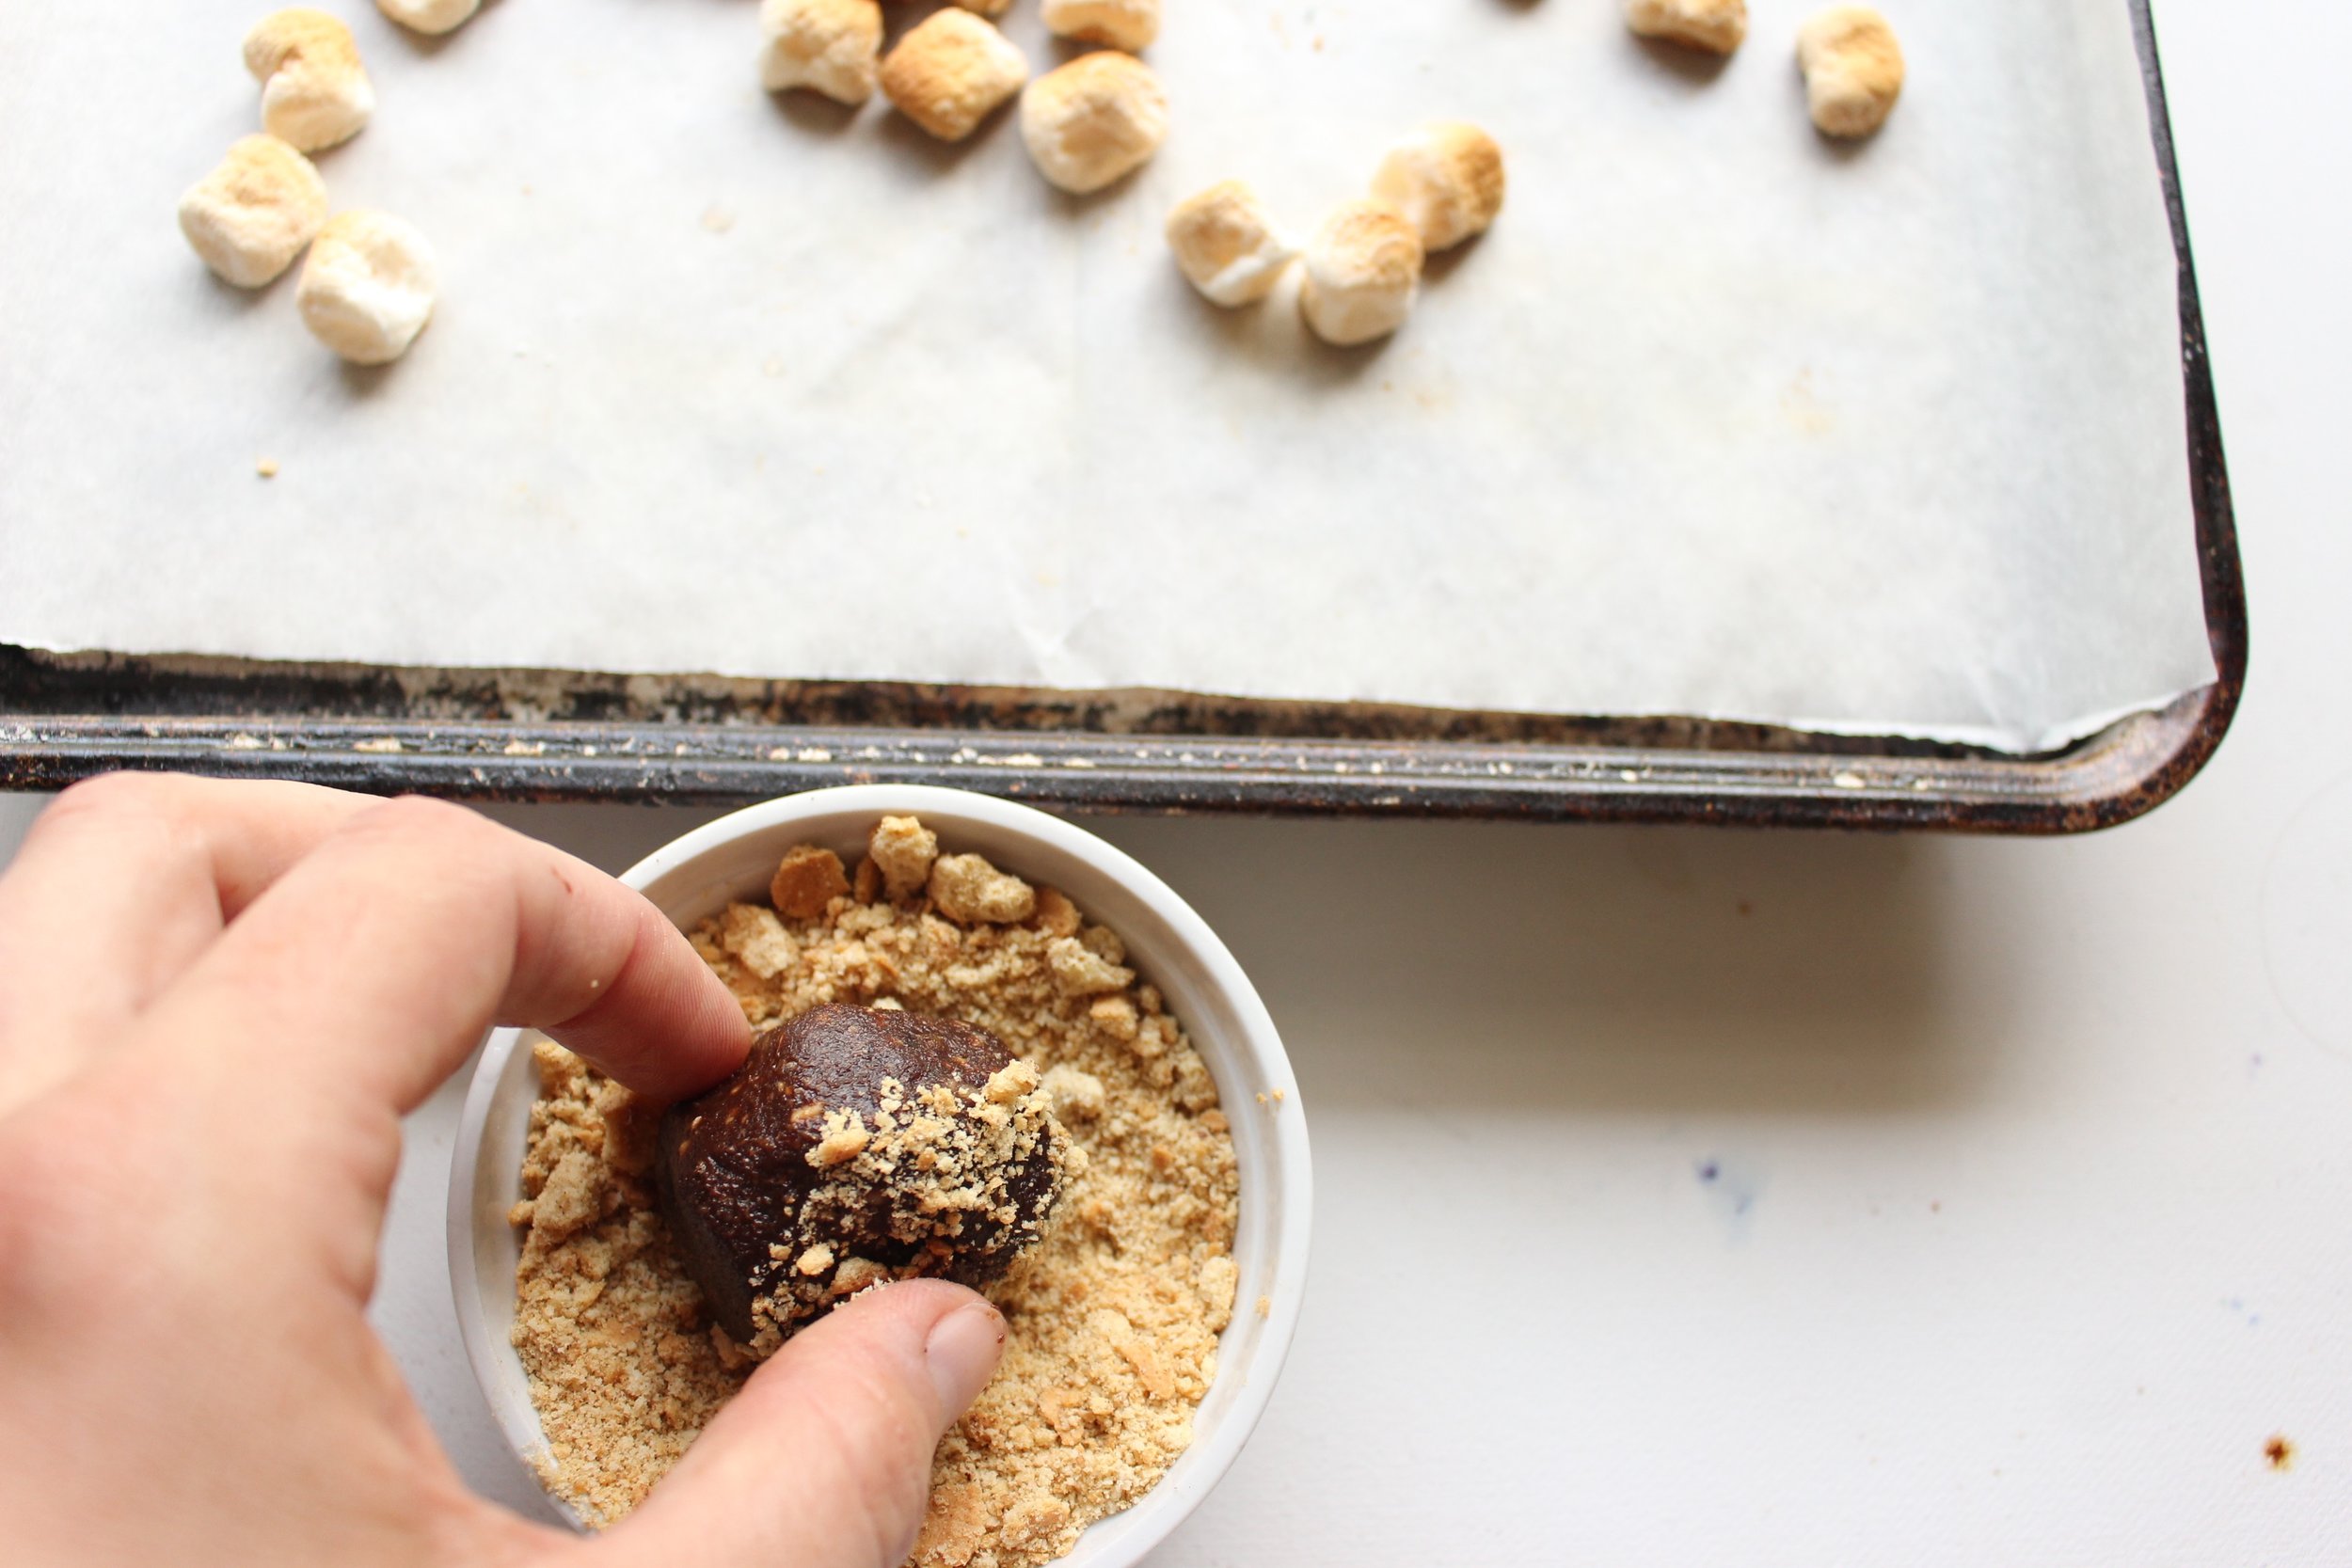
But, since it's summer and who doesn't want a s'more or something a little special, I like to stick some lightly toasted marshmallows in the middle and coat the outside in graham cracker crumbs. A couple of easy swaps here make this free of gluten, dairy, nuts, eggs, and soy. (Look for soy-free marshmallows; gluten-free graham crackers; and, as I said before, swap the nuts for pumpkin or sunflower seeds.)
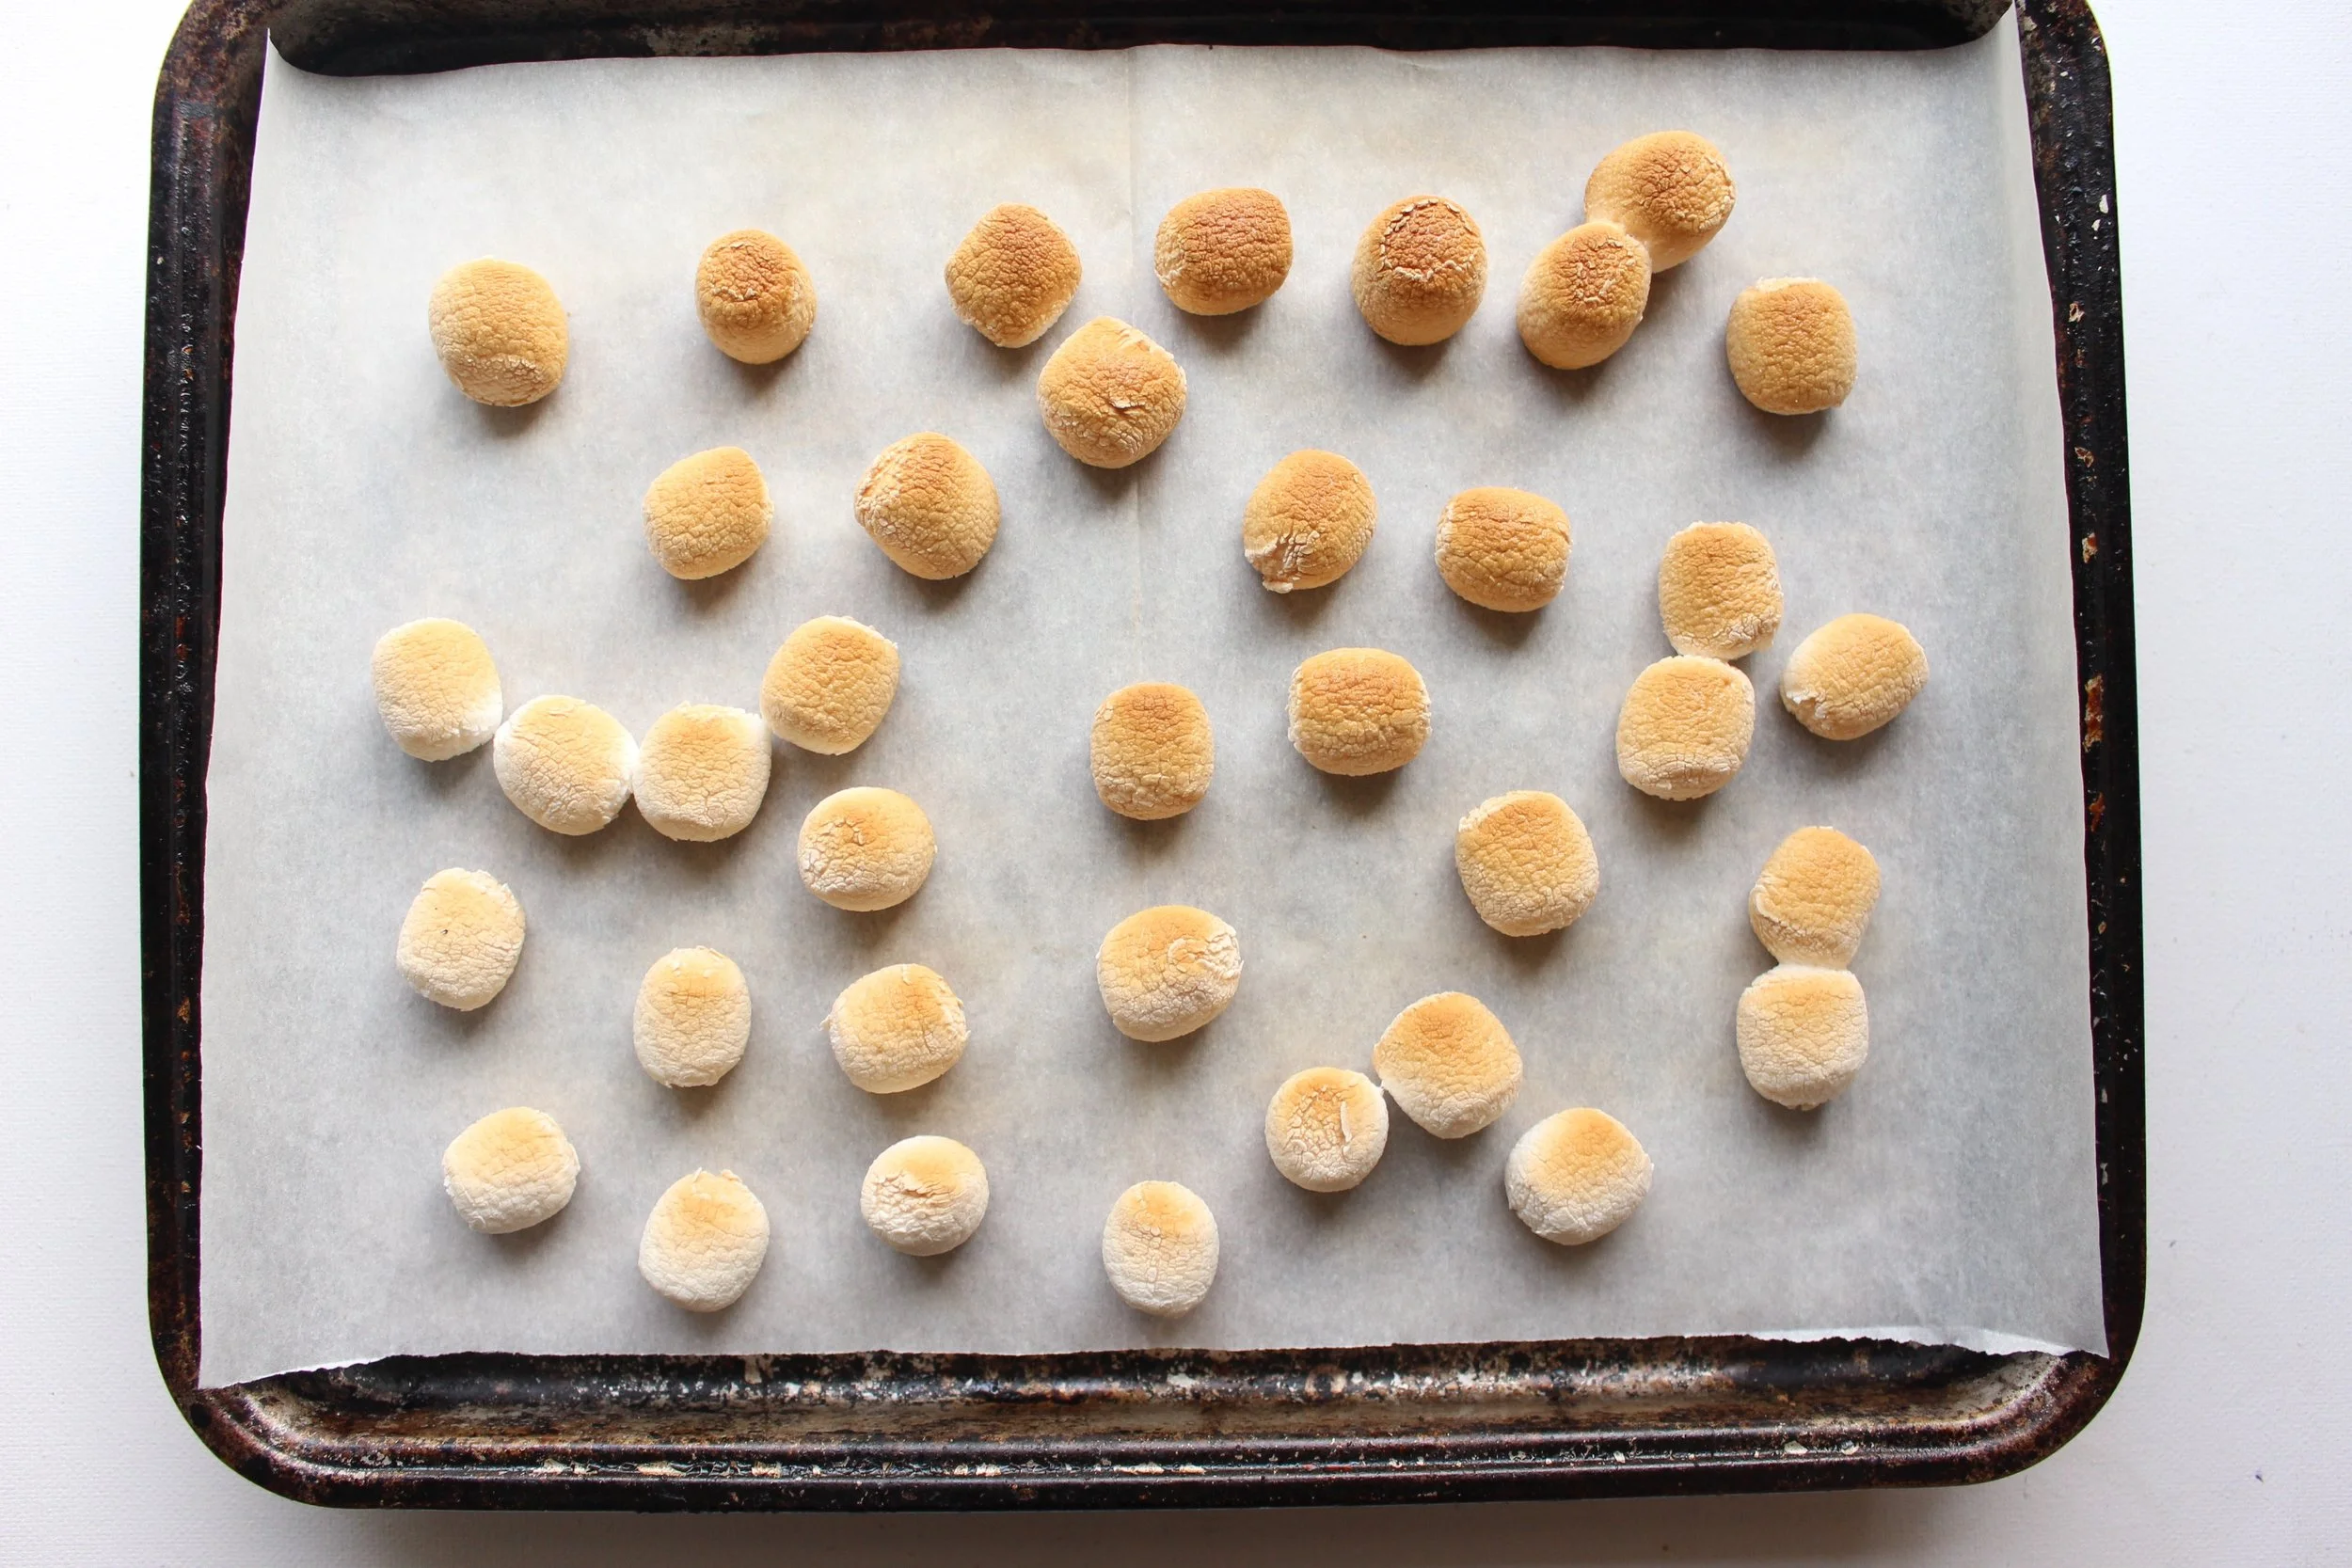
One note about the toasted marshmallows: Since they're so small, toasting them makes them a bit crunchy. You can absolutely use untoasted marshmallows to have that soft texture in the center, but to me, the taste of slightly burned sugar is more s'more-like. I also like a little bit of crunch in the middle of a soft energy ball anyway.
A note about the graham cracker coating: If you can, store the crushed graham crackers in an air-tight container and roll the balls right before eating. Otherwise, the crumbs can get soft.
So many texture issues!
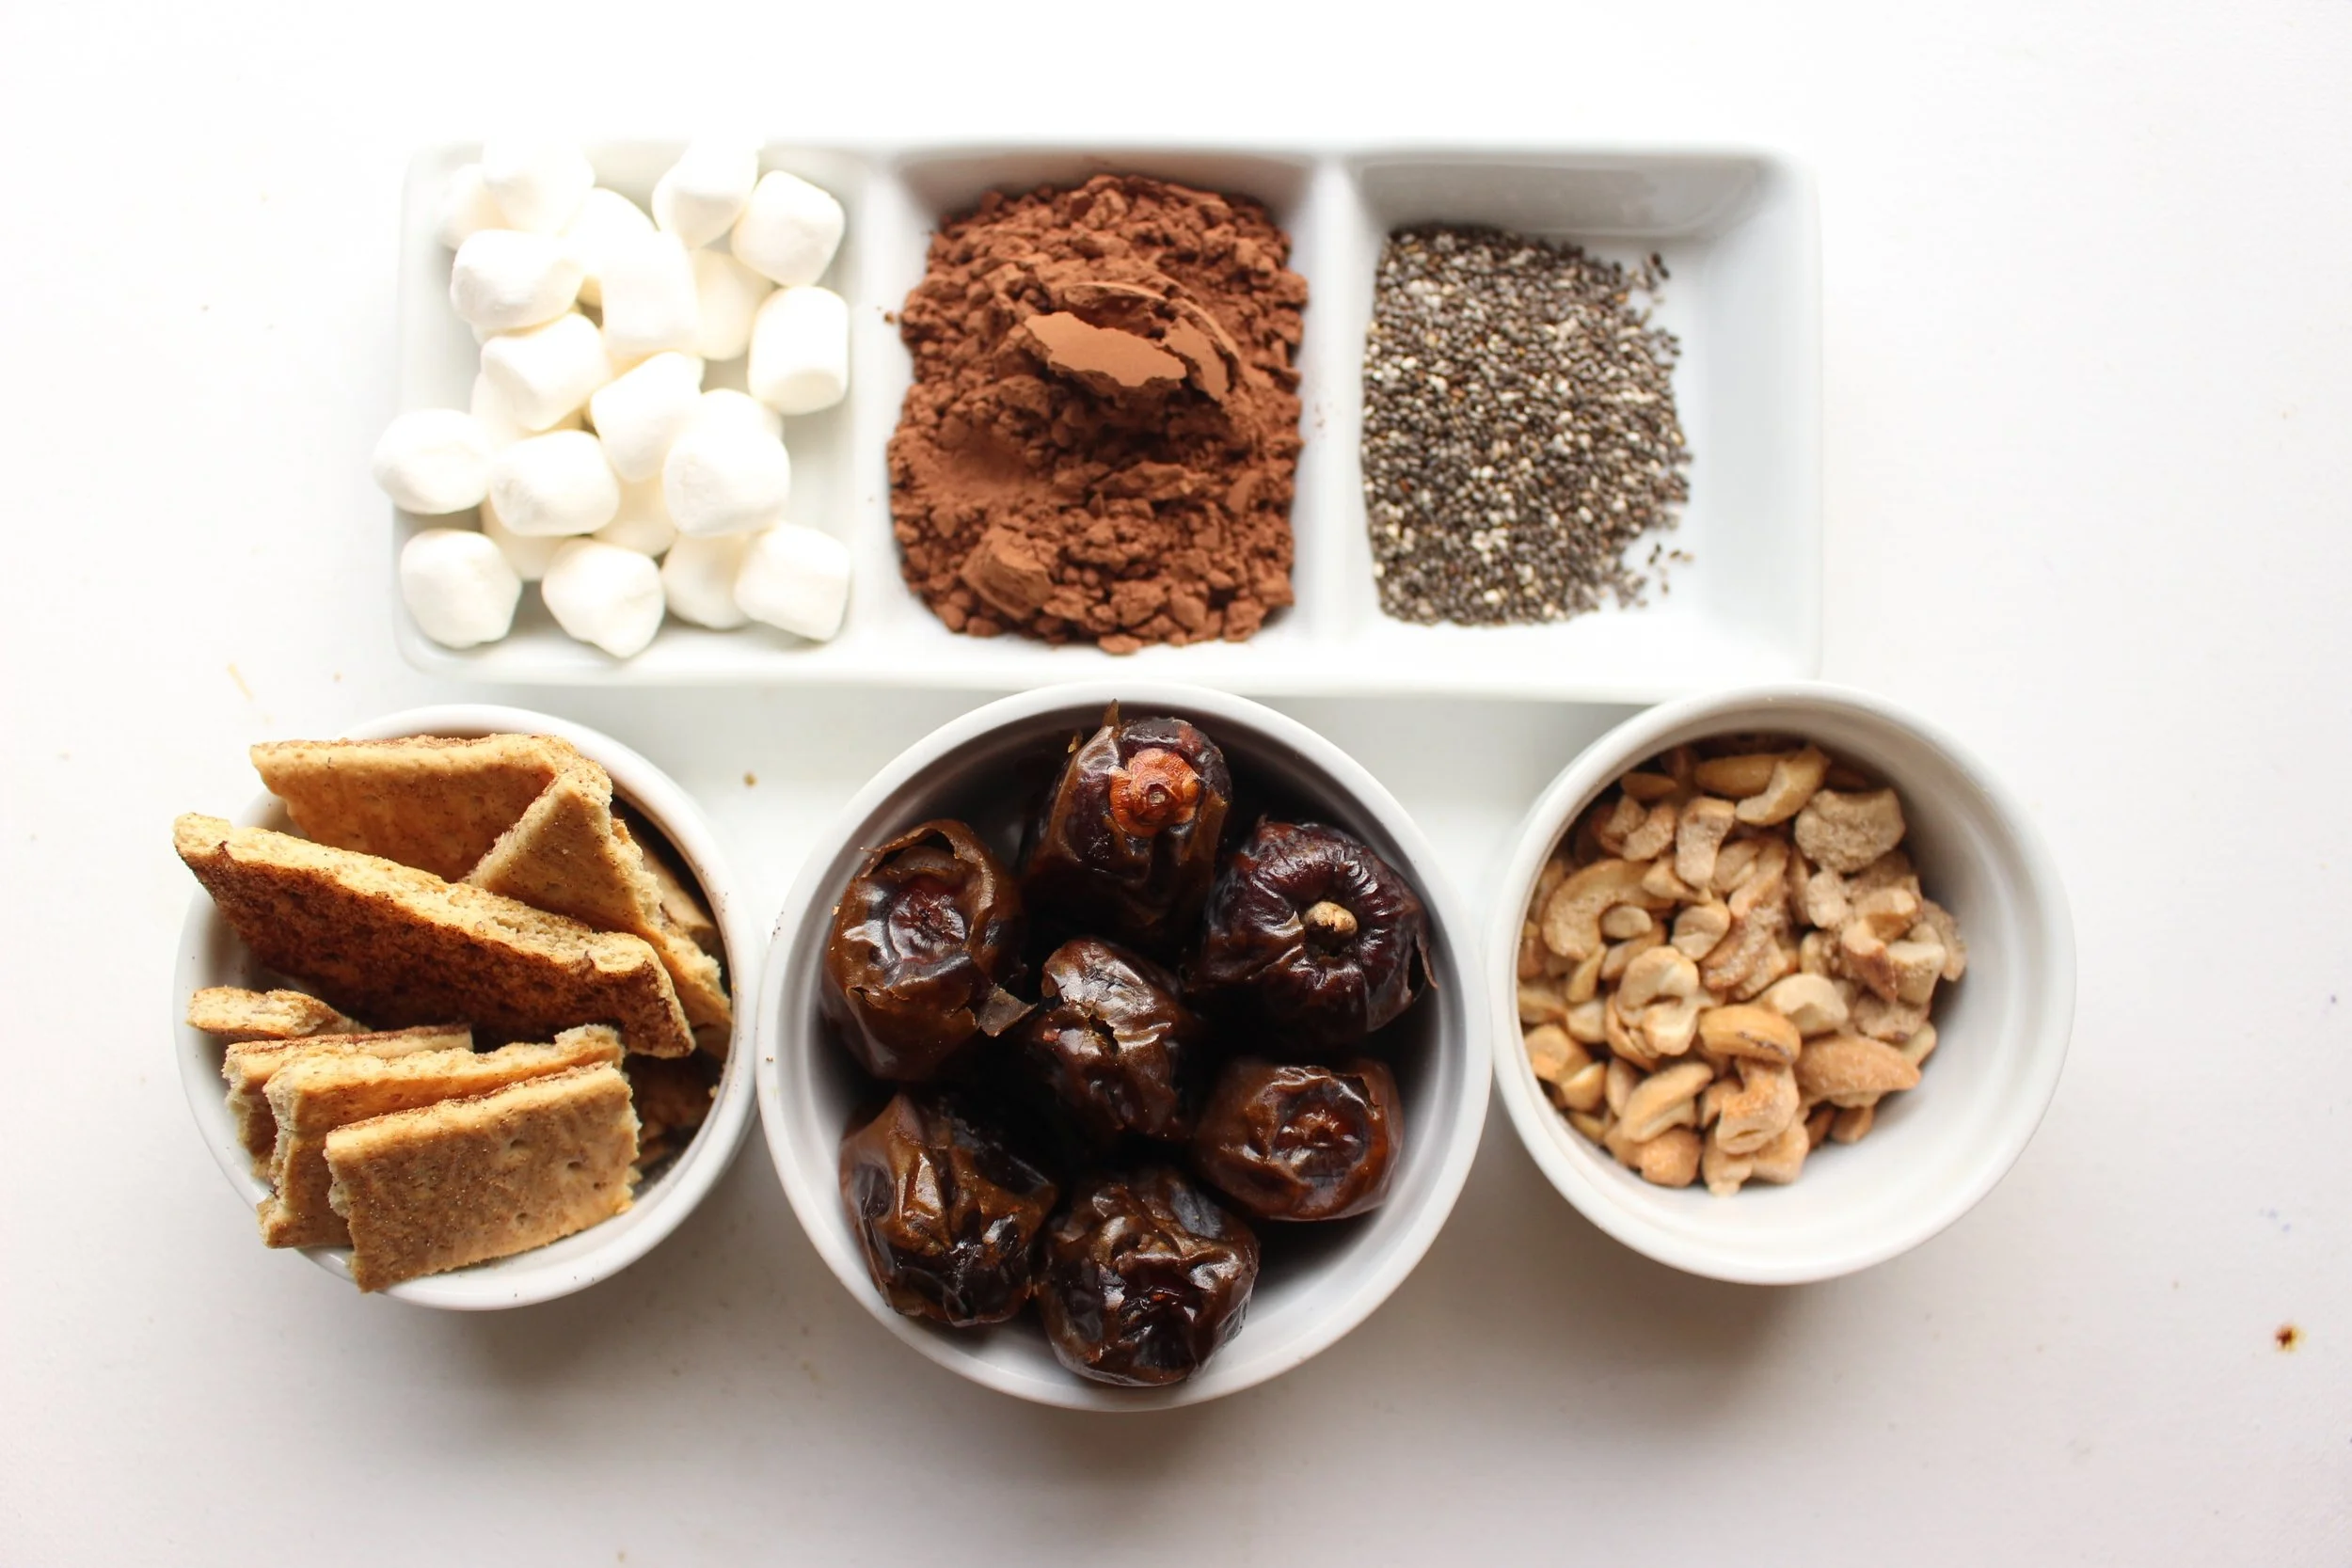
S'mores energy balls
12 medjool dates
½ cup cashews (I like to use roasted, lightly salted cashews)
2-3 Tbsp cocoa powder (depending on how chocolate-y you like things)
2-3 tsp water
1 tbsp chia seeds
Pinch of kosher salt
15 mini marshmallows
5 graham crackers
Pit the dates and place them in a large food processor. Add the cashews (or seeds, if using), cocoa powder, chia seeds, and 2 teaspoons of water. Blend until the mixture starts to form a large ball, about 3-4 minutes. If your mixture won't come together in a large ball with the machine running, add the final teaspoon and blend until you have a large ball.
On a parchment-lined baking sheet, place your mini marshmallows so that none are touching. Toast them in an oven or toasted oven heated to 400 for about 1-2 minutes. The regular oven will toast the marshmallows very quickly, so watch them like a hawk. You can even leave the door open slightly to make sure that the marshmallows don’t burn too quickly. The toaster oven is somewhat easier to control, but you still have to watch the marshmallows very closely.
Place the graham crackers into a large bag and crush them with your hands, a rolling pin, or a heavy can.
To make the balls, measure out a slightly heaping tablespoon of the date and chocolate mixture. With wet hands, roll the mixture into a ball. Make a large hole in the center and add three toasted marshmallows. Fold the mixture over the marshmallows and roll into a ball again.
Roll each ball in the crushed graham crackers.
Yield: 10 energy balls
Lemon basil ricotta cake
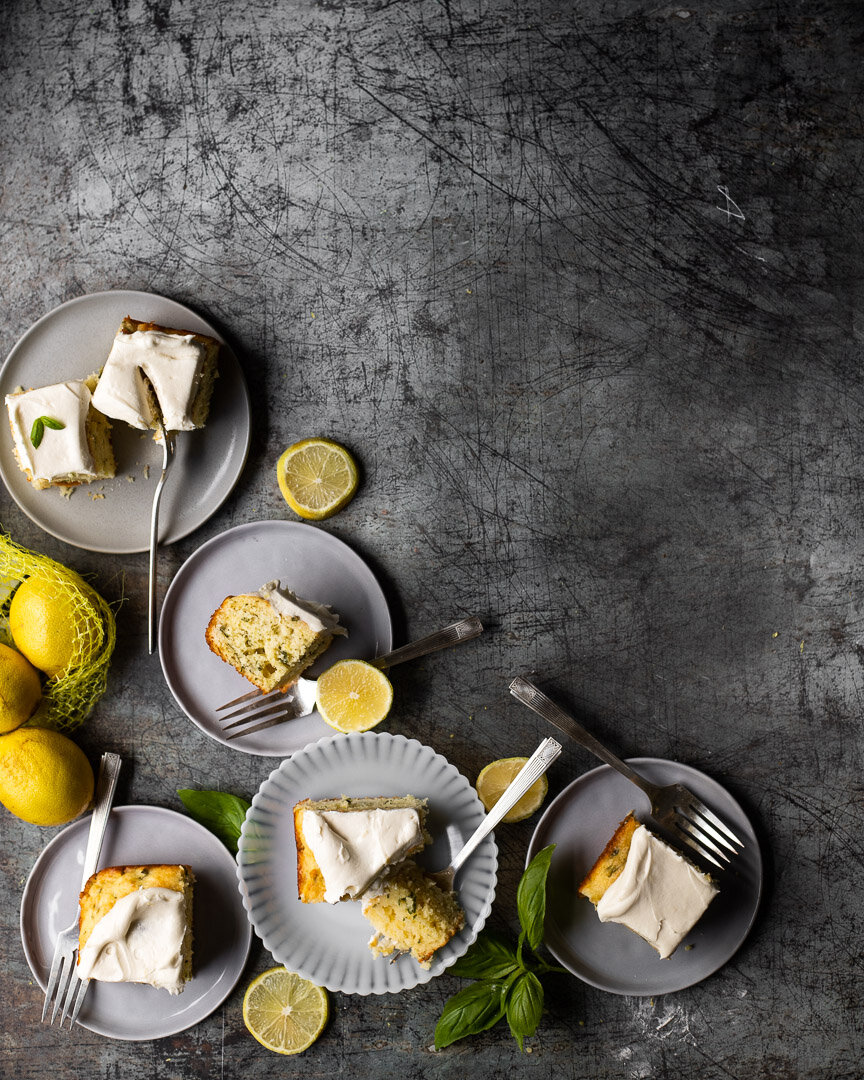
Bright, zingy lemon and herby, green basil make a perfect pair in this lightly sweet cake that’s easy, quick, and refreshing. #meandthemoose #lemoncake #basil #lemonbasil #cakerecipe #weeknightcake
You may find the idea of turning on the oven insulting given that the weather is so unbelievably hot and humid. But hear me out: This cake requires one bowl and less than 30 minutes in the oven. AND is chock-a-block with sweet, tangy, summery flavor. A weeknight cake if there ever was one.
Bright, zingy lemon and herby, green basil make a perfect pair in this lightly sweet cake that’s easy, quick, and refreshing. #meandthemoose #lemoncake #basil #lemonbasil #cakerecipe #weeknightcake
Bright, zingy lemon and herby, green basil make a perfect pair in this lightly sweet cake that’s easy, quick, and refreshing. #meandthemoose #lemoncake #basil #lemonbasil #cakerecipe #weeknightcake
One of my favorite things about finally having a yard is growing our own herbs. And we can't keep up with how fast the basil grows. It's a good thing I L.O.V.E. pesto. And we've definitely been throwing a handful of basil into just about everything, including our cakes.
Speaking of basil, this recipe calls for a PACKED 1/4 cup, which is a fair amount of basil:
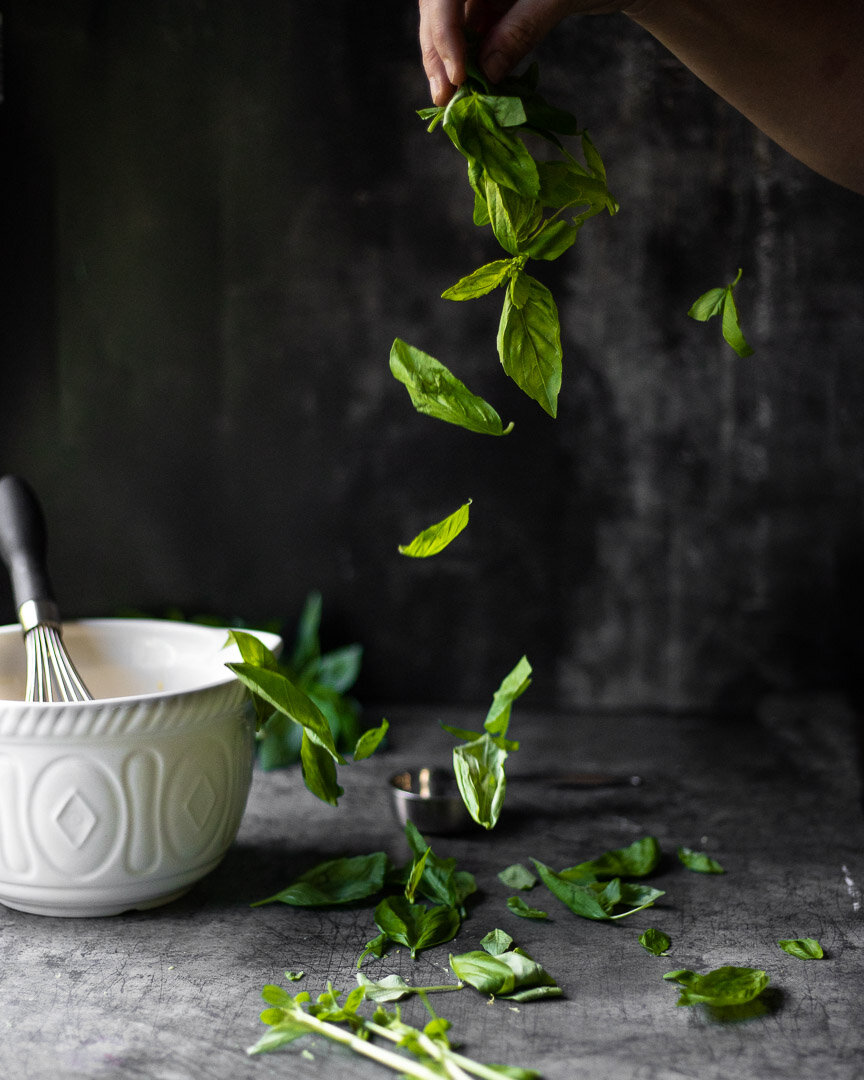
Bright, zingy lemon and herby, green basil make a perfect pair in this lightly sweet cake that’s easy, quick, and refreshing. #meandthemoose #lemoncake #basil #lemonbasil #cakerecipe #weeknightcake
See?
I didn't “healthify” this recipe at all, but I did use the smallest amount of sugar possible in the batter to have a sweet cake without it being cloyingly so. Not for nothing, there's another 3/4 cup of confectioner's sugar in the glaze (and more if you add the optional cream cheese frosting), so this baby doesn't want for sweetness.
It took some tinkering to figure out the right amounts of basil and lemon to impart a strong flavor without turning the cake bitter (too much basil) or sour (too much lemon). In the end, the basil is a background herby note that plays really well with the bright lemon flavor.
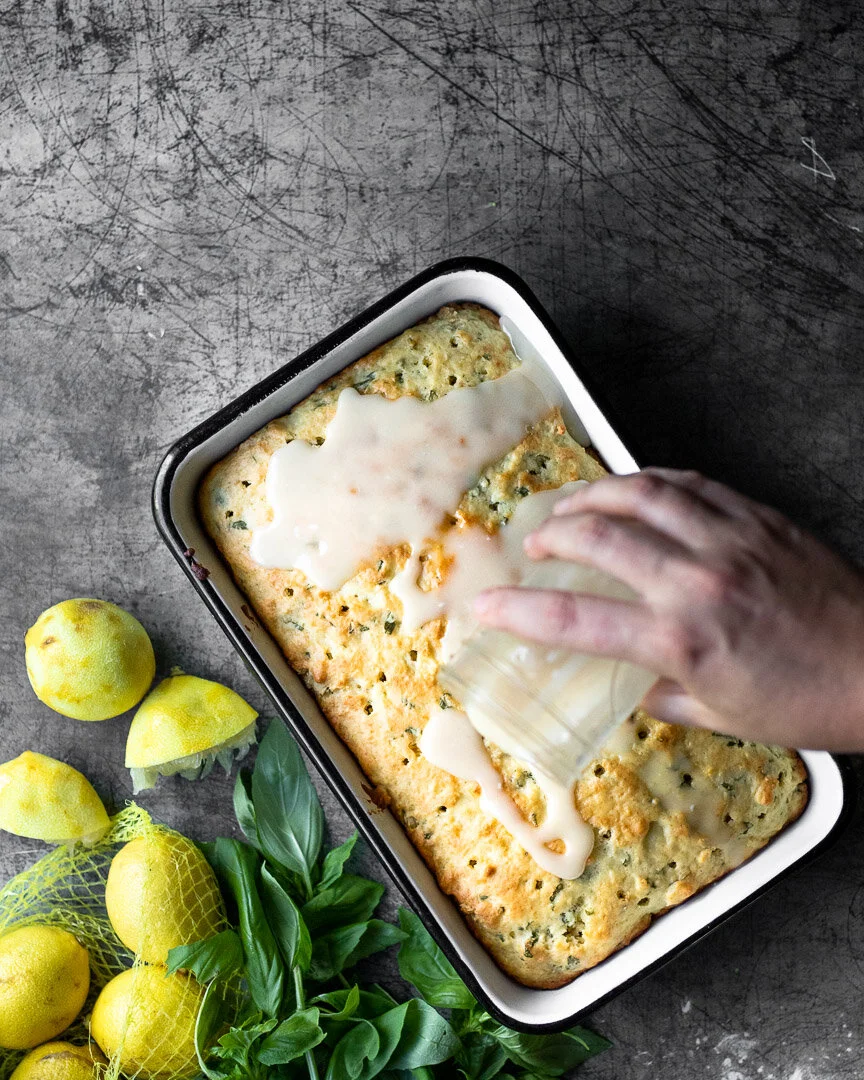
Bright, zingy lemon and herby, green basil make a perfect pair in this lightly sweet cake that’s easy, quick, and refreshing. #meandthemoose #lemoncake #basil #lemonbasil #cakerecipe #weeknightcake
And ricotta! I adapted this recipe from the famous French yogurt cake and the textures are very similar. I think the ricotta makes the cake ever-so-slightly more dense and a little more savory. However, I’ve used yogurt in a pinch when I was out of ricotta and it works perfectly as well.
A quick note: I’ve cooked this cake in all kinds of vessels. The recipe gives directions for a 9” round cake pan, but I’ve also cooked it as a loaf cake, in an 8x8 brownie pan, and in a vintage 10x8 pan (pictured). The shortest cooking time was 20 minutes and the longest was about 30 minutes (for the thicker loaf). Start checking at about 20 minutes, regardless of which vessel you choose.
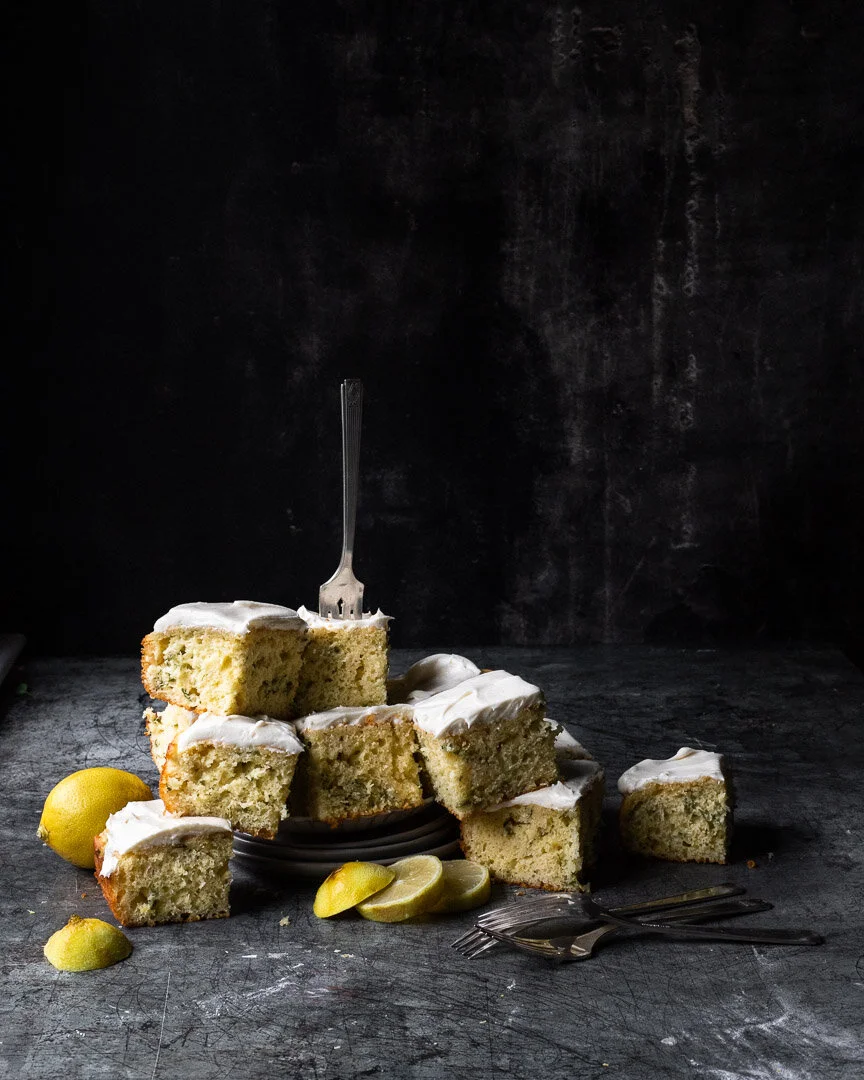
Bright, zingy lemon and herby, green basil make a perfect pair in this lightly sweet cake that’s easy, quick, and refreshing. #meandthemoose #lemoncake #basil #lemonbasil #cakerecipe #weeknightcake
Lemon basil ricotta cake
Time: About 45-55 with prep, mixing, baking, and glazing; more to cool and frost, if desired
Yield: About 8-10 servings
2 eggs
1 cup ricotta (I've had equal success with part-skim and whole; you can also use greek yogurt)
1/2 cup sugar
¼ cup olive oil
1 teaspoon vanilla
2 Tbsp lemon zest (zest of two extra-large lemons)
¼ cup basil (packed!), minced
2 cups all-purpose flour
1 ½ tsp baking powder
½ tsp baking soda
¼ tsp salt
For the glaze:
¾ cup confectioner’s sugar
¼ cup of lemon juice (juice of 1 very large lemon)
For the cream cheese frosting (optional):
1/2 cup (1 stick) butter, room temperature
8 oz (1 block) cream cheese, room temperature
1 1/2 cups powdered sugar (plus more if you like a sweeter frosting)
1/2 tsp vanilla extract
1 Tbsp lemon zest (from 1 large lemon)
large pinch of salt
In a large bowl with a hand mixer or in the bowl of a stand mixer with the paddle attachment, mix together the butter and cream cheese on medium low speed until well mixed, about 3 minutes.
Add the powdered sugar a few Tbsp at a time and mix on low speed until just combined. Taste for sweetness and add more powdered sugar if desired.
Add the vanilla, lemon zest, and pinch of salt and turn the mixer (hand or stand) up to high and mix for about 5 minutes until the texture of the frosting has become slightly less dense.
*I’m very loosey goosey about my cream cheese frosting because I firmly believe that it’s the hardest frosting to mess up. It tastes amazing and the texture is creamy and smooth even if it hasn’t been mixed exactly the right amount. I also like my frosting less sweet, so you may want to add more sugar in the end.
Make the cake
Preheat the oven to 350. Lightly oil a 9-inch cake pan (see notes about other sized pans above)** and set aside.
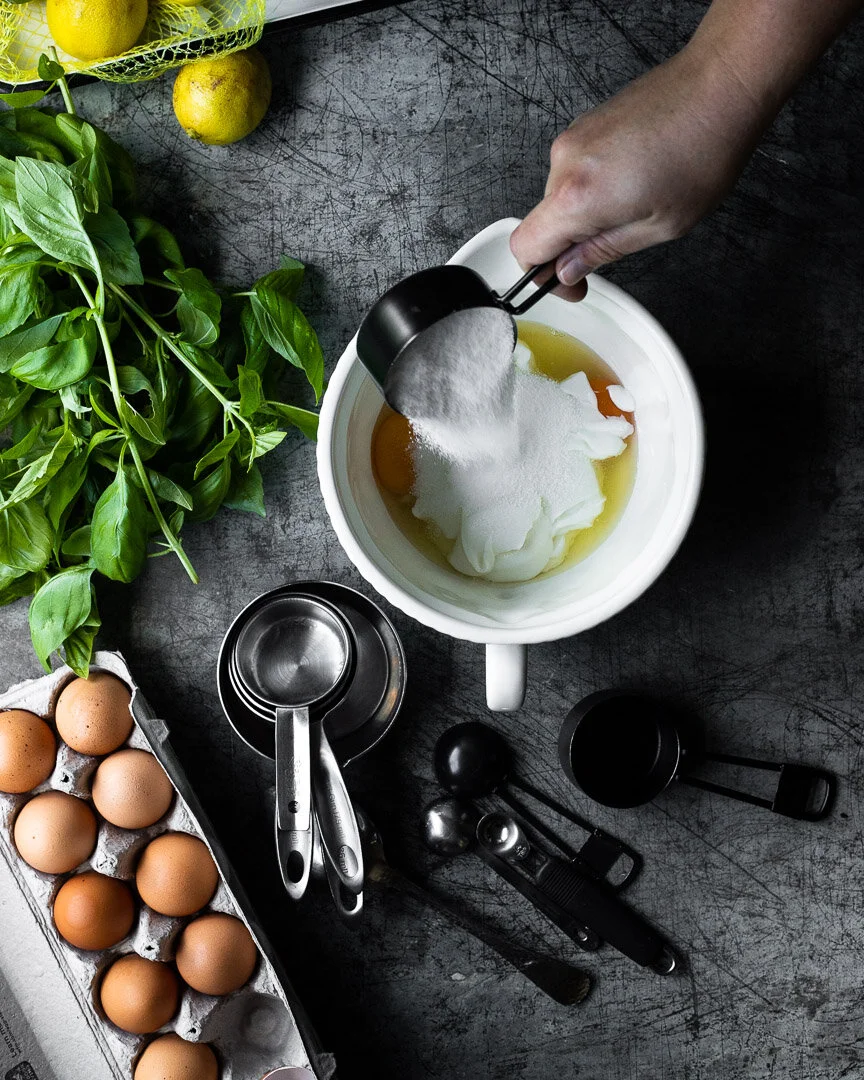
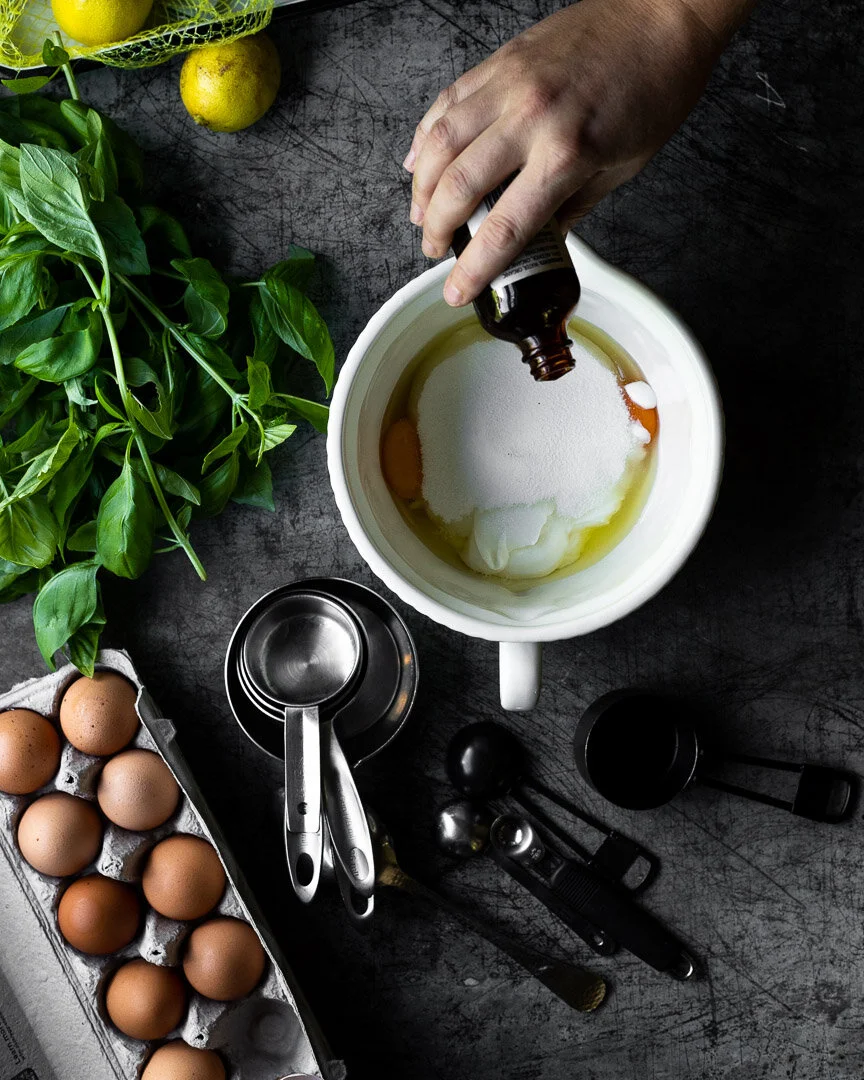
In a large bowl, combine the eggs, ricotta, sugar, olive oil, vanilla, lemon zest, and basil and mix well.
Add the dry ingredients and mix just until the wet and dry components are combined and no clumps of flour remain. The batter will be very thick.
Pour (or plop, as this is a thick batter) the mixture into your prepared pan and bake for 20-30 (again, see notes above for variation in cooking times)** minutes or until the top is golden and a toothpick inserted in the middle comes out clean. (We have a very hot oven, so yours may need more time, but check often to avoid overcooking.)
Let cool for about 5 minutes.
While the cake is cooling, make the glaze. Add the confectioner’s sugar to a medium bowl and slowly pour in the lemon juice, whisking constantly, until you’ve reached your desired consistency (a thin glaze soaks into the cake better, so use your judgment) .
Once the cake is slightly cooled, pour your glaze over the entire top, making sure that the liquid goes into the holes. I sometimes use a brush to coax the glaze into the holes, but this isn't strictly necessary.
Let cool completely in its baking dish.
Frost with the cream cheese frosting, if desired.