Clam pizza

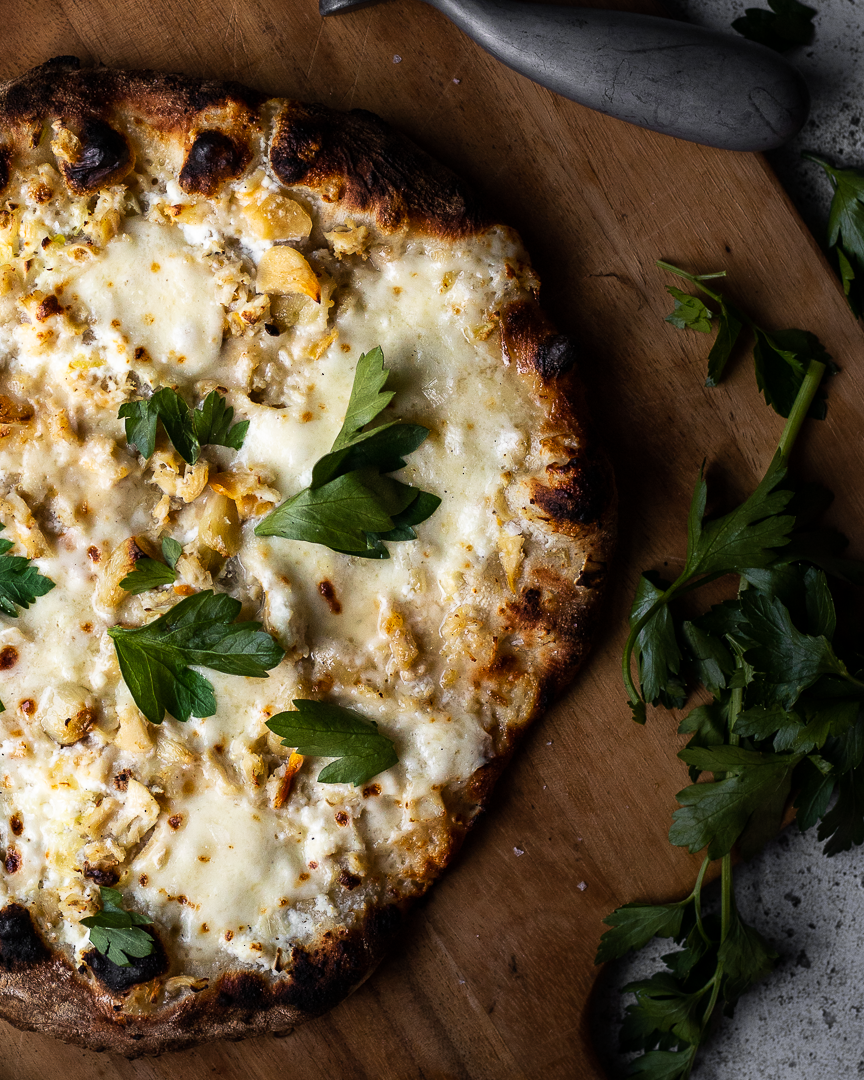
Clam Pizza | Me & The Moose Whether you use store-bough crust or make your own, cook it on a grill, in the oven, or in a pizza oven, this is my take on the clam pizza full of garlic, cheese, and briny clams. #meandthemoose #pizza #clampizza #homemadepizza
You need a pizza stone, a pizza peel, some ingredients, and the grill or your oven to make the briniest, garlickiest, cheesiest, and most unctuous clam pizza at home.
Clam Pizza | Me & The Moose Whether you use store-bough crust or make your own, cook it on a grill, in the oven, or in a pizza oven, this is my take on the clam pizza full of garlic, cheese, and briny clams. #meandthemoose #pizza #clampizza #homemadepizza
Clam pizza is such a Connecticut thing. I'm sure some would argue that it's also a New York thing, but I feel like Frank Pepe, the New Haven pizza institution, is best known for it's clam pizza, and thus, clam pizza is a Connecticut thing. That's my story and I'm sticking to it.
I first tried this briny, garlicky pie on a trip to Connecticut long before moving here myself. And I've been on a Goldilocksian journey to find the best one ever since. They have either been too salty, not garlicky enough, or without cheese, which is unacceptable to me when it comes to pizza. (Don't yell at me, people who think seafood and cheese should never mingle.)
Clam Pizza | Me & The Moose Whether you use store-bough crust or make your own, cook it on a grill, in the oven, or in a pizza oven, this is my take on the clam pizza full of garlic, cheese, and briny clams. #meandthemoose #pizza #clampizza #homemadepizza
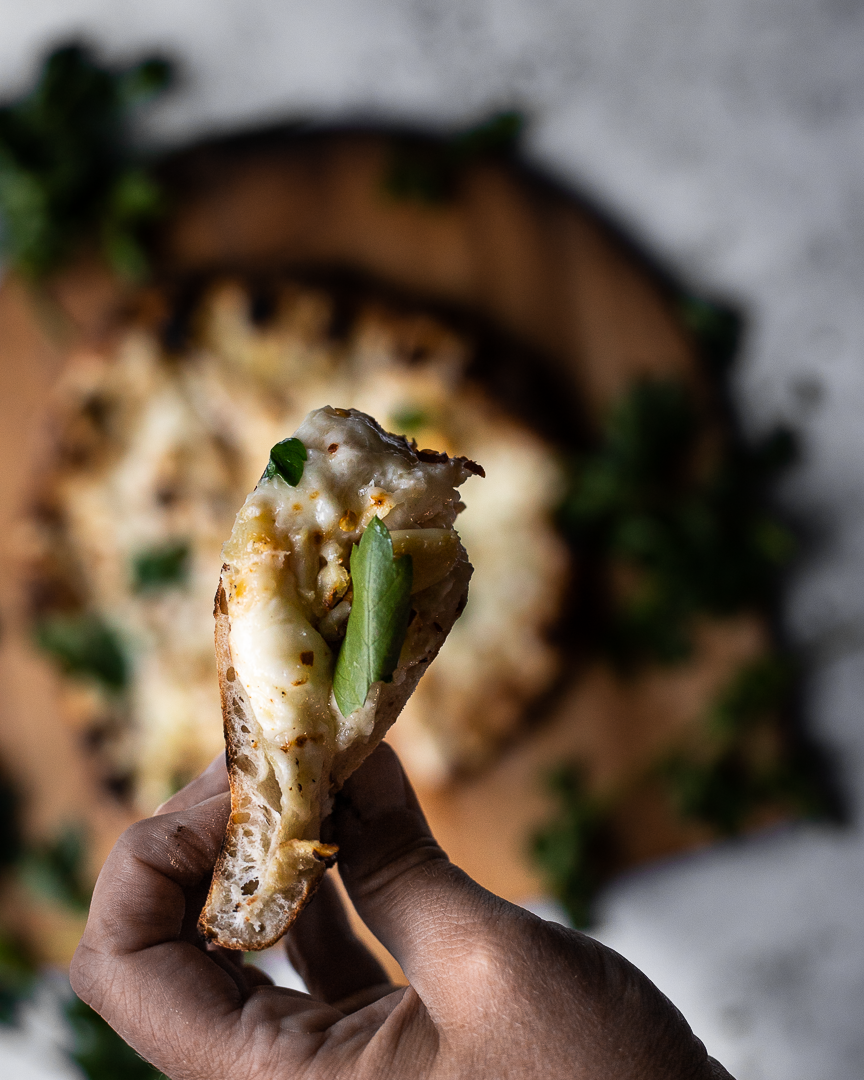
We have not yet found our favorite (sorry, Pepe's), but instead have been making our favorite. Full of three different kinds of cheese and two different kinds of garlic, this pizza tastes like clams and tastes like a proper pizza, but also SO MUCH MORE.
I cook this pie using a hot pizza stone on the grill because a) not everyone has a grill, so you can easily recreate this in an oven with the pizza stone (see directions in the recipe); and b) because I've never grilled my pizza directly on the grill grates. If you're braver than I am, here are some instructions for that method.
We’ve also recently started using our Ooni pizza oven (not an ad, we just love it!) to cook this CT classic and the smokiness of the wood-fired oven takes the flavors to another level.
A couple of notes:
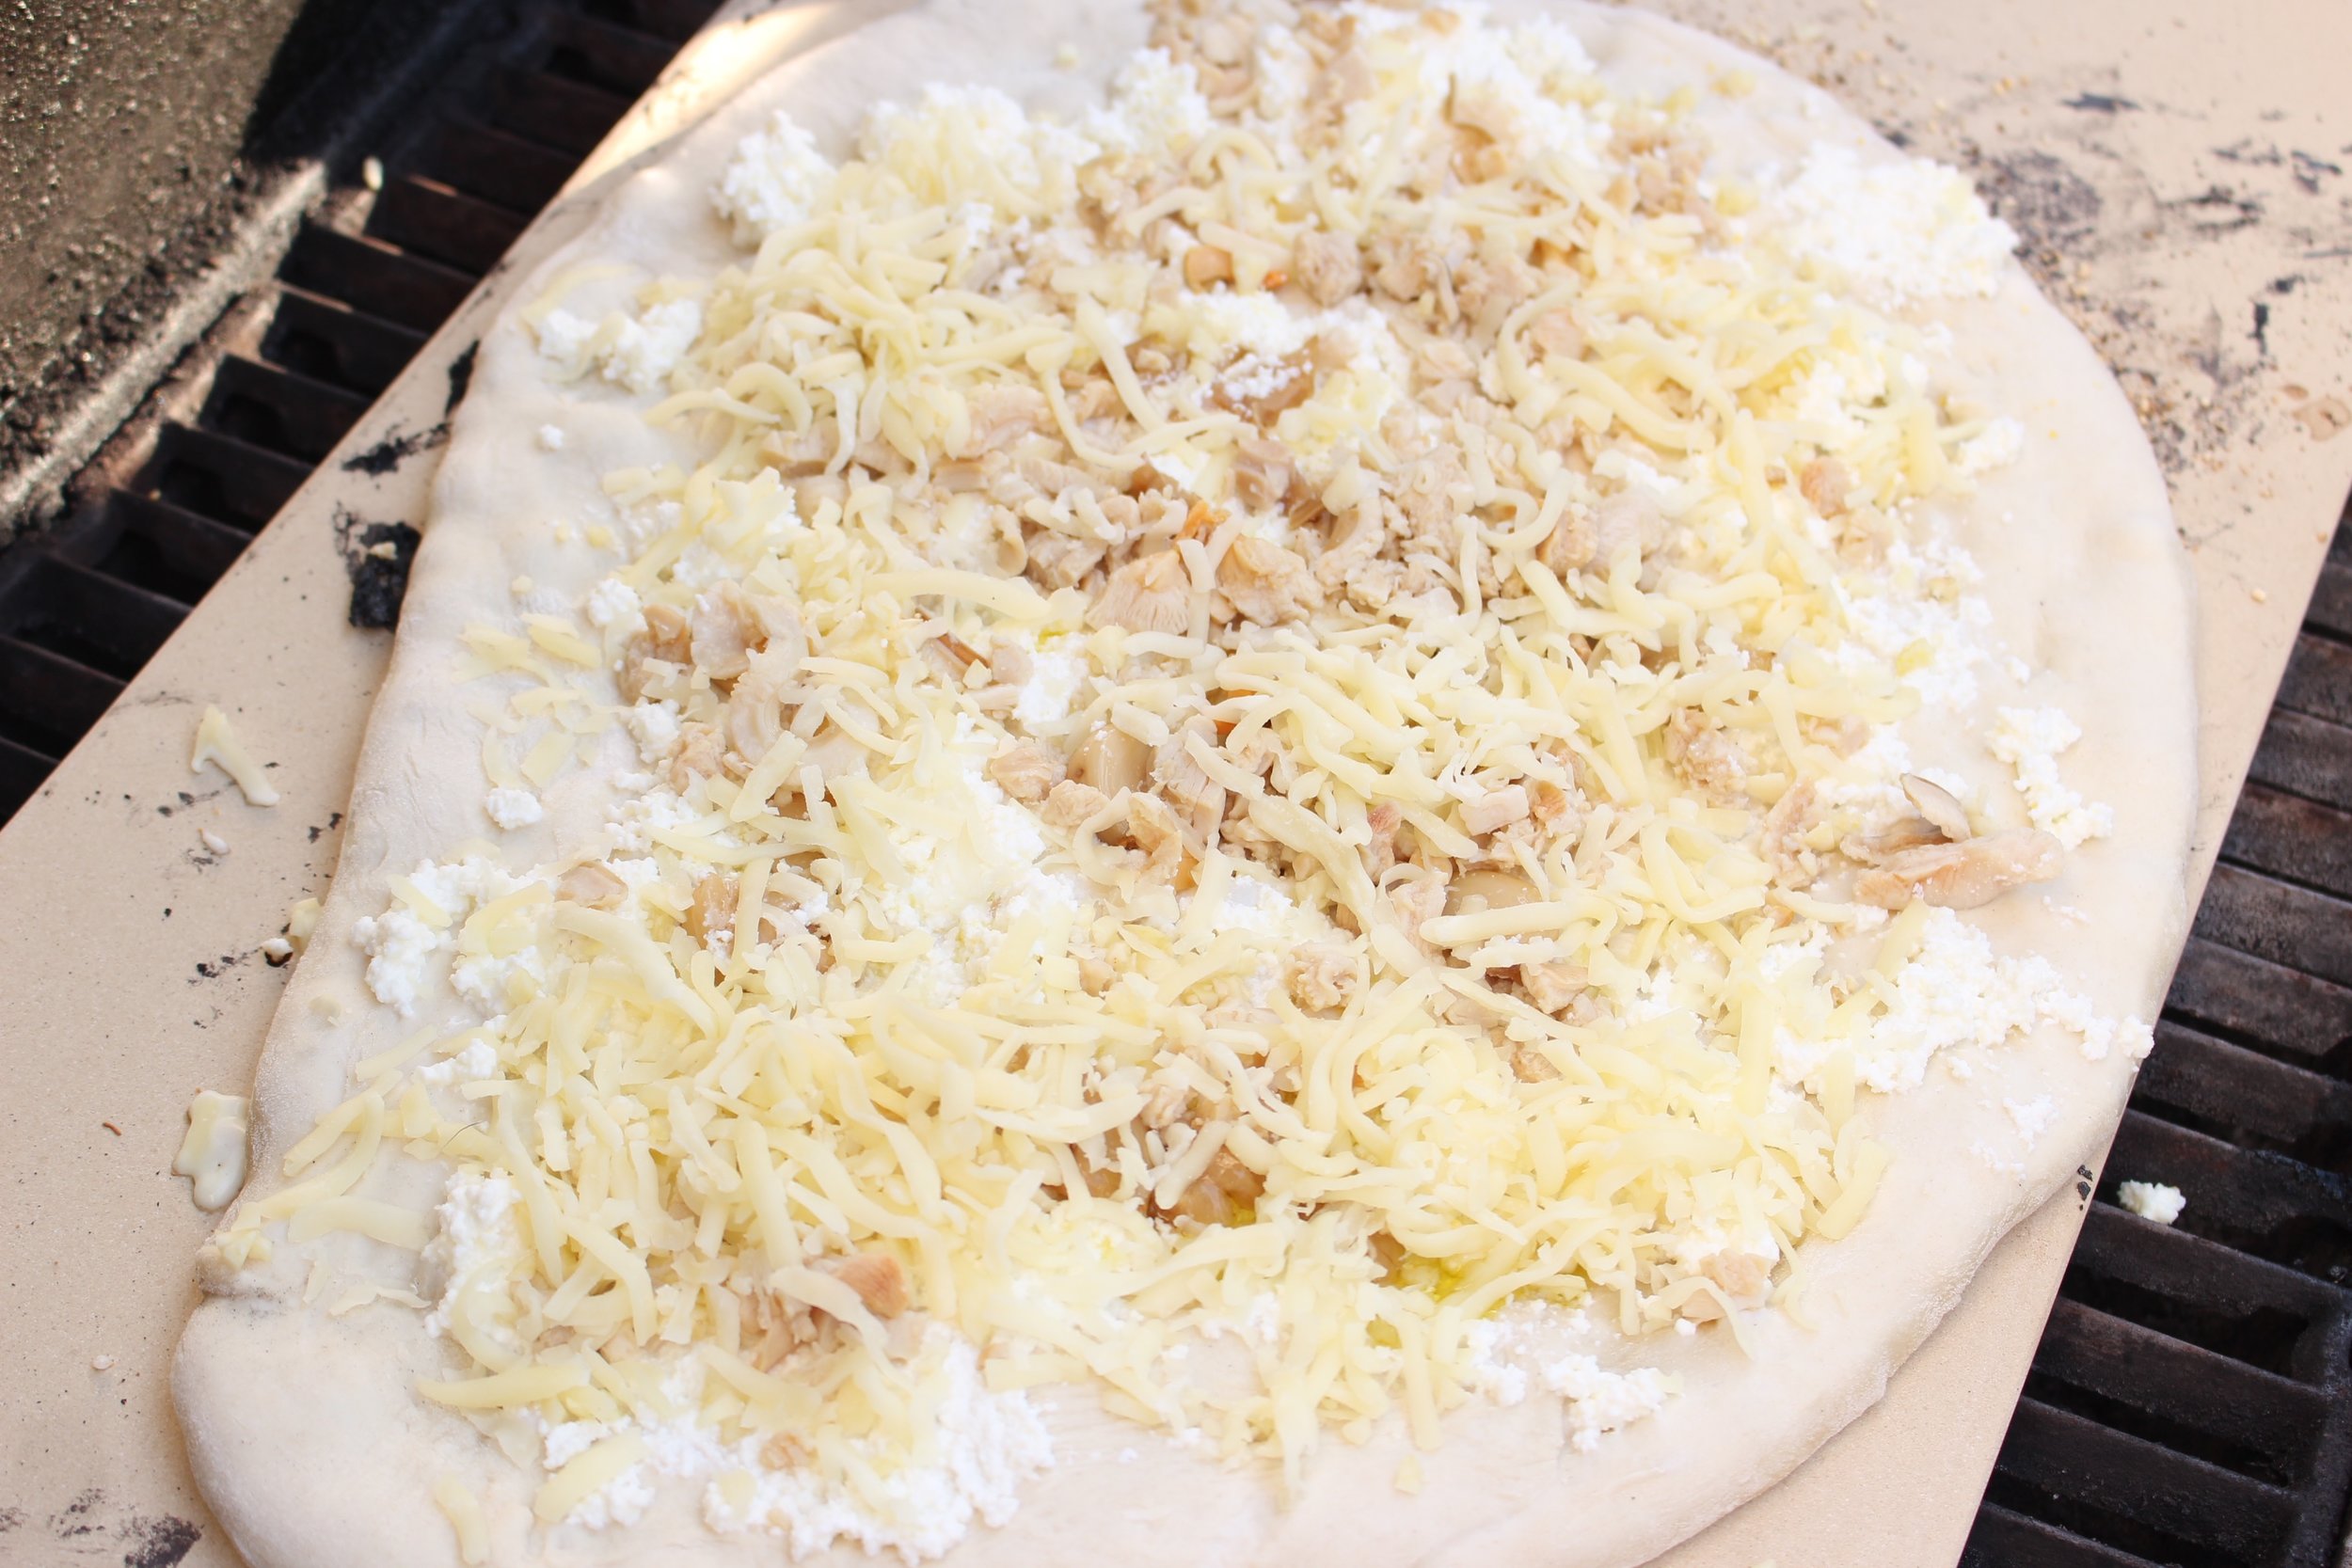
This is a heavy pizza before it’s cooked. What I mean is, the toppings really weight down the raw pizza dough. So make sure you use LOTS of flour under the crust to ensure that it comes off of your pizza peel and onto the pizza stone intact.
If you aren't as into garlic (this recipe calls for 10 cloves), either reduce the number of fresh cloves or just use the roasted ones. Their flavor is much mellower and blends well with the cheese.
Please do garnish with the lemon and sea salt. They make a huge difference in the final product.
Clam Pizza | Me & The Moose Whether you use store-bough crust or make your own, cook it on a grill, in the oven, or in a pizza oven, this is my take on the clam pizza full of garlic, cheese, and briny clams. #meandthemoose #pizza #clampizza #homemadepizza
Clam pizza
Time: 45 minutes
Yield: 1 large or 2 medium pizzas, depending on the size of your crusts
1 pizza dough
Flour to prevent sticking when rolling out dough
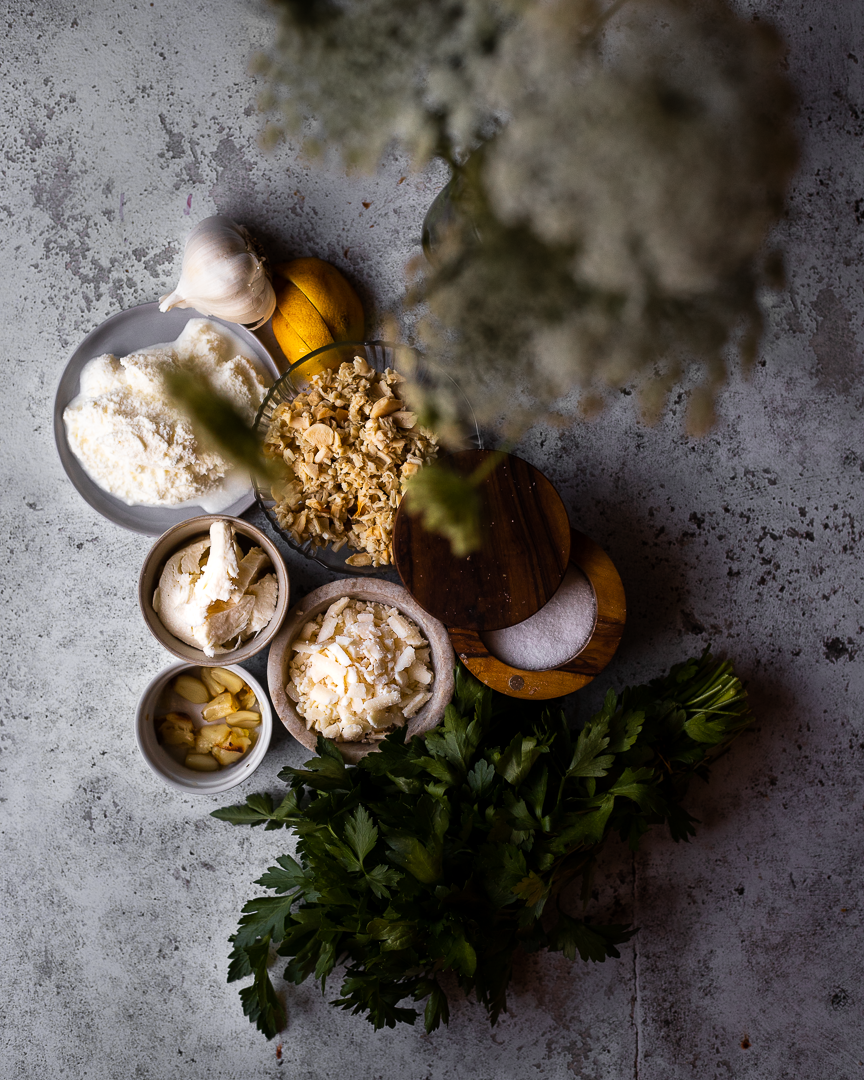
1 cup ricotta cheese
7 roasted garlic cloves (see method below)
3 large raw garlic cloves, minced
2 cans clams, drained (about 4 oz of clam meat)
1/2- 3/4 cup nutty cheese such as gruyere, sharp cheddar, gouda (not smoked), or fontina,
shredded
1 cup fresh mozzarella, torn into pieces
Parsley
Lemon wedges
Sea salt
Crushed red pepper flakes
For the roasted garlic:
Preheat the oven or toaster oven to 400. Smash 10 cloves of garlic, but don't remove the peels (if some fall off, great, but no need to do extra work). Add them to a small oven proof container like a ramekin or a coffee mug. Cover with olive oil. Cook until the garlic is bubbling and fragrant and the cloves are very soft when (carefully! hot oil!) squished with a spoon, about 5-8 minutes.
For the pizza:
Preheat your grill on high or your oven at 500. Remove the top rack of your grill or the second rack of your oven and move the remaining rack to the lower middle portion of the oven. (You want enough room above the rack to negotiate your dough onto the pizza stone, but be close enough to the top of the oven to easily brown your cheese. Add the pizza stone and let heat for 30 minutes.
Meanwhile, prep all of your toppings. Set aside.
On a floured counter or pizza board, roll out or press out your dough until very thin. Lift up half of the dough and scatter more flour underneath. Repeat on the other side. Jiggle your dough to make sure that it’ll slide onto a pizza peel or into the oven easily.
If cooking in the oven, add your toppings before placing the raw dough on the hot pizza stone. If the toppings are weighing down the dough too much, carefully add more flour under the crust.
Carefully slide the topped, raw dough onto the pizza stone in the oven. Cook for 6-8 minutes without opening the oven. Check the pizza and cook for another 2-3 minutes, until the cheese and the sides of the crust begin to brown. Check the bottom crust for doneness (it should be golden brown and crispy).
Remove from the heat and top with chopped parsley, sea salt, lemon, and crushed red pepper flakes (optional).
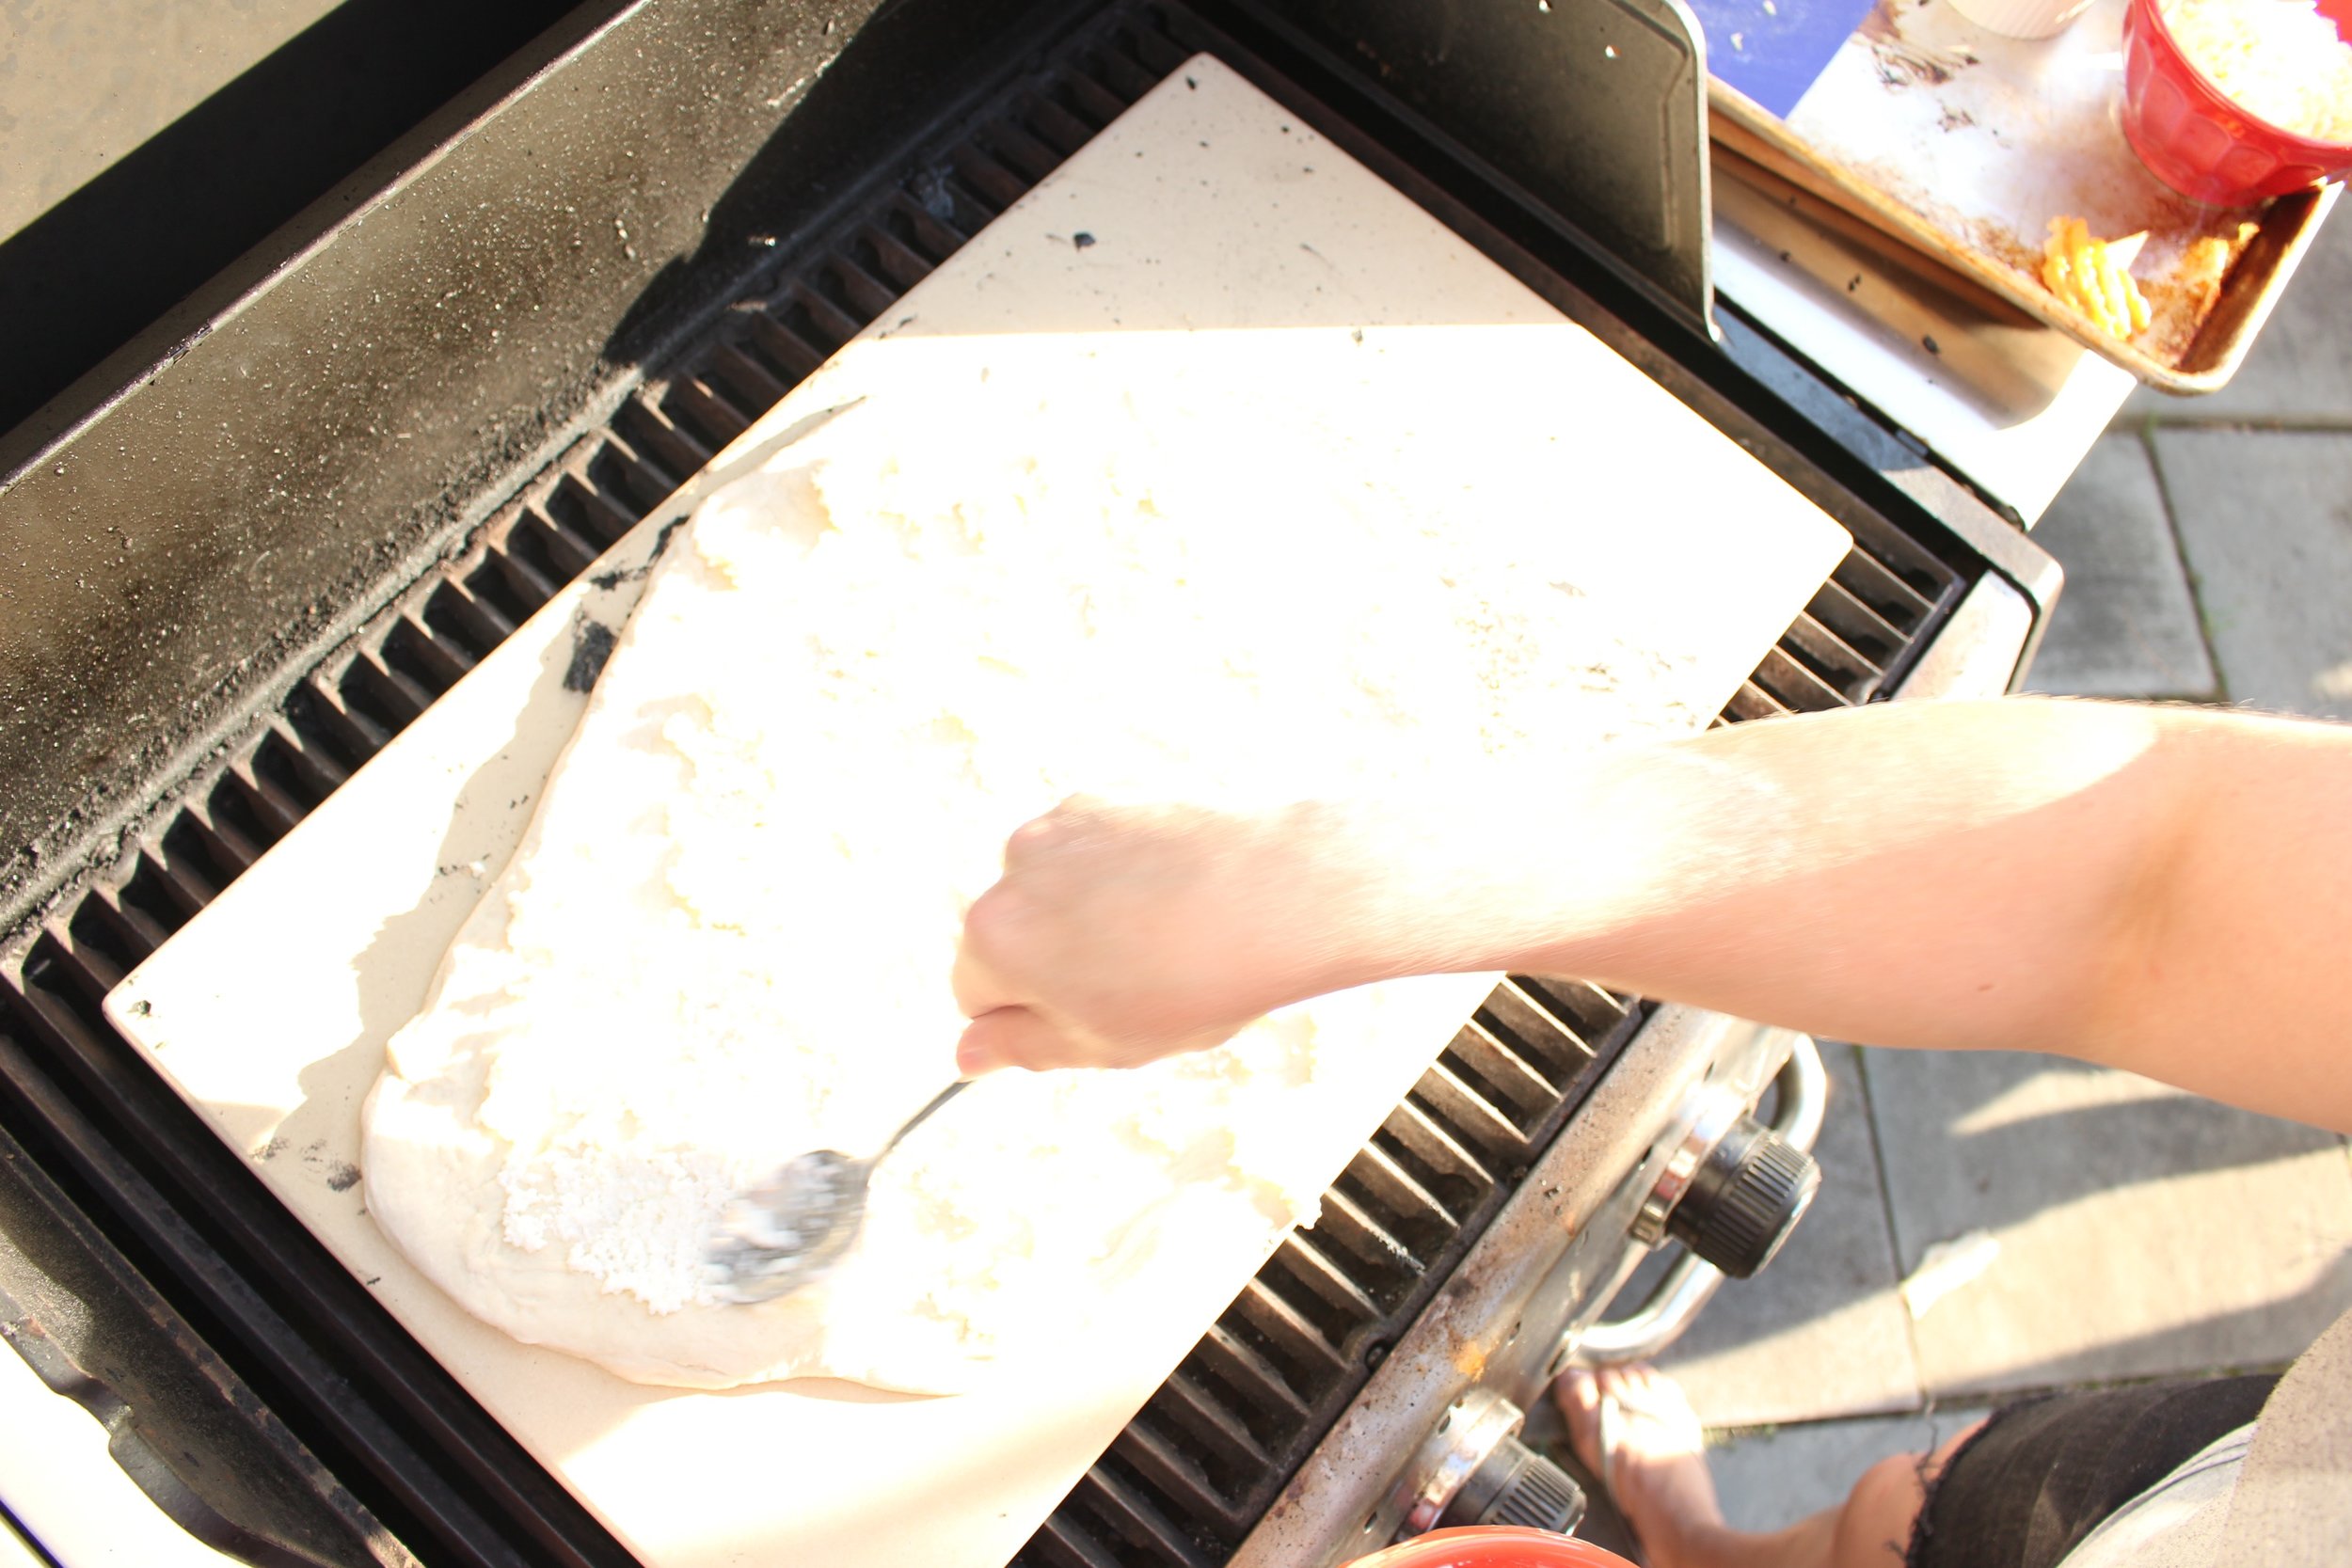
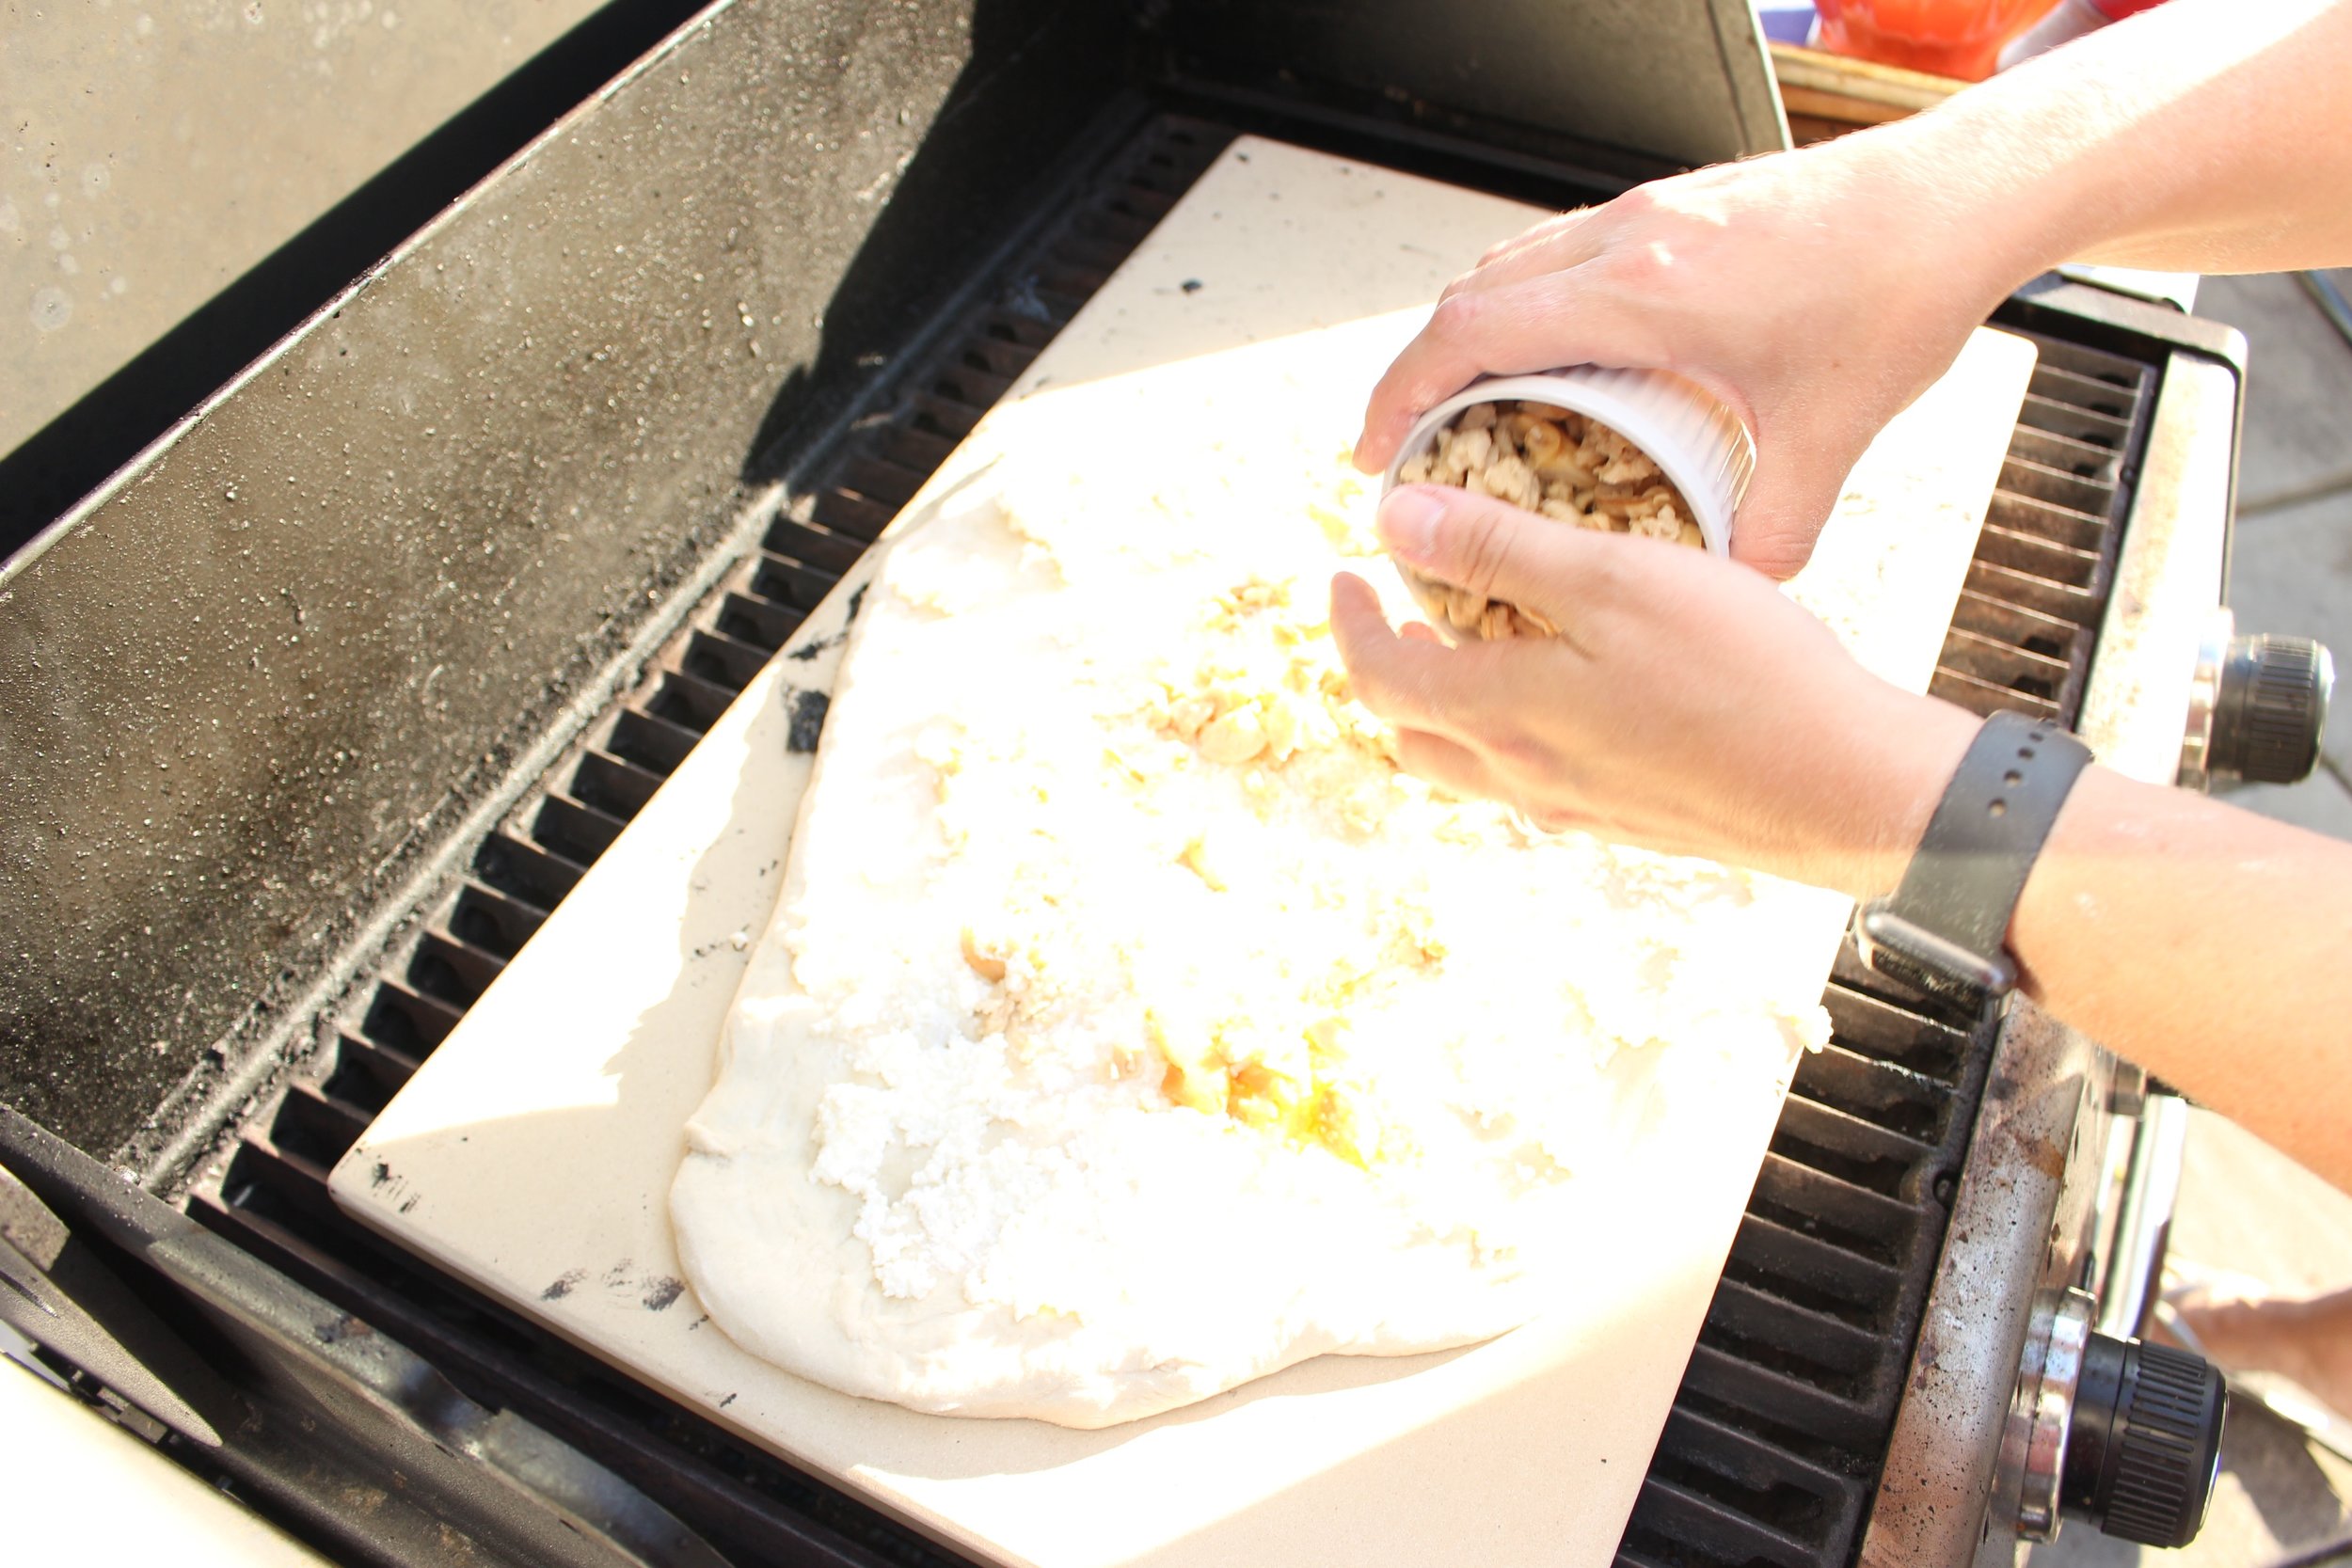
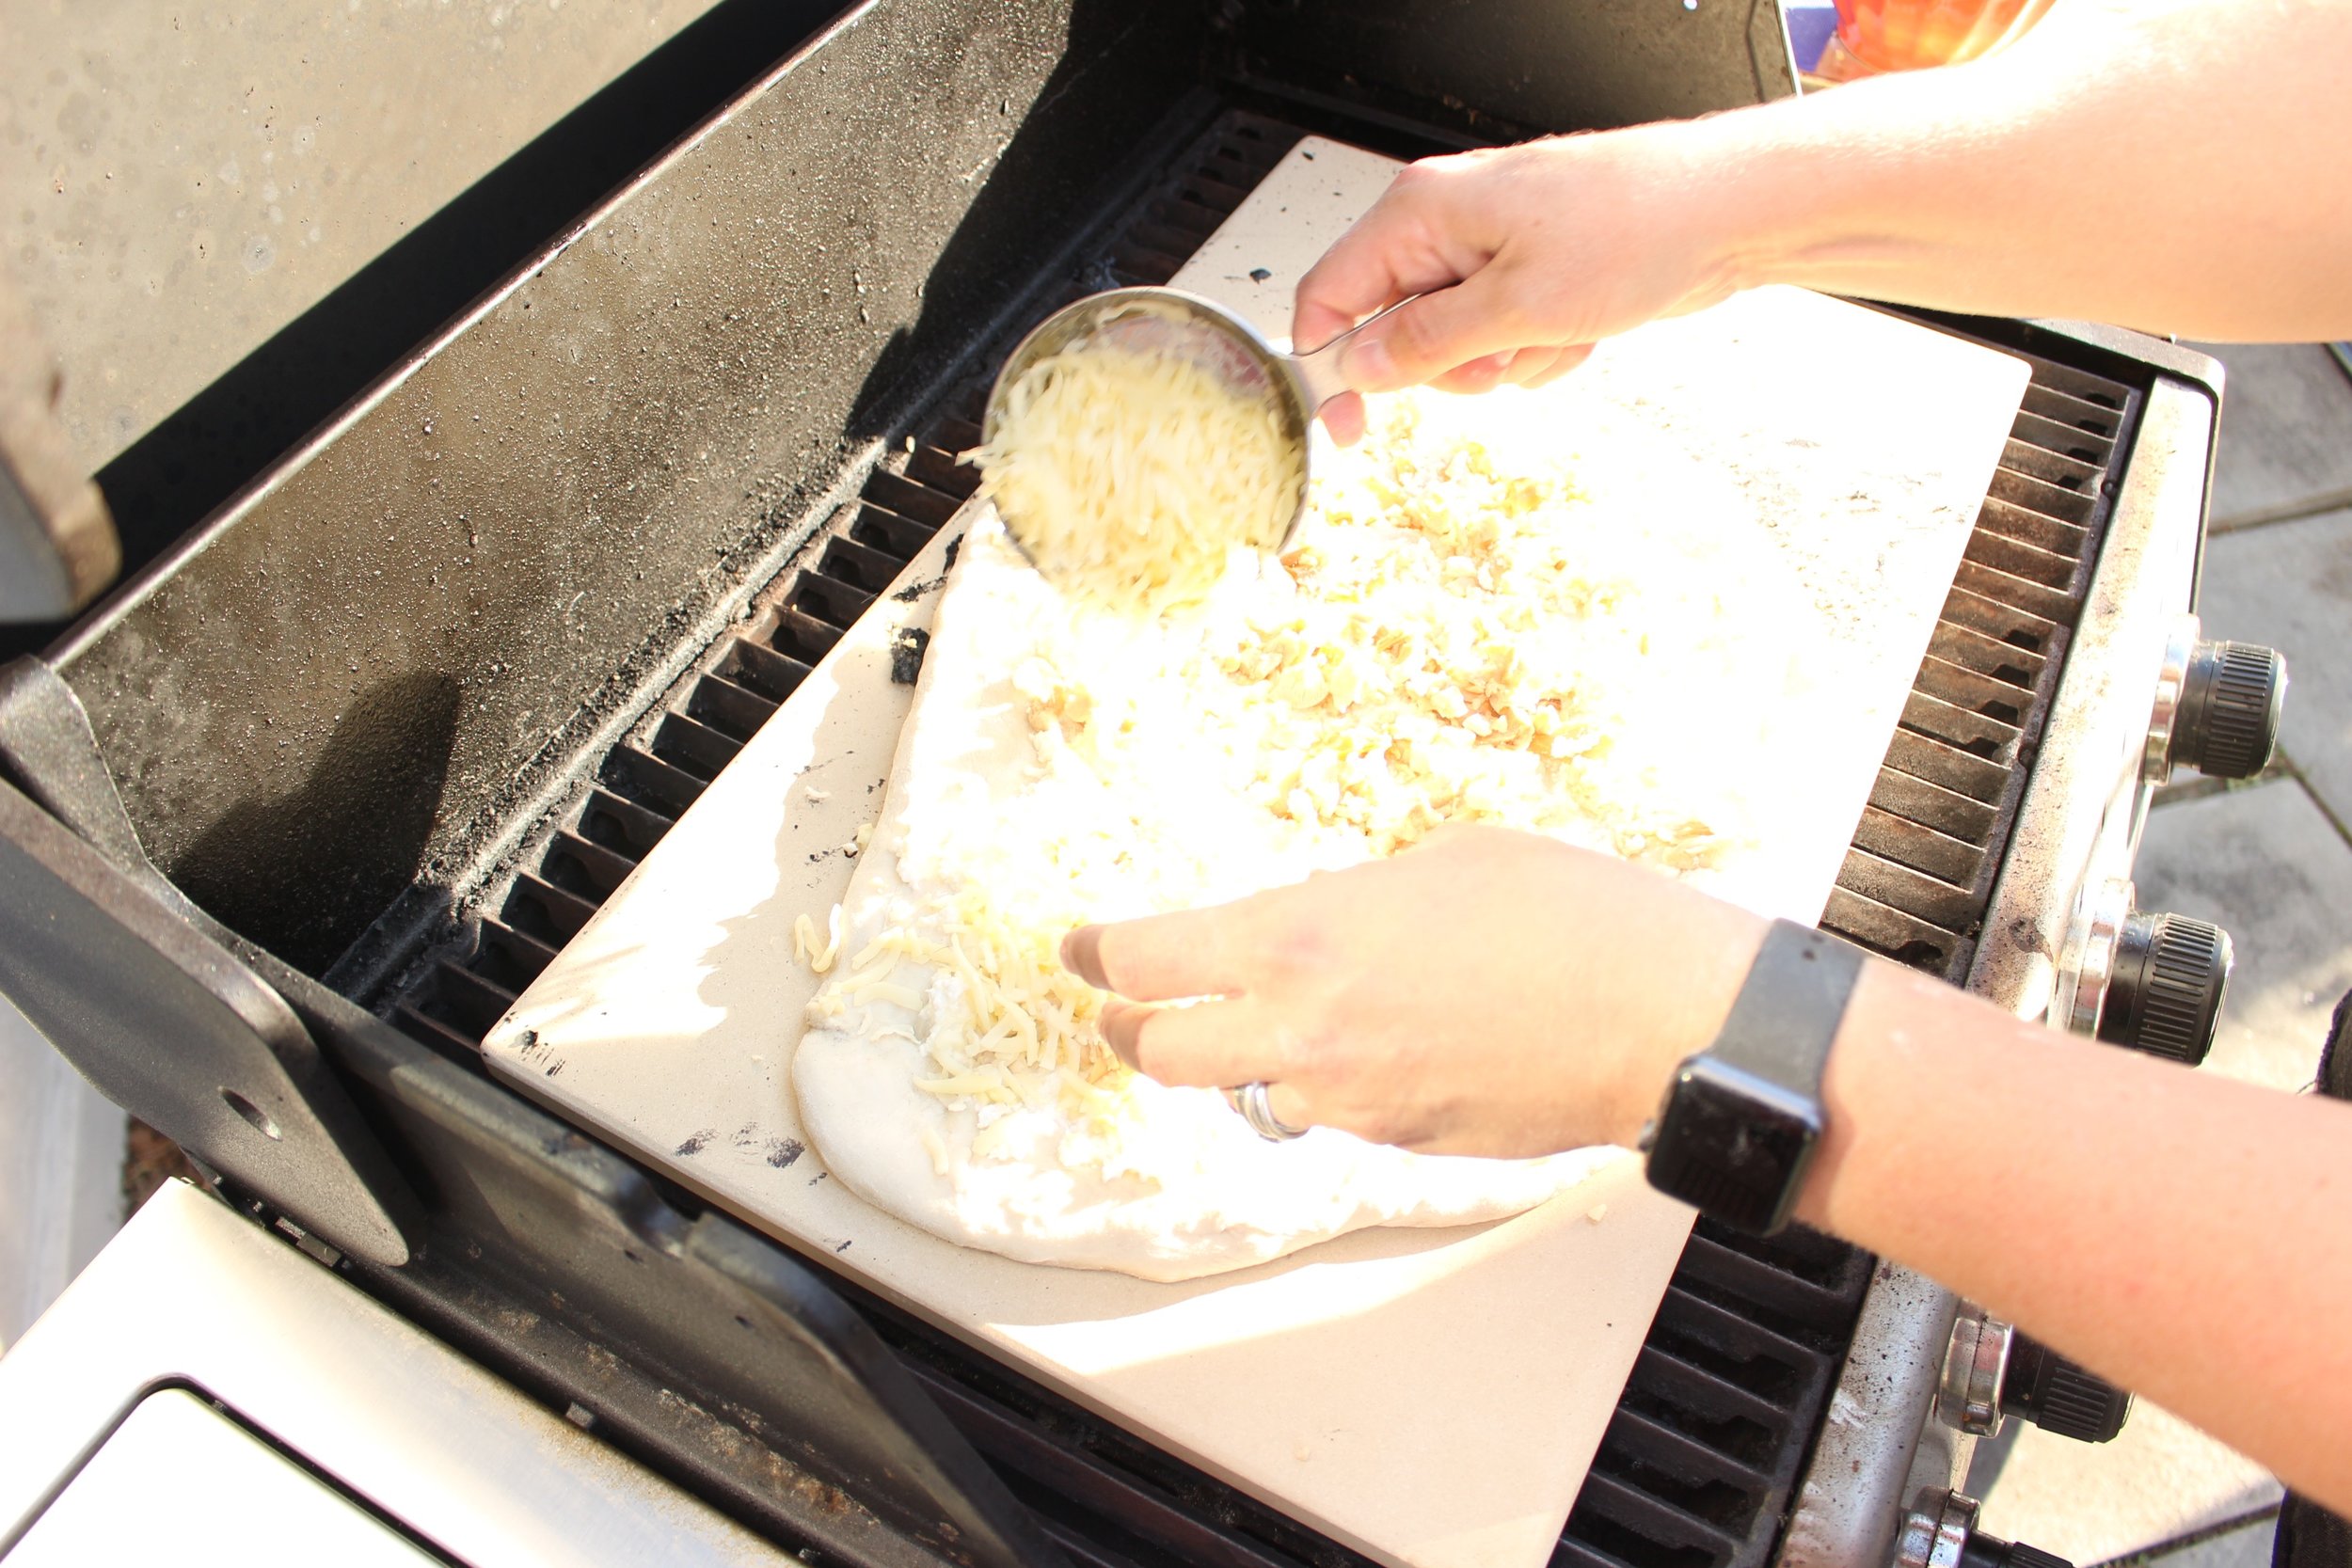
If cooking on the grill, make sure all of your toppings are measured and easily accessible. Slide the plain, raw dough onto your grill and quickly top with the ricotta, roasted and fresh garlic, the clams, and the shredded cheeses. Close the lid to the grill and let cook for 5 minutes. Check for doneness continue cooking for 2-3 minutes until the crust and cheese begin to brown.
Check the bottom crust for doneness (it should be golden brown and crispy).
Remove from the heat and top with chopped parsley, sea salt, lemon, and crushed red pepper flakes (optional).
One note about grilling: the number of burners on your grill will change the speed at which this pizza cooks. A 6-burner grill might take less than 5 minutes, so check it sooner. A 3-burner grill might take a minute more. Use your judgement based on your grill or oven.
Fried green tomatoes
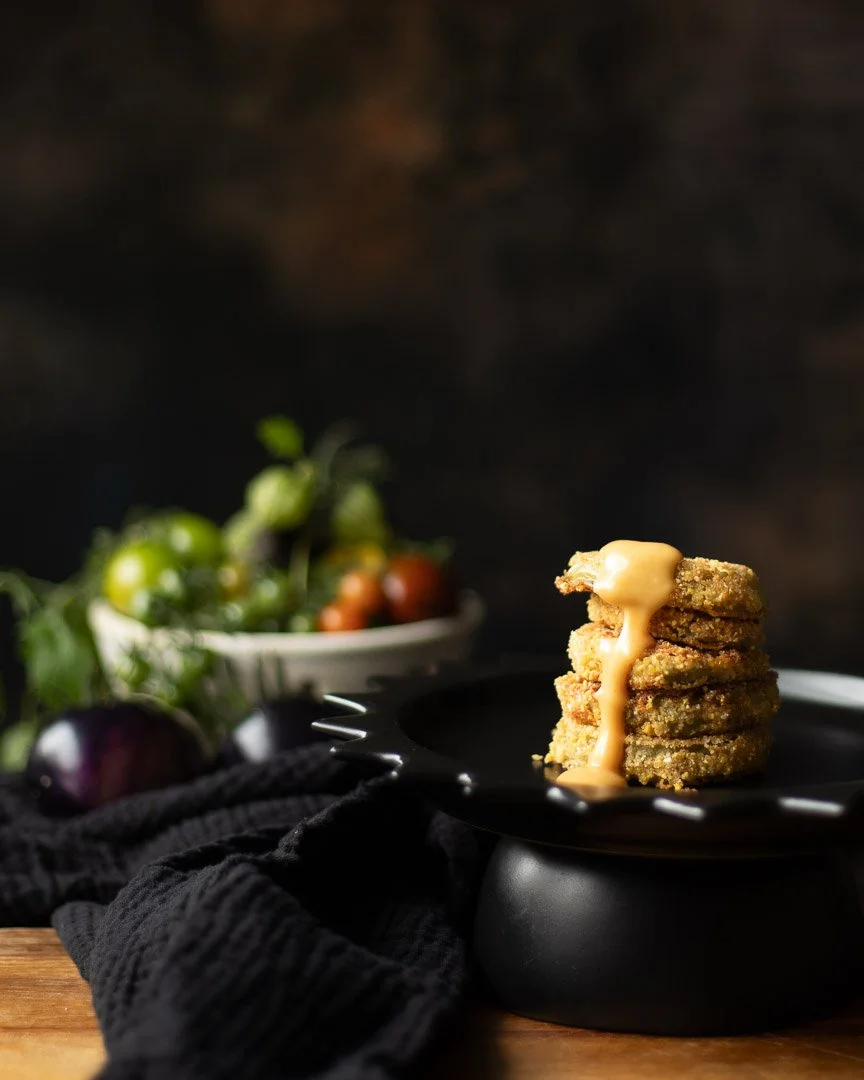
If you hate wasting those end of season tomatoes (OR, you get impatient waiting for them to ripen), fry them up green and throw them into a sandwich, over some eggs, or alongside of any protein.
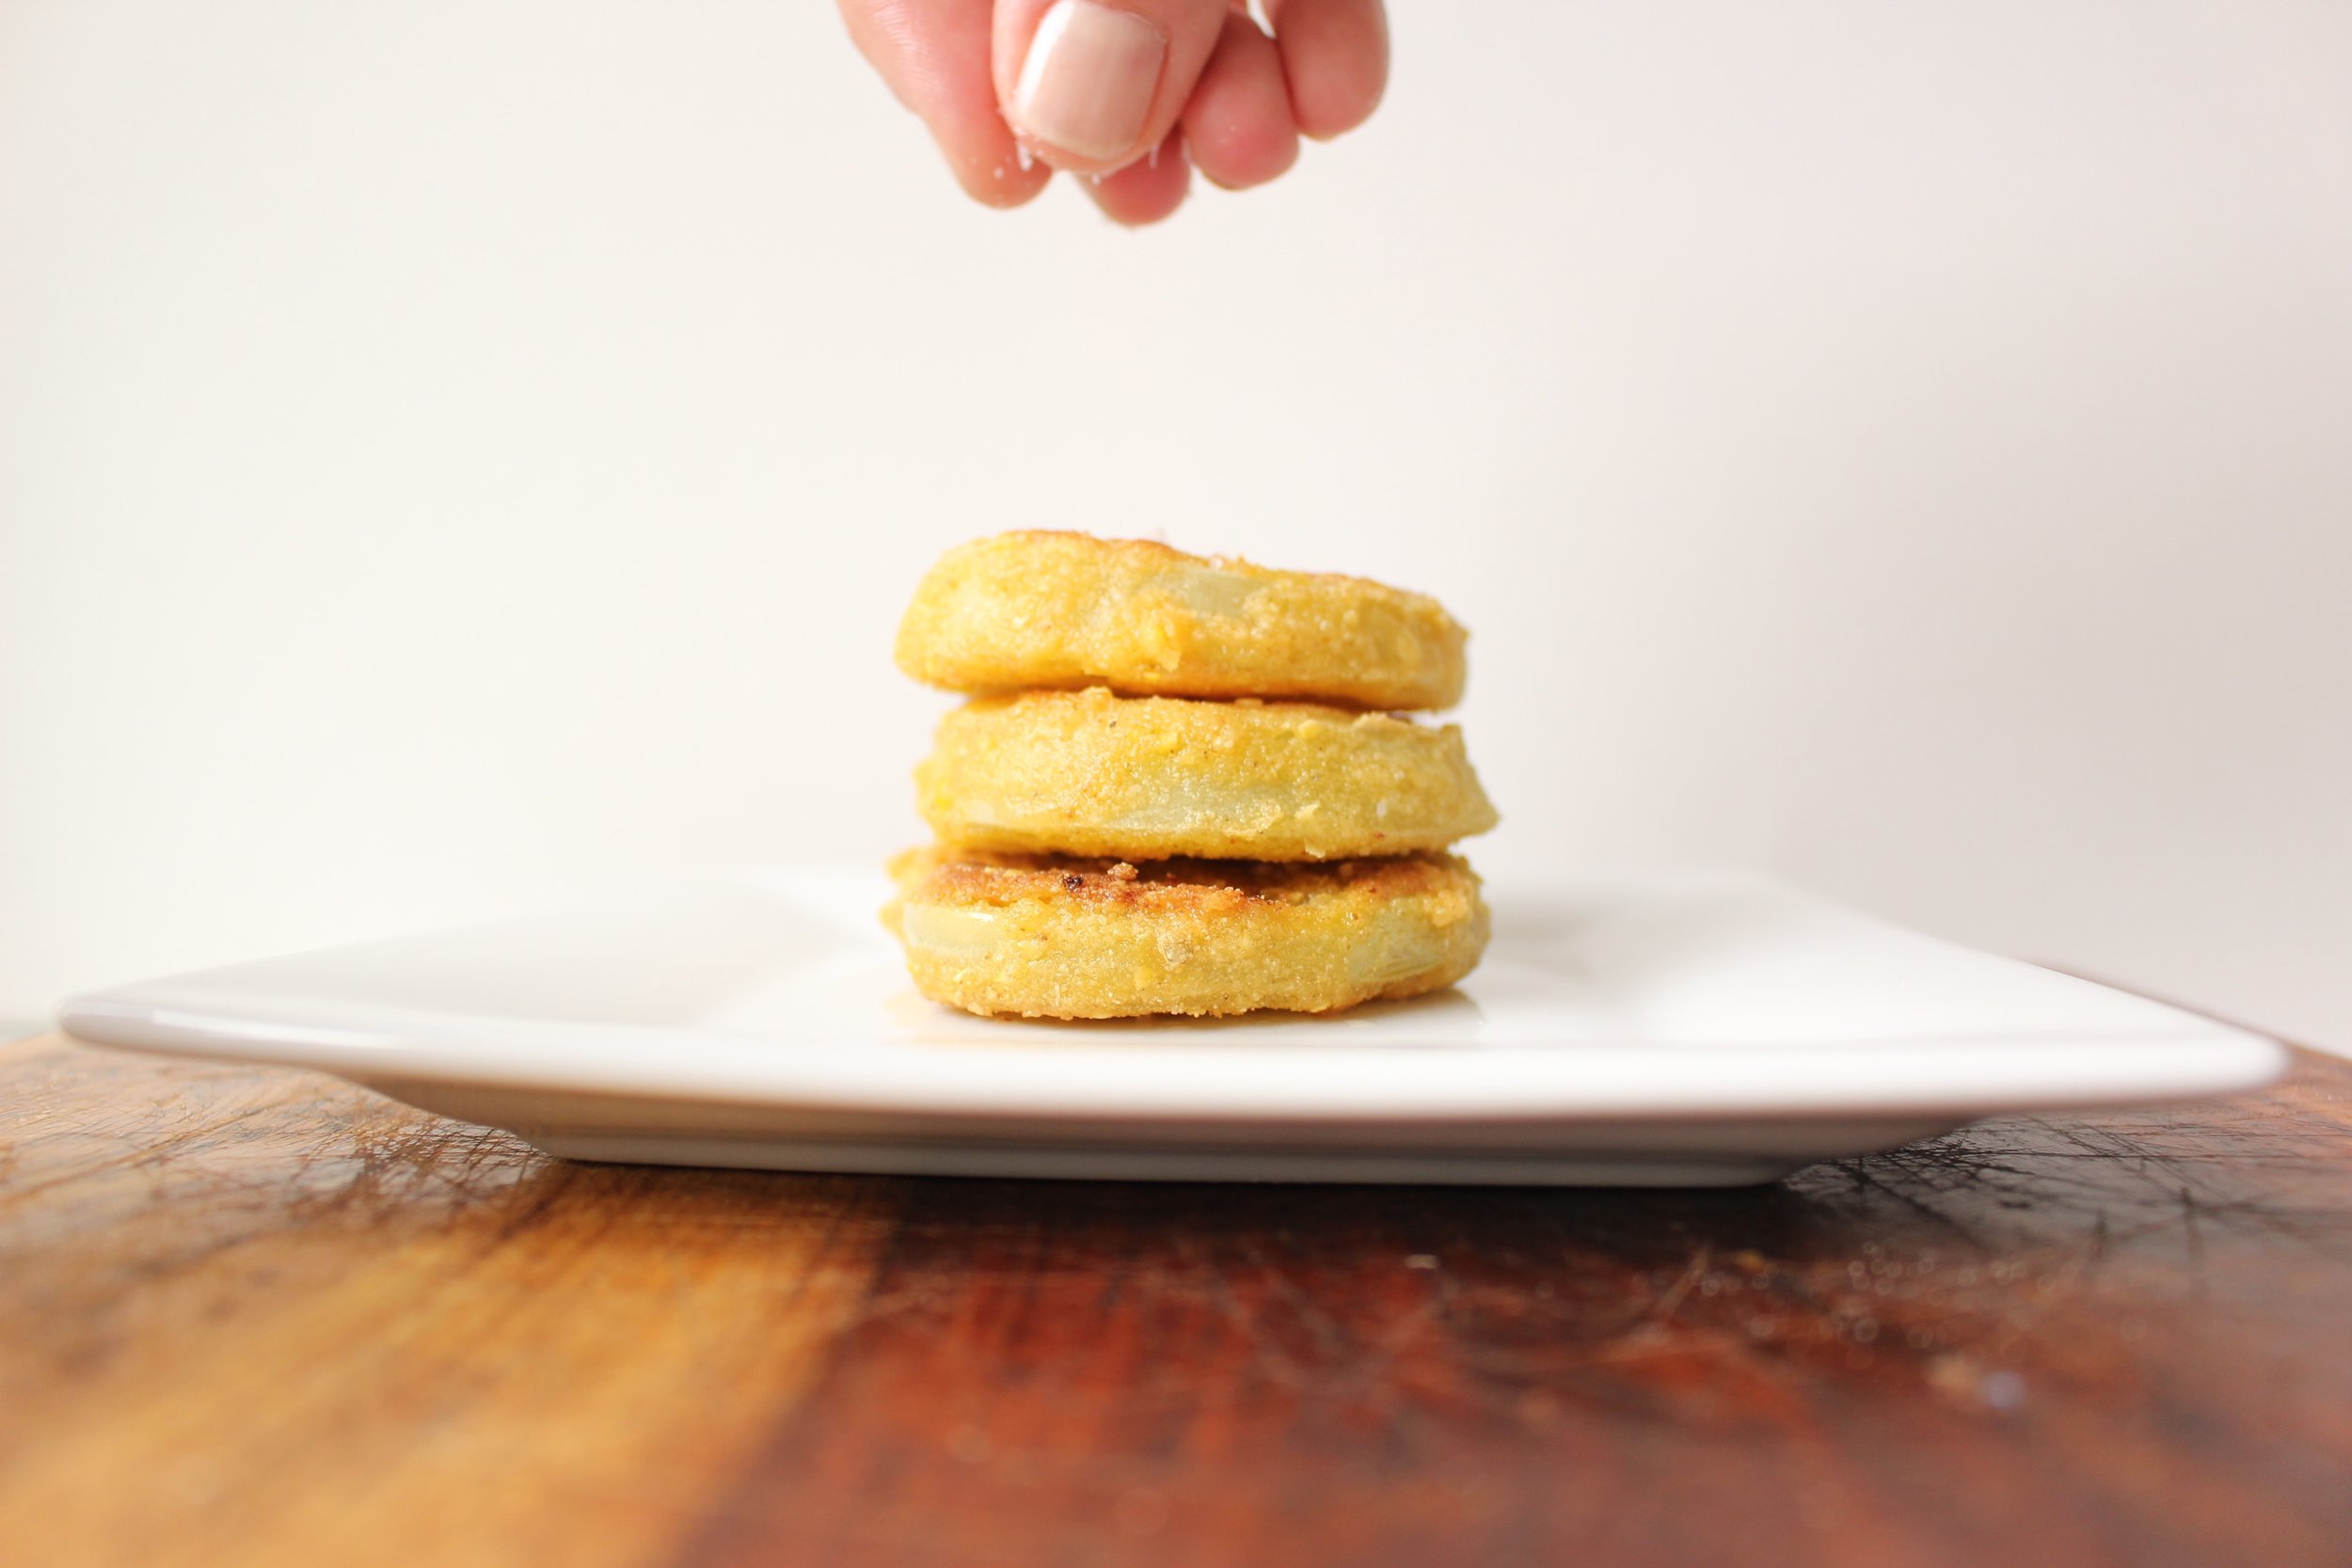
The keys to good fried green tomatoes, to me, are soaking overnight in buttermilk, and cooking with HOT oil. I've gotten equally delicious and crunchy results from using a little bit of oil and a lot of oil, but the heat seemed like the common denominator. And lots of salt.
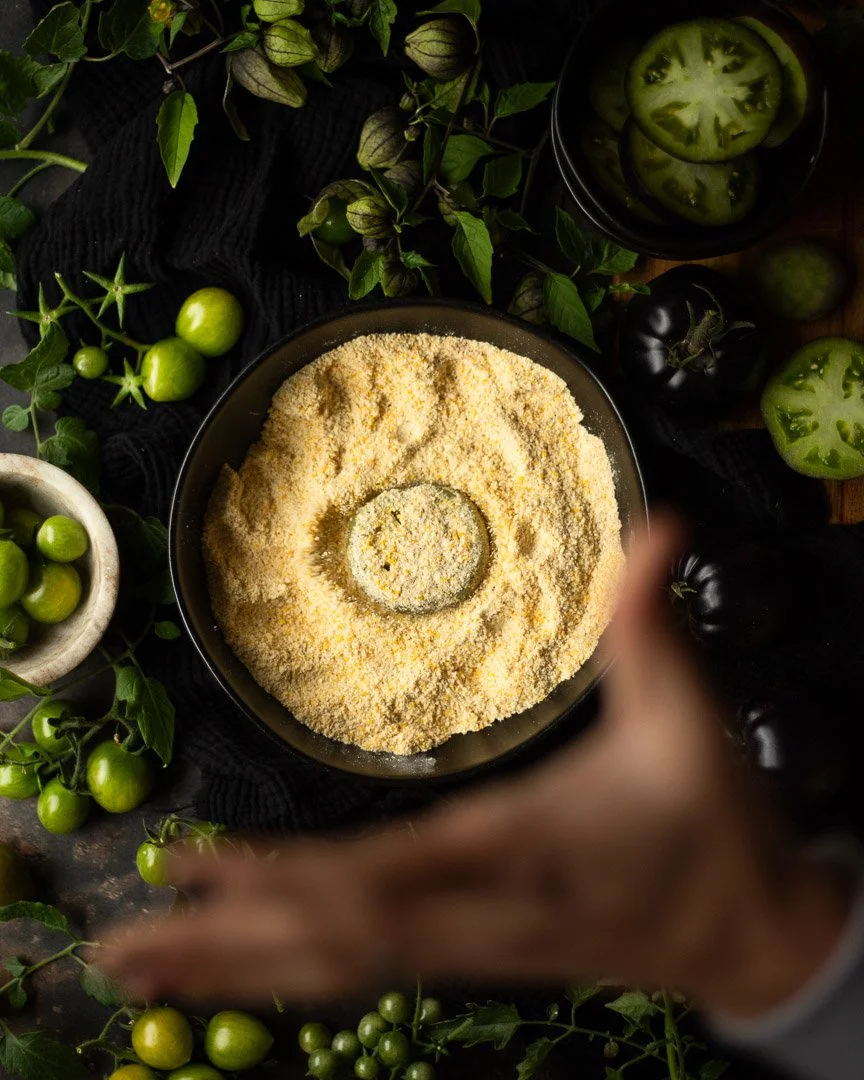
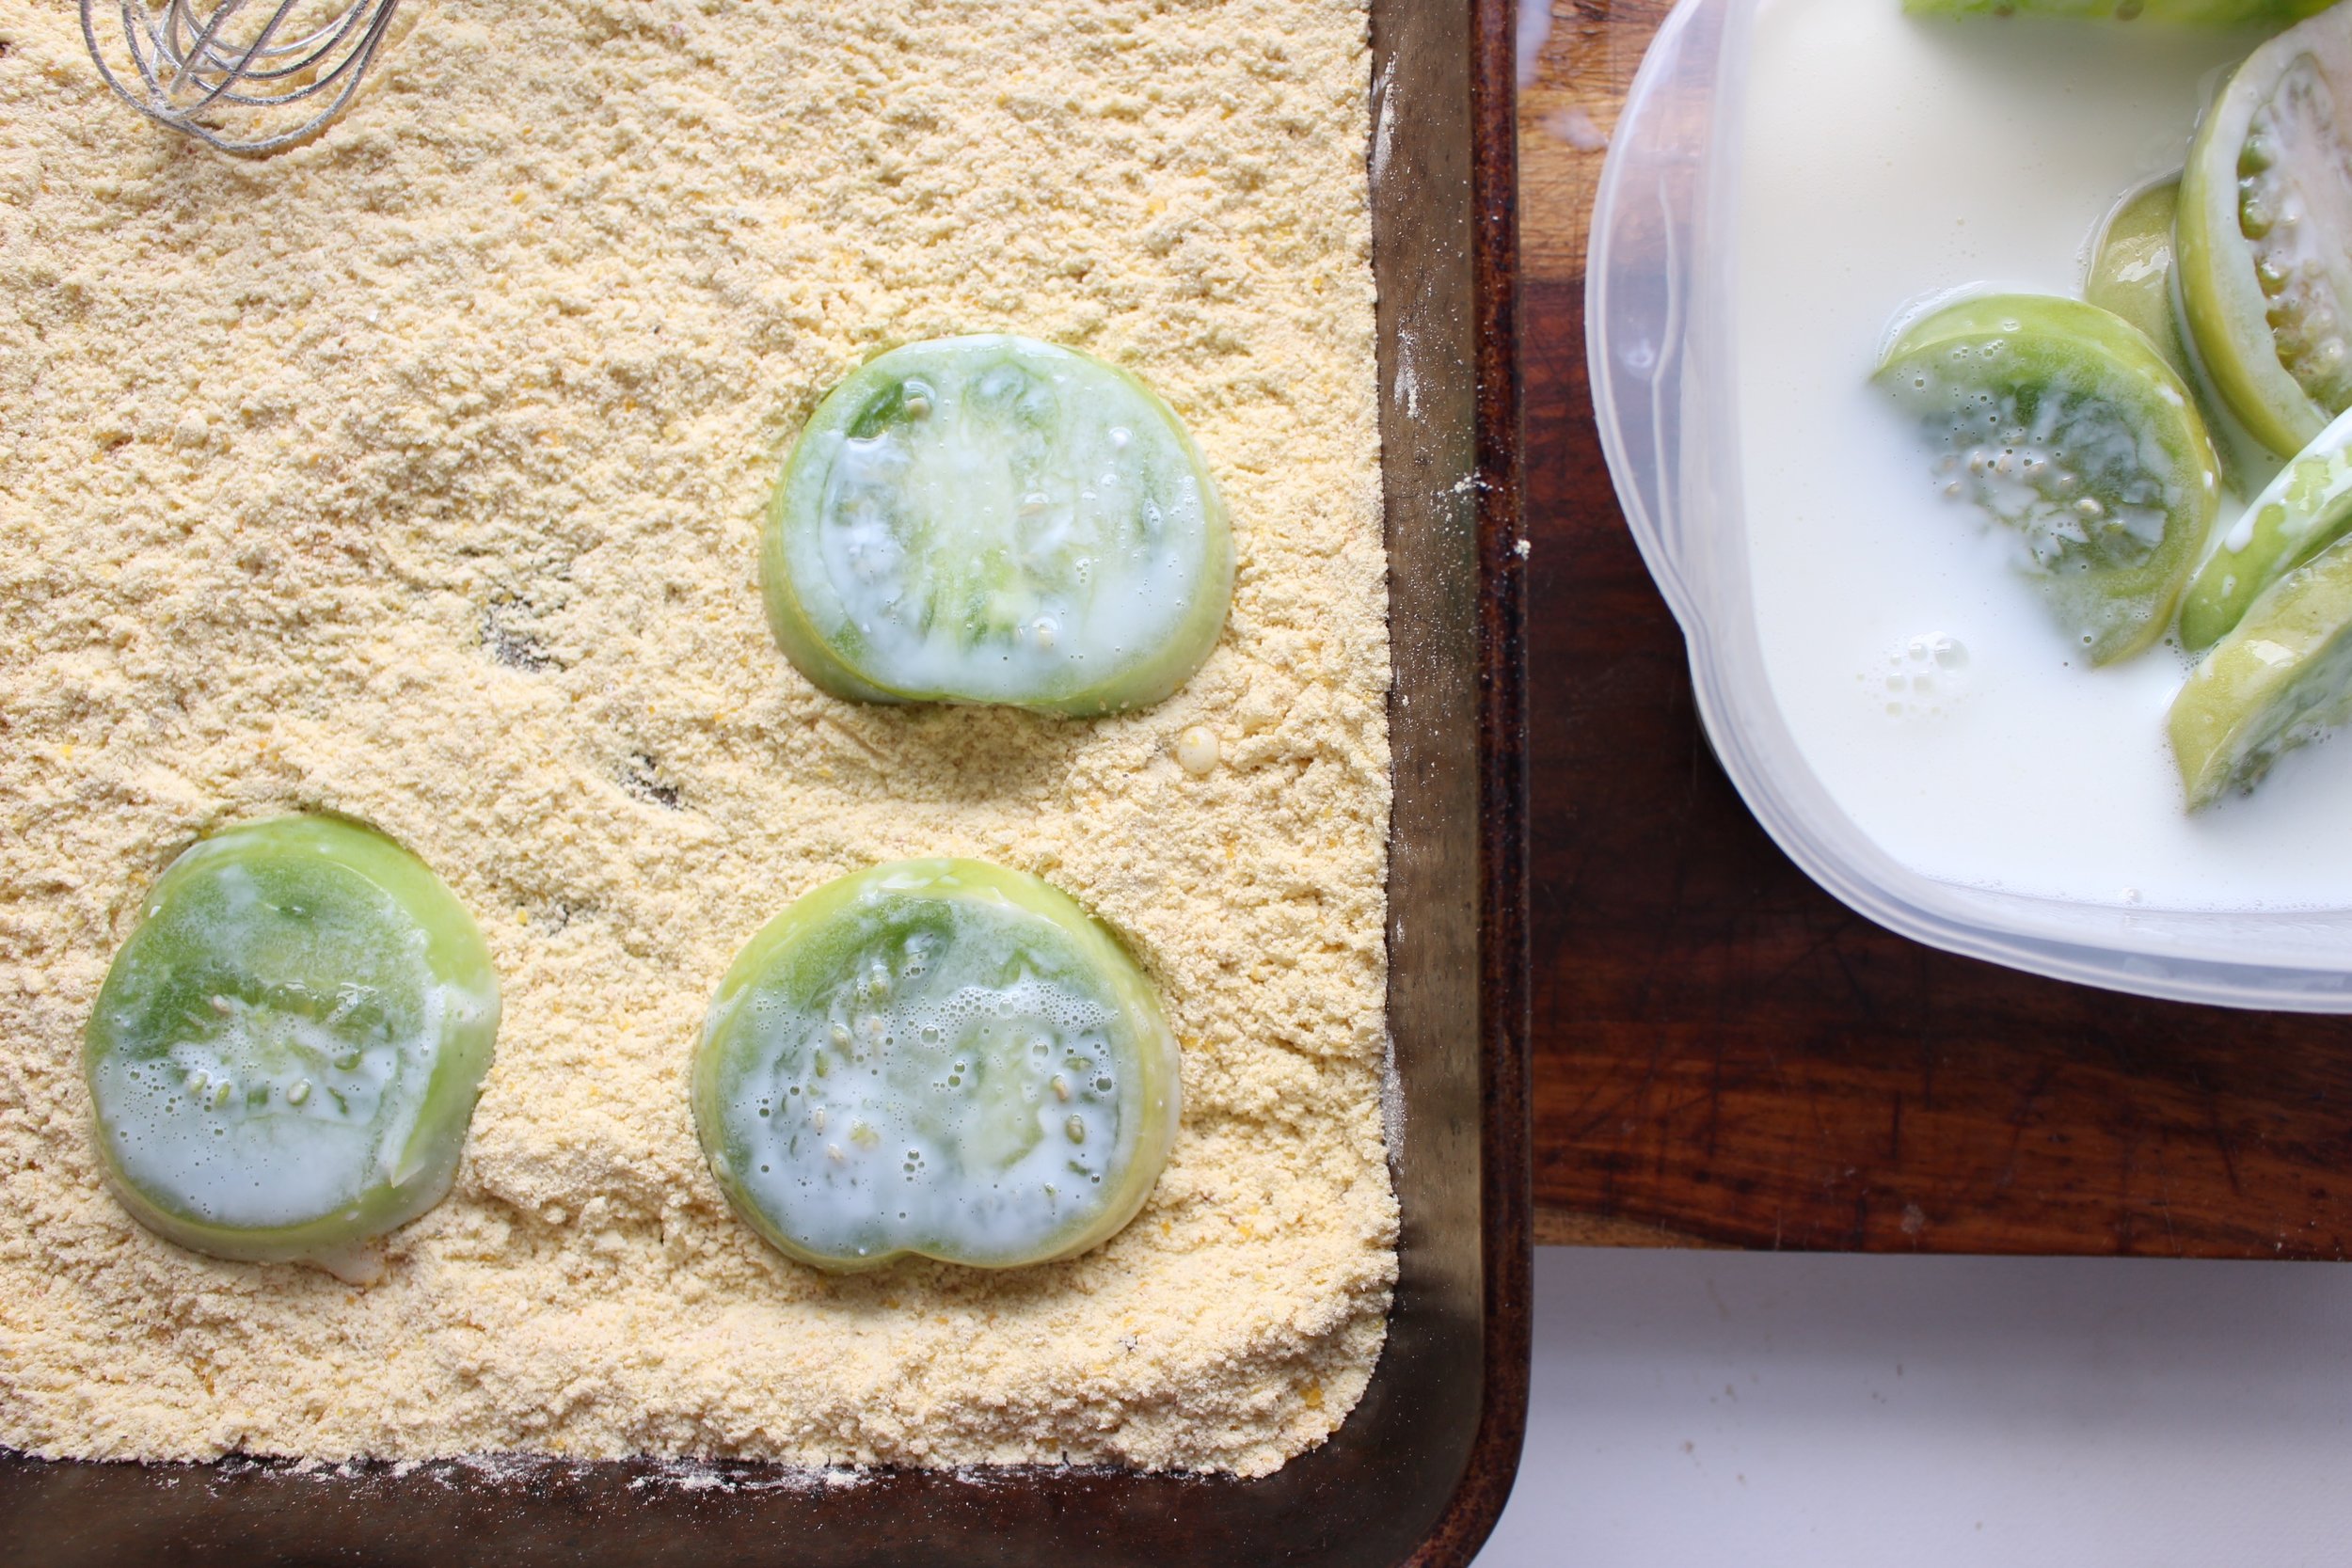
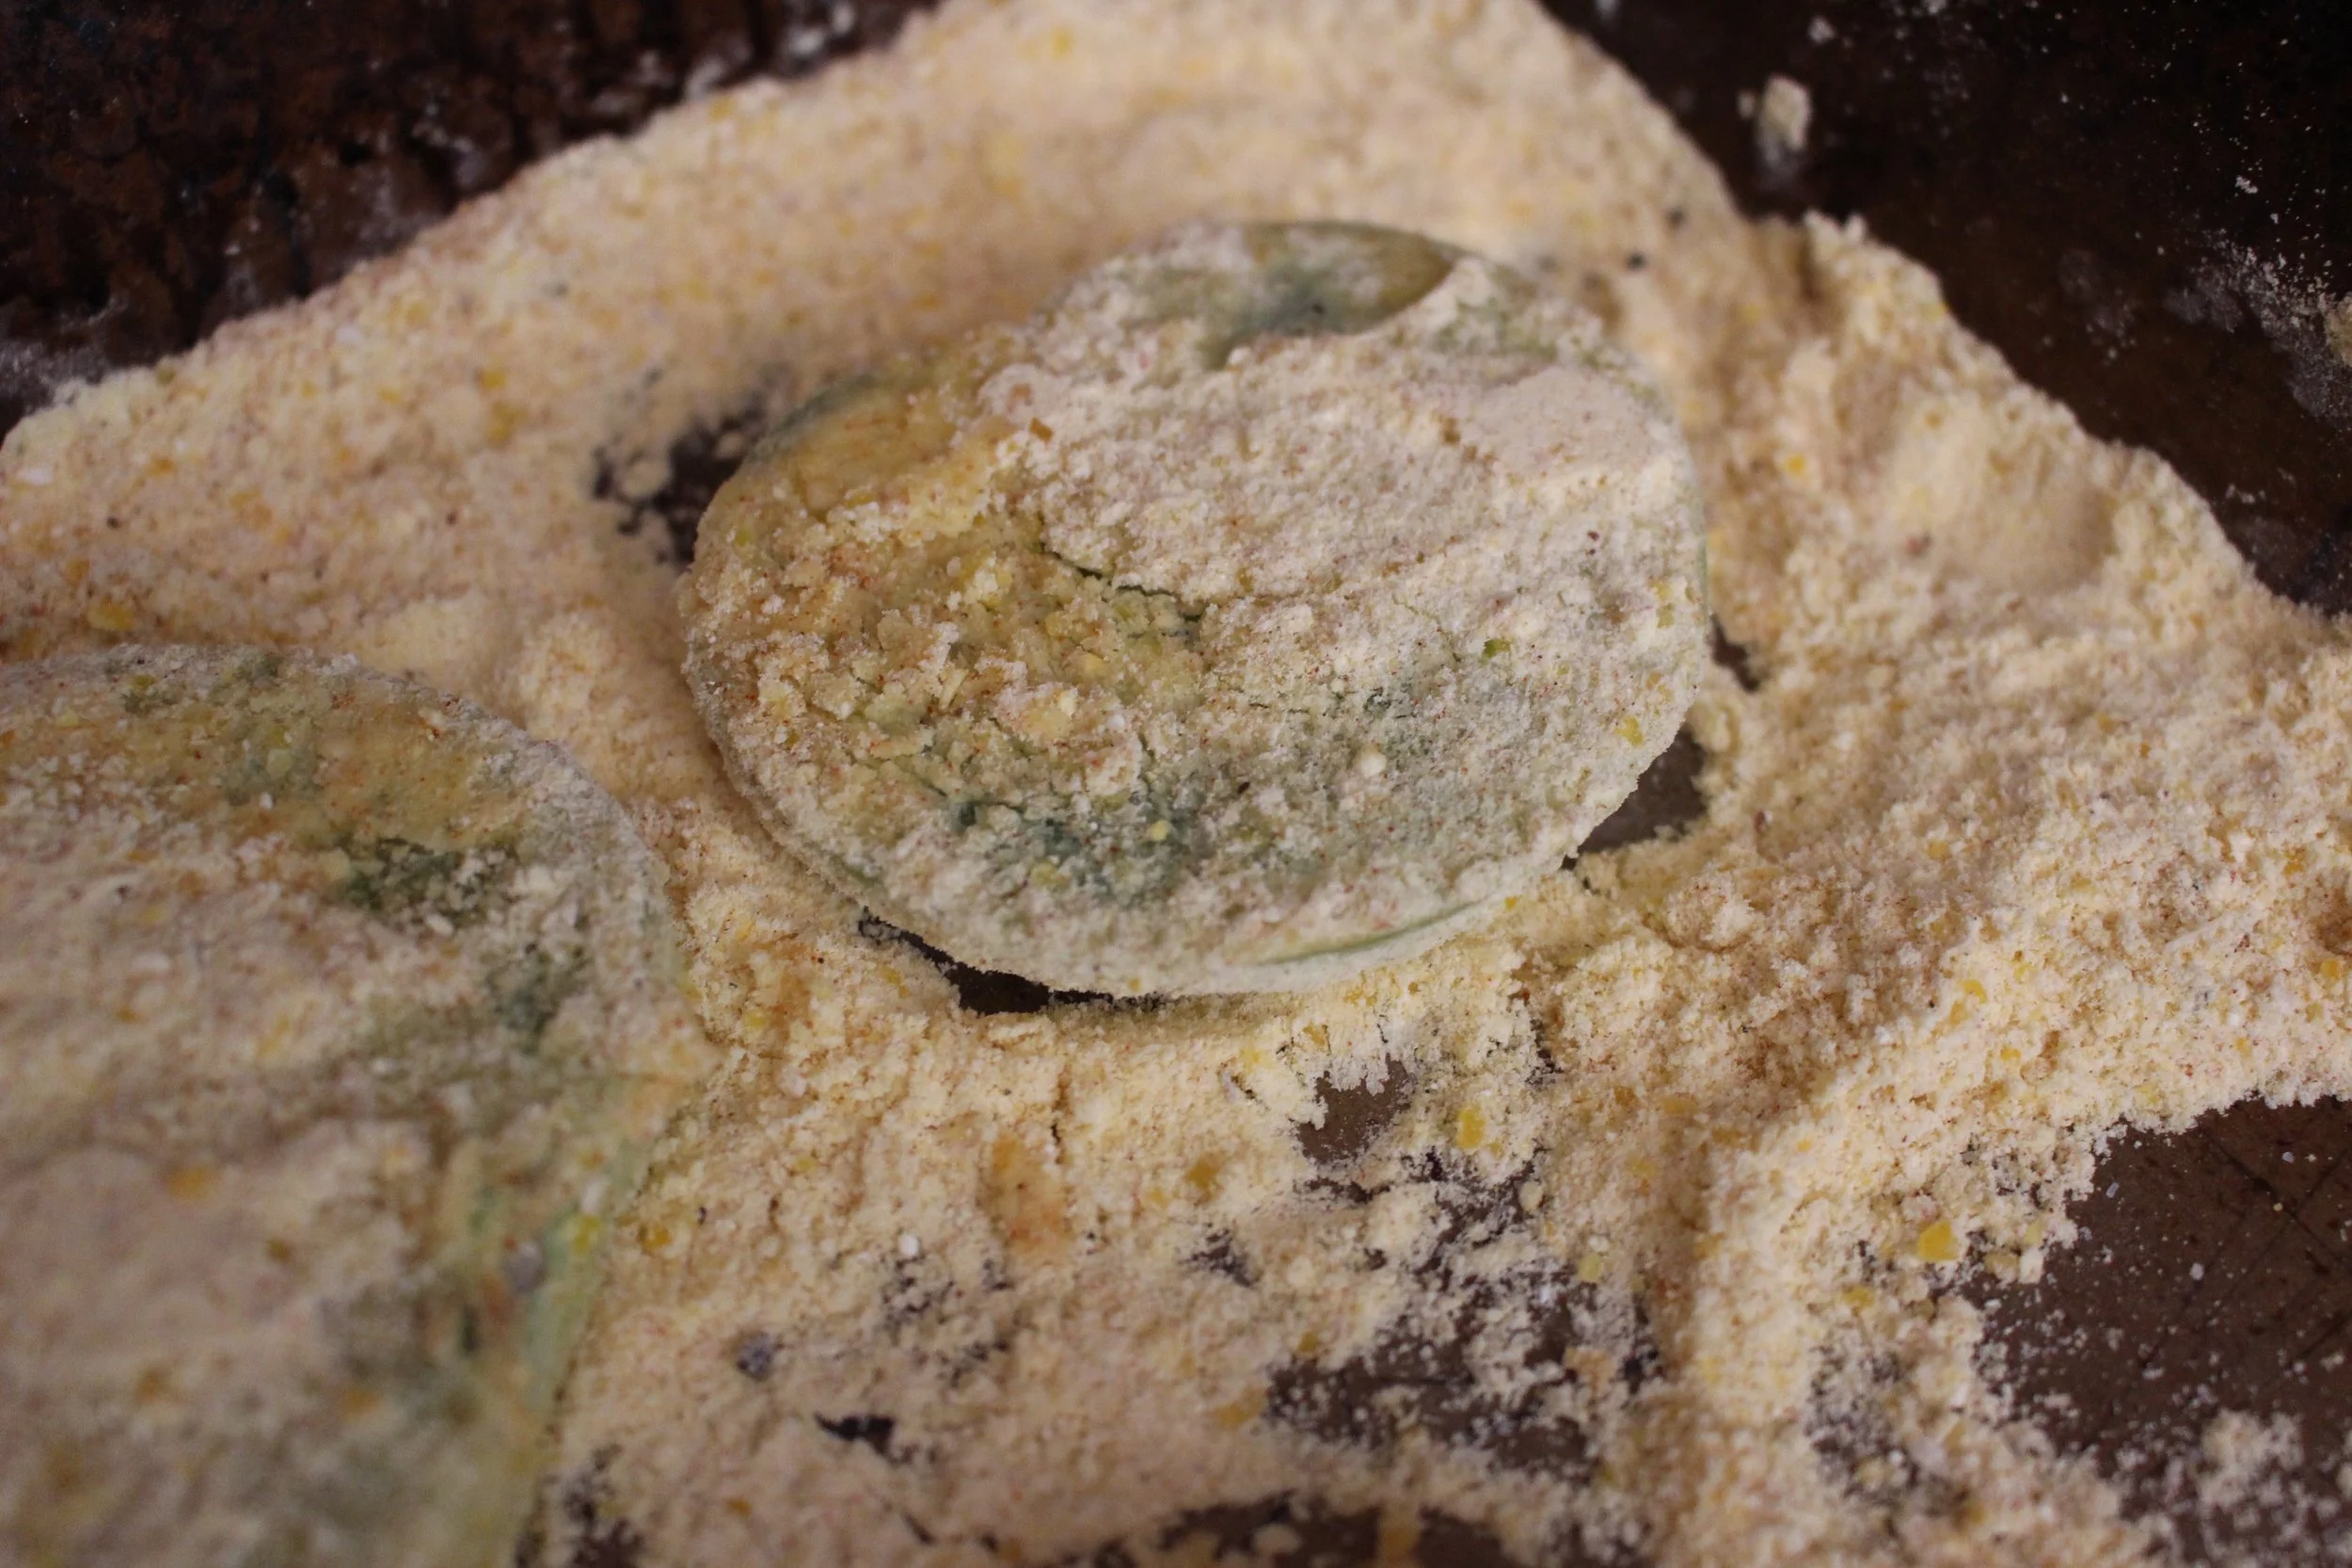
I’ve also experimented a lot with corn flour and different grinds of cornmeal. I initially liked corn flour the best, but it's very easy for the flour to cake onto the tomato slice, which then doesn't cook evenly. Ultimately, my favorite was straight-up, finely ground cornmeal.
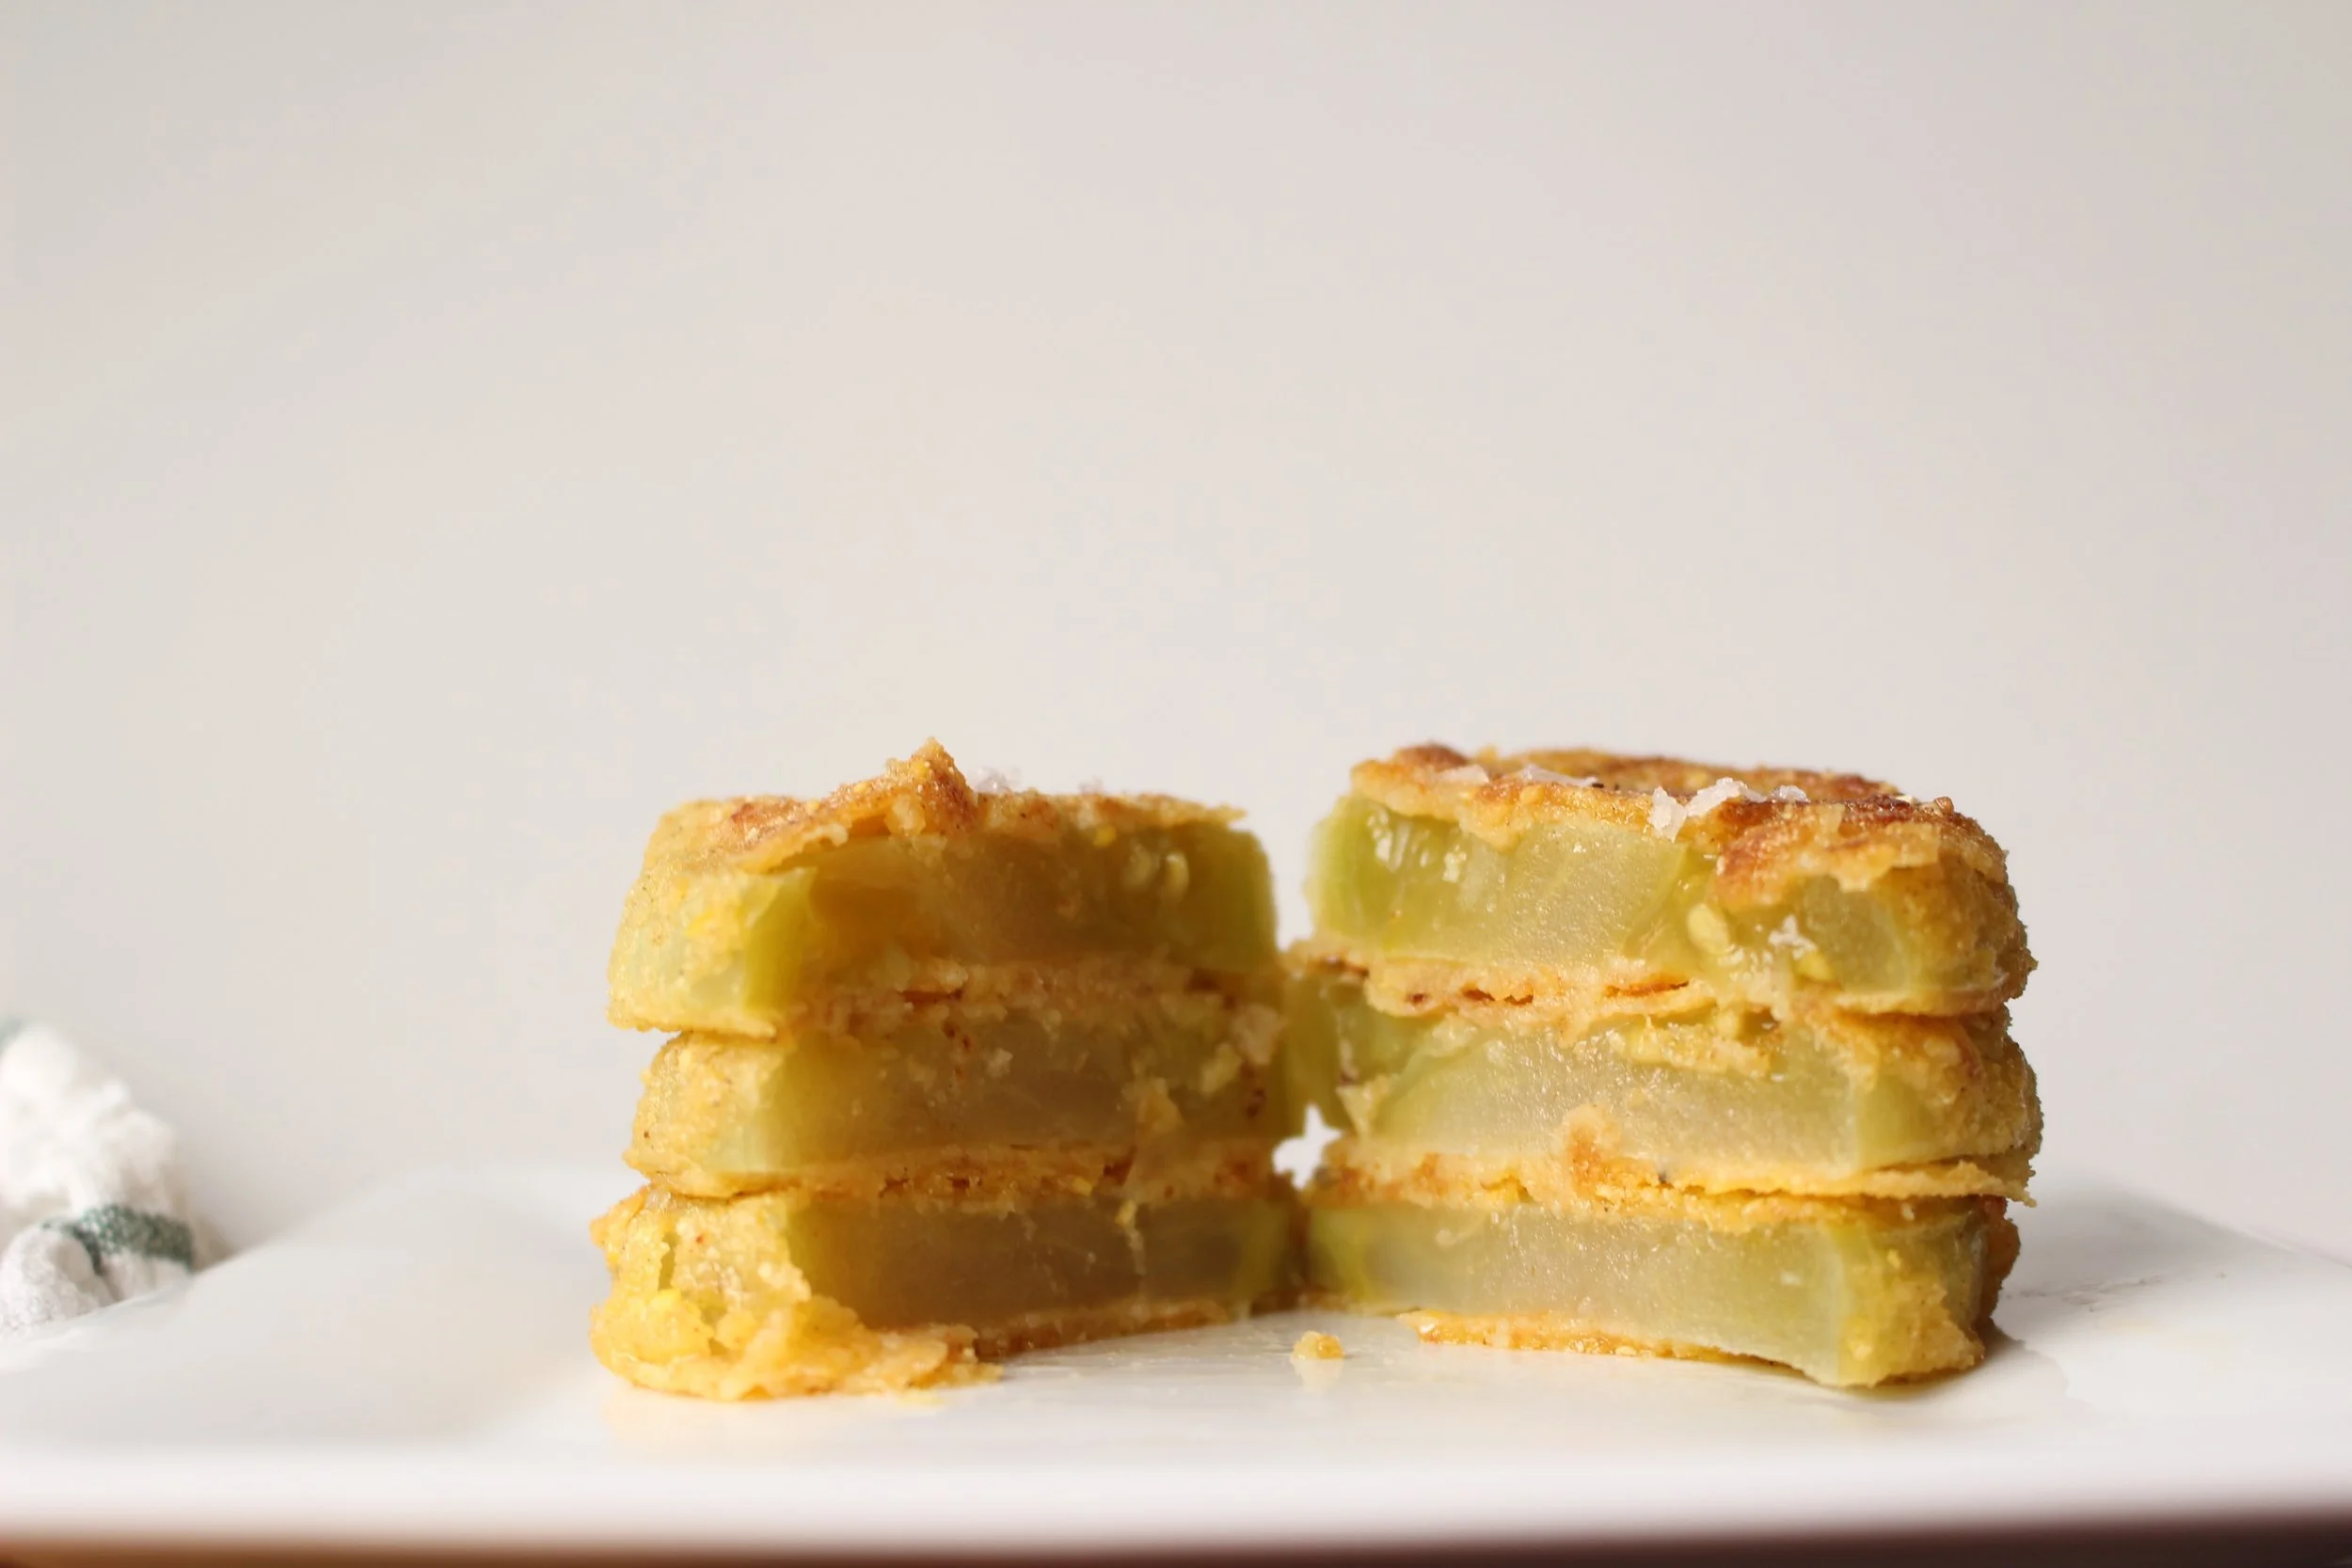
Fried green tomatoes
Time: Overnight + 25-30 minutes active cooking
Yield: about 9-16 tomato slices, depending on how big your tomatoes are
3-4 large green tomatoes, sliced into ¼-inch thick slices, discarding the rounded bits*
1-2 cups milk (any fat content is fine)
1-2 Tbsp vinegar (white or apple cider)
2 tsp salt, divided
1 cup finely ground cornmeal
1/2 tsp paprika
1/2 tsp garlic powder
Ground pepper, to taste
1/4 cup avocado or canola oil
Course sea salt
Thinly slice off the round side bits of the tomato. Slice the rest into 1/4-inch slices. Place the tomatoes in a container with a lid and cover them with milk and vinegar. Add 1 tsp salt, cover, and shake. Refrigerate for at least a few hours and up to 2 days.
Combine the corn meal, remaining 1 tsp salt, paprika, garlic powder, and pepper in a large container. Set aside.
Heat avocado oil until very hot.
Shake off excess buttermilk from 1-2 tomato slices at a time and place them in the cornmeal mixture. Cover both sides well, but shake off any excess cornmeal that seems like it’s caking.
When the oil is hot (you’ll know it’s hot enough when you add a few flecks of corn meal and it immediately starts bubbling), add as many tomatoes as will fit in your pan without touching, and fry them until golden brown. Flip over and cook the other side. When second side reaches golden brown, remove to a paper towel and sprinkle with coarse sea salt.

Almond butter quinoa muffins
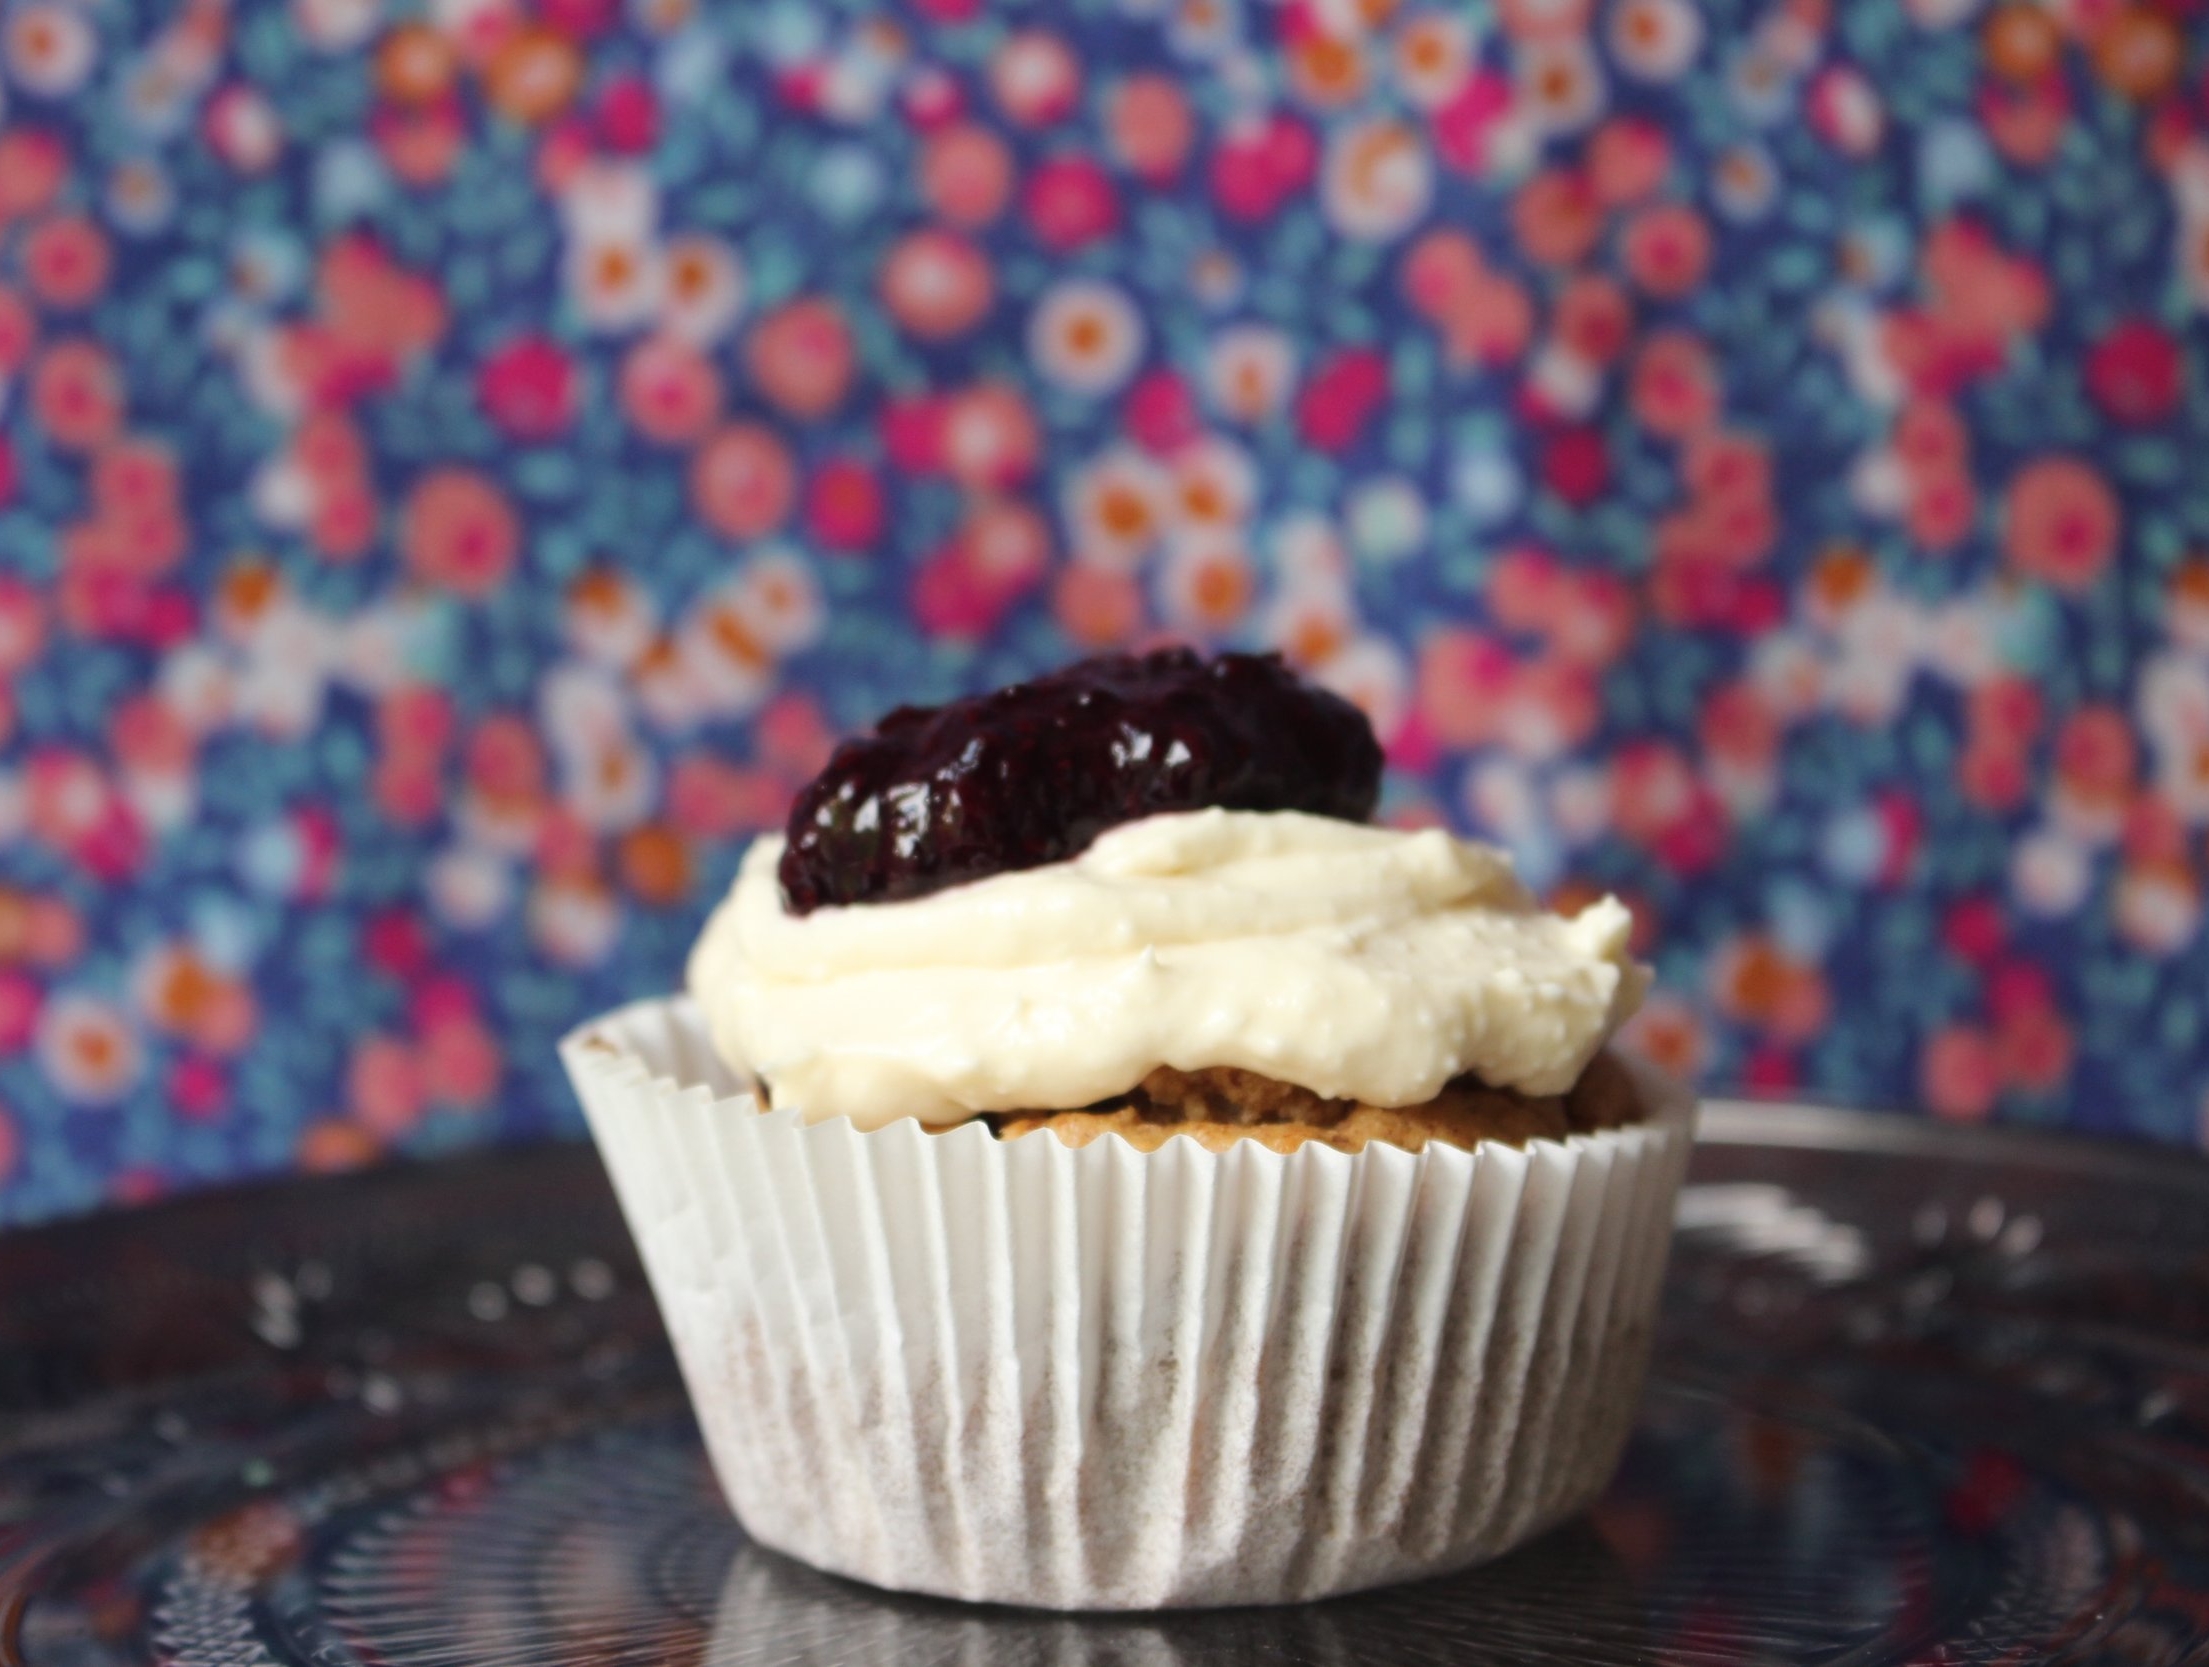
What these muffins have: Good fats, protein, Omega-3s, deliciousness.
What these muffins don't have: Gluten, dairy, refined sugar, wheat, eggs, soy.
Bonus feature: The muffins only require one bowl!
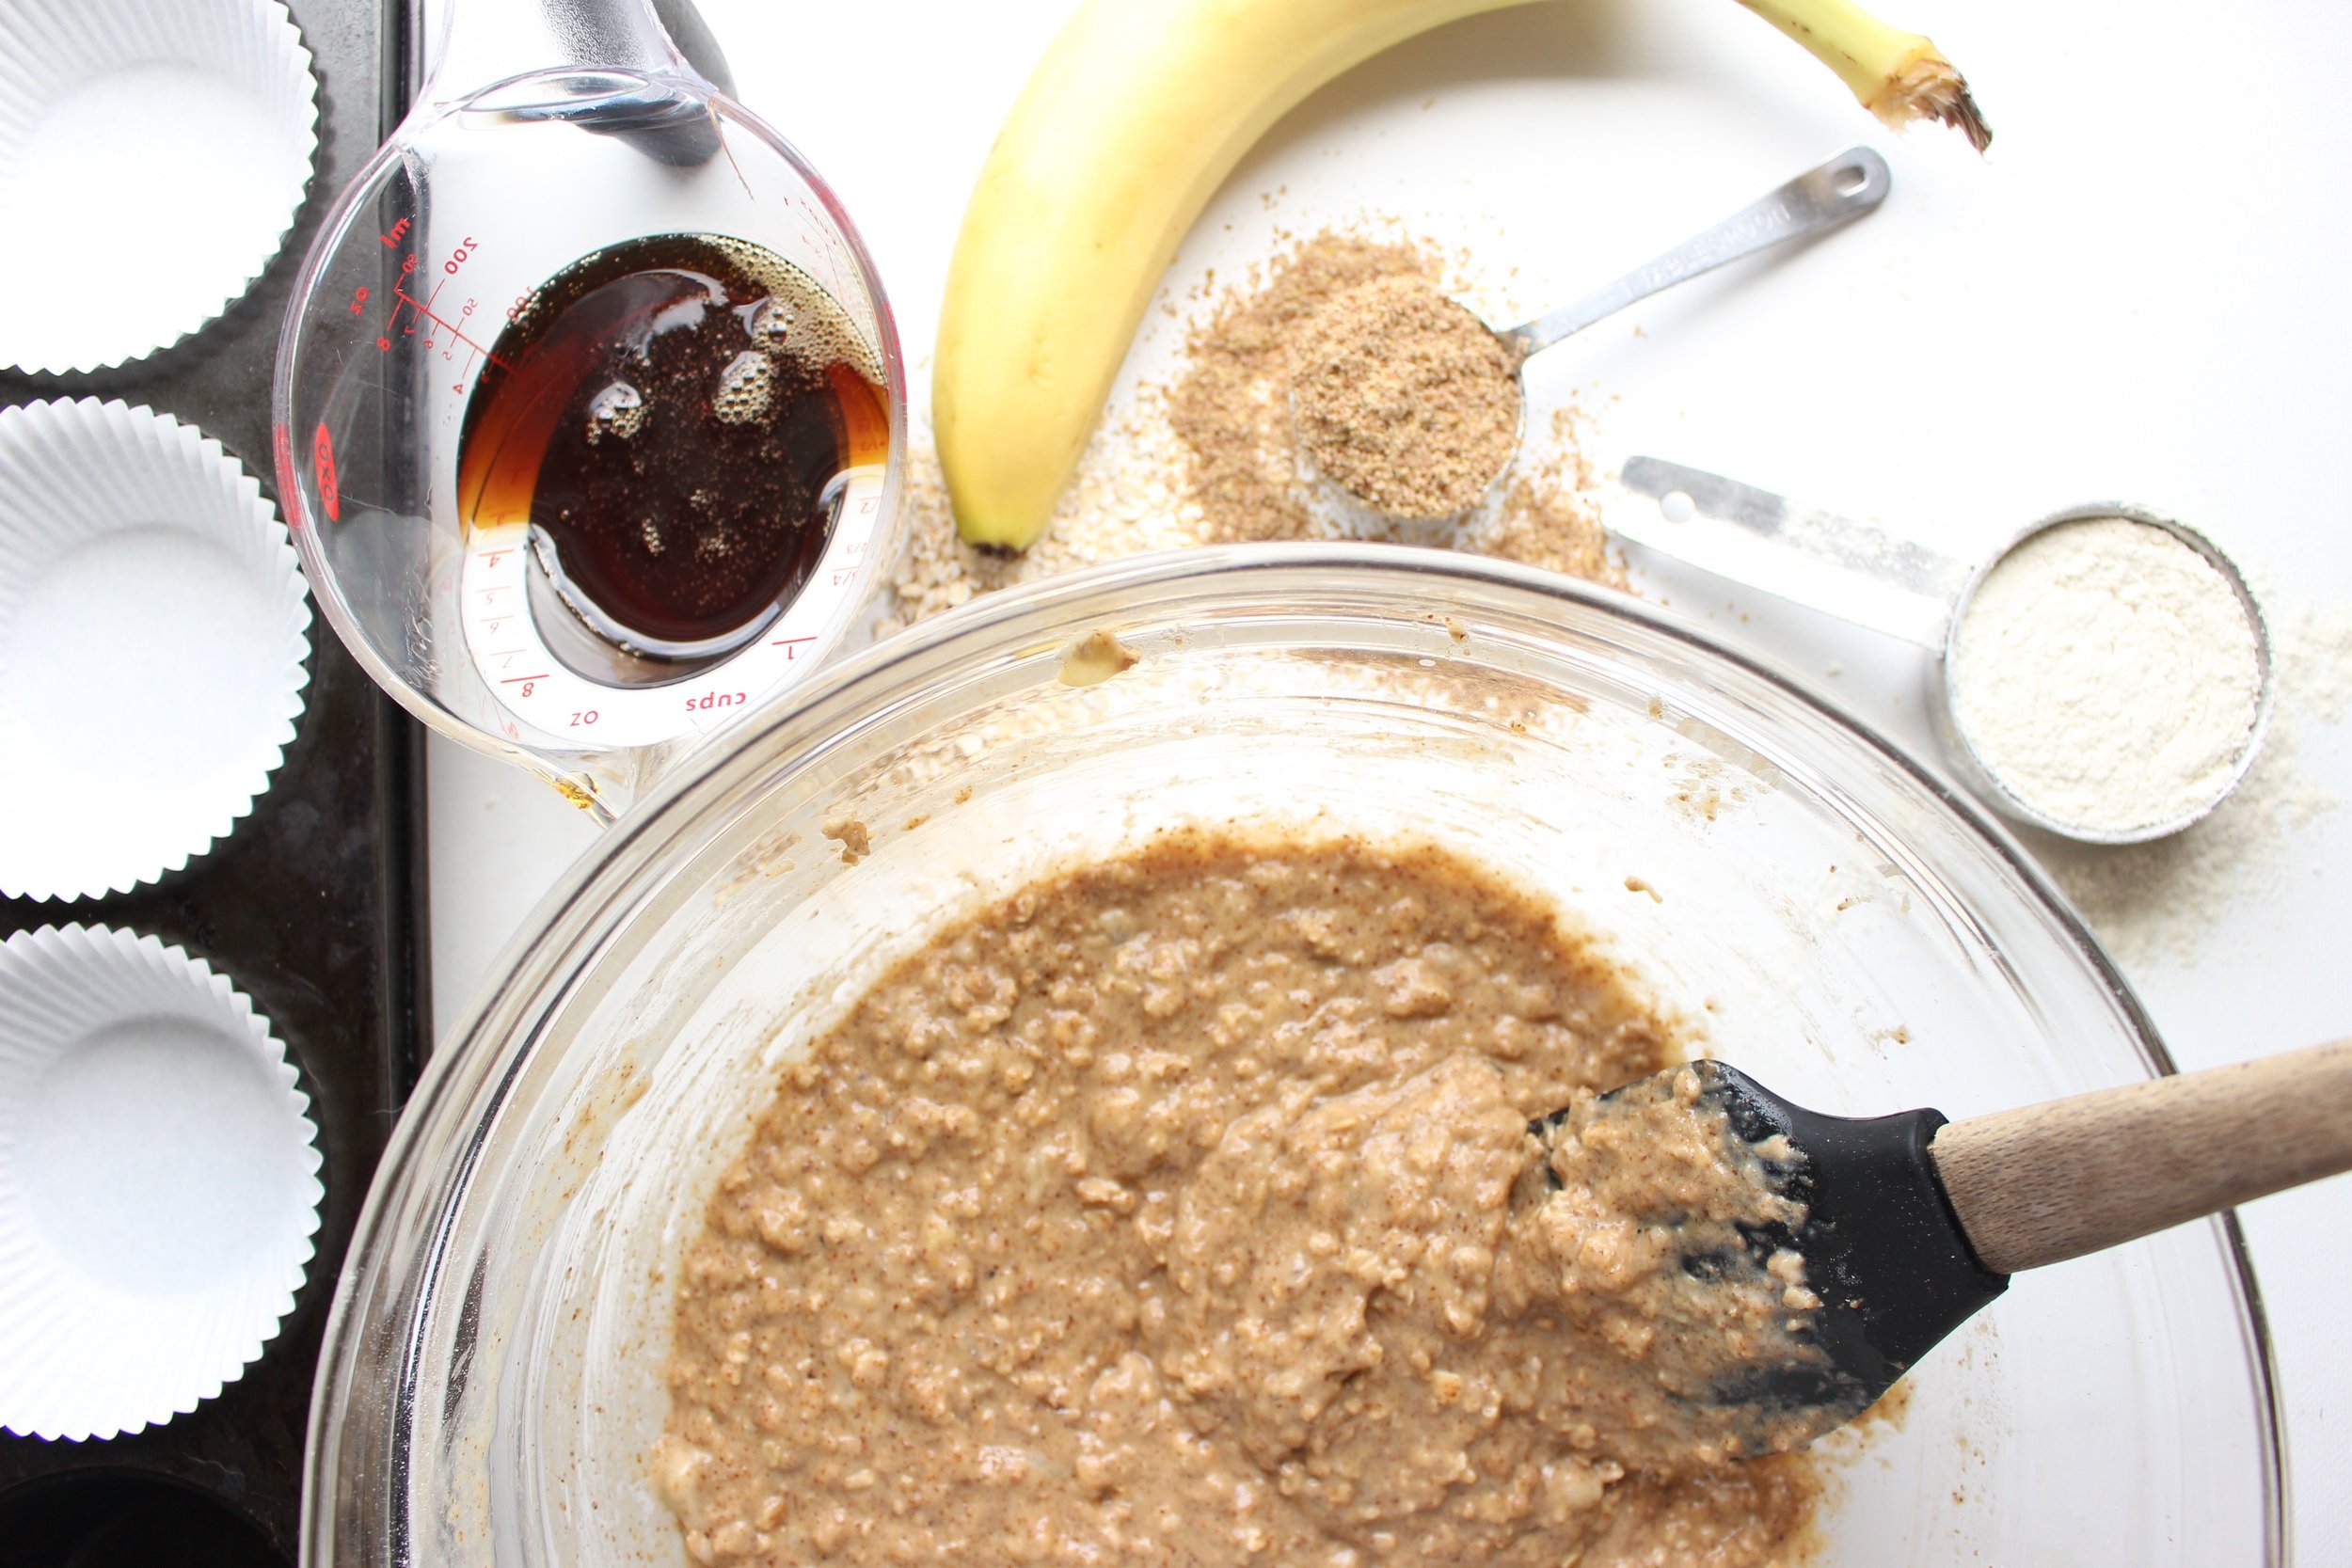
The new school year already started for lots of the country, but here in CT, M's preschool starts again on Monday. I've been thinking about quick ways to begin our day with protein that don't require cooking in the morning. These muffins are the answer!
Half of the flour is ground quinoa, which has lots of protein. The other half is oatmeal. I originally made these muffins with almond flour instead of oats for even more protein, but the almond flour was so dense that the muffins stuck to the roof of your mouth. You could just feed your kid a spoonful of almond butter and save yourself the trouble.

With the oatmeal, the muffins are still substantial, but they're no longer dense. They're actually a smidge crumbly because I omitted eggs and any other binding agent. I wanted them to stay vegan and I don't always have the patience to make a flax egg. Letting them cool completely before eating them made them sturdier too.
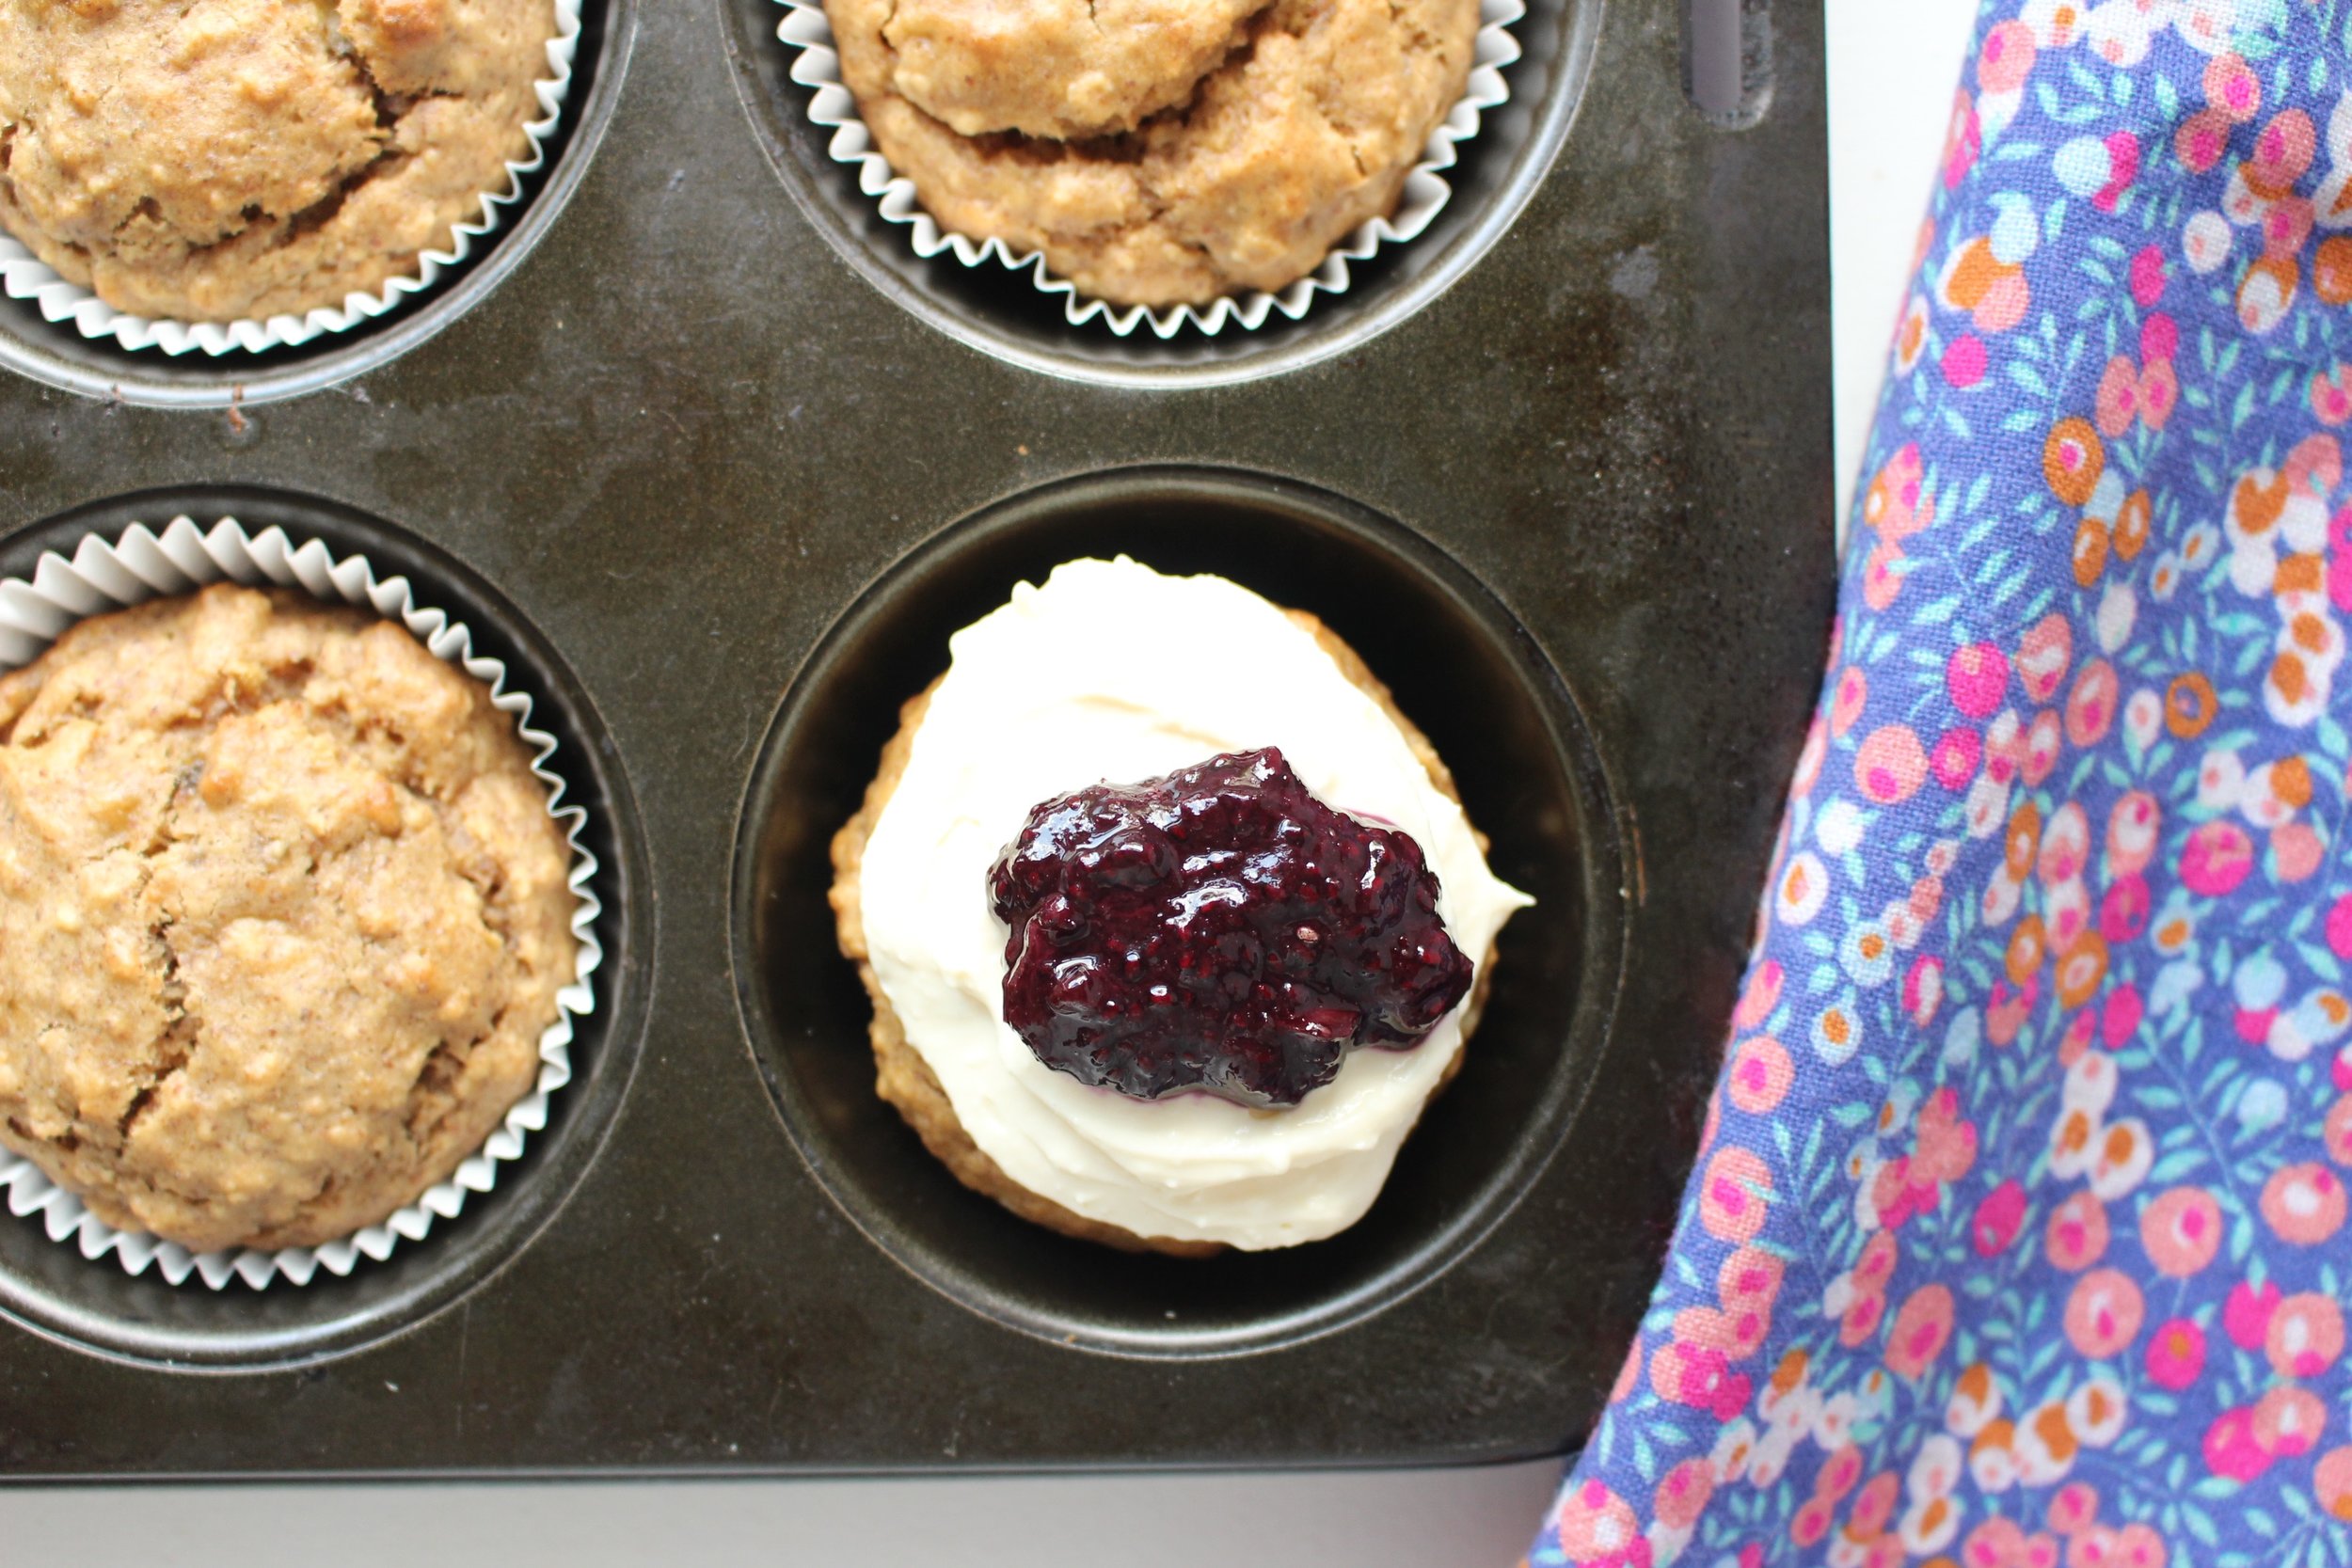

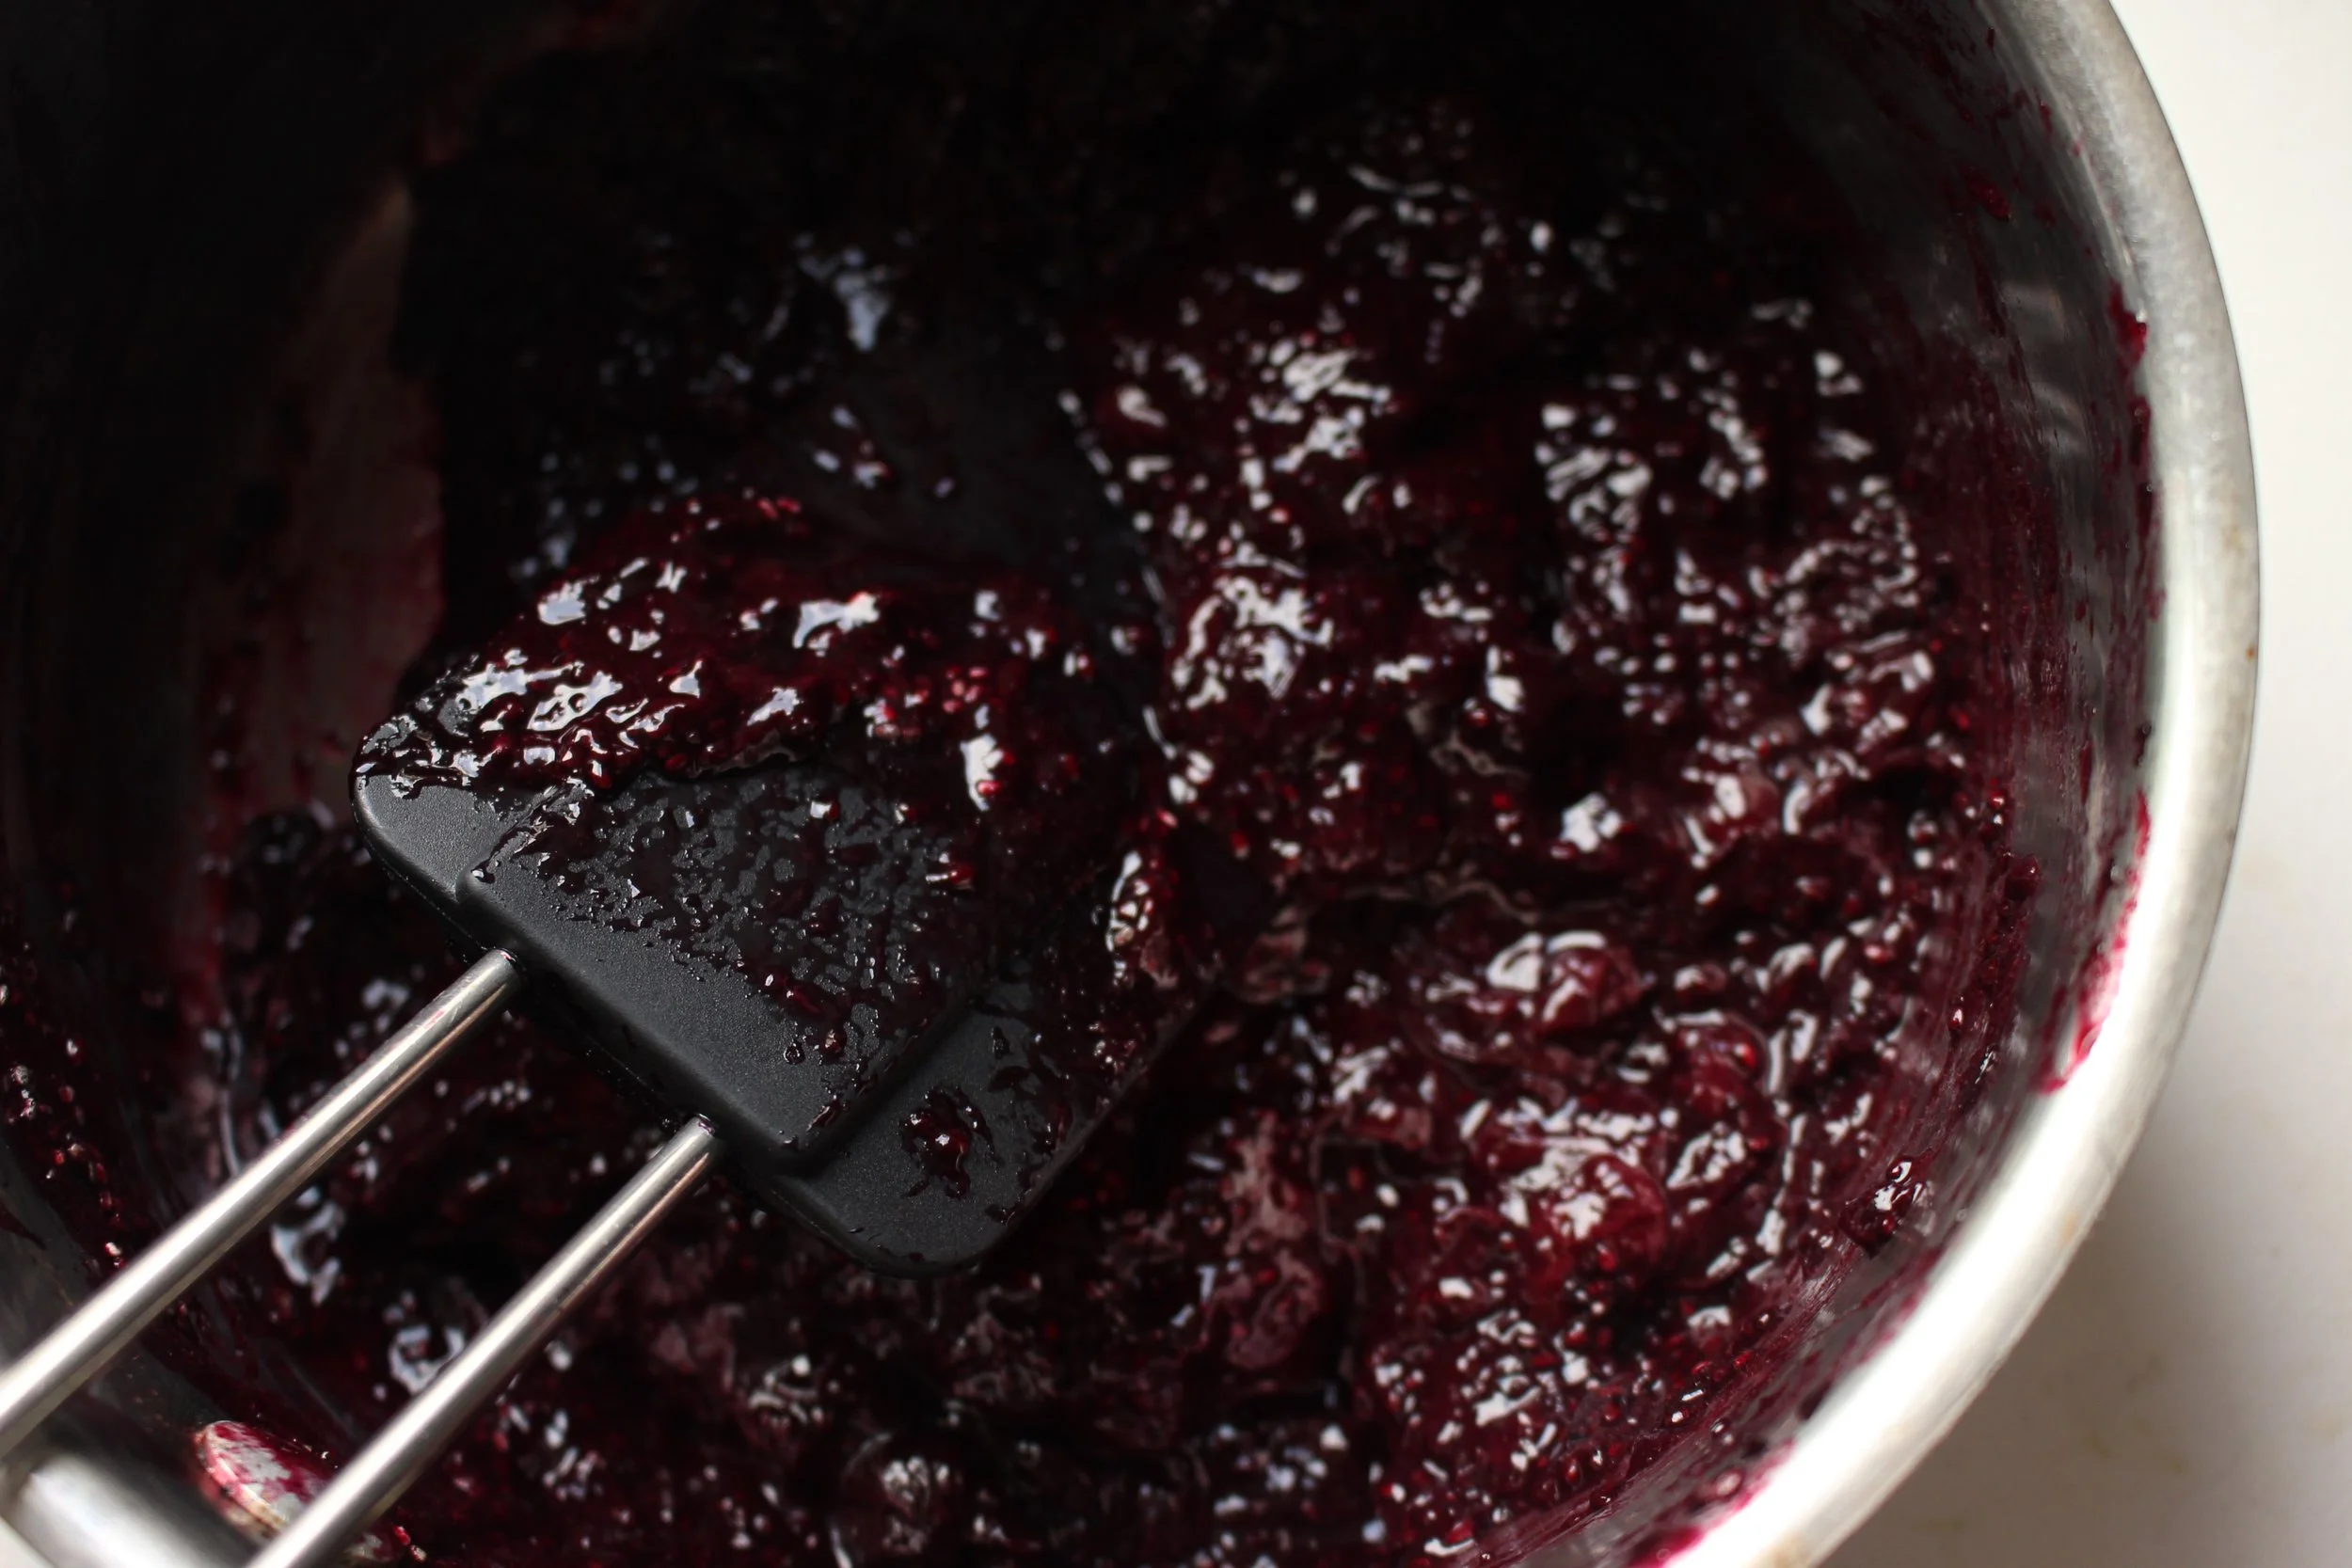
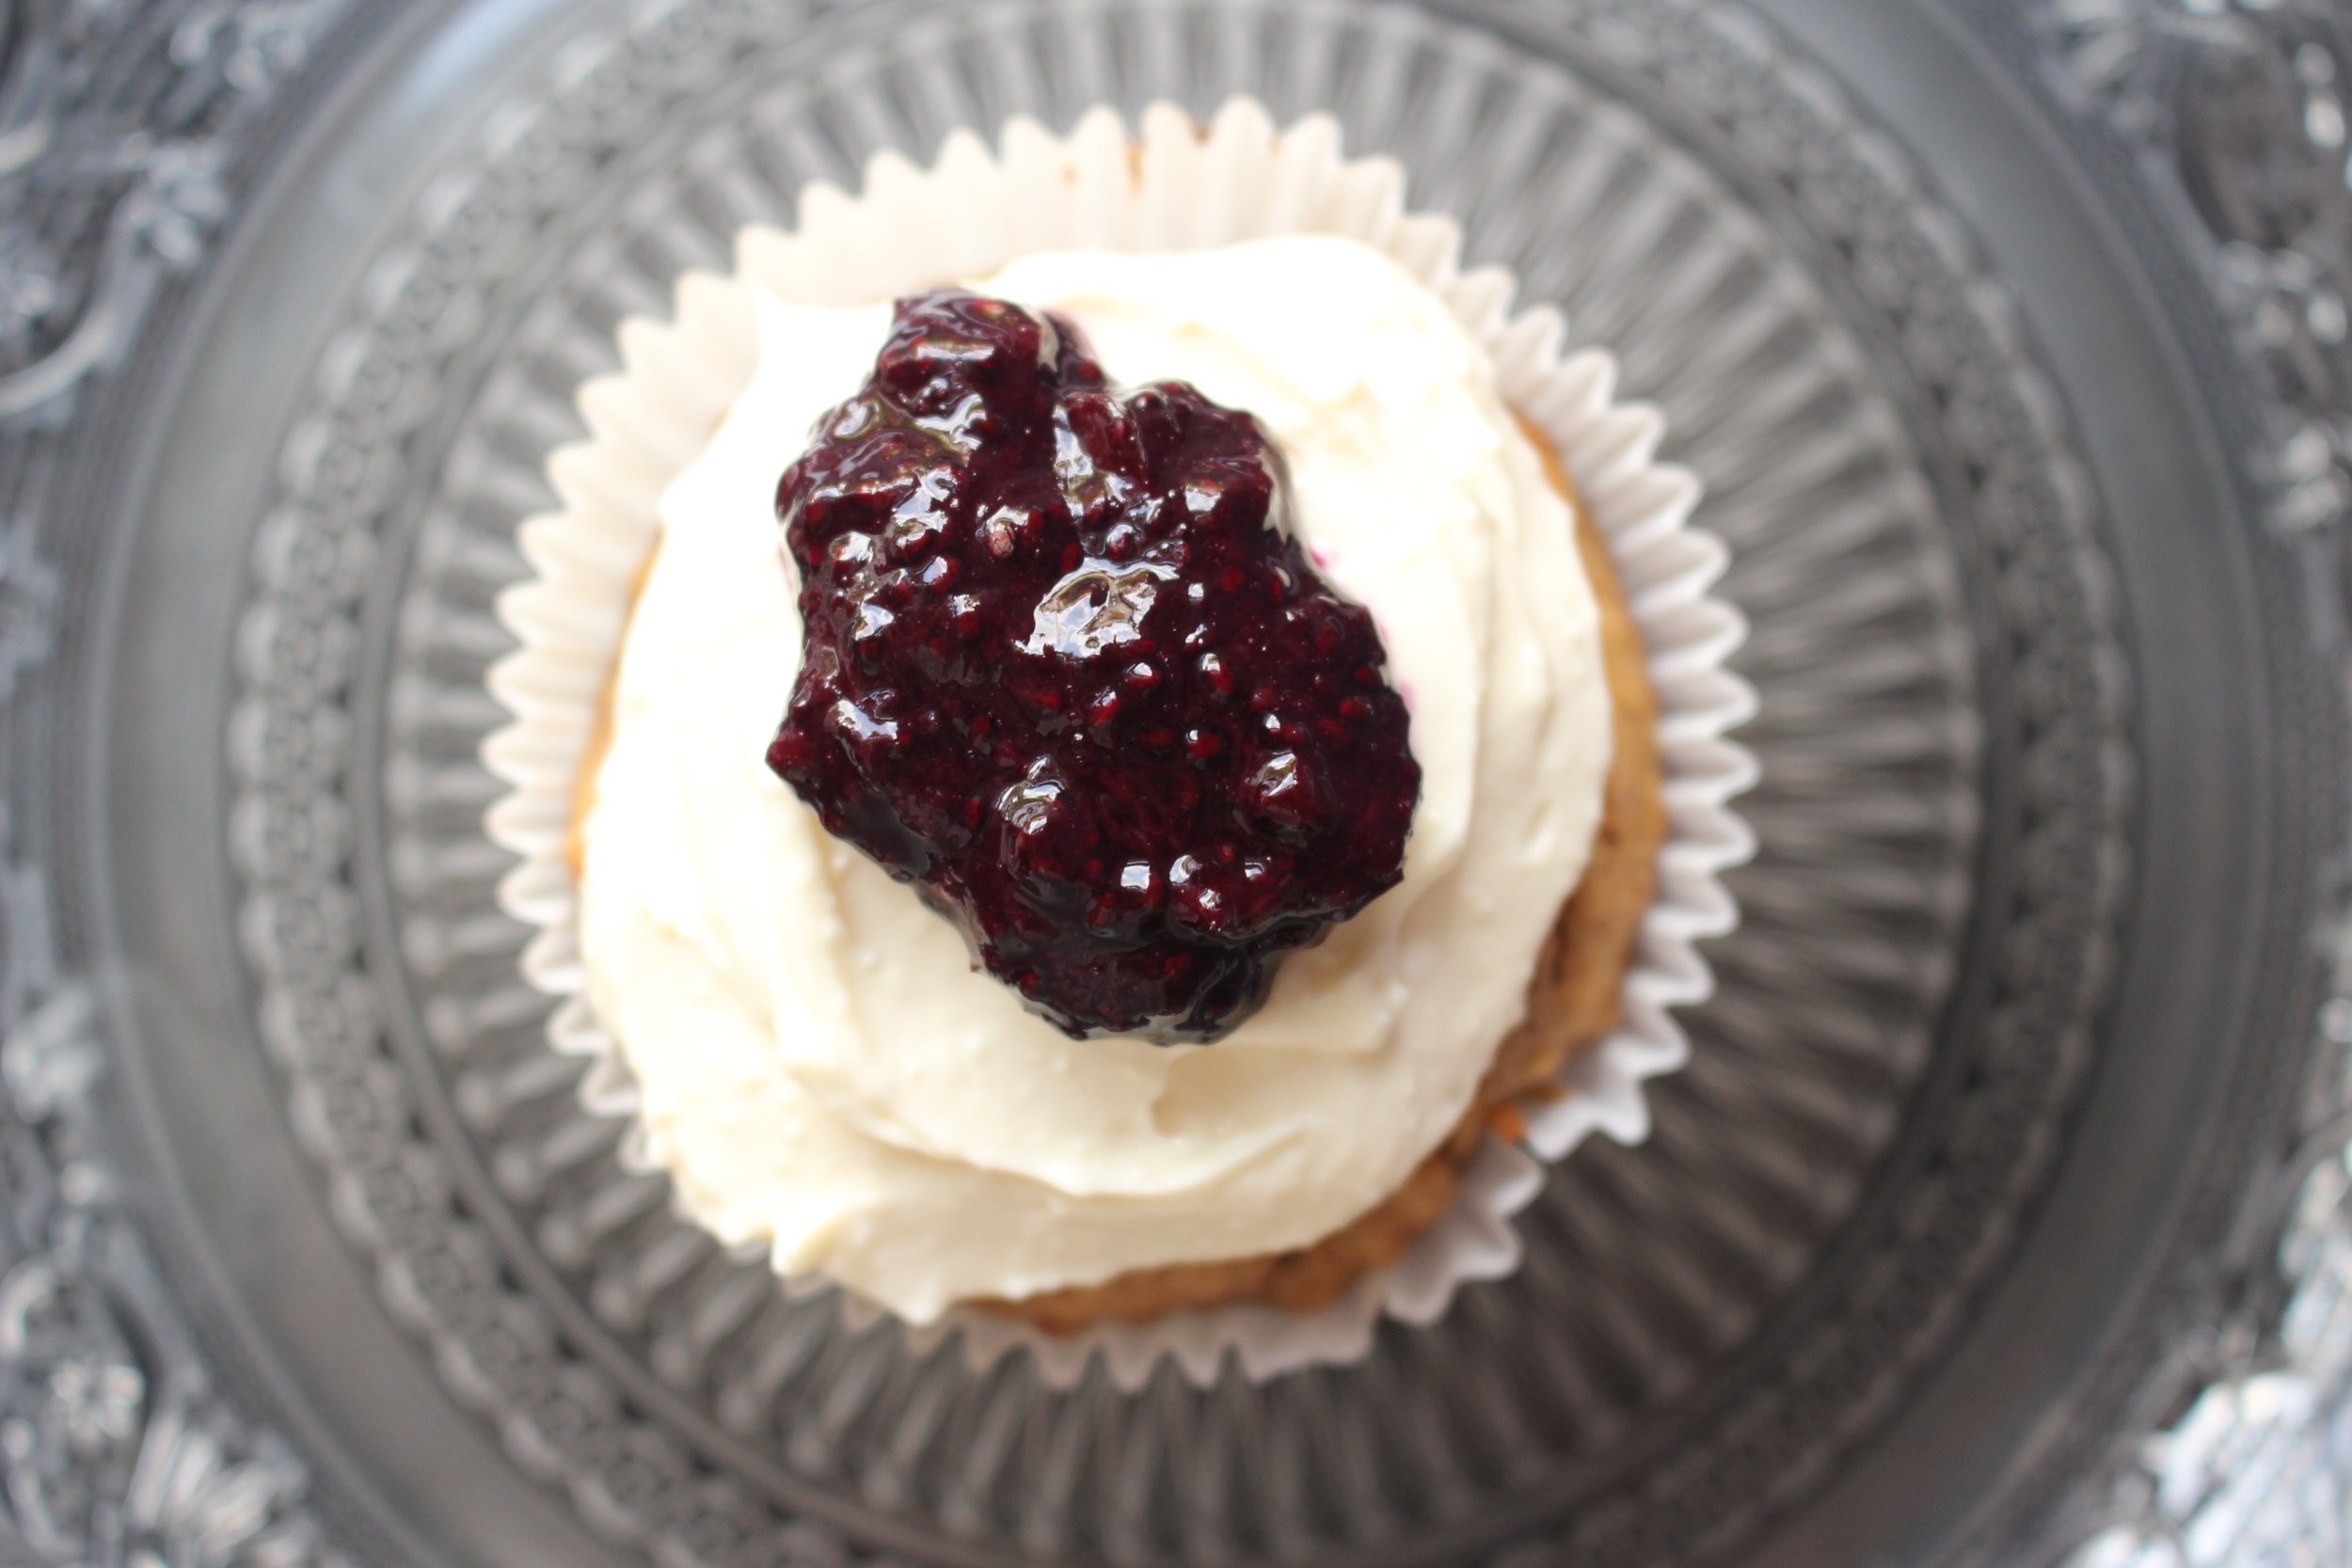
For the first day of school, I thought it might be nice to add some blueberry chia jam and a quick icing to make the muffins more special. (I also called them breakfast cupcakes, which went over VERY WELL.) The jam is simple and free of any added sugar. I used cream cheese and maple syrup for my frosting, but you could also use coconut cream or a pre-made dairy-free topping.
You could also mix the chia jam with some yogurt for a delicious breakfast for the younger set (or the parental set, if I'm honest).
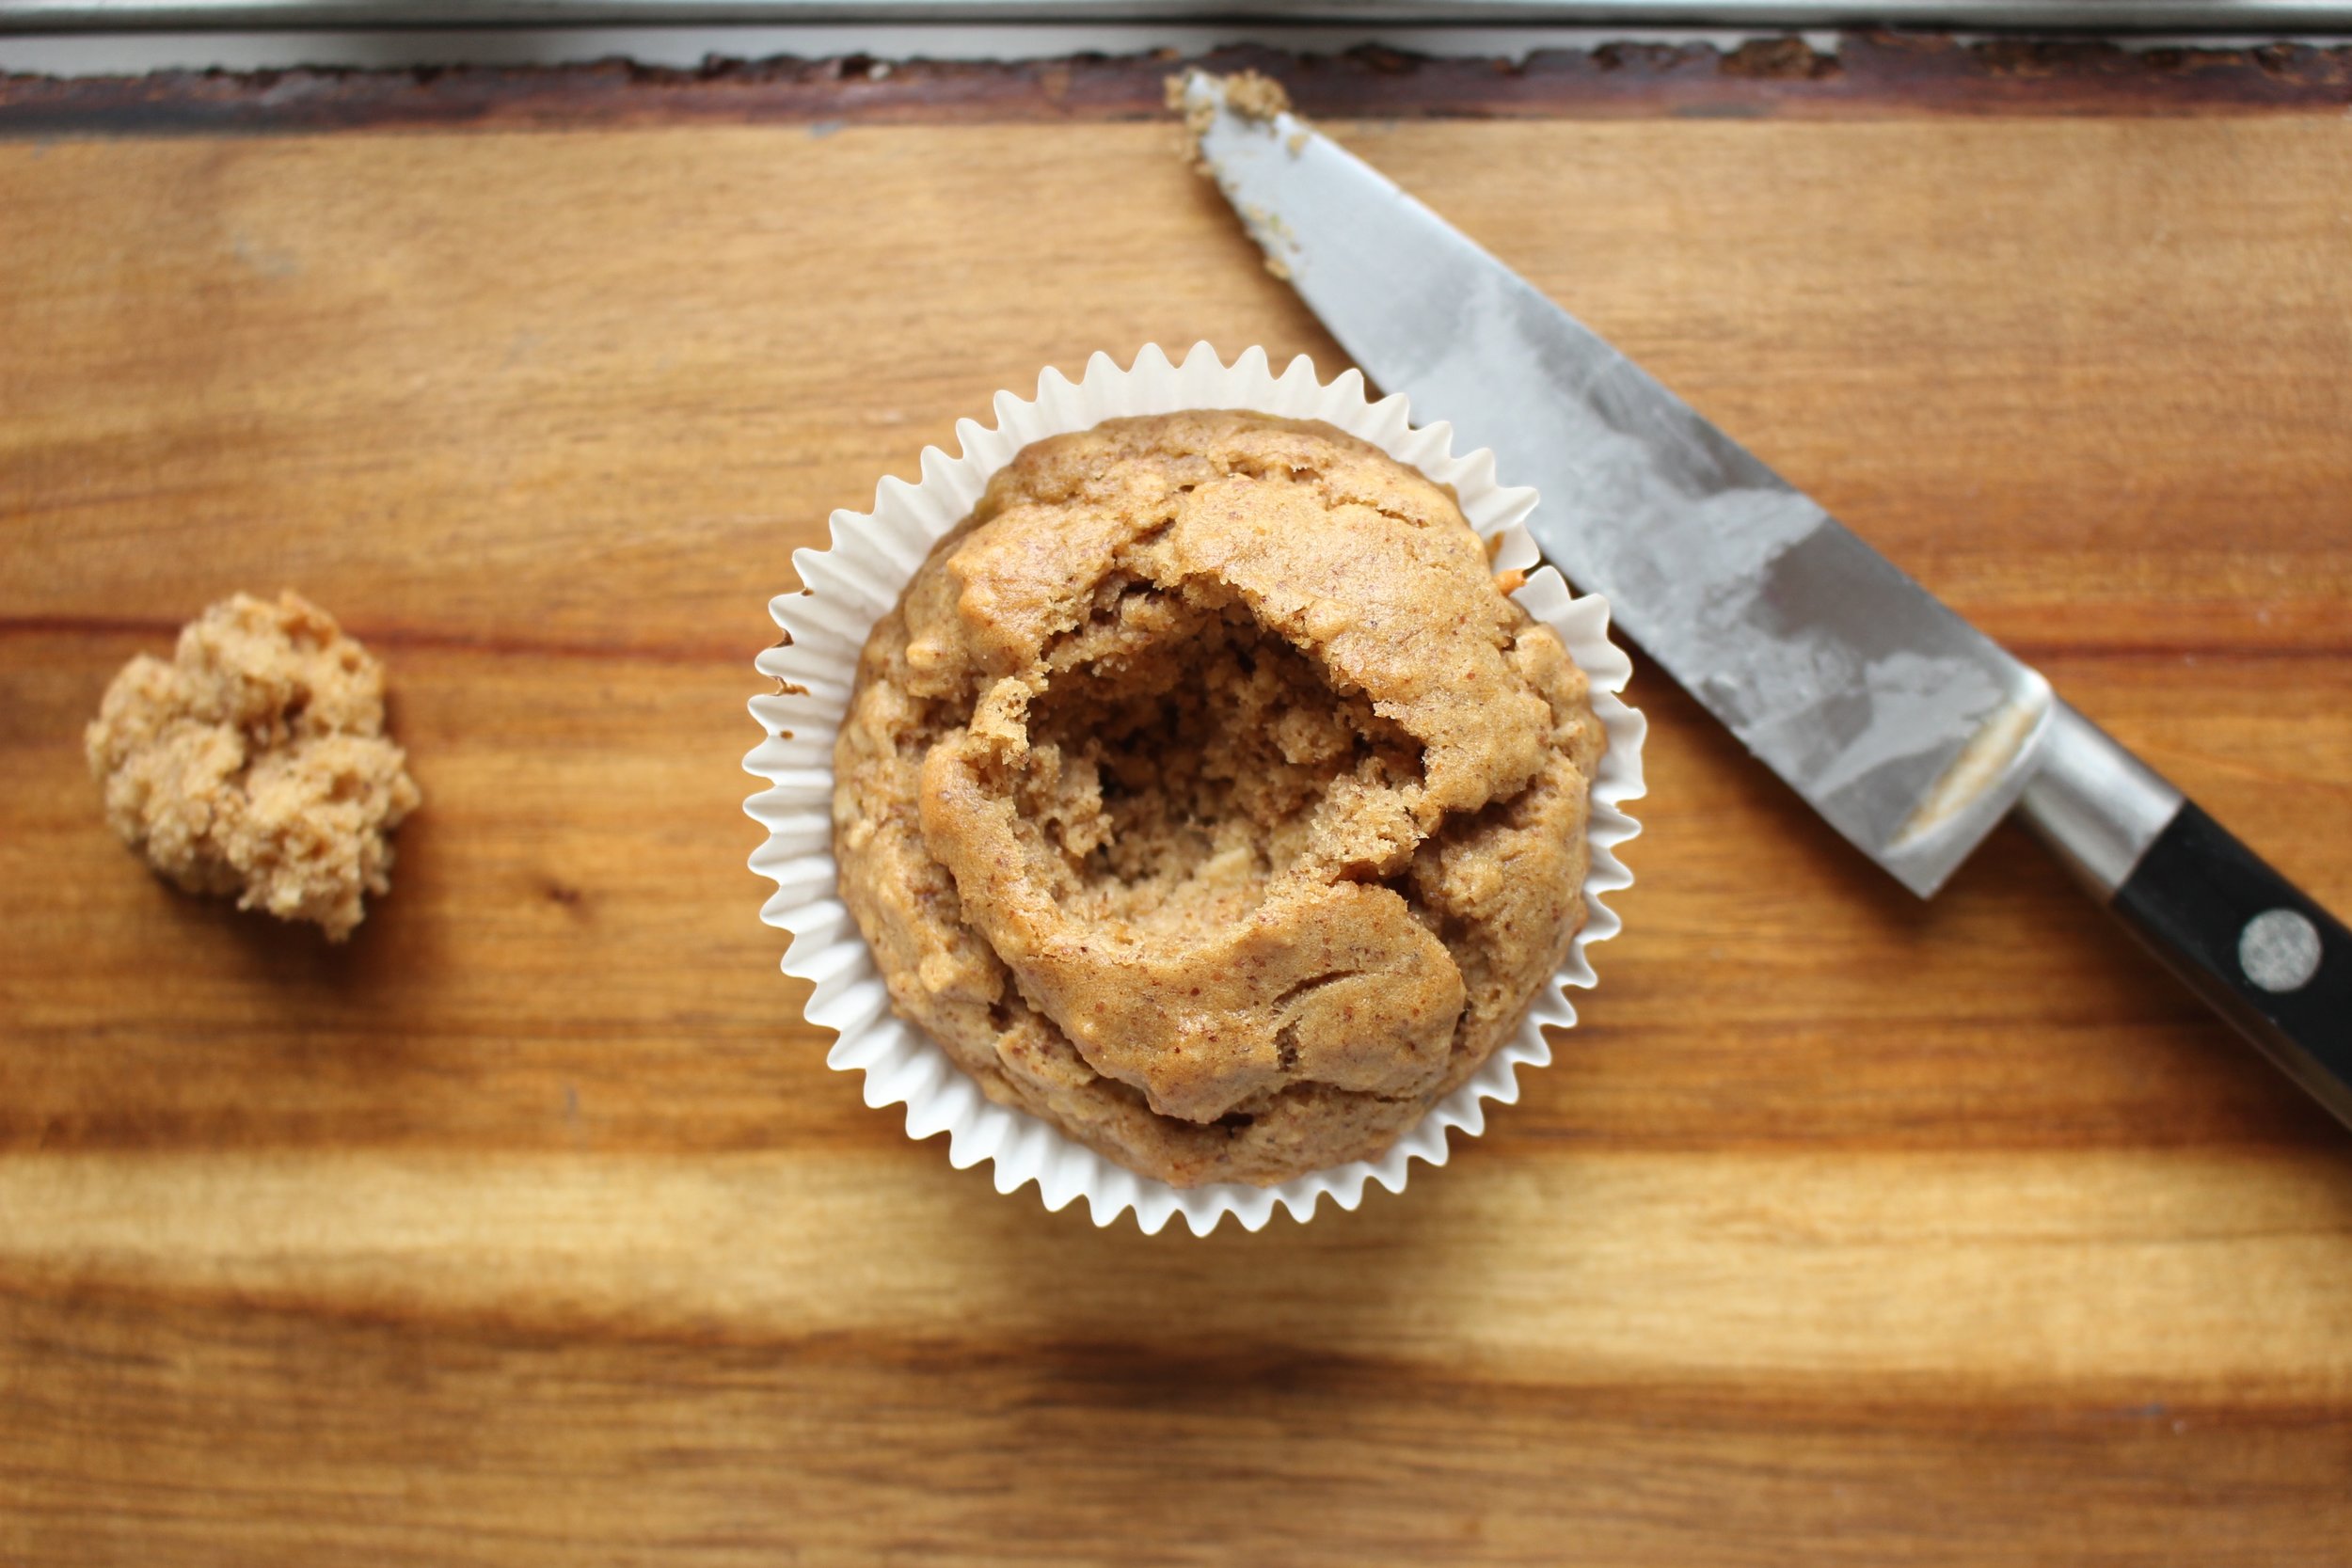
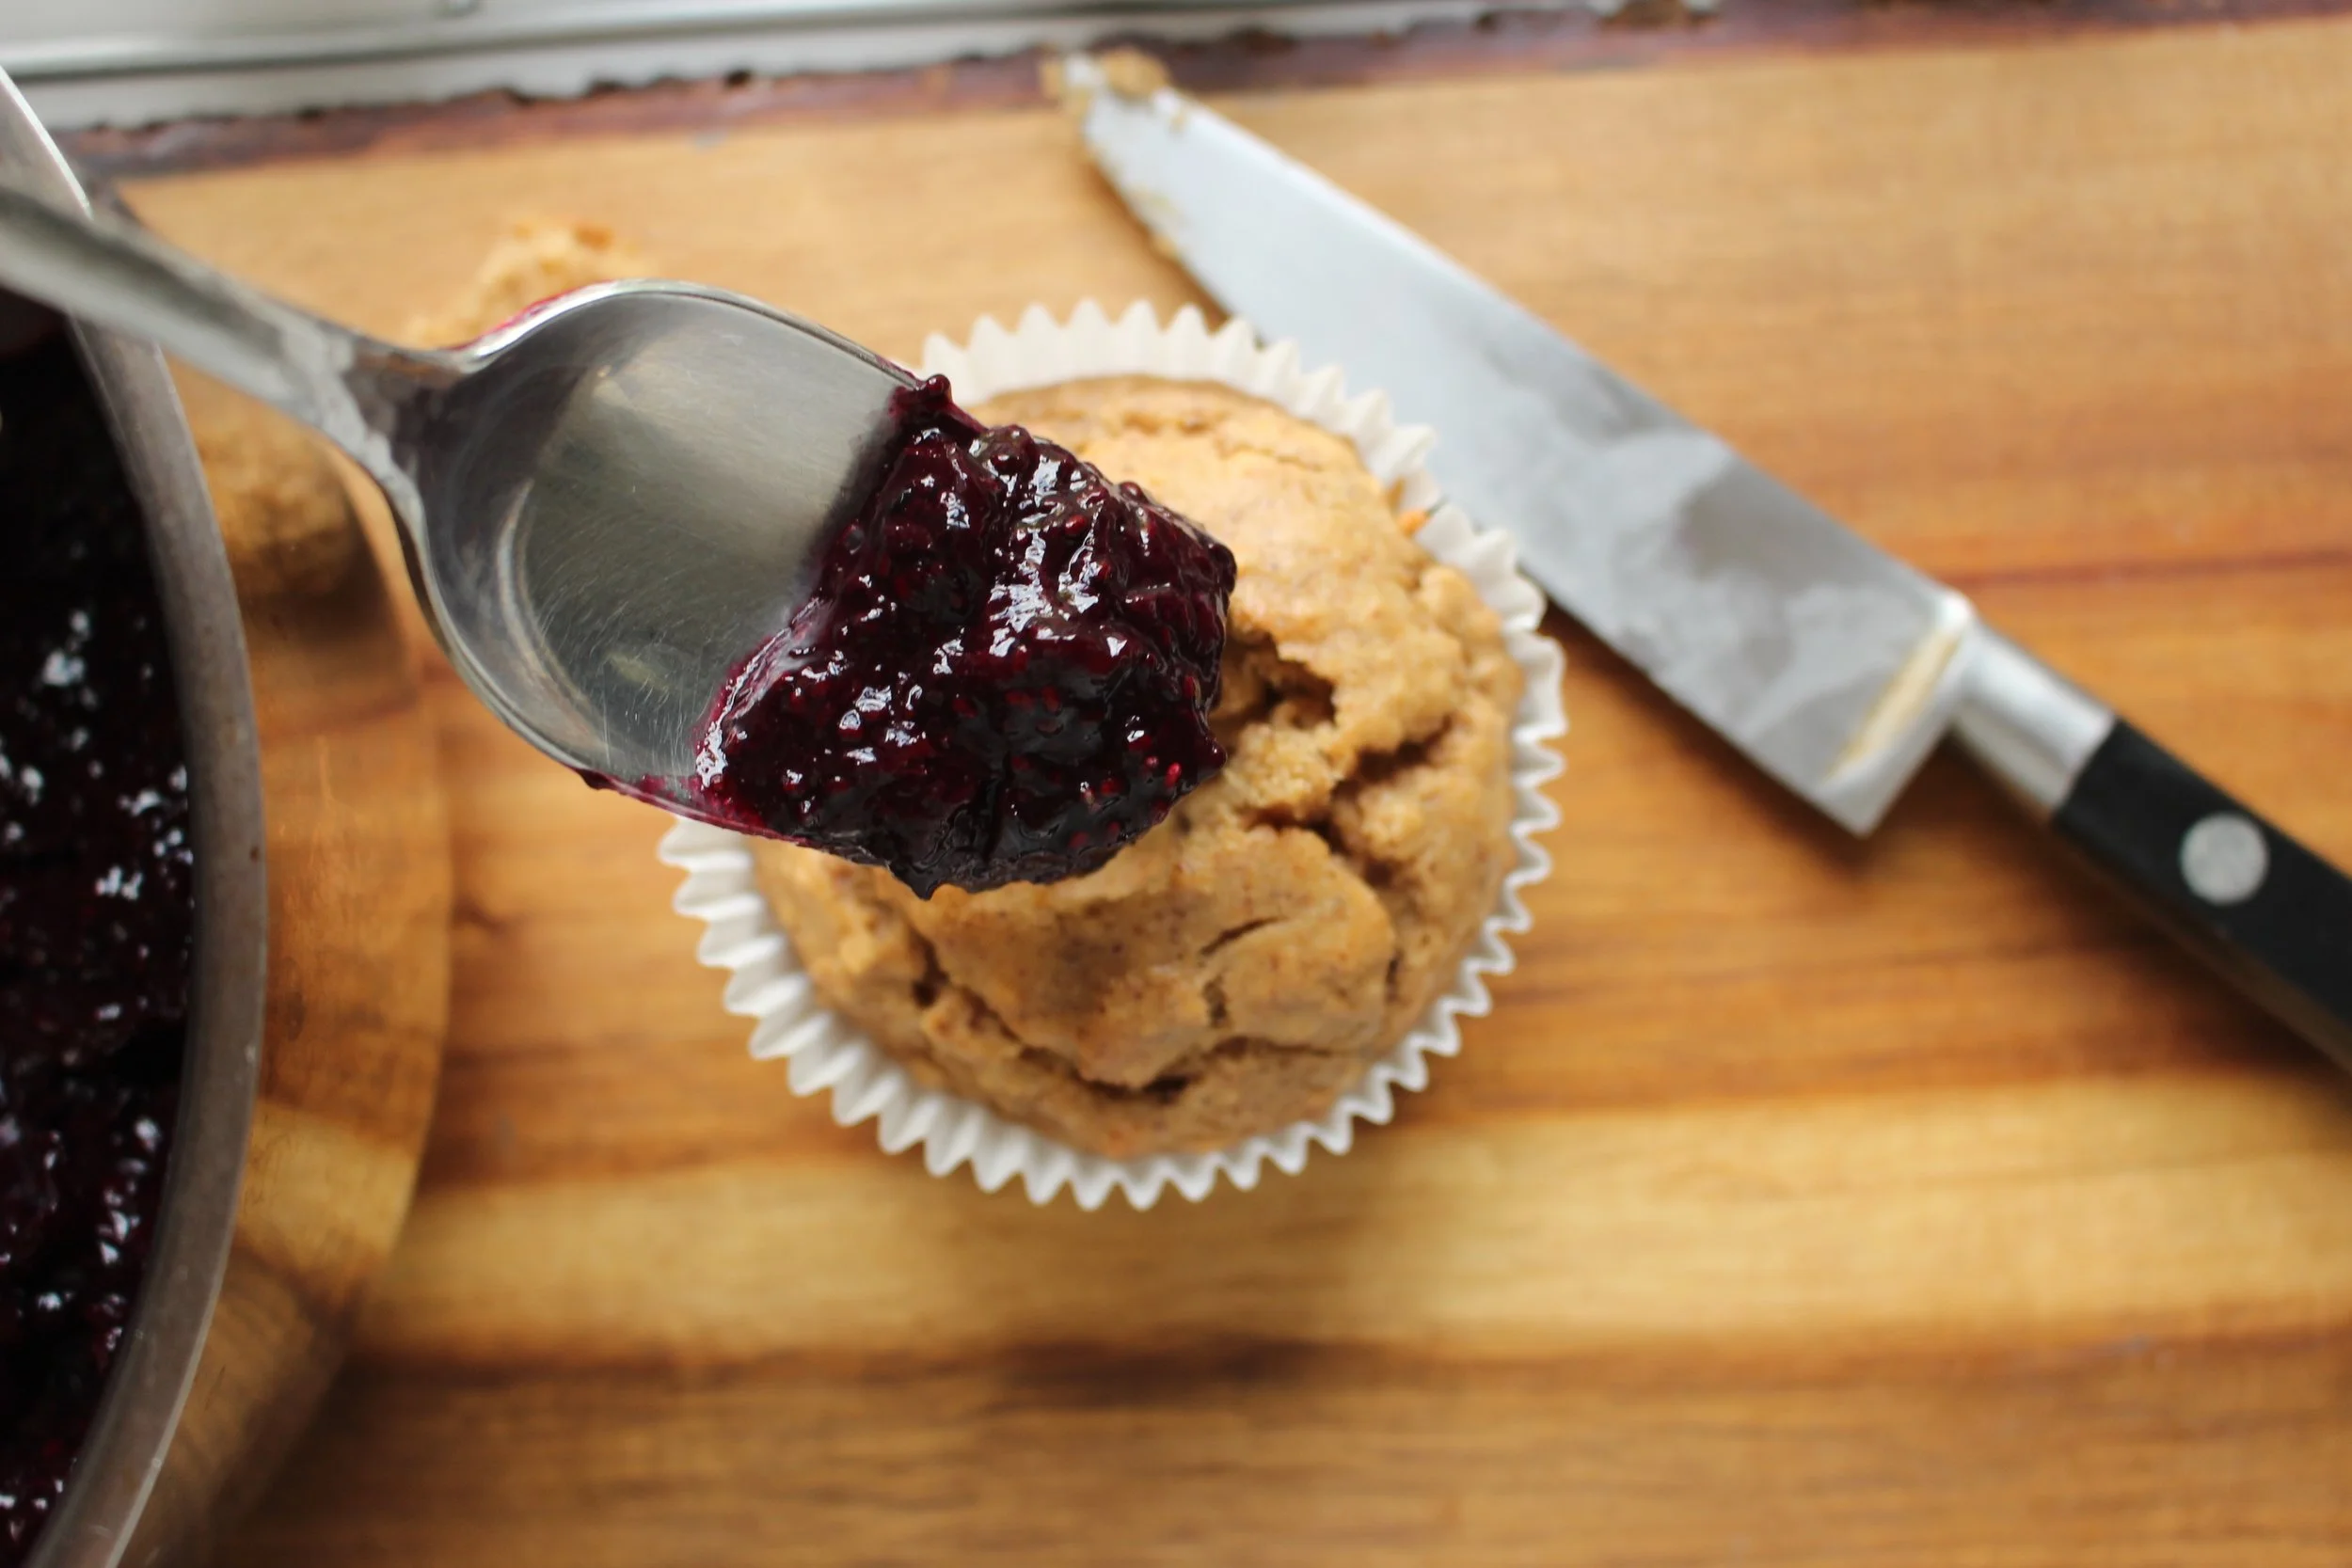
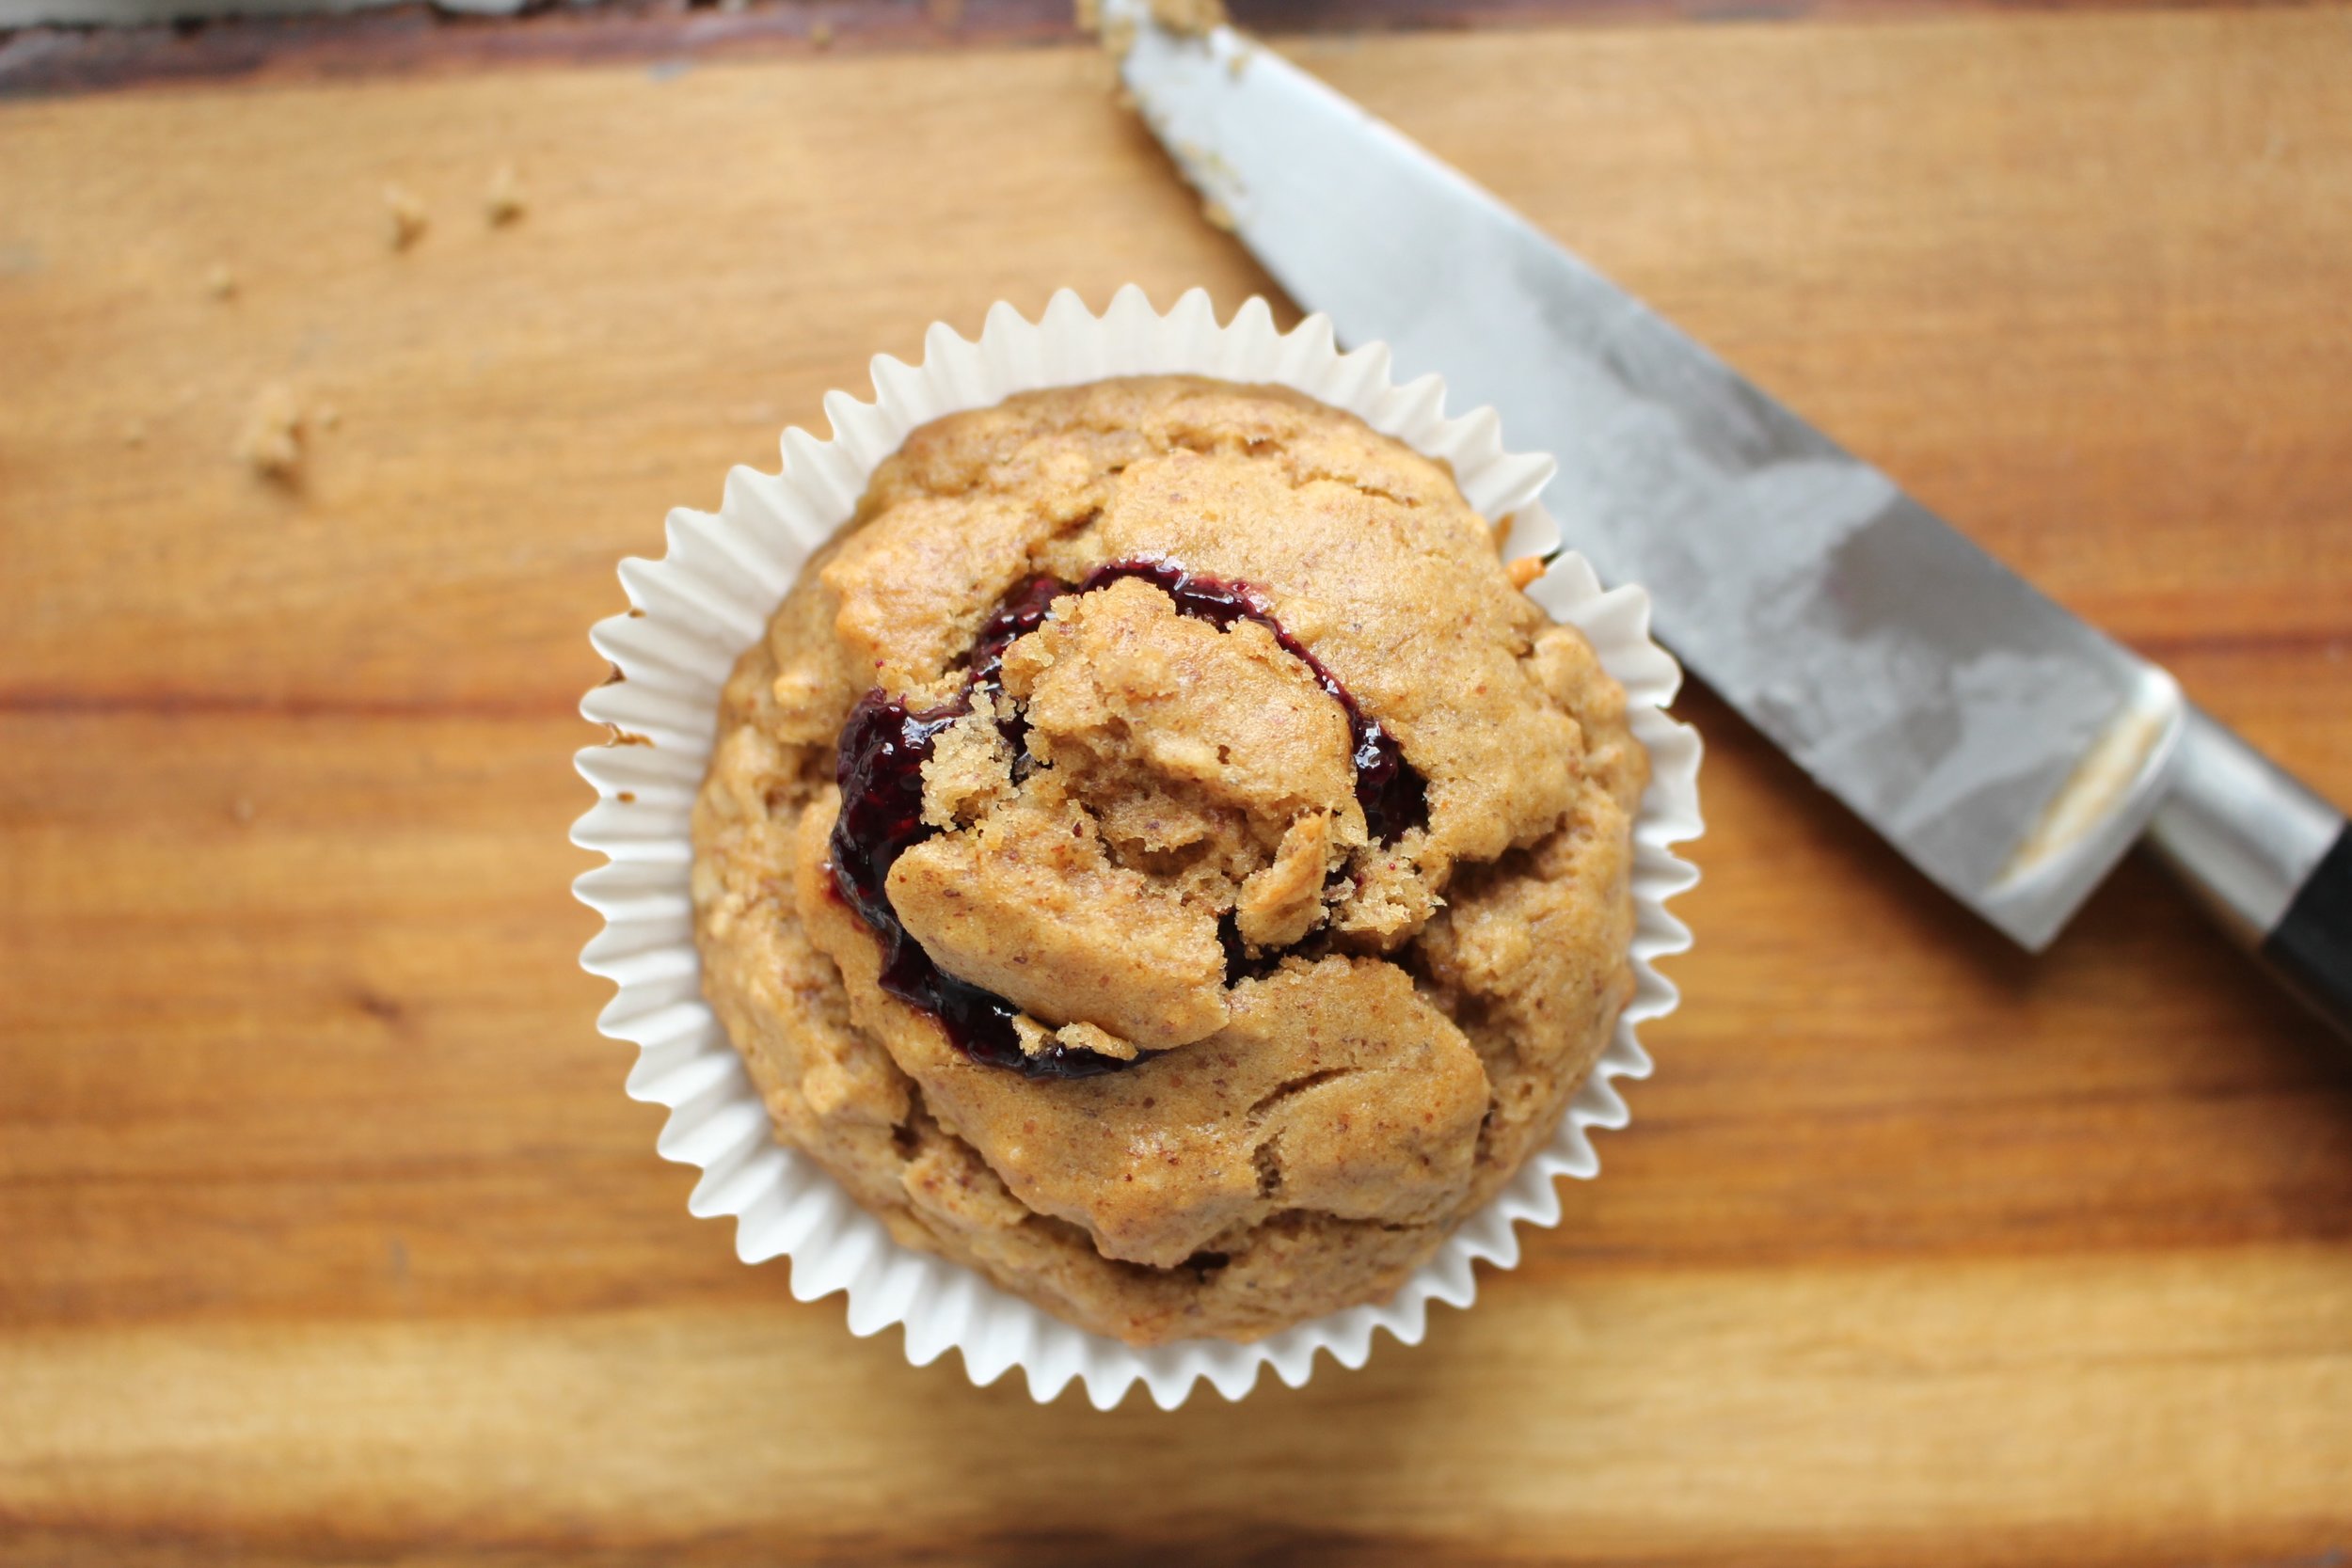
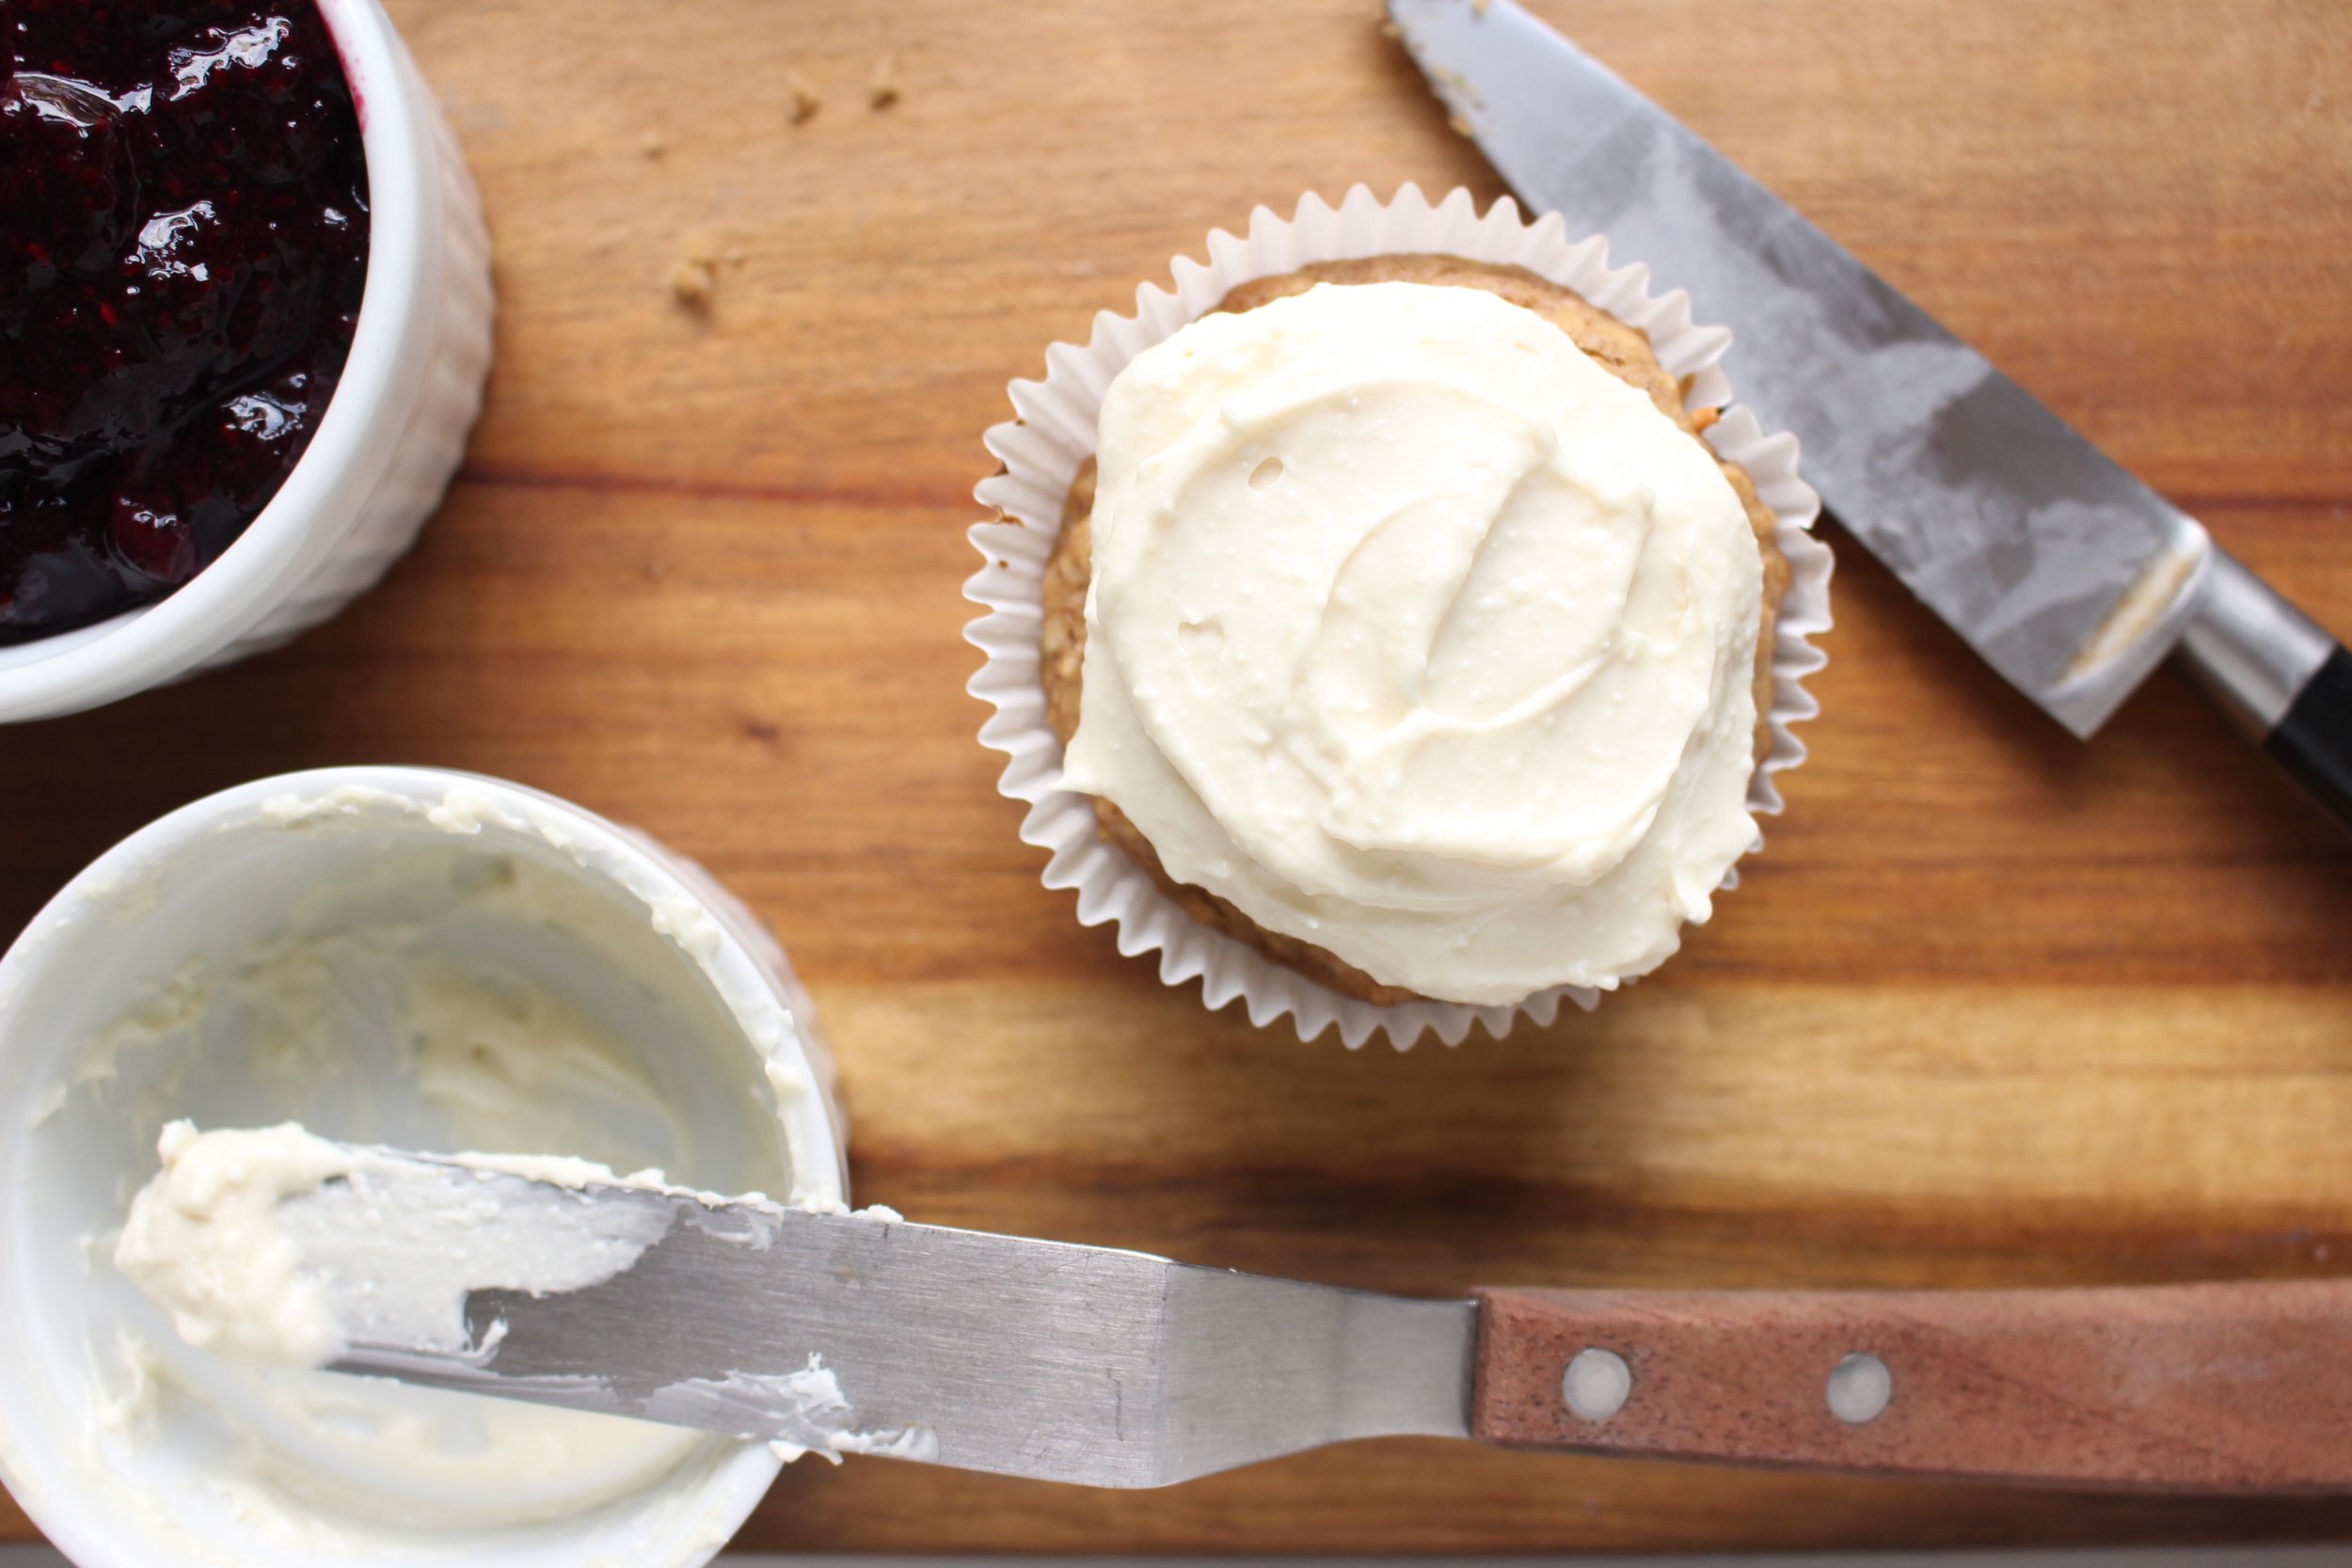
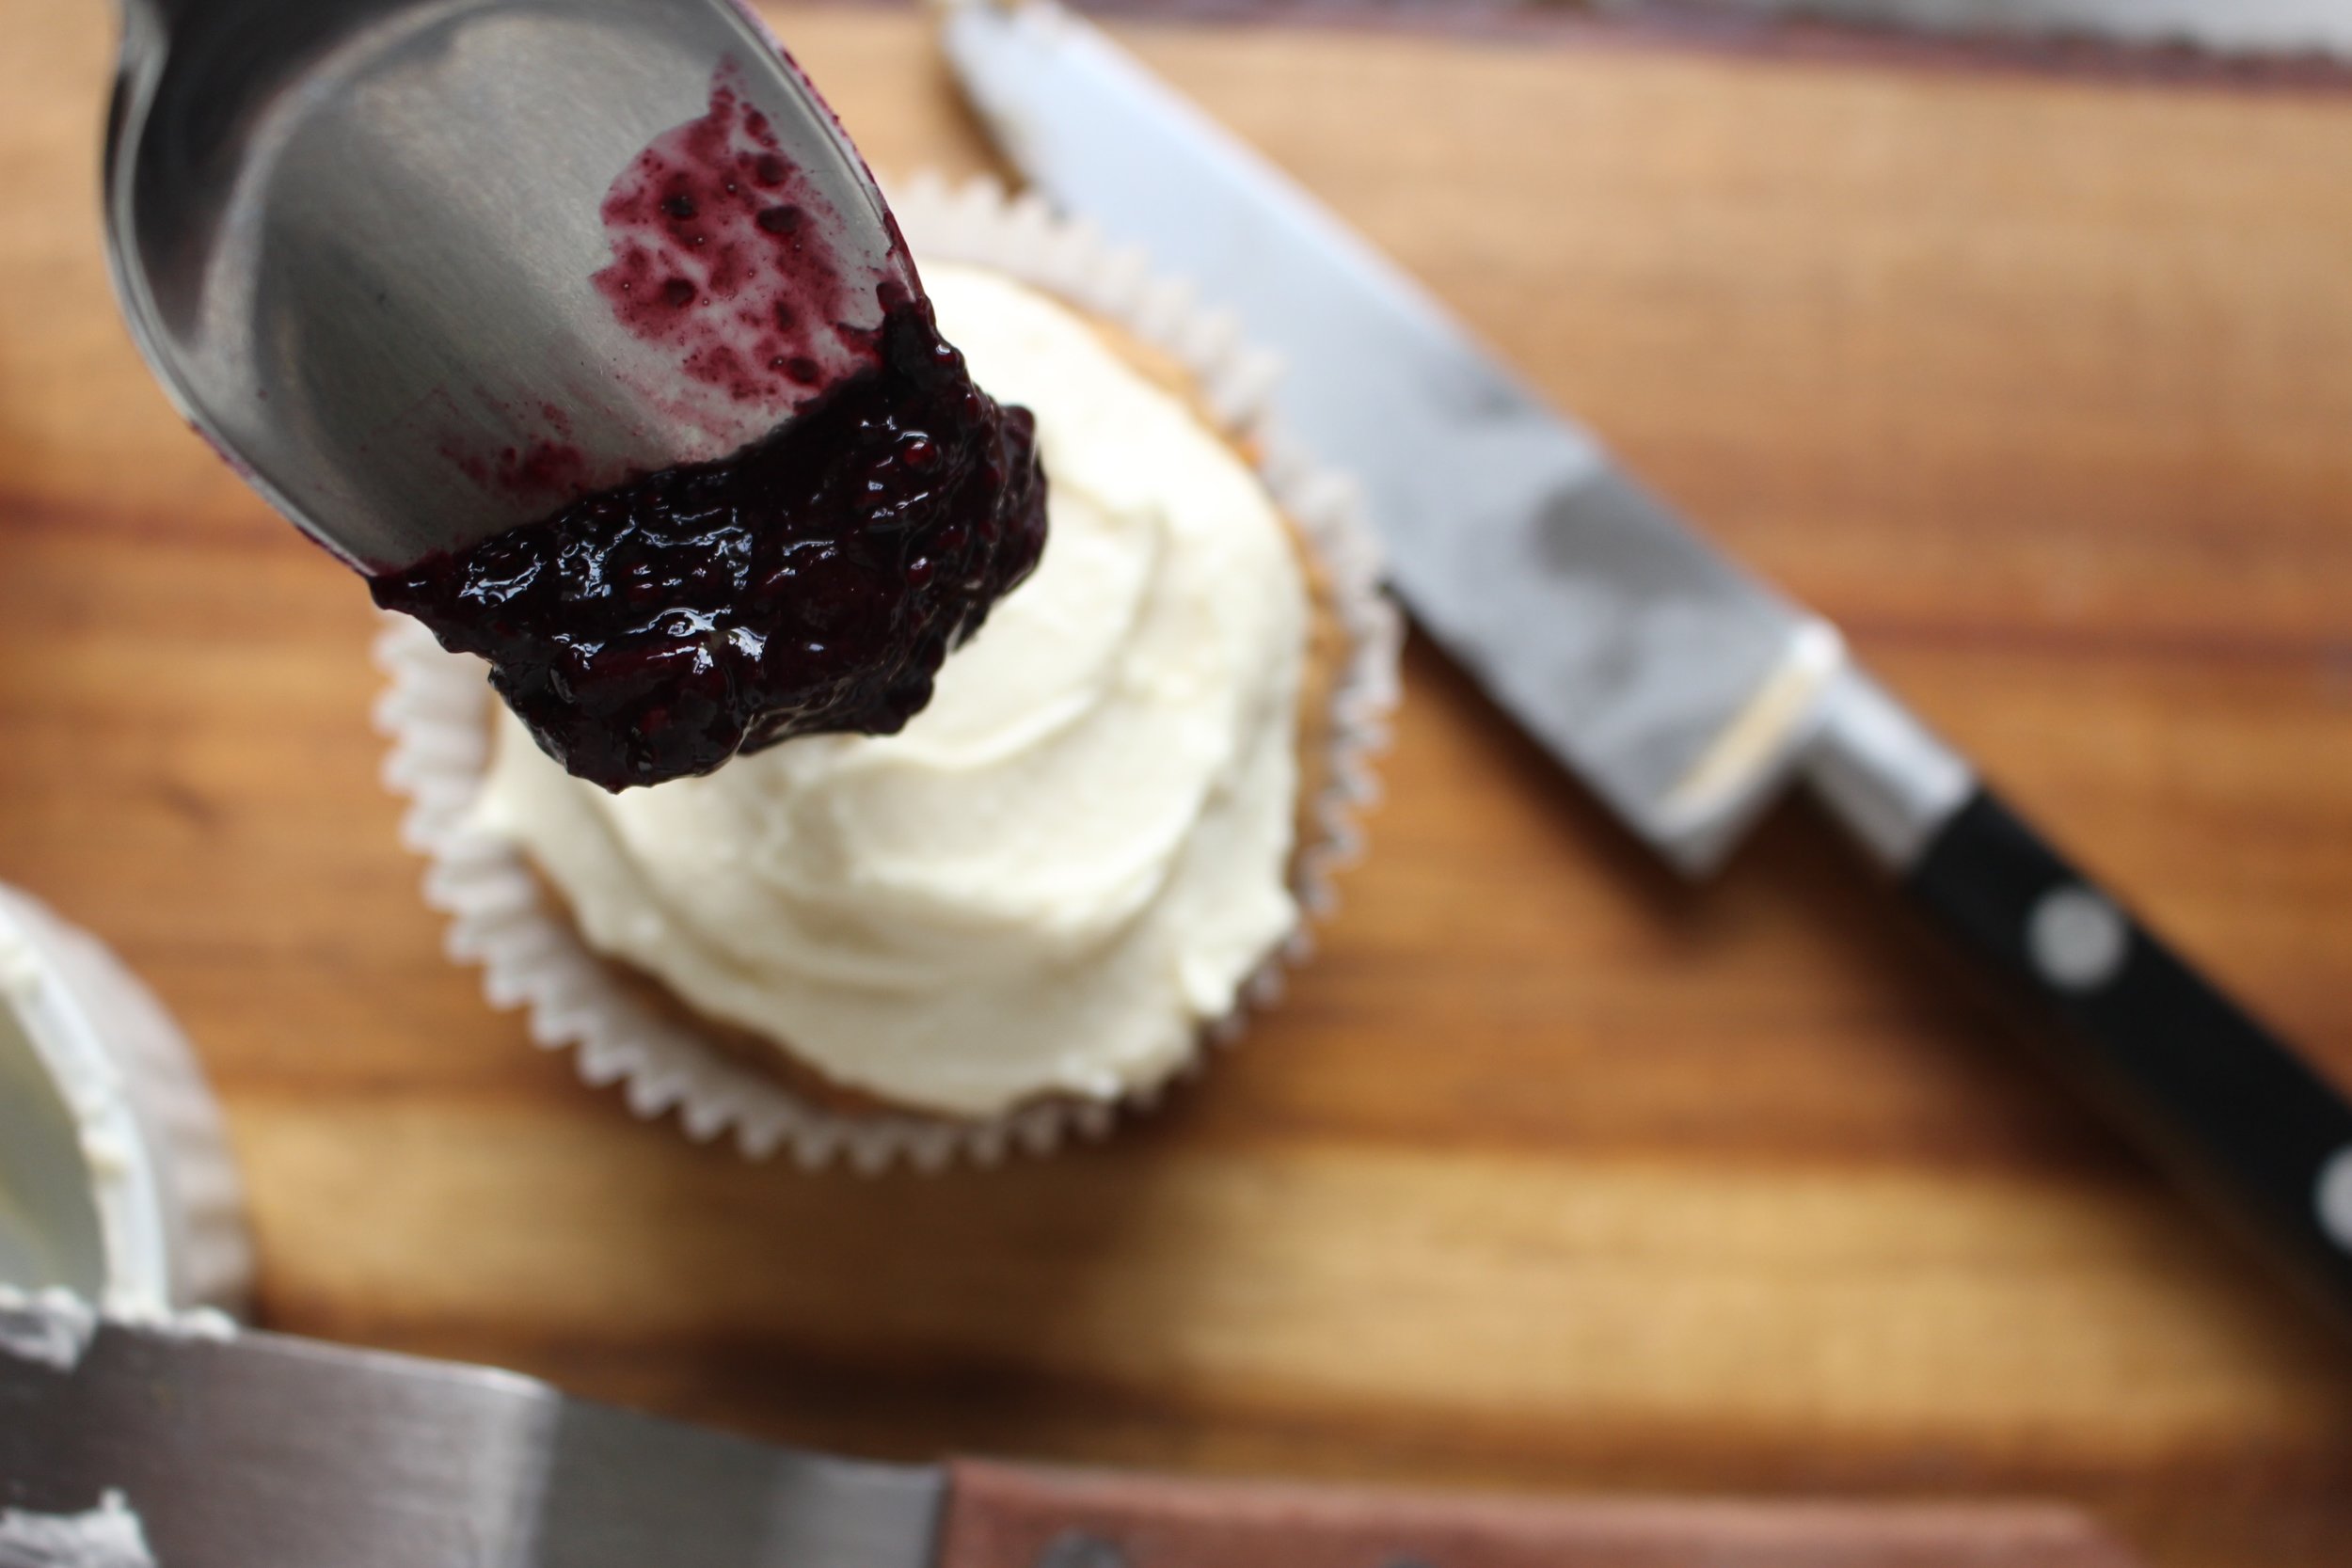
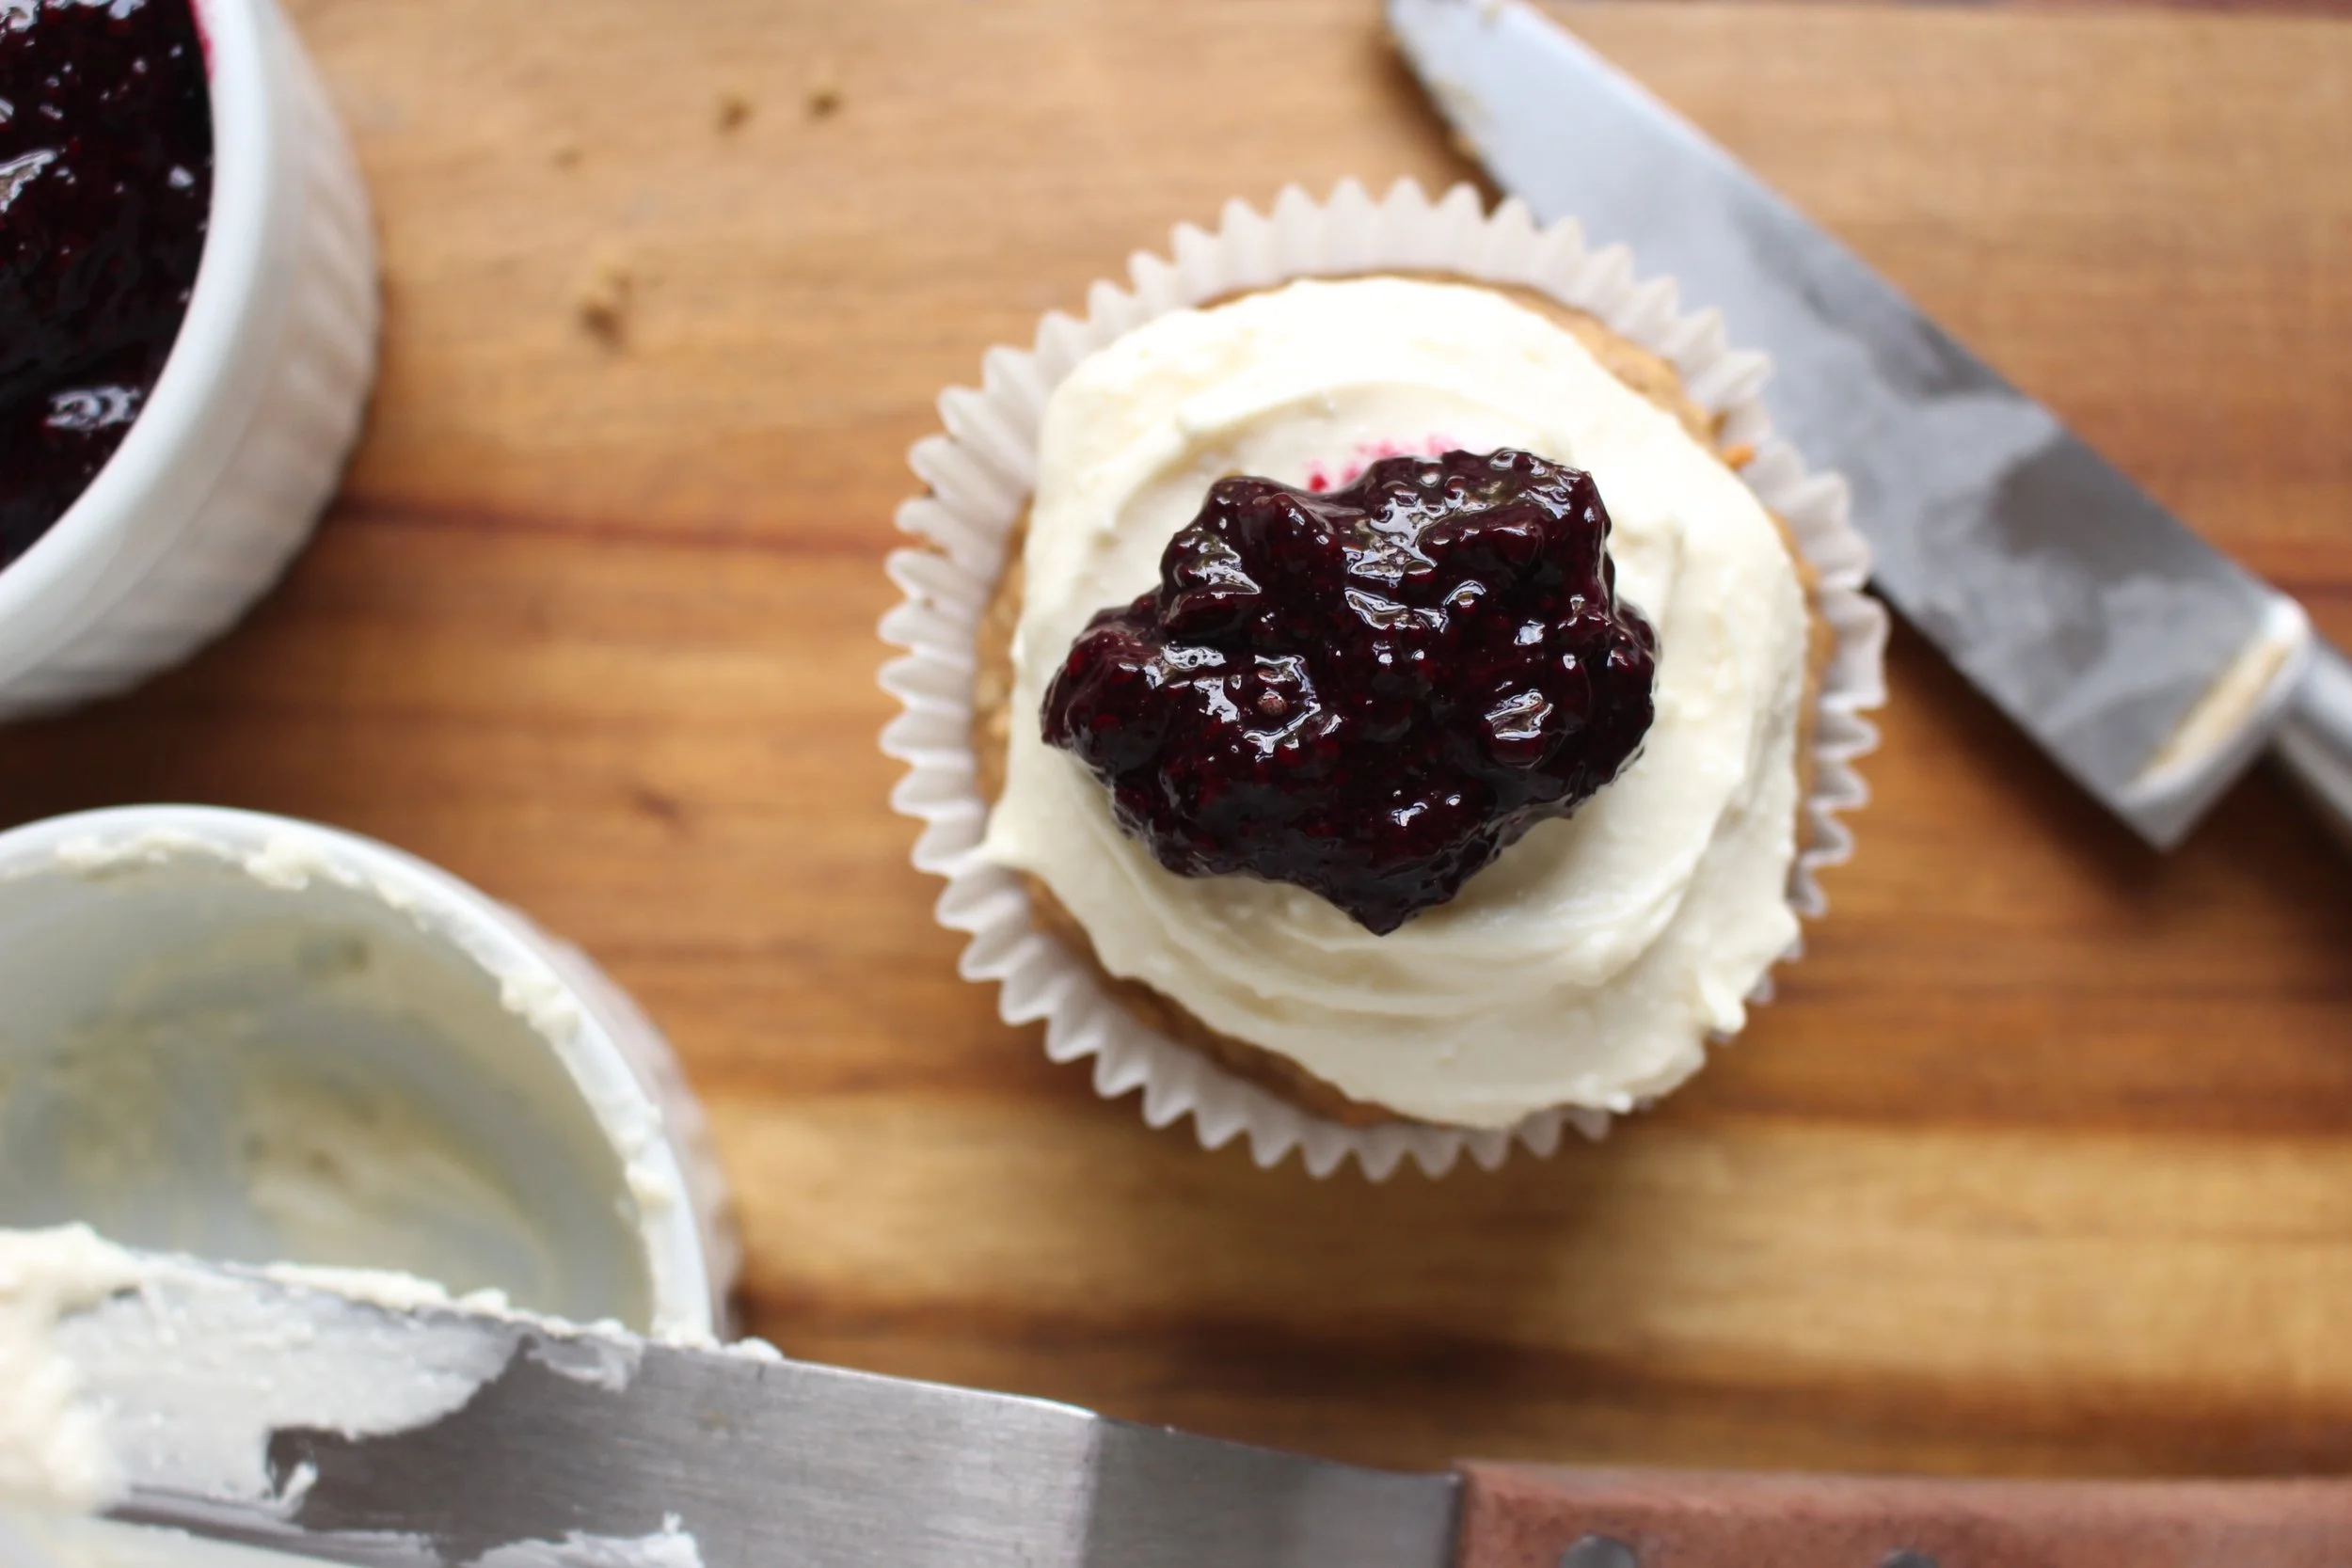
If you're avoiding nuts, substitute coconut or rice milk for the almond milk and use sunflower seed butter in place of the almond butter. Still delicious!
Important note: These muffins are best when fresh, so I recommend freezing 3/4 of the batch and then either defrosting a serving at night for breakfast the next morning, or toasting a frozen one right before eating it.
Almond butter quinoa muffins
2 large mashed banana
1 cup creamy natural almond butter, well mixed (or nut butter or seed butter of your choice)
½ cup maple syrup
¼ cup unsweetened vanilla almond milk (or rice, coconut, or other non-dairy milk of choice)
1 Tbsp vanilla extract
1 cup quinoa flour
1 cup quick oats
½ tsp salt
1½ tsp baking powder
1 tsp baking soda
1 tsp pie spice (or cinnamon)
2 tsp apple cider vinegar
Preheat oven to 350.
In a large bowl, mash the bananas. Add the almond butter, maple syrup, almond milk, and vanilla extract and mix well.
Add the flours, salt, baking powder, baking soda, and spices. Mix well. Add the apple cider vinegar and mix again. Let the mixture sit while you prep the muffin tin and prepare the jam and icing (if using).
When ready, spoon the mixture into your muffin tin until each opening is half full.
Bake for 12-14 mins or until the tops turn golden brown and the muffins are firm to the touch.
Let cool completely in the muffin tin before serving.
Yield: 18 muffins
For the Blueberry chia jam:
1 pint blueberries
1 ½ Tbsp chia seeds
Put the blueberries into a small sauce pan and cook over a medium low flame until the berries have broken down and become syrupy, about 15 minutes.
Let cool for 5 minutes and add the chia seeds. Mix well.
Place the mixture in the refrigerator for 10-15 minutes or until ready to use.
Yield: 1 Tbsp per muffin
For the frosting (optional):
2 ¼ cups whipped cream cheese
6 Tbsp maple syrup
Mix the cream cheese and maple syrup well with a spatula. The mixture will look curdled at first. Continue mixing until the two ingredients have come together. Refrigerate until ready to use.
Yield: 2 Tbsp per muffin