Stovetop mac and cheese

Stovetop mac and cheese | Me & The Moose. Stovetop mac and cheese is an easy and fast dinner that is also the perfect way to add some veggies into your kids’ diet. #meandthemoose #macandcheese #stovetop #cheese #pasta #quickrecipes #quickdinner
Get dinner on the table in about 25 minutes with this easy stovetop Mac and cheese. Throw in whatever veggies your family likes and whatever cheeses you’ve got in your fridge.
Take me to the recipe!
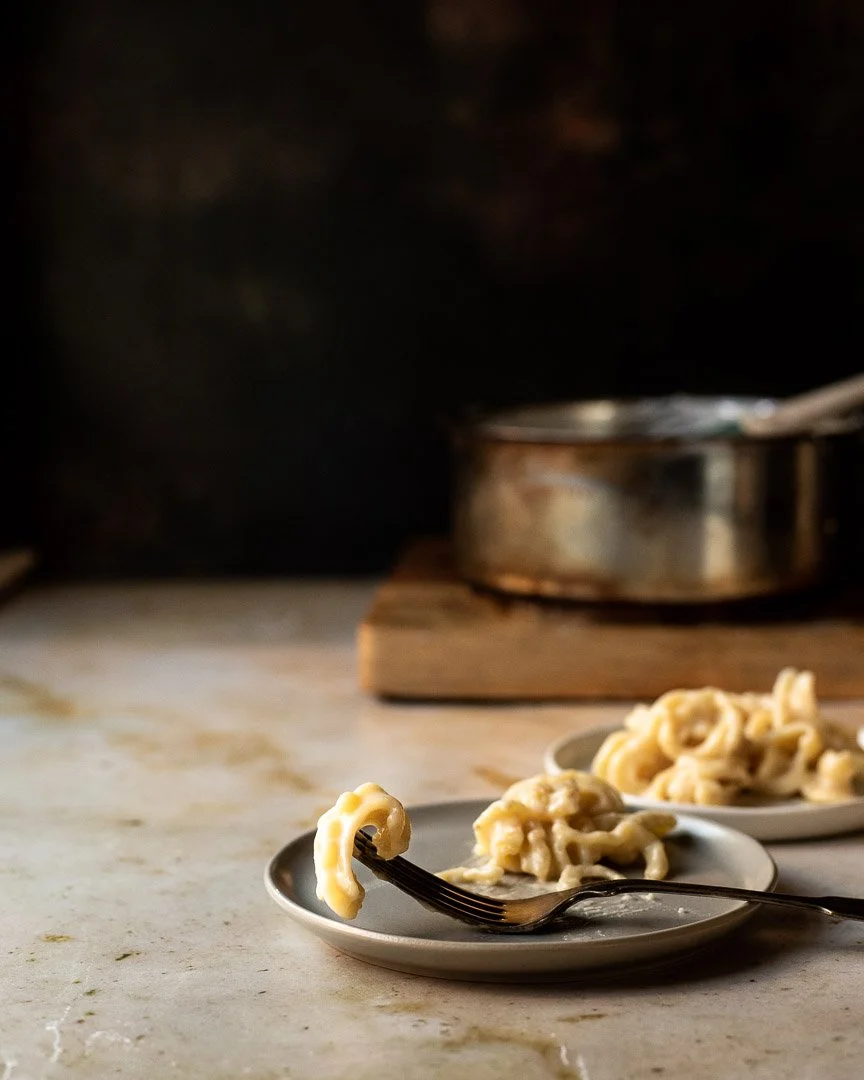
Stovetop mac and cheese | Me & The Moose. Stovetop mac and cheese is an easy and fast dinner that is also the perfect way to add some veggies into your kids’ diet. #meandthemoose #macandcheese #stovetop #cheese #pasta #quickrecipes #quickdinner
This is our go-to recipe for stovetop mac and cheese. I prefer stovetop over the baked variety because a) it saves a step; and b) at least when I make it, it's creamier. Maybe I'm doing it wrong.
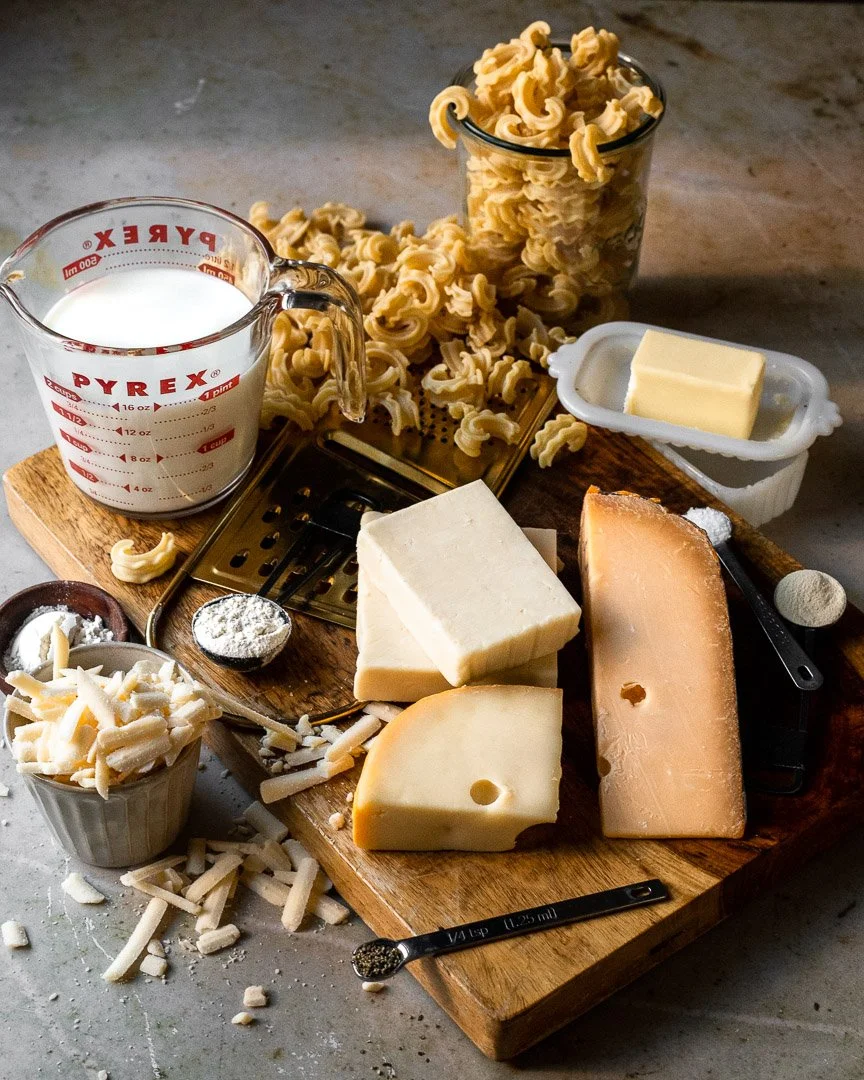
Stovetop mac and cheese | Me & The Moose. Simple ingredients come together for a delicious , quick, and easy meal. #meandthemoose #macandcheese #zucchini #peas #cheese #pasta
Now listen, I know people have extremely strong opinions when it comes to mac and cheese, so I’m not claiming that this is the “right” way to make it. This is just how I make it and so far, we haven’t had any complaints.
Also, it’s so easy and a good way to use up cheese odds and ends. Also, my kids will eat broccoli, zucchini, and peas when they’re in the Mac and cheese, so it’s a win all around.
A couple of notes:
Roux can be intimidating, but let me tell you, I’ve made this dish 1000 times and my roux looks slightly different every time. Don’t worry too much about how it’s “supposed” to look or how thick it’s “supposed” to be. Adding cheese to this sauce hides a lot of imperfections! It’s okay to wing it!
I like to finely chop any veggies that I’m going to add (unless it’s peas and then I don’t do anything to them) and throw them into the pasta water three minutes before the al dente time listed on my pasta package. Check the pasta at the al dente time, but know that you might need another minute or two to get the pasta fully cooked because adding the veggies to the water lowers the temperature.
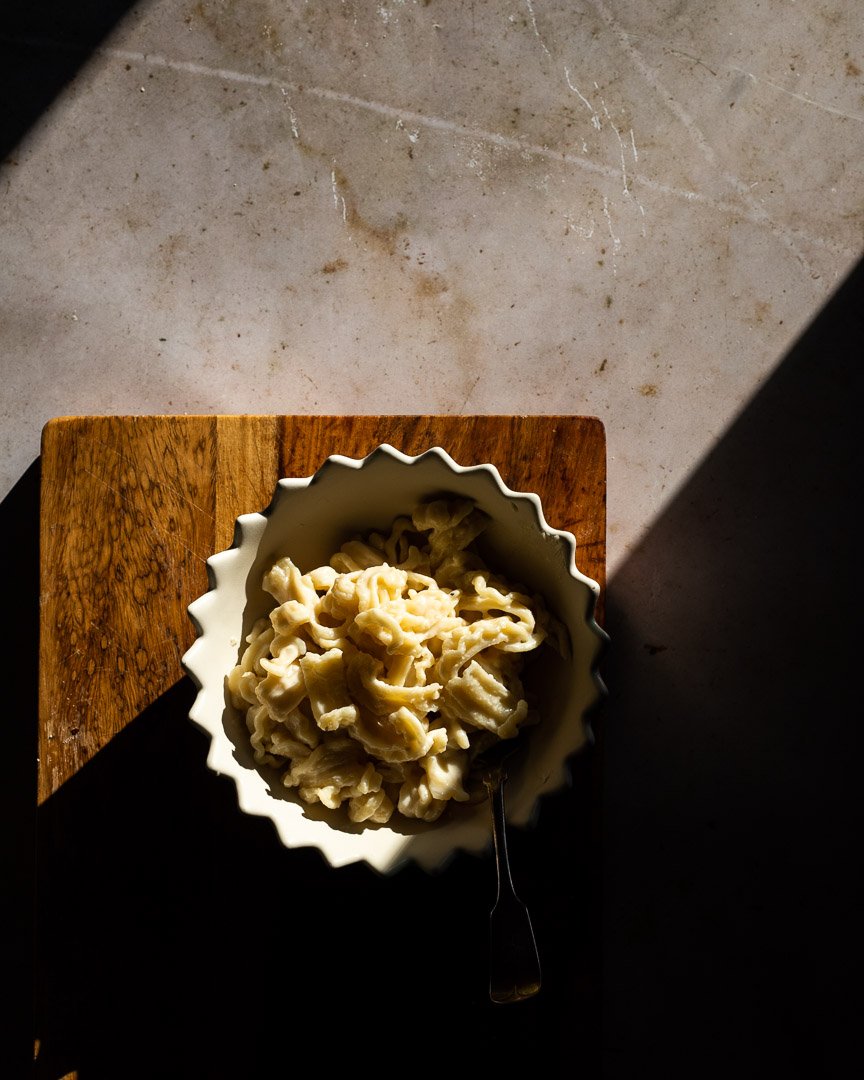
Cheese, milk, flour, butter, pasta, and some spices come together for an easy, quick, and delicious homemade stovetop Mac and cheese. #meandthemoose #stovetop #macandcheese #dinnerrecipes
Stovetop Mac and Cheese
Time: 25 minutes, all active
Yield: 4 adult dinner servings, plus leftovers
16 oz Pasta
2 cups whole milk
4 heaping cups cheese (mixture of cheddar, gruyere, muenster, gouda, whatever you have)
2 Tbsp flour
2 Tbsp butter
1/2 tsp garlic powder
1/2 tsp sea salt + more to taste, depending on the saltiness of your cheese and add-ins
1/4 tsp black pepper
Any veggies you plan to add
Heat your salted pasta water over a high flame.
Measure the milk and microwave for 30 seconds or until it no longer feels chilly to the touch.
Grate the cheese and prep any veggies you plan to add.
In a separate pan, melt butter over a medium-low flame. Add flour, stirring constantly to combine. Keep whisking frequently. When butter and flour are bubbling, turn flame all the way down and continue stirring until the mixture has turned a slightly darker shade of brown (bubbles go from large to small and the color is more of a wheat/blond than white/cream).
Add the garlic powder, salt, and pepper and whisk to combine.
Slowly stream the milk into the flour and butter mixture and whisk vigorously until combined. Stir very frequently until mixture thickens, about 5-8 minutes. Add cheese and stir to melt. Stir frequently until the sauce is as thick as you’d like, about 3-4 minutes more.
While the sauce simmers, cook pasta according to package directions. When the pasta is 3 minutes shy of al dente, add the veggies to the boiling pasta water. Once the veggies and pasta are done cooking (check at the al dente time, but you may need 1-2 more minutes because the temperature dropped when we added the veggies), drain and return the noodles to the hot pan. Immediately add the cheese sauce and stir well. Check seasonings and serve.
Candy sushi!
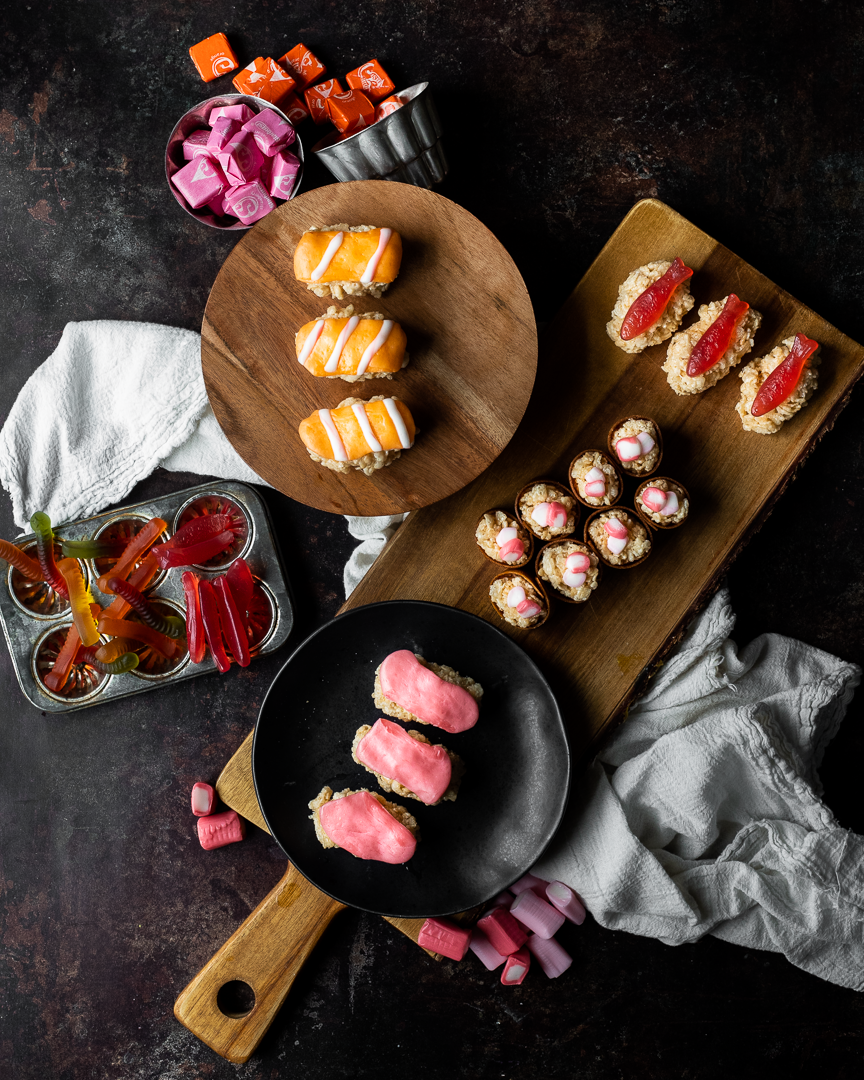
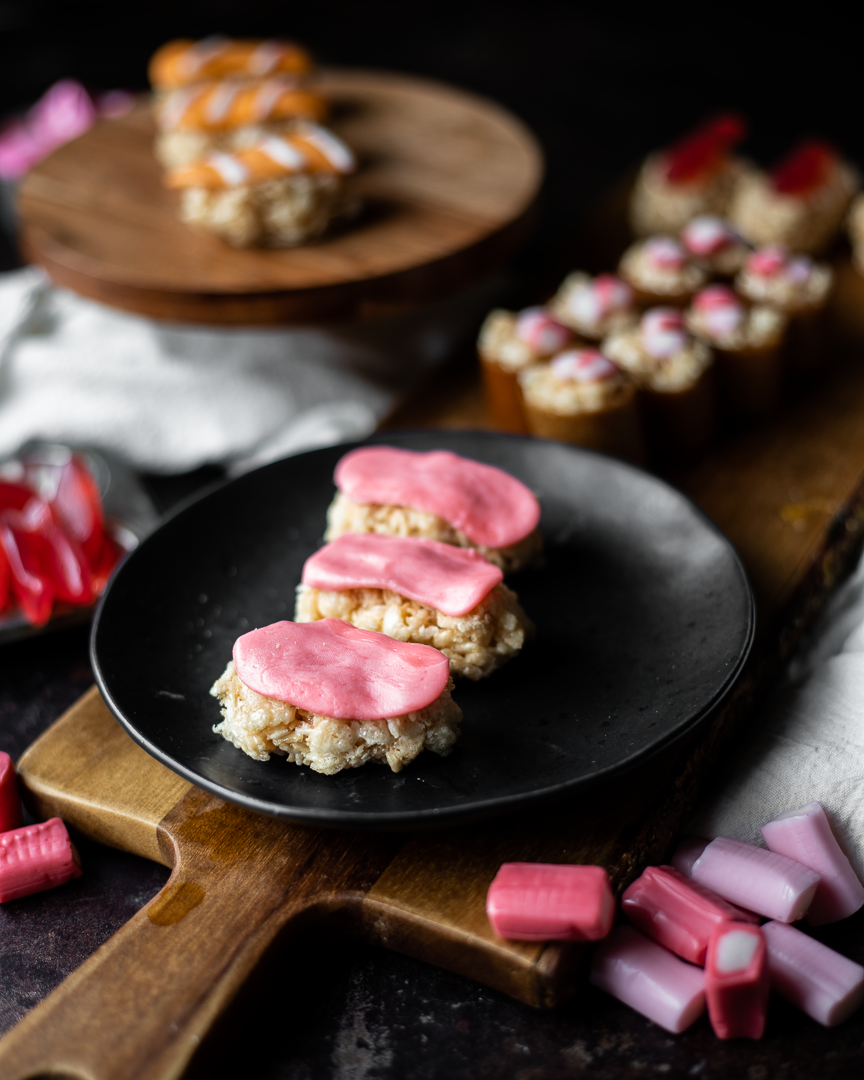
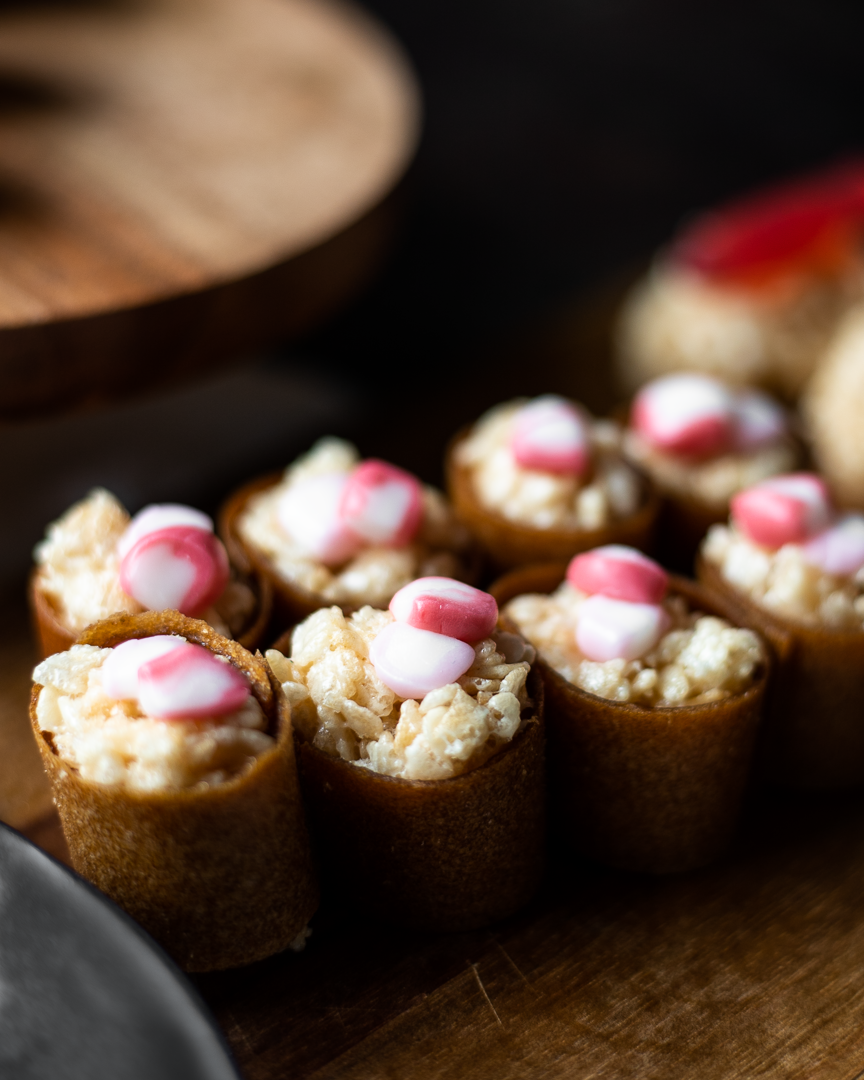
Candy sushi | Me & The Moose. Rice krispy treats, candy, and fruit rollups are all you need for a silly gluten- and egg-free treat. #meandthemoose #candysushi #sweetsushi #ricekrispytreats
Whether you make them look “realistic” or just go with a rainbow of candy and ingredients, these Rice Krispy treat “sushi rolls” are easy, tasty, fast, and endlessly customizable.
Take me to the sushi!
Candy sushi | Me & The Moose. Rice krispy treats, candy, and fruit rollups are all you need for a silly gluten- and egg-free treat. #meandthemoose #candysushi #sweetsushi #ricekrispytreats
There is nothing more to these sweets than making a batch of Rice Krispy treats, letting it cool slightly, and topping it with cut up or squished up candy.
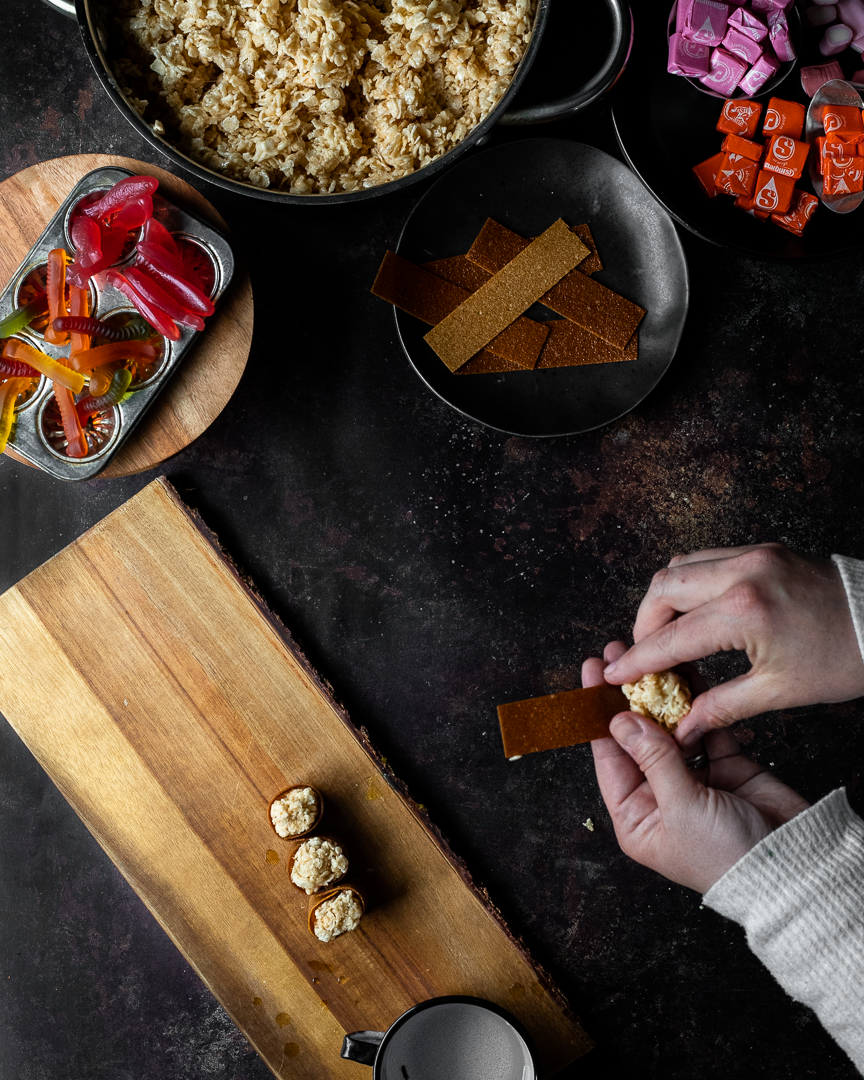
Not only are these fun for parties or special occasions, they’re also a good project for rainy days with kids of basically any age. With a lot of direction, but 2-year-old was able to help and my 7-year-old could almost make these himself.
Candy sushi | Me & The Moose. Rice krispy treats, candy, and fruit rollups are all you need for a silly gluten- and egg-free treat. #meandthemoose #candysushi #sweetsushi #ricekrispytreats
These also make a really fun egg and gluten-free treat that can help kids with allergies to feel included. You can also swap in vegan butter to make these dairy-free. Obviously, check your candy and marshmallow labels if allergies are part of the equation.
Candy sushi | Me & The Moose. Rice krispy treats, candy, and fruit rollups are all you need for a silly gluten- and egg-free treat. #meandthemoose #candysushi #sweetsushi #ricekrispytreats

Candy sushi | Me & The Moose. Rice krispy treats, candy, and fruit rollups are all you need for a silly gluten- and egg-free treat. #meandthemoose #candysushi #sweetsushi #ricekrispytreats
Candy sushi | Me & The Moose. Rice krispy treats, candy, and fruit rollups are all you need for a silly gluten- and egg-free treat. #meandthemoose #candysushi #sweetsushi #ricekrispytreats
You'll need:
3 Tbsp butter
6 cups Rice Krispies
10 oz large marshmallows or 5 cups mini marshmallows
Melt the butter in a large saucepan. Add the marshmallows and melt, stirring frequently. When the marshmallows have mostly lost their shape, add Rice Krispies and stir to coat.
Let cool until the mixture can be handled.
Fruit rollups
Large Swedish fish
Hi-Chew candies, Mike n’ Ikes, gummy bears, gummy worms or any other candy you can cut up into tiny pieces
Starburst
Orange sprinkles (either sanding sugar or sugar pearls, but not jimmies)
Tools:
Water
Sharp knife
Pizza cutter
To assemble:
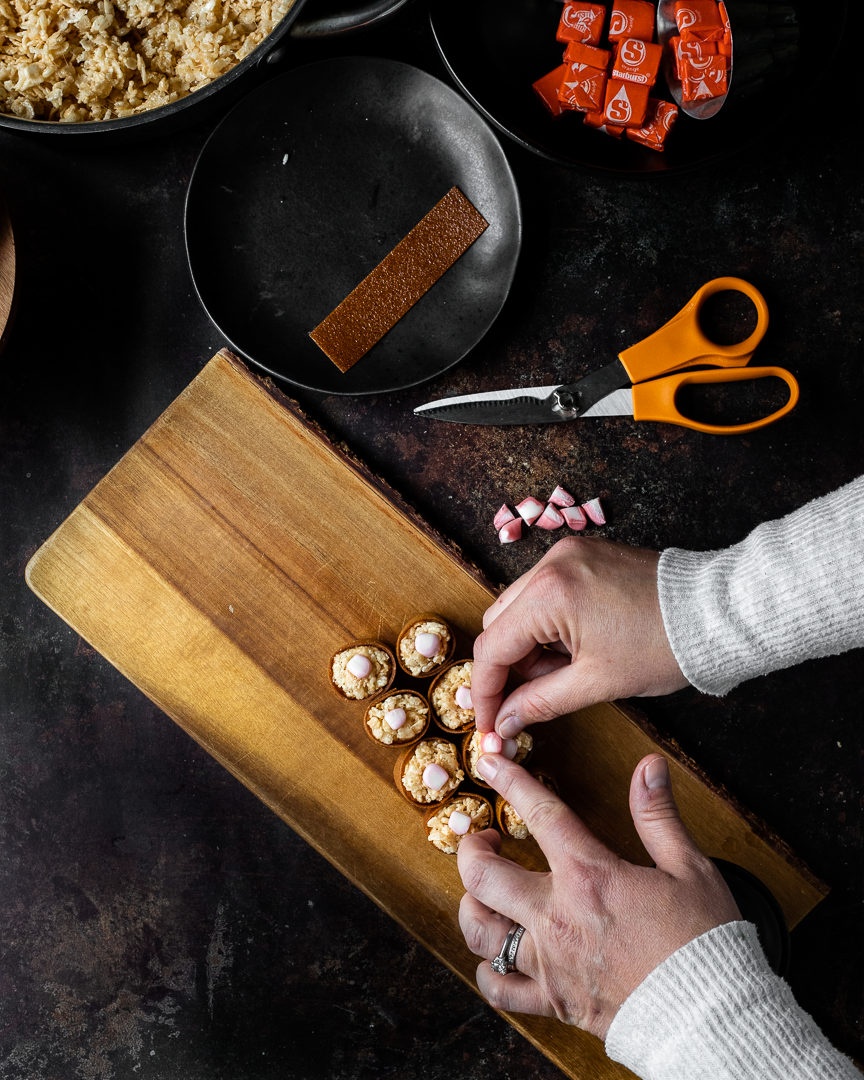
For the rolls: Cut up some Hi-Chews or Mike ‘n Ikes into small bits. Cut the fruit rollup into 1-inch strips. With wet hands, roll a small handful of the Rice Krispy mixture into a ball. Wrap the fruit rollup strips around the outside and squish the top and bottom of the bottom of the circle down a bit. Take a few pieces of the cut up candies and squish them into the Rice Krispies at the top of the roll.
For the pieces: Unroll a fruit roll and cut into 1/2 inch strips with the pizza cutter. With wet hands, roll a small handful cereal mixture into a ball and squish into more of a rectangle. Top with a Swedish Fish and wrap a strip of fruit roll around the whole Swedish fish/cereal combo. Secure the ends of the fruit roll strip with a few drops of water.
For the roe pieces (not pictured): Unroll a fruit roll and cut into 1-inch strips. With wet hands, roll a small handful cereal mixture into a ball and squish into more of a rectangle. Wrap a strip of fruit roll around the outside of the cereal mixture and secure the ends of the strip with a few drips of water. Let dry for a few minutes. Pick up the entire piece and dip the top into 2-3 Tbsp of orange sanding sugar OR top with orange sugar pearls.
For more candy sushi inspiration: Super professional candy sushi / Candy sushi birthday party / Molded fish candy sushi
Orange, peach, mango smoothie

Orange, peach, mango smoothie | Me & The Moose. #Meandthemoose #Orange #Peach #Mango #puree #popsicles
Remember that flavor of orange, peach, mango juice? I was obsessed with it in college until I mixed it with vodka one too many times. But since that was 20 years ago (UGH), I decided to give it another try. Can confirm: still delicious.
Take me to the smoothie!
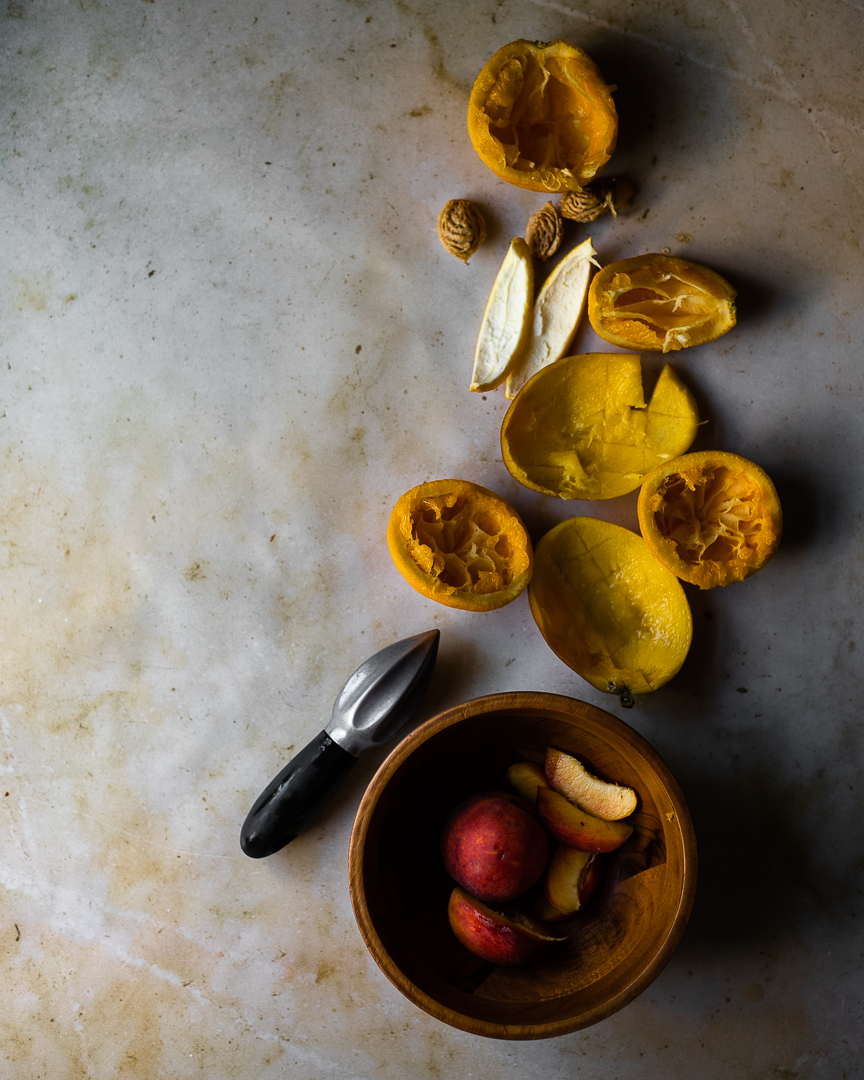
Orange, peach, mango smoothie | Me & The Moose. #Meandthemoose #Orange #Peach #Mango #puree #popsicles
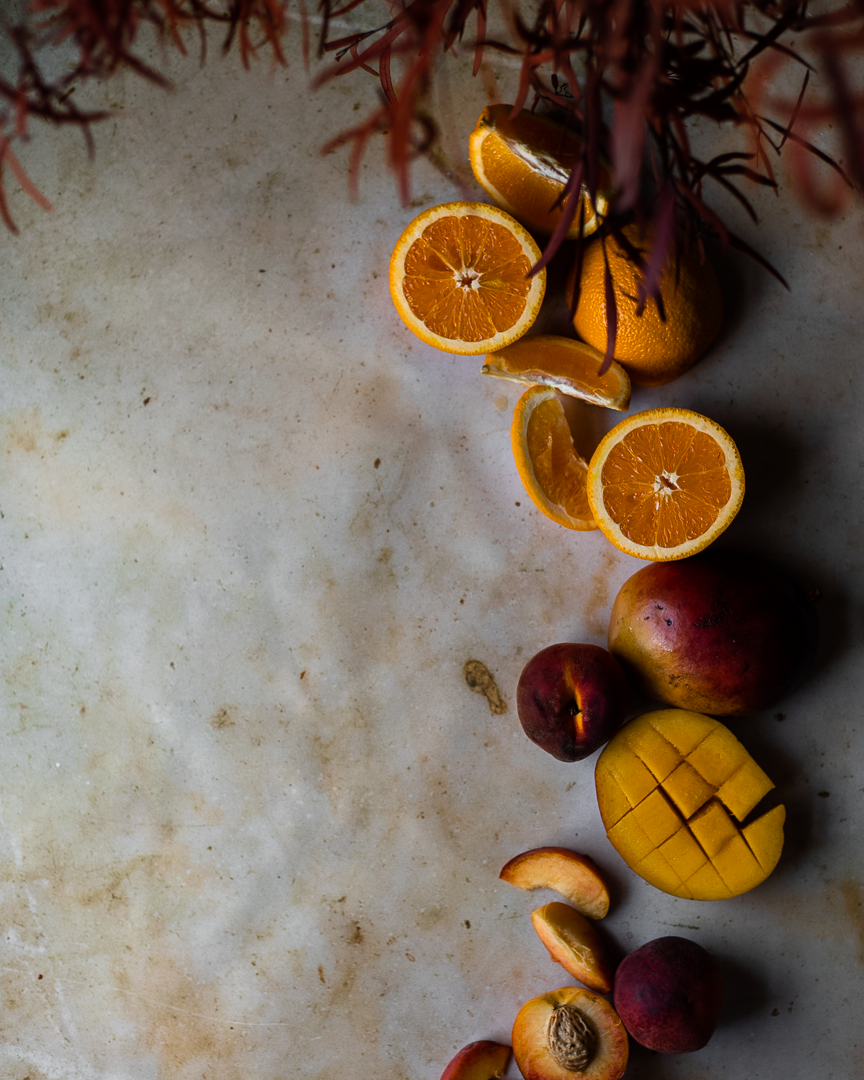
Orange, peach, mango smoothie | Me & The Moose. #Meandthemoose #Orange #Peach #Mango #puree #popsicles
This smoothie, like a lot of the smoothies on this site, started its life as a baby puree, but transitioned to a drink as my kids got older. I used to add carrots, but they’re a lot of work if you’re trying to make this more liquid-y, so I would just add some store-bought carrot juice if you want to go that route.
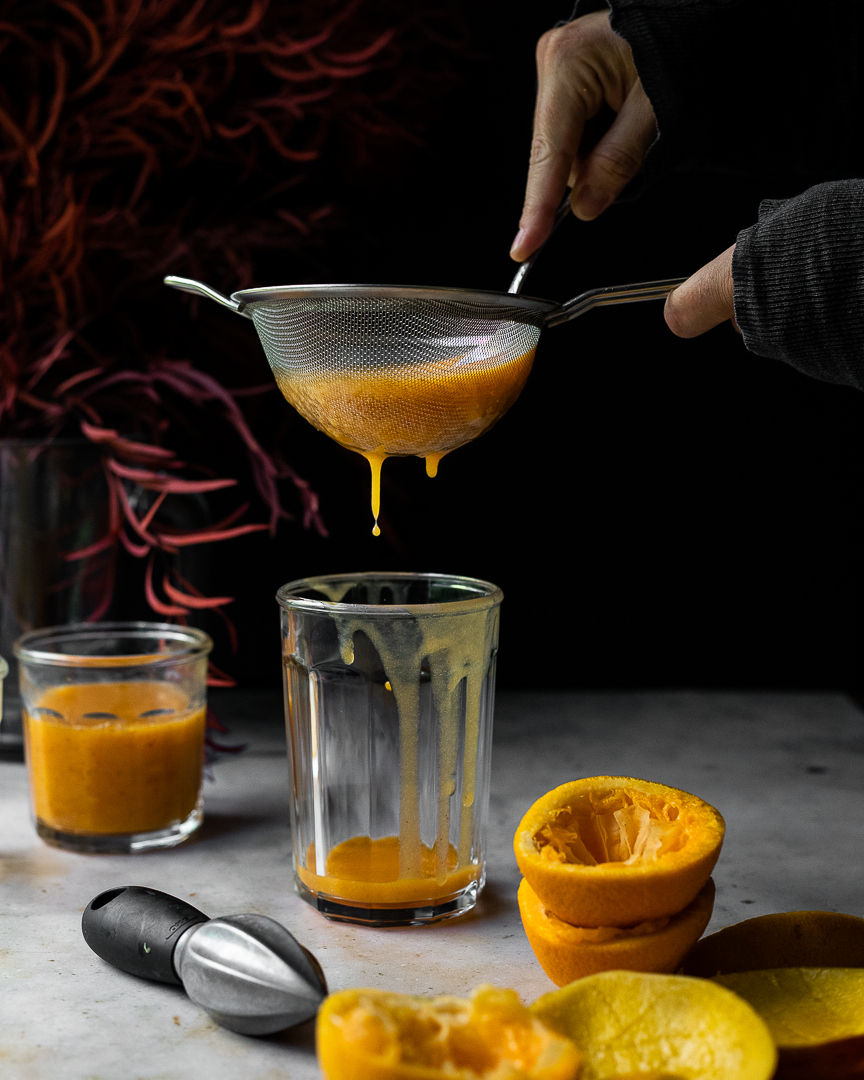
Orange, peach, mango smoothie | Me & The Moose. #Meandthemoose #Orange #Peach #Mango #puree #popsicles
This one is great as a smoothie or a juice, but I also love freezing it as popsicles or turning it into a fantastic sorbet (I use this method from Zoe Francois).
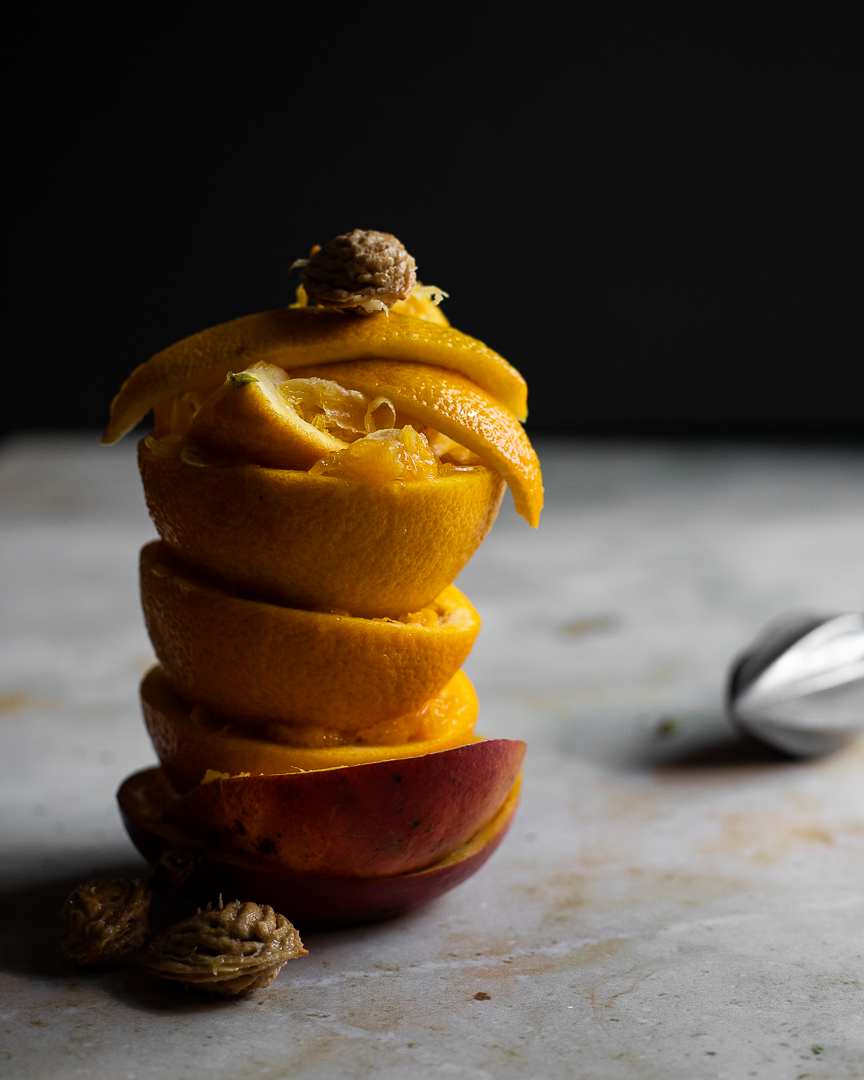
Orange, peach, mango smoothie | Me & The Moose. #Meandthemoose #Orange #Peach #Mango #puree #popsicles
Orange, Peach, Mango smoothie
Time: 5 minutes
Yield: 2 smoothies
1 orange, squeezed
1 cup mango, fresh or frozen
2 large ripe peaches, 3-4 small ripe peaches, or 1 cup frozen
1/2 cup carrot juice (optional)
Combine the fruit in a blender and blend until totally smooth. If using frozen fruit, thaw it in the microwave for a few seconds before blending. Pass the mixture through a fine mesh sieve if desired for a smoother texture.
This puree is also delicious with 1 Tbsp of melted coconut oil thrown in for a bit of extra fat.