Clam pizza

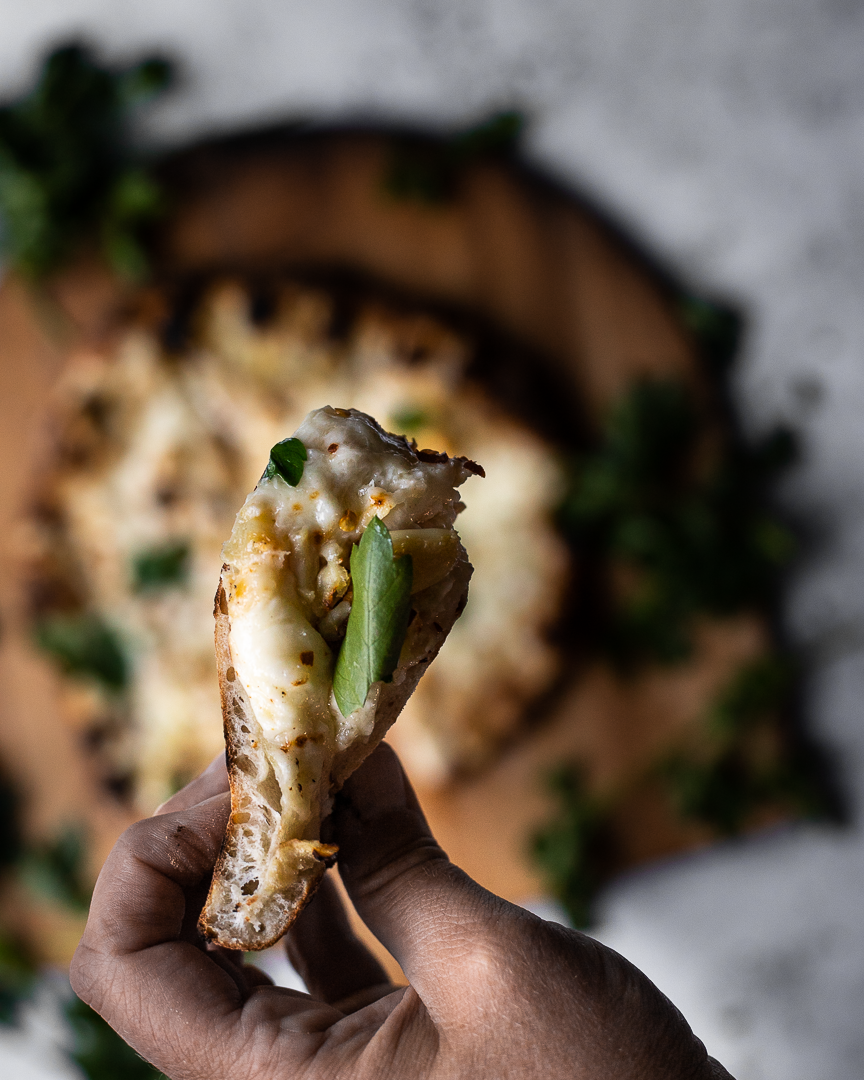
Clam Pizza | Me & The Moose Whether you use store-bough crust or make your own, cook it on a grill, in the oven, or in a pizza oven, this is my take on the clam pizza full of garlic, cheese, and briny clams. #meandthemoose #pizza #clampizza #homemadepizza
You need a pizza stone, a pizza peel, some ingredients, and the grill or your oven to make the briniest, garlickiest, cheesiest, and most unctuous clam pizza at home.
Clam Pizza | Me & The Moose Whether you use store-bough crust or make your own, cook it on a grill, in the oven, or in a pizza oven, this is my take on the clam pizza full of garlic, cheese, and briny clams. #meandthemoose #pizza #clampizza #homemadepizza
Clam pizza is such a Connecticut thing. I'm sure some would argue that it's also a New York thing, but I feel like Frank Pepe, the New Haven pizza institution, is best known for it's clam pizza, and thus, clam pizza is a Connecticut thing. That's my story and I'm sticking to it.
I first tried this briny, garlicky pie on a trip to Connecticut long before moving here myself. And I've been on a Goldilocksian journey to find the best one ever since. They have either been too salty, not garlicky enough, or without cheese, which is unacceptable to me when it comes to pizza. (Don't yell at me, people who think seafood and cheese should never mingle.)
Clam Pizza | Me & The Moose Whether you use store-bough crust or make your own, cook it on a grill, in the oven, or in a pizza oven, this is my take on the clam pizza full of garlic, cheese, and briny clams. #meandthemoose #pizza #clampizza #homemadepizza
We have not yet found our favorite (sorry, Pepe's), but instead have been making our favorite. Full of three different kinds of cheese and two different kinds of garlic, this pizza tastes like clams and tastes like a proper pizza, but also SO MUCH MORE.
I cook this pie using a hot pizza stone on the grill because a) not everyone has a grill, so you can easily recreate this in an oven with the pizza stone (see directions in the recipe); and b) because I've never grilled my pizza directly on the grill grates. If you're braver than I am, here are some instructions for that method.
We’ve also recently started using our Ooni pizza oven (not an ad, we just love it!) to cook this CT classic and the smokiness of the wood-fired oven takes the flavors to another level.
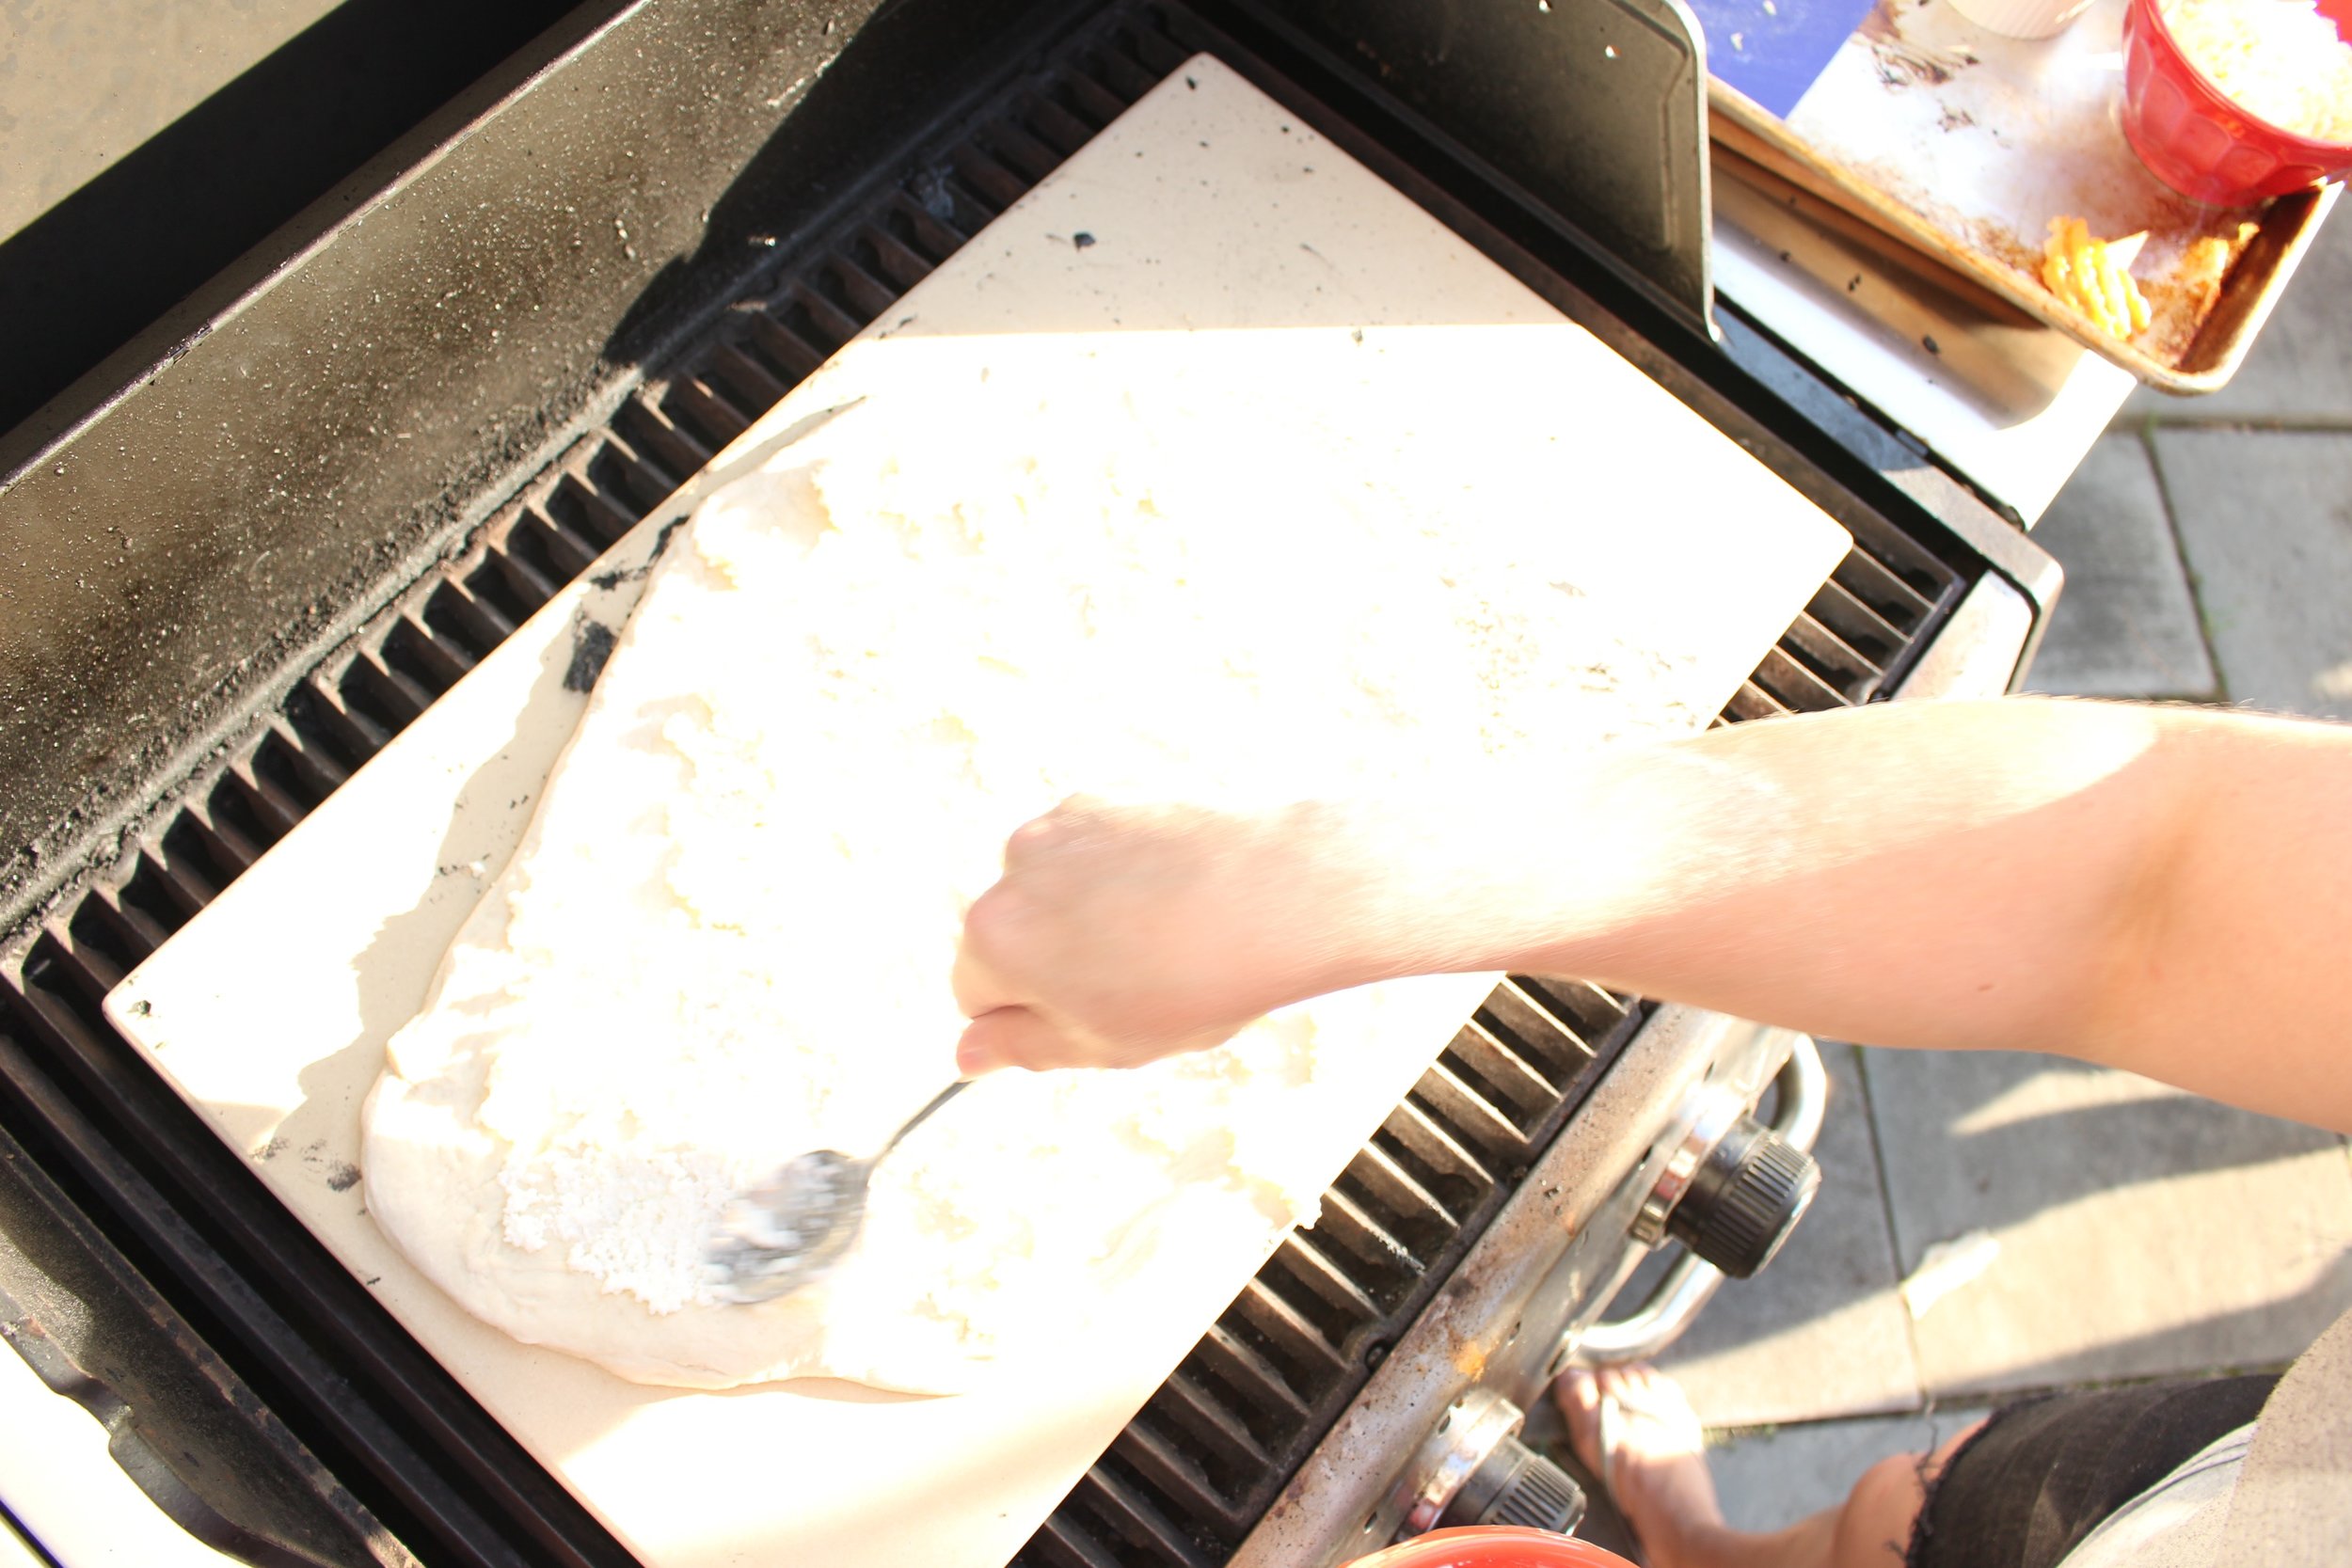
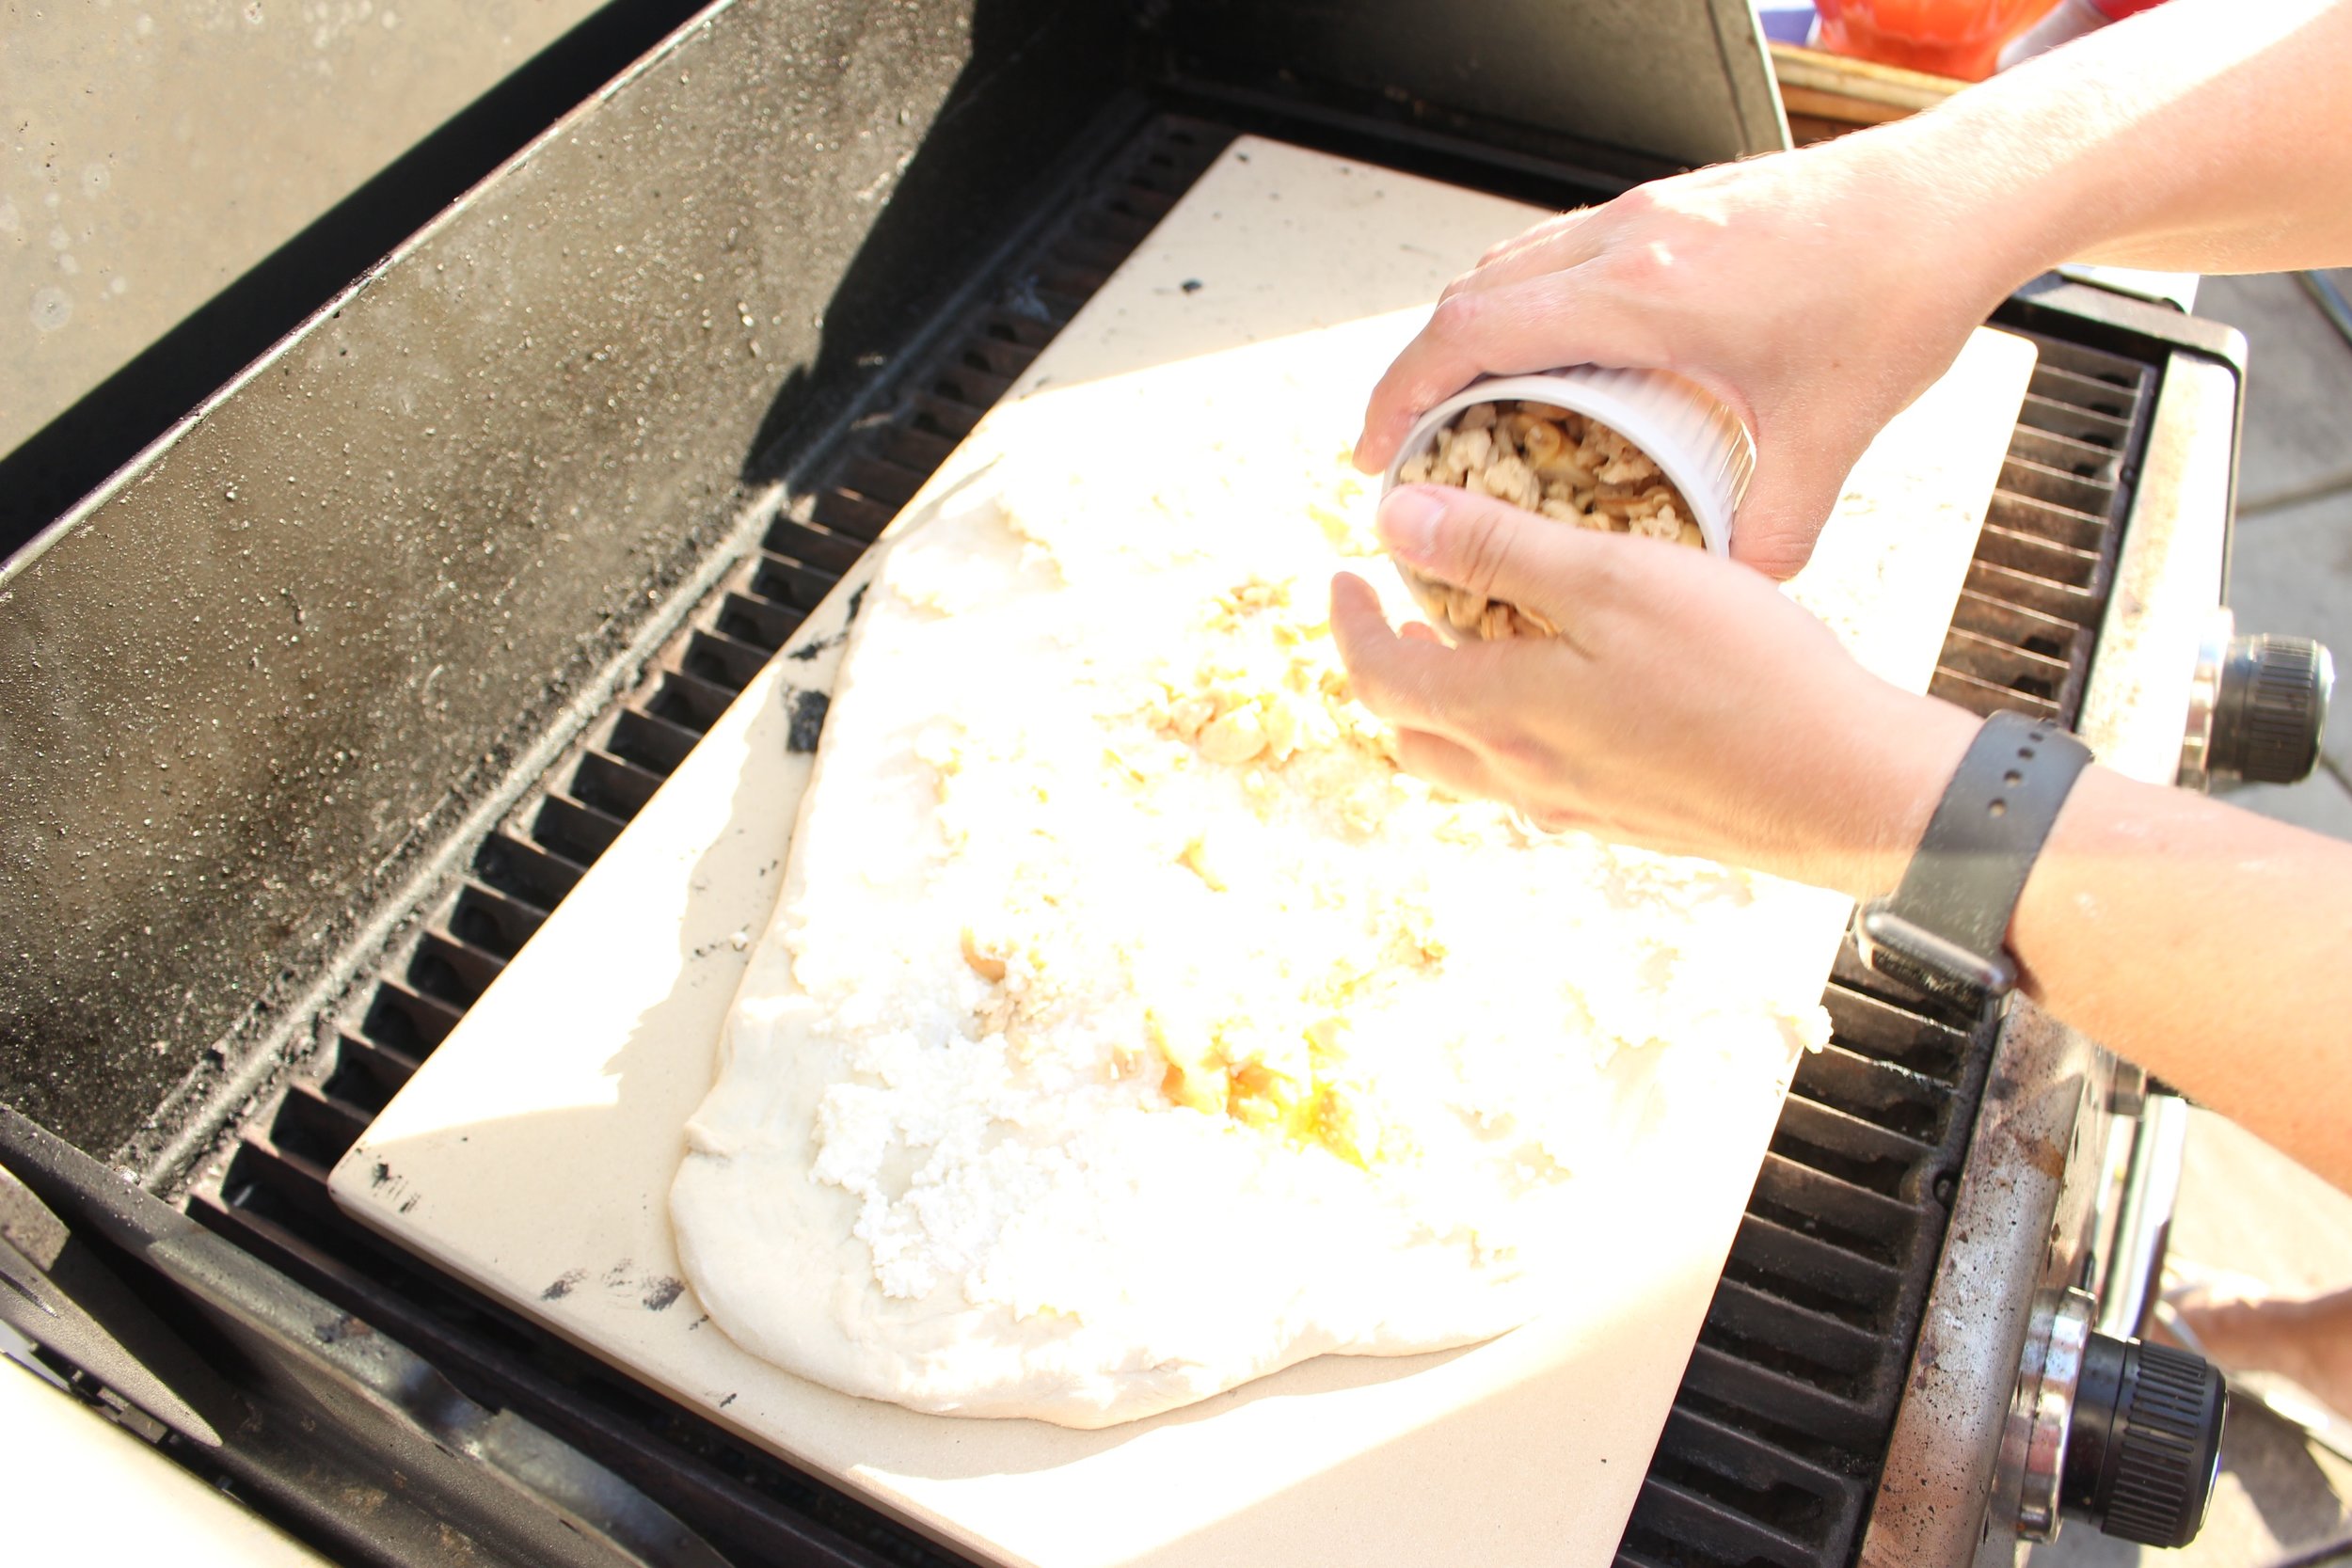
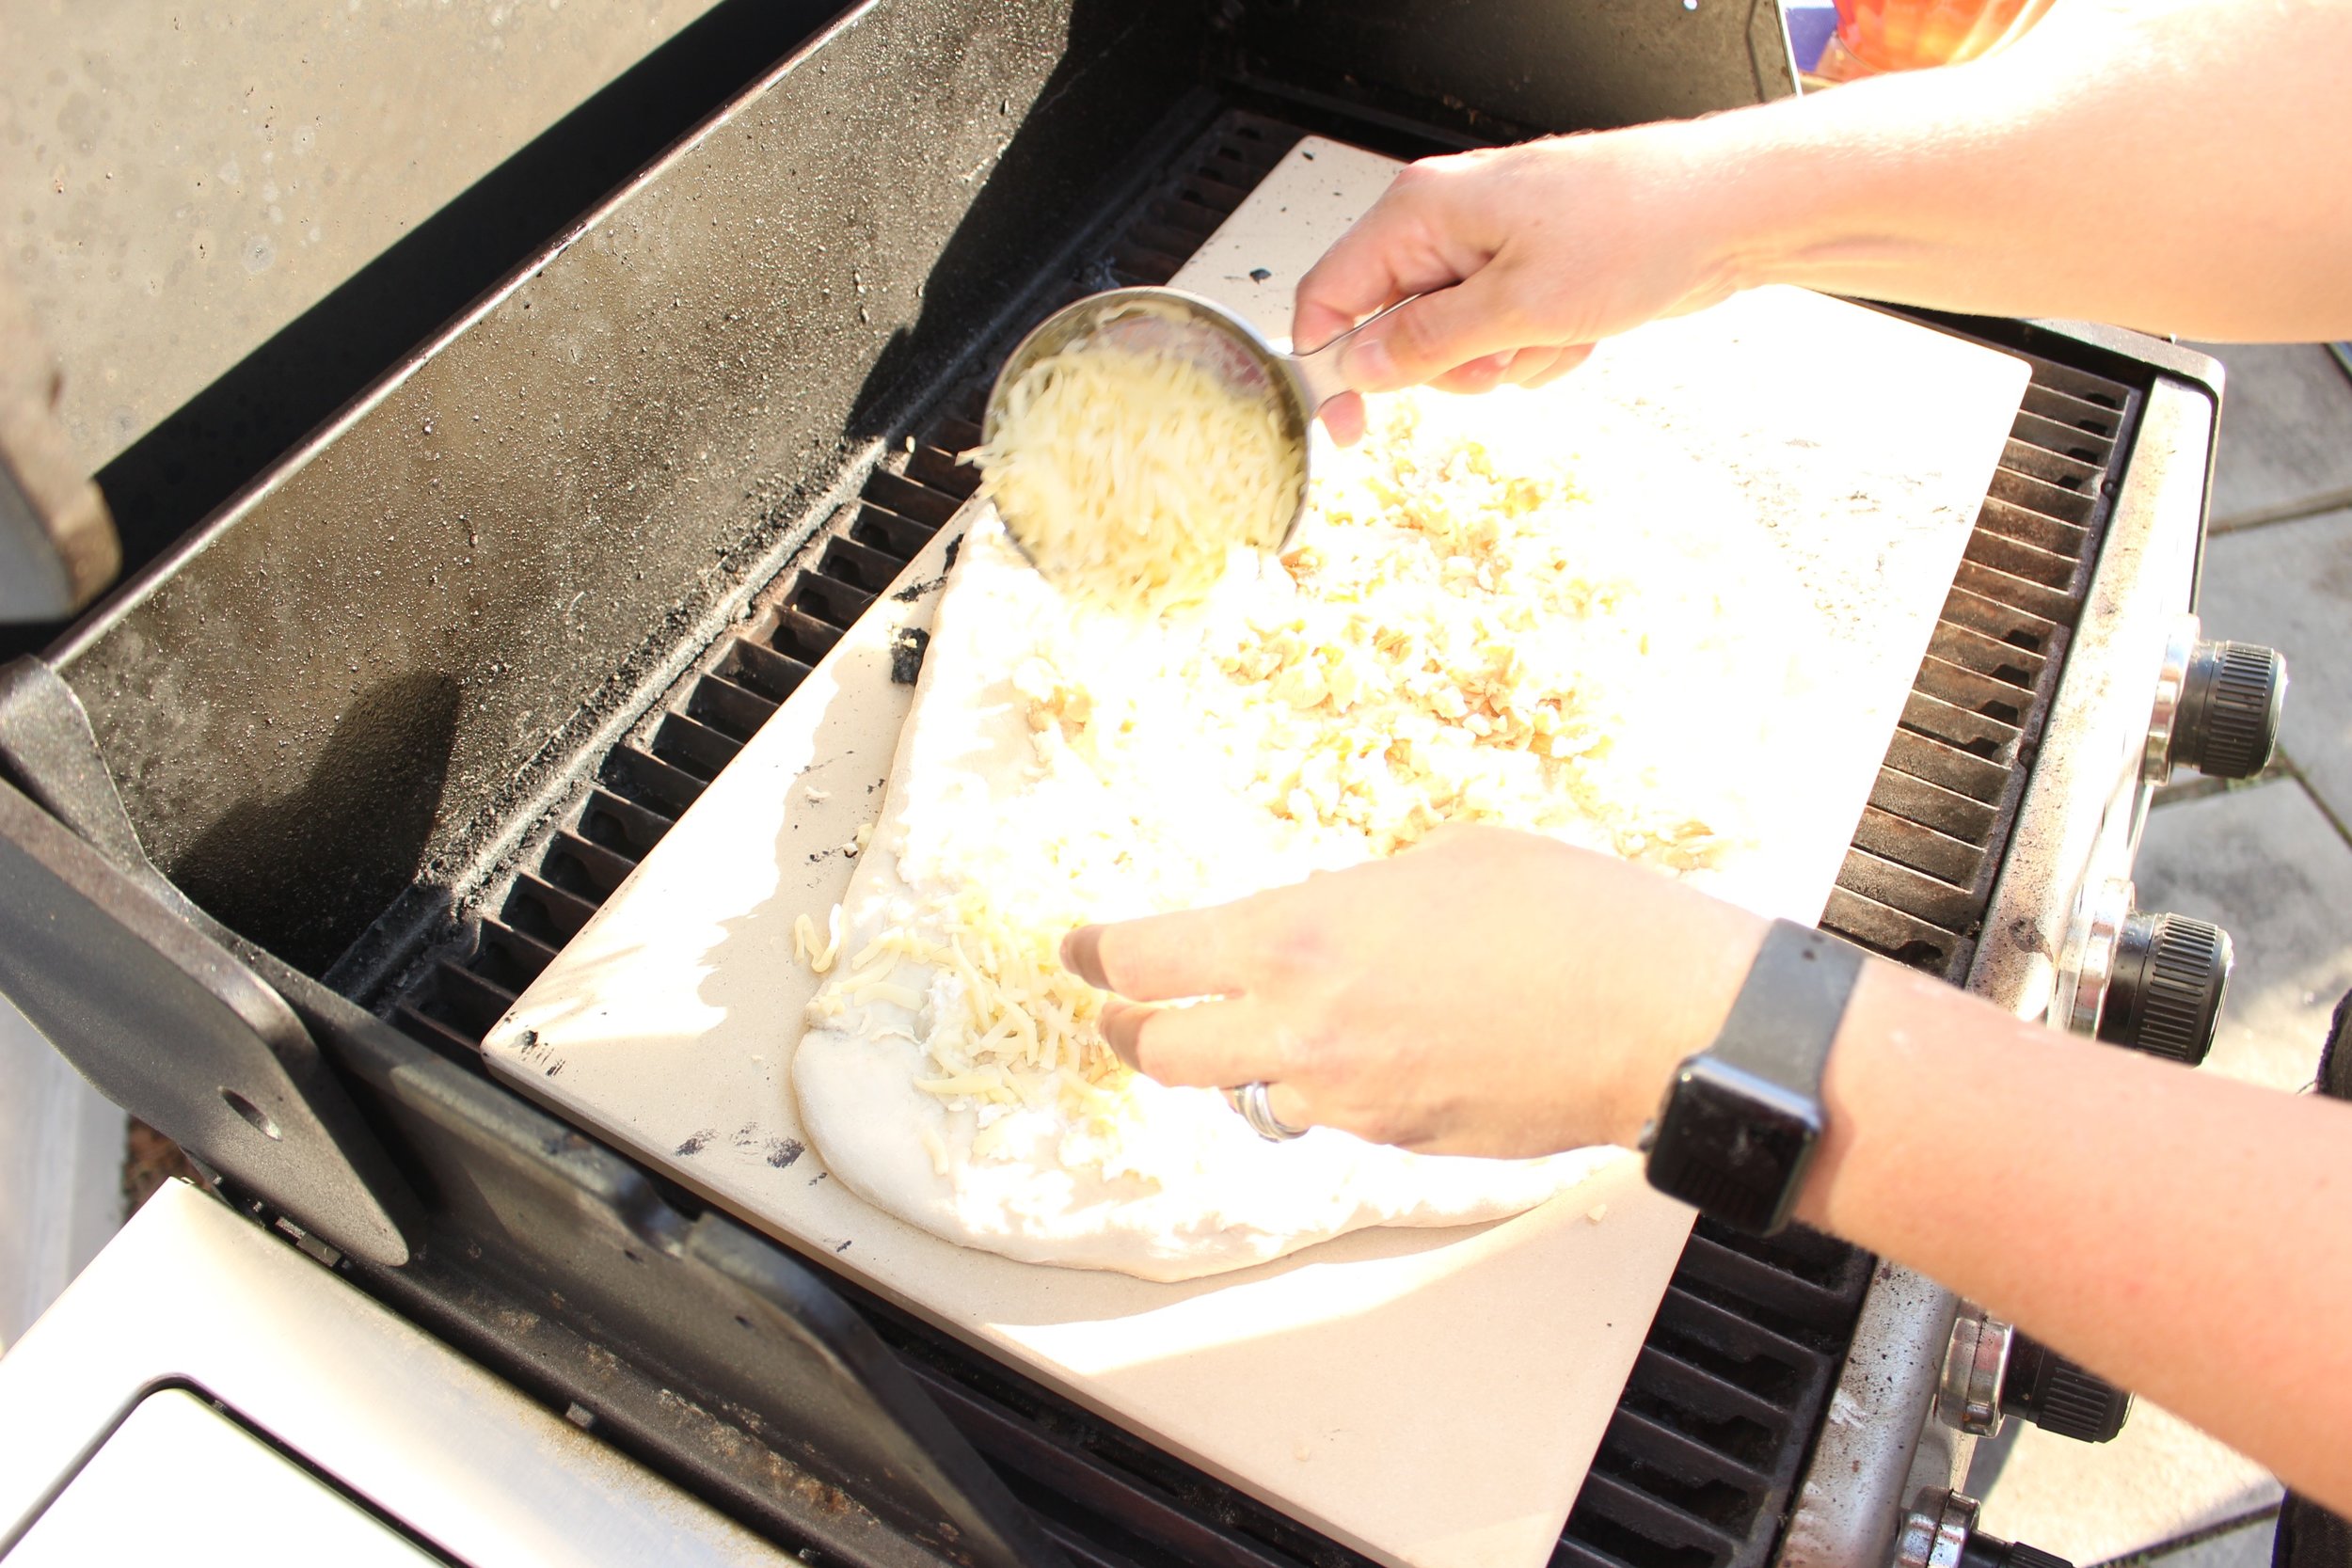
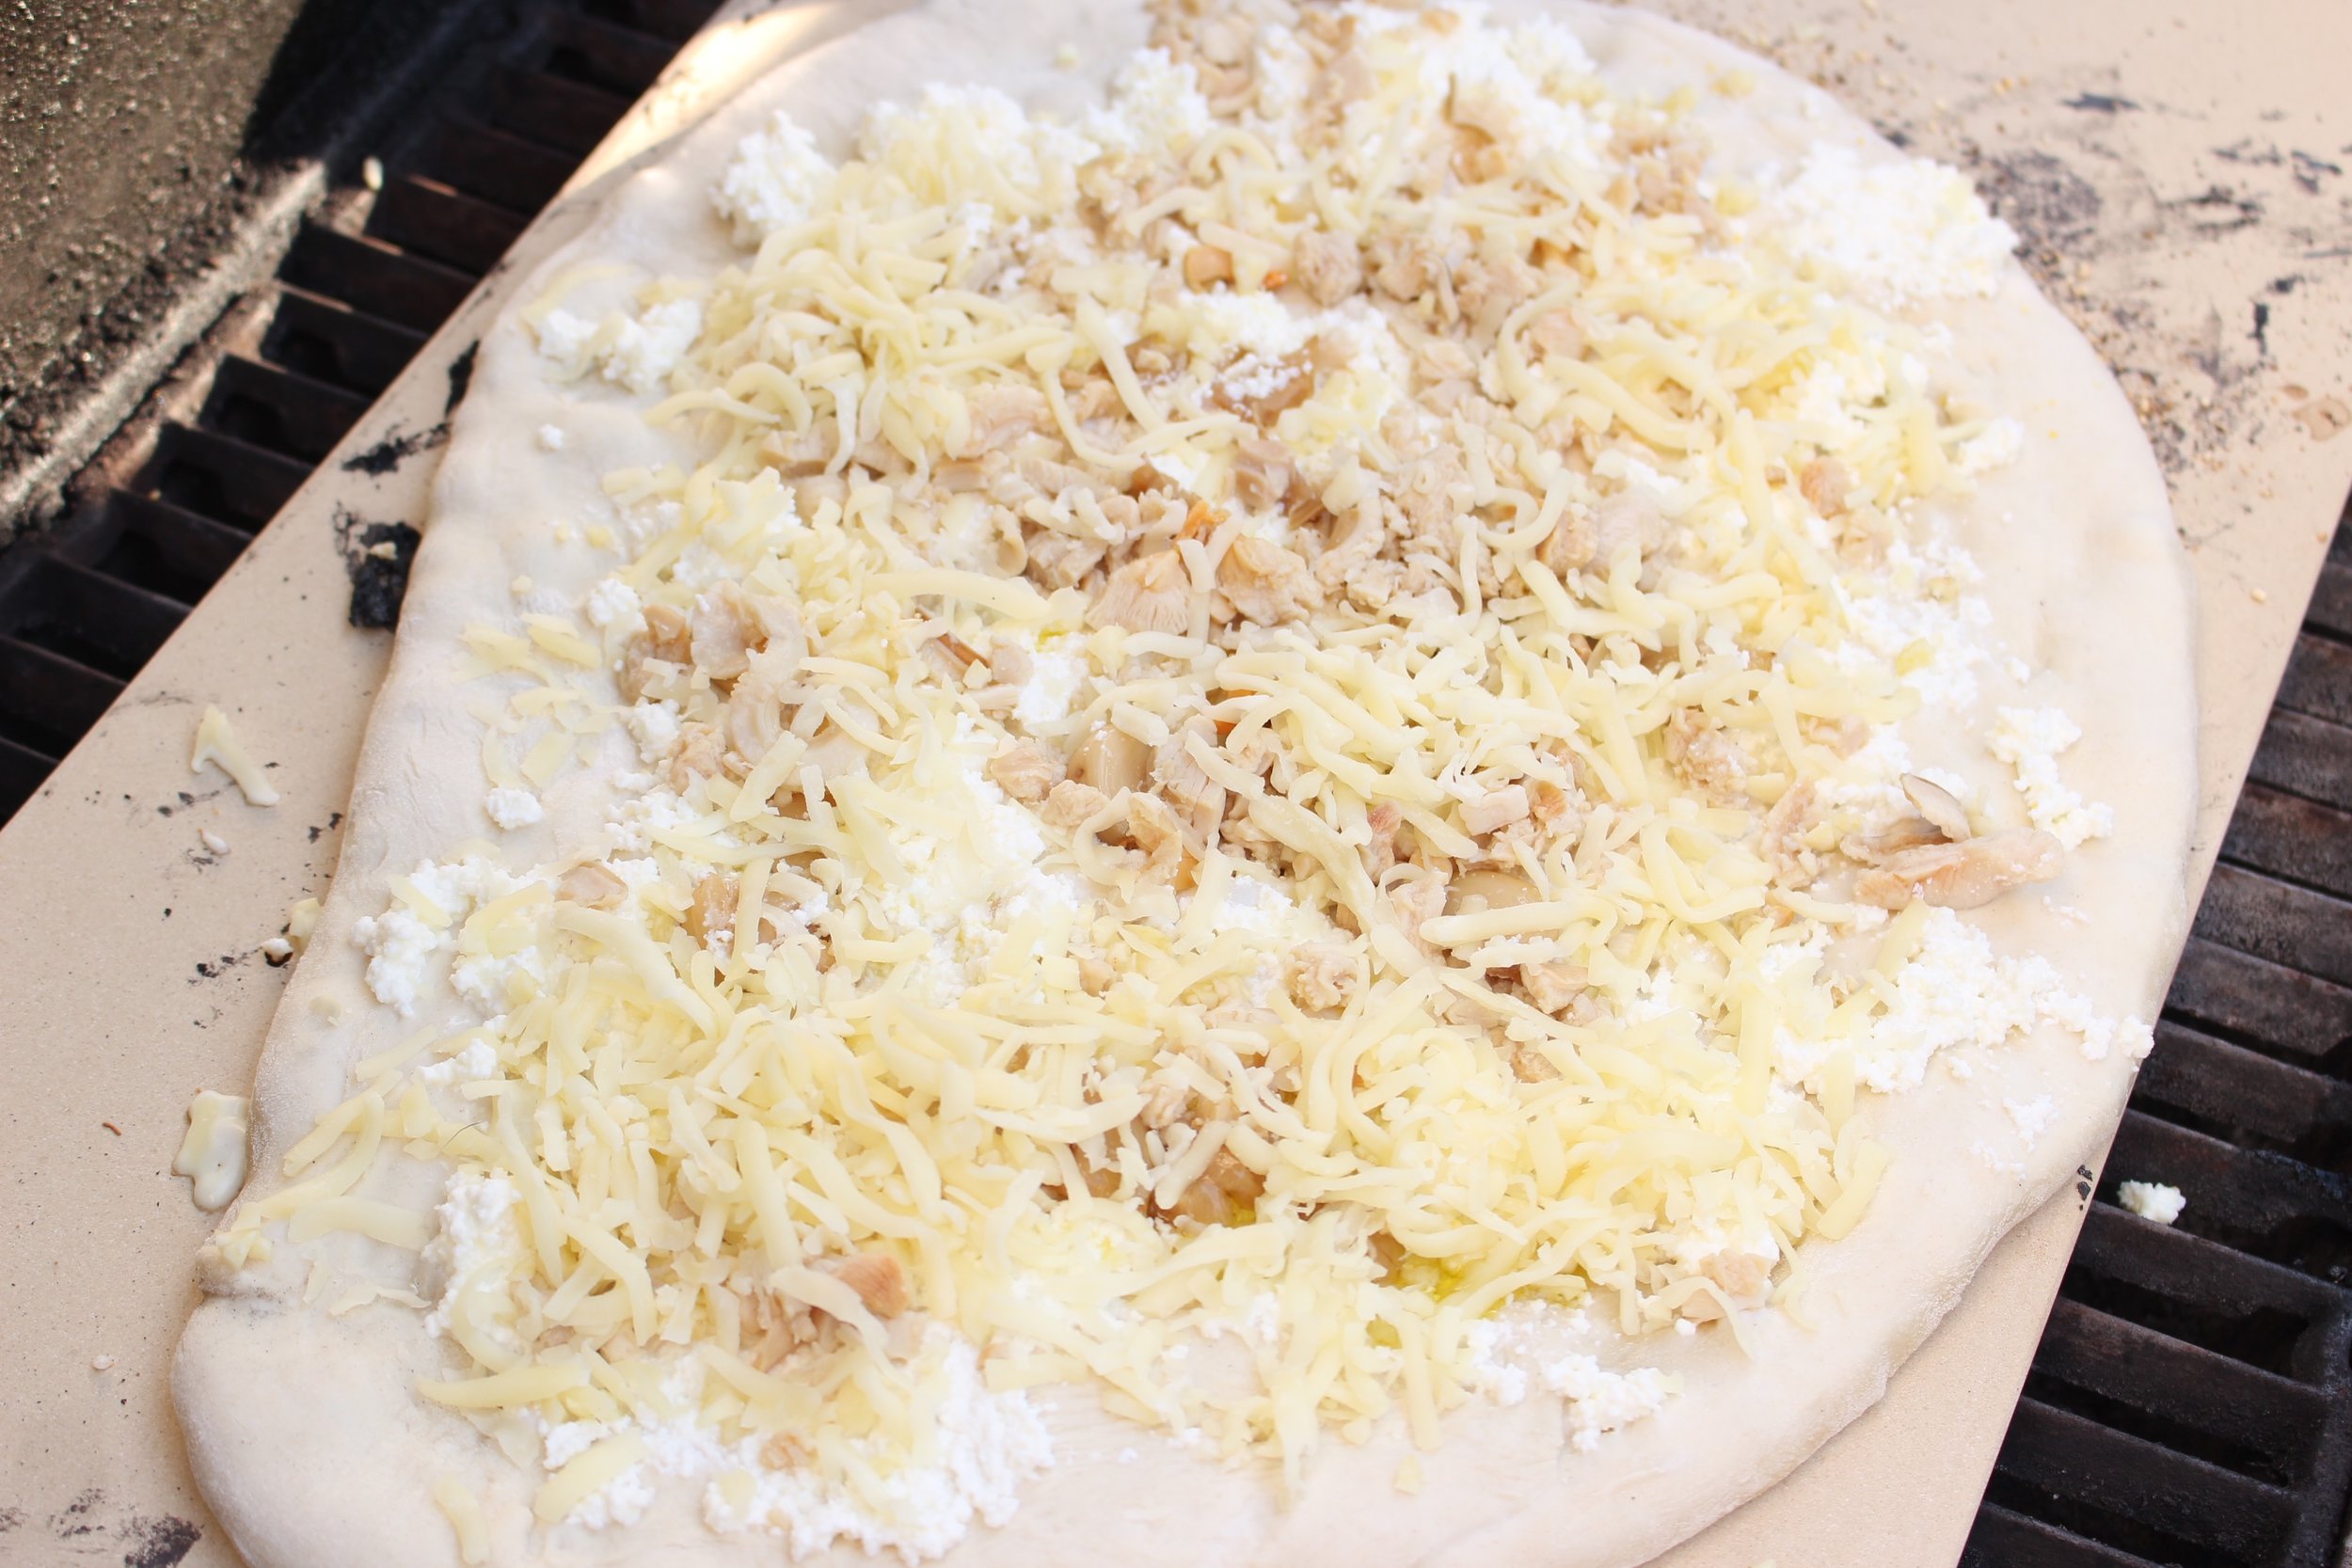
A couple of notes:
This is a heavy pizza before it’s cooked. What I mean is, the toppings really weight down the raw pizza dough. So make sure you use LOTS of flour under the crust to ensure that it comes off of your pizza peel and onto the pizza stone intact.
If you aren't as into garlic (this recipe calls for 10 cloves), either reduce the number of fresh cloves or just use the roasted ones. Their flavor is much mellower and blends well with the cheese.
Please do garnish with the lemon and sea salt. They make a huge difference in the final product.
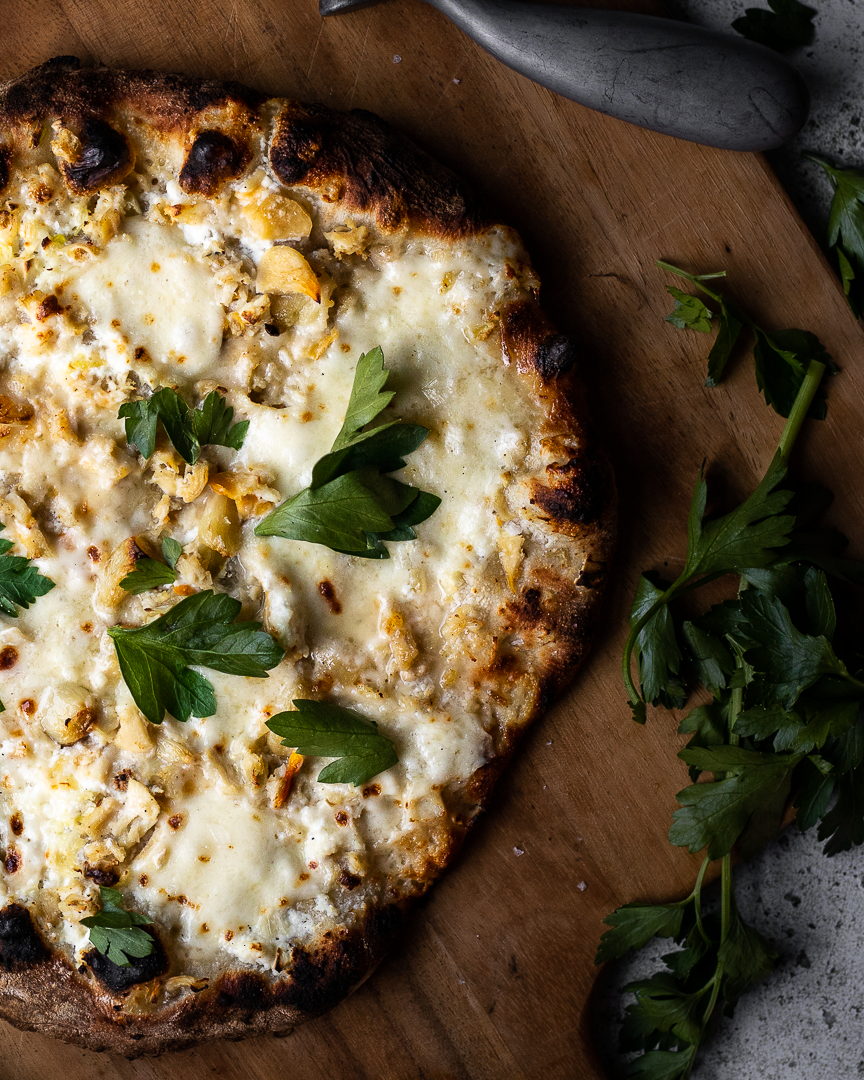
Clam Pizza | Me & The Moose Whether you use store-bough crust or make your own, cook it on a grill, in the oven, or in a pizza oven, this is my take on the clam pizza full of garlic, cheese, and briny clams. #meandthemoose #pizza #clampizza #homemadepizza
Clam pizza
Time: 45 minutes
Yield: 1 large or 2 medium pizzas, depending on the size of your crusts
1 pizza dough
Flour to prevent sticking when rolling out dough
1 cup ricotta cheese
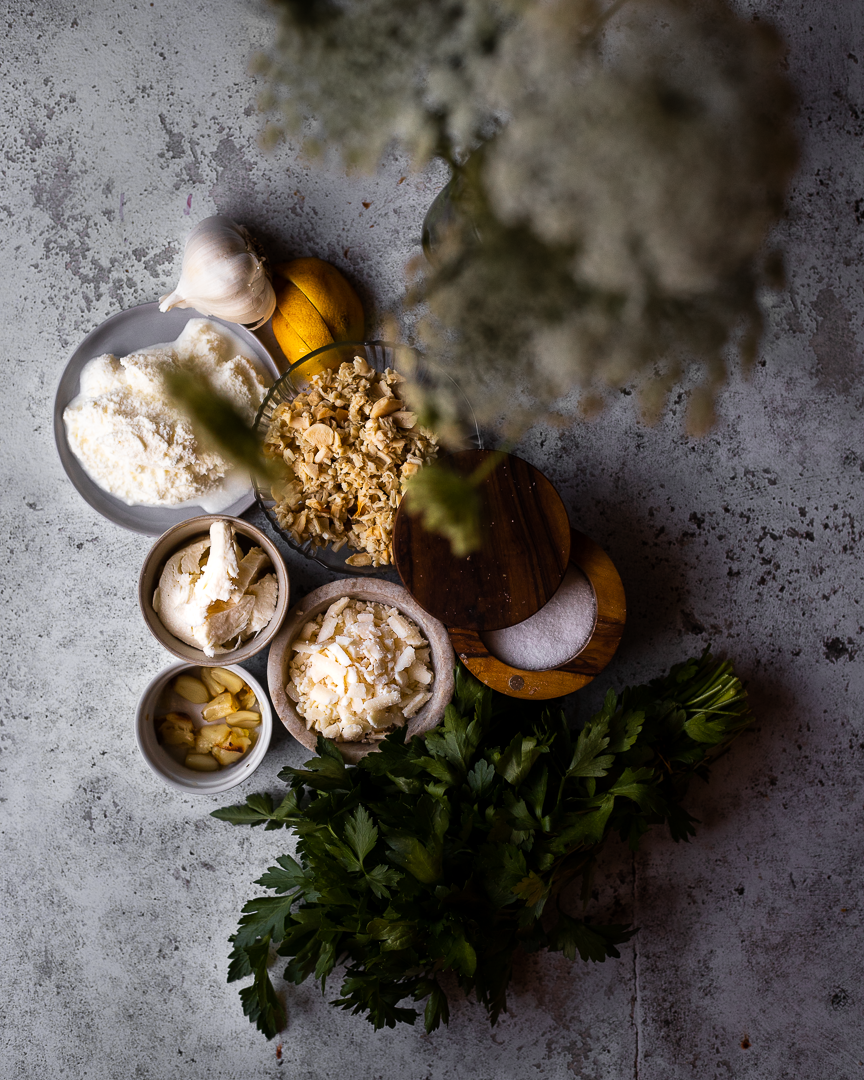
7 roasted garlic cloves (see method below)
3 large raw garlic cloves, minced
2 cans clams, drained (about 4 oz of clam meat)
1/2- 3/4 cup nutty cheese such as gruyere, sharp cheddar, gouda (not smoked), or fontina,
shredded
1 cup fresh mozzarella, torn into pieces
Parsley
Lemon wedges
Sea salt
Crushed red pepper flakes
For the roasted garlic:
Preheat the oven or toaster oven to 400. Smash 10 cloves of garlic, but don't remove the peels (if some fall off, great, but no need to do extra work). Add them to a small oven proof container like a ramekin or a coffee mug. Cover with olive oil. Cook until the garlic is bubbling and fragrant and the cloves are very soft when (carefully! hot oil!) squished with a spoon, about 5-8 minutes.
For the pizza:
Preheat your grill on high or your oven at 500. Remove the top rack of your grill or the second rack of your oven and move the remaining rack to the lower middle portion of the oven. (You want enough room above the rack to negotiate your dough onto the pizza stone, but be close enough to the top of the oven to easily brown your cheese. Add the pizza stone and let heat for 30 minutes.
Meanwhile, prep all of your toppings. Set aside.
On a floured counter or pizza board, roll out or press out your dough until very thin. Lift up half of the dough and scatter more flour underneath. Repeat on the other side. Jiggle your dough to make sure that it’ll slide onto a pizza peel or into the oven easily.
If cooking in the oven, add your toppings before placing the raw dough on the hot pizza stone. If the toppings are weighing down the dough too much, carefully add more flour under the crust.
Carefully slide the topped, raw dough onto the pizza stone in the oven. Cook for 6-8 minutes without opening the oven. Check the pizza and cook for another 2-3 minutes, until the cheese and the sides of the crust begin to brown. Check the bottom crust for doneness (it should be golden brown and crispy).
Remove from the heat and top with chopped parsley, sea salt, lemon, and crushed red pepper flakes (optional).
If cooking on the grill, make sure all of your toppings are measured and easily accessible. Slide the plain, raw dough onto your grill and quickly top with the ricotta, roasted and fresh garlic, the clams, and the shredded cheeses. Close the lid to the grill and let cook for 5 minutes. Check for doneness continue cooking for 2-3 minutes until the crust and cheese begin to brown.
Check the bottom crust for doneness (it should be golden brown and crispy).
Remove from the heat and top with chopped parsley, sea salt, lemon, and crushed red pepper flakes (optional).
One note about grilling: the number of burners on your grill will change the speed at which this pizza cooks. A 6-burner grill might take less than 5 minutes, so check it sooner. A 3-burner grill might take a minute more. Use your judgement based on your grill or oven.
Sheet pan dinner: Roasted white fish and cabbage tacos
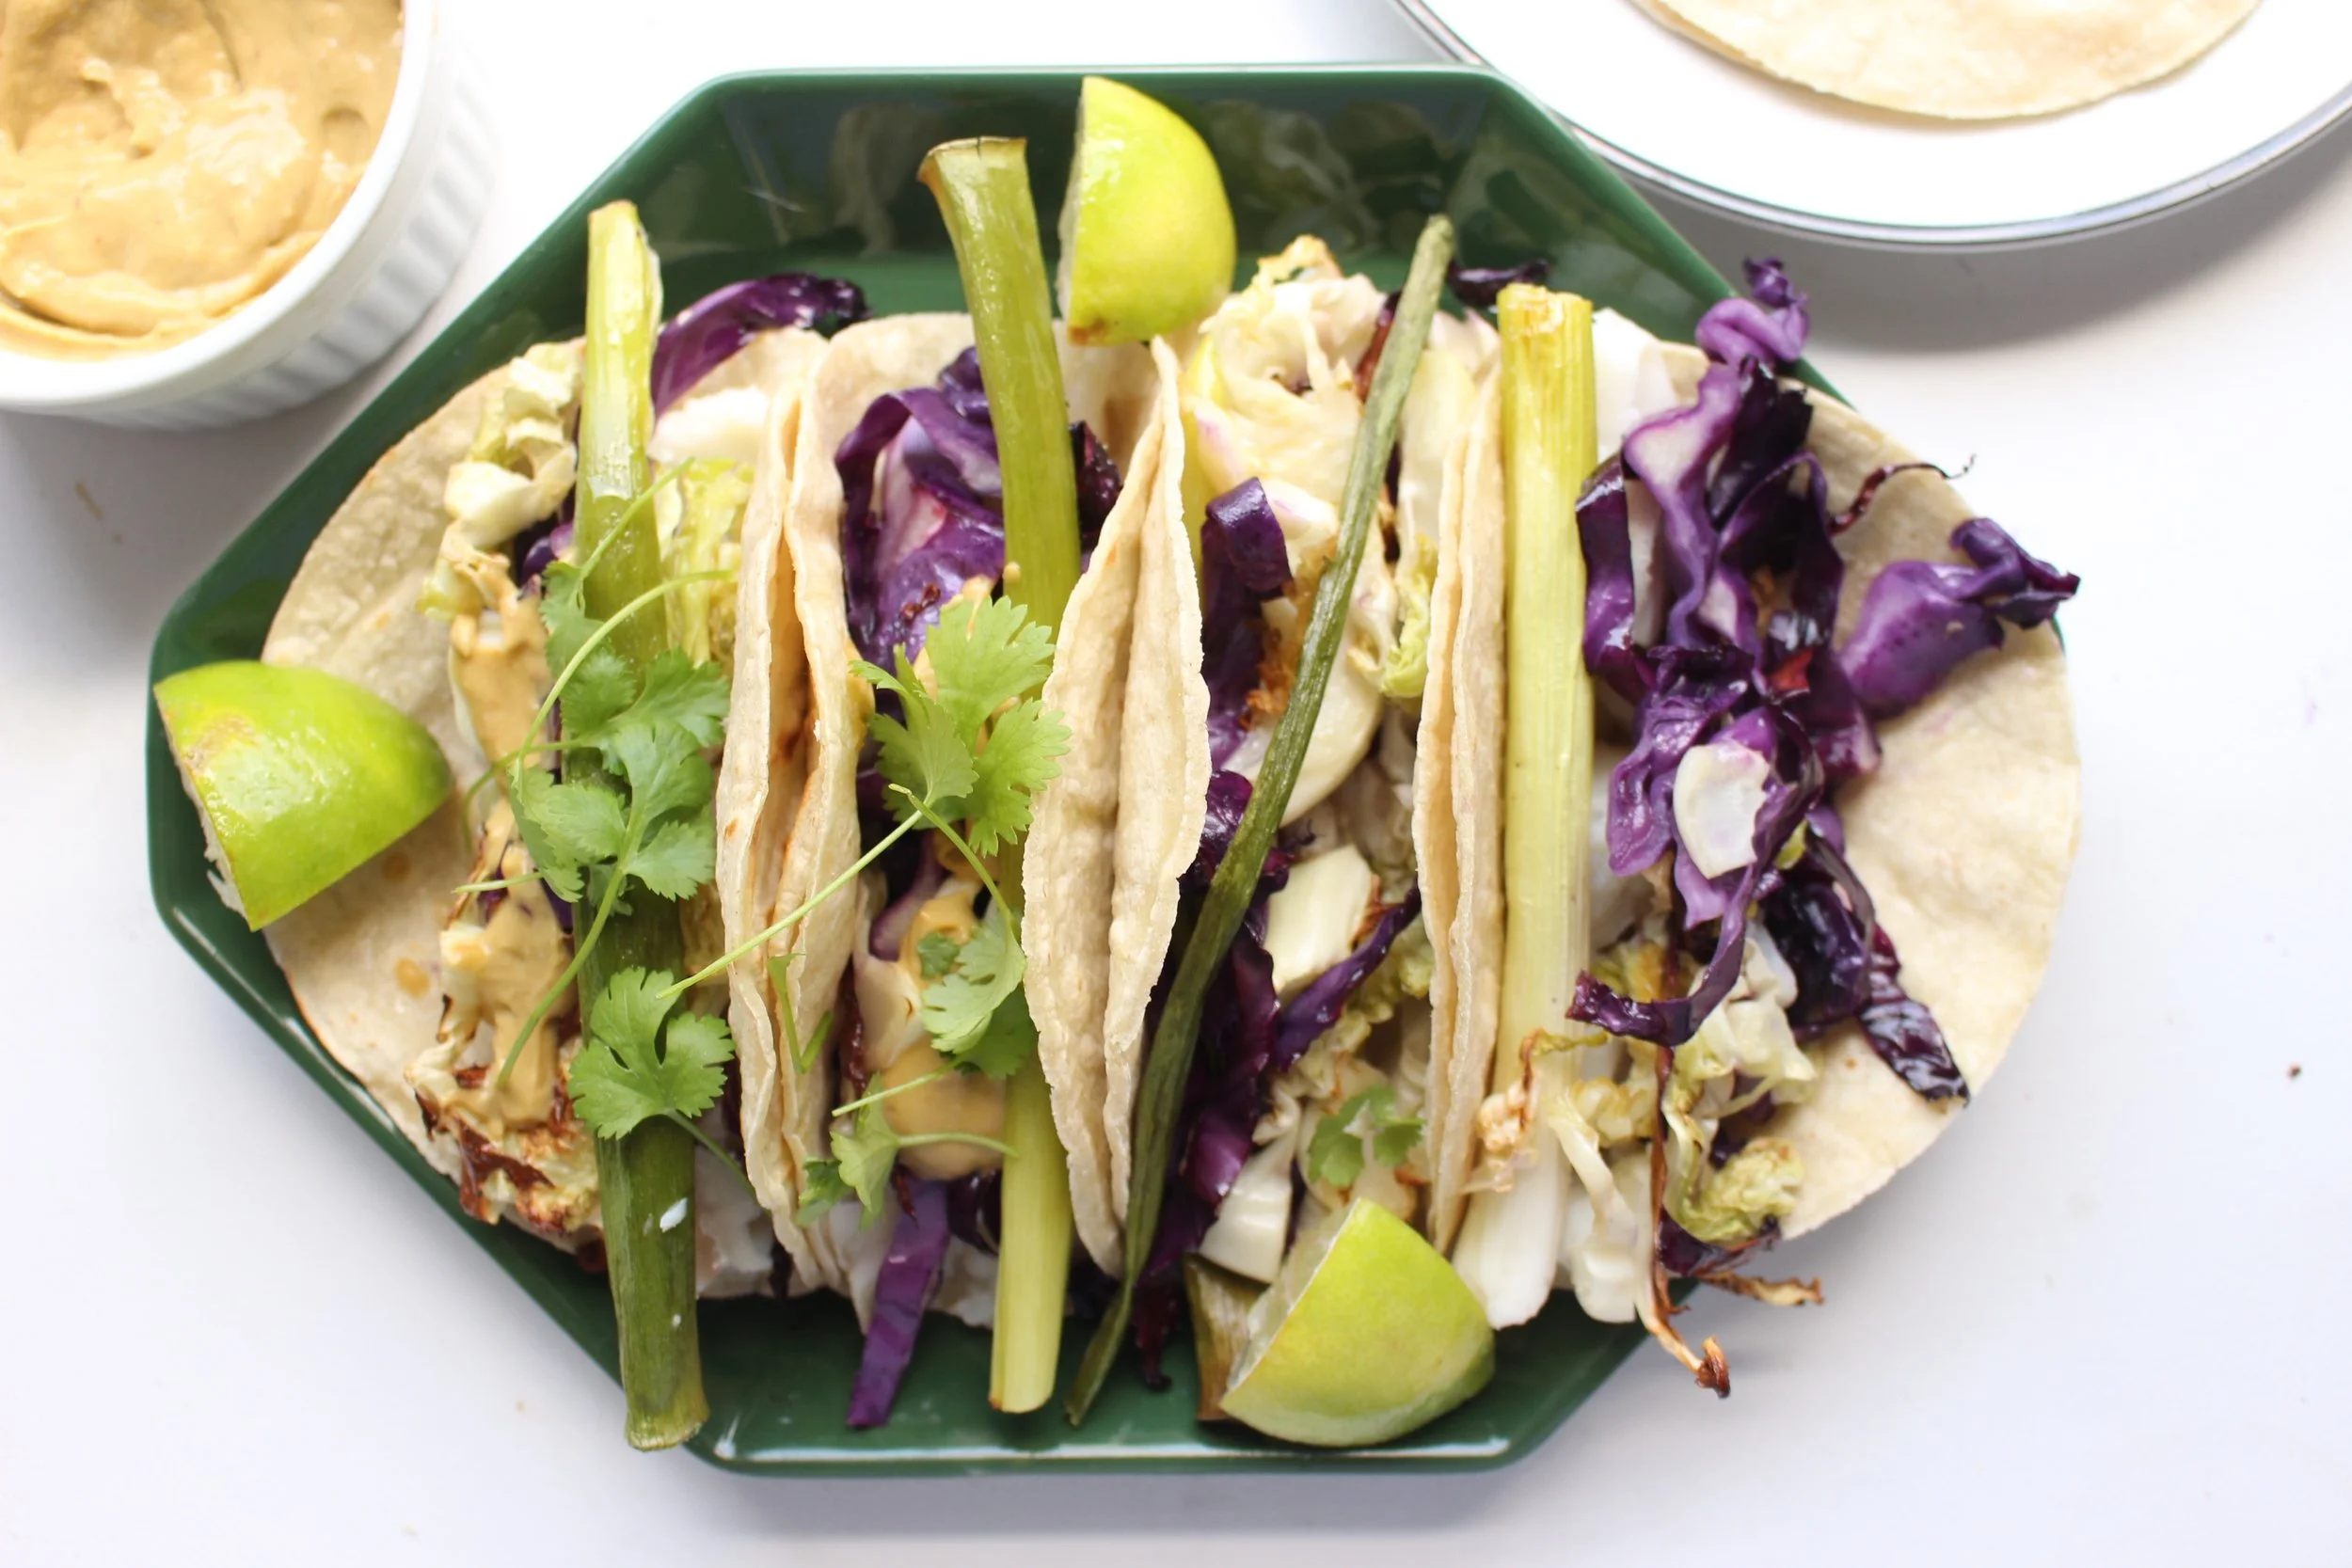
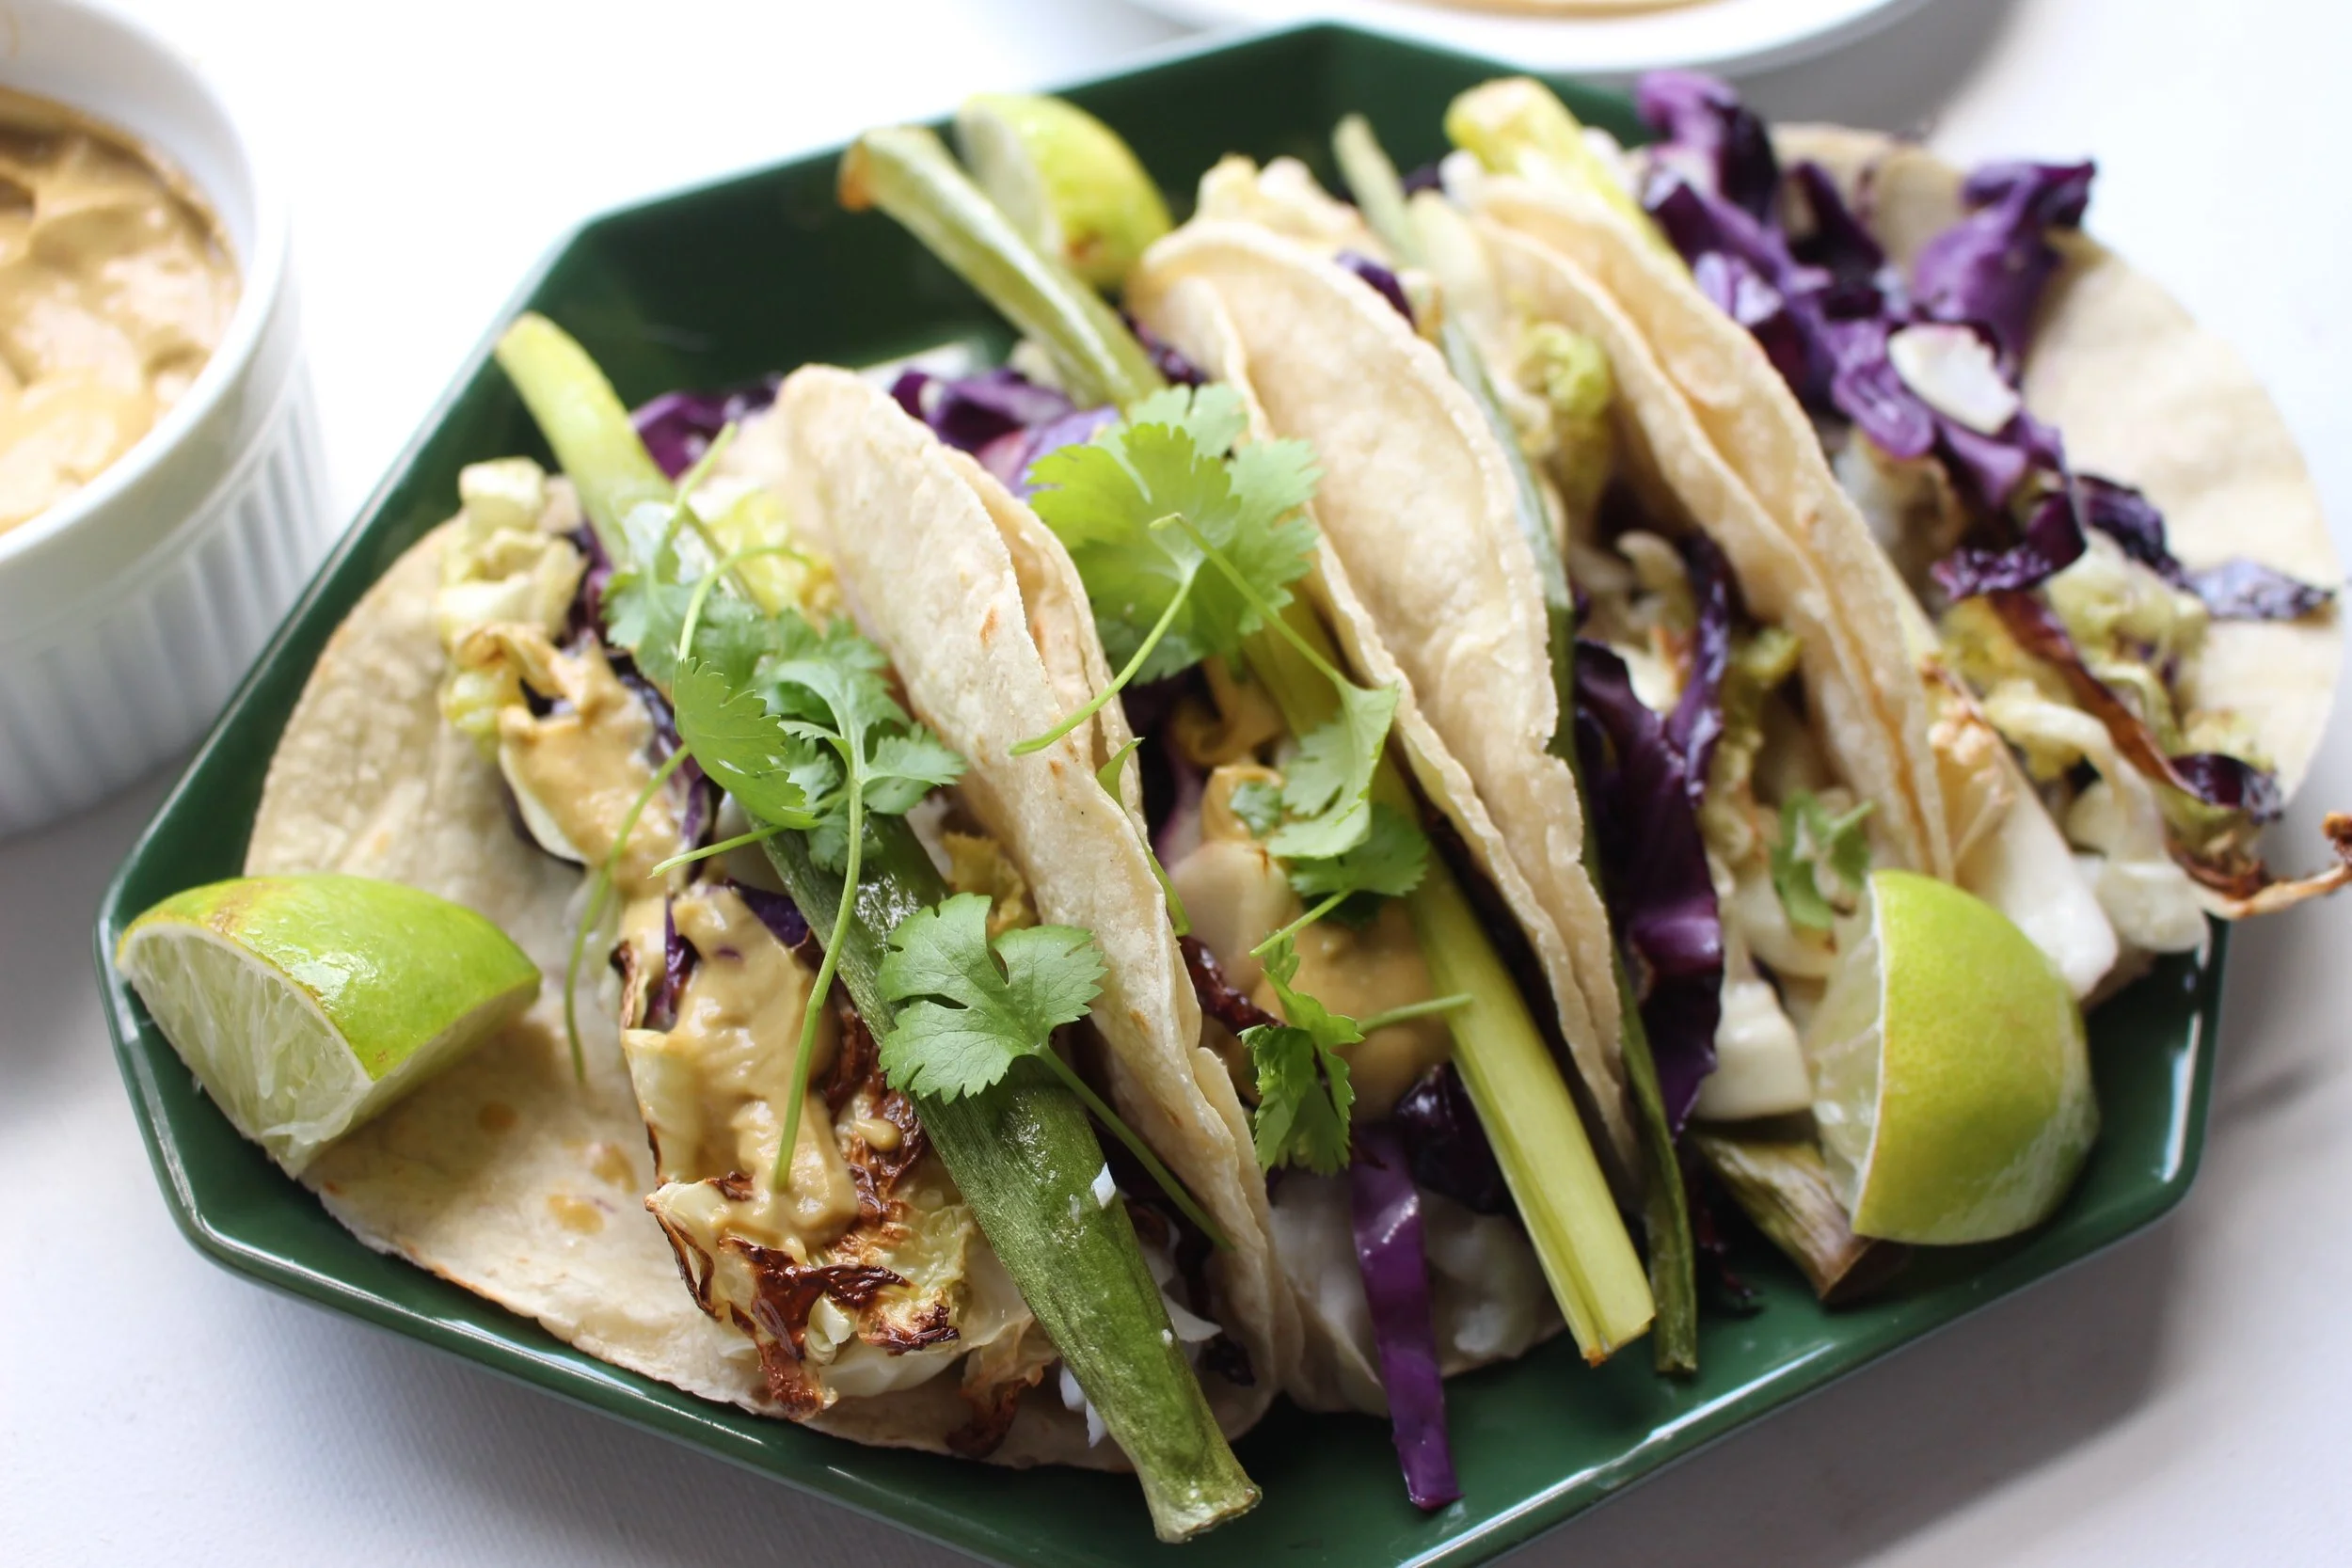
The dog days of summer are here in the Northeast and it. is. sweaty. I'm hankering for things that are raw or minimally cooked, so a sheet pan dinner may seem counterintuitive. But the cooking here is very quick, requires very few dishes, and the end product leaves us feeling satisfied, but not stupified because being really hot and really full is like entering the third ring of hell.
(As always, skip to the next photo to avoid the toddler update.)
Speaking of hell (KIDDING), we're in that annoying place where the things our kid does seem SO AWFUL to us, but when I tell others about his behavior, I'm usually met with, "Yeah, that sounds about right for a 3-year-old." For instance, I just about blacked out with rage (though I think I handled it okay), when M aimed his stream directly at the back of the toilet instead of into the bowl, effectively spraying our entire bathroom with pee. He thought this was HILARIOUS, while I floated out of my body and burst into a million pieces. The first person I told about this replied, "If he ever has a brother, they'll probably do it together."
Don't get me wrong, it's VERY comforting when other people are completely unfazed by M's behavior. But I'm still left wondering if I'm the world's least effective parent. It can be hard to process.
But I also get it. When I tell someone else about M's behavior that's driving me crazy, to them, it's an isolated incident. But when I'm asking him to put on his shoes for the 20th time after struggling to get him to do five other things in the past hour, that shoe battle feels so much more intense and difficult.
Basically what I'm saying is that 3 has been a tough age so far and that on exhausting days, the last thing I want to do is fight with dinner too (what a segue, huh?).
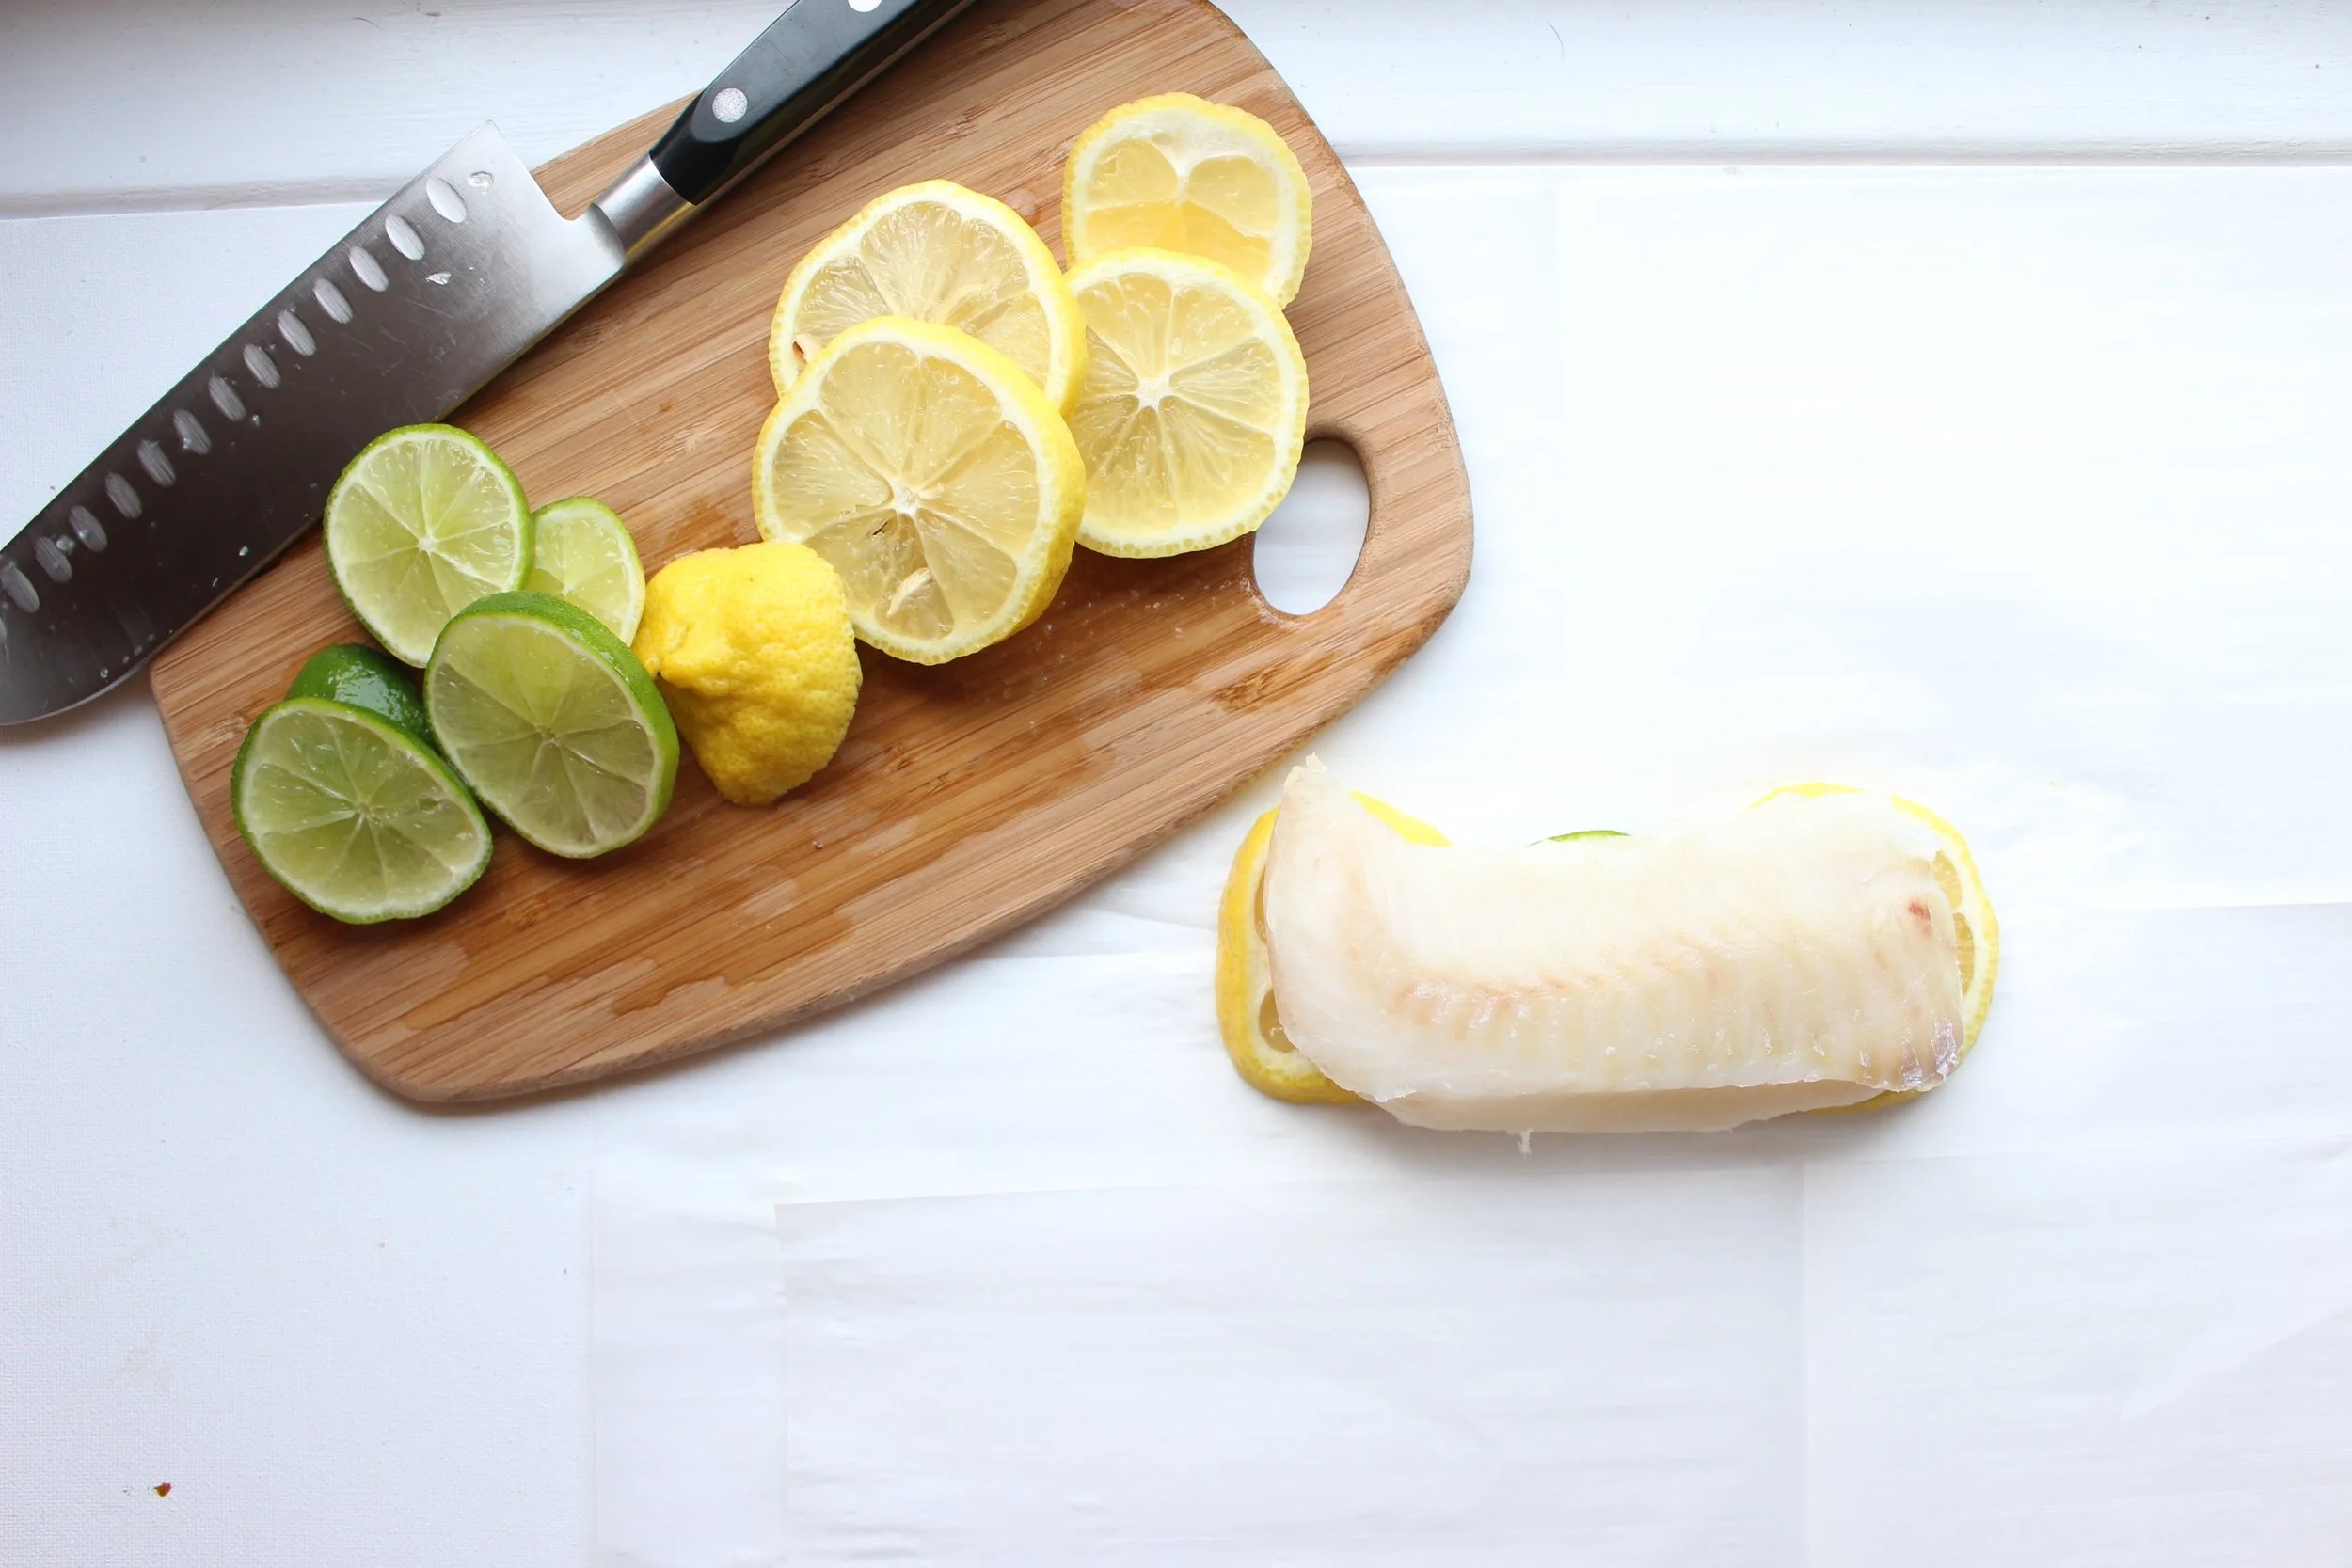
This dinner is partly steamed and partly roasted. Roasting the fish with the veggies proved counterproductive because a lot of liquid came out of the fish while it cooked, which led to steamed veggies instead of roasted ones. No thanks.
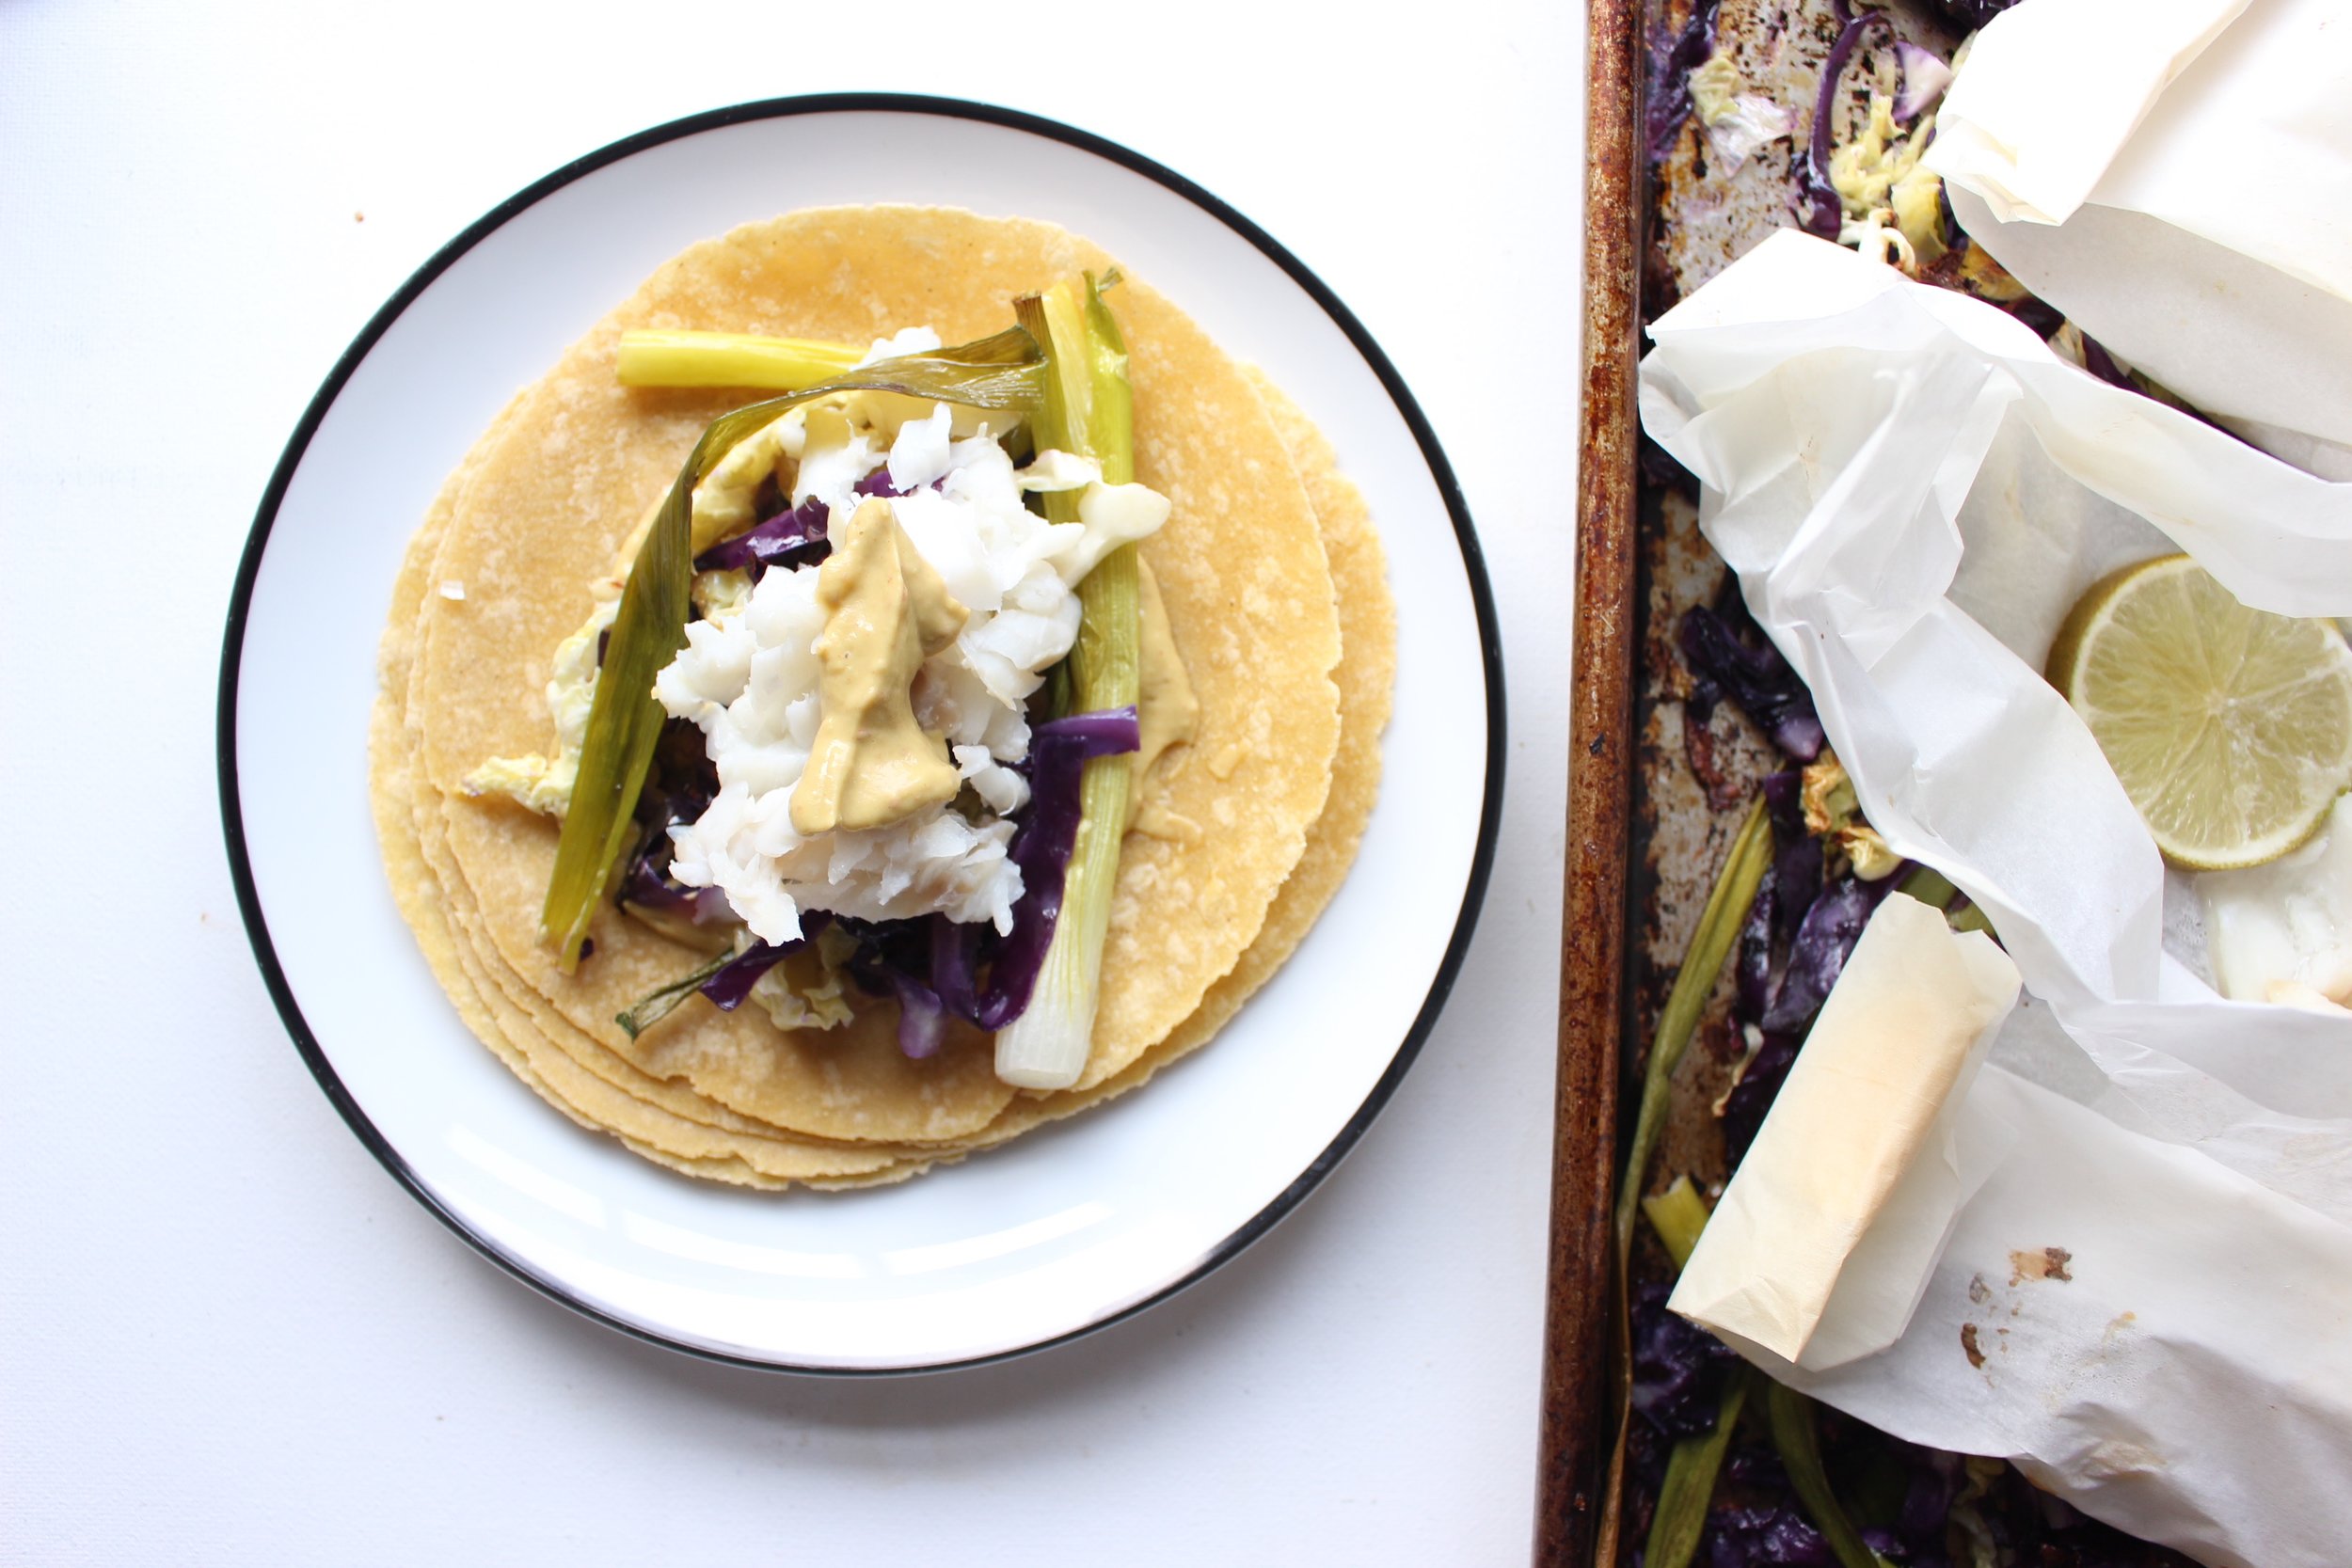
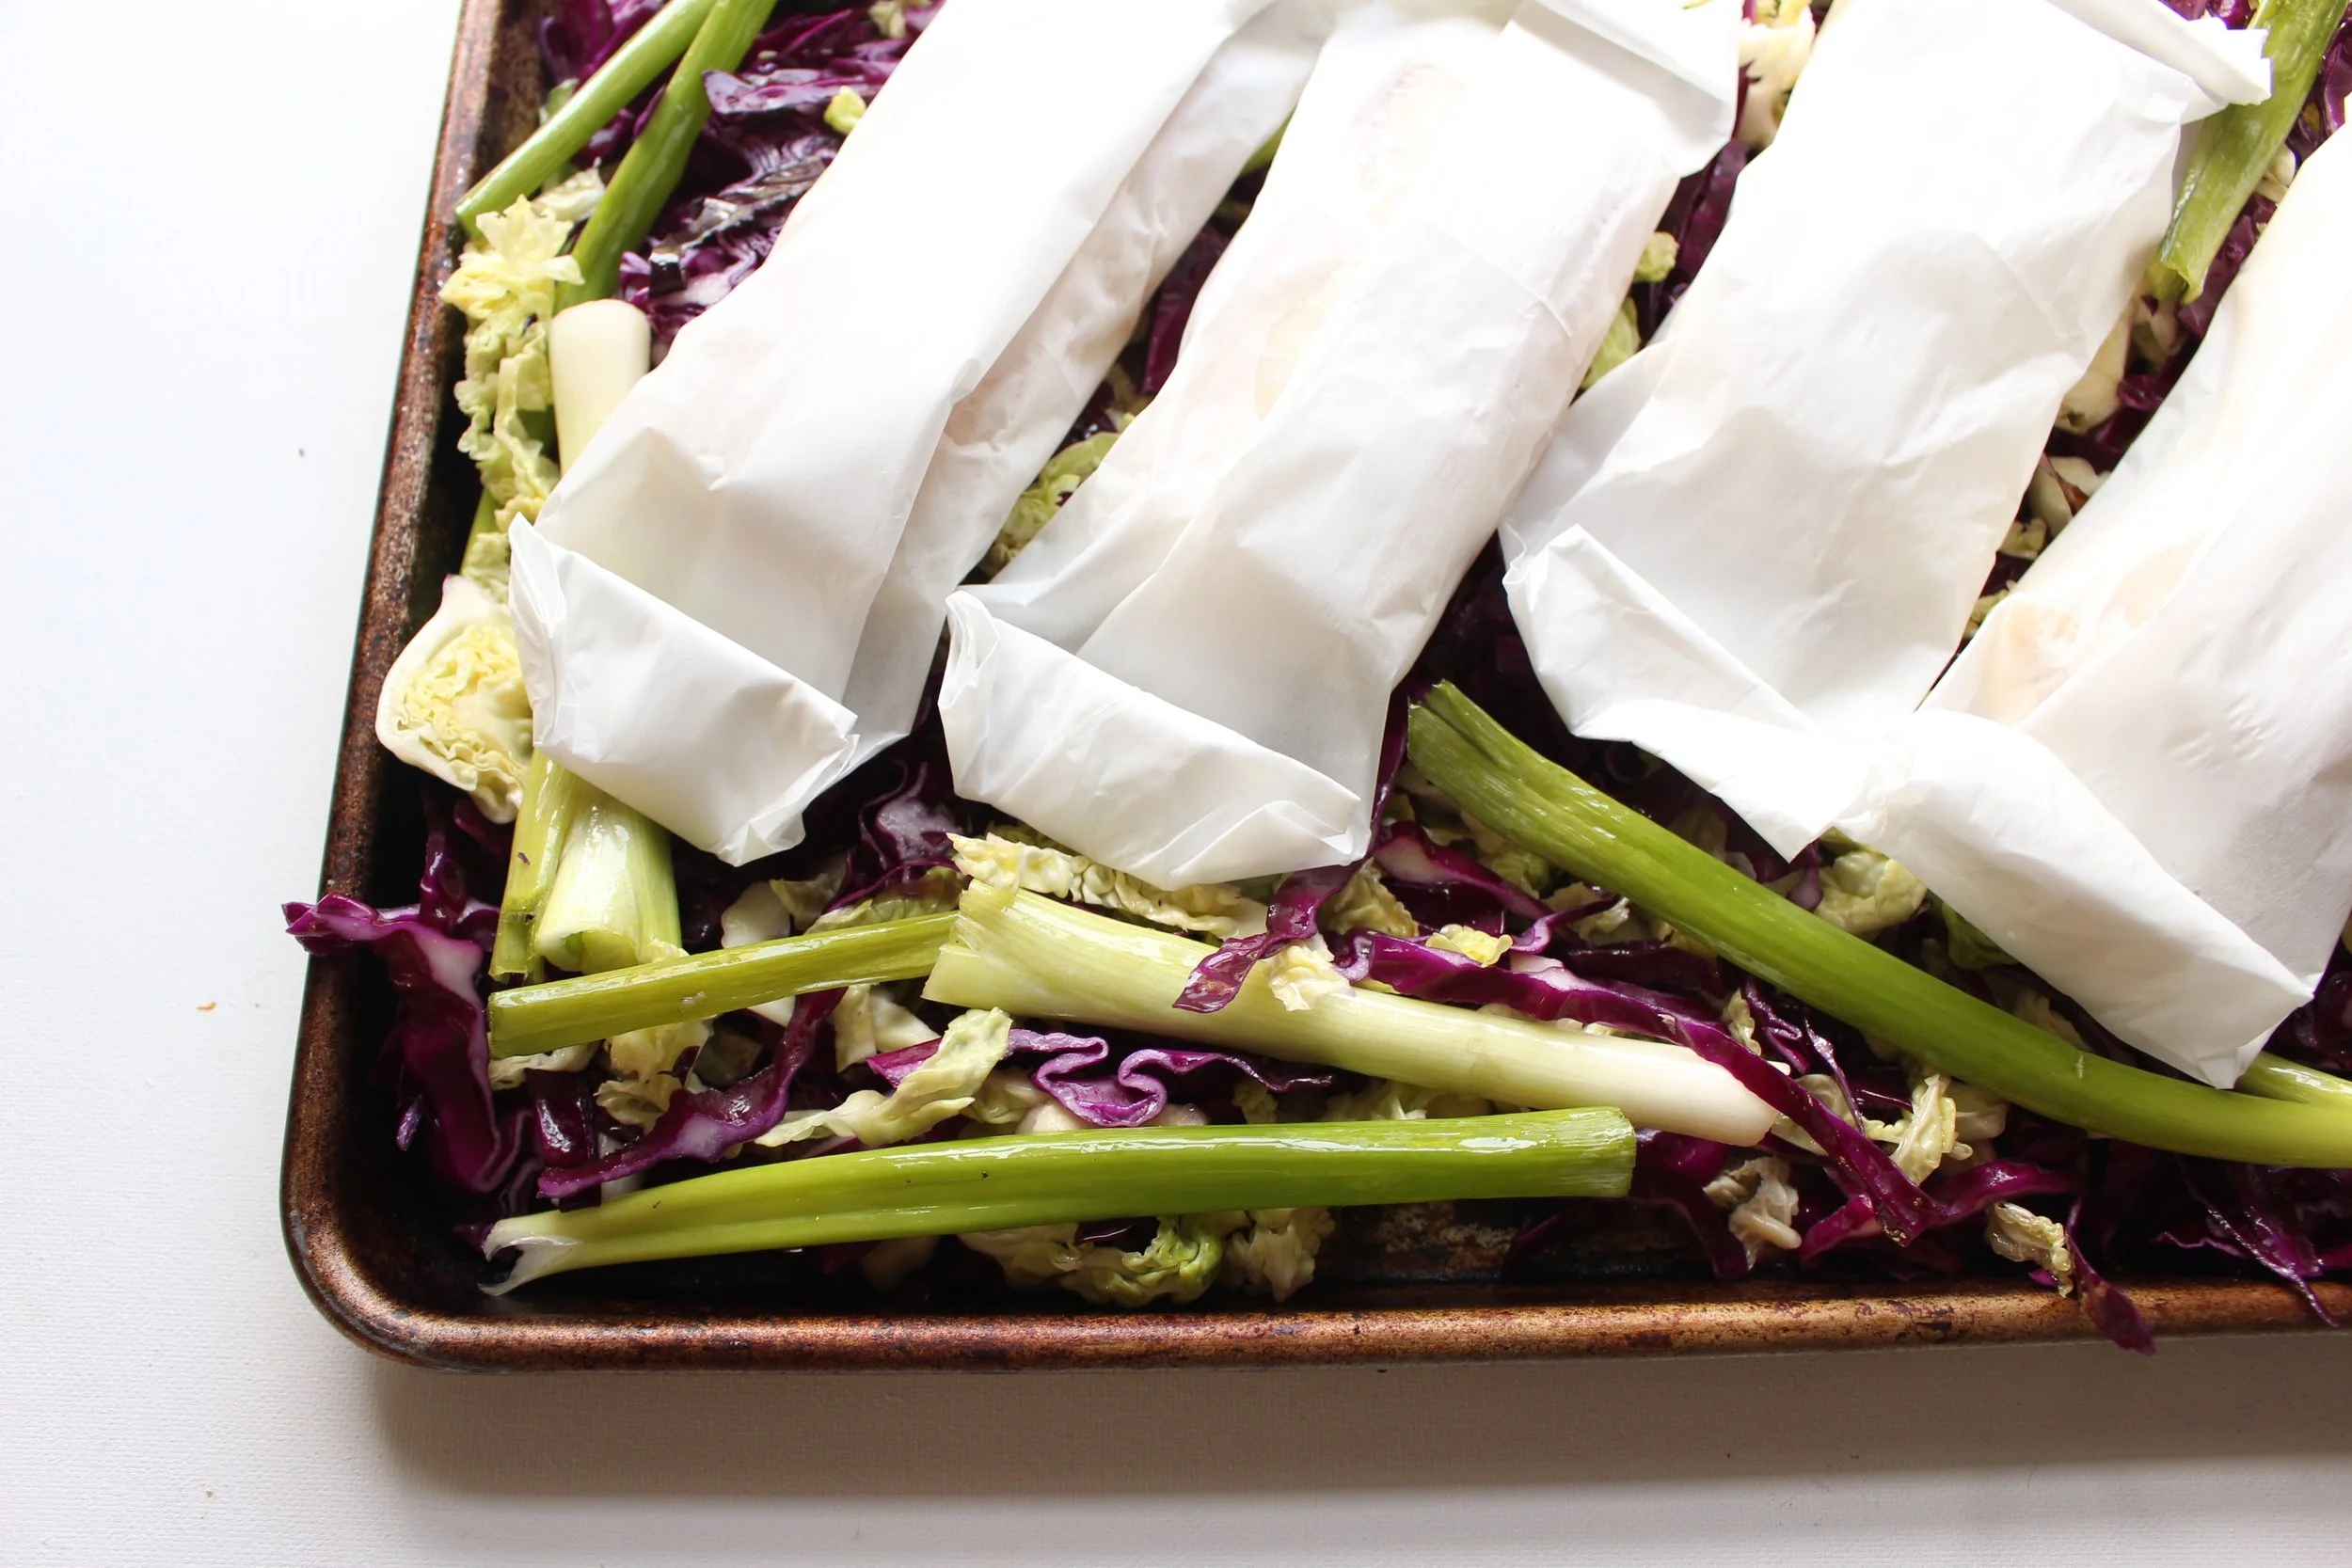
Instead, you're going to wrap up the fish on a bed of lemon and lime in parchment bundles and let them steam on top of the cabbage and scallions to achieve the best of both cooking methods while still only using one pan. Because, it's hot. Here is a handy illustration of my favorite folding method:
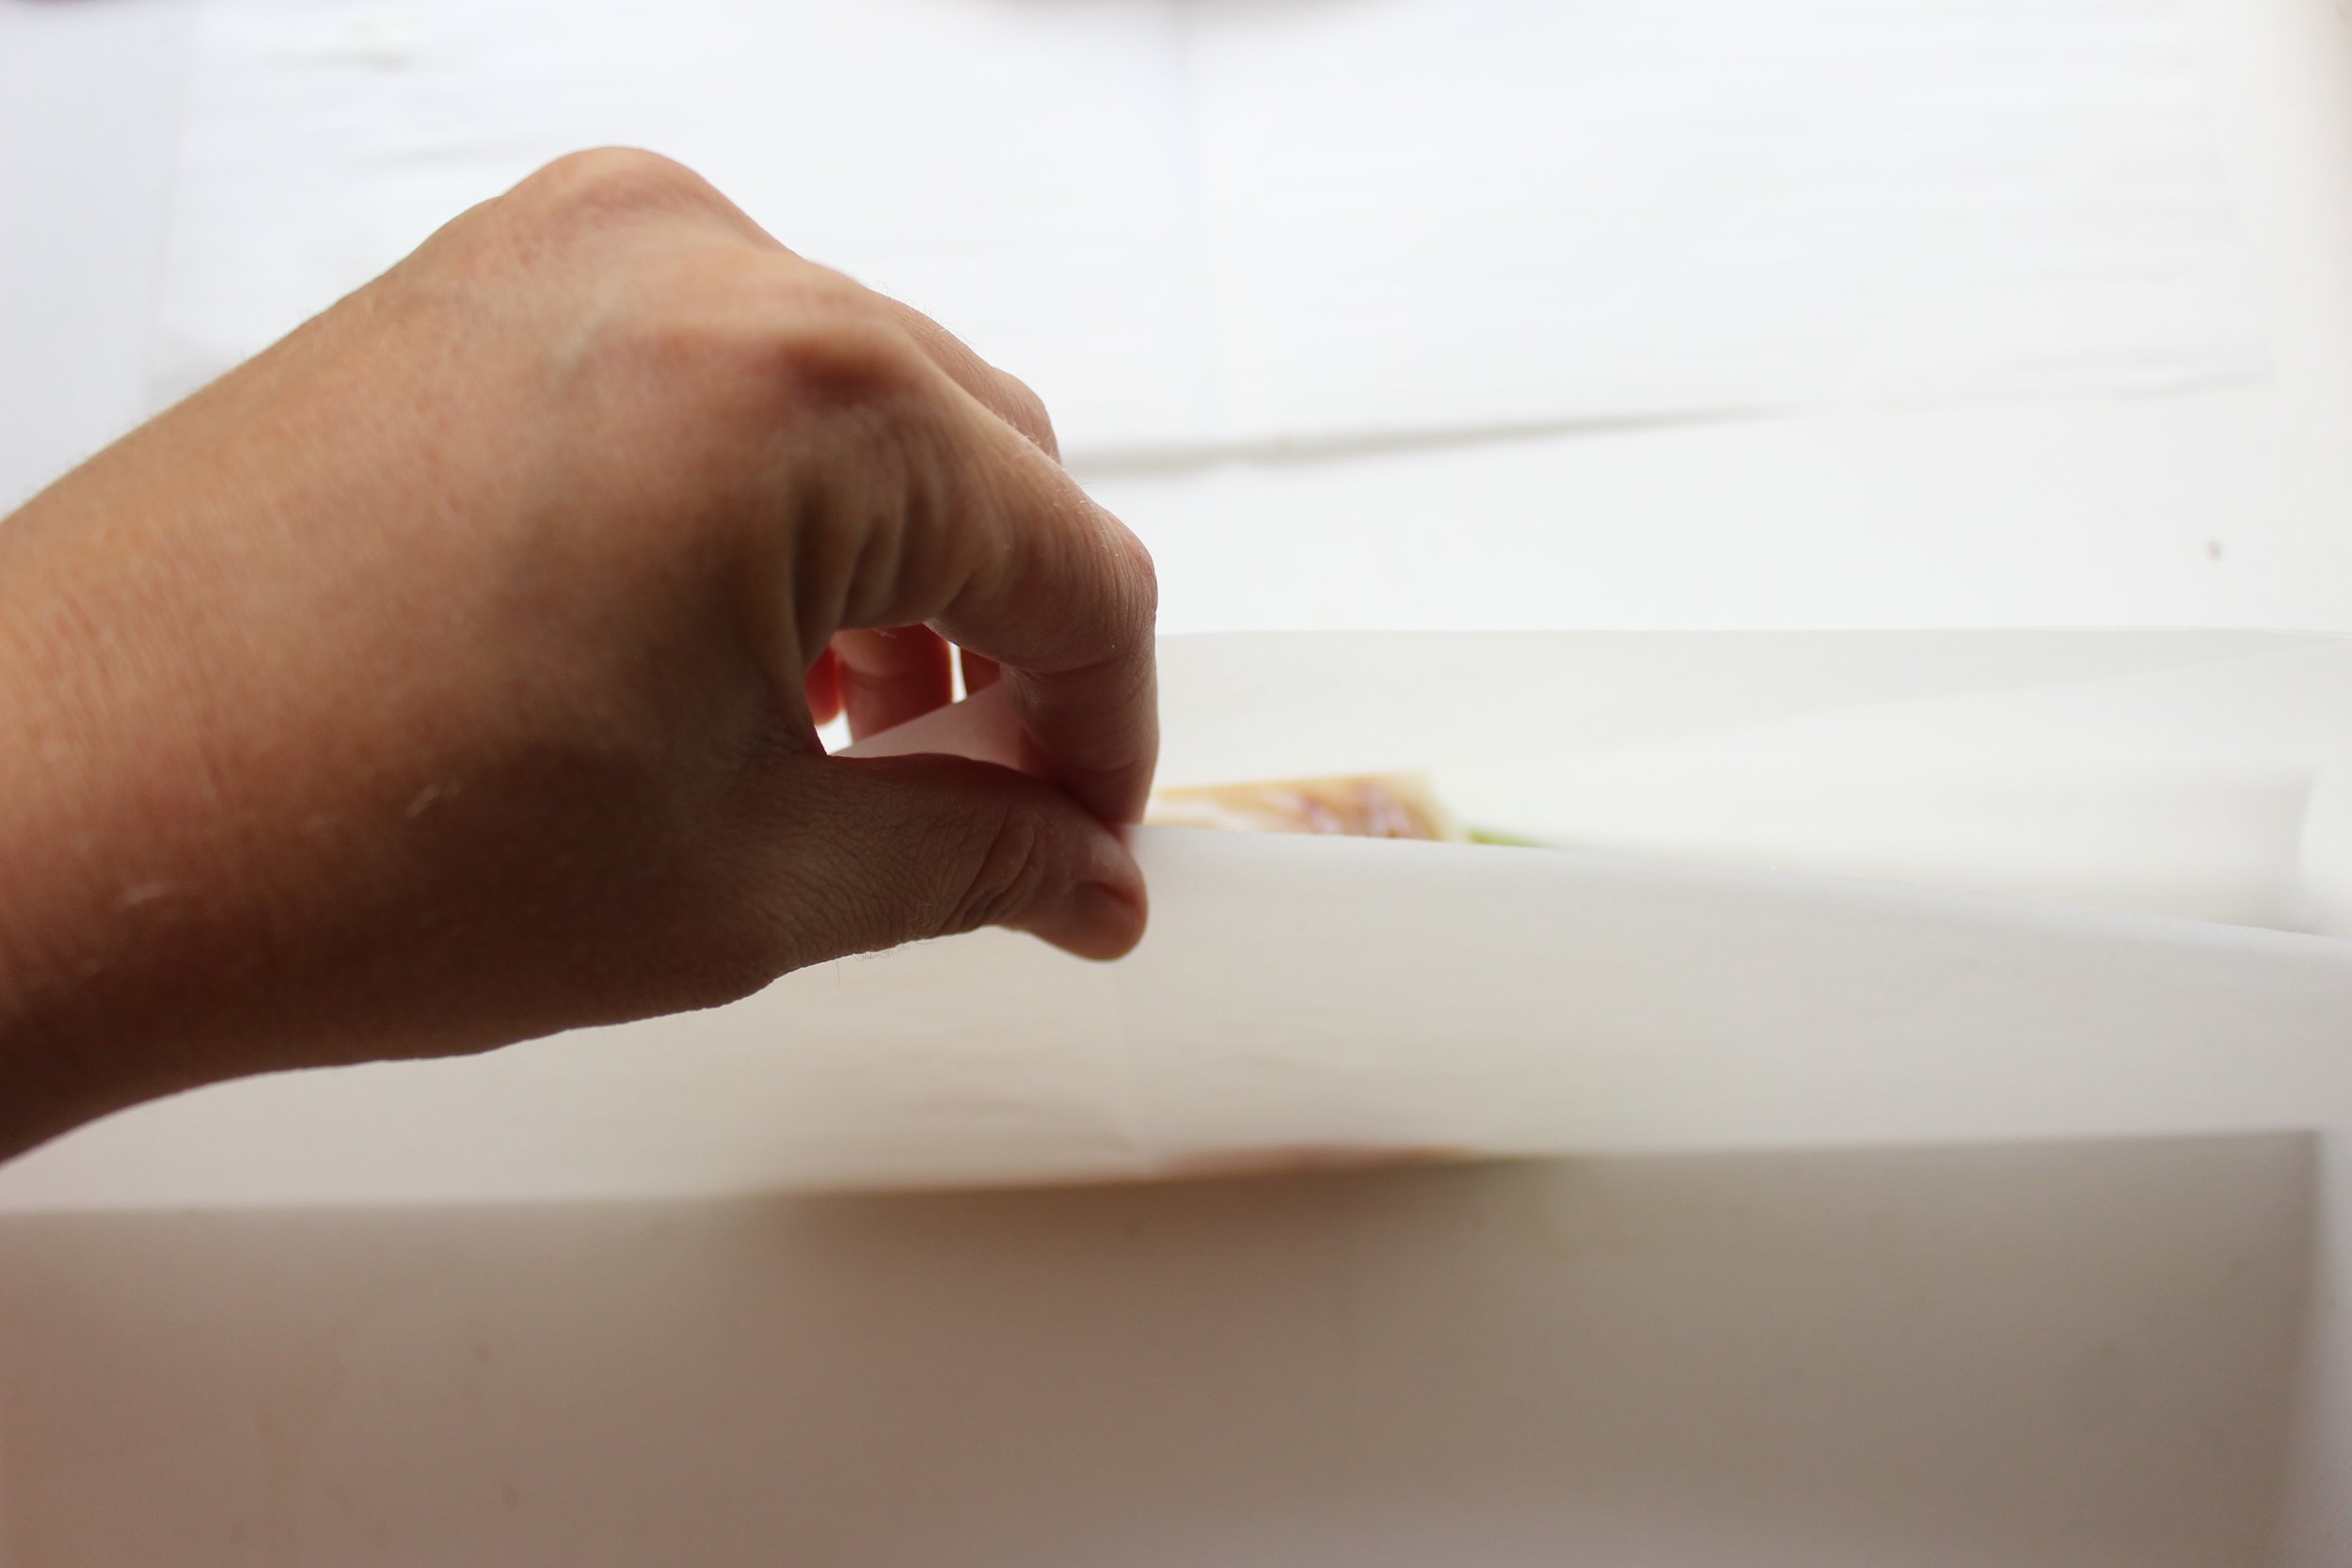
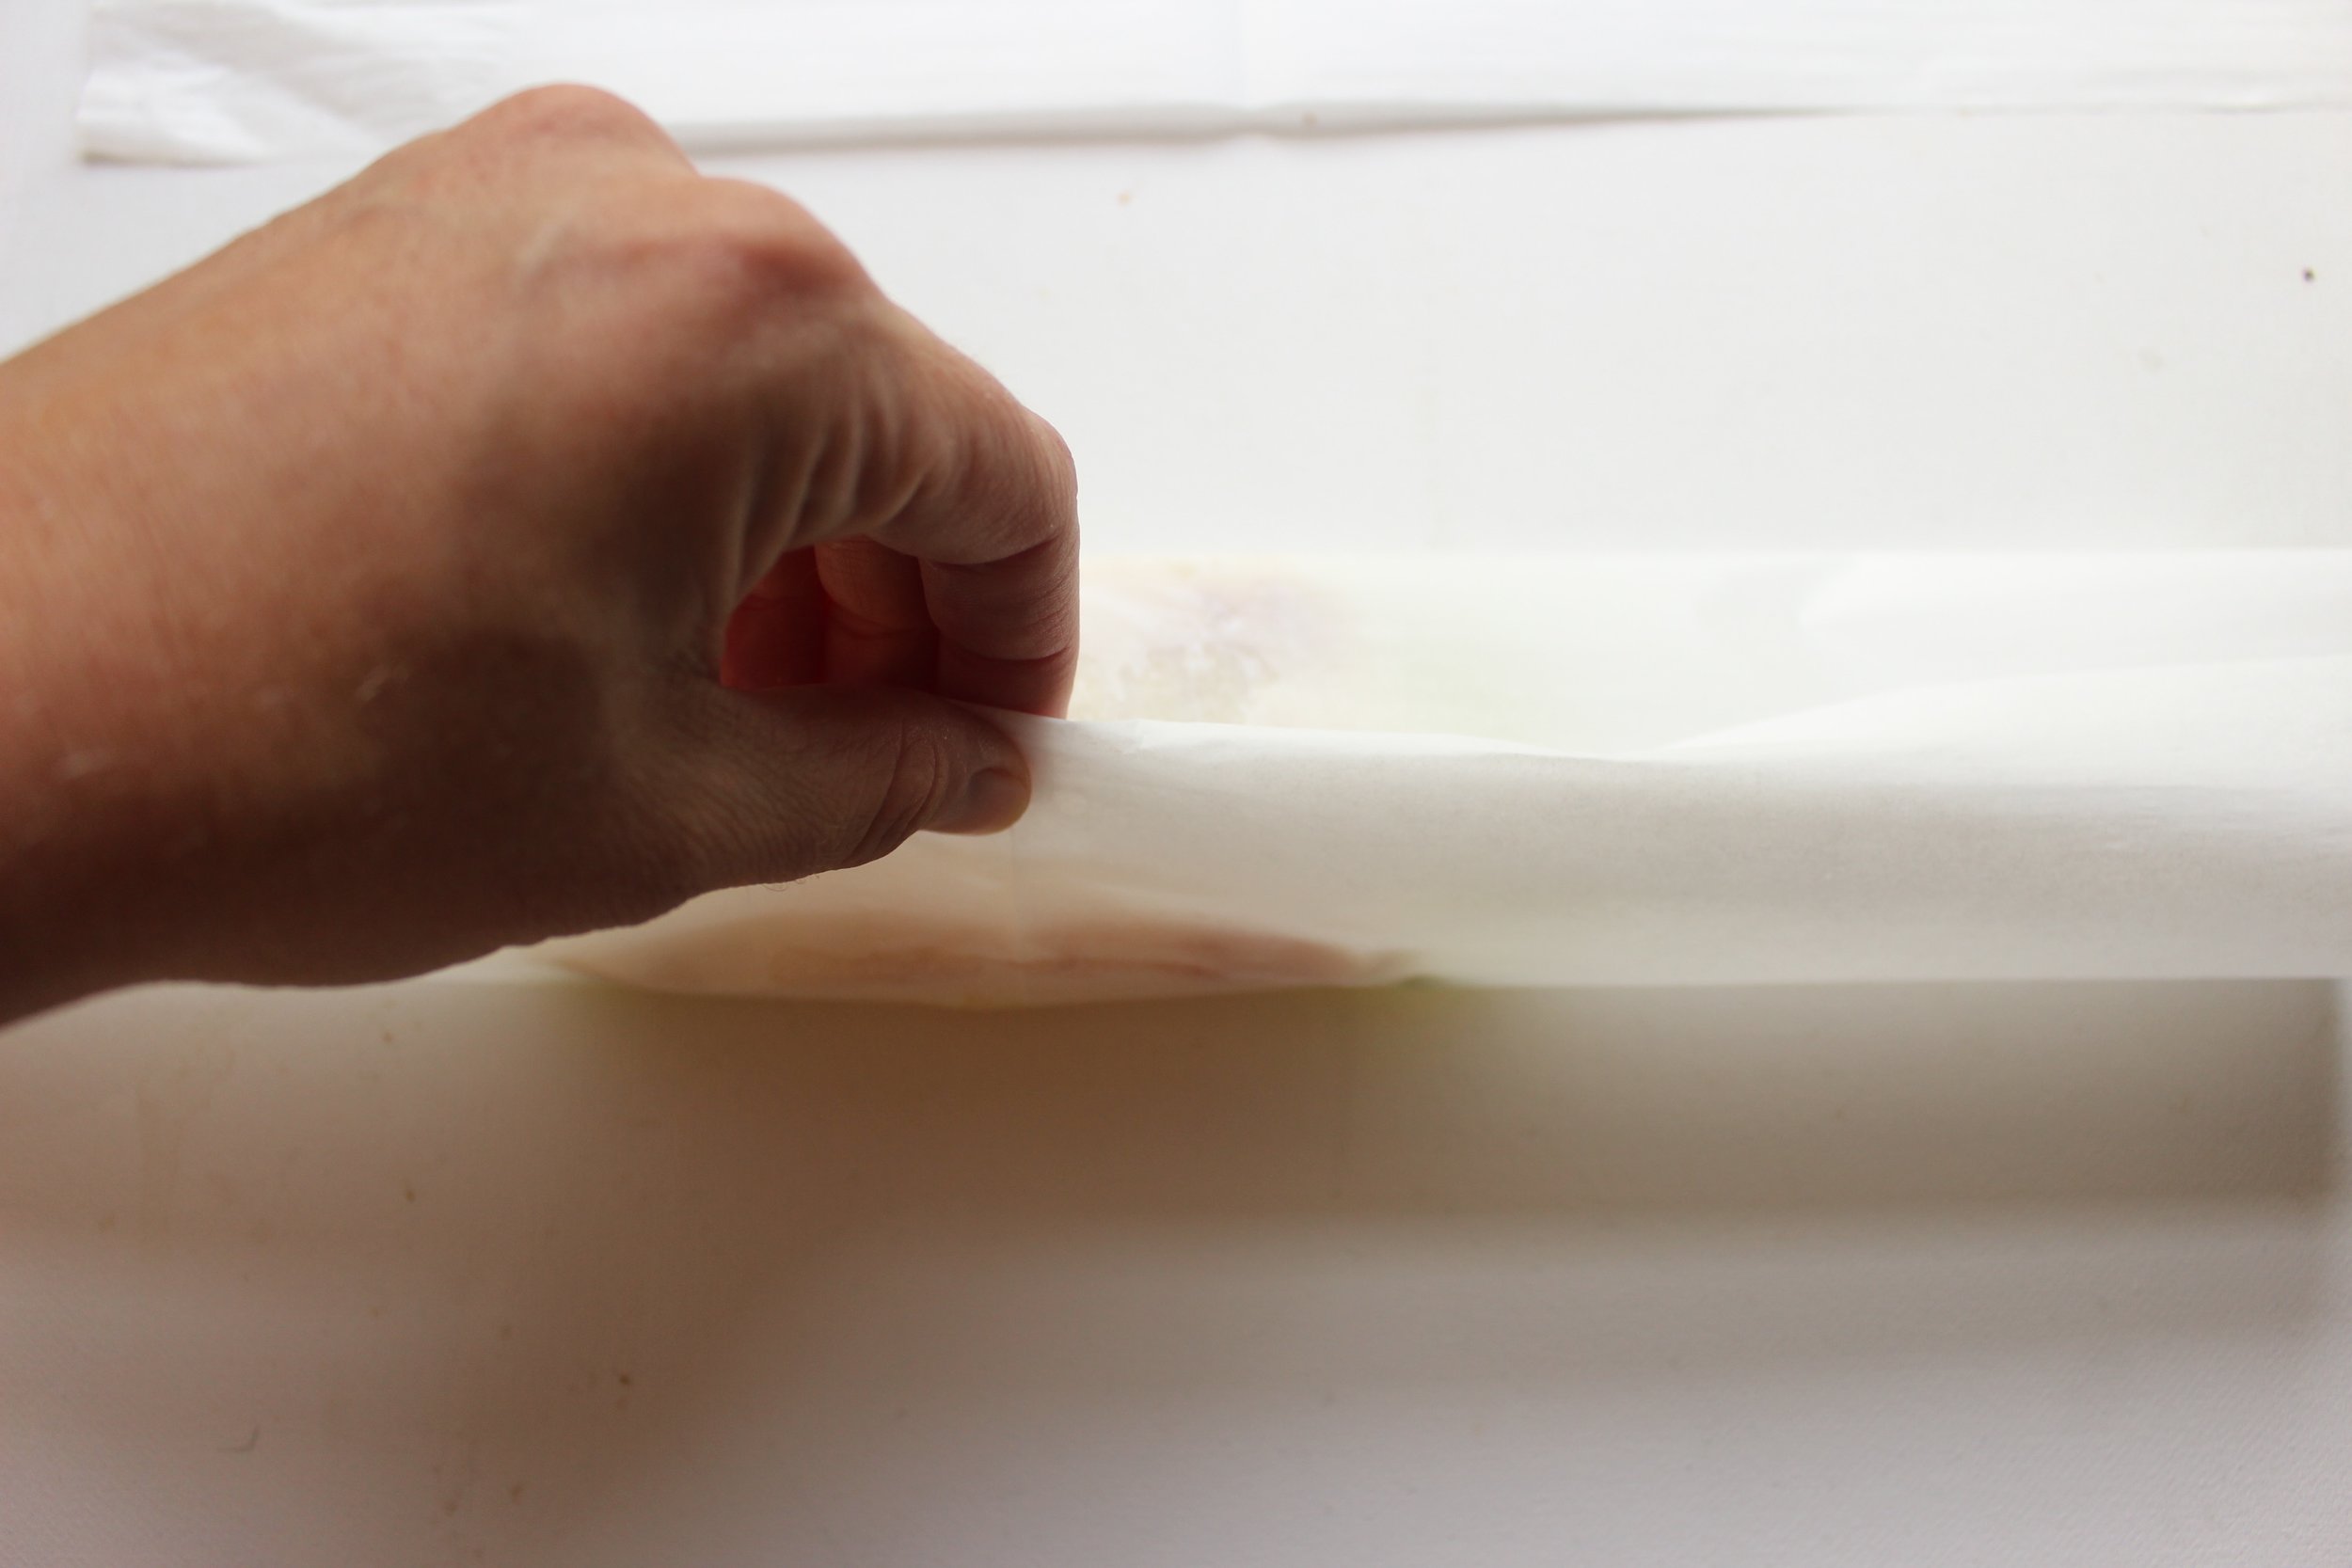
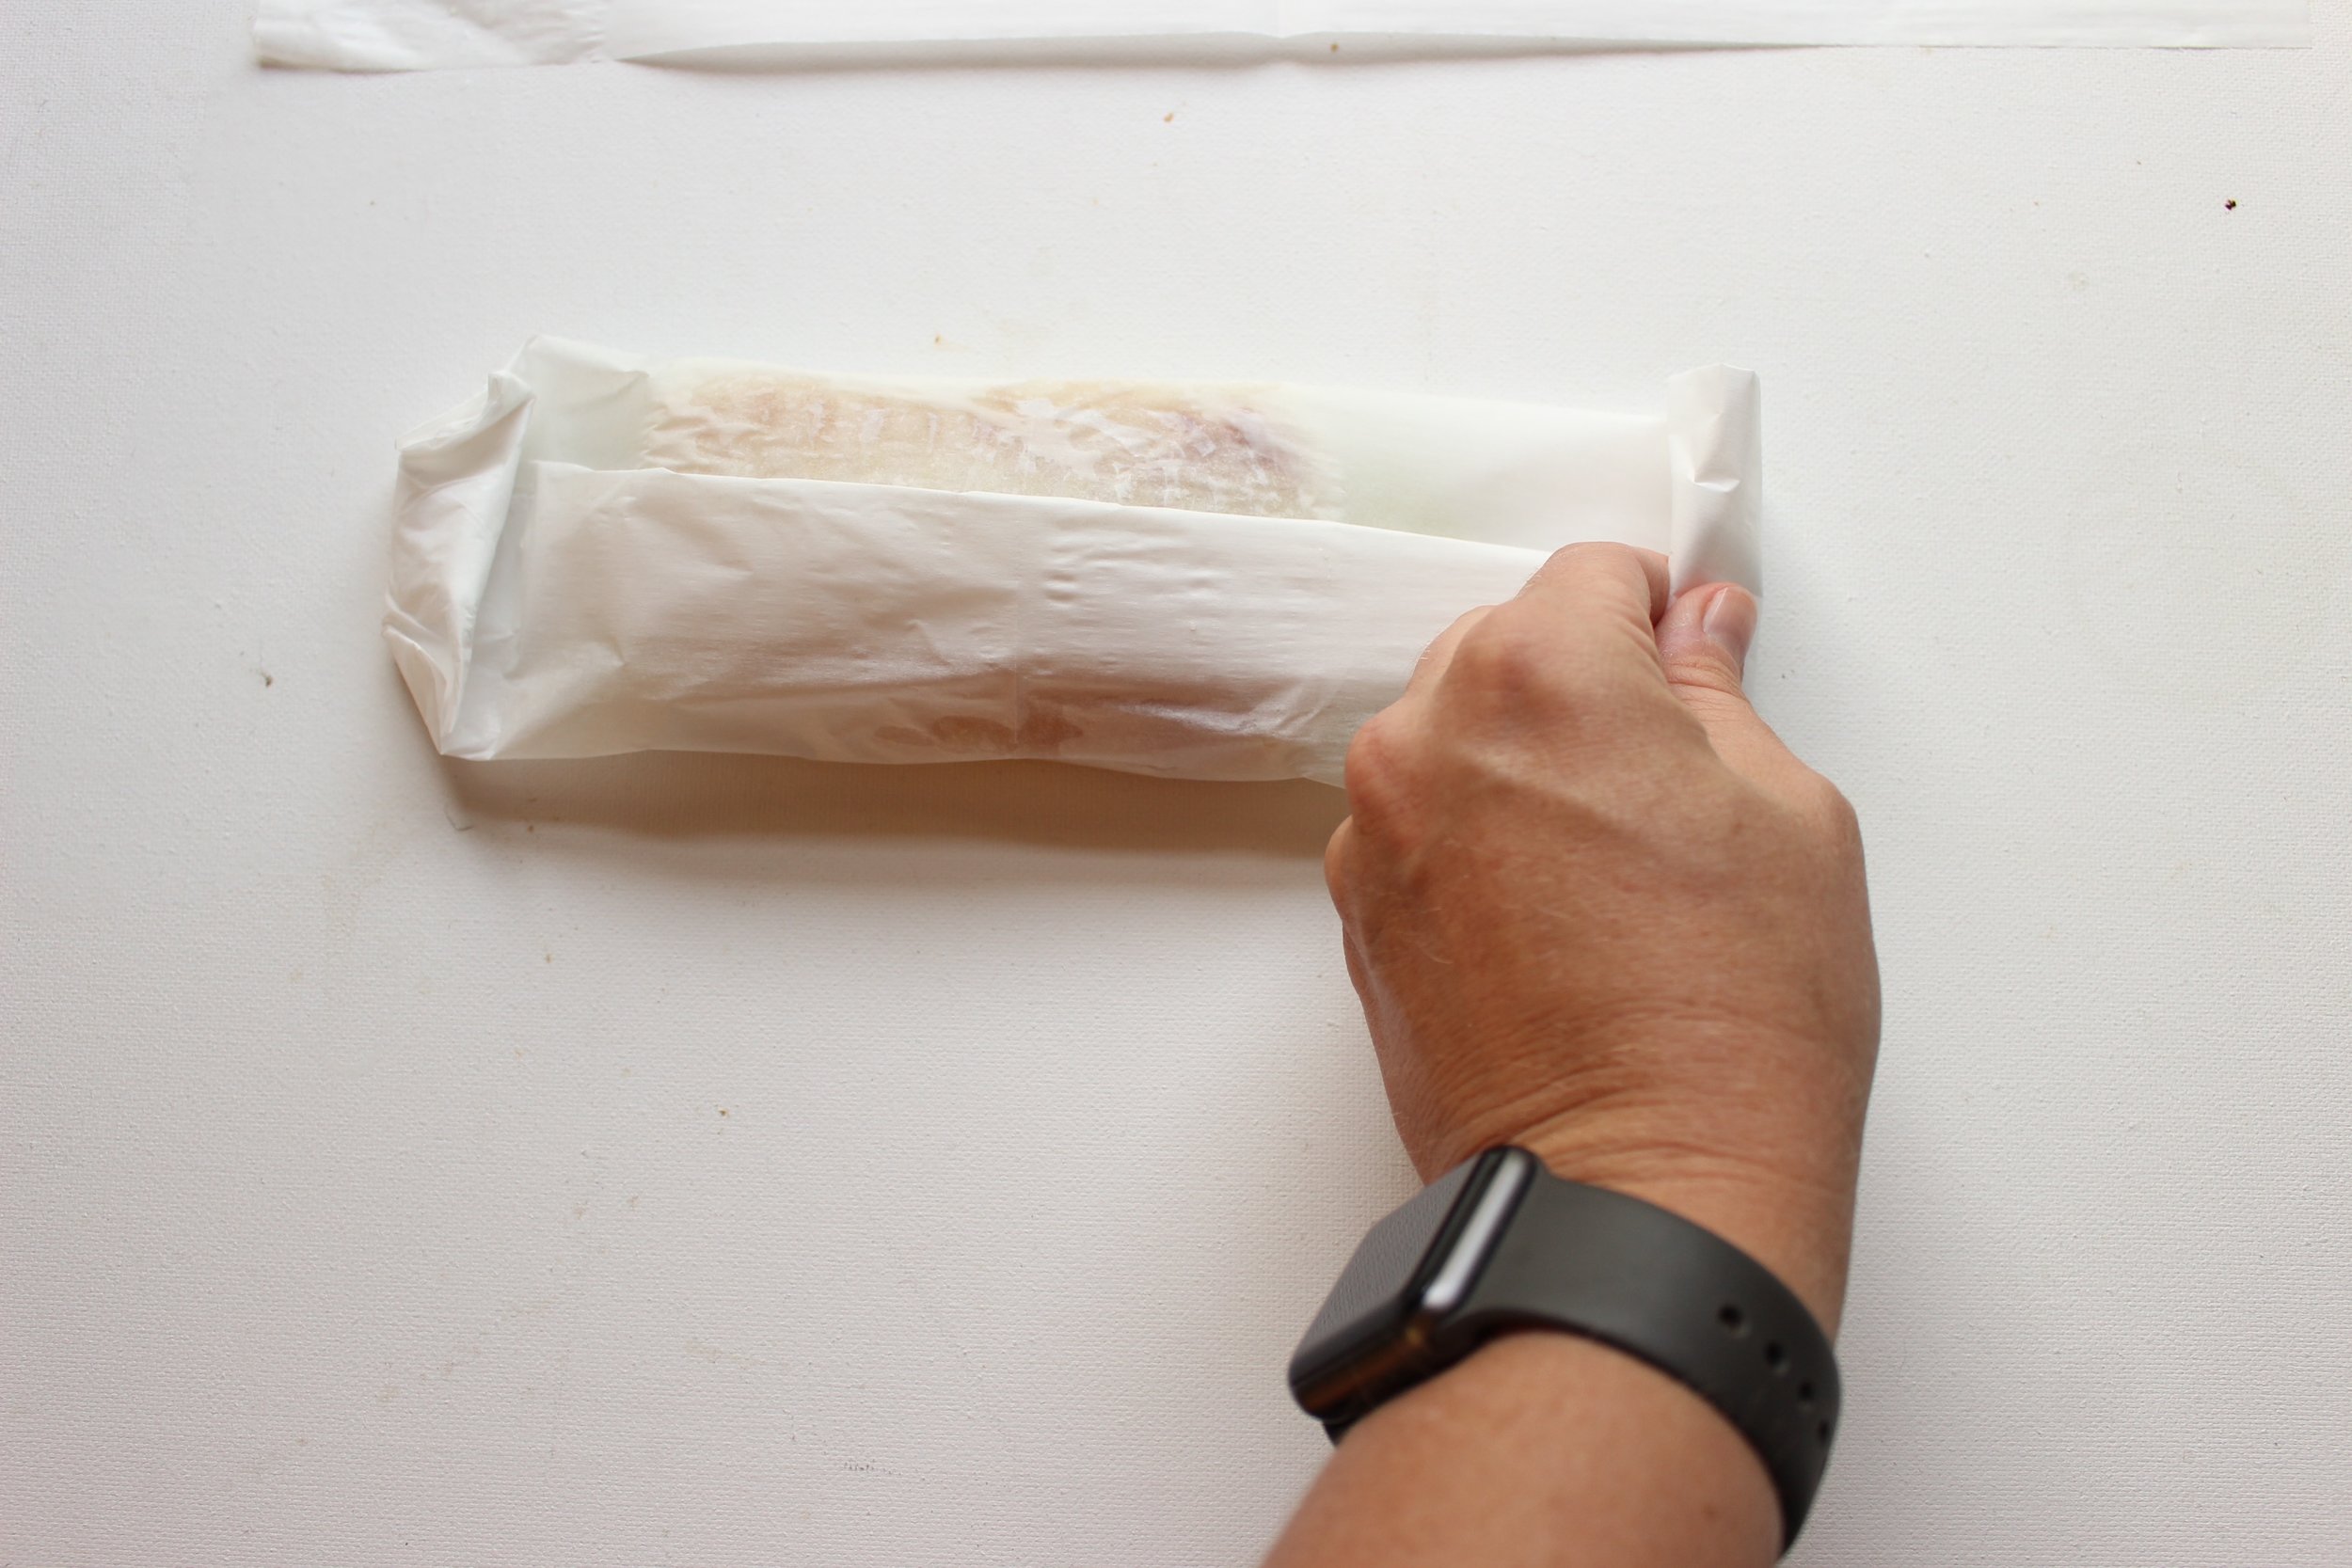
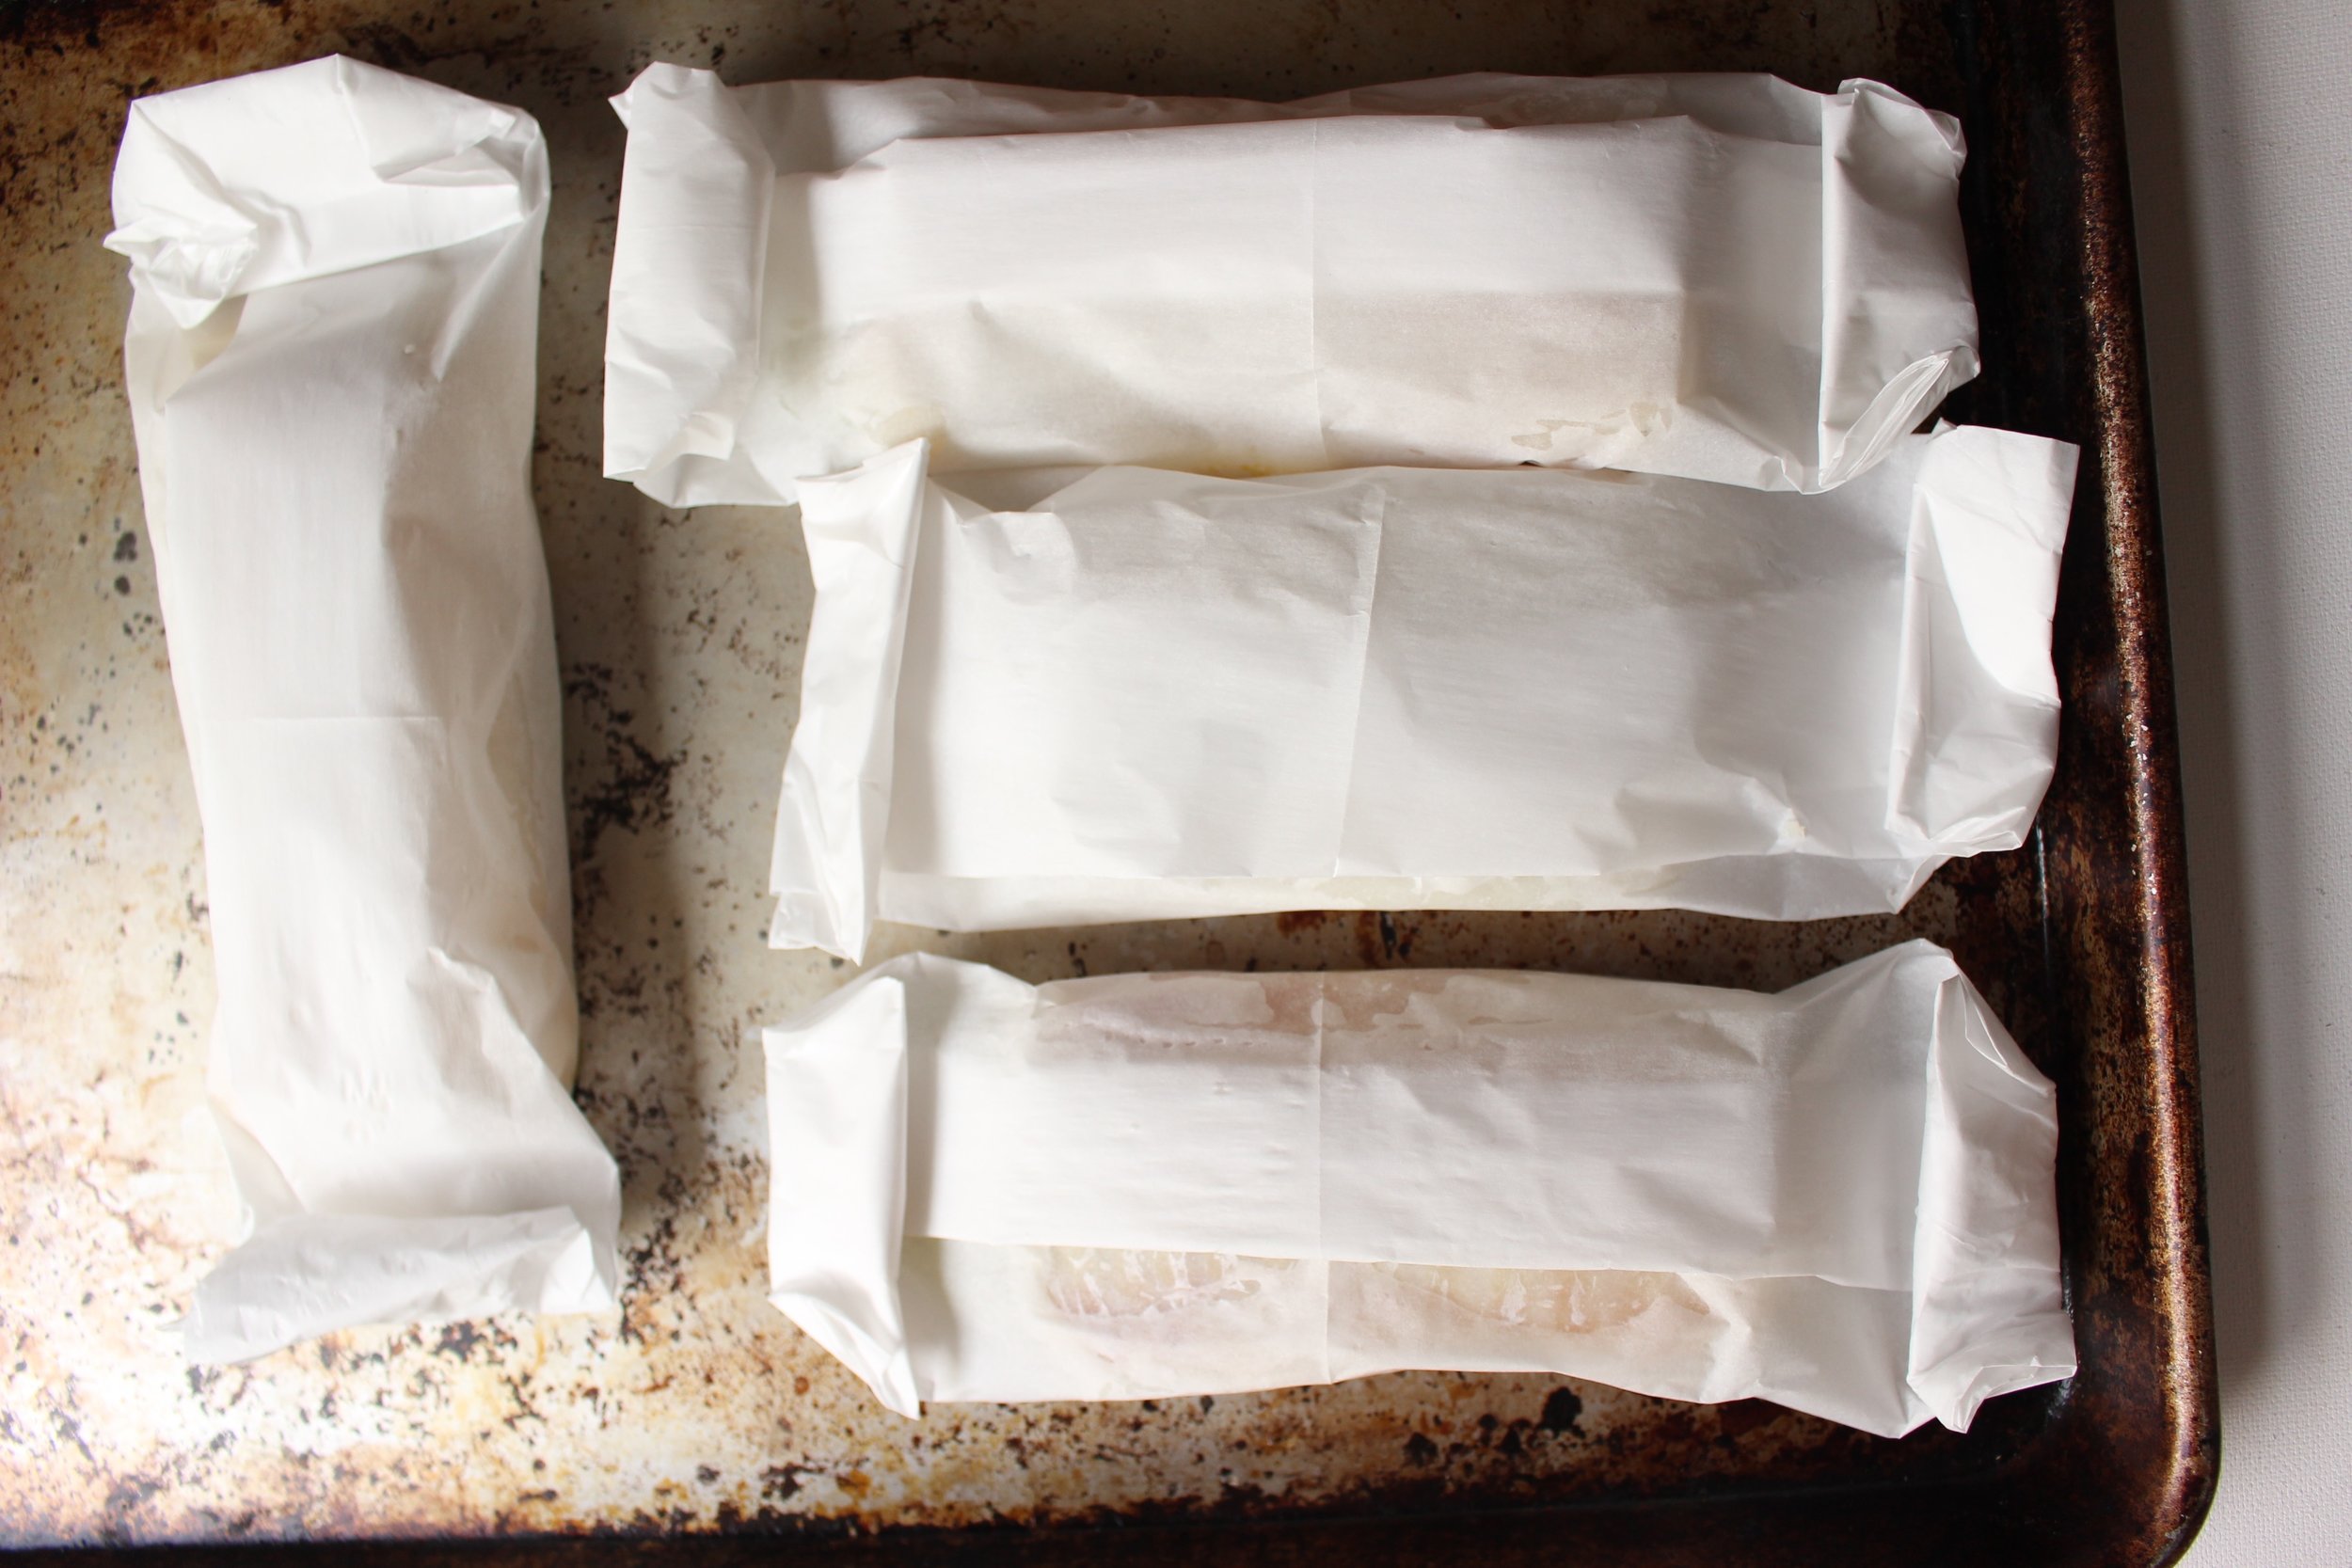
So! Wrap up the fish and let it steam in the citrus. Chop the cabbage and scallions, toss with some olive oil, and throw the whole mess into the oven. While it's cooking, heat some taco shells, whizz some avocado crema in the blender, and prep any other toppings you might want (cheese, tomatoes, jicama, beans, etc). Tonight's dinner can be ready in about 30 minutes and is a nice departure from the usual taco night.
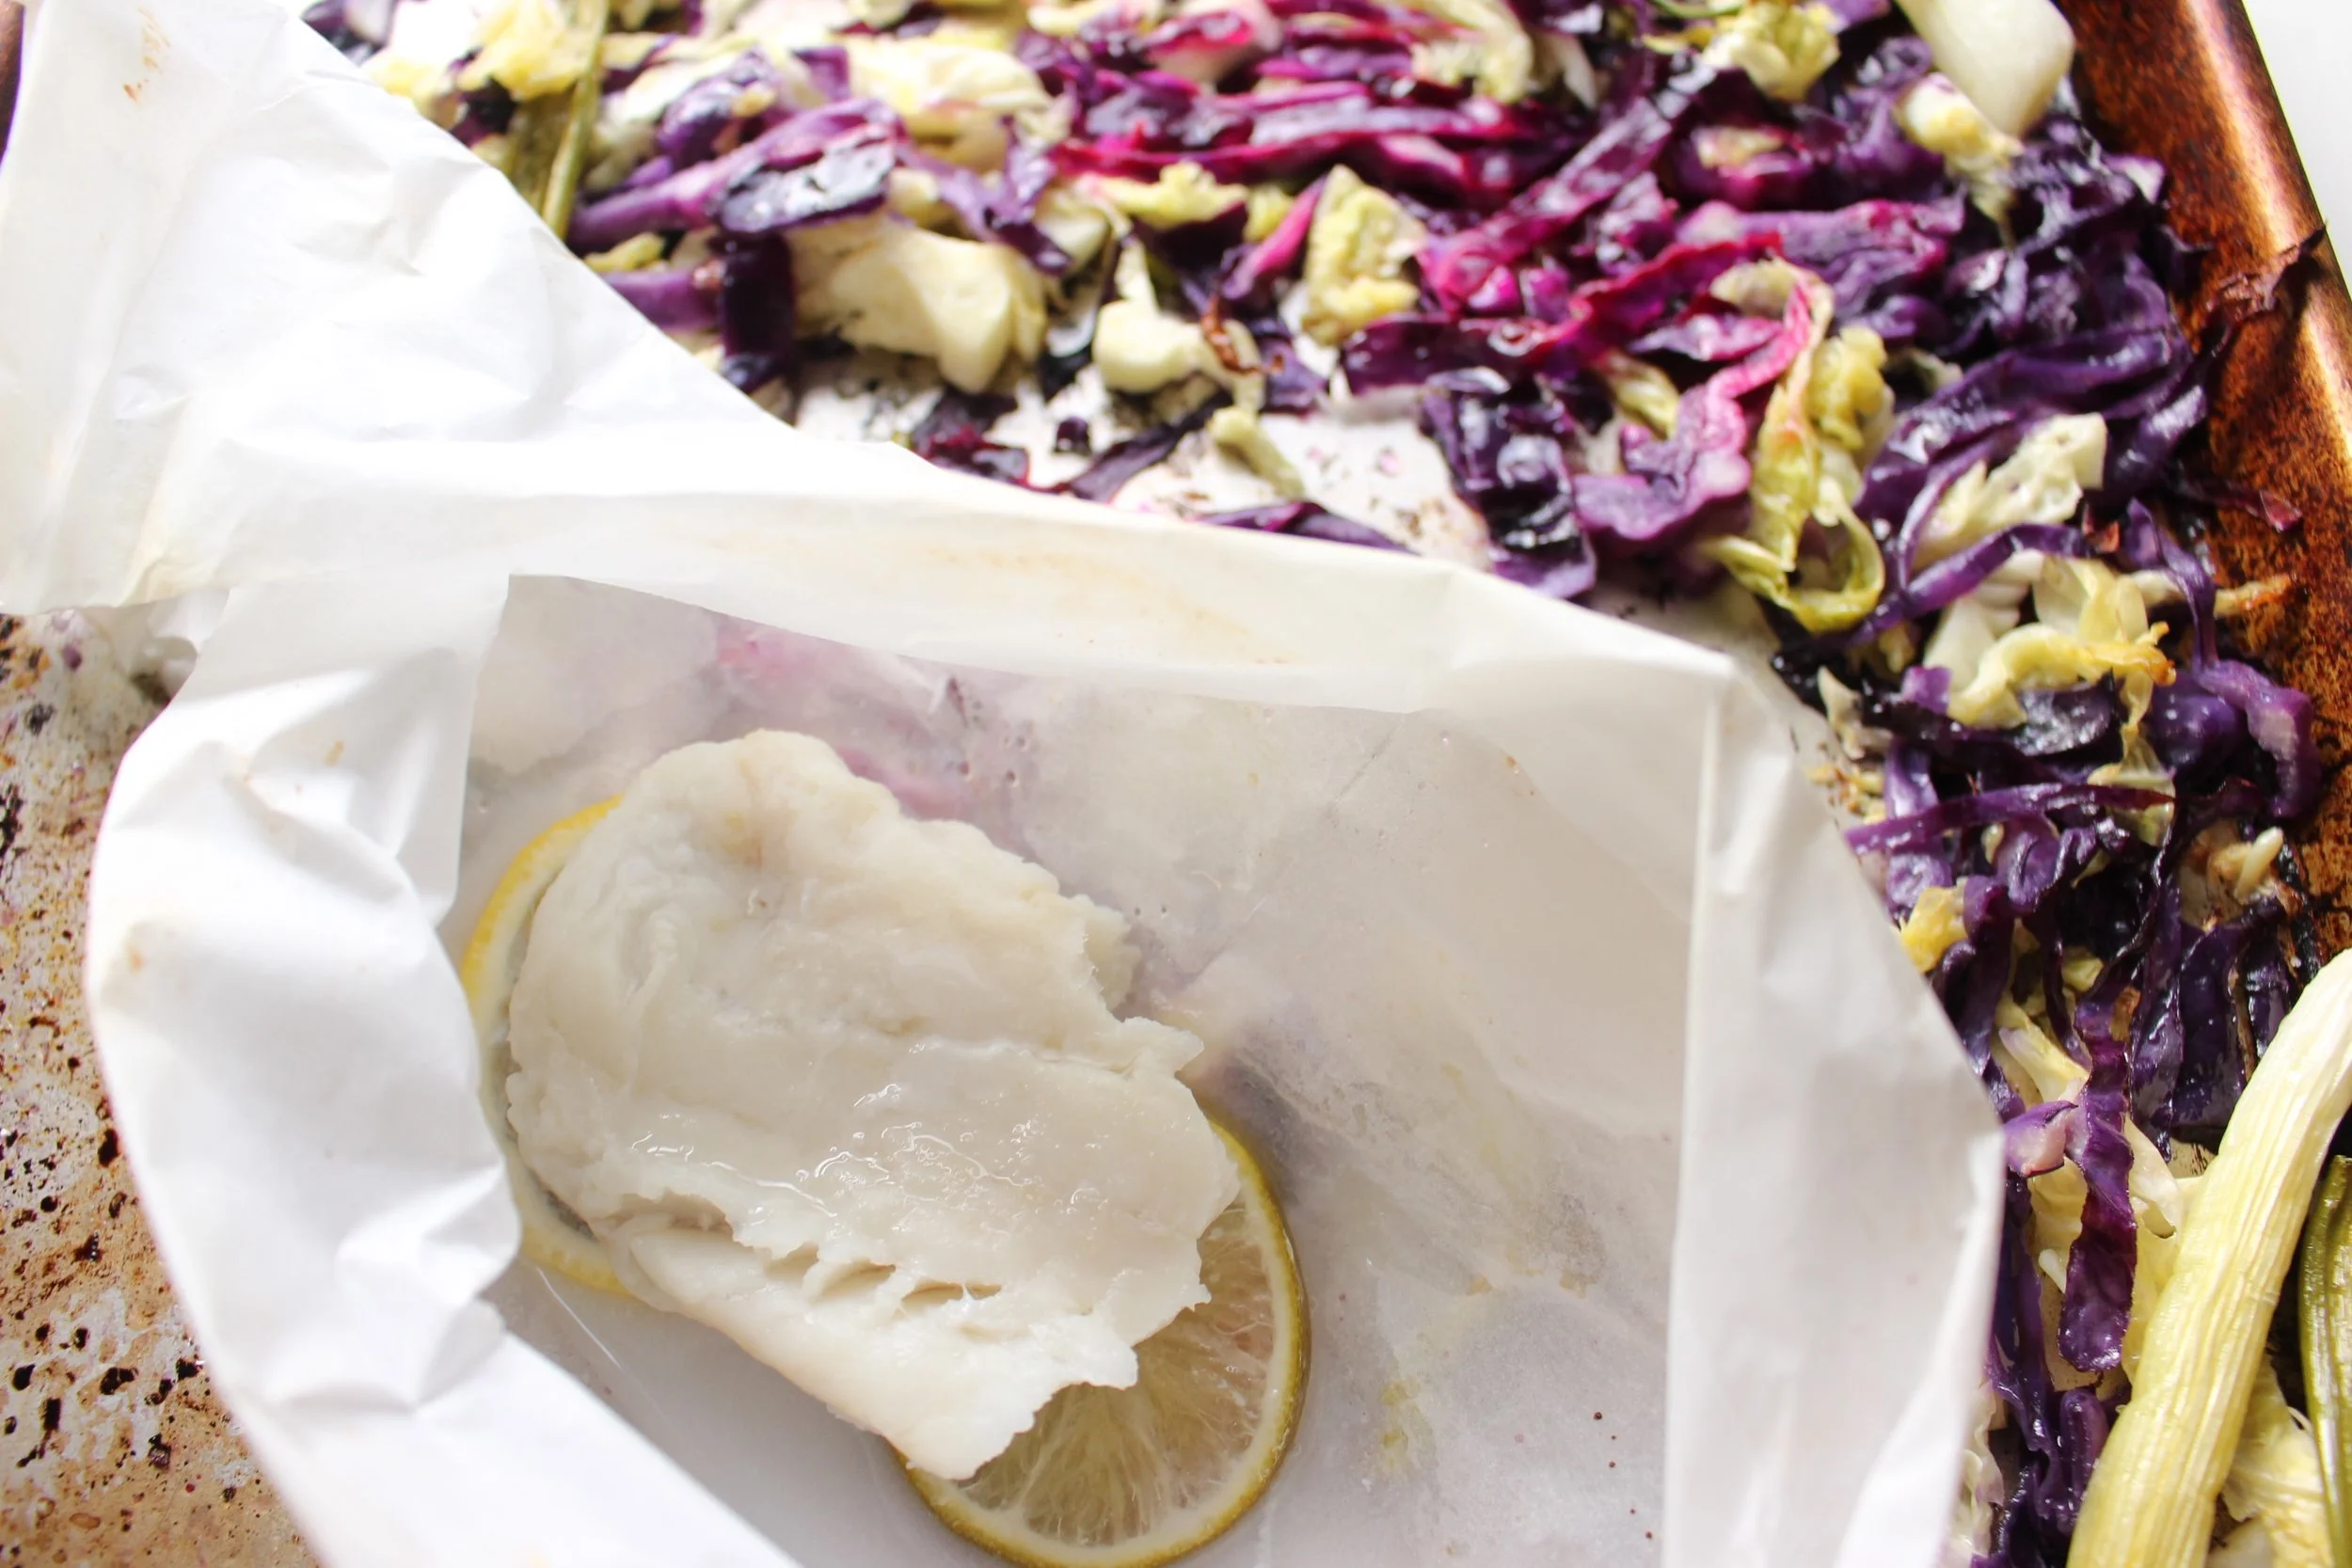
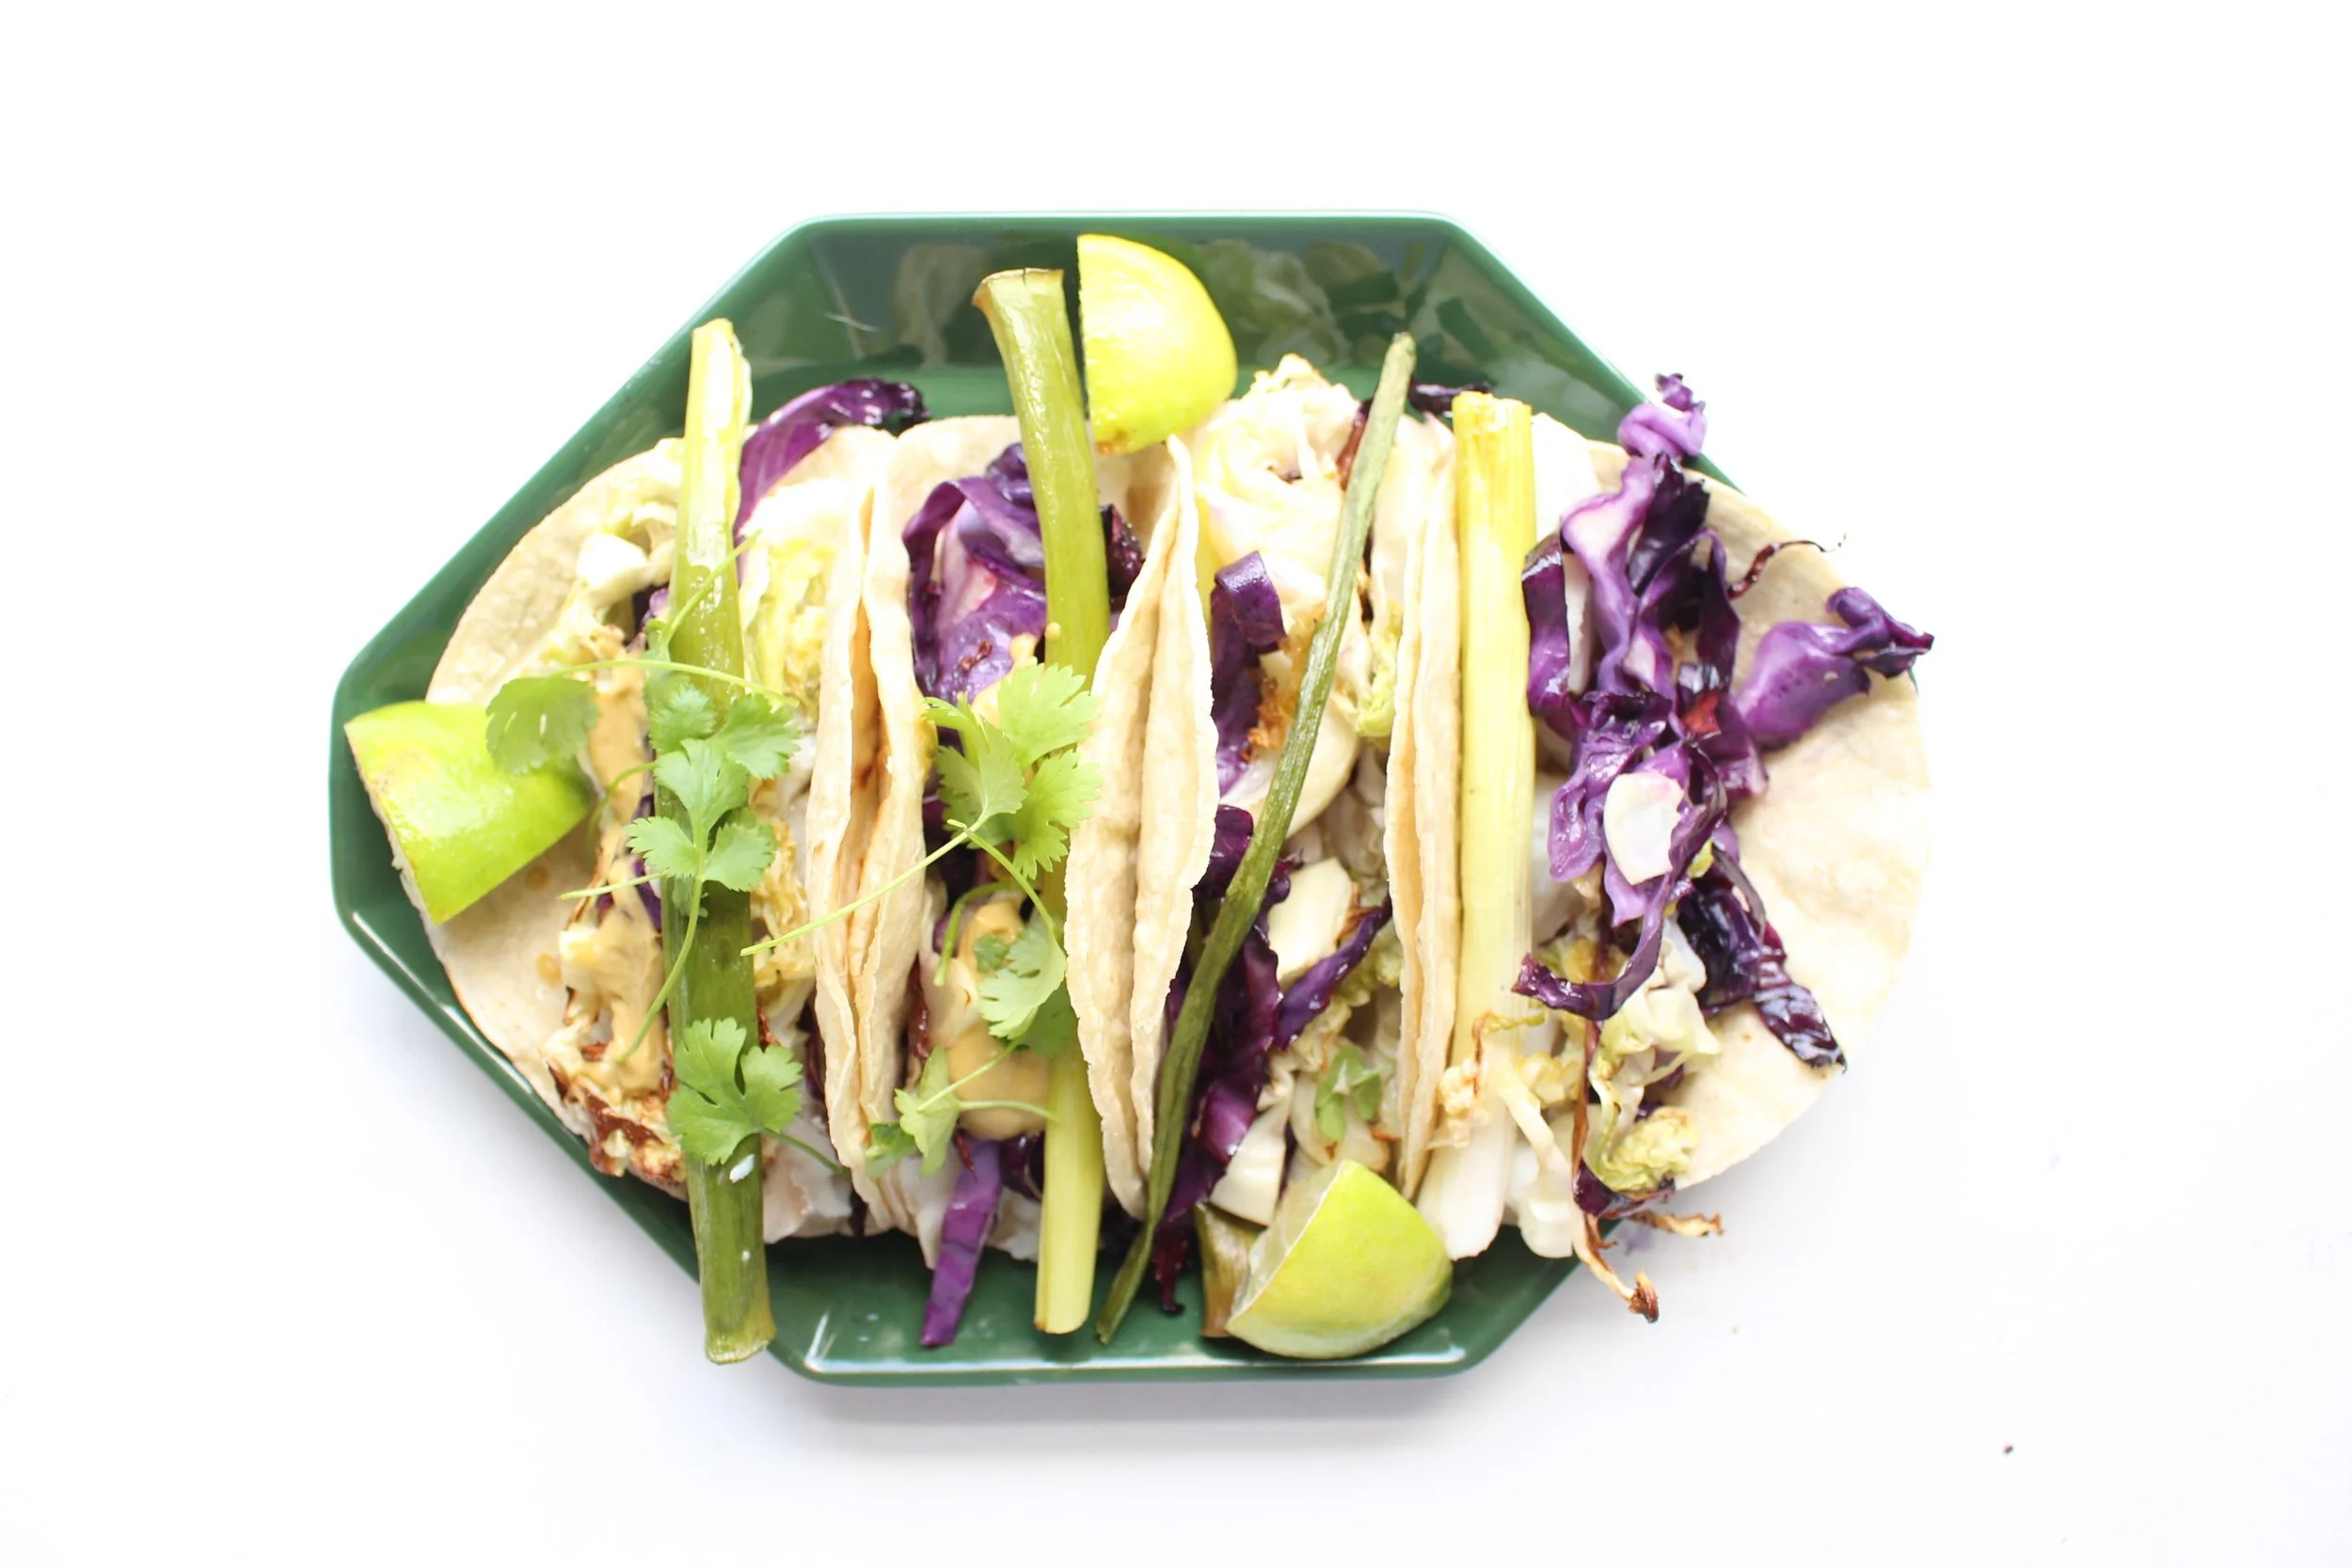
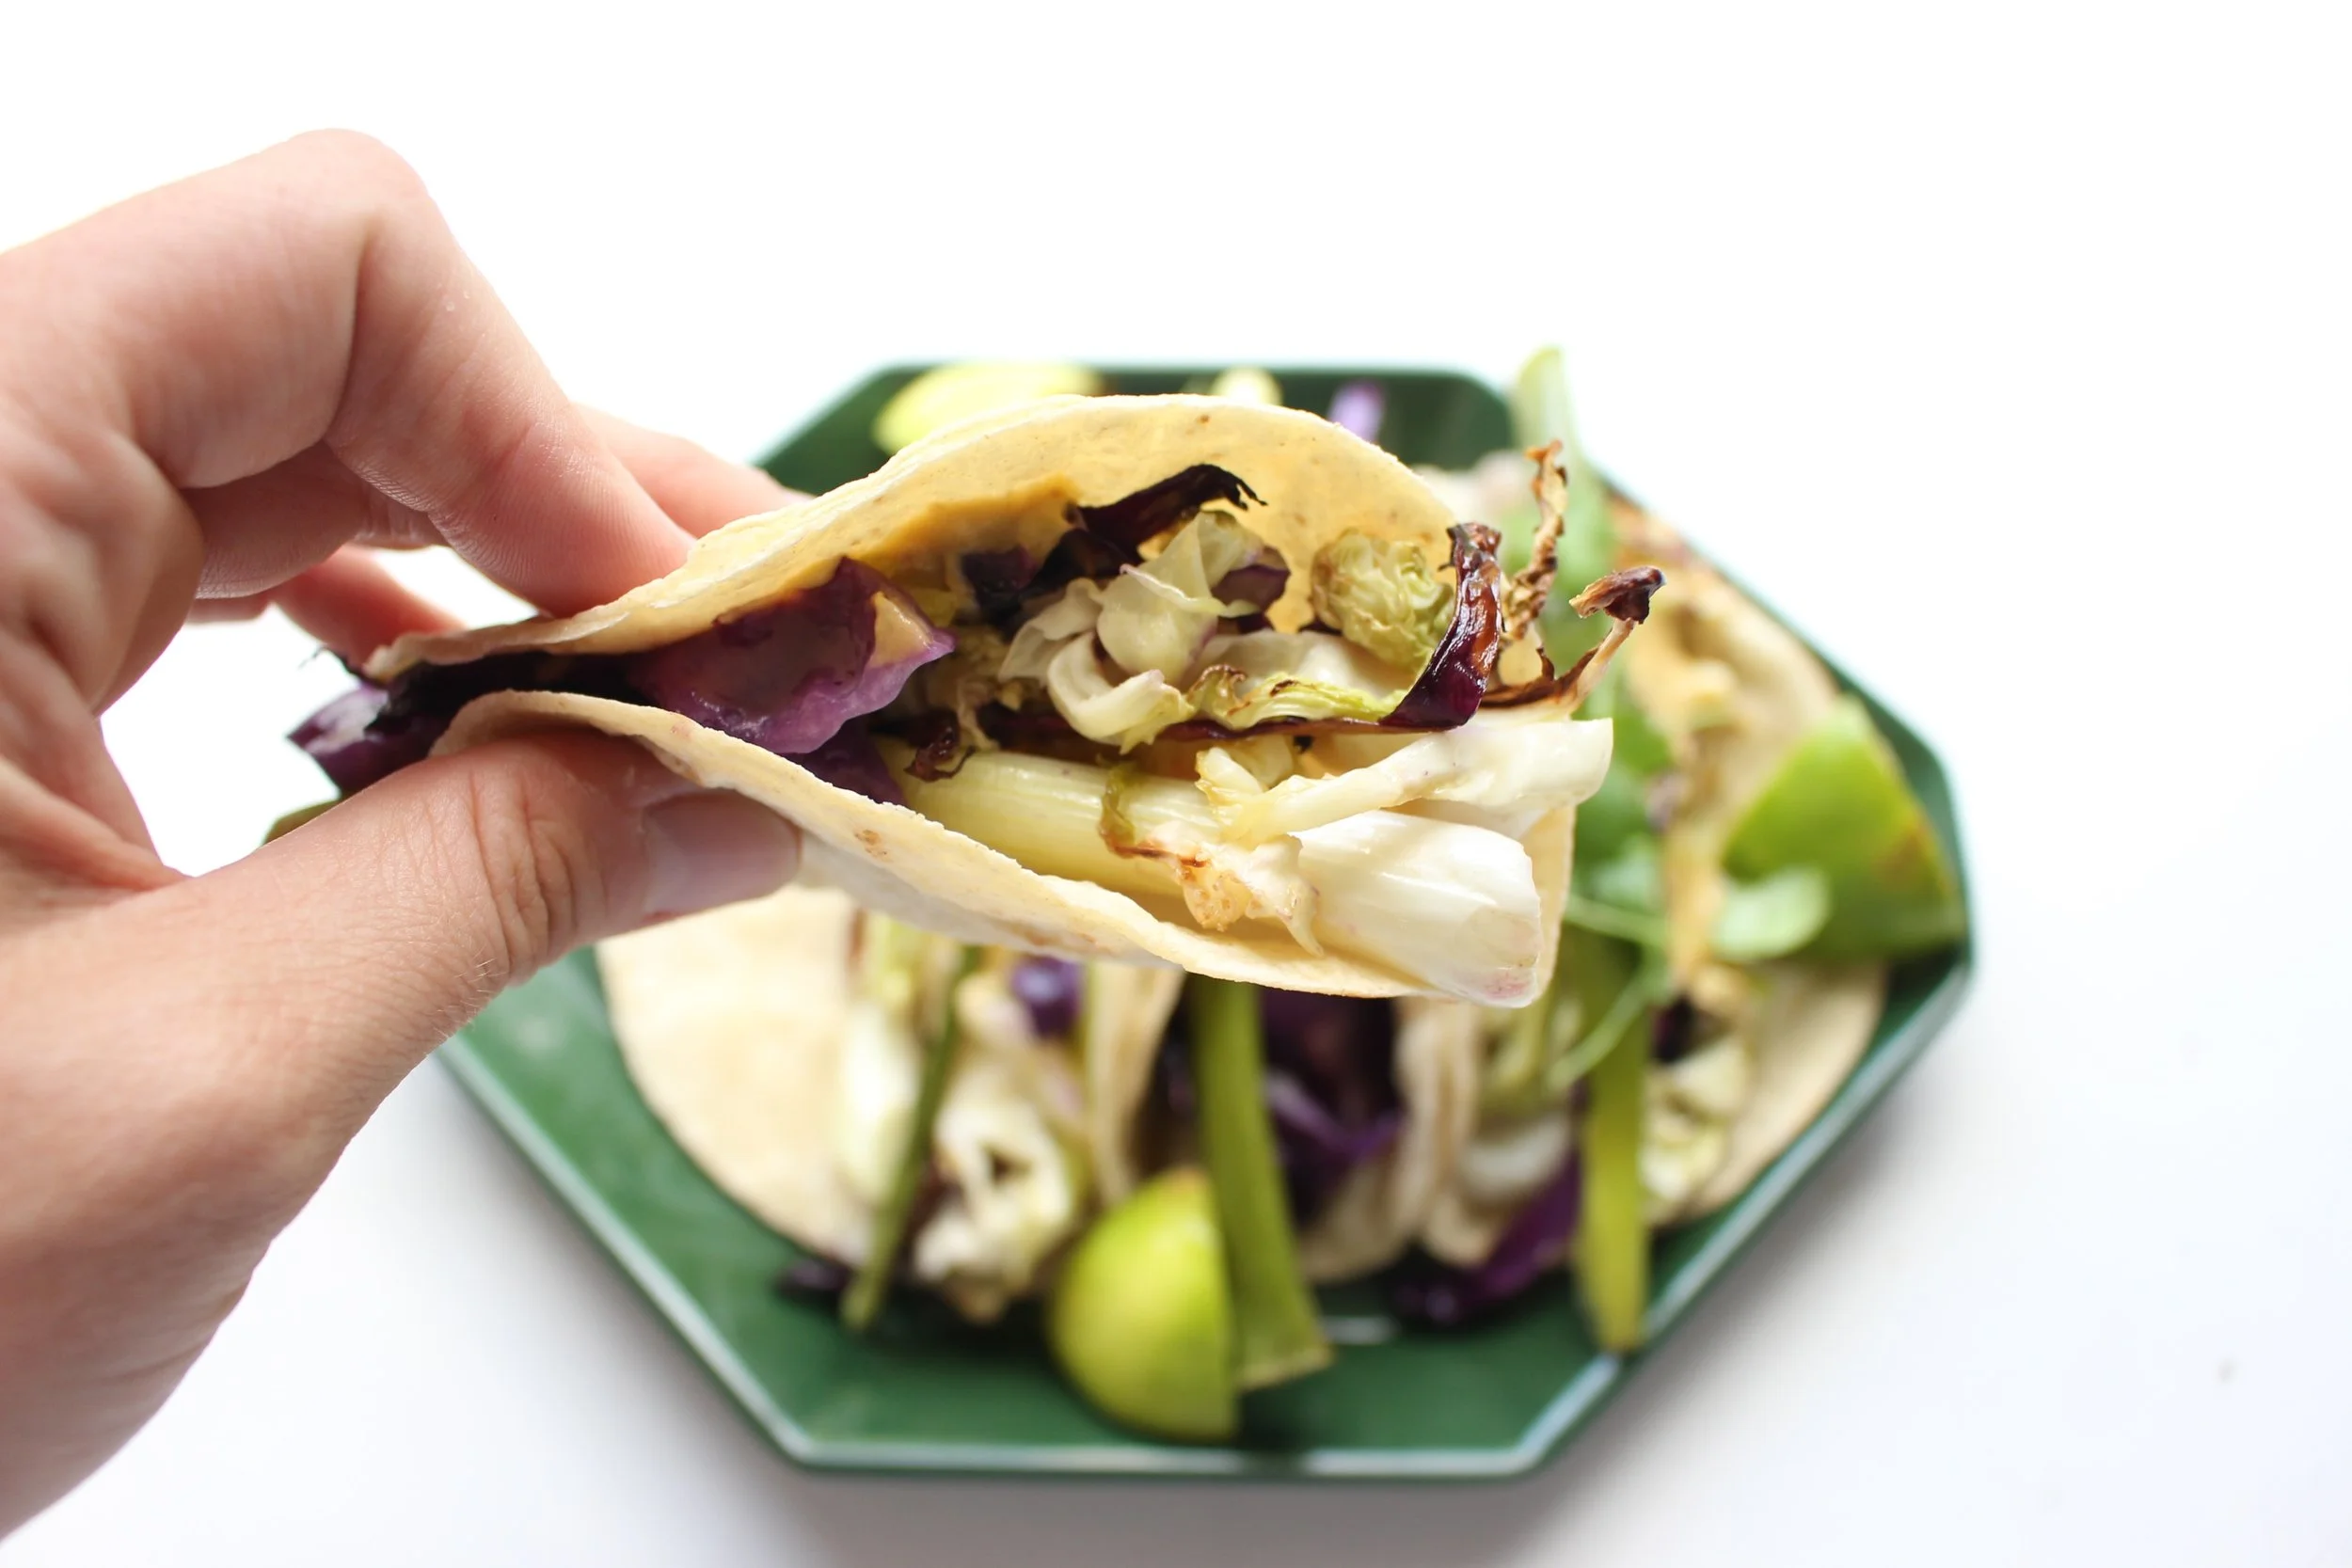
Roasted cabbage fish tacos with avocado chipotle crema
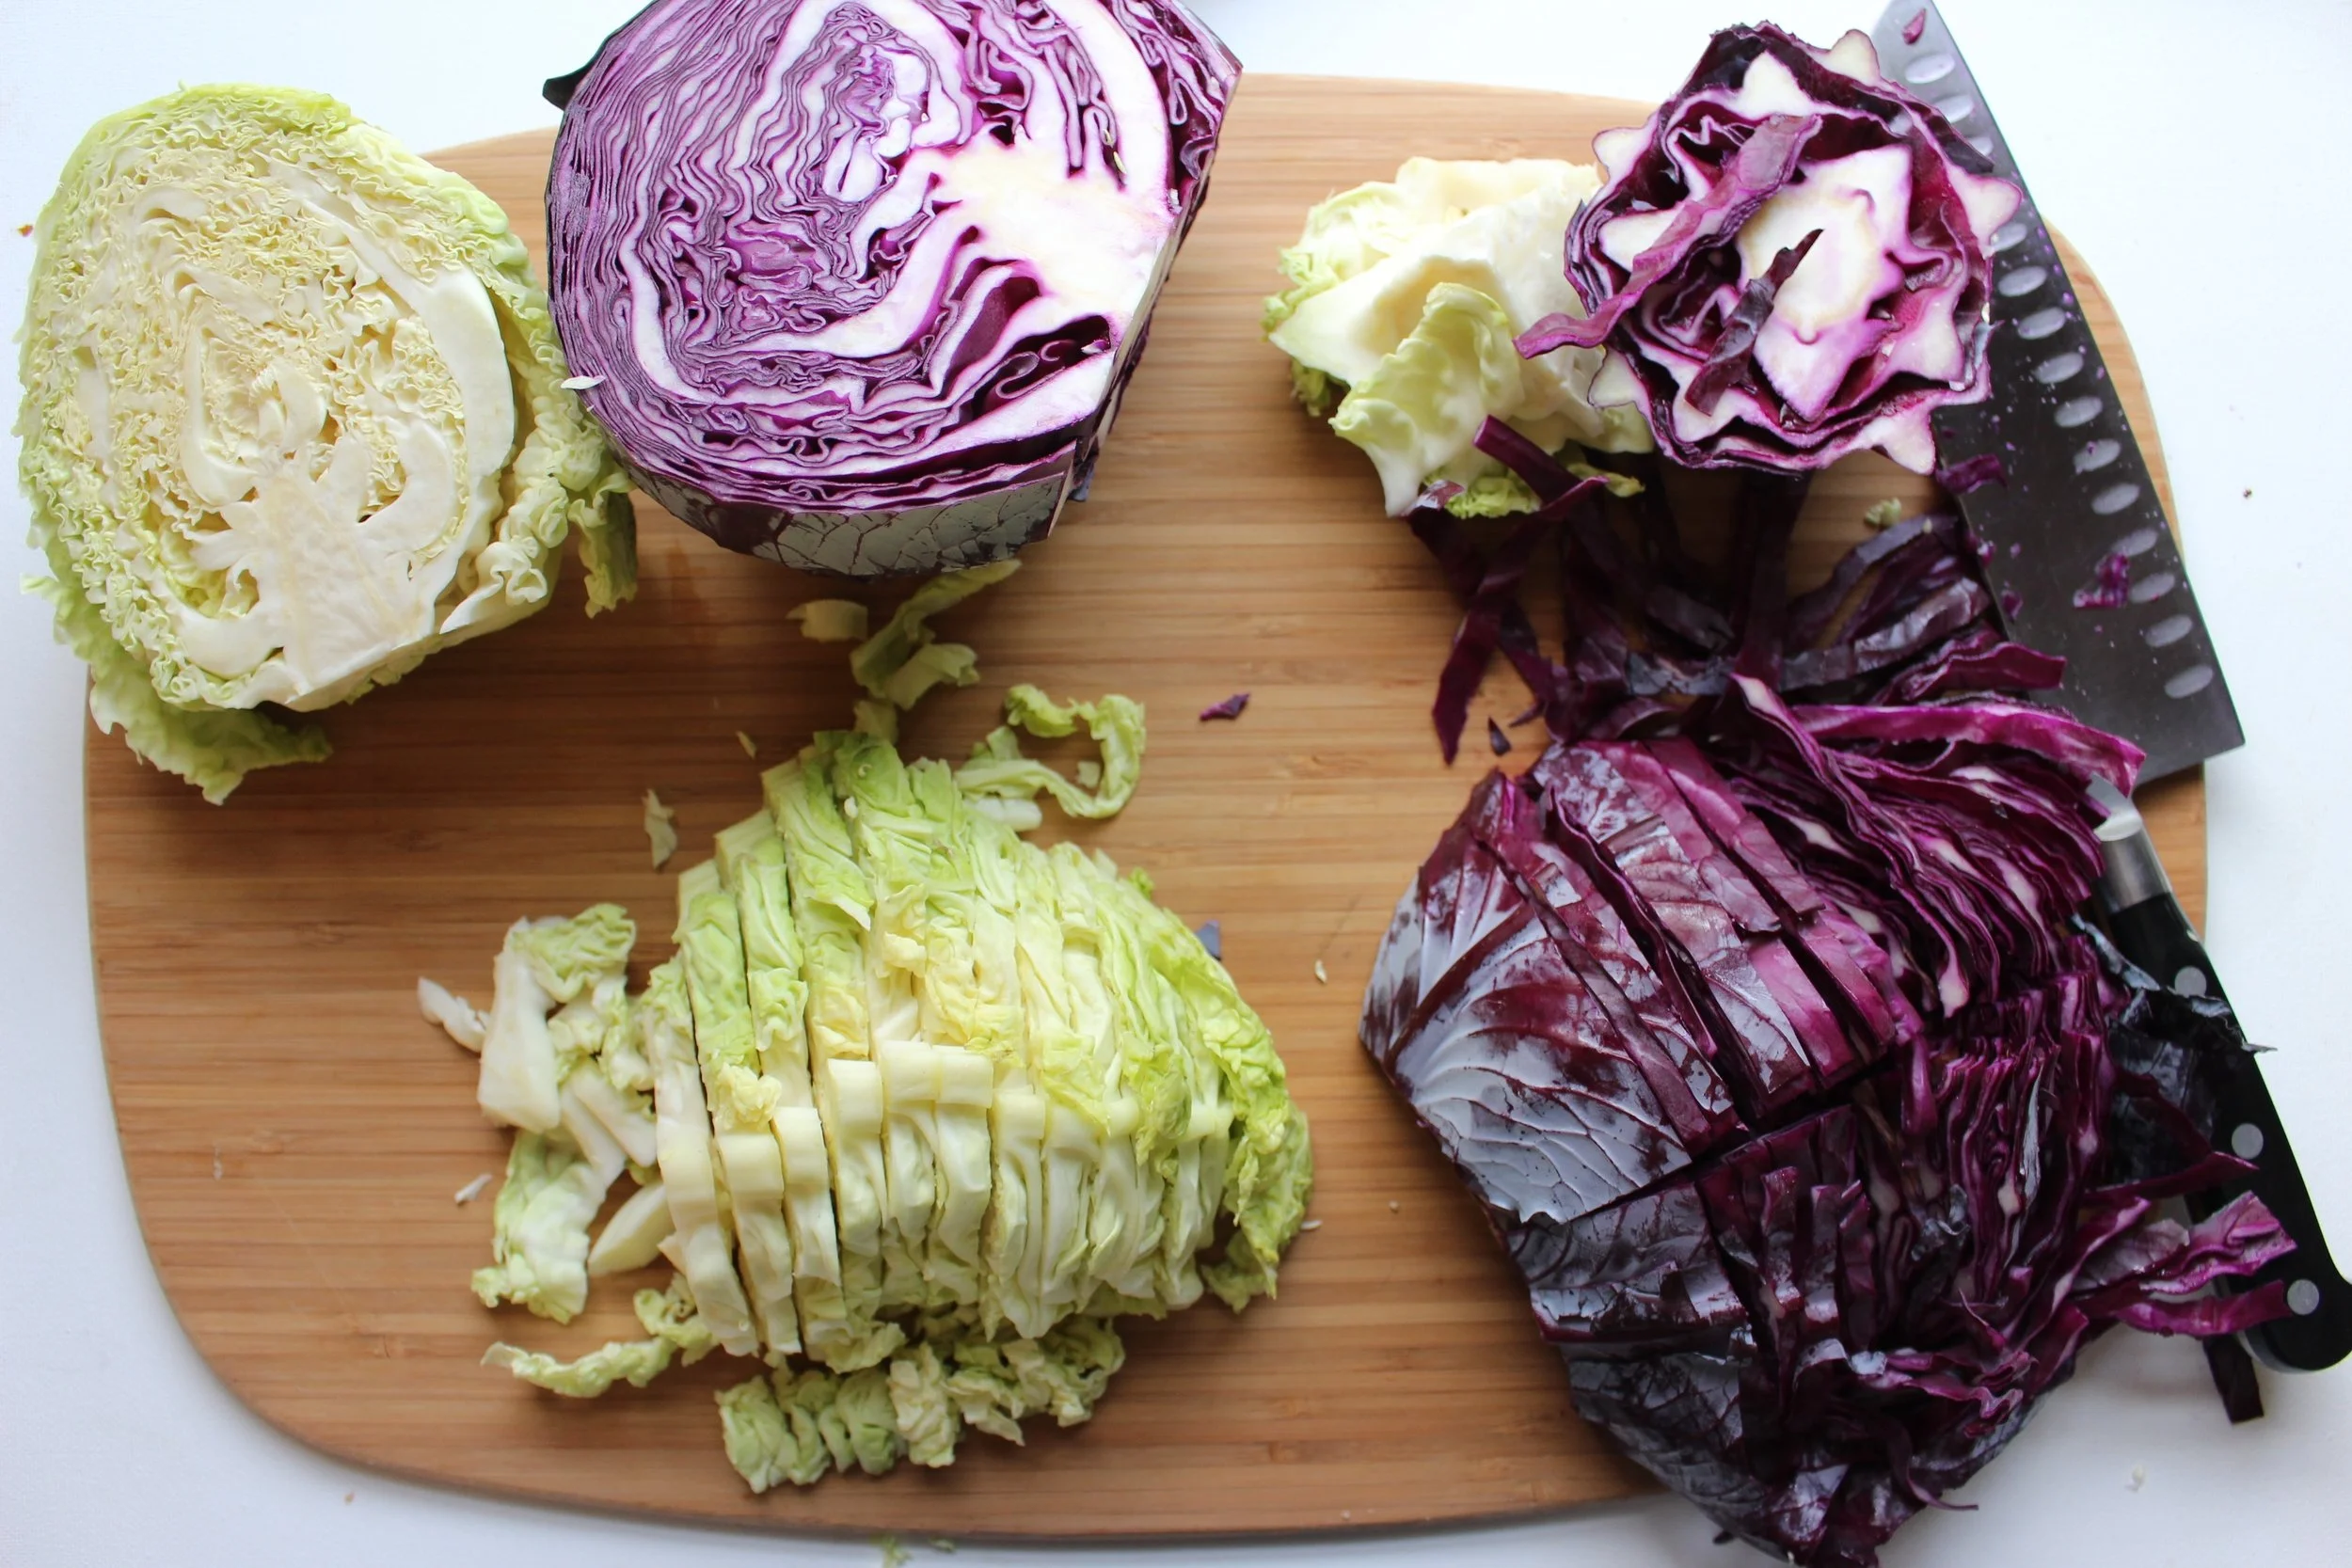
½ small head of red cabbage, roughly chopped
½ small head of napa cabbage, roughly chopped (about 6 cups total cabbage)
8 scallions, trimmed and cut in half width-wise
2 Tbsp olive oil
1 large lemon
3 large limes, divided
1 ¼ lb cod or other firm white fish (four medium fillets)
1 Tbsp mayo
1 large avocado
Juice of 1 lime (about 1-2 Tbsp)
4-6 Tbsp water
1 small clove garlic
1-2 tsp chipotles in adobo or chipotle hot sauce
1/2 tsp kosher salt
12 corn tortillas
Preheat oven to 400.
Toss the cabbage and scallions with 2 Tbsp of olive oil and salt and spread onto a baking sheet. Set aside.
Slice the lemon and one of the limes. Spread out four sheets of parchment paper or tin foil on your countertop. Place 2 or 3 slices of the lemon and lime in the middle of the parchment. Place one fish filet onto the citrus bed and sprinkle with salt and pepper.
To fold the bundles, bring the edges of the two longest sides of the parchment together and fold over three or four times until you can’t fold anymore without hitting the fish inside. Next, fold the sides toward the middle until you’ve made a tight rectangle around the fish. Place on top of the veggies, making sure to move the scallions out from beneath the fish and toward the edges of the sheet pan.
Roast until the veggies are wilted and lightly browned and the fish flakes easily with a fork, about 15 minutes. If desired, carefully remove the fish bundles, being aware of steam that might escape, and roast the veggies for another 5 minutes.
Meanwhile, make the chipotle avocado crema. Combine the mayo, avocado, lime juice, water, garlic, chipotles or hot sauce, and salt in a blender or food processor and blend until smooth. If too thick, scrape down the sides and add more water a little bit at a time and blend again until you've reached the right consistency.
Toast the corn tortillas and prep any other fixings you might want with your tacos (cheese, more avocado, beans, tomatoes, etc). Squeeze some more lime juice over the assembled tortillas and serve.
Yield: 4 servings of three tacos and 1 fish fillet each

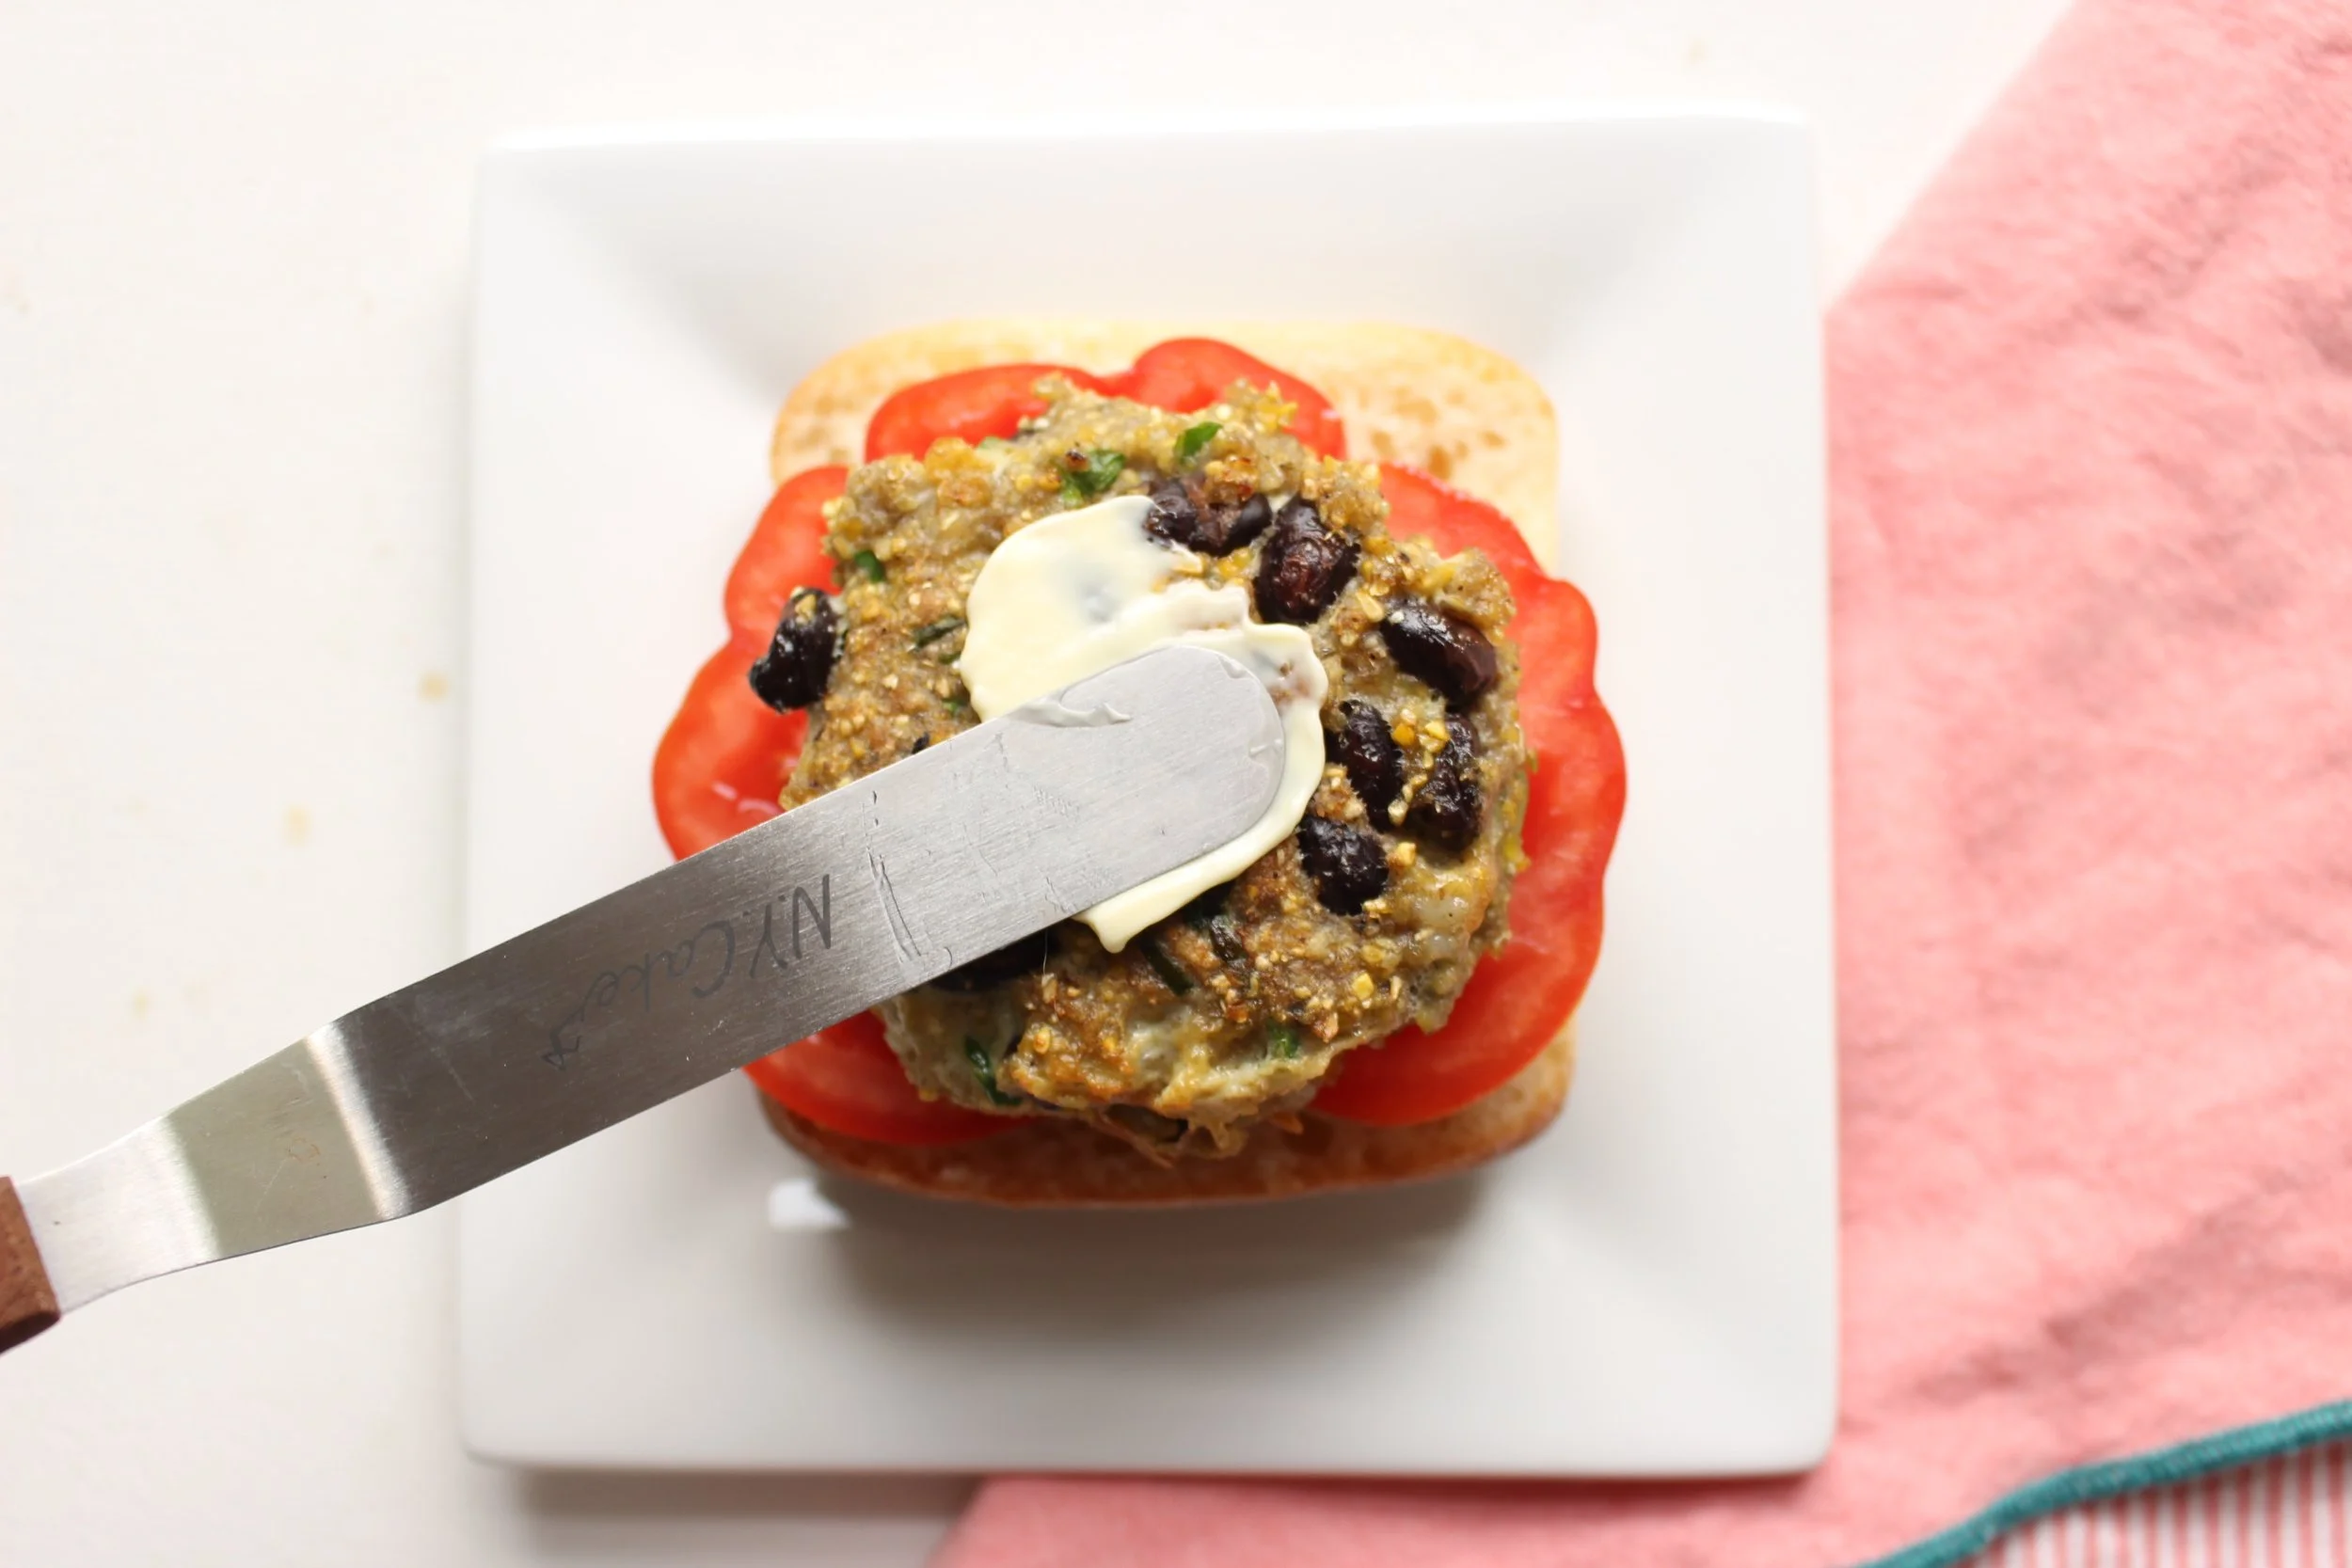
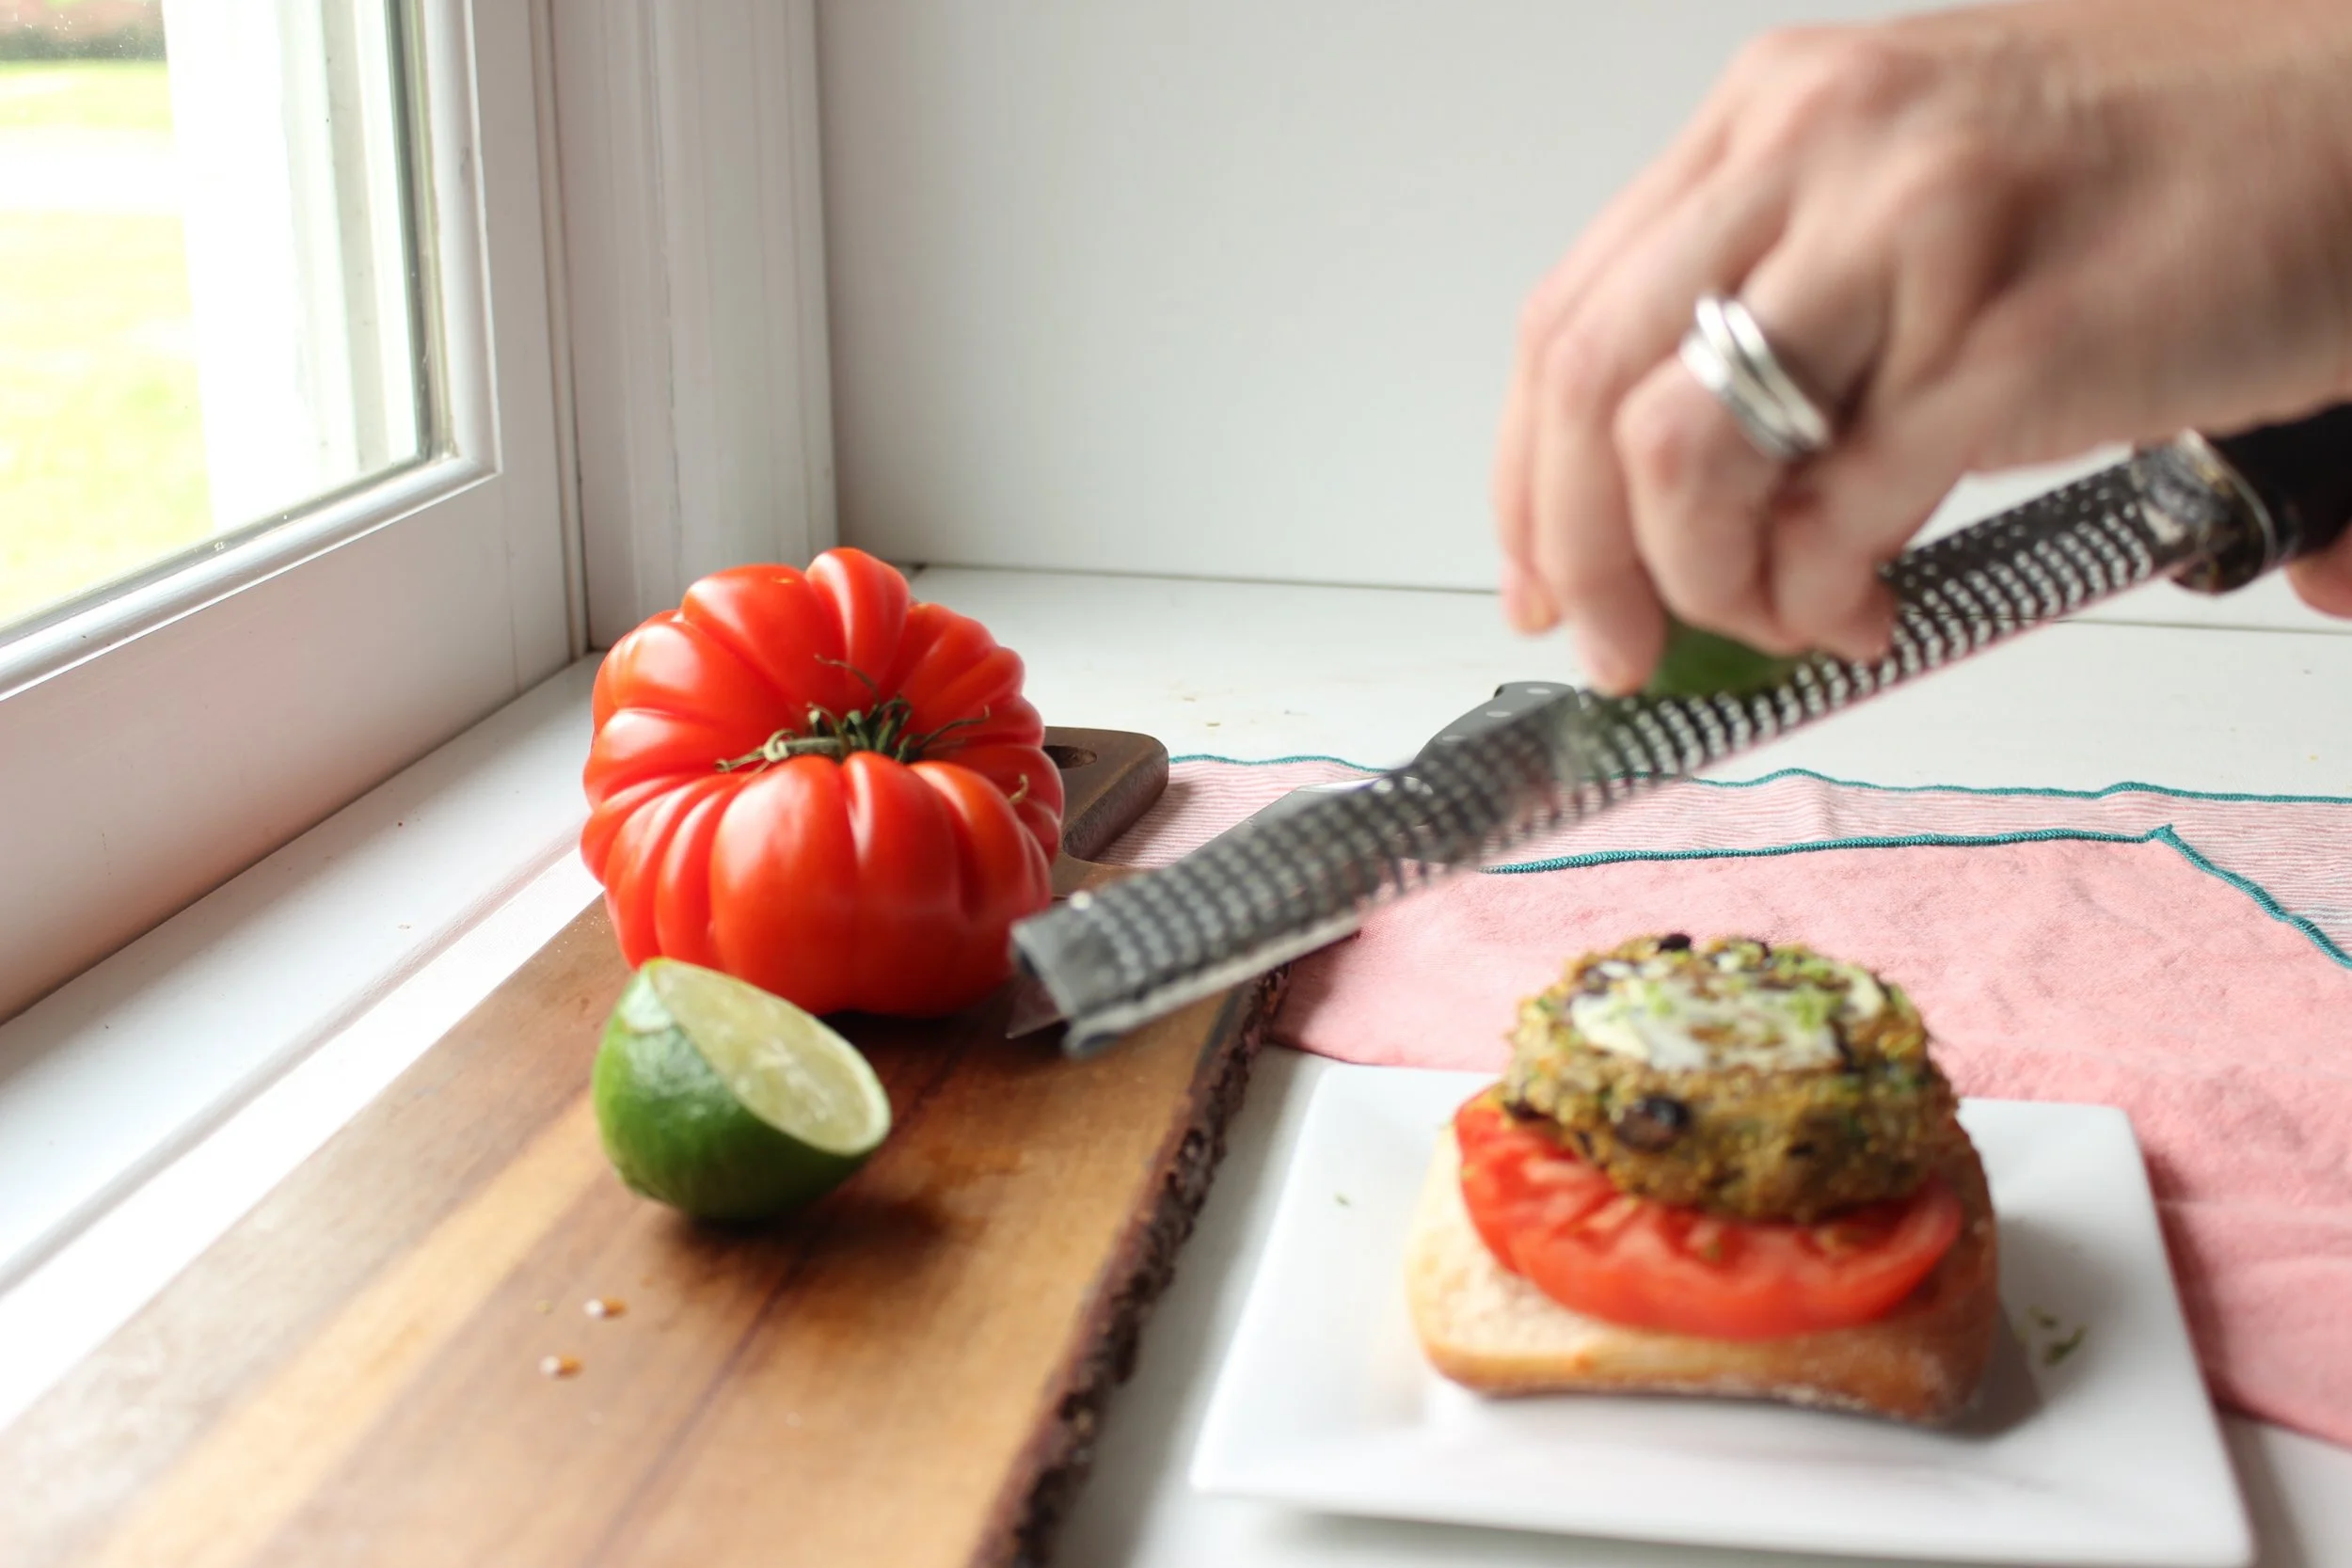
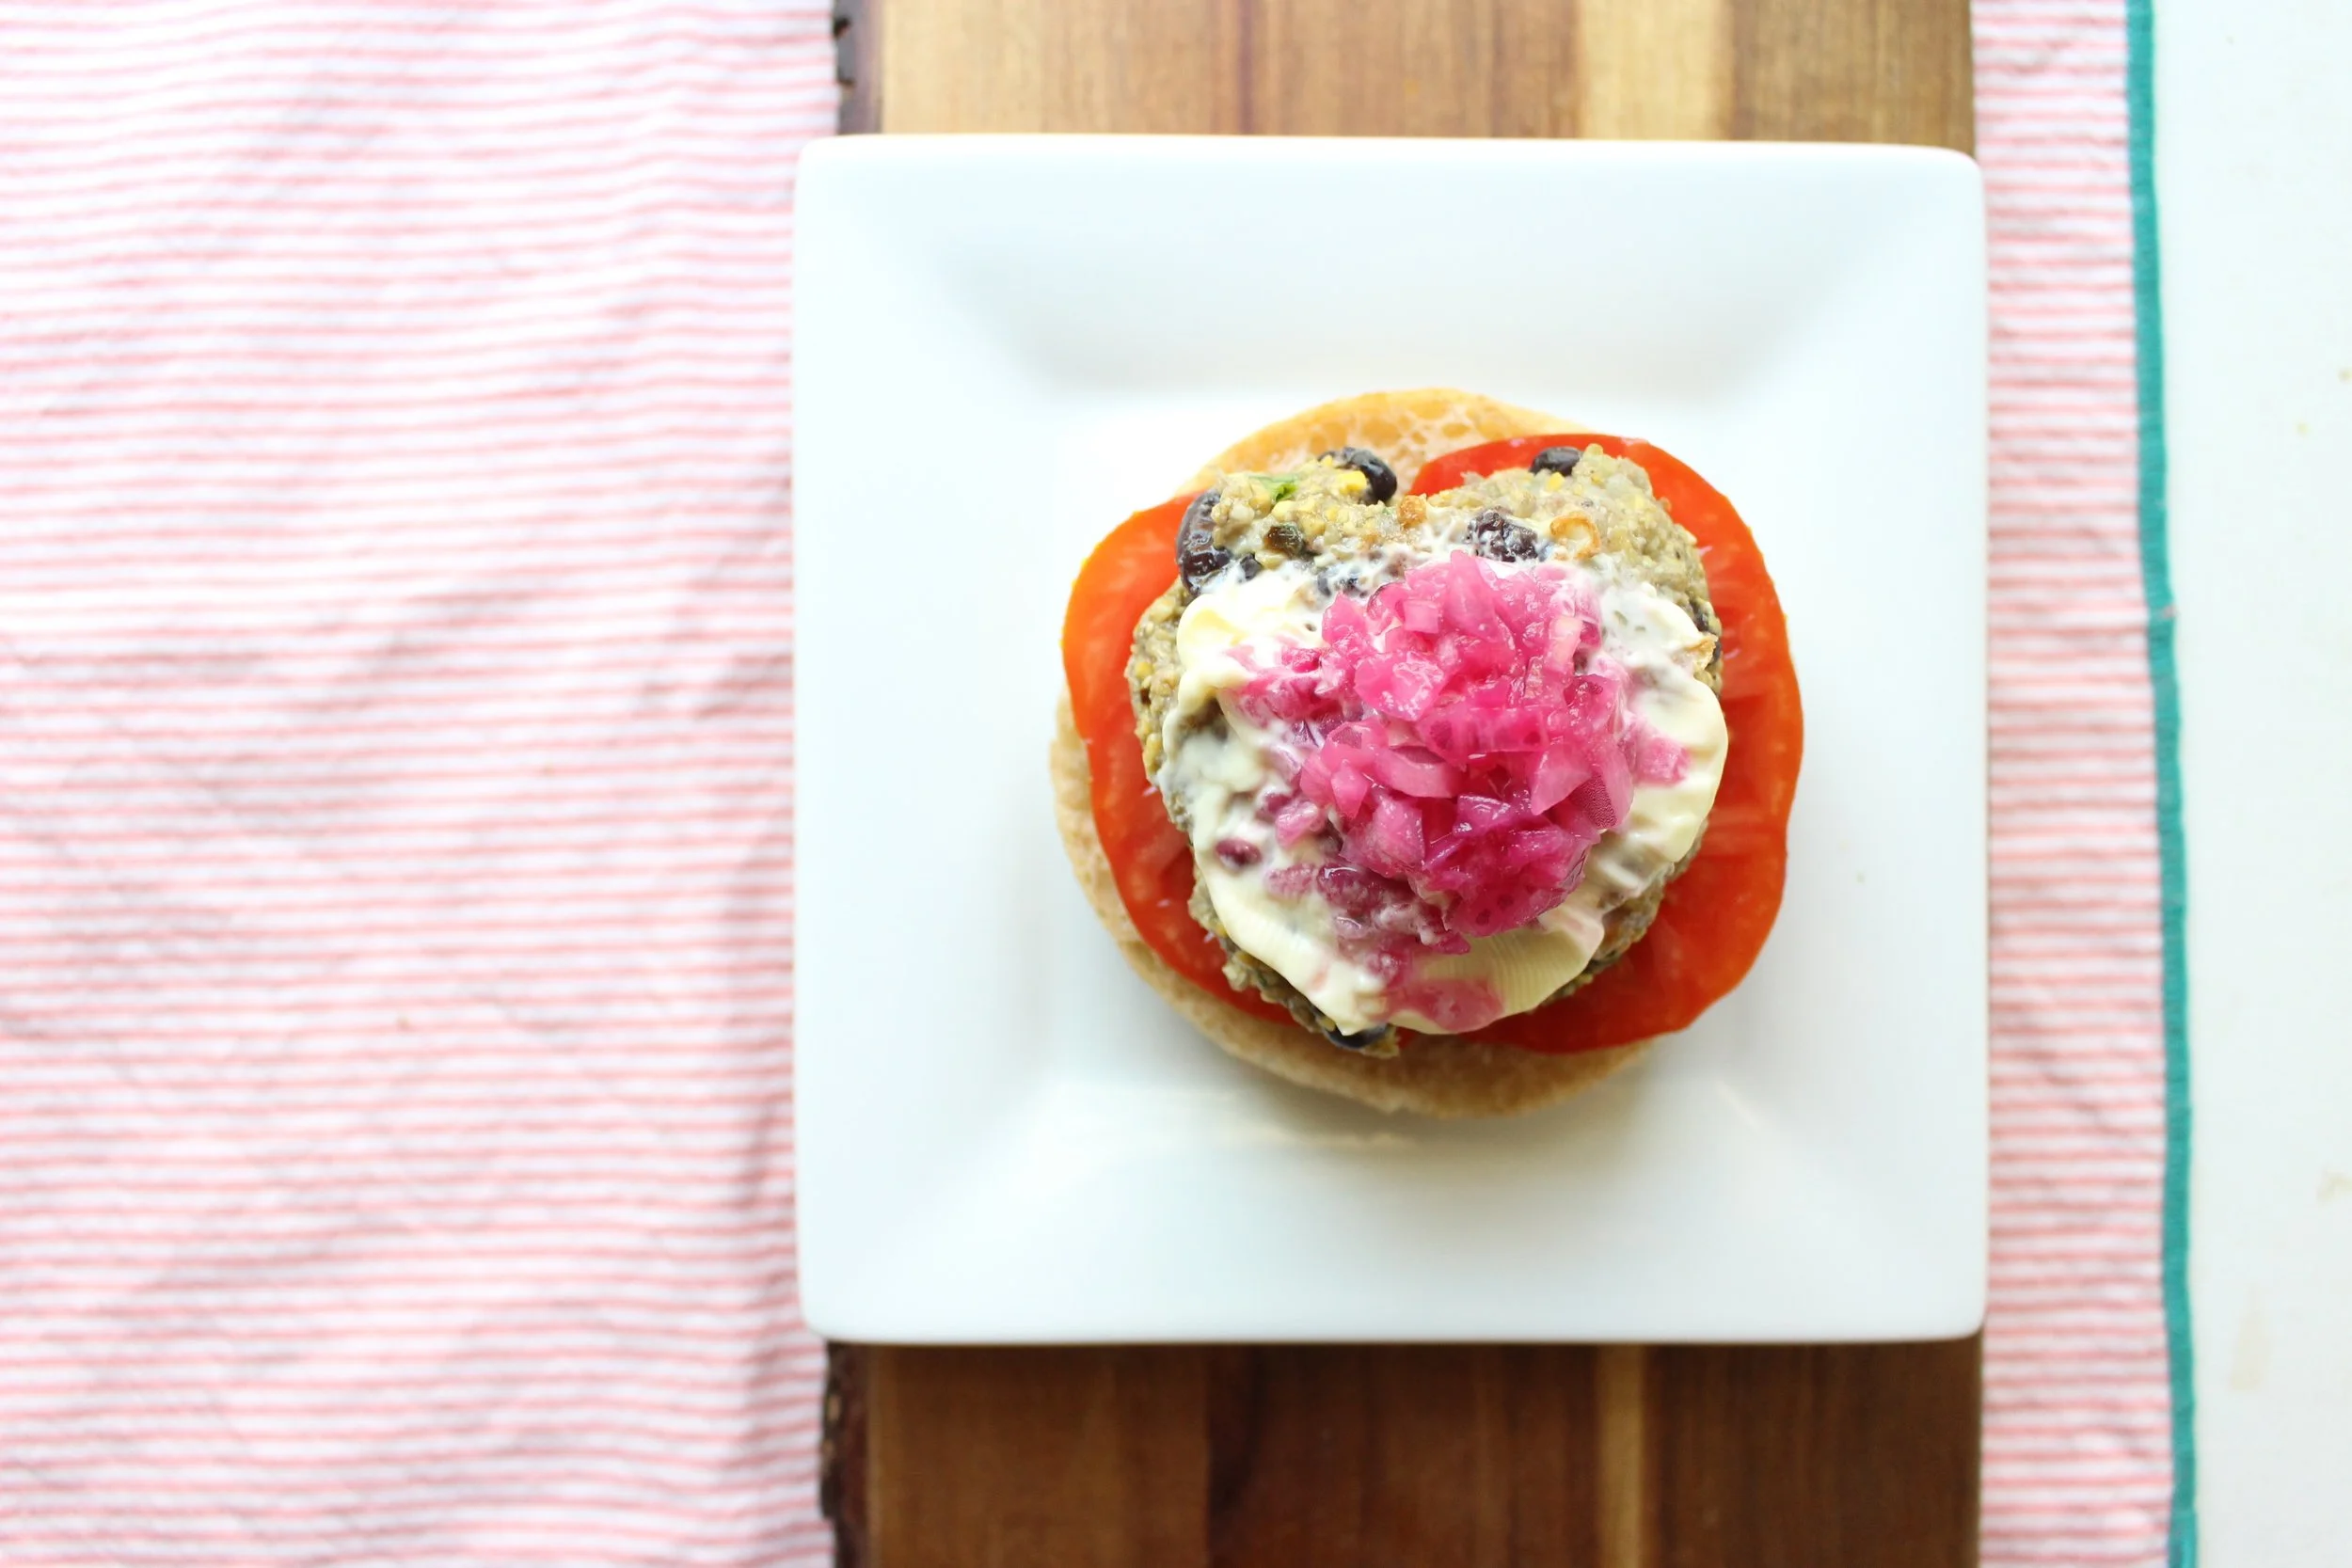
Shrimp and black bean burgers
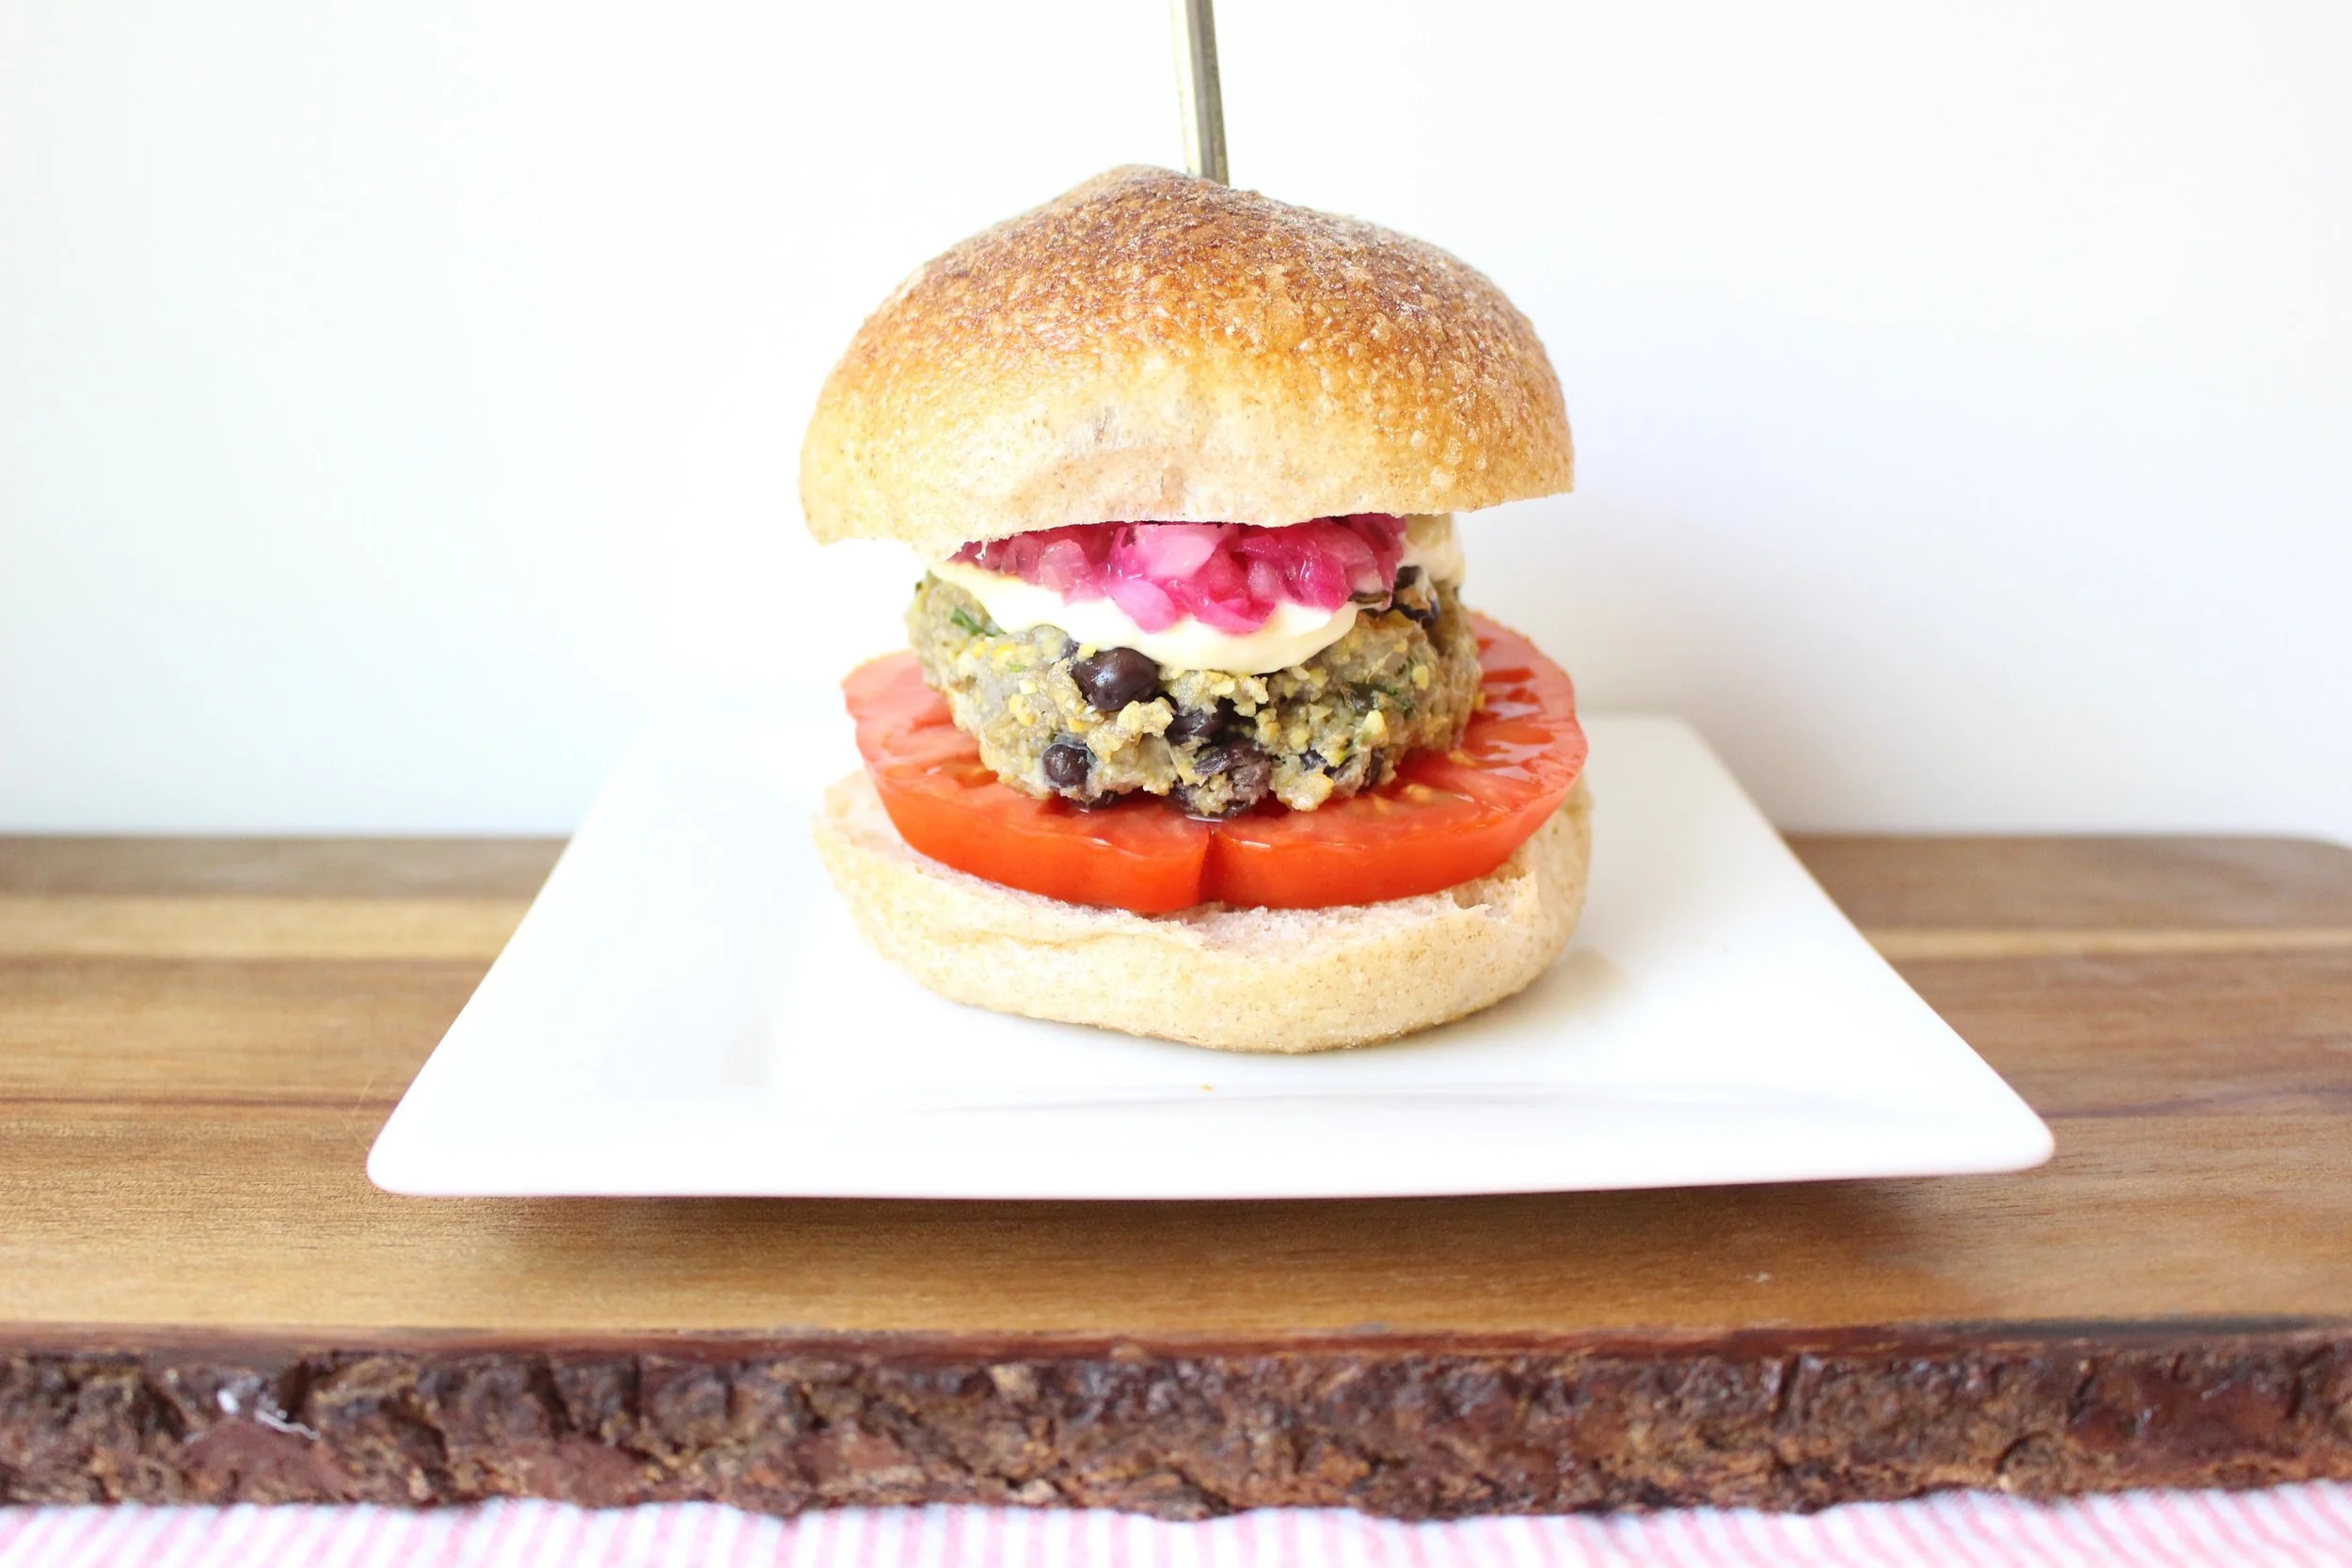

Shrimp is one of the things that M will almost always eat. Almost. He likes them cooked any way and in any flavor combination. But you know what? I worry about shrimp. There's a lot of variety and choice at the supermarket and it's hard to know what's best. Fresh or frozen? Large or small? Shells or no shells? Pink, white, tiger, or rock? Wild or farmed? Do I really need to spend $40 a pound? See? It's crazy making. I did a little (very very little) bit of research and there are a few guides out there to help determine what's right for you.
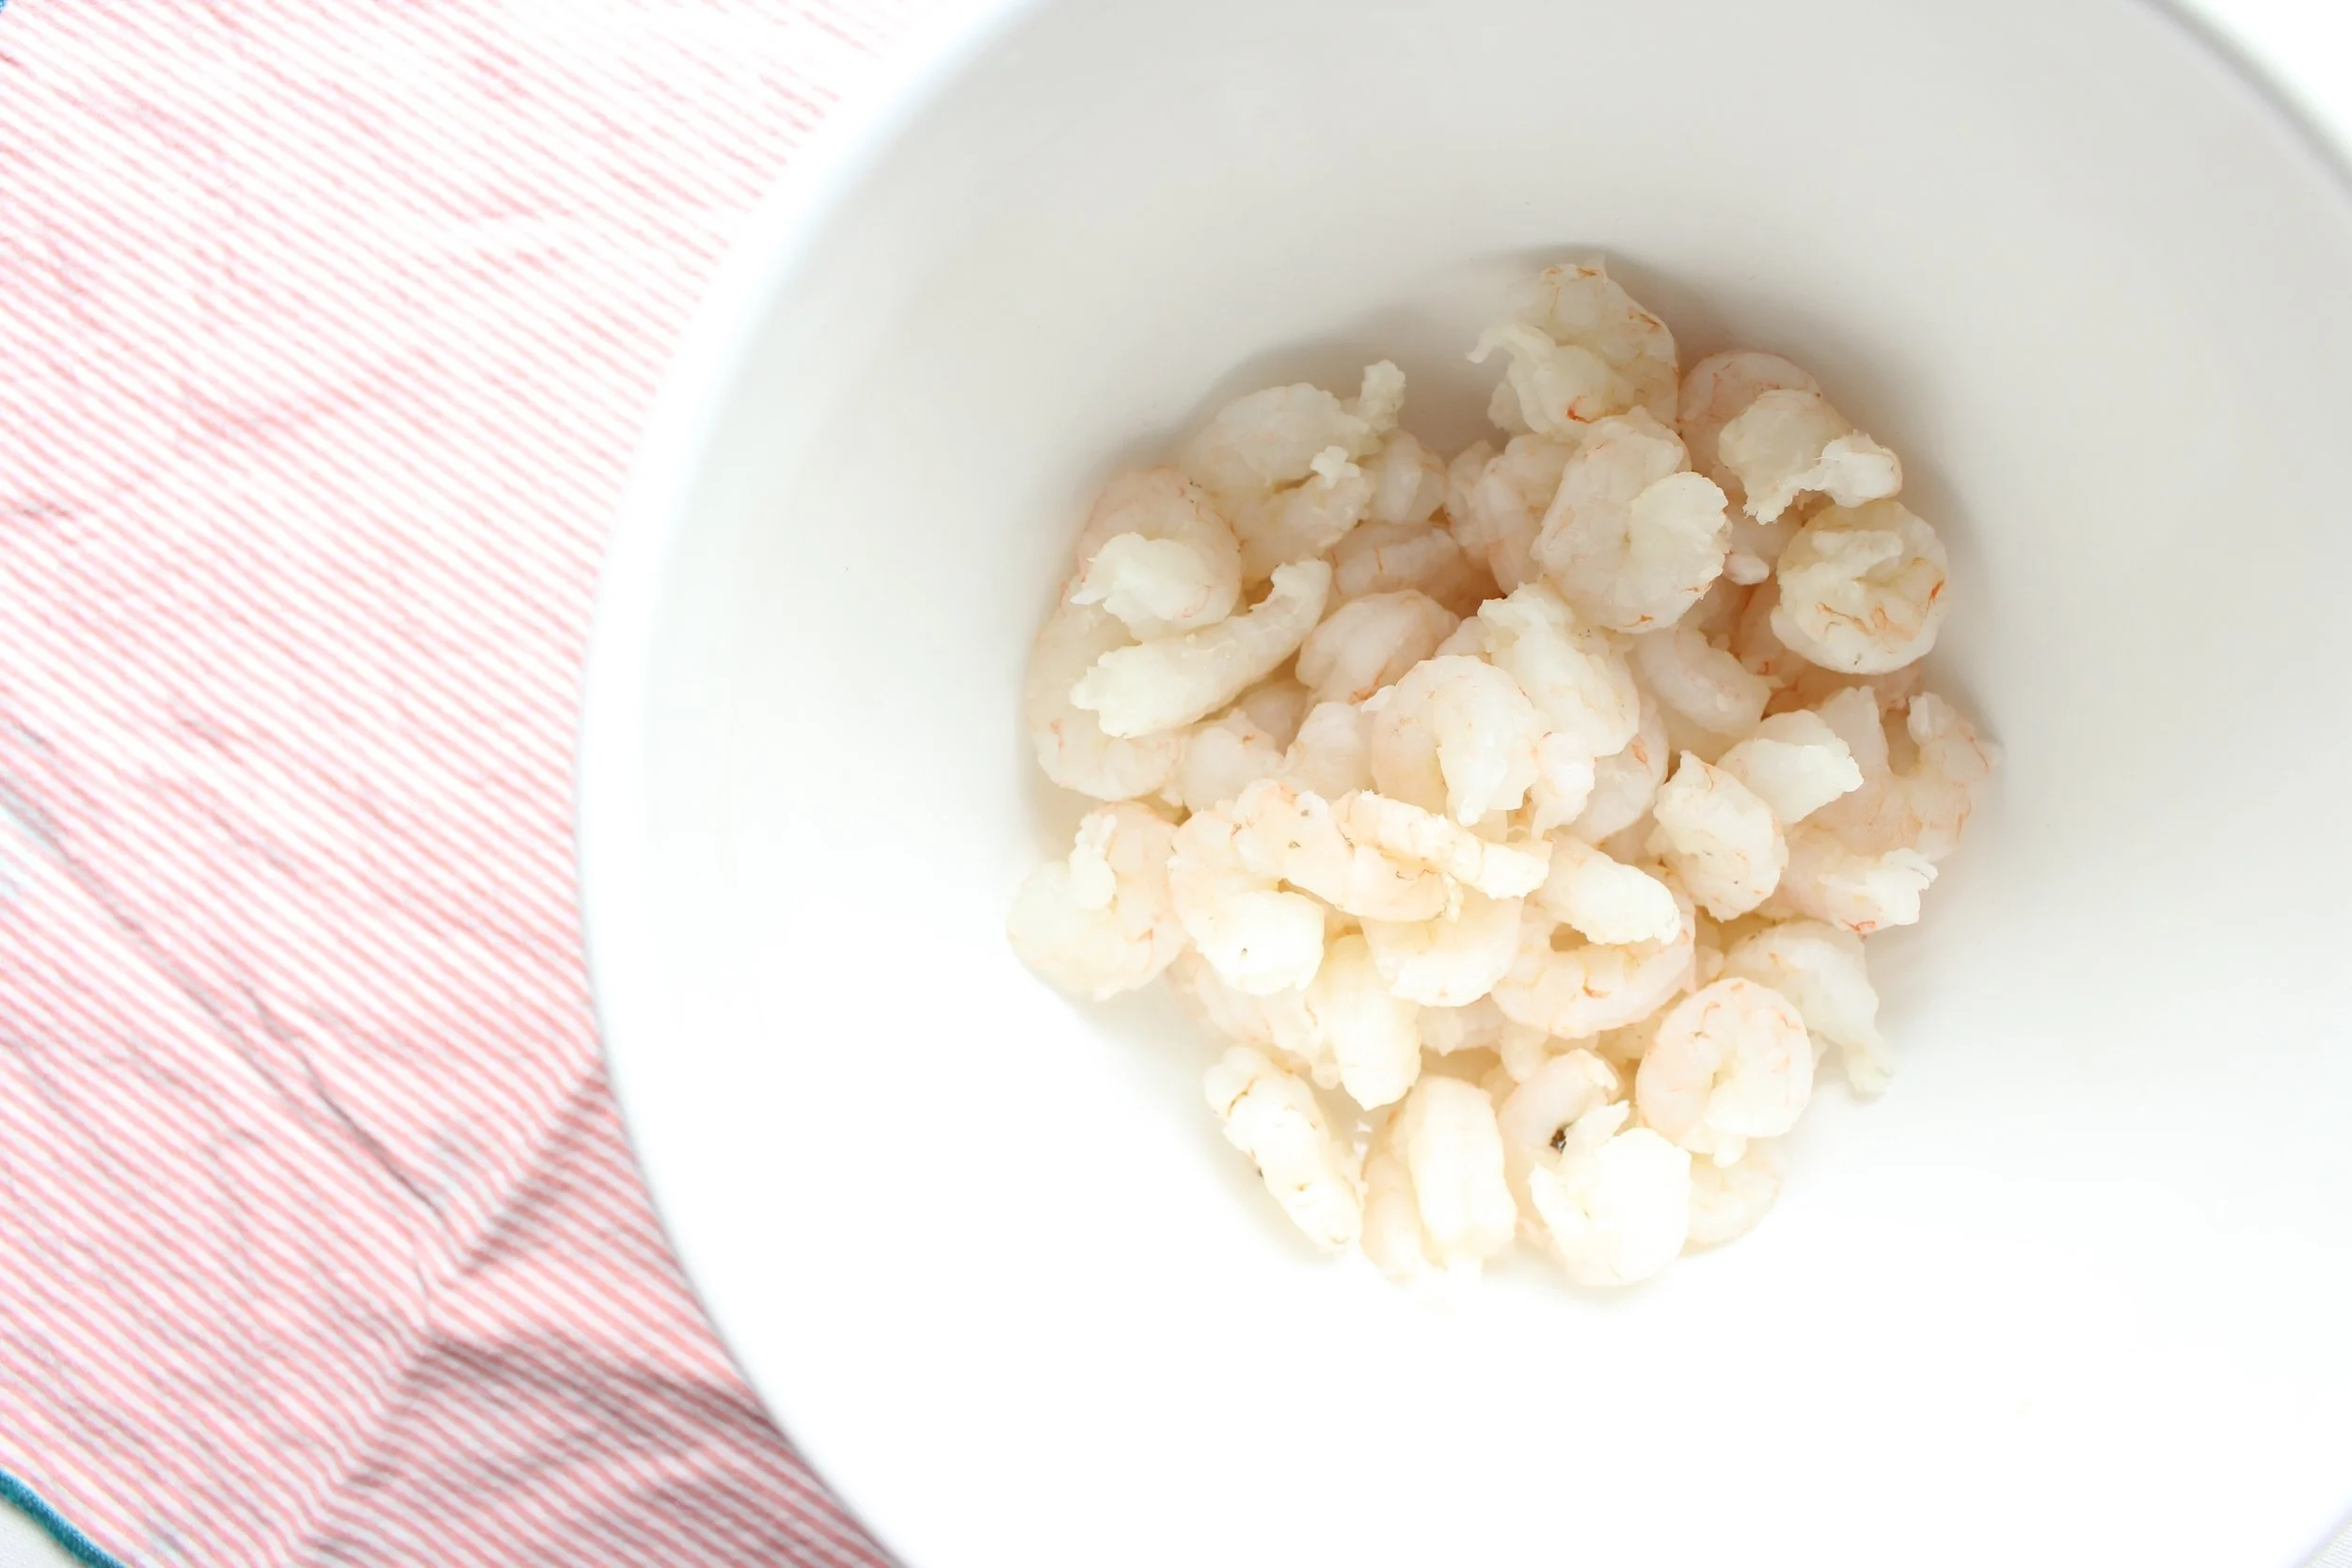
Once you figure it out (or not, sometimes you just have to choose your choice and be done with it), these shrimp and black bean burgers are tasty and easy and summery and healthy. They're gluten-free because corn flour or corn meal are your binder. And though there's a long list of spices in there, the end result is subtle and complex, considering.
And the chives add a nice green note to the burgers, but if you don't have any or can't find any, scallions are a nice substitution.
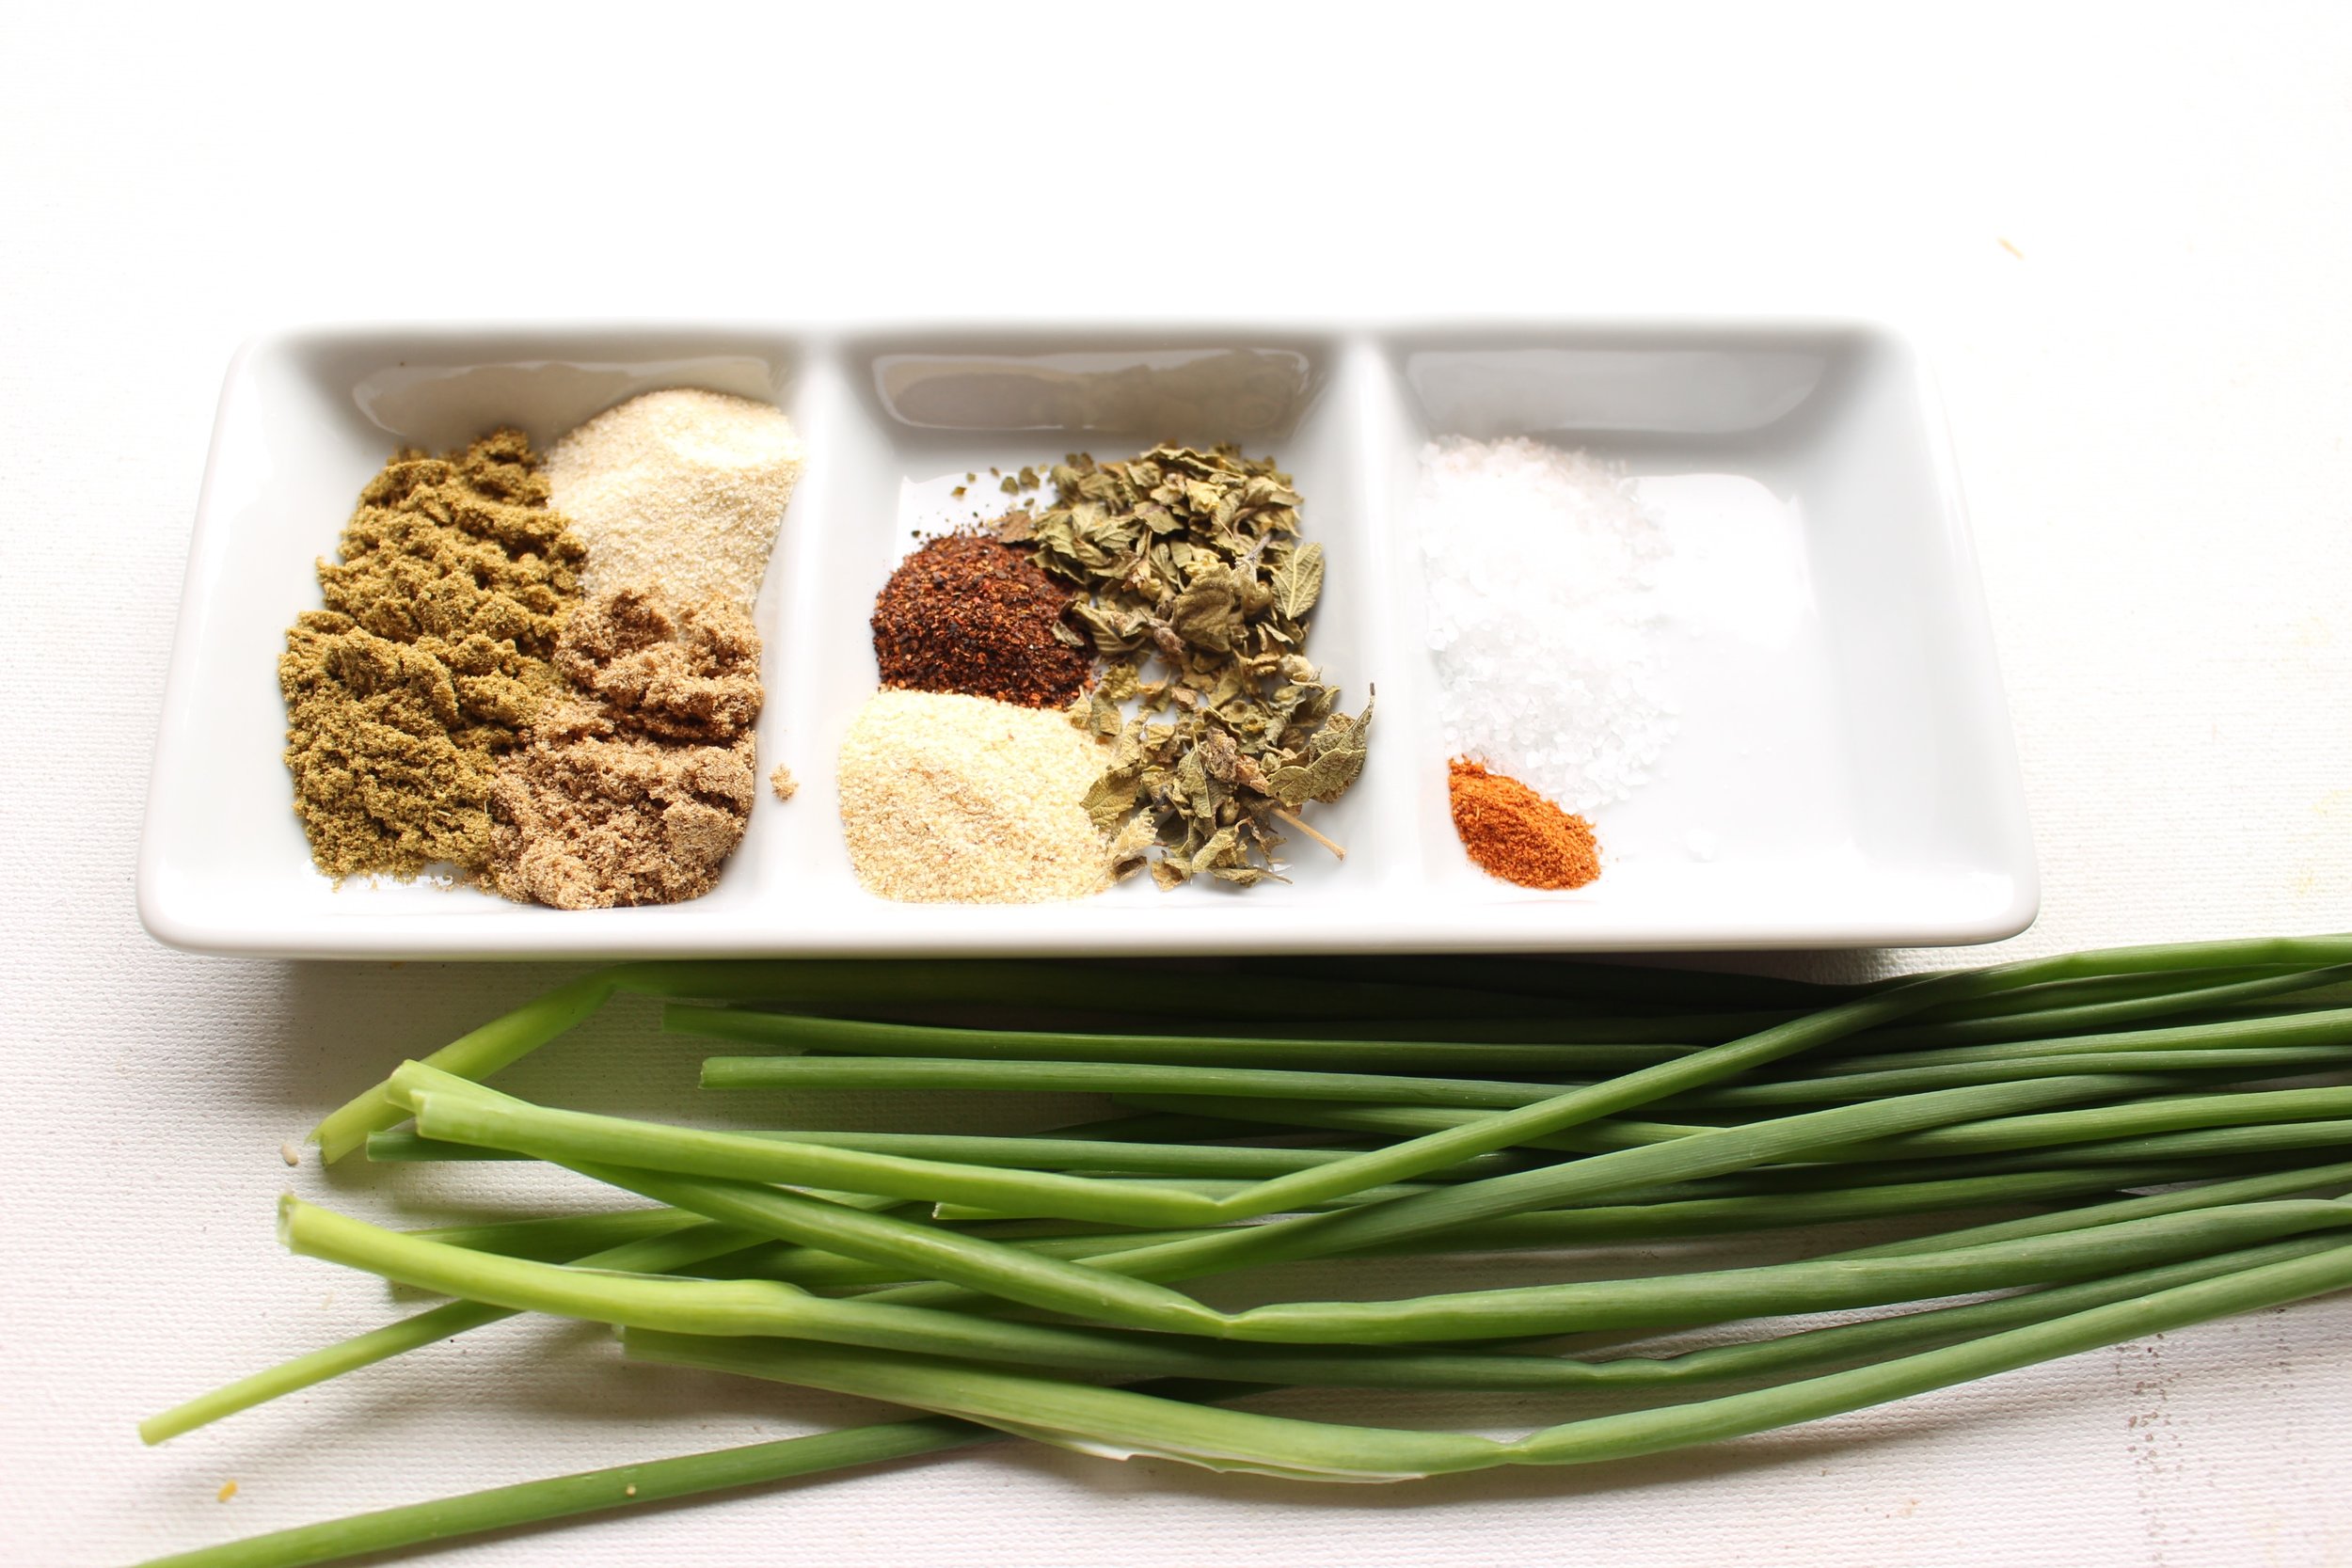
A note about your choice of corn meal vs corn flour: I've made these with the the finest corn flour and the coarsest corn meal and they're good either way, so use what you have on hand. Just know that the finer the corn flour or meal, the better the patties stick together. The coarse meal works well, but you may have a bit of breakage in the cooking process.
Black bean and shrimp burgers
12 oz shrimp, uncooked
12 large or 20 small chives, torn or chopped into large pieces
1 tsp cumin
½ tsp coriander
½ tsp Mexican oregano
½ tsp onion powder
½ tsp garlic powder
¼ tsp chili powder
1/8 tsp cayenne
½ tsp salt
2 eggs
3/4 cup corn flour or meal
1 can black beans, drained and rinsed
lime wedges for serving
If using frozen shrimp, defrost in lukewarm water and squeeze lightly before measuring.
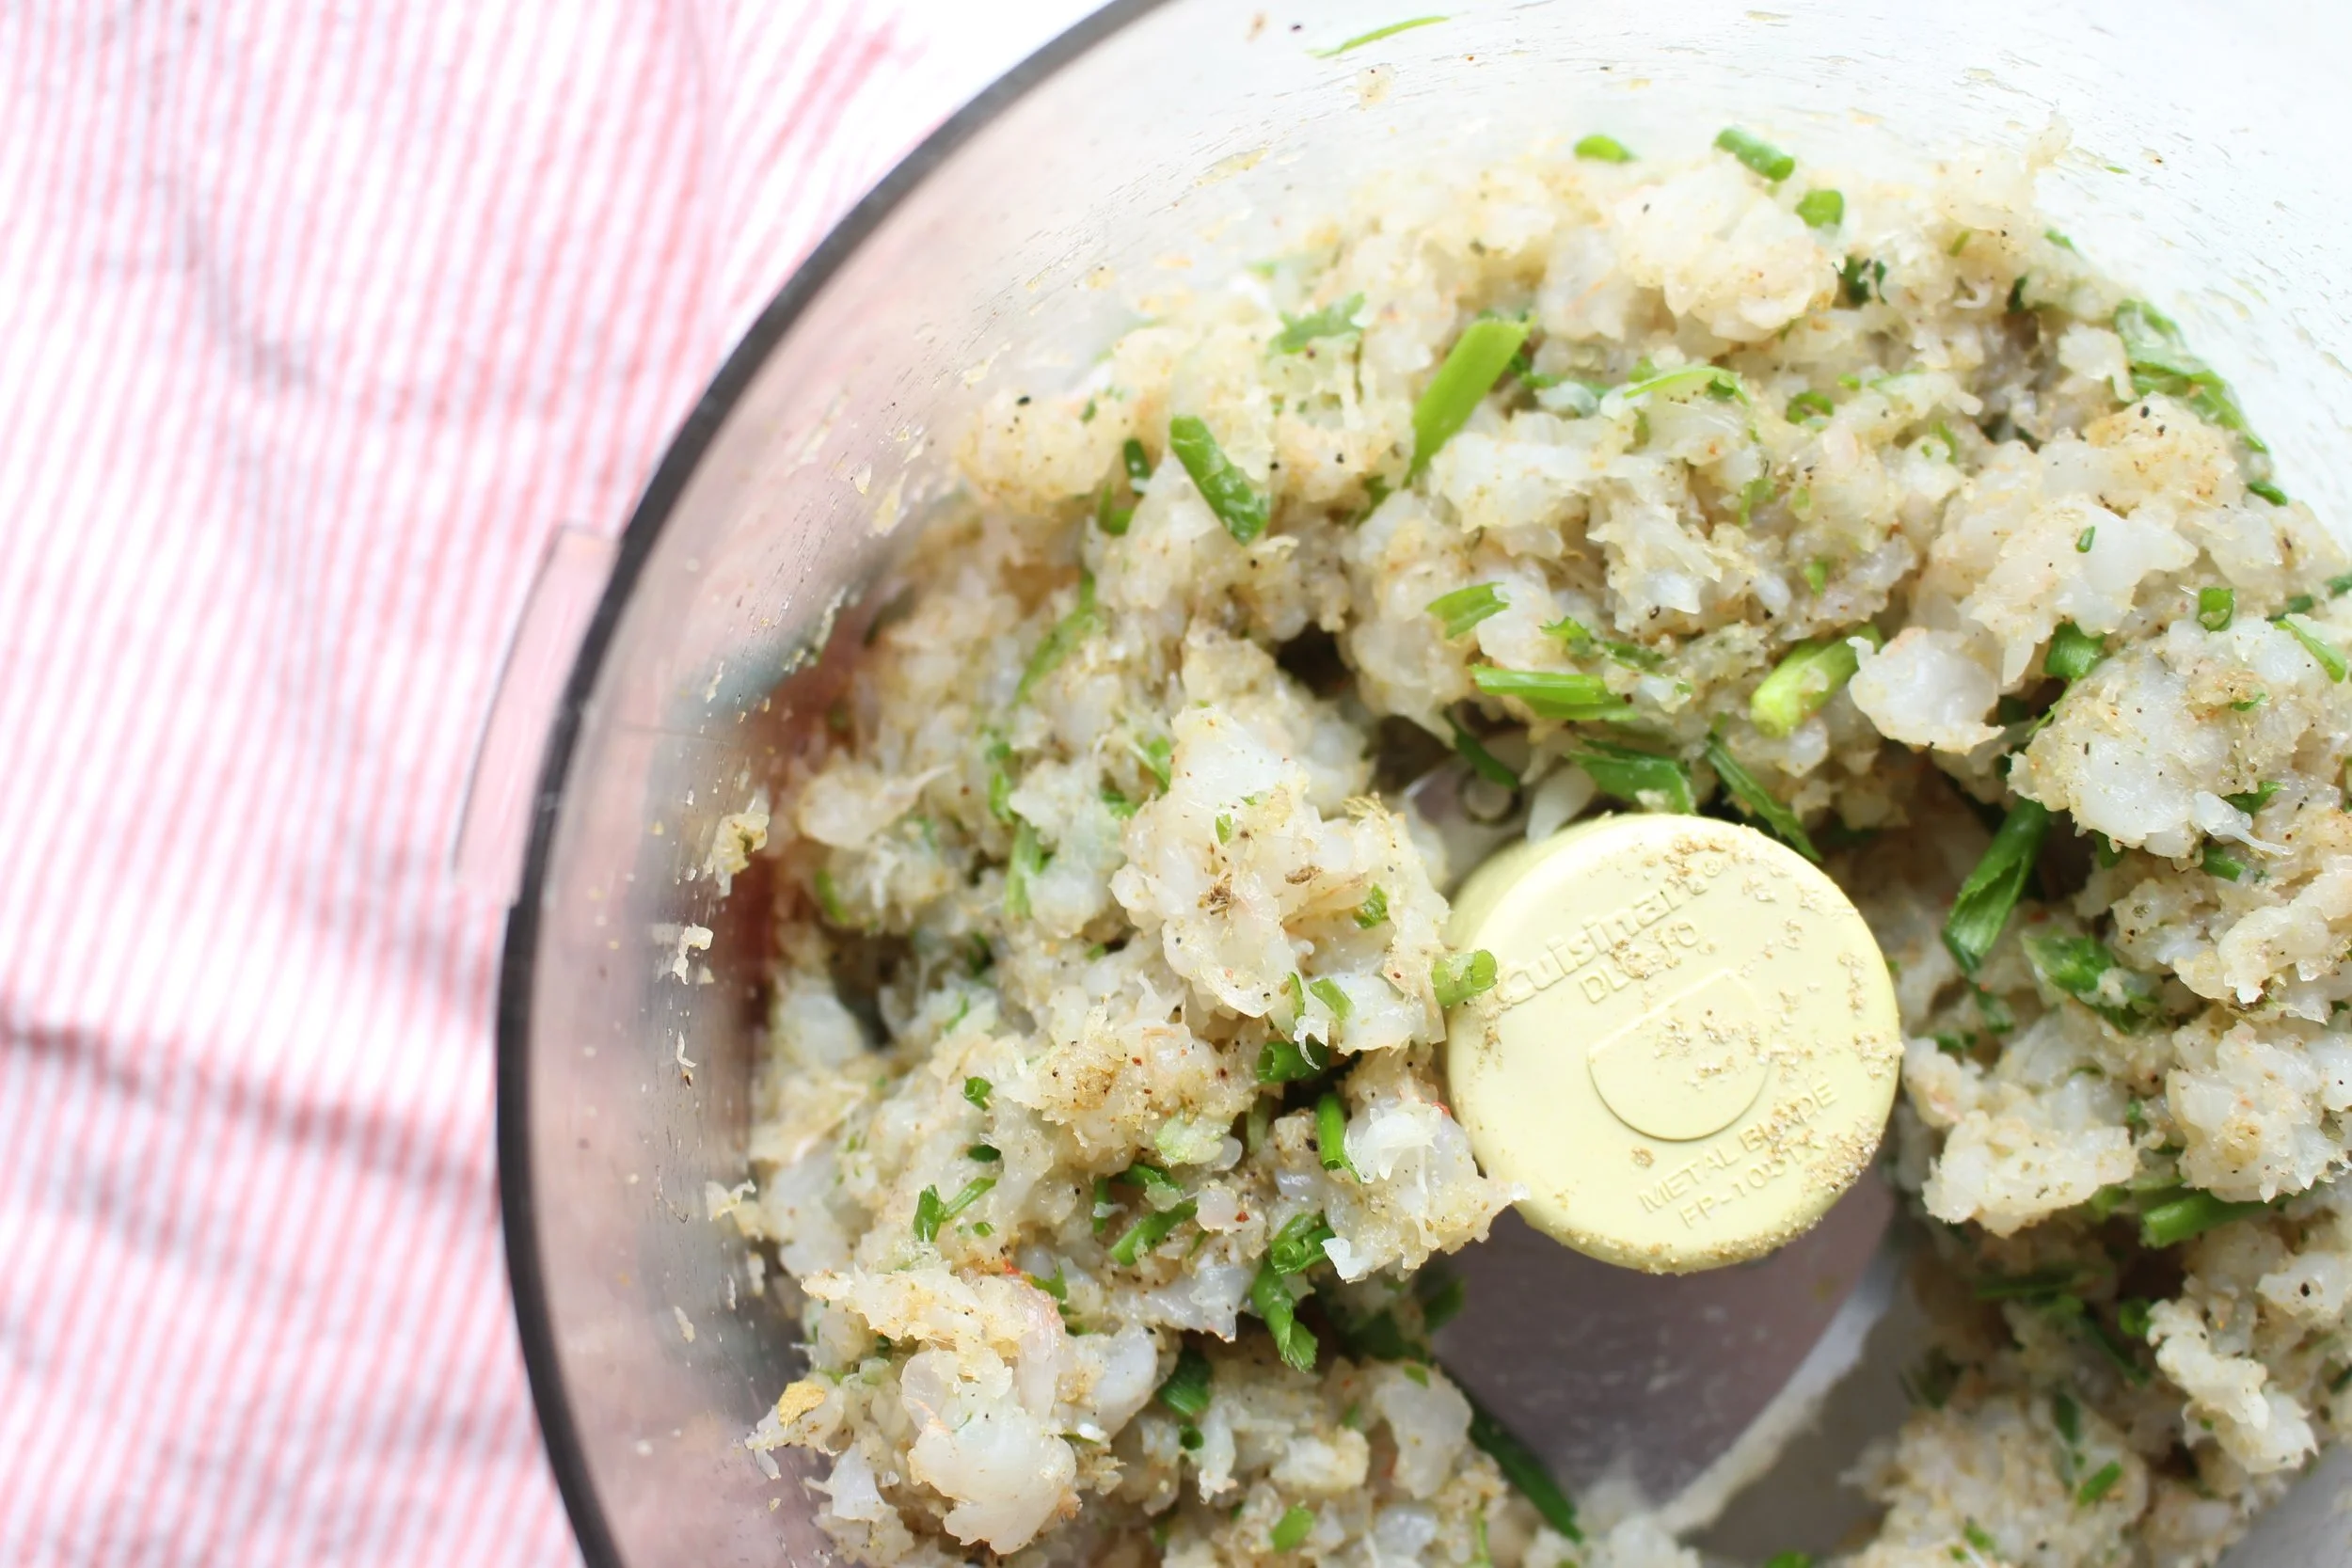
Add whole raw shrimp to a food processor with the chives and the spices and pulse about 10-12 times until the spices are distributed and the shrimp are chopped into medium pieces.
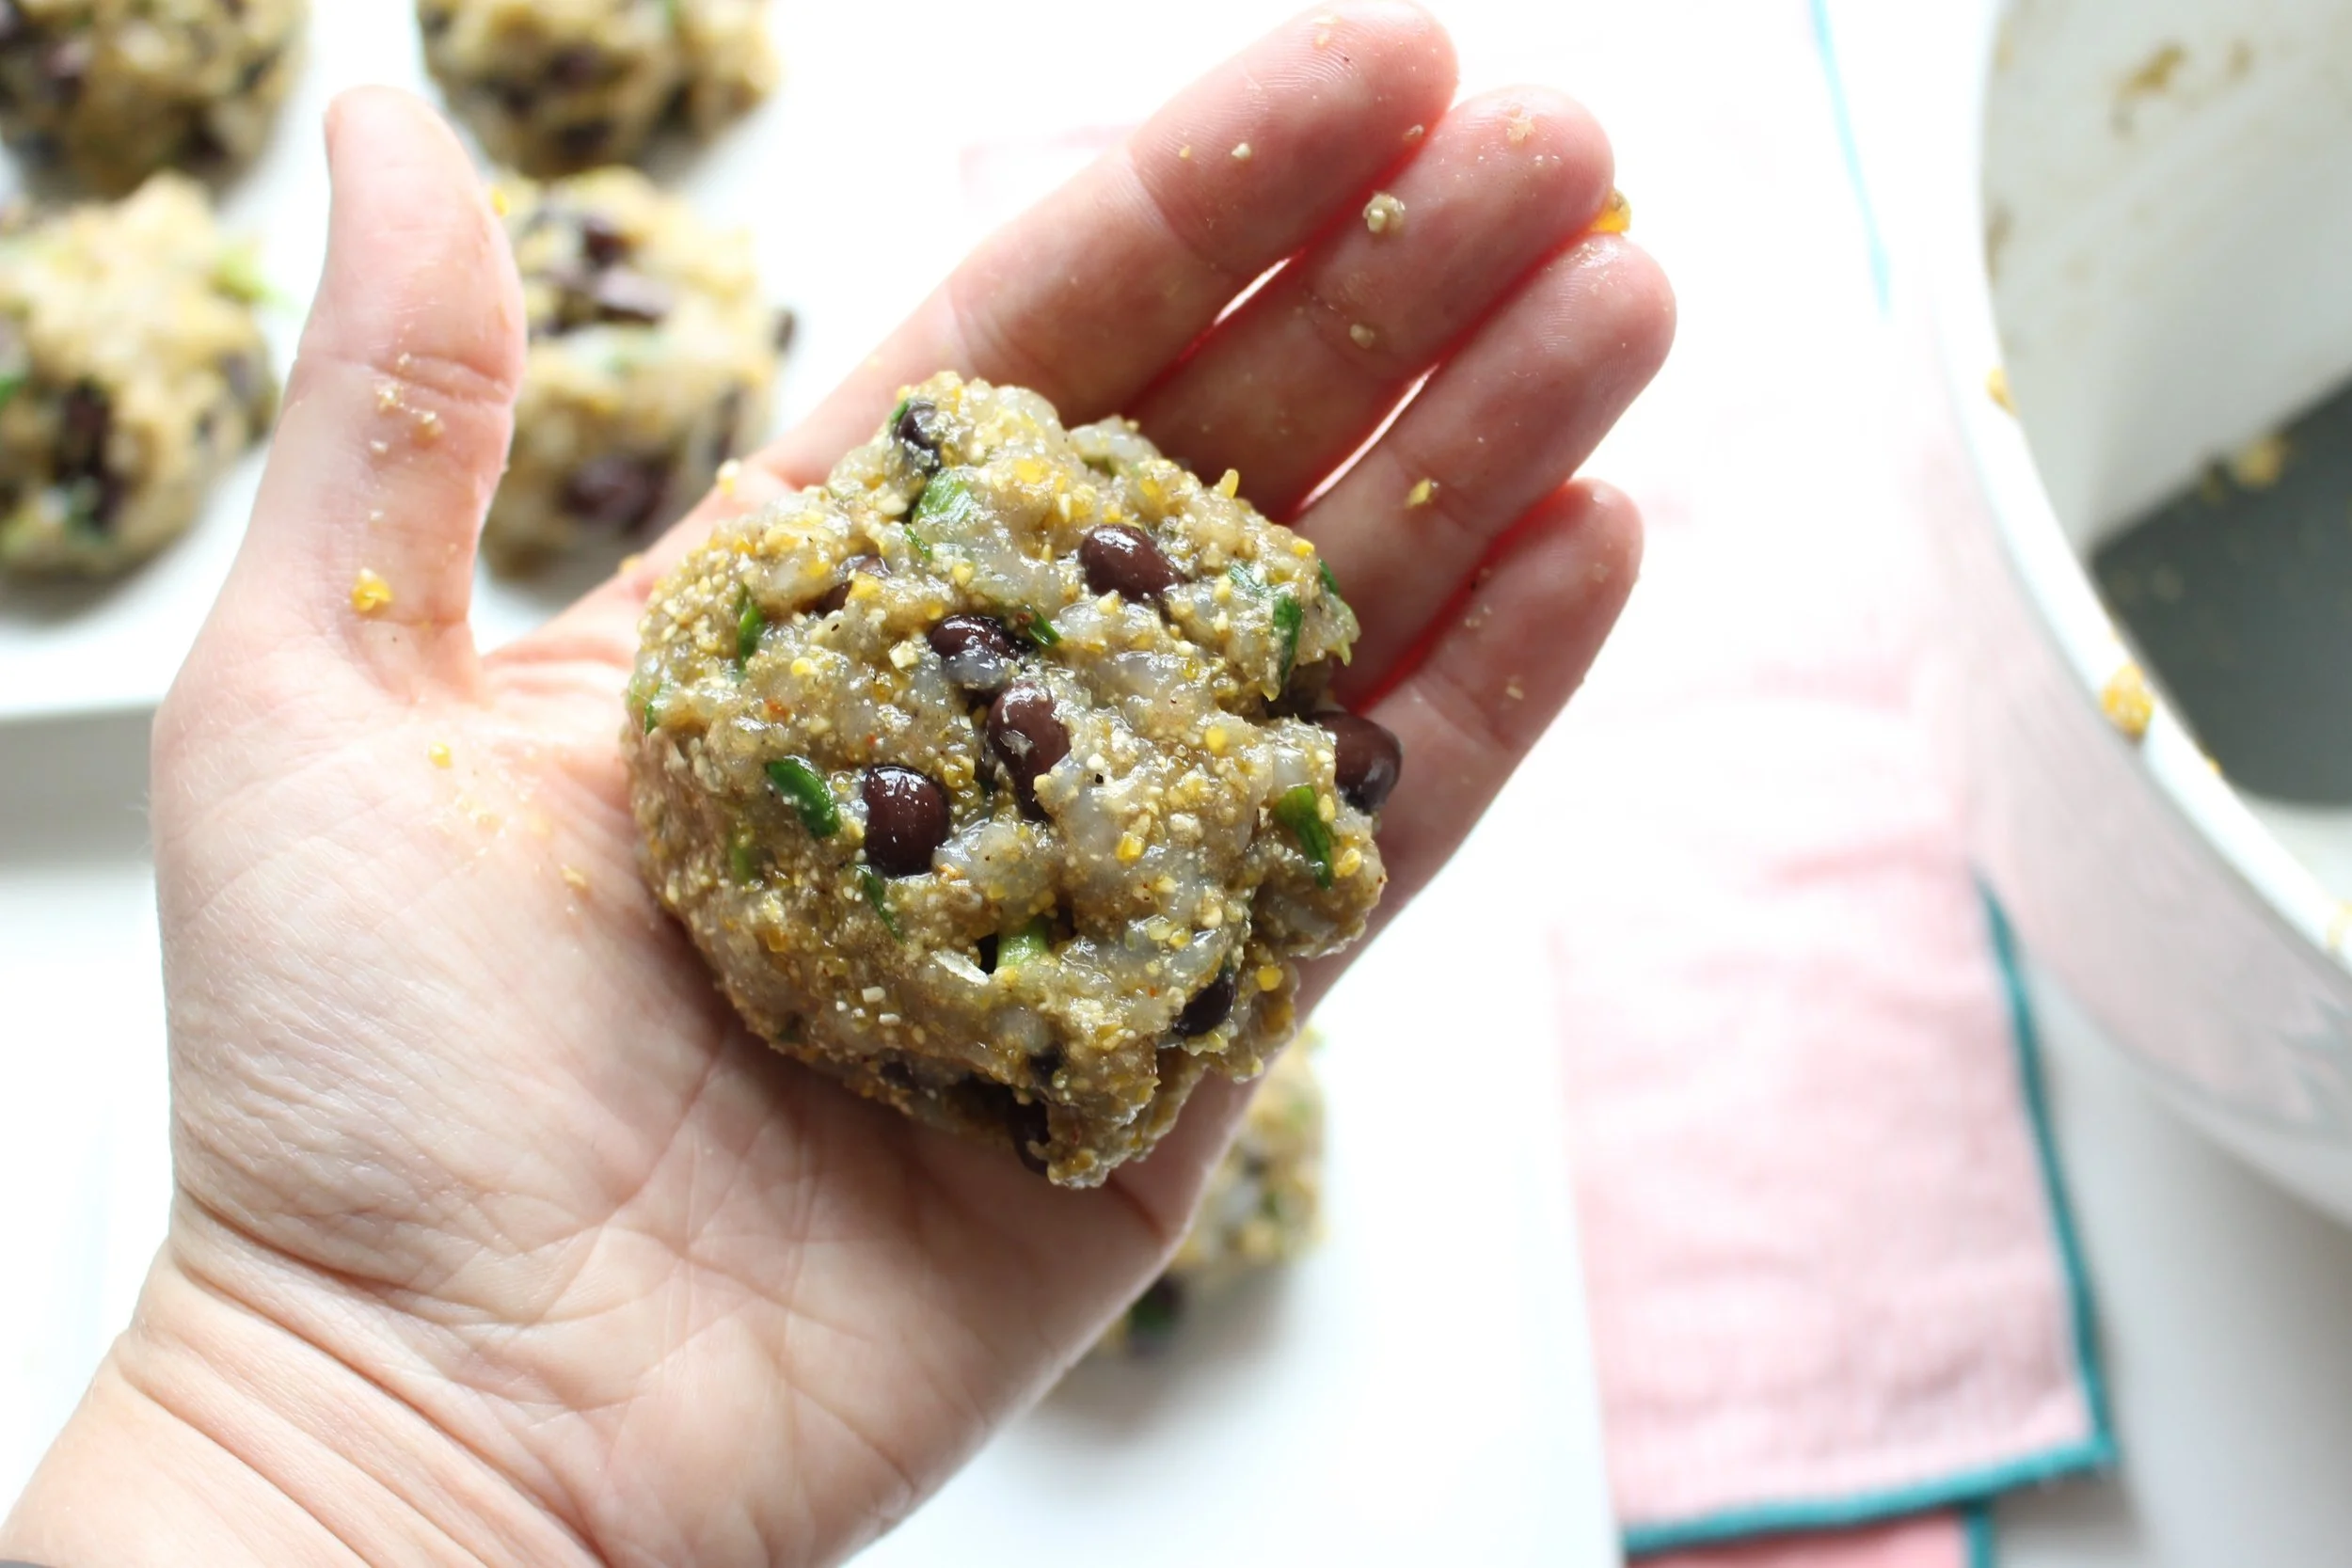
Turn the shrimp mixture out into a bowl and add the eggs, cornmeal, and black beans. Mix well, smashing some of the beans with your spoon or spatula.
Form into 12 balls or patties (about a heaping ¼ each) and chill for 20 minutes.
Heat a skillet with some oil over medium heat. When ready turn heat down to medium low and brown on one side for 3-5 minutes. Flip the patties and repeat on the other side. Cover the pan, turn heat down slightly, and cook for 10-12 minutes or until cooked through. (I usually just split one open to test it.)
Yield: 12 patties