Creamy chickpea and halloumi skillet dinner
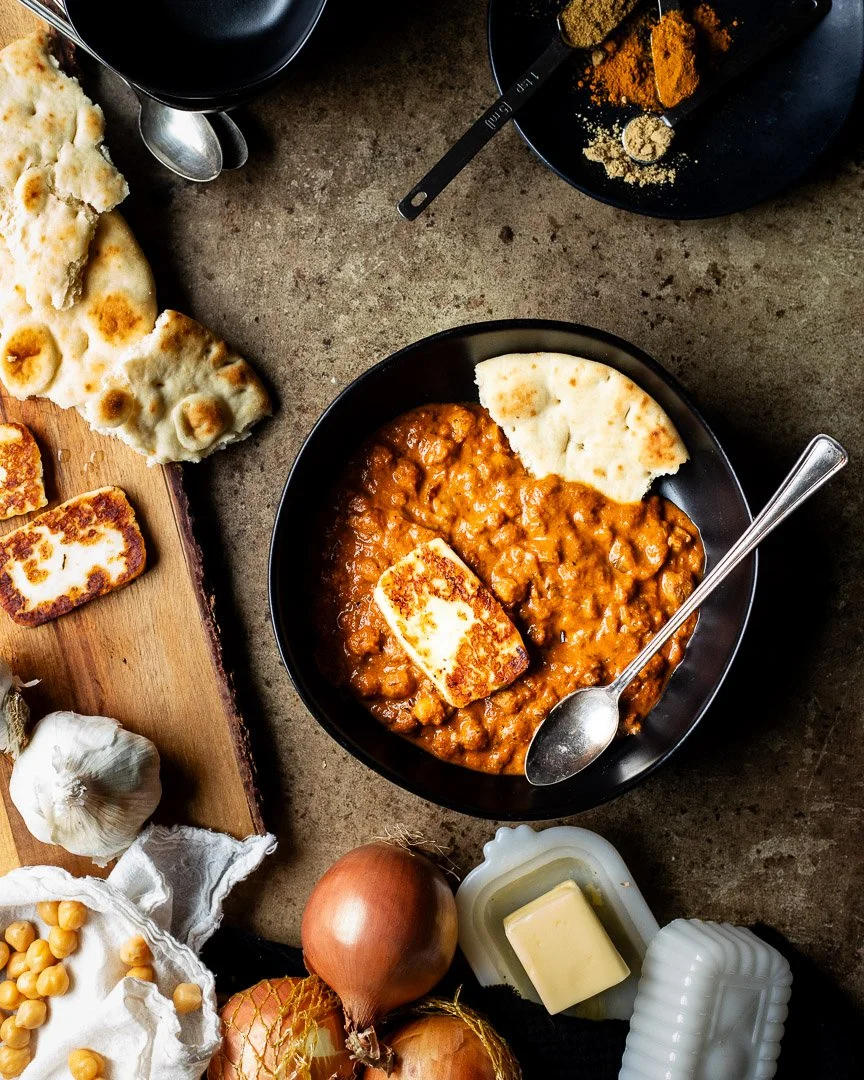
Cheat the clock with this vegetarian dish inspired by the flavors of tikka masala that uses shortcuts for both time and flavor!
It’s January! That means we can’t binge eat cookie dough for dinner anymore.
I KID! Heartburn is my constant companion lately, so poor eating is much less appealing. That said, I’m feeling pretty great this pregnancy. I am, however, exhausted by 5 pm, so easy dinners that don’t require a lot of prep or cleanup and that cook super fast are at the top of our meal rotation. And I’m looking for shortcuts EVERYWHERE.
There’s absolutely nothing “authentic” about this tikka masala-inspired dish, but it’s so easy and so good, that hopefully you can overlook it this once. The flavors recall your favorite takeout and the halloumi adds a tangy, salty bite.
I normally shy away from recipes that “cheat” with jarred sauces, but I’m making an exception in the interest of time. Rao’s is by far our favorite jarred sauce, but the first time I made this, I was trying to use up another jarred sauce that we didn’t like. It’s great either way.
A couple of tips:
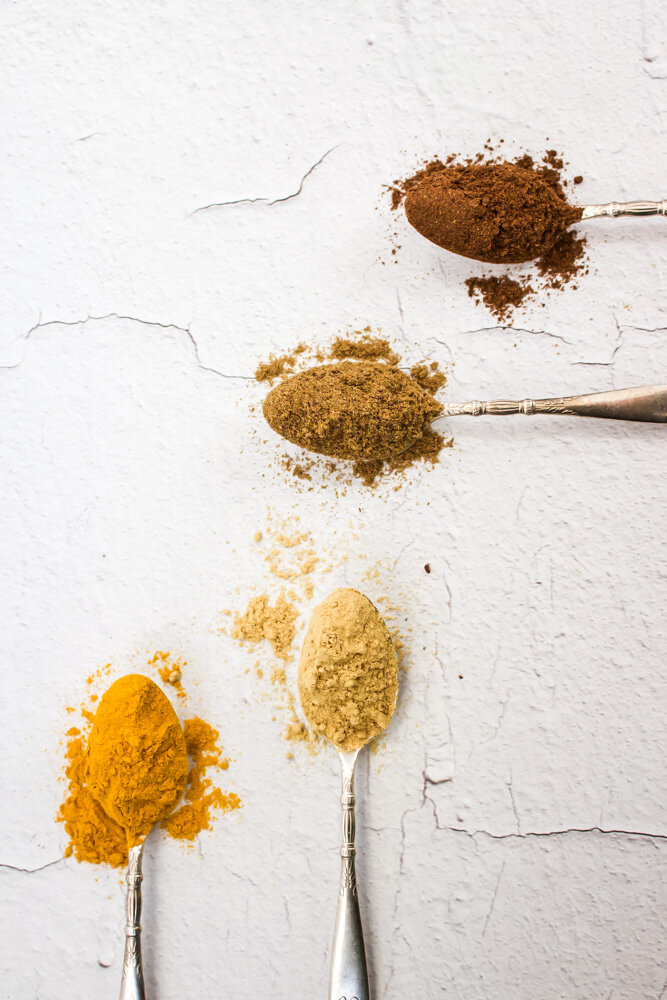
Be sure to cook the spices with the onions and garlic before you add the tomato sauce or cream. Since this dish cooks fast, you need to deepen the flavors by giving the spices a quick sear.
Speaking of cream, don’t forget to let it warm up while you make the rest of the recipe. Adding cold dairy to hot tomato sauce can make the cream curdle. It’ll still taste fine, but the dairy will look like little beads in your tomato sauce instead of mixing together completely.
You might notice that there’s not a lot of salt in this recipe. Since we’re using jarred sauce and really salty cheese, I recommend waiting until the end to add salt if it’s necessary.
Garam masala may not already in your spice rack, but it should be! It’s available all over the place and is really just a mixture of familiar spices that you might not have on hand. Try some!
Wait until the last minute to add the chickpeas because putting them in the sauce too early will soften them too much.
Finally, if you can’t find haloumi or if it’s too expensive, feel free to sub in farmer’s cheese, feta, cojita, queso blanco, or any other salty cheese. If using another type of cheese, no need to cook it beforehand, just add it to the tomato, cream, and chick pea mixture right before serving.
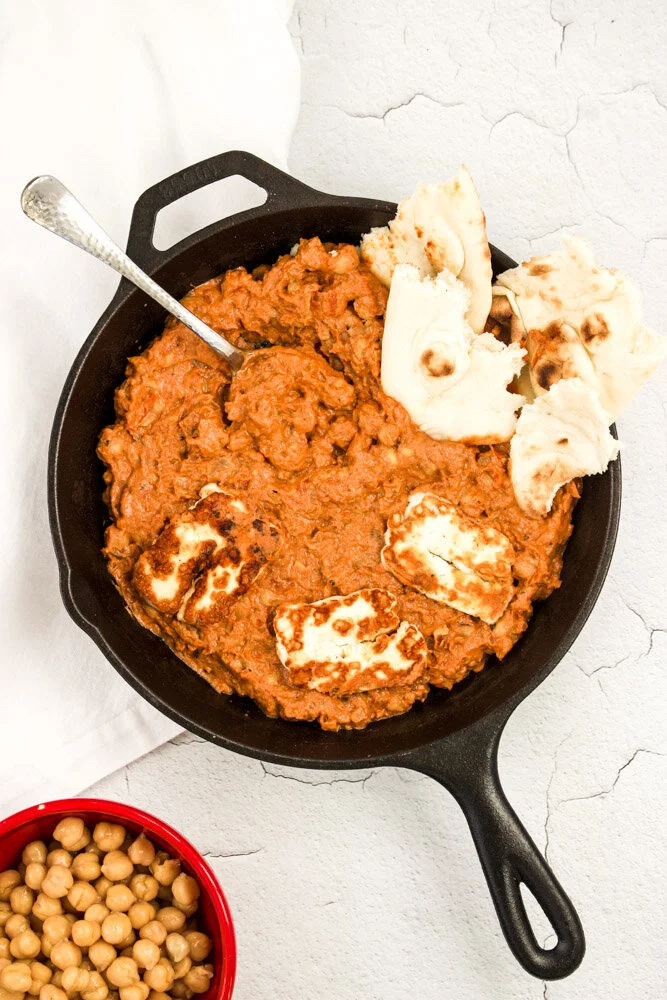
Chickpea and haloumi tikka masala
Yield: 4 grown-up servings
Time: about 35 minutes, all active
1 large can chickpeas, drained and rinsed
1 Tbsp olive oil
Salt and pepper to taste
1-2 Tbsp butter, ghee, or oil of choice
½ large onion minced
3 large garlic cloves, minced
2½ tsp garam masala
2 tsp cumin
½ tsp ground ginger
½ tsp turmeric
2 cups jarred tomato sauce (about 24 oz)
½ cup cream or half and half
Haloumi, sliced
Naan or flatbread for serving
Preheat the oven to 400.
Pour the half and half or cream and set aside to warm up.
Wash and drain the chickpeas and dry them off lightly with a paper towel. Toss with the olive oil and sprinkle with salt. Roast until crispy, about 20 minutes.
While the chickpeas cook, heat the butter, ghee or oil over medium high heat in a large skillet. Add the onions and cook until soft and translucent, about 5 minutes.
Add the garlic and cook for 1-2 minutes until fragrant.
Add the spices and cook, stirring to mix well, for 2-3 more minutes until fragrant.
Add the tomato sauce, mix well, and turn the flame up to high. Let the sauce come to a boil and turn the heat off.
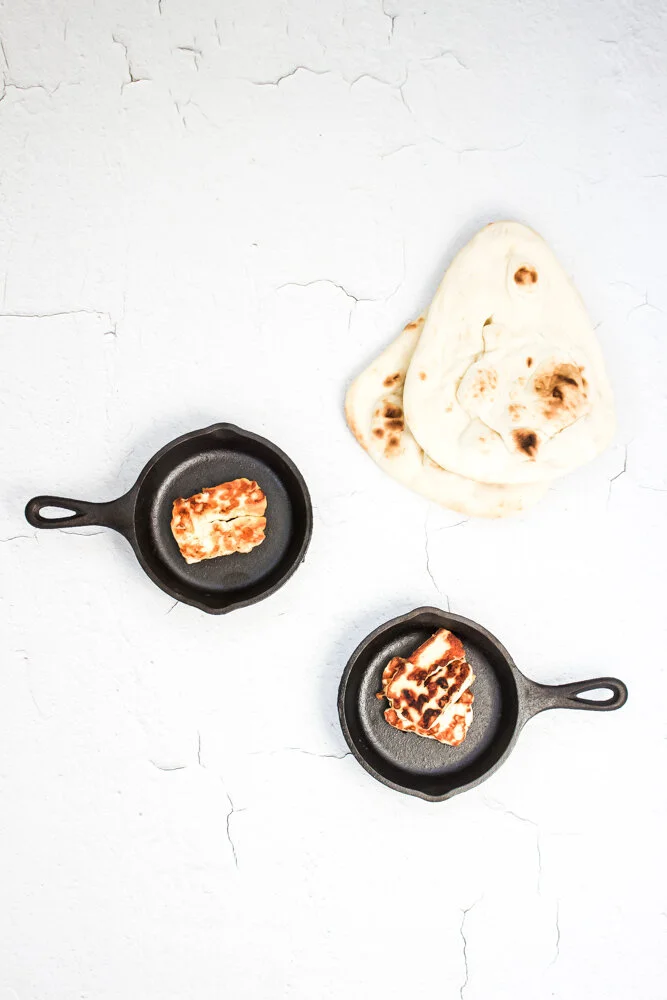
Heat a small skillet over a high flame until a few drops of water bubble immediately when they hit the skillet. Add the cheese and sear until golden brown, about 2 minutes. Flip and repeat on the other side. Turn the skillet off and set aside.
Check the chickpeas for crispness.
Mix the chickpeas and cream into the tomato sauce. Test for salt, keeping in mind that the haloumi is quite salty. Top with the seared haloumi.
Chicken and apple breakfast sausages

These chicken and apple breakfast sausage patties are super quick, packed with flavor, and a great way to add some lean protein to your breakfasts.
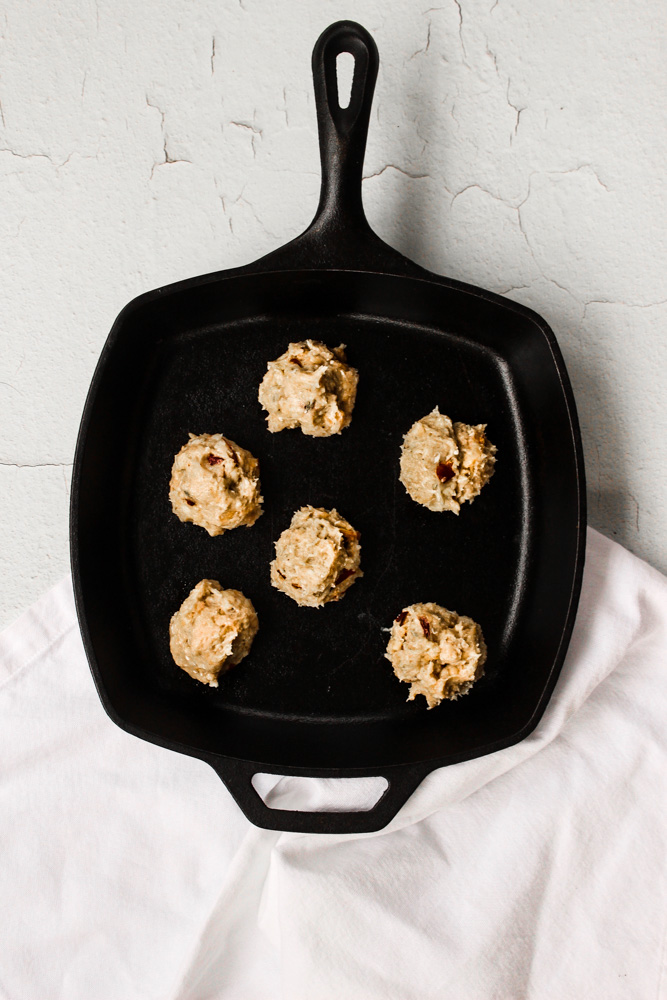
So! It’s been forever since I last posted because, like half of the food bloggers I follow, I’ve been busy cooking something else: A BABY. Normally I have a strong sense of smell, but pregnancy turns me into a bloodhound. Combine that with constant nausea, and you can imagine how I’ve felt about cooking or looking at food photos or being in the kitchen or even opening the refrigerator door.
Luckily, I started working on a homemade version of chicken and apple sausages (a family favorite) WAY before they started making me nauseous, so I know they’re good. Plus, they’re easy to whip up over the weekend and then store or freeze for future breakfasts. OR, if you’re feeling ambitious, you can even make them on a weekday morning if you’re one of those people with your shit together on school days.
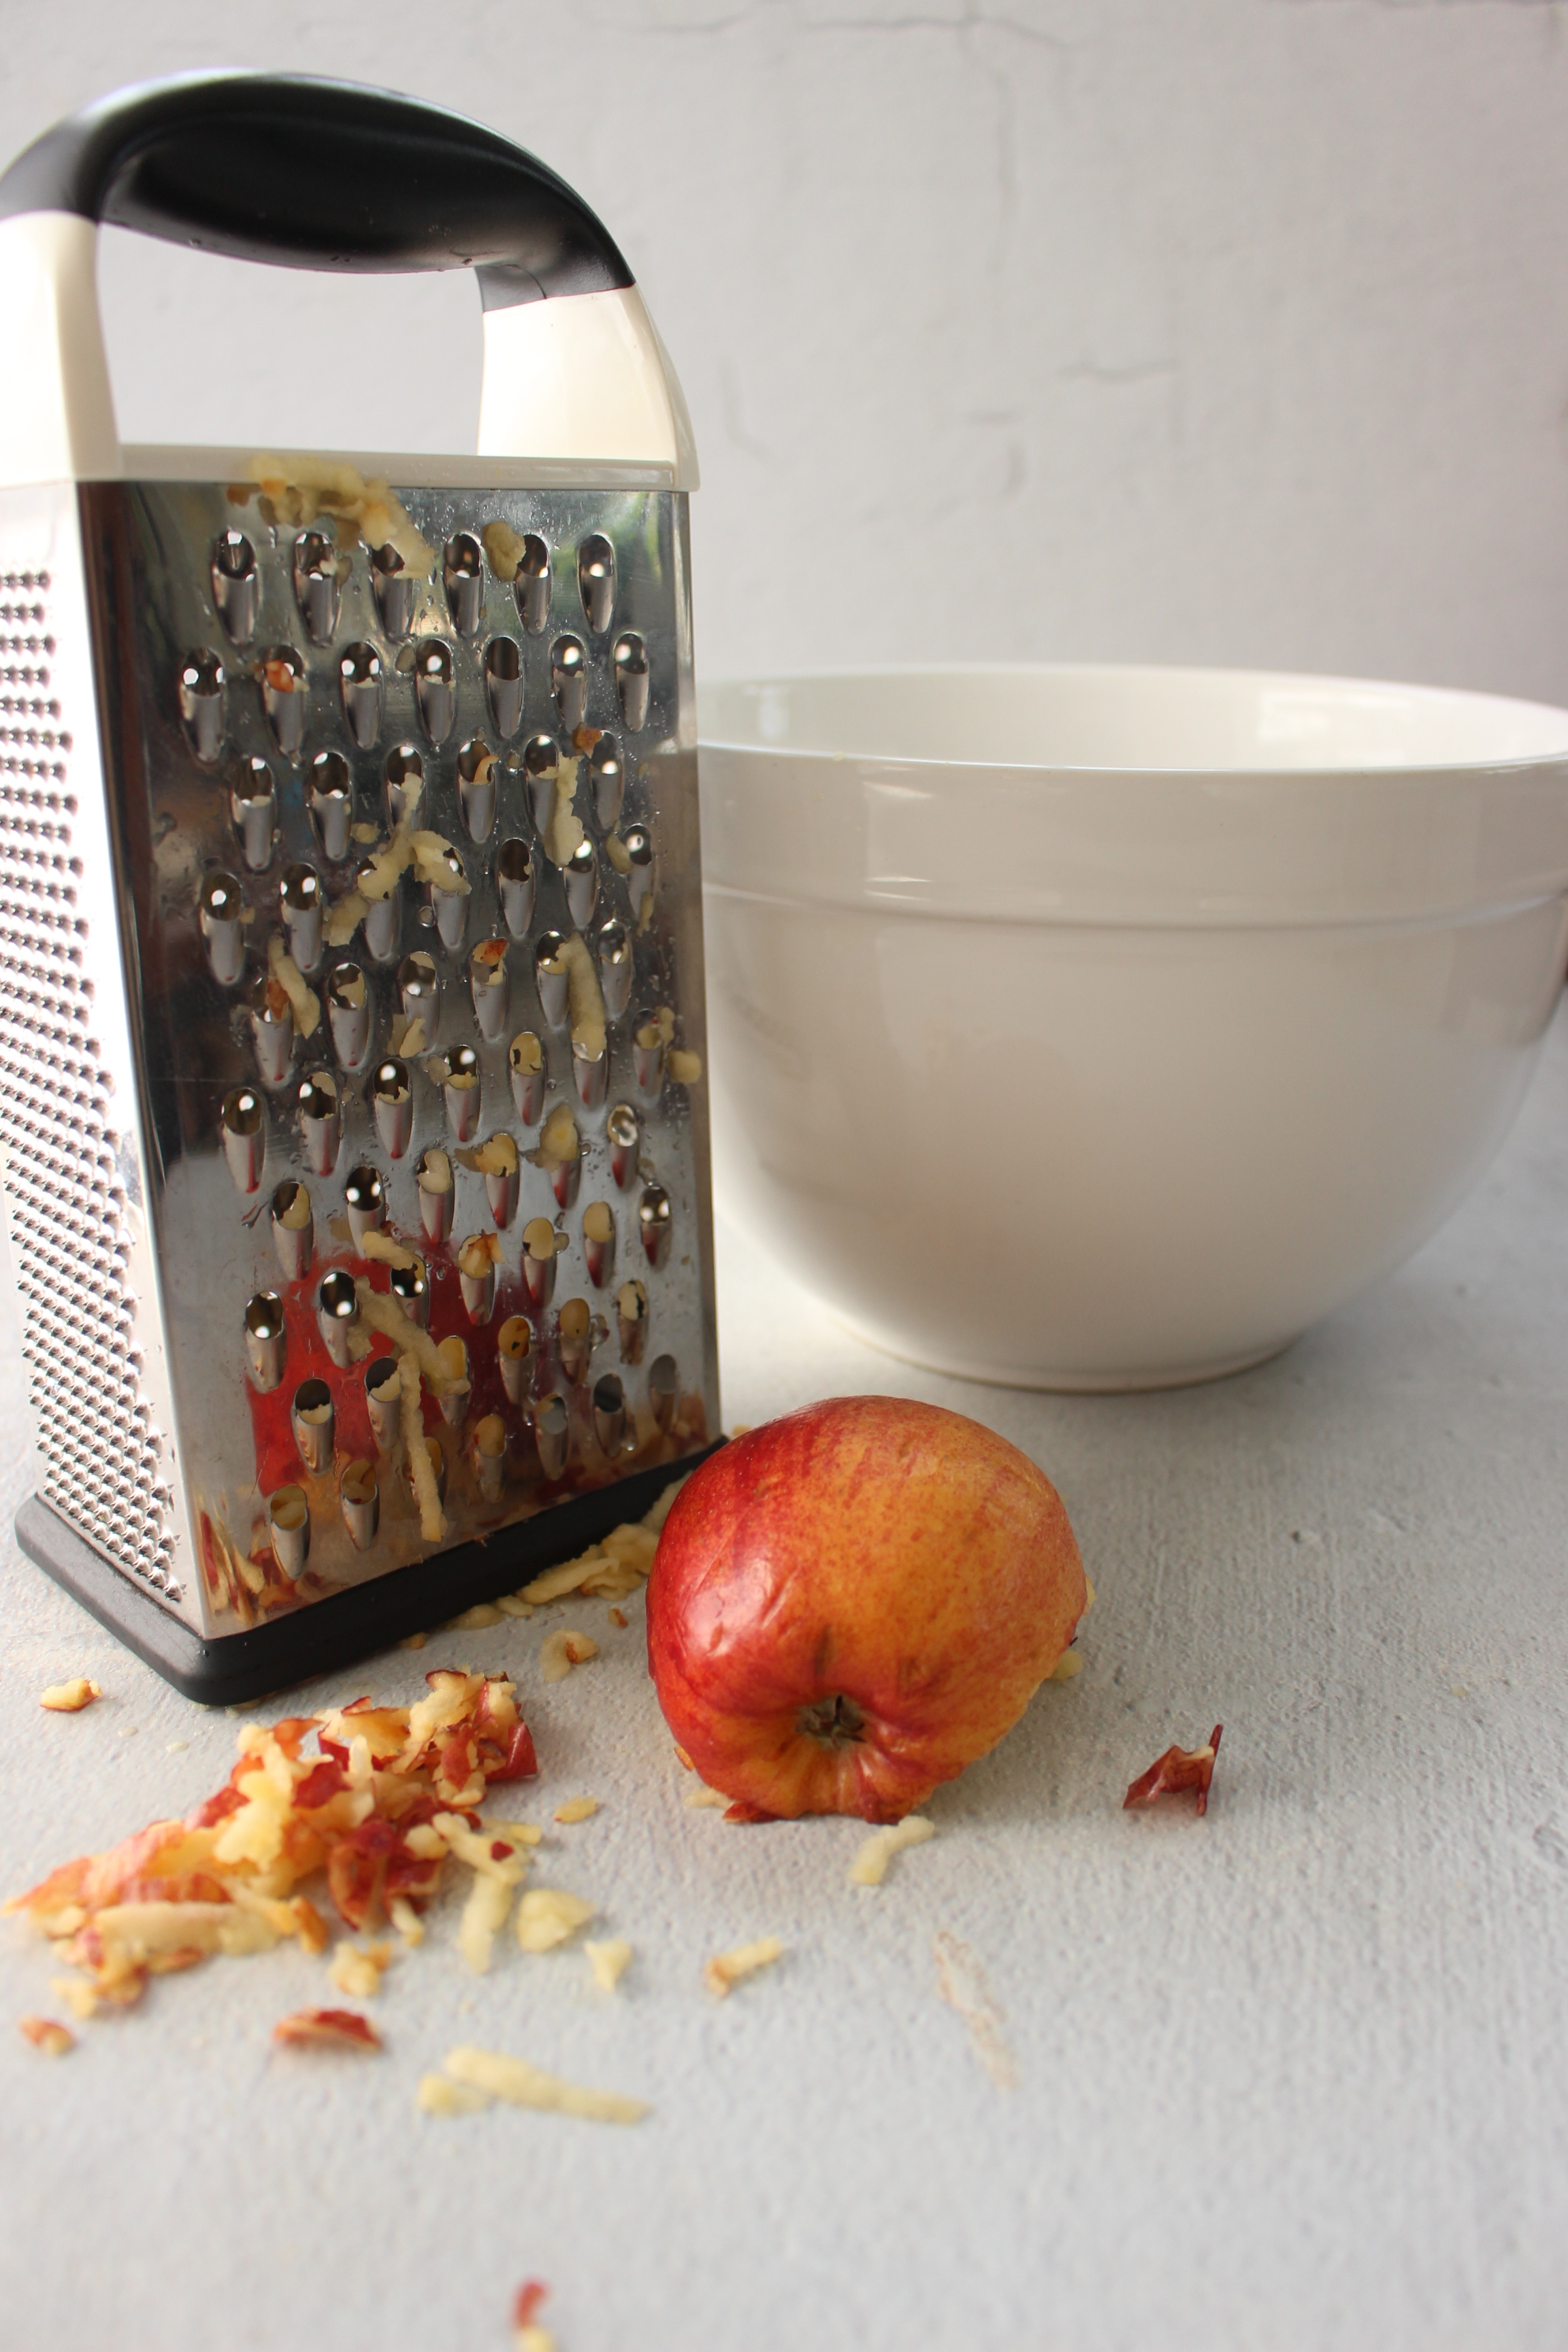
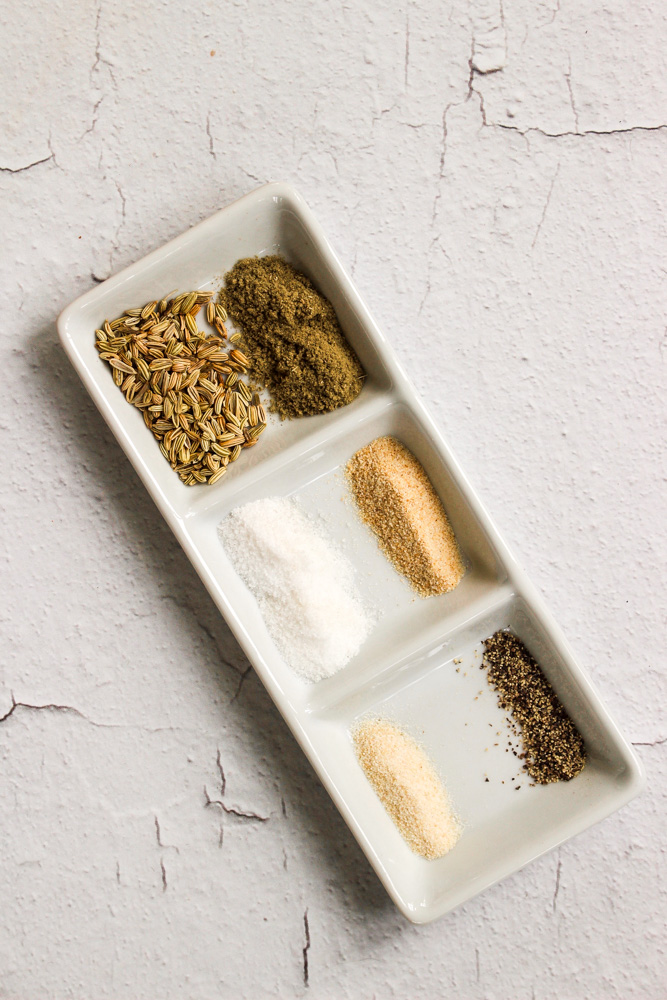
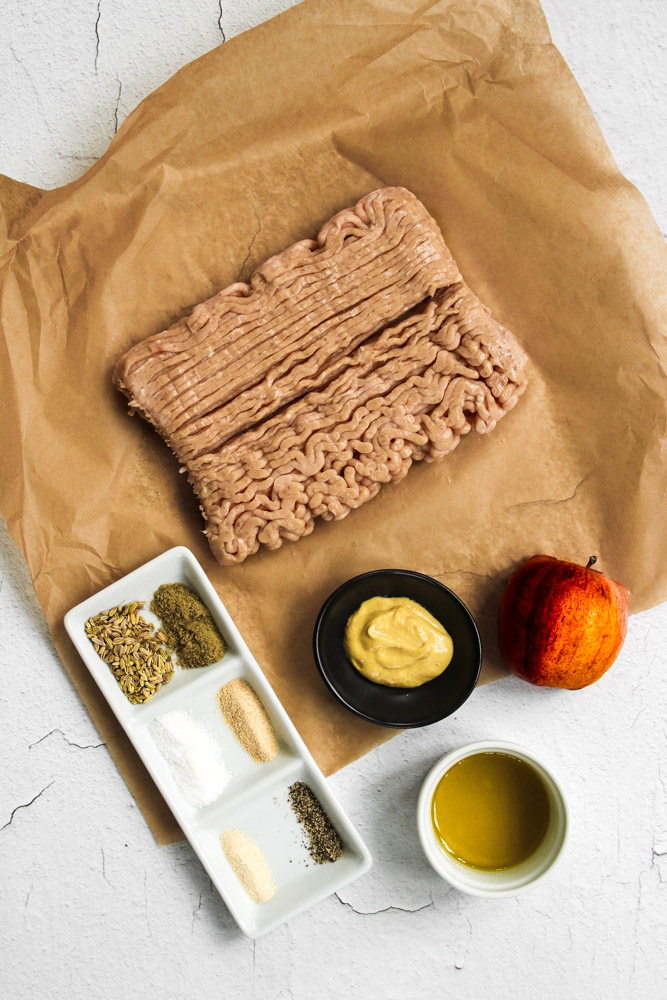
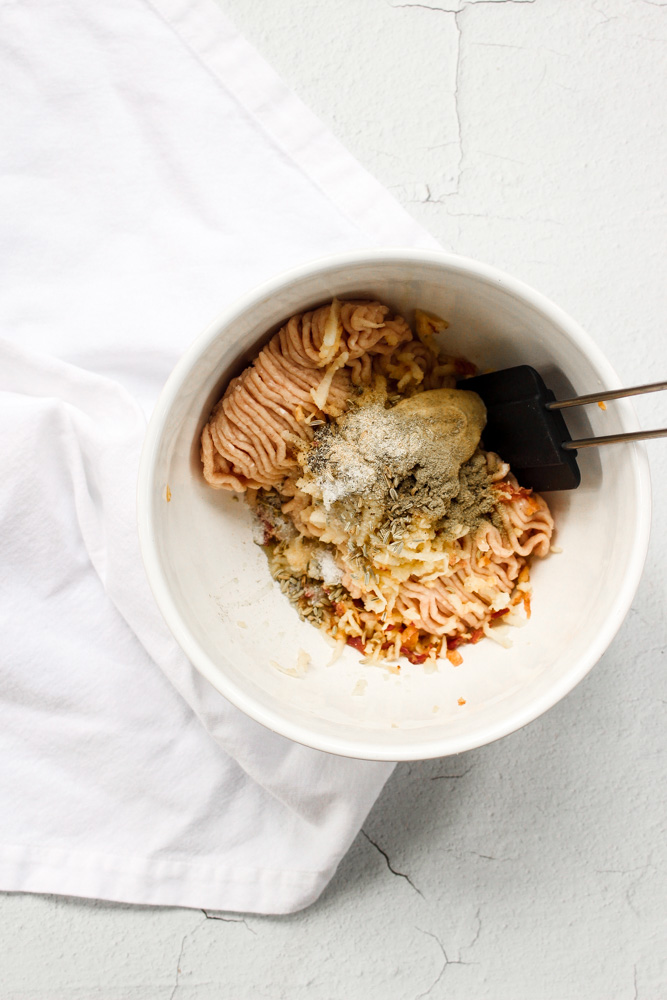
I fiddled around a lot with the spice mix so that it would be strong enough to compensate for how little fat is in the recipe. I use a combination of fresh and dried sage but you could certainly opt for a single type. If you like less garlic or just milder flavors generally, cut back on the garlic powder and the patties will still taste great.
A note about the fat we add: It’s only a Tbsp, which may feel like too little or too much depending on where you stand and you may be tempted to add more or leave it out. But I’ve found that 1 Tbsp is enough to keep the meat from drying out without making it taste oily or making the texture crumbly.
And the apple adds a little sweetness and a little moisture.
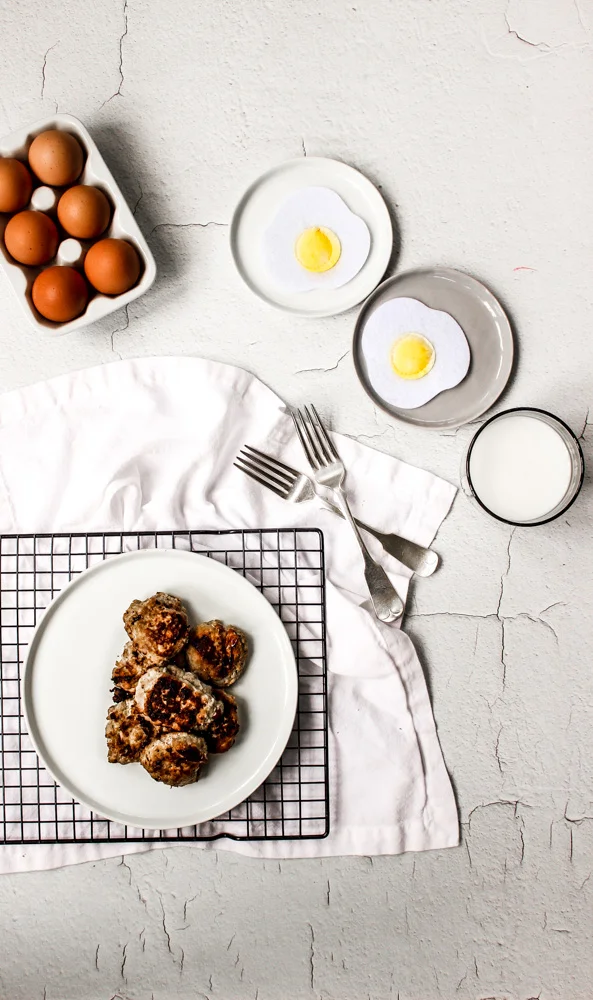
Chicken and apple breakfast sausages
Time: 15 total (5 prep, 10 cooking)
Yield: 16 patties
1 lb ground chicken, (7-8% fat)
1 small apple, shredded (about ½ cup of apple)
2 Tbsp olive oil, divided
1 Tbsp Dijon mustard
1 tsp dried sage
1 tsp fennel seeds
½ tsp garlic powder
¼ tsp onion powder
1 tsp kosher salt
¼ tsp pepper
Combine the chicken, shredded apple, 1 Tbsp olive oil, and the rest of the ingredients in a large bowl. Mix just until all of the ingredients are combined.
In a large skillet, heat ½-1 Tbsp of oil over a medium flame until hot. (If you’re cooking the sausages in batches, use half of the oil; otherwise, use it all.)
Scoop 2 Tbsp of chicken mixture into balls and place in the hot skillet. Push them down slightly to form round patties. Reduce the flame to medium low and cook until well browned on the bottoms, about 5 minutes.
Flip the patties and cook on the other side until the meat is cooked through, the patties feel firm to the touch, and/or the patties reach 165 on a meat thermometer, about 4 more minutes.
Cherry rye muffins
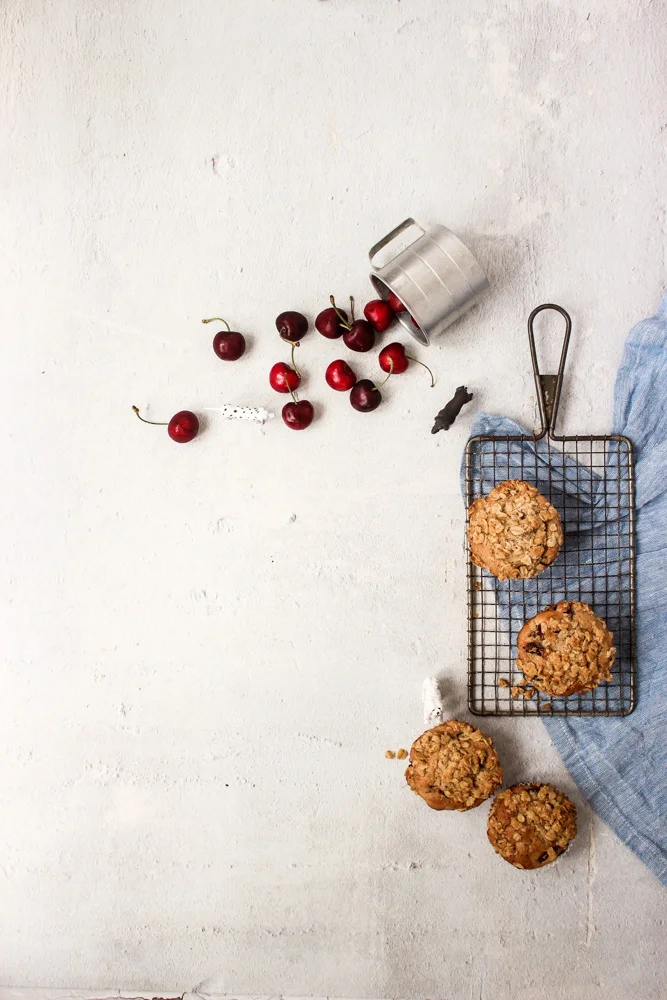
Cherry rye muffins are just healthy enough to feel virtuous without sacrificing flavor or texture. I promise these are worth heating up your kitchen for!
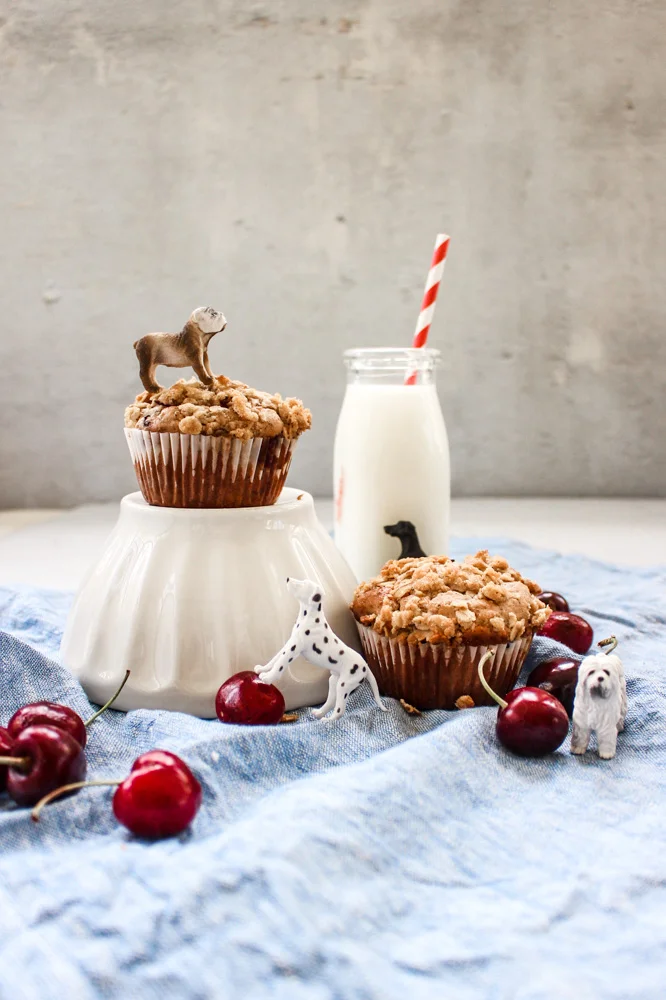
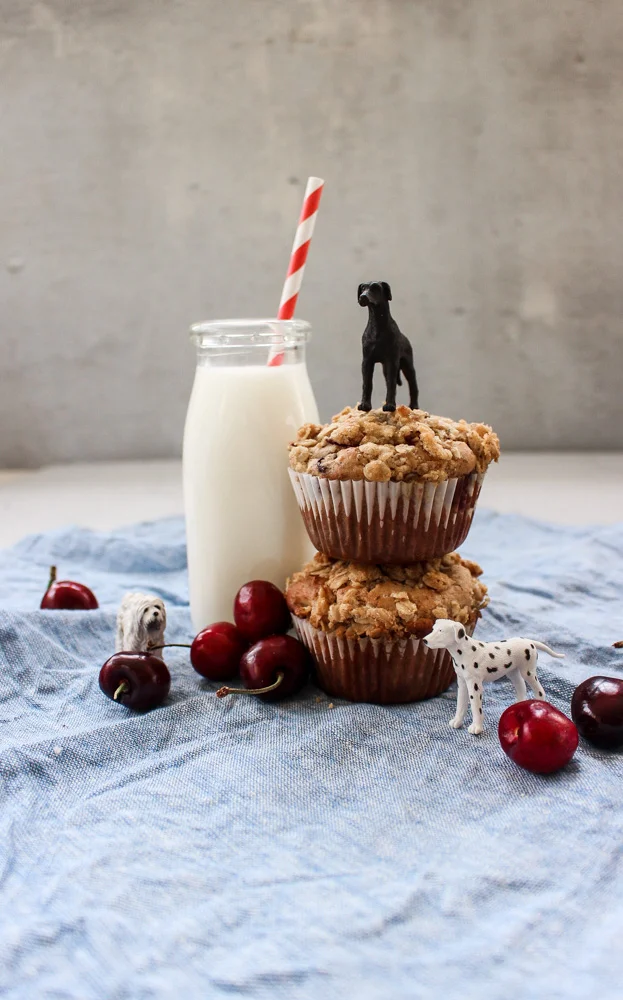
It’s been a minute since I posted something to the blog here and I have no excuse except that… I hate July. Don’t get me wrong, there is A LOT to love about summer. Produce, herbs, ice cream, pick-your-own blueberries, swimming, beach days, later nights, more sunlight, BBQs, a slower pace, vacations, etc. But the bugs and sweat and general malaise that overtakes me when that weighted blanket of humidity settles over the northeast, make it nearly impossible for me to stay productive.
However! I’ve soldiered on behind the scenes and heated my kitchen countless times to get these muffins exactly right.
The rye flour, to me, is just enough to taste the nutty flavor without changing the texture or inhibiting the rise on these muffins.
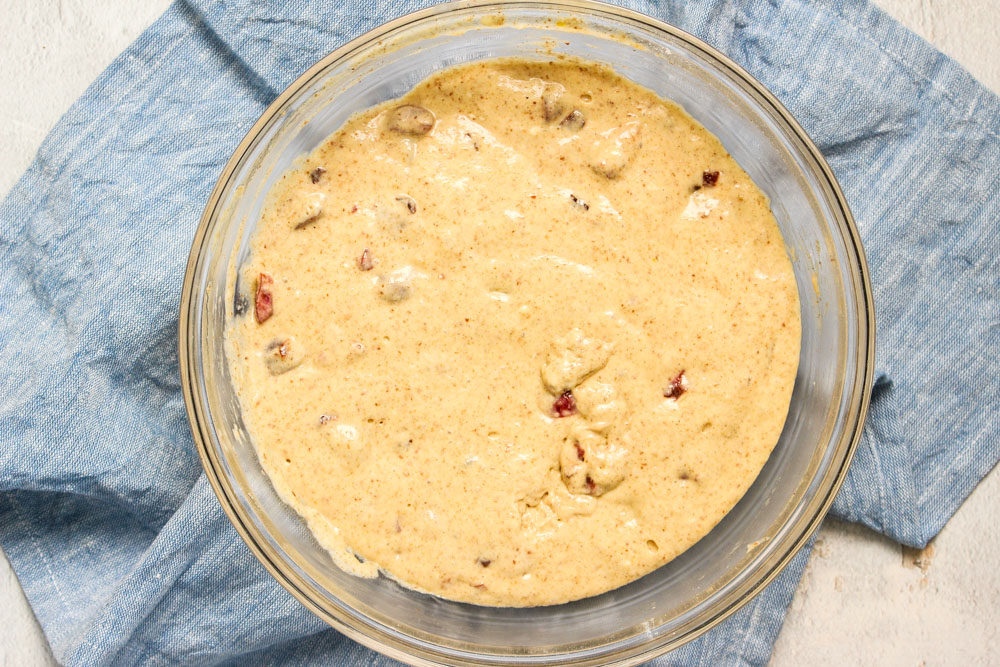
I also added just enough baking powder and soda to get a good amount of leavening without leaving a weird bitter aftertaste from too much rising agent. A note about rising agents: I’ve been adding the rising agent at the end and letting the batter bubble slightly after learning this technique from the America’s Test Kitchen Cookbook. Does it make a huge difference in these muffins? I’m not sure. But it certainly doesn’t hurt.
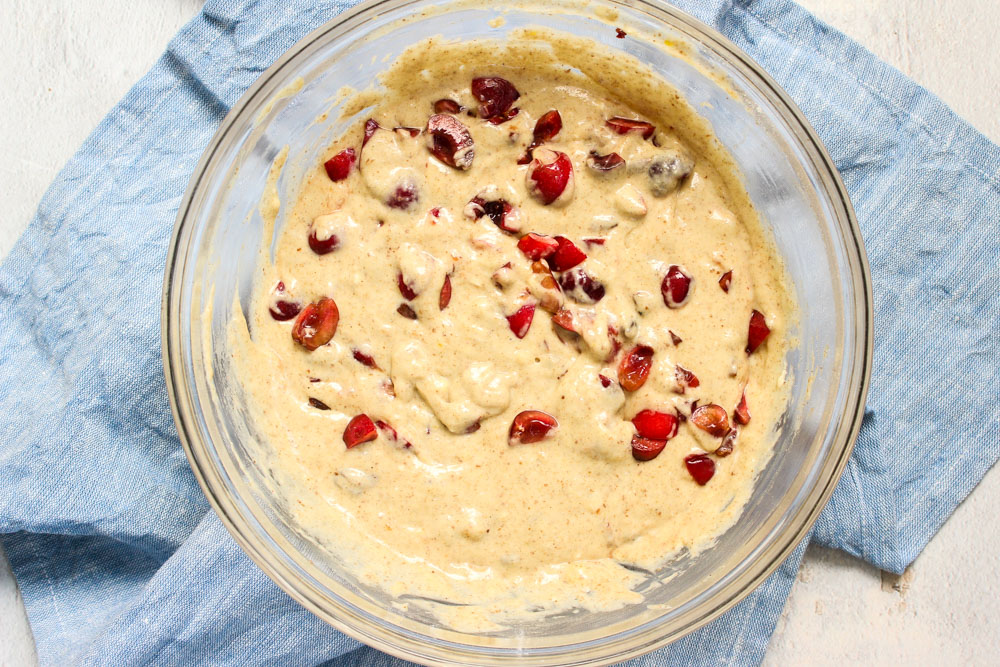
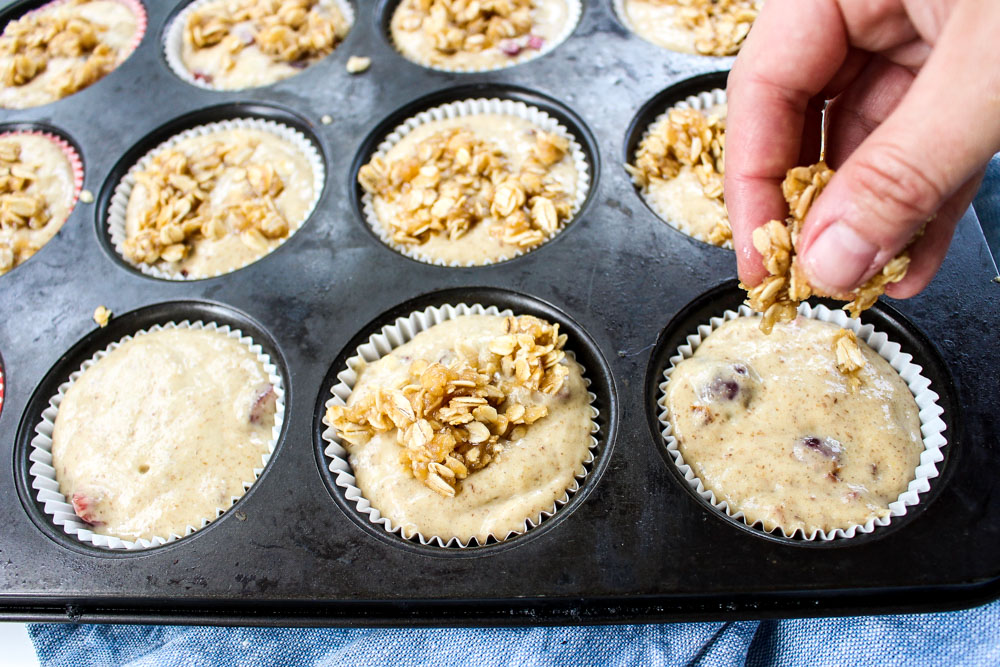
I’ve also combined fresh, sweet cherries for moisture and seasonality, but added some unsweetened and unsulfured dried cherries for a concentrated cherry flavor. I haven’t tried omitting either from the batter, but in the coming months, I’m sure frozen cherries could be subbed for the fresh.
How to check fruit desserts for doneness: This can be tricky! When there’s a lot of fruit in a batter, checking with a toothpick or cake tester can be misleading because if you stick it into a piece of fruit, the tester may come out looking wet. Instead, I like to push on the tops of the muffins a bit and feel how firm they are. If the top springs back and maintains its shape after gently squished and the body of the muffin feels lightly firm (like a medium rare steak; you don’t want a hocky puck with no give, but you also don’t want to feel at risk of sticking your finger through the muffin), they’re done.
Also, let the muffins cool completely. Like, really let them cool. I’m the queen of eating muffins too soon and I end up losing half of the crust when it sticks to the baking paper and the muffin can be crumbly when still warm. But if you must, don’t say I didn’t warn you.
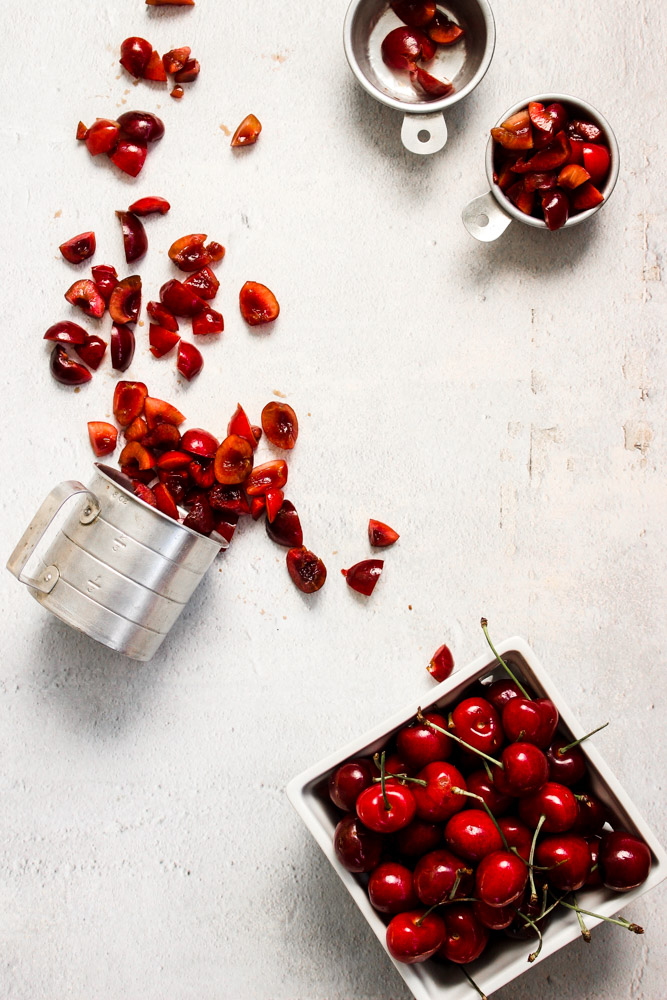
Cherry rye muffins
Active time: 20-25 minutes
Total time: 1 hour, 40-45 minutes
Yield: 12 muffins
3 Tbsp butter, softened to room temperature for about 1 hour
¾ cup coconut sugar
2 eggs
¾ cup full fat plain yogurt
1 tsp vanilla extract
1½ cups AP flour
½ cup rye flour
2 Tbsp flax seed meal
¼ tsp salt
1 cup whole cherries, roughly chopped
¼ cup dried, unsweetened cherries, minced
1½ tsp baking powder
½ tsp baking soda
Streusel topping
2 Tbsp butter, softened to room temperature for about hour
½ cup oats
1/8 tsp salt
¼ cup packed brown sugar
Preheat the oven to 400.
In a large bowl, mix together the softened butter (no need to use a hand mixer, just elbow grease and a wooden or silicone spatula) and the coconut sugar.
Add the eggs and mix until fully combined.
Add the yogurt and vanilla extract and mix again until fully combined.
Add the flours, flax seeds, and salt to the wet mixture and mix until no streaks of flour remain.
Add the fresh and dried cherries and mix in 10 times.
Finally, add the baking powder and baking soda and mix just until combined. Let sit while you make the streusel topping.
In a small bowl, mix together the butter, oats, salt, and brown sugar until well combined. I like to use my hands for this.
In a greased or baking cup-lined muffin tin, fill each opening to the top with batter. Top with about 1 heaping tsp of the streusel mixture (I usually eyeball this bit and try my best to make the topping equal).
Bake at 400 for 16-20 minutes or until the muffins are lightly firm to the touch and golden brown on top.