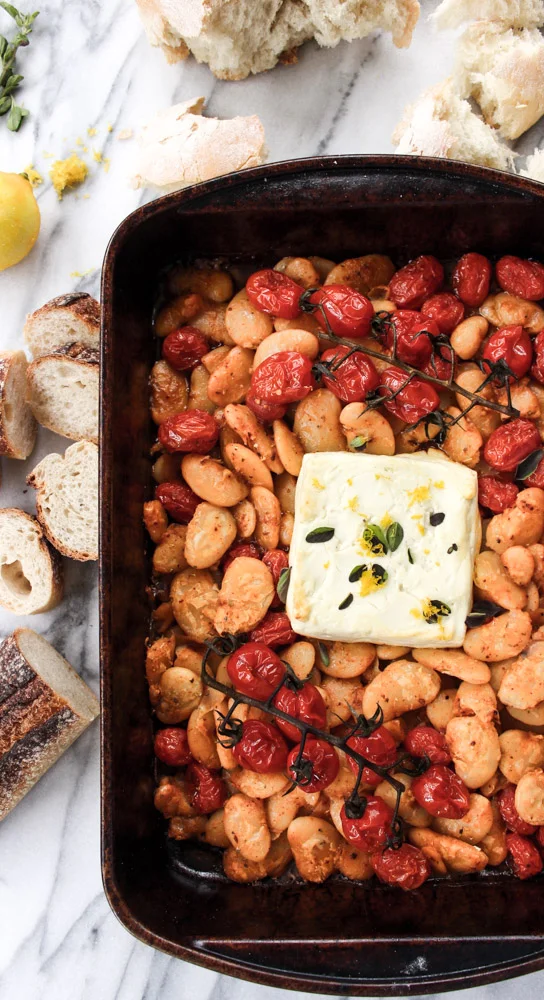
Baked gigante beans with feta and tomatoes
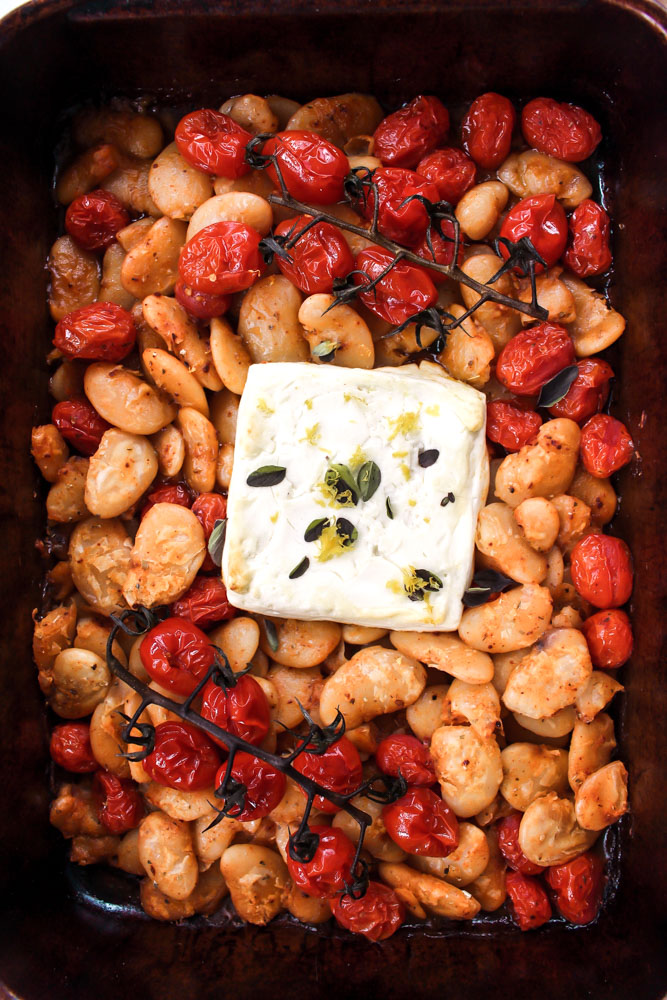
Anyone out there who might think that a “meatless” meal wouldn’t satisfy them, hasn’t had giant white beans for dinner. This meal is full of fiber, protein, and delicious sweetness from the roasted tomatoes.
Gigante beans, lima beans, large white beans, whatever you want to call them, these beans make a meal in a way that other legumes don’t always cut it for me.
I’ve only ever seen these beans in dry form, so while I’m averse to most extra work in the kitchen, I don’t see a way around cooking them yourself if you want to use these big guys.
Which leads us to the age old question: Do you really need to soak dried beans? Some will insist that you do. I say, LAZY COOKS UNITE! I have a preschooler and don’t always have that much foresight.
But here’s one caveat: Sans soaking, the simmering times vary WILDLY for these beans. One batch I made from Brand A were ready after about 90 minutes.. Brand B took almost twice as long. And while everyone advises “look for fresh beans,” if you could seriously show me a bag of beans with an expiration date on it, I would give you a million dollars.
So, here are some handy tutorials that you can peruse and decide if you’re team soak or team no soak:
If I was the meal prepping type I’d suggest making a whole bag of these beans one weekend and freezing them for easy weeknight meals. Because once you cook the beans, this meal could not be easier or faster.
Roasting makes the tomatoes syrupy sweet, the cheese just a little soft and gooey, and the bean skins crispy in a way that is completely satisfying.
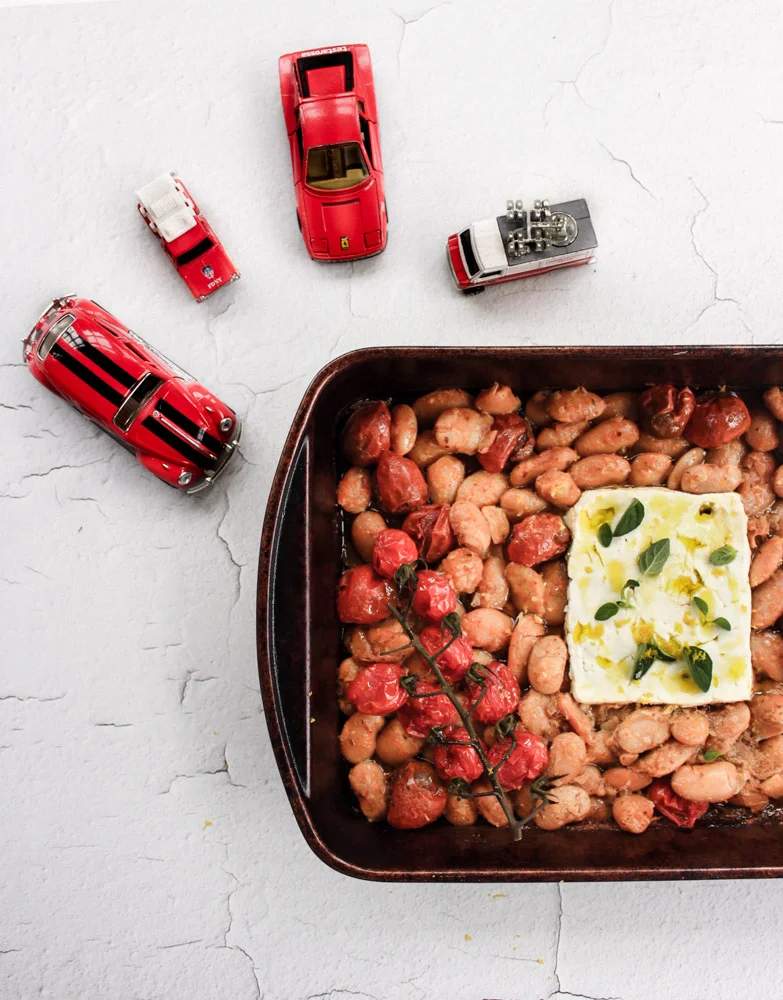
A few notes:
I salt the bean cooking water and then don’t add any more salt until serving the beans. They soak up the sodium during cooking, so it’s very easy to over salt this dish. Also, feta is a salt bomb, so we’ve found that the end product needs no extra seasoning.
I’ve billed this as a meatless meal, but it could also serve as a side or appetizer just as easily.
Do NOT skip the lemon zest in the end. The citrus brightens up the beans and adds a layer of flavor without which, the beans could taste a bit flat.
I prefer to use a combo of both dried and fresh oregano, but use what you have on hand.
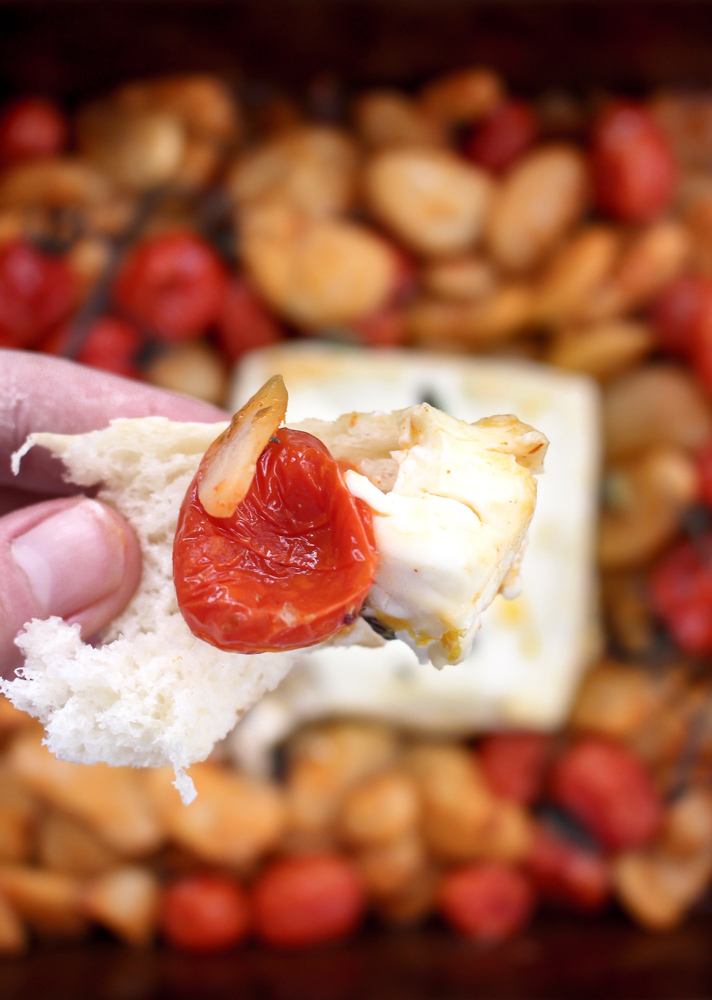
Baked feta with gigante beans and tomatoes
Active time: about 20 minutes, on and off
Total time: 90-150 for the beans, 25-30 for the main dish
Yield: 4 dinner servings,
For the beans:
1½ cups dried giant white beans, rinsed
4 cups vegetable stock
1-2 cups water (as needed)
½ tsp sea salt
1-2 bay leaves
4 medium cloves garlic, peeled, but left whole
Yield: 3 heaping cups of cooked beans
Combine the beans, stock, salt, bay leaf, and garlic cloves in a large pot. Bring to a boil over high heat. Reduce flame to low and simmer, covered, for anywhere from 1 1/2 hours to 2 1/2 hours (90-150 minutes), stirring occasionally, until the beans are creamy and soft, but not falling apart and most of the liquid has been absorbed.
Check the beans after 60 minutes and then every 15-30 minutes after that (depending on how your beans are progressing) until the beans are tender throughout. Add more liquid if the water boils off before the beans are fully cooked.
Drain any remaining liquid from the beans and remove the bay leaves.
For the main dish:
1/2 cup olive oil, divided
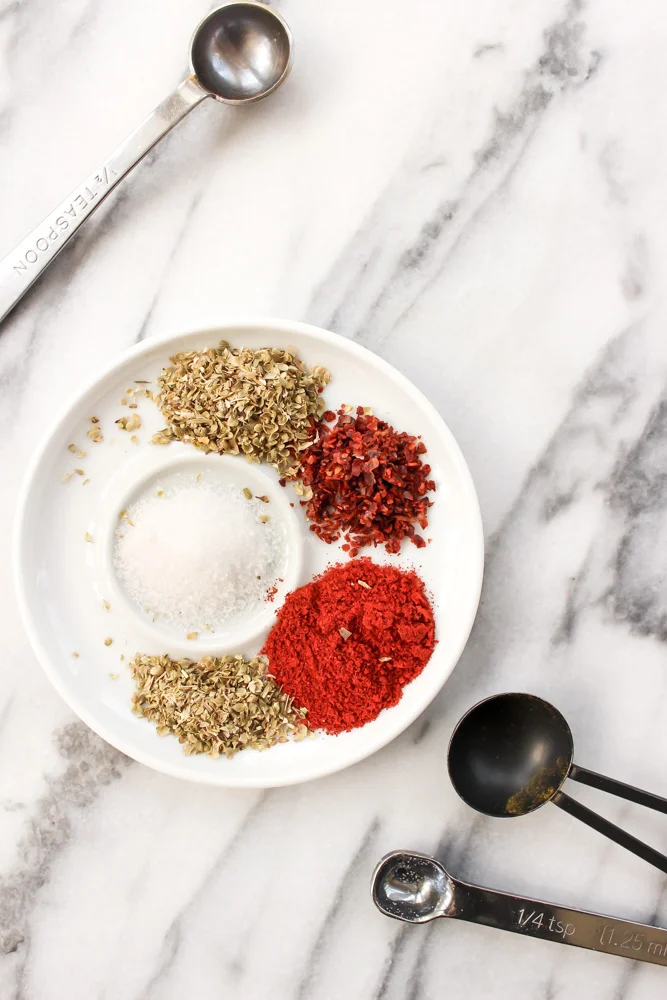
½ tsp Aleppo pepper (optional)
1 tsp dried oregano or 1 Tbsp fresh oregano (or a combination of both dried for cooking and fresh for topping)
½ tsp smoked paprika
2-3 cups cherry tomatoes, whole (about 8-12 oz)
Small block Feta cheese (8 oz)
½ tsp lemon zest (zest of one small lemon)
Preheat oven to 400.
In a bowl or the pot you used to simmer the beans, add 1/4 cup of olive oil, Aleppo pepper, oregano, paprika, and tomatoes to the beans and mix well.
In a 9x13 baking pan (or whatever size you have), spread out the bean and tomato mixture. Clear a hole in the middle and add the feta.
Cook for 20-23 minutes, until the feta is soft and the tomatoes have released their juices AND those juices have become a little syrupy.
Remove from the heat and top with the remaining 1/4 cup of olive oil, lemon zest, fresh oregano (if using), and sprinkling of flaky sea salt (if needed).
Roasted strawberry and rhubarb butter

Roughly chop some fruit and toss it in the oven for a spring-y fruit butter that’s naturally sweet, SUPER EASY, and extremely versatile. #meandthemoose #strawberryrhubarb #fruit #fruitbutter #naturallysweet #jam
Rhubarb season is here! Turn this tart veg into a thick, spreadable butter to use all day, every day.

Roughly chop some fruit and toss it in the oven for a spring-y fruit butter that’s naturally sweet, SUPER EASY, and extremely versatile. #meandthemoose #strawberryrhubarb #fruit #fruitbutter #naturallysweet #jam
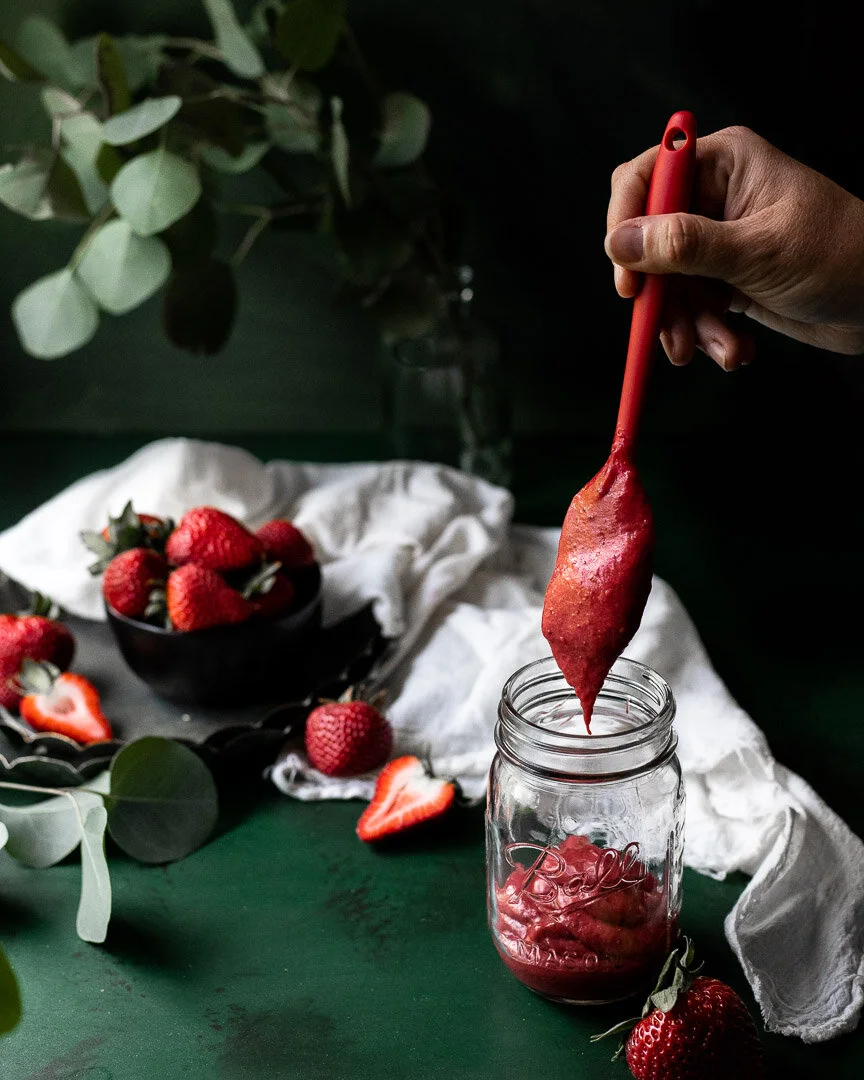
Roughly chop some fruit and toss it in the oven for a spring-y fruit butter that’s naturally sweet, SUPER EASY, and extremely versatile. #meandthemoose #strawberryrhubarb #fruit #fruitbutter #naturallysweet #jam
If you’ve searched Instagram recently, it’ll come as no surprise that rhubarb is a very photogenic vegetable. The variations in color lend themselves to ombre-ing and chevron-ing to your heart’s content. But today, we’re keeping it simple by doing neither of those things.
Instead, we’re turning strawberries (fresh or frozen!) and those giant rhubarb stalks you find in the grocery store (or your garden if you’re lucky enough to grow your own) into a butter akin to apple or pumpkin. Because why should fall fruits and vegetables have all the fun?
In early spring, I use frozen berries because it annoys me that strawberry and rhubarb are a perfect combination, but their growing seasons only overlap for a hot minute here in New England. Buuuuut, I found some giant berries in the grocery store recently, so I went for it with the fresh ones a little earlier this year.
Roughly chop some fruit and toss it in the oven for a spring-y fruit butter that’s naturally sweet, SUPER EASY, and extremely versatile. #meandthemoose #strawberryrhubarb #fruit #fruitbutter #naturallysweet #jam
A couple of notes:
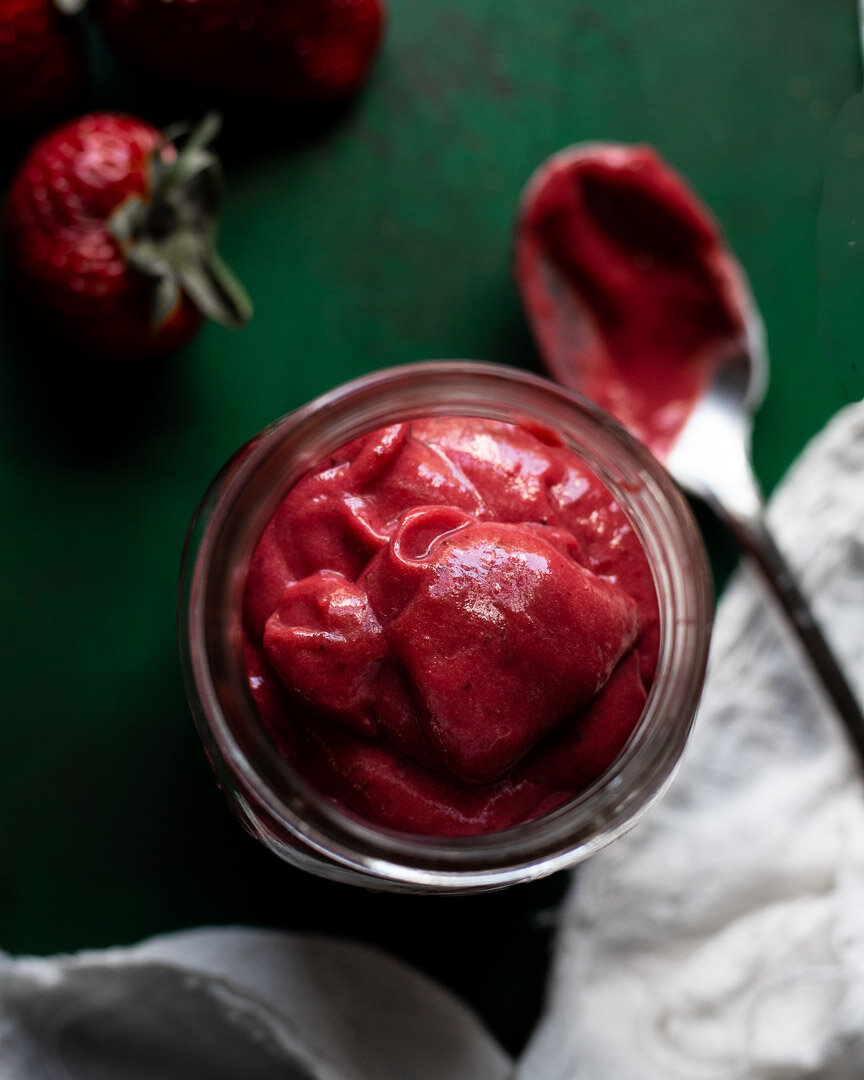
Let the berries and rhubarb cook until the juices start to get a little syrupy. You can test this by sticking a spoon into the hot liquid (DON’T USE YOUR FINGER!!!). If the strawberry juice coats the back of the spoon and doesn’t drip off entirely, you’re about done. Make sure that your berries don’t burn because they can taste bitter.
This is a TART butter because, well, rhubarb is tart and that’s the beauty of it. If you like things a little sweeter, you can add a bit of sugar or use more berries than rhubarb. OR, you can combine the tart butter with sweeter things like cakes, cookies, sweetened yogurt, and whipped cream.
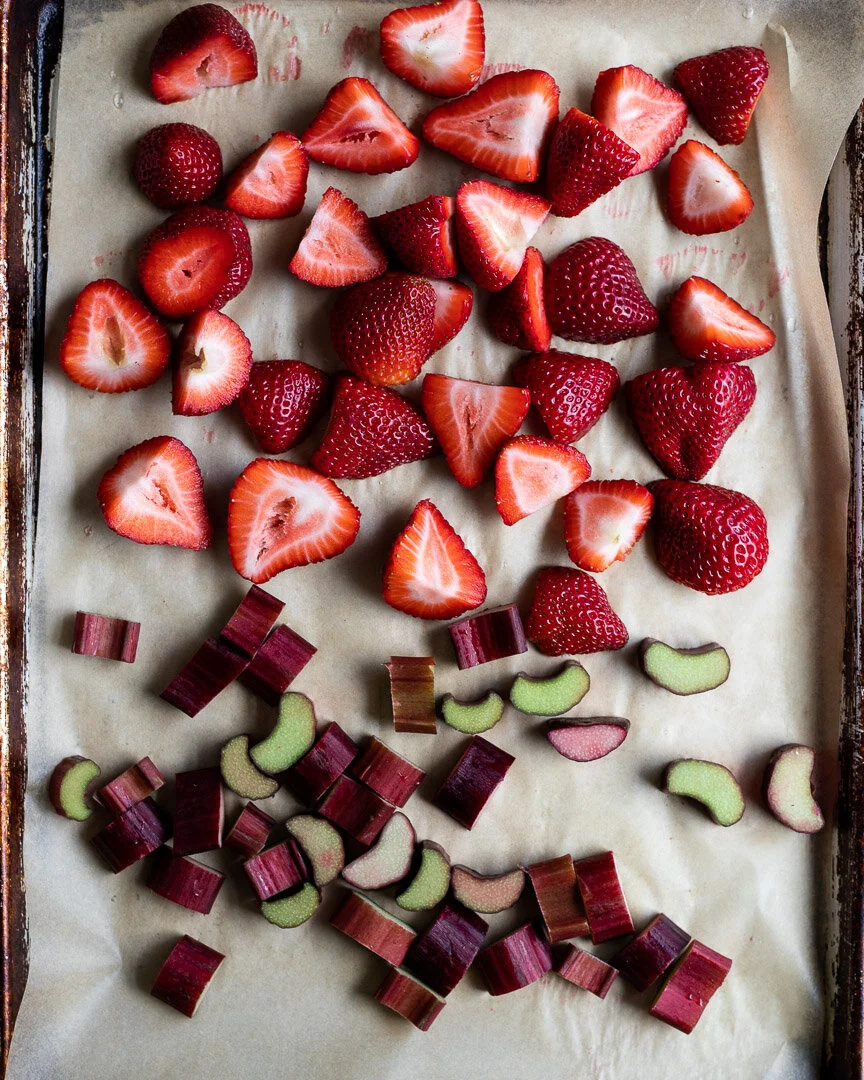
Roughly chop some fruit and toss it in the oven for a spring-y fruit butter that’s naturally sweet, SUPER EASY, and extremely versatile. #meandthemoose #strawberryrhubarb #fruit #fruitbutter #naturallysweet #jam

Roughly chop some fruit and toss it in the oven for a spring-y fruit butter that’s naturally sweet, SUPER EASY, and extremely versatile. #meandthemoose #strawberryrhubarb #fruit #fruitbutter #naturallysweet #jam
Roasted strawberry rhubarb butter
Time: About 1 hour, 45 minutes, about 5 minutes active time
Yield: 12 oz (1½-2 cups)
4 heaping cups strawberries (fresh or frozen)
2 heaping cups chopped fresh rhubarb (about 3 extra extra-large stalks or 6-8 smaller stalks, chopped into 1-inch chunks)
Preheat the oven to 350.
Wash and chop the rhubarb. Combine with the frozen strawberries on a parchment-lined, rimmed baking tray.
Cook for 25-30 minutes, until the fruit is soft, the strawberries have released their juices, and the juice has started to become syrupy (see note above). Watch the berries closely after about 20 minutes to ensure that they don’t burn.
Let the fruit cool completely, about 15 minutes.
Scoop the fruit into your blender. Whatever juice gets onto the spoon is fine, but don’t add any remaining syrup.
Blend until smooth.
Store in the fridge for up to 7 days.
Kale mac and cheese

Mac and cheese is a perennial favorite for a reason. You can quickly make a huge batch and reheat it as needed. It’s perfect filler for lunchboxes or to whip up for dinner. And you can throw in any old proteins or veggies you have lying around. And it gets eaten. Huzzah!
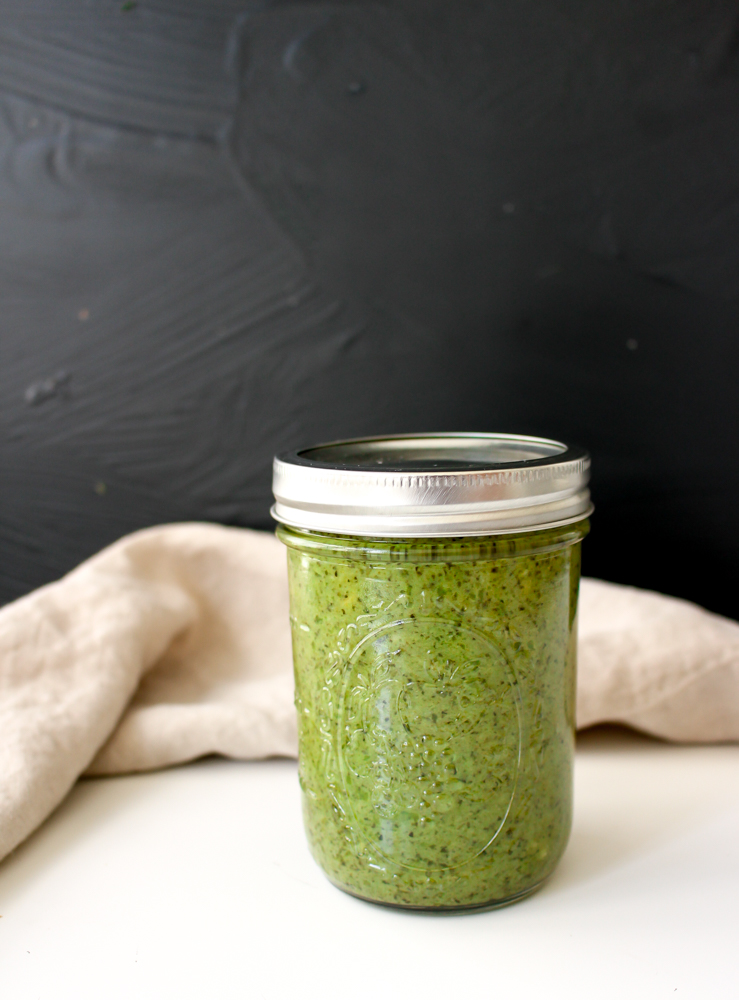
So! Easter and Passover just happened/are happening. My kiddo is at the age where he asks a lot of questions about everything, the deeper the subject, the better. The other day he hit me with, “Before I was born, where was I?”
Let me be clear: He was NOT asking where babies come from. He was asking a philosophical question about personhood. He wanted to know where his “self” resided before he had a body. He didn’t put it in those words, but that was the gist.
WHAT? WHY?
As you can imagine, religious holidays are tricky for us because this kid is constantly asking questions and we don’t always have great answers. “Why didn’t the Easter Bunny come to our house” was a little easier to handle than “Am I going to die?” but it was still tough! I stayed away from talking about religion and talked more about traditions, but I know that the questions are going to keep coming and get EVEN MORE complicated as his awareness grows.
Since parenting has required so much mental gymnastics for us lately, I want to keep dinner as simple as possible. So, Mac and Cheese!
As you may or may not know, I prefer a stovetop mac and cheese to the baked kind. I feel like the baking process can dry out the sauce, which is not tasty, IMO.
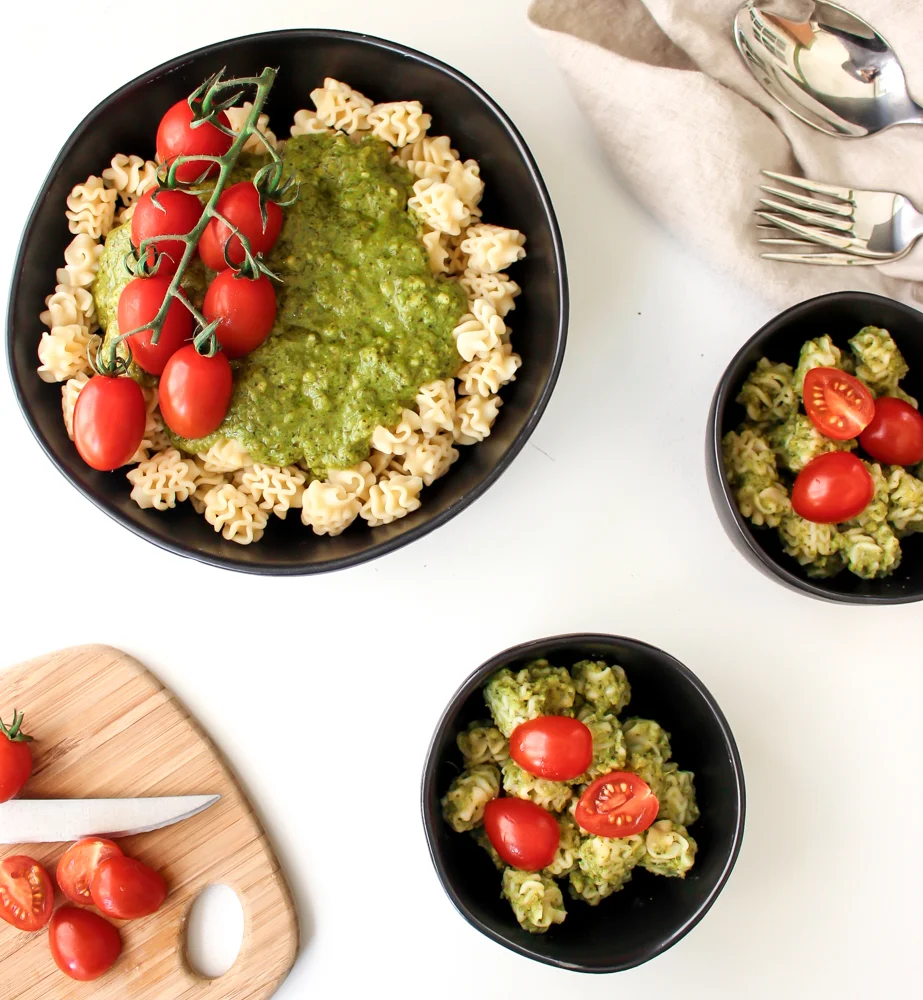
A couple of notes:
Do cook the kale a bit before pureeing. The more you cook the greens, the smoother the sauce will be. I only cook it for a few minutes though because I don’t want to lose too many of the nutrients.
Turn down the heat when making the sauce. It takes a bit longer, but will hopefully keep the milk solids from separating, which can make dairy-based sauces look curdled.
Kale mac and cheese
Time: About 25 minutes, mostly active
Yield: About 4 cups or 30 oz
1 lb small, dry pasta
1 bunch Lacinto kale, leaves stripped off of the tough center ribs
2 Tbsp butter
2 Tbsp flour
2 cups milk, divided (I used whole, but you can certainly use a lower fat variety if you like)
½ cup reserved pasta/kale cooking water
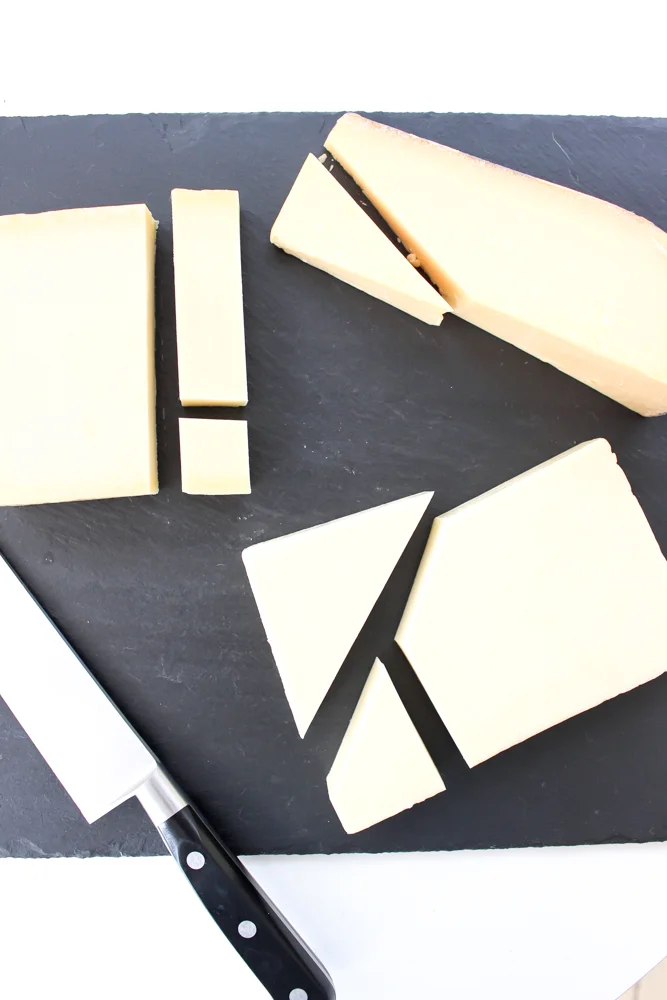
6-7 cups shredded cheese (combination of any nutty cheese like cheddar, gruyere, gouda, and Parmesan)
1 tsp garlic powder
½ tsp sea salt
Several cracks of black pepper
Cook pasta according to package directions.
While the pasta cooks, melt the butter over medium-high heat in a large sauce pan. Add the flour, stir well, and let bubble for 1 minute.
Turn the heat down to medium-low, add 1 and 1/2 cups of milk, and whisk to combine.
Add garlic, salt, and pepper to the milk and stir to combine. Let the milk heat up until there are small bubbles forming along the sides of the pan, about 3-4 minutes. Add the cheese and stir until melted, allowing the cheese sauce to bubble slowly, but try not to get the sauce too hot, about 4-5 more minutes.
Remove pasta from boiling water and add kale to that same water. Blanch for 2 minutes and remove greens to a blender. Reserve 1/2 cup of the cooking water.
Add the remaining ½ cup of milk to the green in the blender and puree until smooth, adding the reserved cooking water as necessary to puree the kale.
Add the greens to the cheese sauce and stir well. Allow the mixture to come up to a simmer again.
When both are cooked, combine 2 cups of the sauce with the cooked pasta and stir well. Add any additional toppings you might like.