Pickled veggie pasta salad
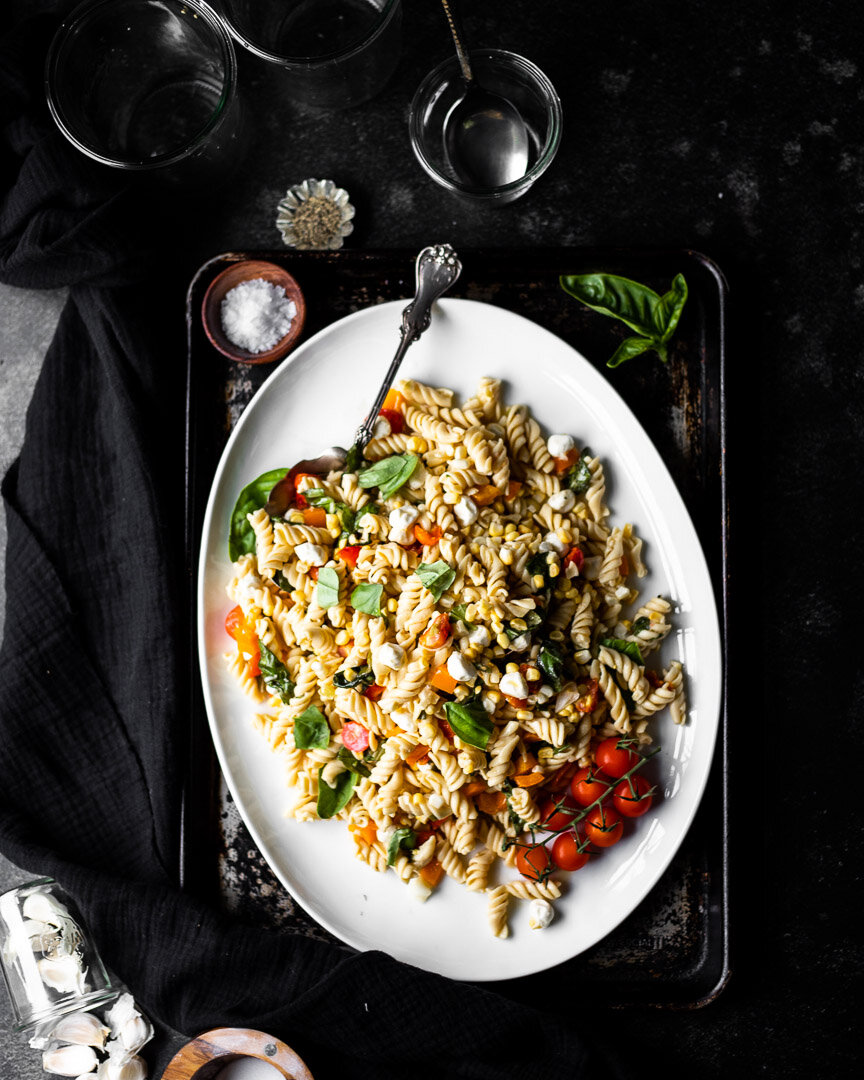
This pasta salad requires a tiny bit of forethought so that you can let the veggies pickle for a few hours, but it’s well worth the effort for a crowd-pleasing, tangy and bright salad that complements any other BBQ dishes. #meandthemoose #pastasalad #pastarecipes #summerbbq #pickles #pickledveggies
This is my platonic ideal of pasta salad: Tangy, bright, and crunchy, but also a little creamy and, frankly, oily. You can’t help but smell a smoky grill, hear kids laughing, and feel the sun in your face with this salad on your plate.
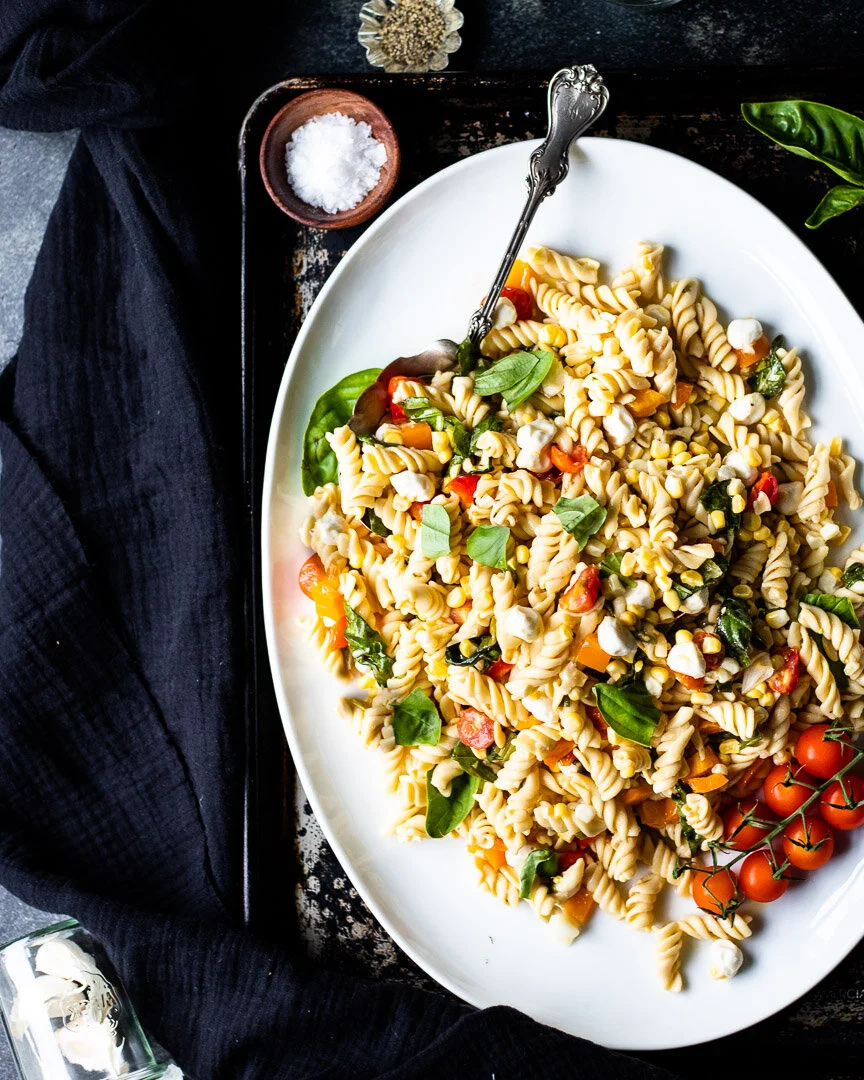
This pasta salad requires a tiny bit of forethought so that you can let the veggies pickle for a few hours, but it’s well worth the effort for a crowd-pleasing, tangy and bright salad that complements any other BBQ dishes. #meandthemoose #pastasalad #pastarecipes #summerbbq #pickles #pickledveggies
So, pasta salad is often an underwhelming affair. It feels necessary at BBQs and is easy to produce in huge quantities. And sans eggs or mayo, it keeps in the sun for hours without risking a side of salmonella. But what a waste when it’s totally boring!
This recipe uses a huge quantity of quick-pickled seasonal vegetables and aromatics, which takes a little pre-planning, but is very worth it. My kid also happens to love pickles, which is a pretty good way to get him to eat veggies.

This pasta salad requires a tiny bit of forethought so that you can let the veggies pickle for a few hours, but it’s well worth the effort for a crowd-pleasing, tangy and bright salad that complements any other BBQ dishes. #meandthemoose #pastasalad #pastarecipes #summerbbq #pickles #pickledveggies
The recipe I’ve developed here is best when left overnight, but the veggies can be eaten after about 3 hours and definitely taste pickled. Leaving them overnight helps the garlic to mellow, which can be considered a kindness to your guests, no? But also feel free to omit the garlic if you must.
And while I haven’t included anything but the pasta, dressing, and veggies in this recipe, you can customize this dish in whatever way suits your family. I make this for the three of us with mozzarella balls or feta. I’ve also thought about searing some salmon and flaking it in there or just opening a can of tuna and dumping that in. Also, the pickled veggies remind me of gardiniera, so I’m sure a salami or other Italian cured meat would be amazing in there. Experiment! Go crazy!
This pasta salad requires a tiny bit of forethought so that you can let the veggies pickle for a few hours, but it’s well worth the effort for a crowd-pleasing, tangy and bright salad that complements any other BBQ dishes. #meandthemoose #pastasalad #pastarecipes #summerbbq #pickles #pickledveggies
A couple of notes:
I’ve made this salad by putting all of the veggies into one jar and I’ve made them by separating the different veggies into their own jars. If you do the veggies separately, you might need to increase the amount of pickling liquid. Just double or triple the amount of vinegar, sugar, and salt that you mix together and spread it among the different containers.
I opted for scallions because, though I LOVE a pickled red onion, they turn the pickling liquid (and everything else that’s being soaked) a bit pink.
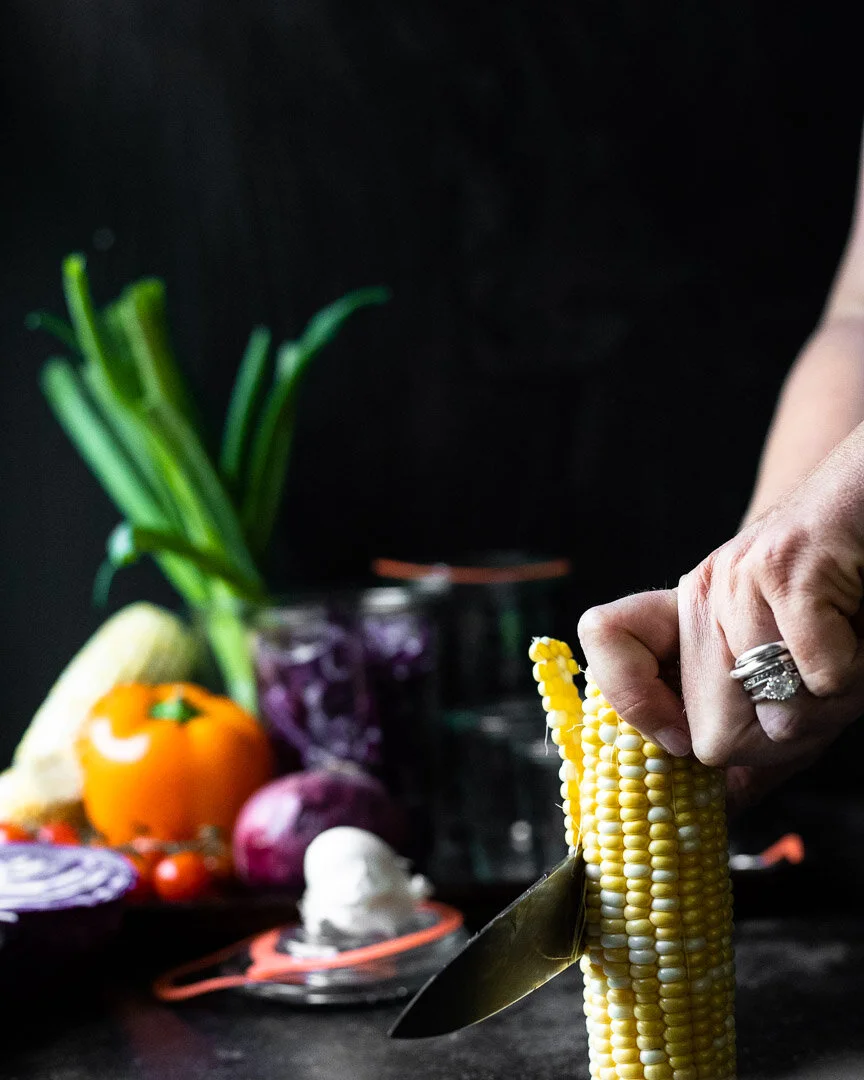
I also used fresh corn because it’s in season and is so sweet and perfect right off of the cob that I can’t imagine not using it. But I’m sure frozen would do the trick too.
I give a range of oil and a range of pasta to use here. Some fancier pasta comes in smaller amounts (12-14 oz is a popular weight), but you can definitely use a whole pound of that’s the amount you have. Obviously, the more pasta you use, the less prominent the veggies will be and the more sauce you’ll need and vice versa.
I’ve also made this with chickpea pasta and, dare I say it, I might PREFER the bean pasta to regular white pasta. Shocking, I know.

This pasta salad requires a tiny bit of forethought so that you can let the veggies pickle for a few hours, but it’s well worth the effort for a crowd-pleasing, tangy and bright salad that complements any other BBQ dishes. #meandthemoose #pastasalad #pastarecipes #summerbbq #pickles #pickledveggies
Pickled veggie pasta salad
Active time: About 30 minutes, mostly spent chopping and mixing
Total time: Anywhere from 3 hours to 1 week, depending on how much you let the pickles sit
Yield: About 9-10 cups of salad
¾ cup white vinegar
1½ Tbsp sugar
¾ tsp salt
3 large cloves garlic, peeled and smashed
½ large bunch scallions (about 4-5 large), trimmed and roughly chopped
1 pint cherry tomatoes, halved
½ large orange bell pepper, roughly chopped
2-3 large ears corn, with kernels removed (or about 1½-2 cups)
12-16 oz dried pasta (depending on the ratio of vegetables to pasta that you prefer)
1/2- 3/4 cup olive oil
2 Tbsp red wine vinegar
½ tsp Dijon mustard
½ tsp kosher salt
¼ tsp fresh pepper
½ tsp dried or 1 tsp fresh oregano, well minced if using fresh
¼- ½ cup fresh basil leaves, torn
For the pickled vegetables:
In a small bowl, combine the vinegar, sugar, and salt and stir until the sugar has dissolved, about 2 minutes. (You won’t hear any more crunching on the bottom of the container.)
In a large container or several smaller containers with a tight fitting lid (see note above about the amount of pickling liquid if making the pickles in separate jars), add the smashed garlic, chopped scallions, and chopped vegetables. Pour in the vinegar mixture, seal the container, and shake a few times.
Place in the refrigerator and leave for 3 hours or up to 1 week.
For the salad:
Cook your pasta according to package directions in well-salted water.
While your pasta cooks, combine the oil, red wine vinegar, dijon mustard, salt, pepper, and oregano in a small container.
Once the pasta is cooked, drain it and add it to a very large bowl. Add half of the olive oil mixture and stir well.
With a large fork or slotted spoon, remove the vegetables from the pickling liquid, transferring as little of the brine as possible (though don’t go crazy). Set aside the garlic cloves and mince the pickled cloves. Add everything to the pasta and stir well.
Add more of the olive oil mixture to taste until you feel that the pasta salad is wet enough.
Mix in and top with the torn basil before serving.
Baked gigante beans with feta and tomatoes
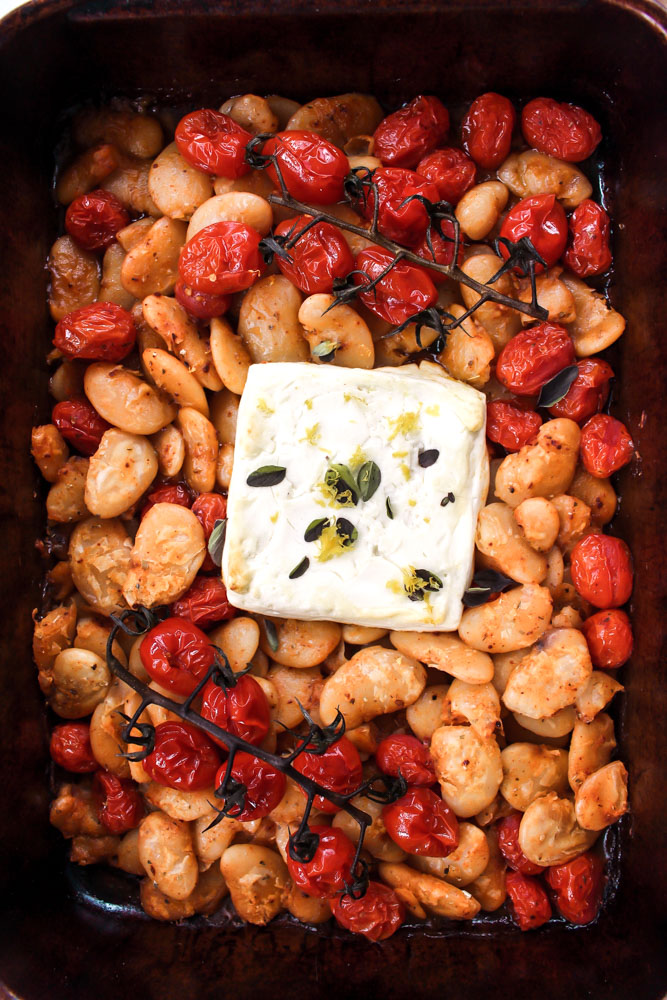
Anyone out there who might think that a “meatless” meal wouldn’t satisfy them, hasn’t had giant white beans for dinner. This meal is full of fiber, protein, and delicious sweetness from the roasted tomatoes.
Gigante beans, lima beans, large white beans, whatever you want to call them, these beans make a meal in a way that other legumes don’t always cut it for me.
I’ve only ever seen these beans in dry form, so while I’m averse to most extra work in the kitchen, I don’t see a way around cooking them yourself if you want to use these big guys.
Which leads us to the age old question: Do you really need to soak dried beans? Some will insist that you do. I say, LAZY COOKS UNITE! I have a preschooler and don’t always have that much foresight.
But here’s one caveat: Sans soaking, the simmering times vary WILDLY for these beans. One batch I made from Brand A were ready after about 90 minutes.. Brand B took almost twice as long. And while everyone advises “look for fresh beans,” if you could seriously show me a bag of beans with an expiration date on it, I would give you a million dollars.
So, here are some handy tutorials that you can peruse and decide if you’re team soak or team no soak:
If I was the meal prepping type I’d suggest making a whole bag of these beans one weekend and freezing them for easy weeknight meals. Because once you cook the beans, this meal could not be easier or faster.
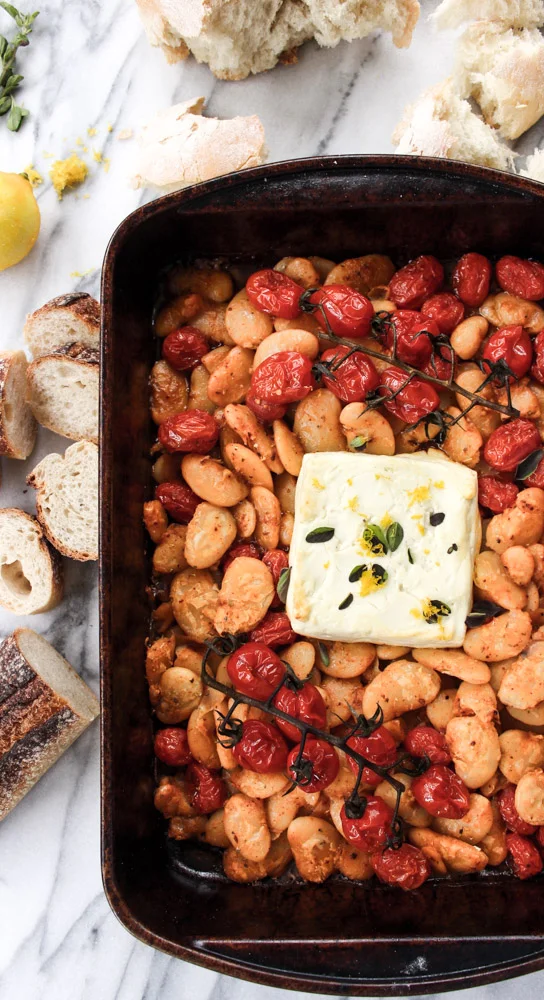
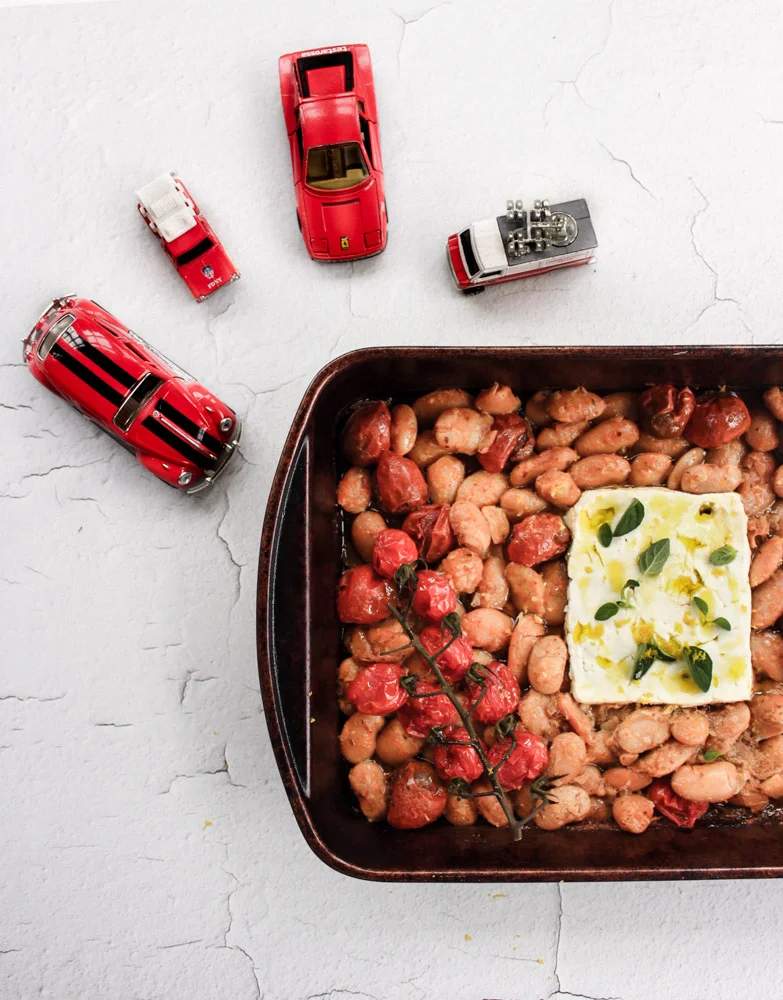
Roasting makes the tomatoes syrupy sweet, the cheese just a little soft and gooey, and the bean skins crispy in a way that is completely satisfying.
A few notes:
I salt the bean cooking water and then don’t add any more salt until serving the beans. They soak up the sodium during cooking, so it’s very easy to over salt this dish. Also, feta is a salt bomb, so we’ve found that the end product needs no extra seasoning.
I’ve billed this as a meatless meal, but it could also serve as a side or appetizer just as easily.
Do NOT skip the lemon zest in the end. The citrus brightens up the beans and adds a layer of flavor without which, the beans could taste a bit flat.
I prefer to use a combo of both dried and fresh oregano, but use what you have on hand.
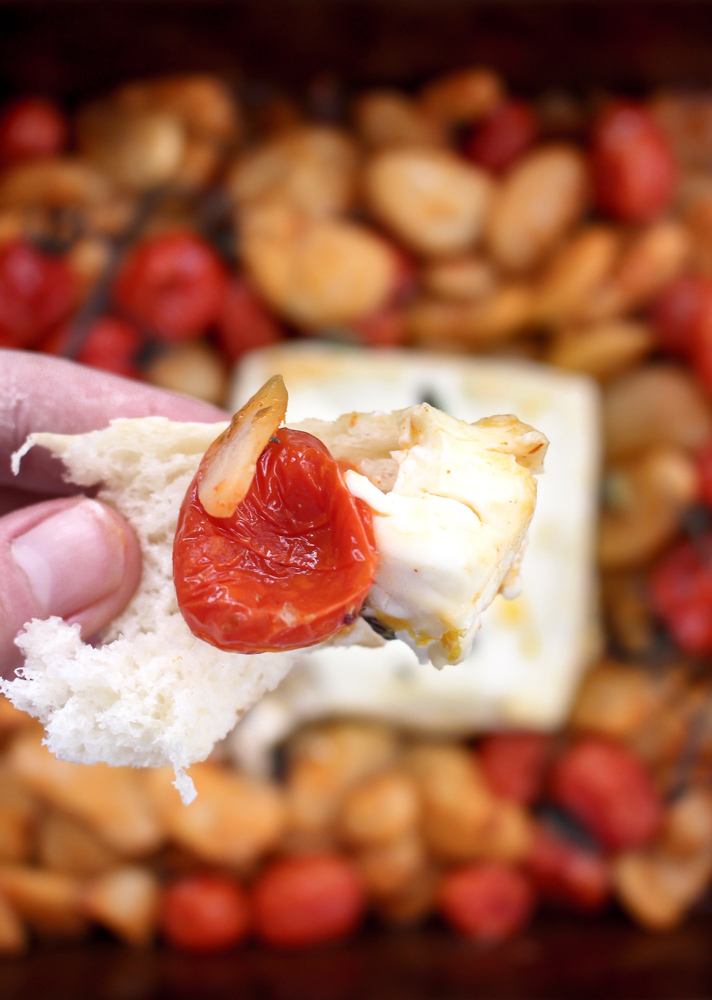
Baked feta with gigante beans and tomatoes
Active time: about 20 minutes, on and off
Total time: 90-150 for the beans, 25-30 for the main dish
Yield: 4 dinner servings,
For the beans:
1½ cups dried giant white beans, rinsed
4 cups vegetable stock
1-2 cups water (as needed)
½ tsp sea salt
1-2 bay leaves
4 medium cloves garlic, peeled, but left whole
Yield: 3 heaping cups of cooked beans
Combine the beans, stock, salt, bay leaf, and garlic cloves in a large pot. Bring to a boil over high heat. Reduce flame to low and simmer, covered, for anywhere from 1 1/2 hours to 2 1/2 hours (90-150 minutes), stirring occasionally, until the beans are creamy and soft, but not falling apart and most of the liquid has been absorbed.
Check the beans after 60 minutes and then every 15-30 minutes after that (depending on how your beans are progressing) until the beans are tender throughout. Add more liquid if the water boils off before the beans are fully cooked.
Drain any remaining liquid from the beans and remove the bay leaves.
For the main dish:
1/2 cup olive oil, divided
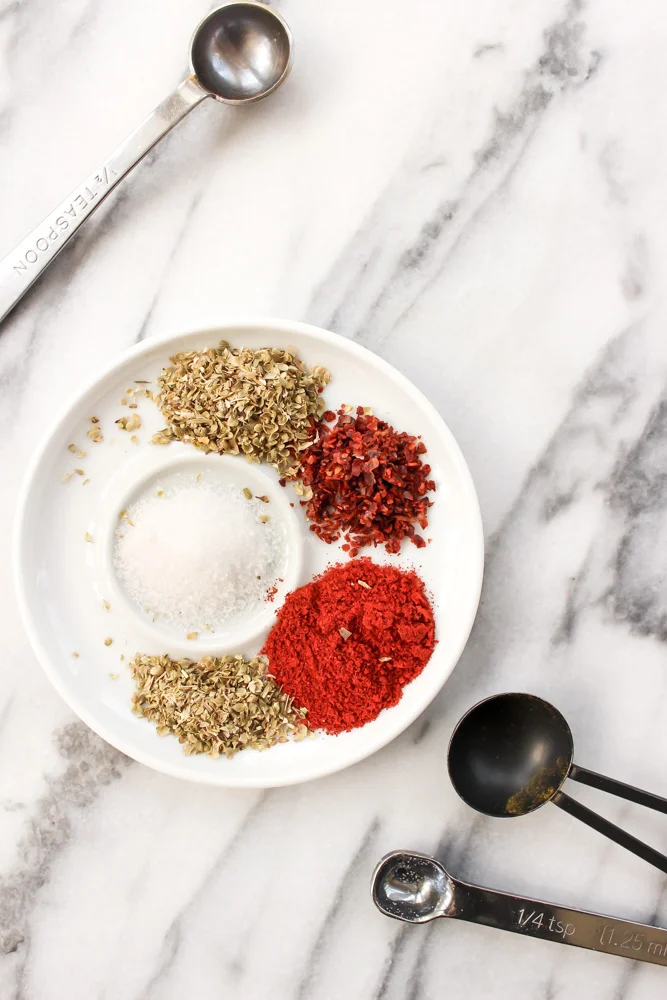
½ tsp Aleppo pepper (optional)
1 tsp dried oregano or 1 Tbsp fresh oregano (or a combination of both dried for cooking and fresh for topping)
½ tsp smoked paprika
2-3 cups cherry tomatoes, whole (about 8-12 oz)
Small block Feta cheese (8 oz)
½ tsp lemon zest (zest of one small lemon)
Preheat oven to 400.
In a bowl or the pot you used to simmer the beans, add 1/4 cup of olive oil, Aleppo pepper, oregano, paprika, and tomatoes to the beans and mix well.
In a 9x13 baking pan (or whatever size you have), spread out the bean and tomato mixture. Clear a hole in the middle and add the feta.
Cook for 20-23 minutes, until the feta is soft and the tomatoes have released their juices AND those juices have become a little syrupy.
Remove from the heat and top with the remaining 1/4 cup of olive oil, lemon zest, fresh oregano (if using), and sprinkling of flaky sea salt (if needed).
Roasted strawberry and rhubarb butter

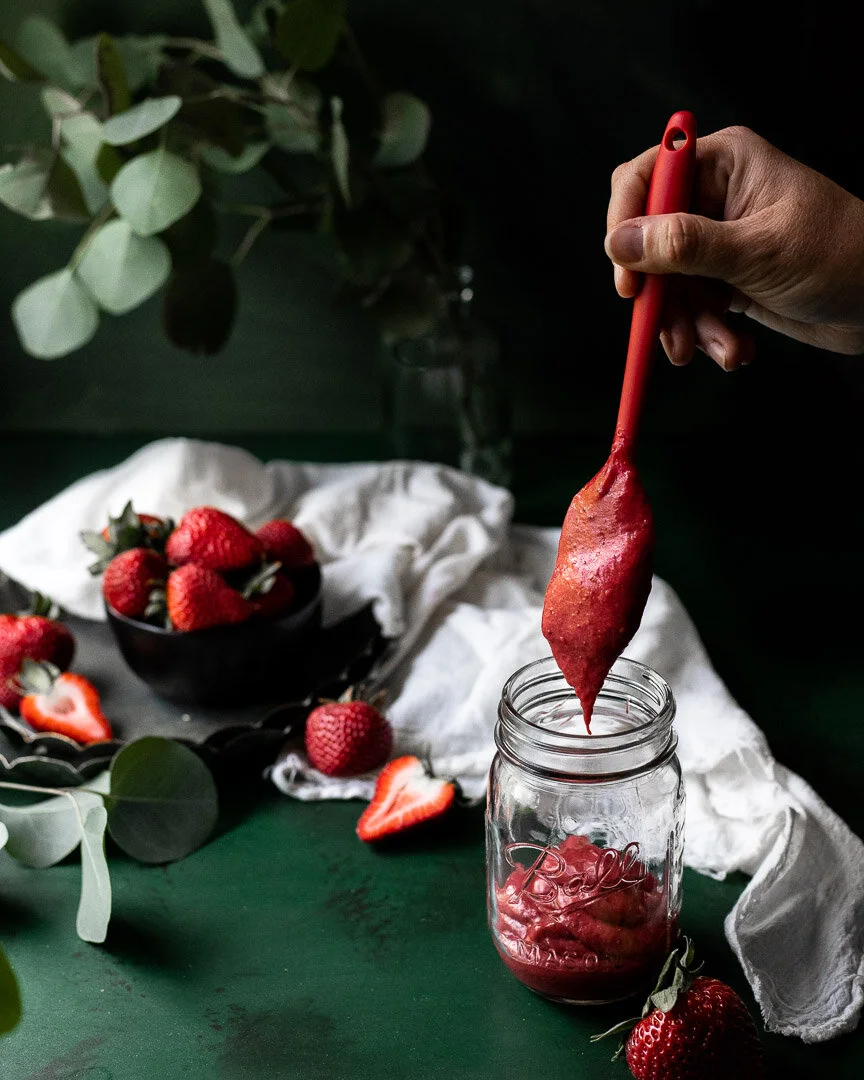
Roughly chop some fruit and toss it in the oven for a spring-y fruit butter that’s naturally sweet, SUPER EASY, and extremely versatile. #meandthemoose #strawberryrhubarb #fruit #fruitbutter #naturallysweet #jam
Rhubarb season is here! Turn this tart veg into a thick, spreadable butter to use all day, every day.

Roughly chop some fruit and toss it in the oven for a spring-y fruit butter that’s naturally sweet, SUPER EASY, and extremely versatile. #meandthemoose #strawberryrhubarb #fruit #fruitbutter #naturallysweet #jam
Roughly chop some fruit and toss it in the oven for a spring-y fruit butter that’s naturally sweet, SUPER EASY, and extremely versatile. #meandthemoose #strawberryrhubarb #fruit #fruitbutter #naturallysweet #jam
If you’ve searched Instagram recently, it’ll come as no surprise that rhubarb is a very photogenic vegetable. The variations in color lend themselves to ombre-ing and chevron-ing to your heart’s content. But today, we’re keeping it simple by doing neither of those things.
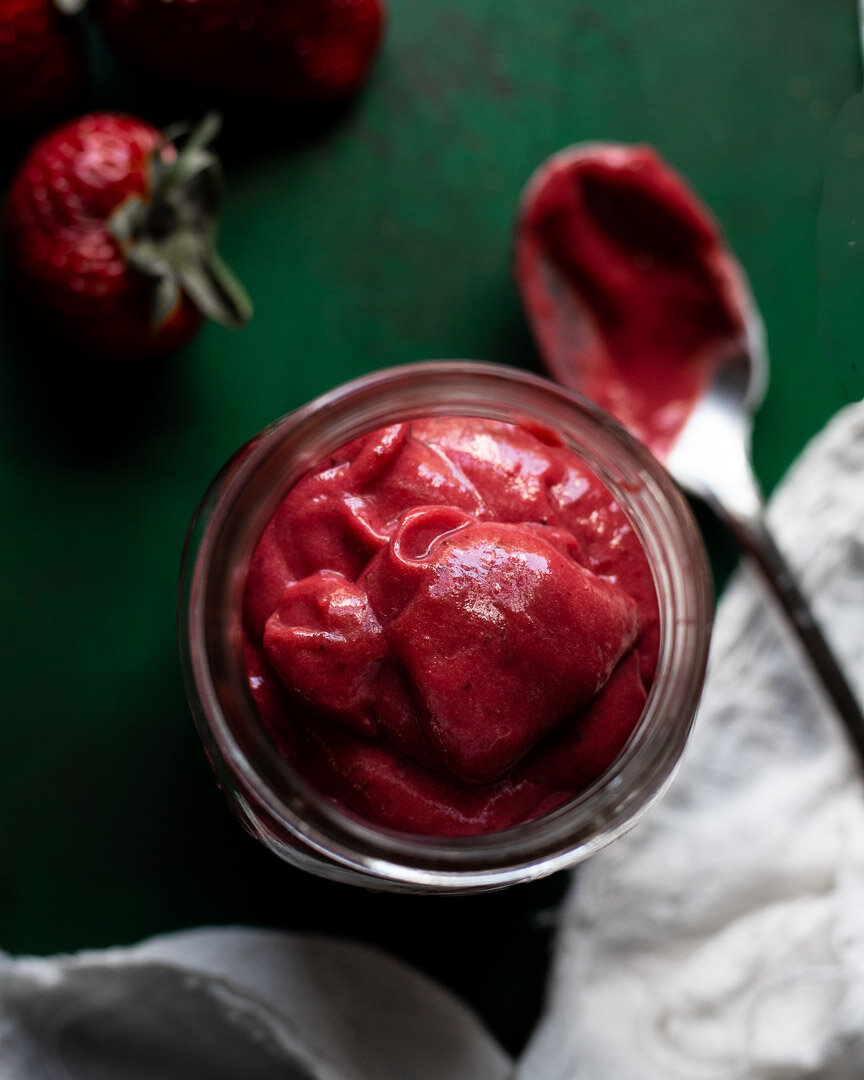
Instead, we’re turning strawberries (fresh or frozen!) and those giant rhubarb stalks you find in the grocery store (or your garden if you’re lucky enough to grow your own) into a butter akin to apple or pumpkin. Because why should fall fruits and vegetables have all the fun?
In early spring, I use frozen berries because it annoys me that strawberry and rhubarb are a perfect combination, but their growing seasons only overlap for a hot minute here in New England. Buuuuut, I found some giant berries in the grocery store recently, so I went for it with the fresh ones a little earlier this year.
Roughly chop some fruit and toss it in the oven for a spring-y fruit butter that’s naturally sweet, SUPER EASY, and extremely versatile. #meandthemoose #strawberryrhubarb #fruit #fruitbutter #naturallysweet #jam
A couple of notes:
Let the berries and rhubarb cook until the juices start to get a little syrupy. You can test this by sticking a spoon into the hot liquid (DON’T USE YOUR FINGER!!!). If the strawberry juice coats the back of the spoon and doesn’t drip off entirely, you’re about done. Make sure that your berries don’t burn because they can taste bitter.
This is a TART butter because, well, rhubarb is tart and that’s the beauty of it. If you like things a little sweeter, you can add a bit of sugar or use more berries than rhubarb. OR, you can combine the tart butter with sweeter things like cakes, cookies, sweetened yogurt, and whipped cream.
Roughly chop some fruit and toss it in the oven for a spring-y fruit butter that’s naturally sweet, SUPER EASY, and extremely versatile. #meandthemoose #strawberryrhubarb #fruit #fruitbutter #naturallysweet #jam

Roughly chop some fruit and toss it in the oven for a spring-y fruit butter that’s naturally sweet, SUPER EASY, and extremely versatile. #meandthemoose #strawberryrhubarb #fruit #fruitbutter #naturallysweet #jam
Roasted strawberry rhubarb butter
Time: About 1 hour, 45 minutes, about 5 minutes active time
Yield: 12 oz (1½-2 cups)
4 heaping cups strawberries (fresh or frozen)
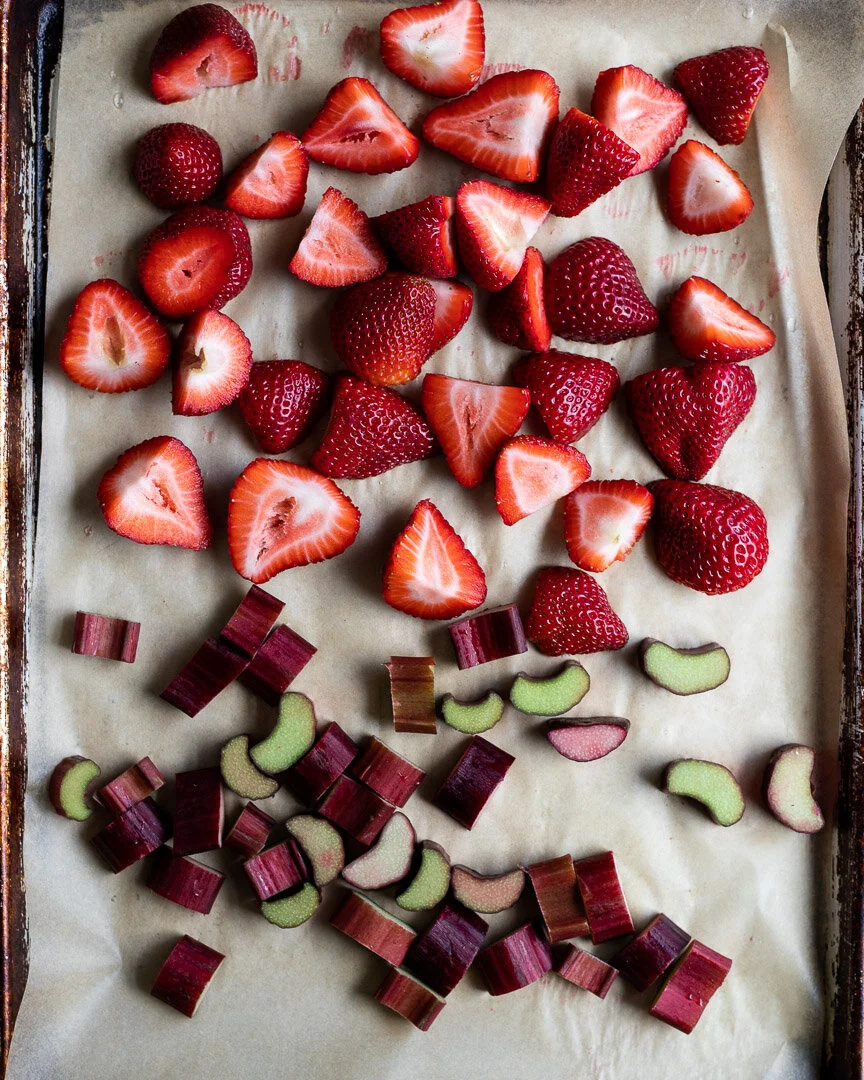
2 heaping cups chopped fresh rhubarb (about 3 extra extra-large stalks or 6-8 smaller stalks, chopped into 1-inch chunks)
Preheat the oven to 350.
Wash and chop the rhubarb. Combine with the frozen strawberries on a parchment-lined, rimmed baking tray.
Cook for 25-30 minutes, until the fruit is soft, the strawberries have released their juices, and the juice has started to become syrupy (see note above). Watch the berries closely after about 20 minutes to ensure that they don’t burn.
Let the fruit cool completely, about 15 minutes.
Scoop the fruit into your blender. Whatever juice gets onto the spoon is fine, but don’t add any remaining syrup.
Blend until smooth.
Store in the fridge for up to 7 days.