Chicken burgers with pub cheese

These easy, fast chicken burgers are packed with flavor and ready in under 30 minutes. They’re what I cook on nights when it’s suddenly dinnertime, everyone’s hangry, and I need a quick, crowd-pleasing meal.

Guess what?! Change is hard! I sent my little off to Kindergarten on Monday (we’re on a hybrid schedule so he’s in school one week and at home the next) and then wandered around my house for 5 hours like I’d never been here before. (And he went back to Pre-K for almost two months this summer, so I don’t know why it felt so weird!)
That happens to me any time I go through a big transition. The edges suddenly feel a little fuzzy and I temporarily forget how to negotiate my day. It’s no wonder my kid struggles with change too.
How do you deal with change? Is there something that anchors you when the seas get rough? For me, it’s cooking. When I feel off kilter, I need to cook something. It focuses my mind, forces me to think about the present, and following a recipe is really helpful when I just want someone to tell me what to do.
So, here is a fab recipe for chicken burgers. If you’re feeling strange as this new school year starts, I’ll be the grown up telling you, “Make these for dinner. Here’s how.” Problem solved.


A couple of notes:
The heat of the skillet is important. A good sear on both sides and then covering the pan and letting the meat steam as it cooks seals in the juices as well as cooking the meat pretty fast.
I try not to handle the raw meat mixture too much; the more you mix the meat, cheese, and spices, the tougher and more rubbery it can get.
DO NOT, I REPEAT: DO NOT use another bowl to mix these ingredients. Use the container that the ground chicken came in. Save a dish.
Chicken burgers
Time: 25 minutes, mostly active
Yield: 4 burgers
1 lb ground dark meat chicken (I like to use leg meat)
1 tsp garlic powder
1 tsp onion powder
1 tsp fine sea salt
½ tsp cumin
½ tsp coriander
pepper to taste
¼ cup pub cheese
2 Tbsp olive oil
Sprinkle the seasonings and plop the cheese onto the ground chicken in the package. Using your hands, mix thoroughly, but try not to over mix. I like to make sure that there aren’t any pockets of dry spices, but if there are still blobs of cheese, that’s fine.
Heat a skillet over a medium high flame. Add the olive oil and heat until the oil slips easily around the pan. Add patties with ¼ of the mixture in each one, trying to shape them into rough circles.
Get a good sear on one side. If the pan is hot enough, this should take about 3 minutes. Flip and sear on the other side, 3 more minutes.
Turn the flame to low and cover the skillet. Cook until the burgers are firm and have reached an internal temperature of 165, about 10-12 minutes.
Broccoli tacos
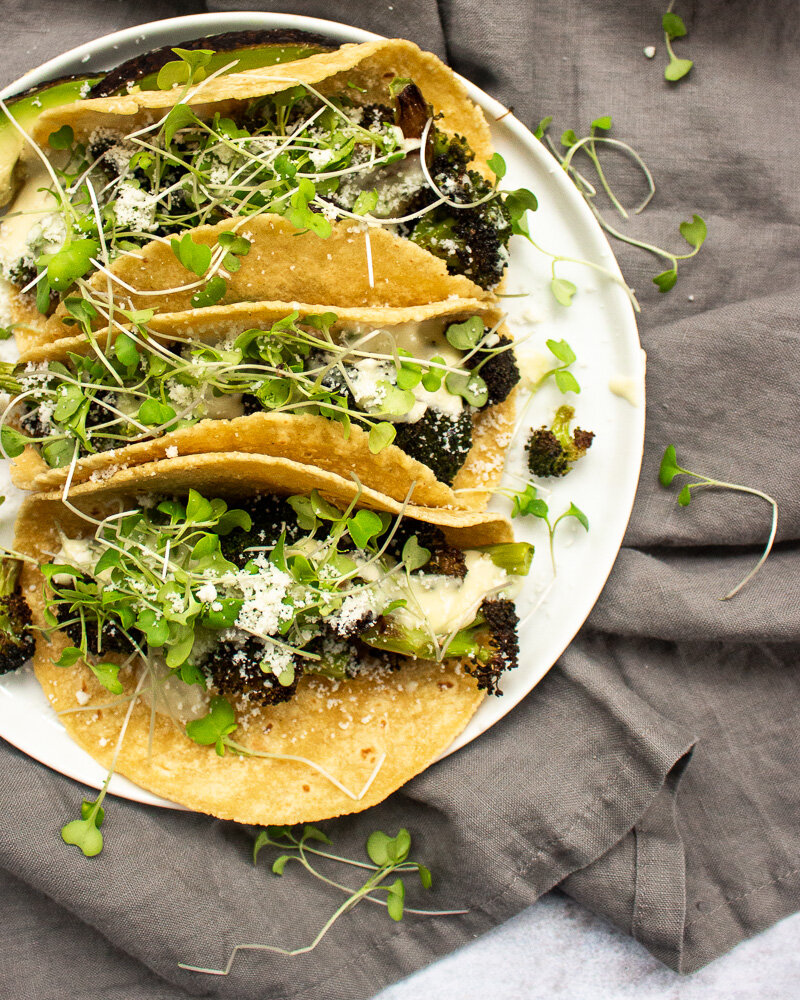
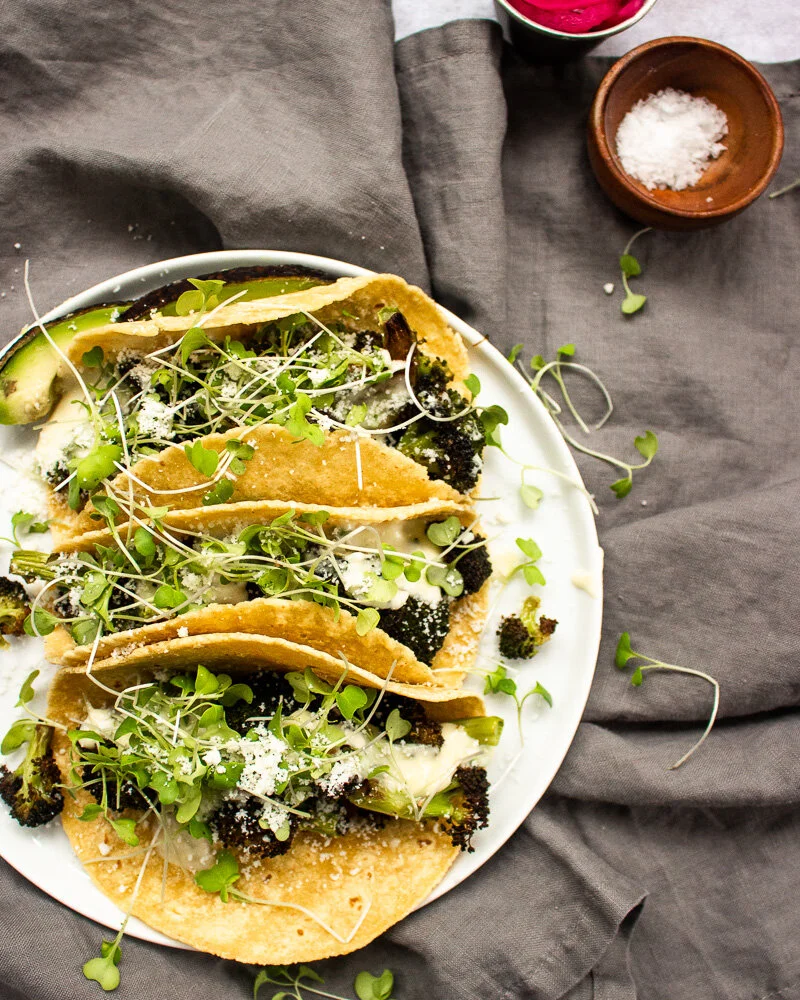
Roasted broccoli, poblano and meunster cheese sauce, and broccoli micro greens make for a quick, nutritious, and lip-smackingly good meatless monday or taco tuesday meal.
A few weeks ago, M decided that he didn’t like tacos. He still liked tortillas and all of the fillings, but brand anything as a “taco” and he was not interested. I only cared because often, the easiest route to dinner goes right through fridge-clearing-taco-ville. Maybe if I’d offered a Chocotaco he would have been into it? We’ll never know.
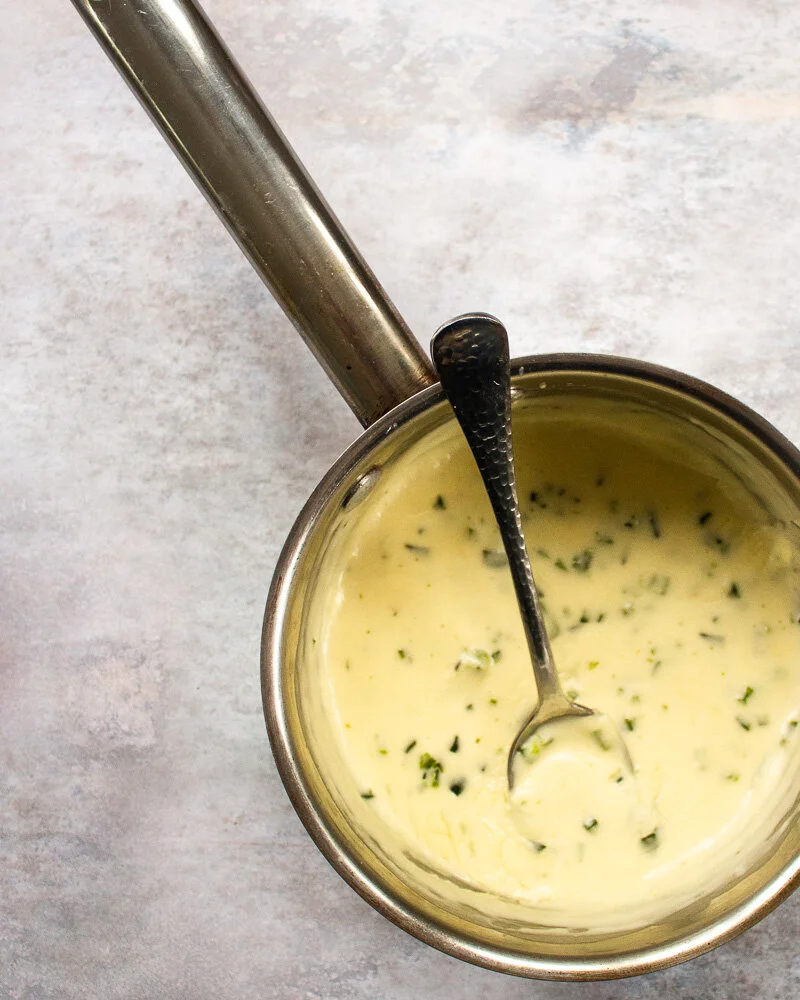
But while I was making these broccoli babies for the first time, he commented, “that smells really good.” Dear reader, he ate it. The whole thing. It was definitely the poblano cheese sauce, which I would like to put on everything for the rest of my life.
Instead of making a queso with cornstarch added at the end, I make a roux to start and added the cheese once the milk had thickened. I’m sure going the traditional queso route would also have been delicious. I just chose something else because life is about choices.
A couple of notes:
Keep an eye on the broccoli after about 15 minutes. The cooking time really depends on how fresh your broccoli is, how large your florets are, and how hot your oven runs.
Add in any other bits and bobs to the tacos that you want. I used broccoli because its a favorite in our house, but other roasted veggies or proteins would be delicious here.
Double the cheese sauce. Just do it. This recipe makes enough for about 6 tacos, but the sauce makes a delicious dip for chips or raw vegetables.
Broccoli tacos
Yield: 6 tacos
Time: About 40 minutes, mostly active
1 lb broccoli florets (buy 1.5 lbs because you’ll cut off the stalks)
3-4 Tbsp olive oil
Large pinch of salt
1 large poblano chili (or 1 small can of pre-roasted chili)
1 Tbsp butter
1 Tbsp flour
¾ cup whole milk
3 oz muenster cheese
1 oz cheddar cheese
½ tsp sea salt
¼ cup minced poblano chili
6 corn soft taco shells
Broccoli microgreens
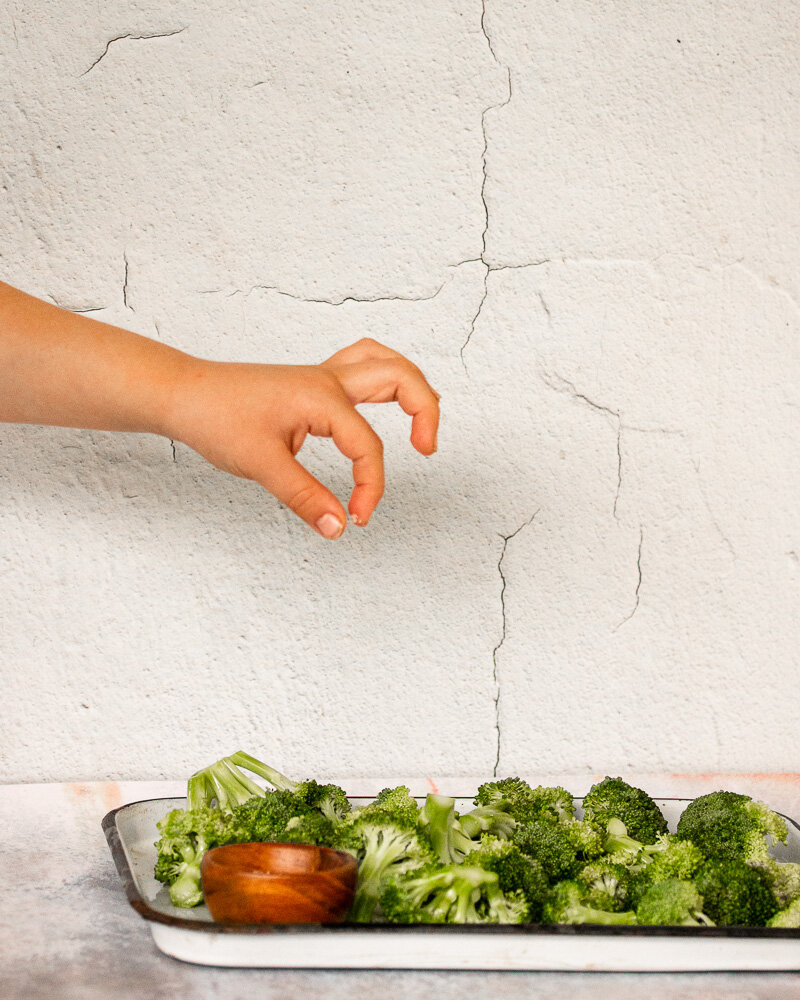
Preheat the oven to 425. Spread out the broccoli florets on a baking sheet and toss with the olive oil and large pinch of salt. Roast for 20-25 minutes, or until the broccoli is as crispy as you’d like. Stir the florets around on the sheet pan halfway through cooking.
While the broccoli is roasting, make the sauce.
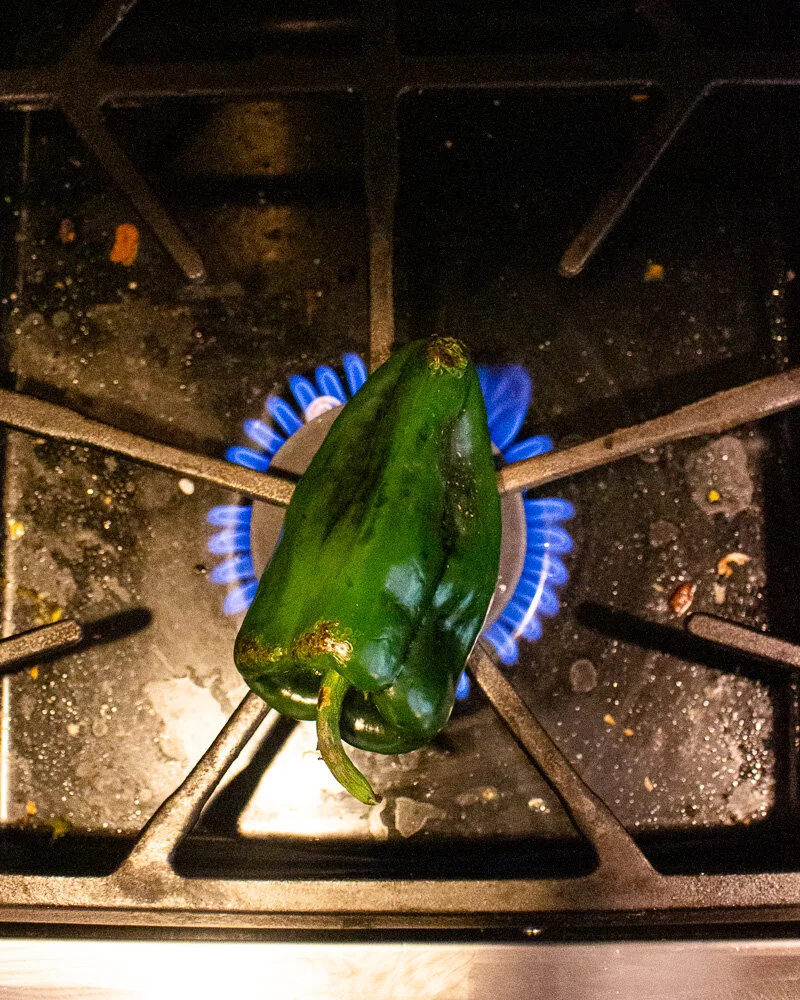
Roast your poblano pepper. Turn on the stove burner and place the washed and dried pepper directly on the flame. Have a pair of tongs handy and turn the pepper every 30 seconds or so to ensure that it’s charred everywhere. This usually takes me about 5 minutes.
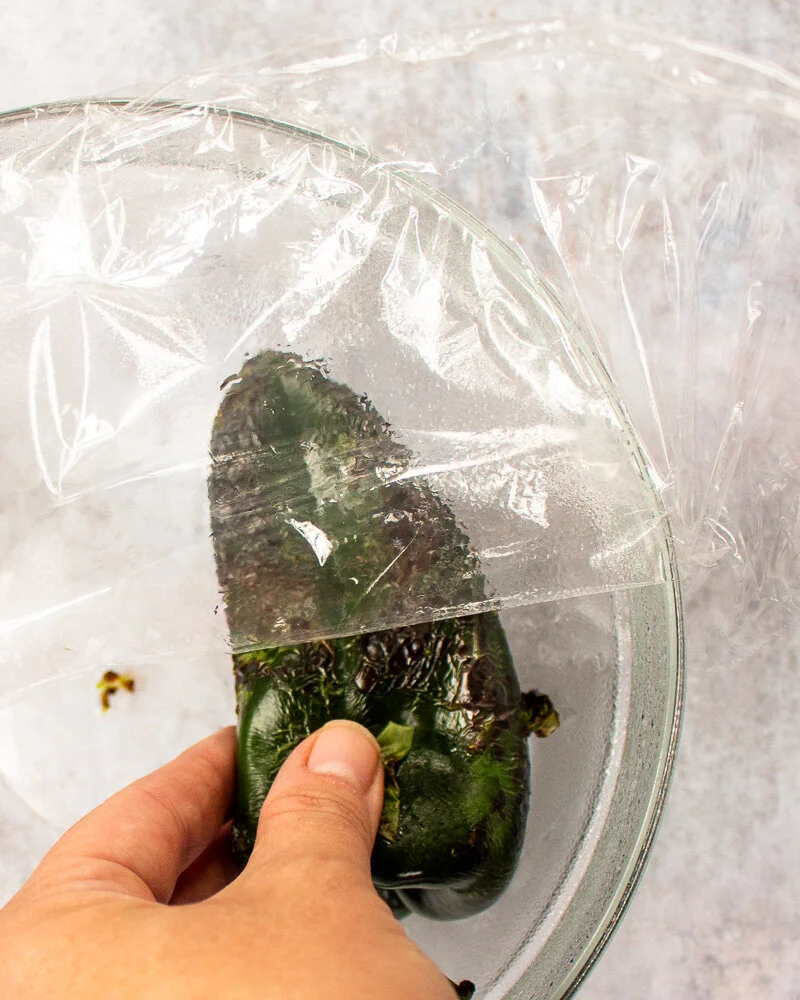
Once the skin is blistered all over, place the pepper in a large bowl or paper bag and either cover it with plastic wrap or a tea towel or close the paper bag tightly at the top. Let the pepper stand for 5-10 minutes until the steam has loosened the pepper’s skin. Check by pinching some of the pepper and the skin should slip off easily. If it doesn’t, let it steam for a few more minutes and try again.
Once the pepper has steamed, remove as much of the skin as you can, the top, and the inner seeds. Chop the pepper into small pieces. One pepper should make a scant ½ cup of chopped, roasted peppers.
In a small pot, melt the butter over medium heat. Whisk in the flour and let the mixture bubble lightly until it has turned a medium golden color, about 5 minutes.
Whisk in the milk and stir thoroughly to combine. Continue to stir as the milk bubbles very slightly on the edges. If the milk bubbles up too vigorously, turn down the heat. When the milk mixture has visibly thickened and coats the back of a spoon, add the salt and cheese and stir until the cheese has melted.
Stir in the chopped roasted poblanos.
Assemble the tacos.
Heat up the tortillas in a hot, dry pan for about 1 minute each. When hot, fill the shells with the roasted broccoli and top with the cheese sauce. Top with the broccoli microgreens, avocado, grated cotija cheese, and any other toppings you like.
Pickled veggie pasta salad
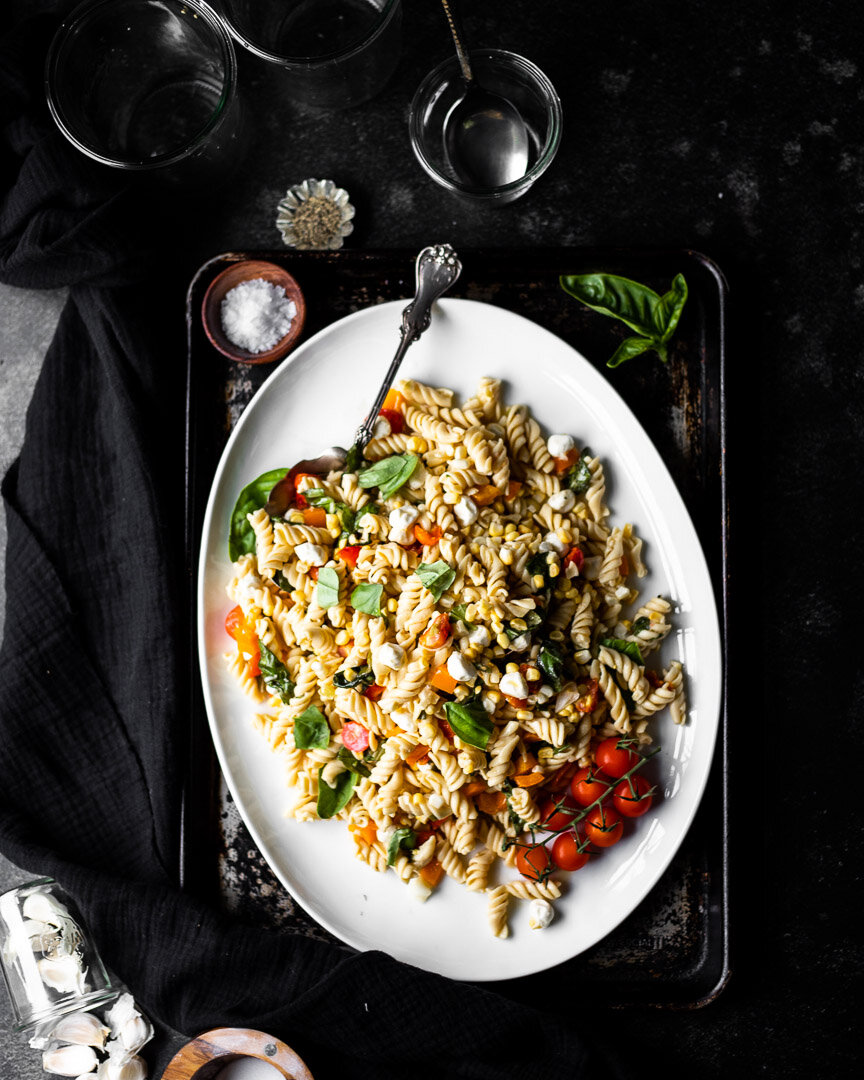
This pasta salad requires a tiny bit of forethought so that you can let the veggies pickle for a few hours, but it’s well worth the effort for a crowd-pleasing, tangy and bright salad that complements any other BBQ dishes. #meandthemoose #pastasalad #pastarecipes #summerbbq #pickles #pickledveggies
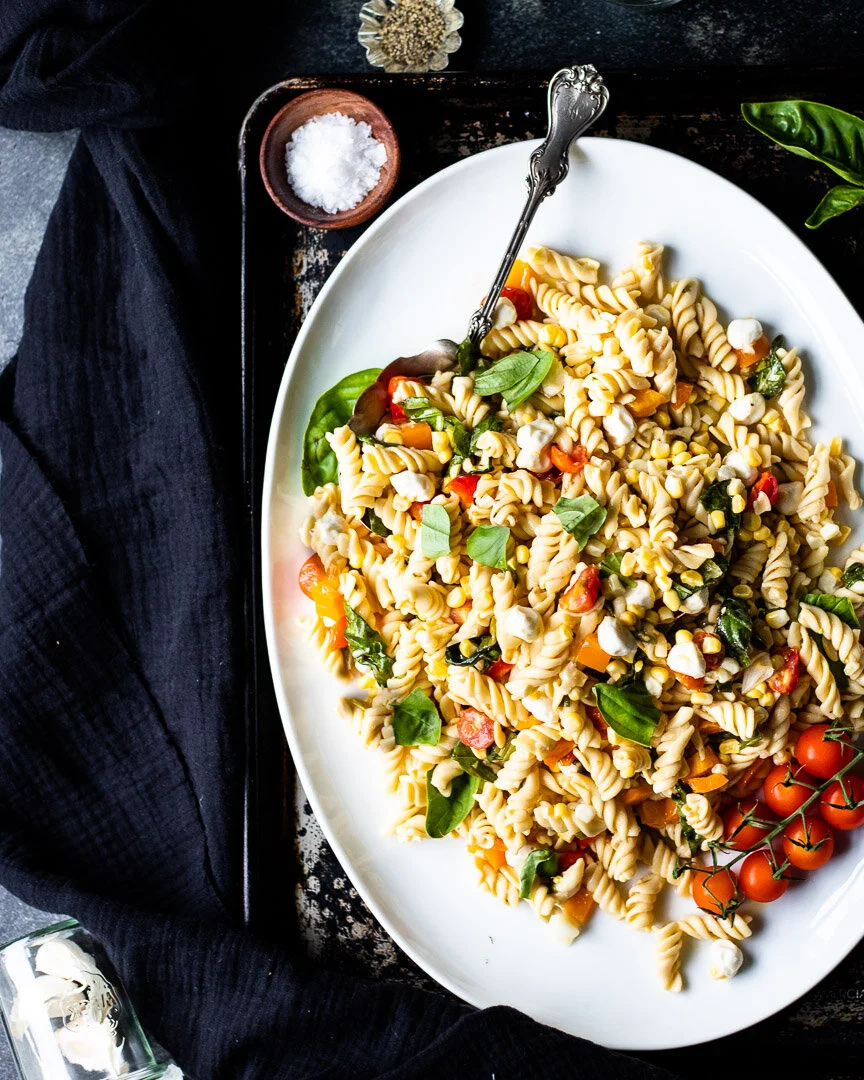
This is my platonic ideal of pasta salad: Tangy, bright, and crunchy, but also a little creamy and, frankly, oily. You can’t help but smell a smoky grill, hear kids laughing, and feel the sun in your face with this salad on your plate.
This pasta salad requires a tiny bit of forethought so that you can let the veggies pickle for a few hours, but it’s well worth the effort for a crowd-pleasing, tangy and bright salad that complements any other BBQ dishes. #meandthemoose #pastasalad #pastarecipes #summerbbq #pickles #pickledveggies
So, pasta salad is often an underwhelming affair. It feels necessary at BBQs and is easy to produce in huge quantities. And sans eggs or mayo, it keeps in the sun for hours without risking a side of salmonella. But what a waste when it’s totally boring!
This recipe uses a huge quantity of quick-pickled seasonal vegetables and aromatics, which takes a little pre-planning, but is very worth it. My kid also happens to love pickles, which is a pretty good way to get him to eat veggies.

This pasta salad requires a tiny bit of forethought so that you can let the veggies pickle for a few hours, but it’s well worth the effort for a crowd-pleasing, tangy and bright salad that complements any other BBQ dishes. #meandthemoose #pastasalad #pastarecipes #summerbbq #pickles #pickledveggies
The recipe I’ve developed here is best when left overnight, but the veggies can be eaten after about 3 hours and definitely taste pickled. Leaving them overnight helps the garlic to mellow, which can be considered a kindness to your guests, no? But also feel free to omit the garlic if you must.
And while I haven’t included anything but the pasta, dressing, and veggies in this recipe, you can customize this dish in whatever way suits your family. I make this for the three of us with mozzarella balls or feta. I’ve also thought about searing some salmon and flaking it in there or just opening a can of tuna and dumping that in. Also, the pickled veggies remind me of gardiniera, so I’m sure a salami or other Italian cured meat would be amazing in there. Experiment! Go crazy!
This pasta salad requires a tiny bit of forethought so that you can let the veggies pickle for a few hours, but it’s well worth the effort for a crowd-pleasing, tangy and bright salad that complements any other BBQ dishes. #meandthemoose #pastasalad #pastarecipes #summerbbq #pickles #pickledveggies
A couple of notes:
I’ve made this salad by putting all of the veggies into one jar and I’ve made them by separating the different veggies into their own jars. If you do the veggies separately, you might need to increase the amount of pickling liquid. Just double or triple the amount of vinegar, sugar, and salt that you mix together and spread it among the different containers.
I opted for scallions because, though I LOVE a pickled red onion, they turn the pickling liquid (and everything else that’s being soaked) a bit pink.
I also used fresh corn because it’s in season and is so sweet and perfect right off of the cob that I can’t imagine not using it. But I’m sure frozen would do the trick too.
I give a range of oil and a range of pasta to use here. Some fancier pasta comes in smaller amounts (12-14 oz is a popular weight), but you can definitely use a whole pound of that’s the amount you have. Obviously, the more pasta you use, the less prominent the veggies will be and the more sauce you’ll need and vice versa.
I’ve also made this with chickpea pasta and, dare I say it, I might PREFER the bean pasta to regular white pasta. Shocking, I know.

This pasta salad requires a tiny bit of forethought so that you can let the veggies pickle for a few hours, but it’s well worth the effort for a crowd-pleasing, tangy and bright salad that complements any other BBQ dishes. #meandthemoose #pastasalad #pastarecipes #summerbbq #pickles #pickledveggies
Pickled veggie pasta salad
Active time: About 30 minutes, mostly spent chopping and mixing
Total time: Anywhere from 3 hours to 1 week, depending on how much you let the pickles sit
Yield: About 9-10 cups of salad
¾ cup white vinegar
1½ Tbsp sugar
¾ tsp salt
3 large cloves garlic, peeled and smashed
½ large bunch scallions (about 4-5 large), trimmed and roughly chopped
1 pint cherry tomatoes, halved
½ large orange bell pepper, roughly chopped
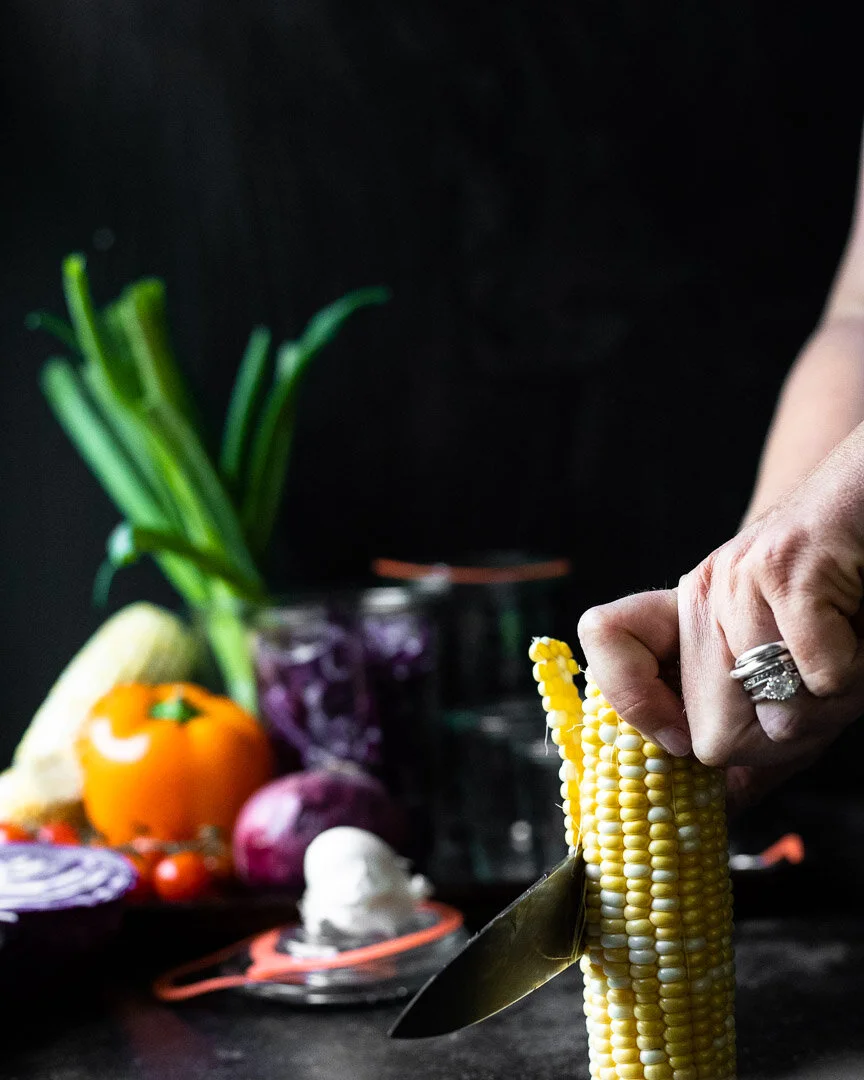
2-3 large ears corn, with kernels removed (or about 1½-2 cups)
12-16 oz dried pasta (depending on the ratio of vegetables to pasta that you prefer)
1/2- 3/4 cup olive oil
2 Tbsp red wine vinegar
½ tsp Dijon mustard
½ tsp kosher salt
¼ tsp fresh pepper
½ tsp dried or 1 tsp fresh oregano, well minced if using fresh
¼- ½ cup fresh basil leaves, torn
For the pickled vegetables:
In a small bowl, combine the vinegar, sugar, and salt and stir until the sugar has dissolved, about 2 minutes. (You won’t hear any more crunching on the bottom of the container.)
In a large container or several smaller containers with a tight fitting lid (see note above about the amount of pickling liquid if making the pickles in separate jars), add the smashed garlic, chopped scallions, and chopped vegetables. Pour in the vinegar mixture, seal the container, and shake a few times.
Place in the refrigerator and leave for 3 hours or up to 1 week.
For the salad:
Cook your pasta according to package directions in well-salted water.
While your pasta cooks, combine the oil, red wine vinegar, dijon mustard, salt, pepper, and oregano in a small container.
Once the pasta is cooked, drain it and add it to a very large bowl. Add half of the olive oil mixture and stir well.
With a large fork or slotted spoon, remove the vegetables from the pickling liquid, transferring as little of the brine as possible (though don’t go crazy). Set aside the garlic cloves and mince the pickled cloves. Add everything to the pasta and stir well.
Add more of the olive oil mixture to taste until you feel that the pasta salad is wet enough.
Mix in and top with the torn basil before serving.