Homemade granola base
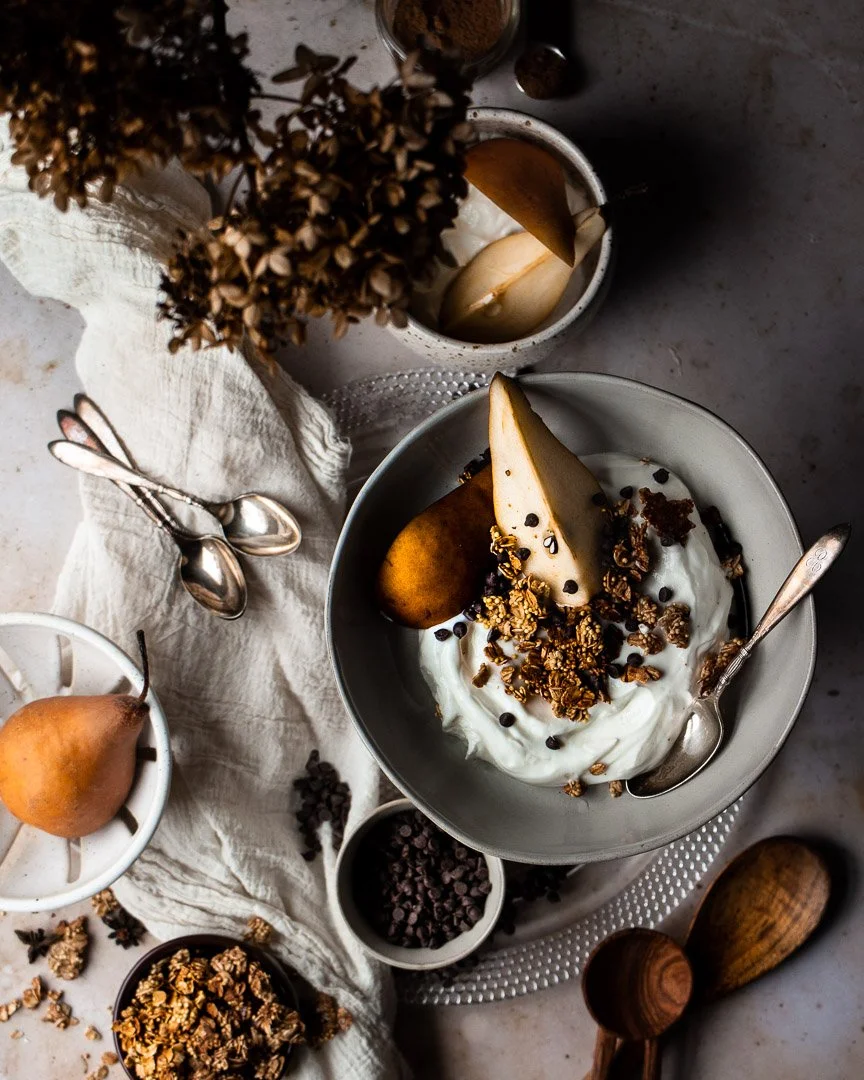
Granola may seem like something that’s easier to buy in a store, but let me set the record straight: Homemade granola is simple, fast, and so much better than most of the commercially made stuff. Also, it makes your house smell amazing.
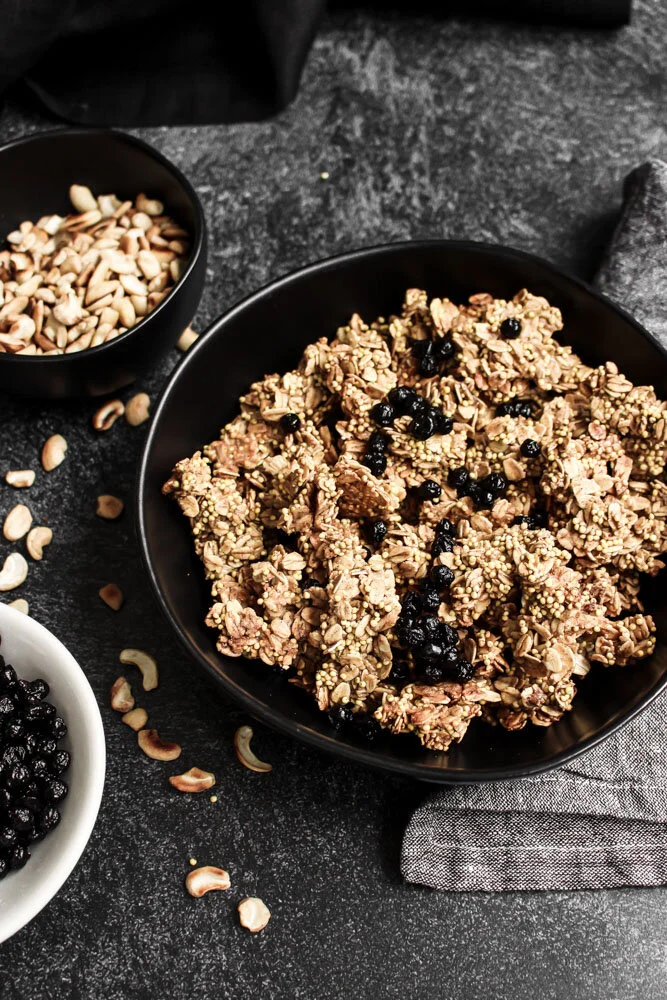
Let’s talk about granola and kids. I love granola because it’s a fun topper for lots of different things: yogurt, apple sauce, purees, pancakes, fruit, ice cream, etc. I like to pretend that it’s nature’s sprinkles. But there may be a chunk of kids who think granola is too crunchy or who don’t like the mix of textures. For them, I would add some mini chocolate chips or chocolate covered sunflower seeds and call it “trail mix.”
But granola is a great way to add some whole grains and make a more balanced snack.
I include millet in my granola and also my granola cups because it’s super crunchy and adds fiber, calcium, and iron, which we always need more of in our diet.
This recipe is a base and you can feel free to customize with whatever fruits and nuts you like best.
Also, if making this for a nut-free school snack, skip the nuts and double the fruit, sub in seeds like sunflower or pepitas, OR toast the nuts separately and toss them into an individual portion at home.
A couple of notes:
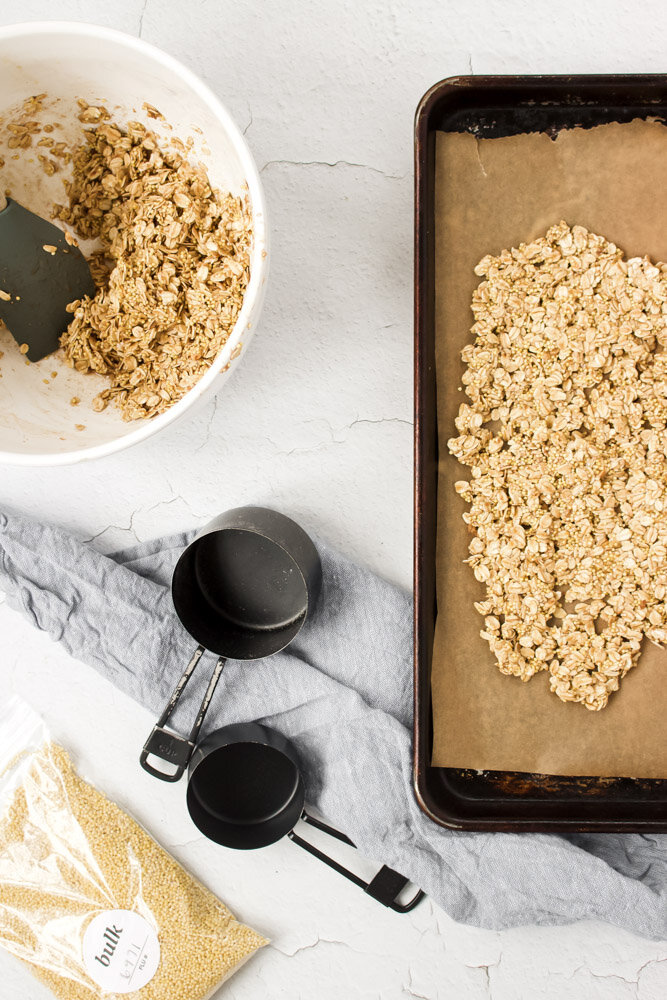
If you have trouble finding millet, check the bulk sections of Whole Foods or any health food store.
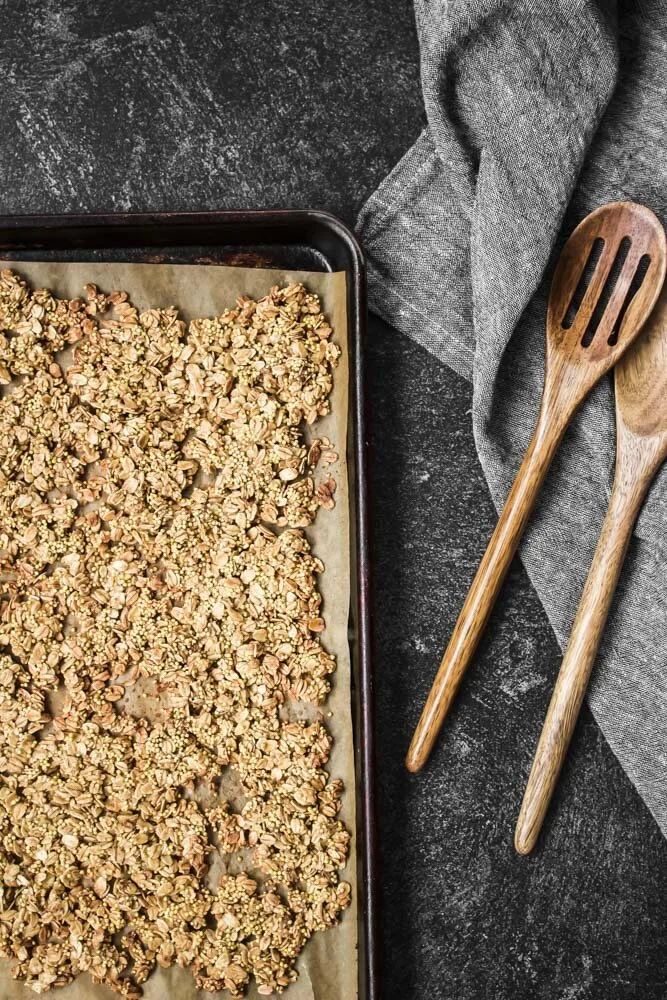
When spreading the raw granola mix onto your sheet pan, make sure to leave some holes in the middle of the pan. If you spread it as one large mass, the middle will be undercooked while the edges start to burn. With some holes and thinner spots in the middle, you’ll get a more even bake and better chunks in your final product!
Be mindful that when the outsides start to brown, the thicker parts may still be a bit undercooked, but that the whole thing will continue to cook and crisp while it cools. Once you see significant browning on the edges, take it out of the oven and let it cool completely. If there are any undercooked spots, feel free to re-toast them in the oven or a toaster oven for a few minutes before eating. But DON’T toast any fruit that you may add. Toasted dried fruit = hard as a rock!
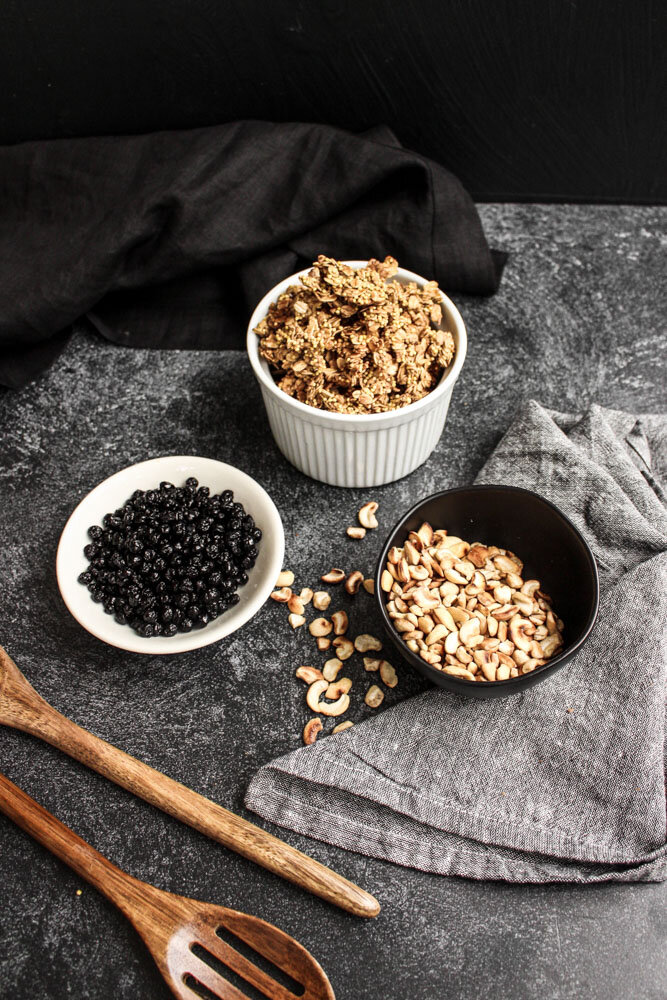
Homemade granola base
Yield: about 3-4 cups of granola, depending on how many nuts and berries you add
Time: 25-28 minutes (5 minutes active time, 20-23 minutes baking time)
2 cups old fashioned rolled oats
½ cup millet
2 Tbsp brown sugar
1 tsp cinnamon
2 large pinches of kosher salt
½ cup nuts (your choice!)
2 egg whites, slightly whipped
1 Tbsp olive oil
1 tsp vanilla extract
¼ cup maple syrup
1/3 cup dried fruit of choice
Preheat the oven to 350. In a large bowl, mix together the oats, millet, brown sugar, cinnamon, and salt. Add the untoasted nuts, if using.
In a large measuring cup, mix together the egg whites, olive oil, and vanilla. Pour over the dry ingredients and mix together thoroughly.
Spread out on the mixture on a large sheet pan, leaving gaps and holes in the middle.
Bake for 20-23 minutes, or until the edges of the pan and any edges next to gaps in the middle start browning.
Let cool completely.
Add the dried blueberries (or other dried fruit) and crunch up the baked granola so that you have some chunks and some smaller bits.
Store in an airtight container at room temperature for up to 3 weeks.
Coconut turmeric noodles
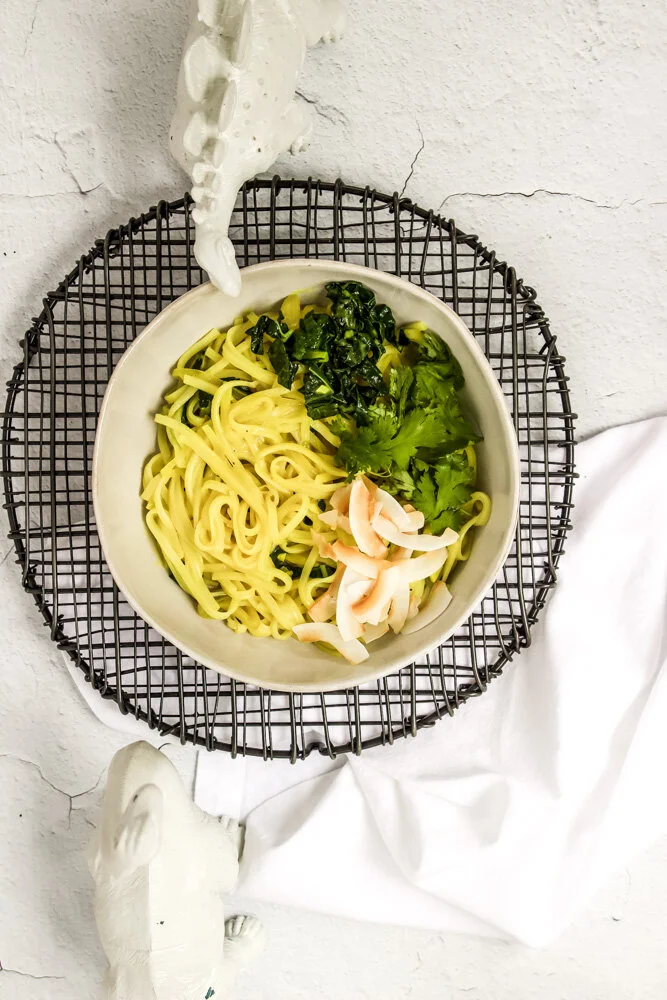
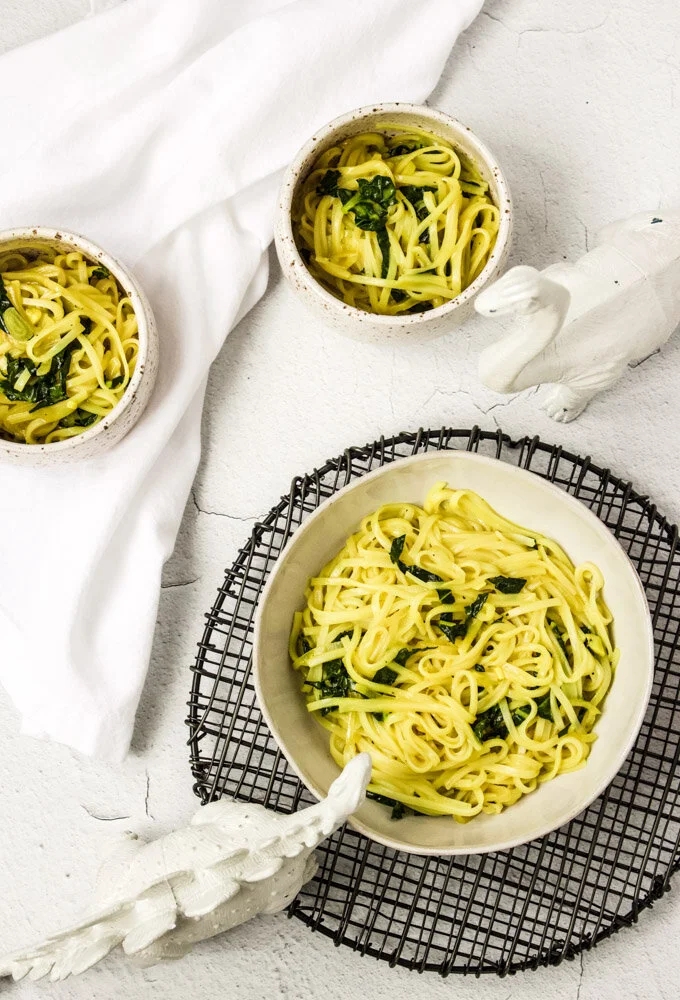
Need a gluten-free, dairy-free, one pan, 20-minute dinner that is full of flavor and will keep you full and satisfied? Well, here you go: Coconut turmeric noodles!

This dish is on our weeknight rotation primarily because it’s really delicious and crazy fast to put together. It’s a filling meatless meal (aside from the fish sauce), but is also a great base for fish, shellfish, chicken, or pork, either leftover or fresh.
I lightly adapted this one from a Bon Appetite recipe that I found when I decided that we should eat more turmeric.
I included a range for the honey and fish sauce so that you can suit this dish to your tastes. I like it with the larger amounts because the combination of sweet and savory is my jam. But some people prefer a sweeter or more savory dish, so edit as you will.
Coconut turmeric noodles
Lightly adapted from Bon Appetite
Time: about 20-25 minutes, all active
Yield: about 3 adult servings, or 2 adult and 2 kid servings
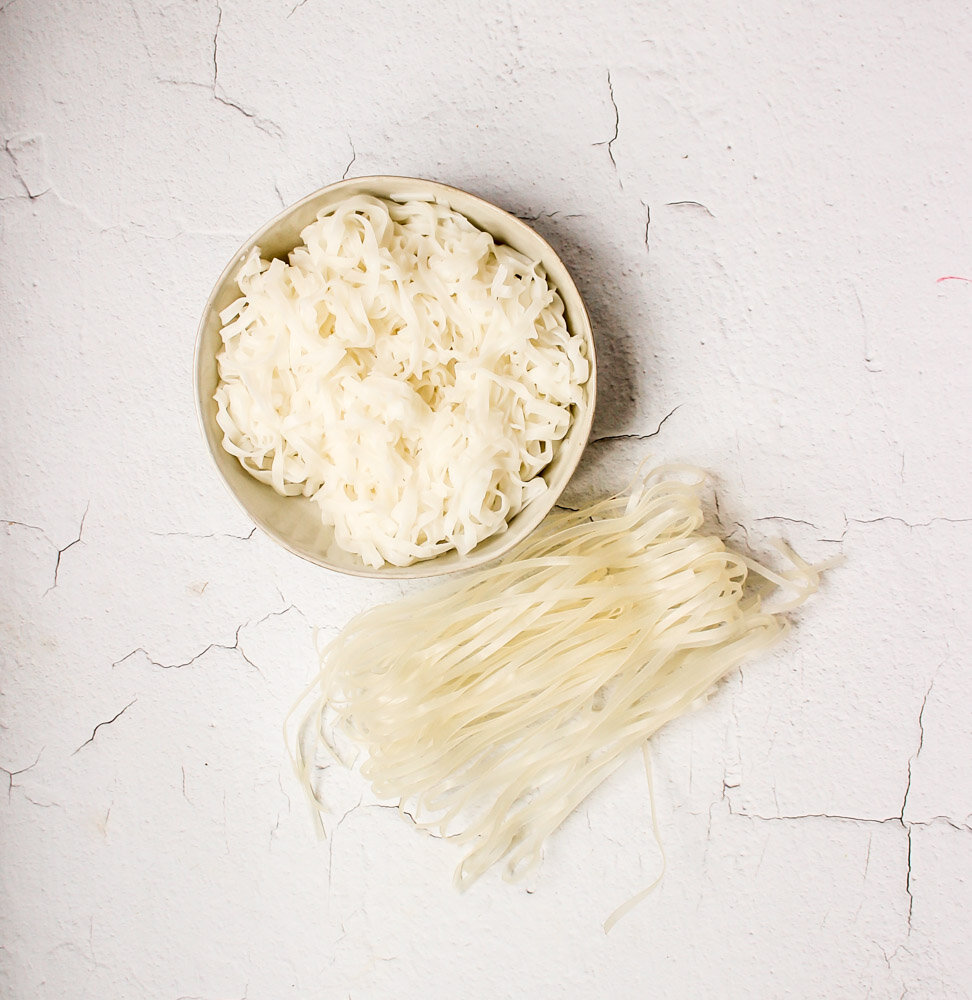
8 oz rice noodles (measure dry)
1 Tbsp coconut oil
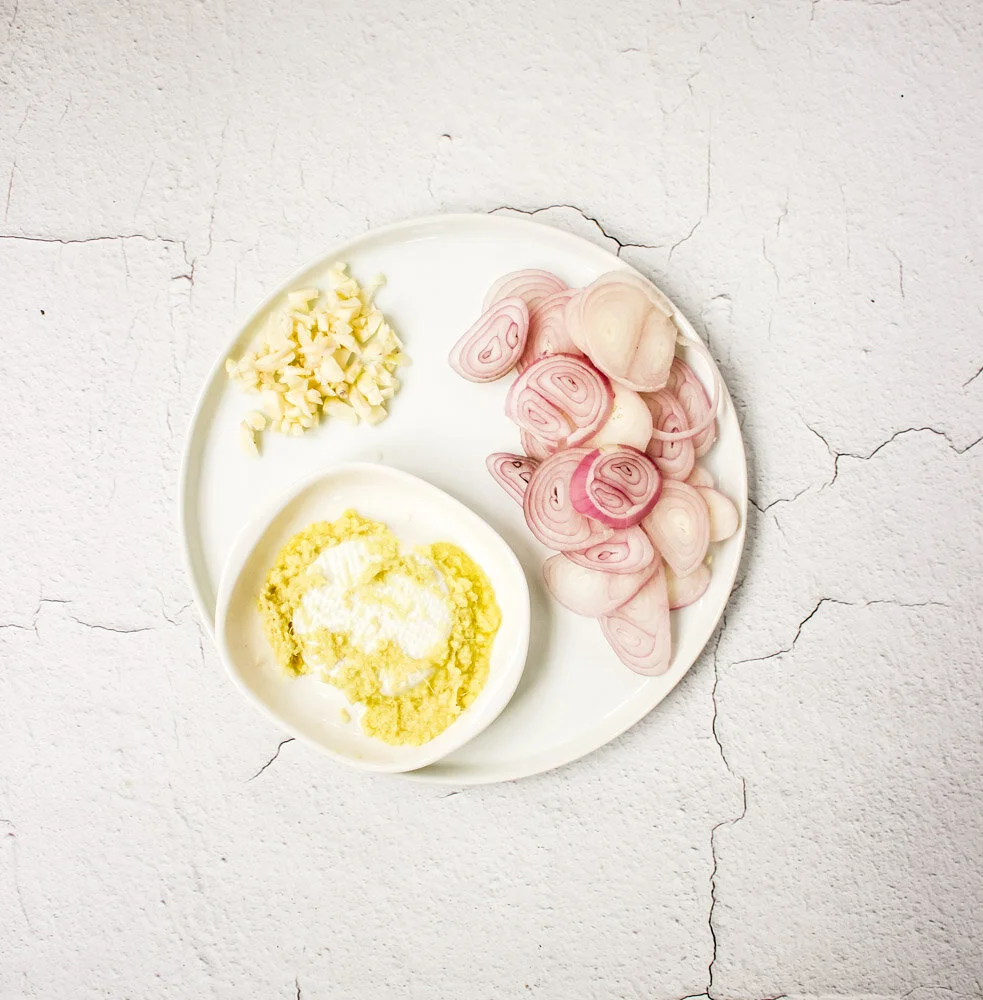
2 large shallots, thinly sliced
4 large garlic cloves, minced
½ inch piece of fresh ginger, finely grated (about 1 tsp)
1 tsp turmeric
¼ tsp black pepper
½ tsp kosher salt
1 can coconut milk
1½ -2 Tbsp honey
1-2½ Tbsp fish sauce (to taste)
1-2 cups shredded kale/bok choi/greens of any kind
Cook your noodles according to the package directions. If your package gives a range of cooking times, choose the lowest time. If it doesn’t give a range, subtract 1-2 minutes from the total. You’ll continue to cook the noodles in the sauce, so you want them al dente.
While the water is boiling and the noodles are cooking, get your other ingredients together.
Melt the coconut oil over medium heat. Add the shallots and cook for 2-3 minutes until the onions are soft and translucent. Add the garlic and the ginger and cook for another 1 minute, until fragrant.
Add the turmeric, pepper, and salt and stir well to coat the onion and garlic mixture. Let cook for 1 minute until fragrant.
Add the coconut milk and stir to melt any solids. Add 1½ Tbsp of honey and 1 Tbsp of fish sauce and stir well. Increase the heat to medium-high and bring the mixture to a boil. Reduce the heat to medium-low. Taste the sauce for seasonings and add more honey and fish sauce to taste.
Add the noodles and shredded greens to the sauce and stir well. Let cook, bubbling slightly, until the sauce has thickened to your liking, the noodles are fully cooked, and the greens are wilted, about 4-5 minutes.
Chicken and apple breakfast sausages

These chicken and apple breakfast sausage patties are super quick, packed with flavor, and a great way to add some lean protein to your breakfasts.
So! It’s been forever since I last posted because, like half of the food bloggers I follow, I’ve been busy cooking something else: A BABY. Normally I have a strong sense of smell, but pregnancy turns me into a bloodhound. Combine that with constant nausea, and you can imagine how I’ve felt about cooking or looking at food photos or being in the kitchen or even opening the refrigerator door.
Luckily, I started working on a homemade version of chicken and apple sausages (a family favorite) WAY before they started making me nauseous, so I know they’re good. Plus, they’re easy to whip up over the weekend and then store or freeze for future breakfasts. OR, if you’re feeling ambitious, you can even make them on a weekday morning if you’re one of those people with your shit together on school days.
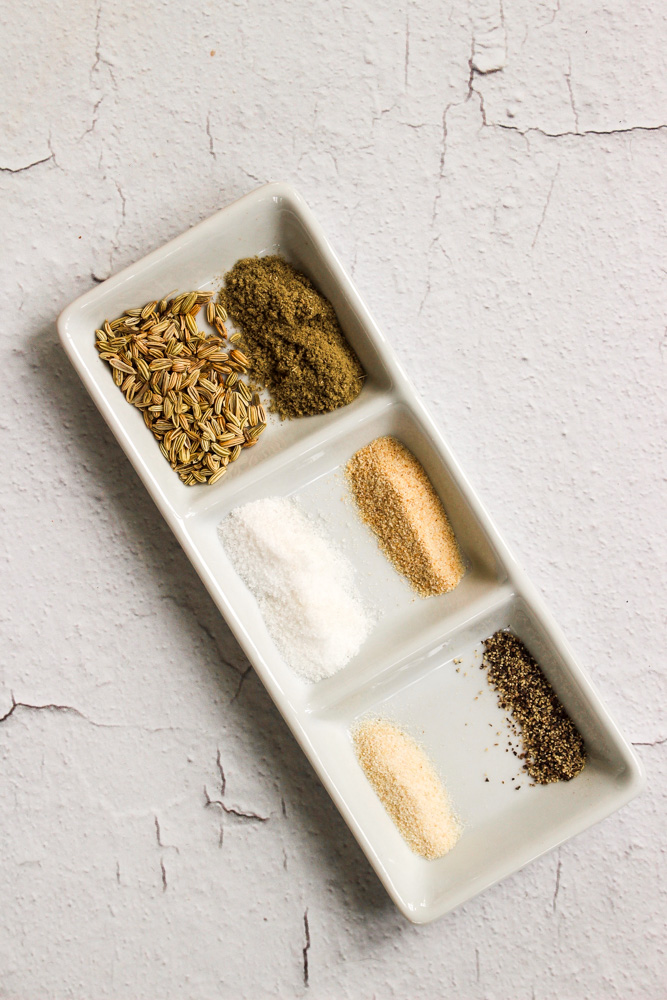
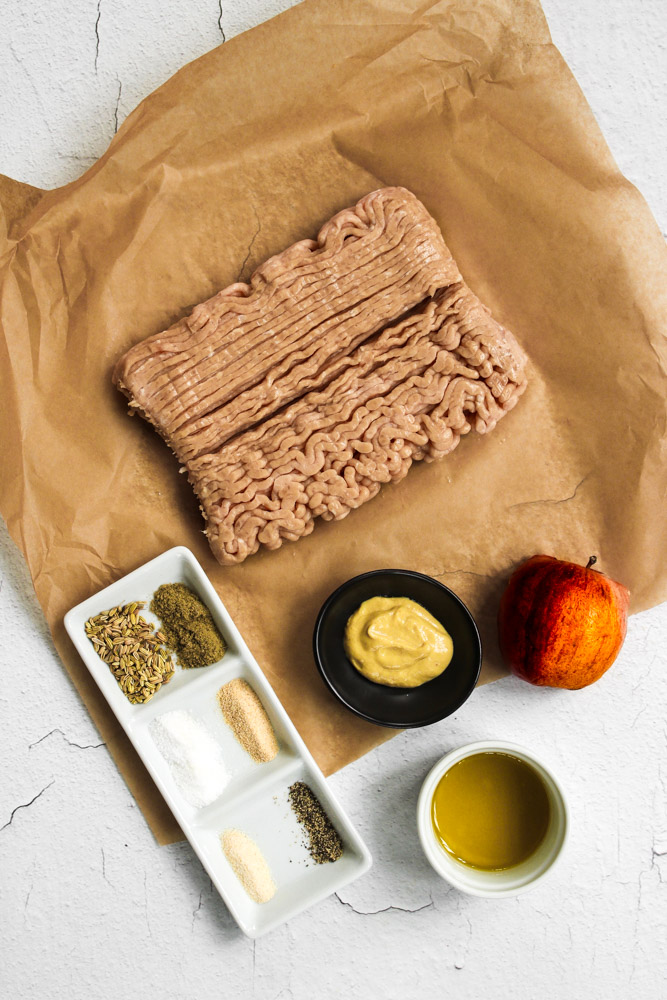
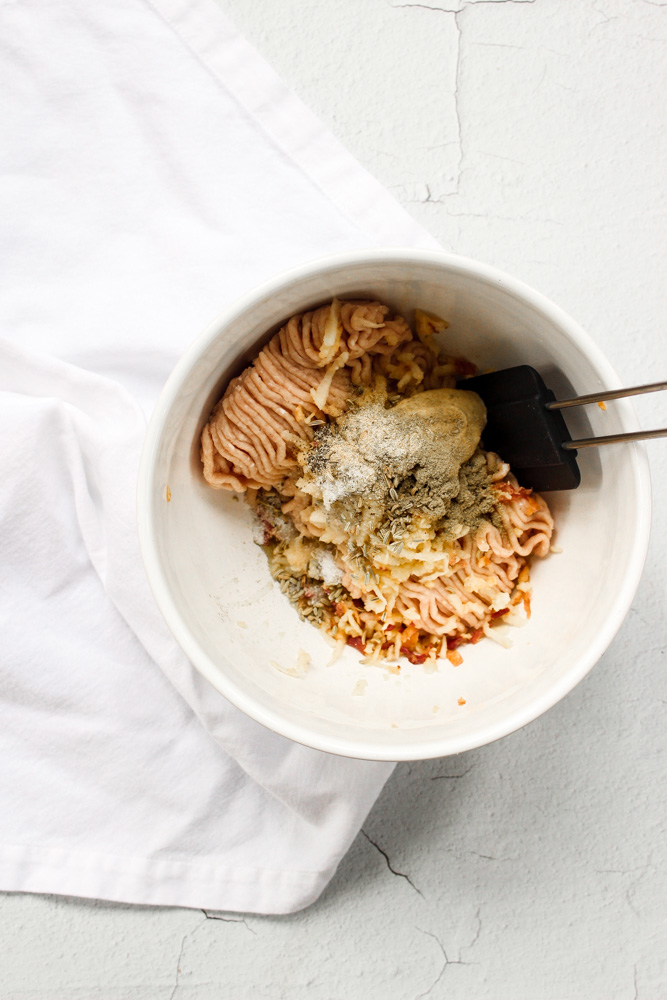
I fiddled around a lot with the spice mix so that it would be strong enough to compensate for how little fat is in the recipe. I use a combination of fresh and dried sage but you could certainly opt for a single type. If you like less garlic or just milder flavors generally, cut back on the garlic powder and the patties will still taste great.
A note about the fat we add: It’s only a Tbsp, which may feel like too little or too much depending on where you stand and you may be tempted to add more or leave it out. But I’ve found that 1 Tbsp is enough to keep the meat from drying out without making it taste oily or making the texture crumbly.
And the apple adds a little sweetness and a little moisture.
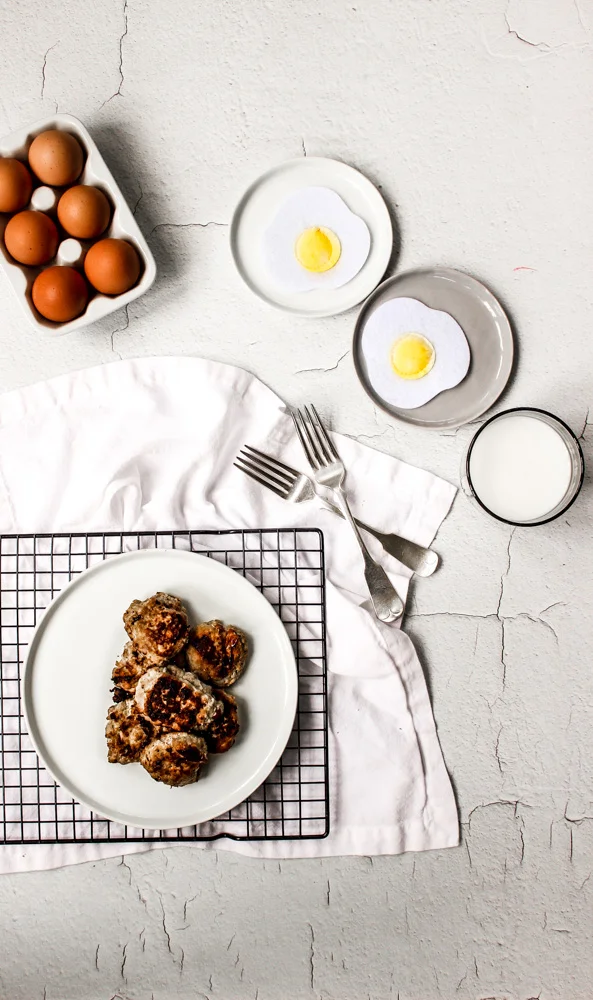
Chicken and apple breakfast sausages
Time: 15 total (5 prep, 10 cooking)
Yield: 16 patties
1 lb ground chicken, (7-8% fat)
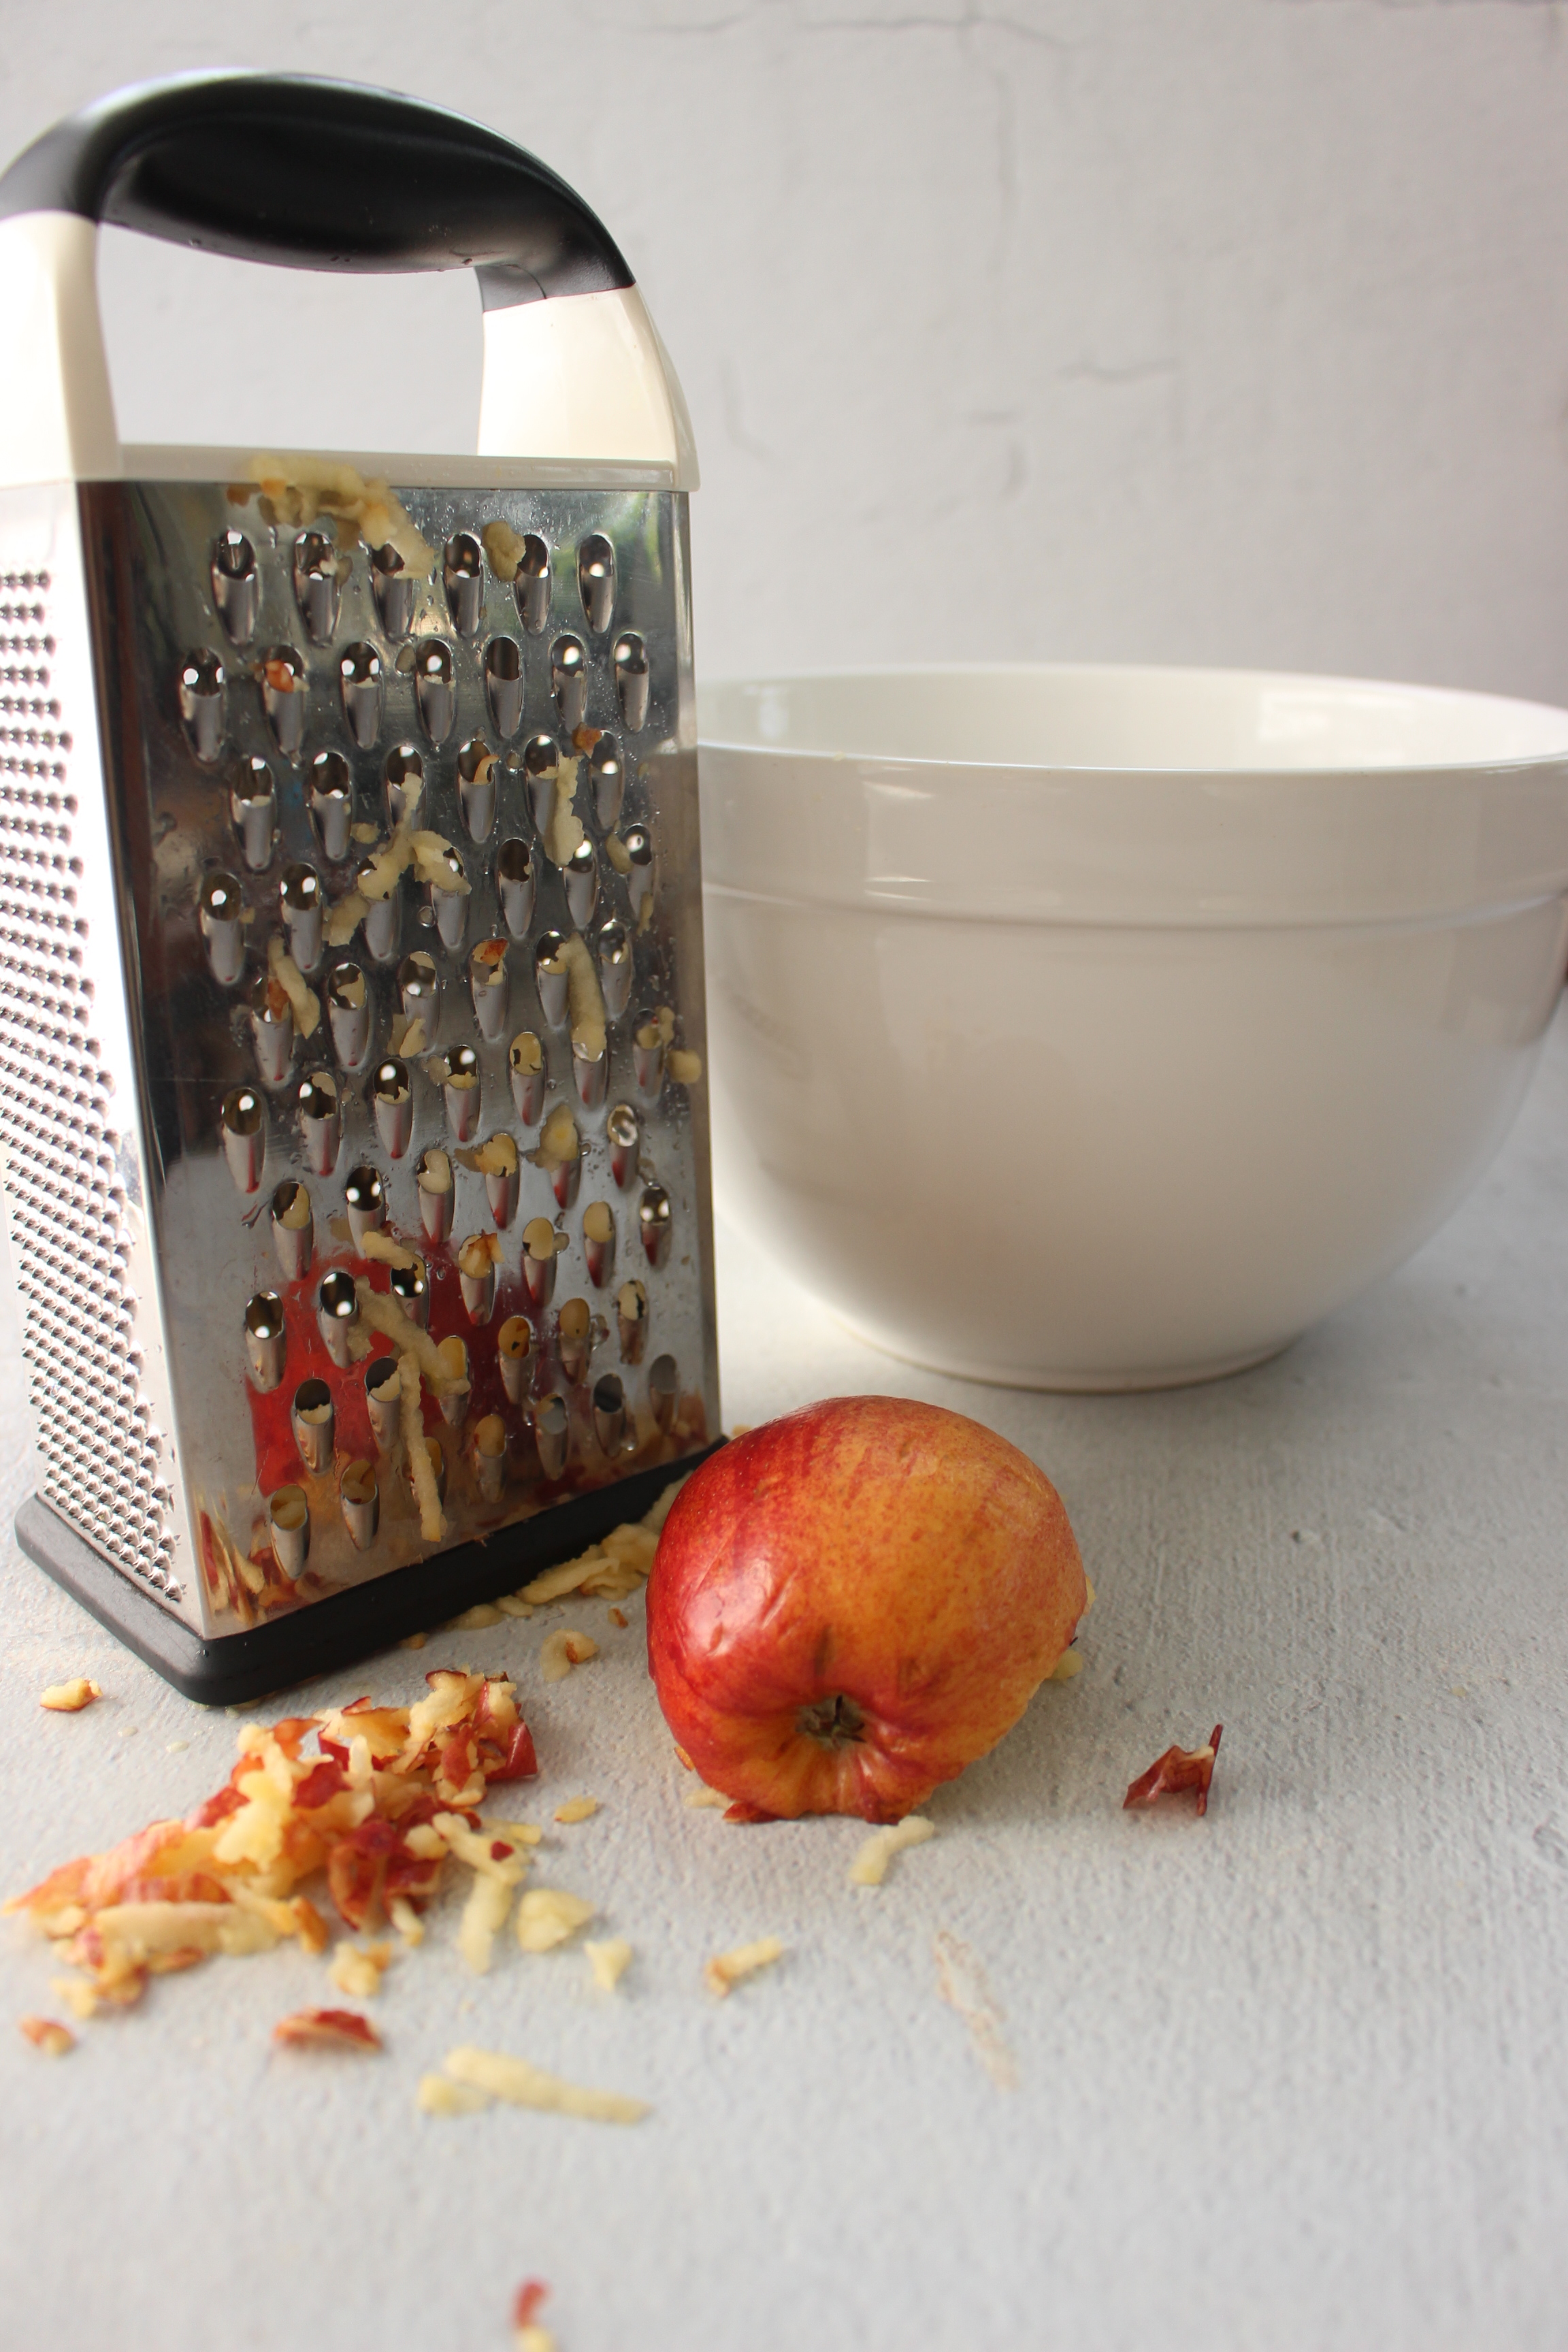
1 small apple, shredded (about ½ cup of apple)
2 Tbsp olive oil, divided
1 Tbsp Dijon mustard
1 tsp dried sage
1 tsp fennel seeds
½ tsp garlic powder
¼ tsp onion powder
1 tsp kosher salt
¼ tsp pepper
Combine the chicken, shredded apple, 1 Tbsp olive oil, and the rest of the ingredients in a large bowl. Mix just until all of the ingredients are combined.
In a large skillet, heat ½-1 Tbsp of oil over a medium flame until hot. (If you’re cooking the sausages in batches, use half of the oil; otherwise, use it all.)
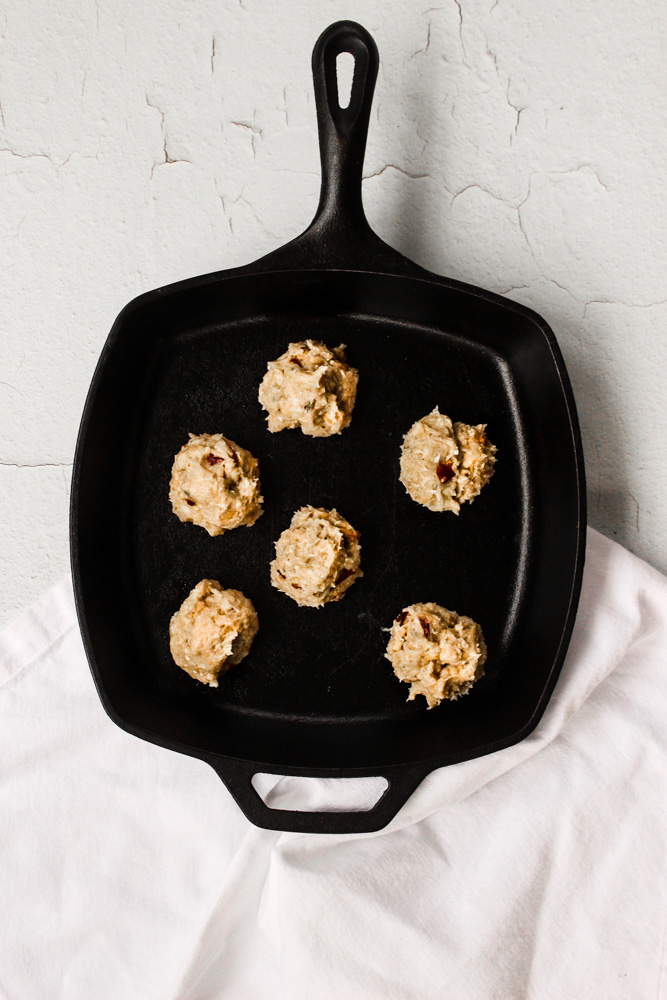
Scoop 2 Tbsp of chicken mixture into balls and place in the hot skillet. Push them down slightly to form round patties. Reduce the flame to medium low and cook until well browned on the bottoms, about 5 minutes.
Flip the patties and cook on the other side until the meat is cooked through, the patties feel firm to the touch, and/or the patties reach 165 on a meat thermometer, about 4 more minutes.