Instant pot chicken mole
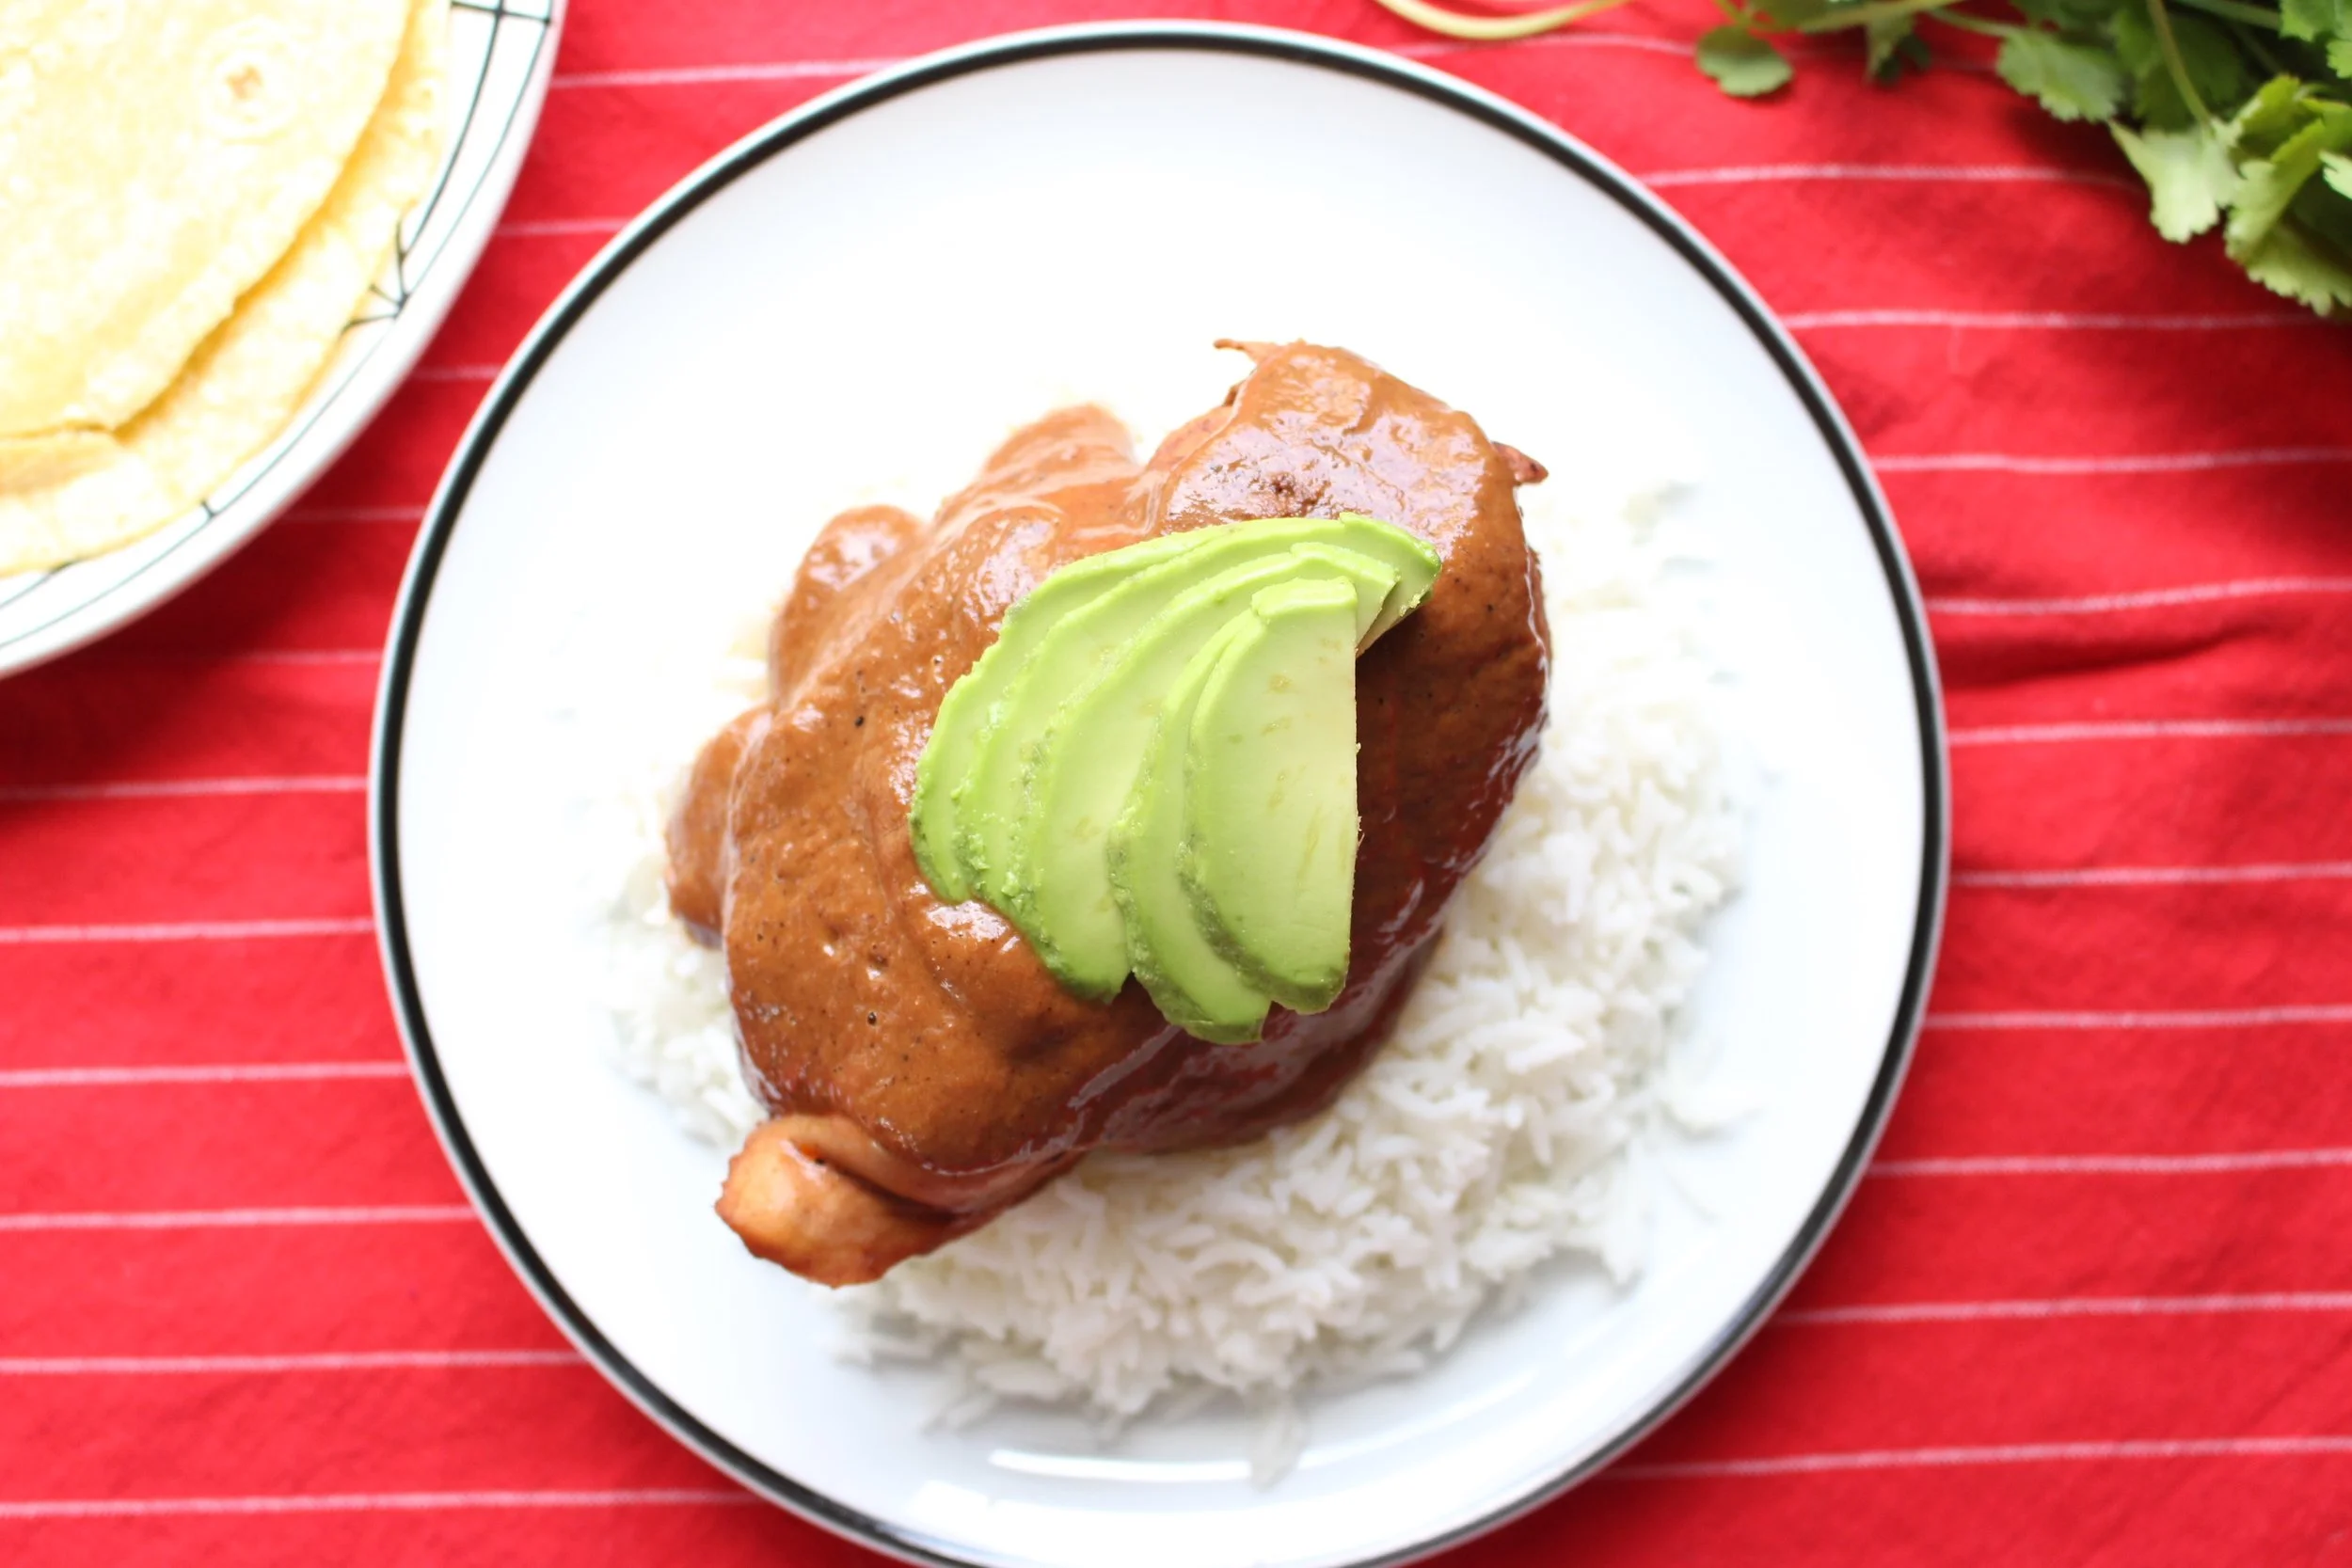
That's right. Mole. In an instant pot.
Now, hear me out. I don't claim that this mole is in ANY WAY authentic, but what is an authentic mole anyway? It seems to me that there are characteristics that qualify a sauce as mole, but that there is no one recipe to rule them all.
Now, I also realize that this dish is usually made with a huge list of spices and chiles, most of which you have to toast or hydrate, and that traditionally, these spices are ground by hand with a mortar and pestle.
But, WHO HAS THAT KIND OF TIME? Surely not parents of toddlers.
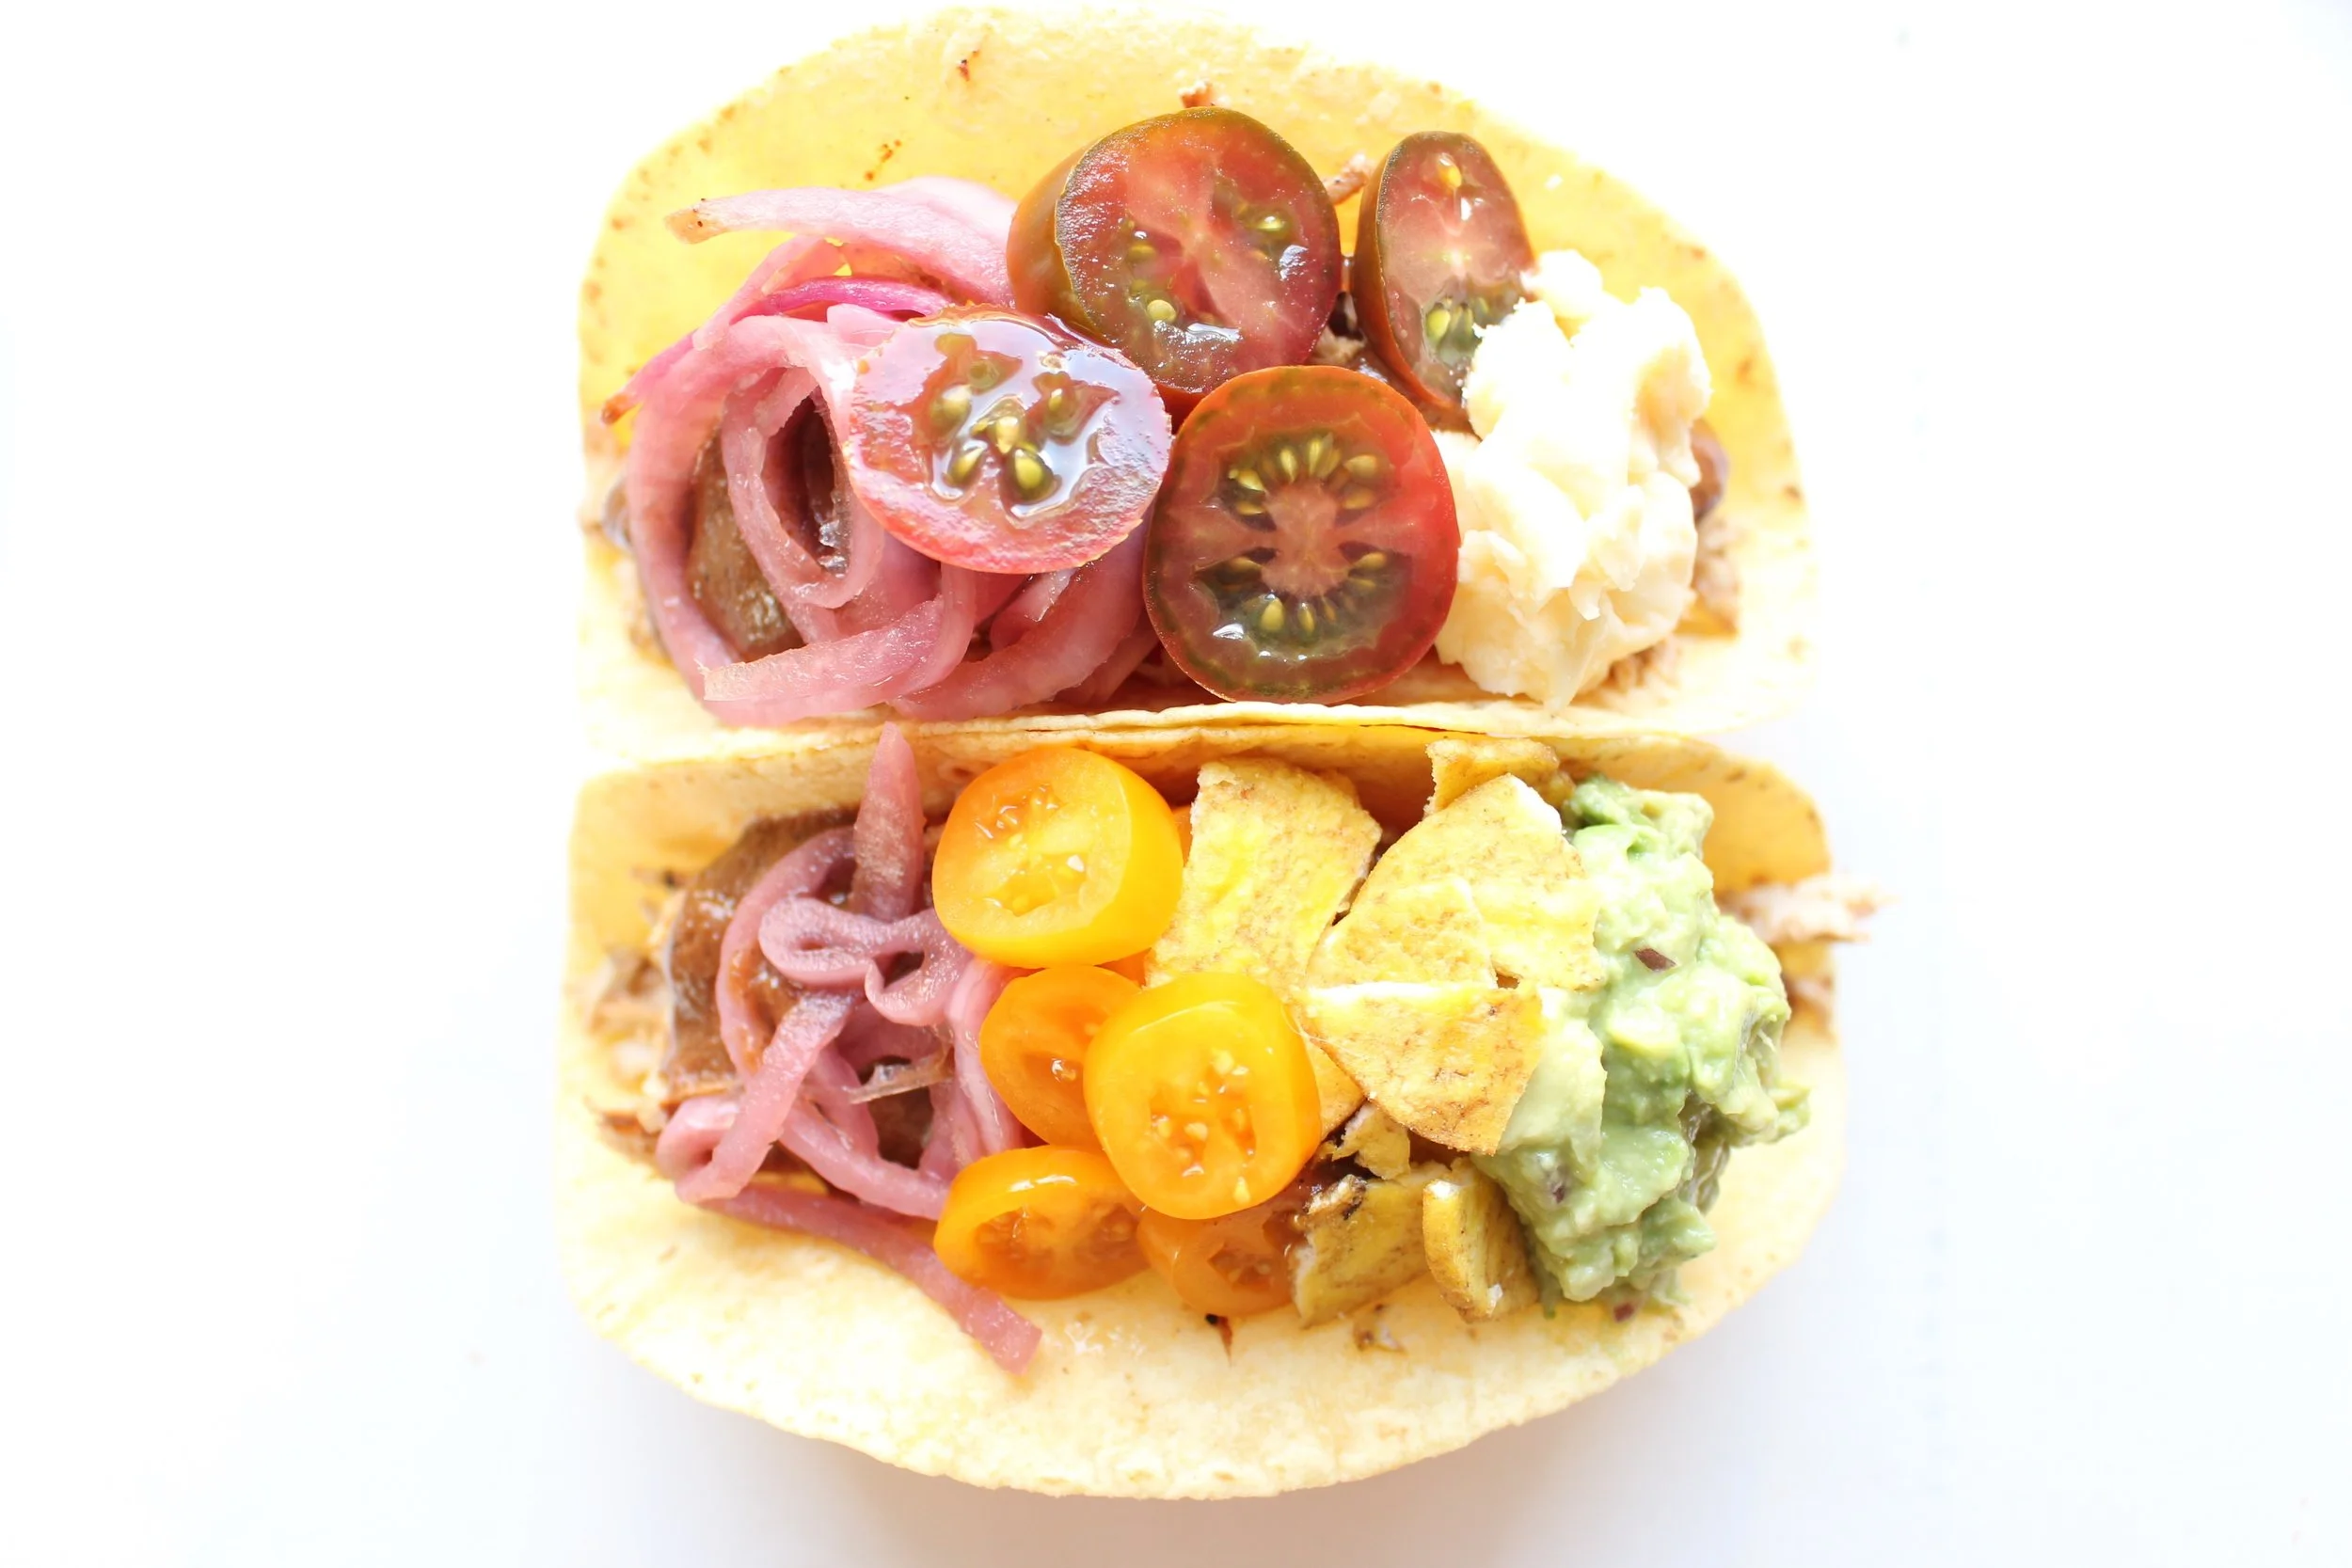
Instead, you can toss everything into an instant pot and have a really complex dinner on the table in about an hour (with most of that time being hands off).
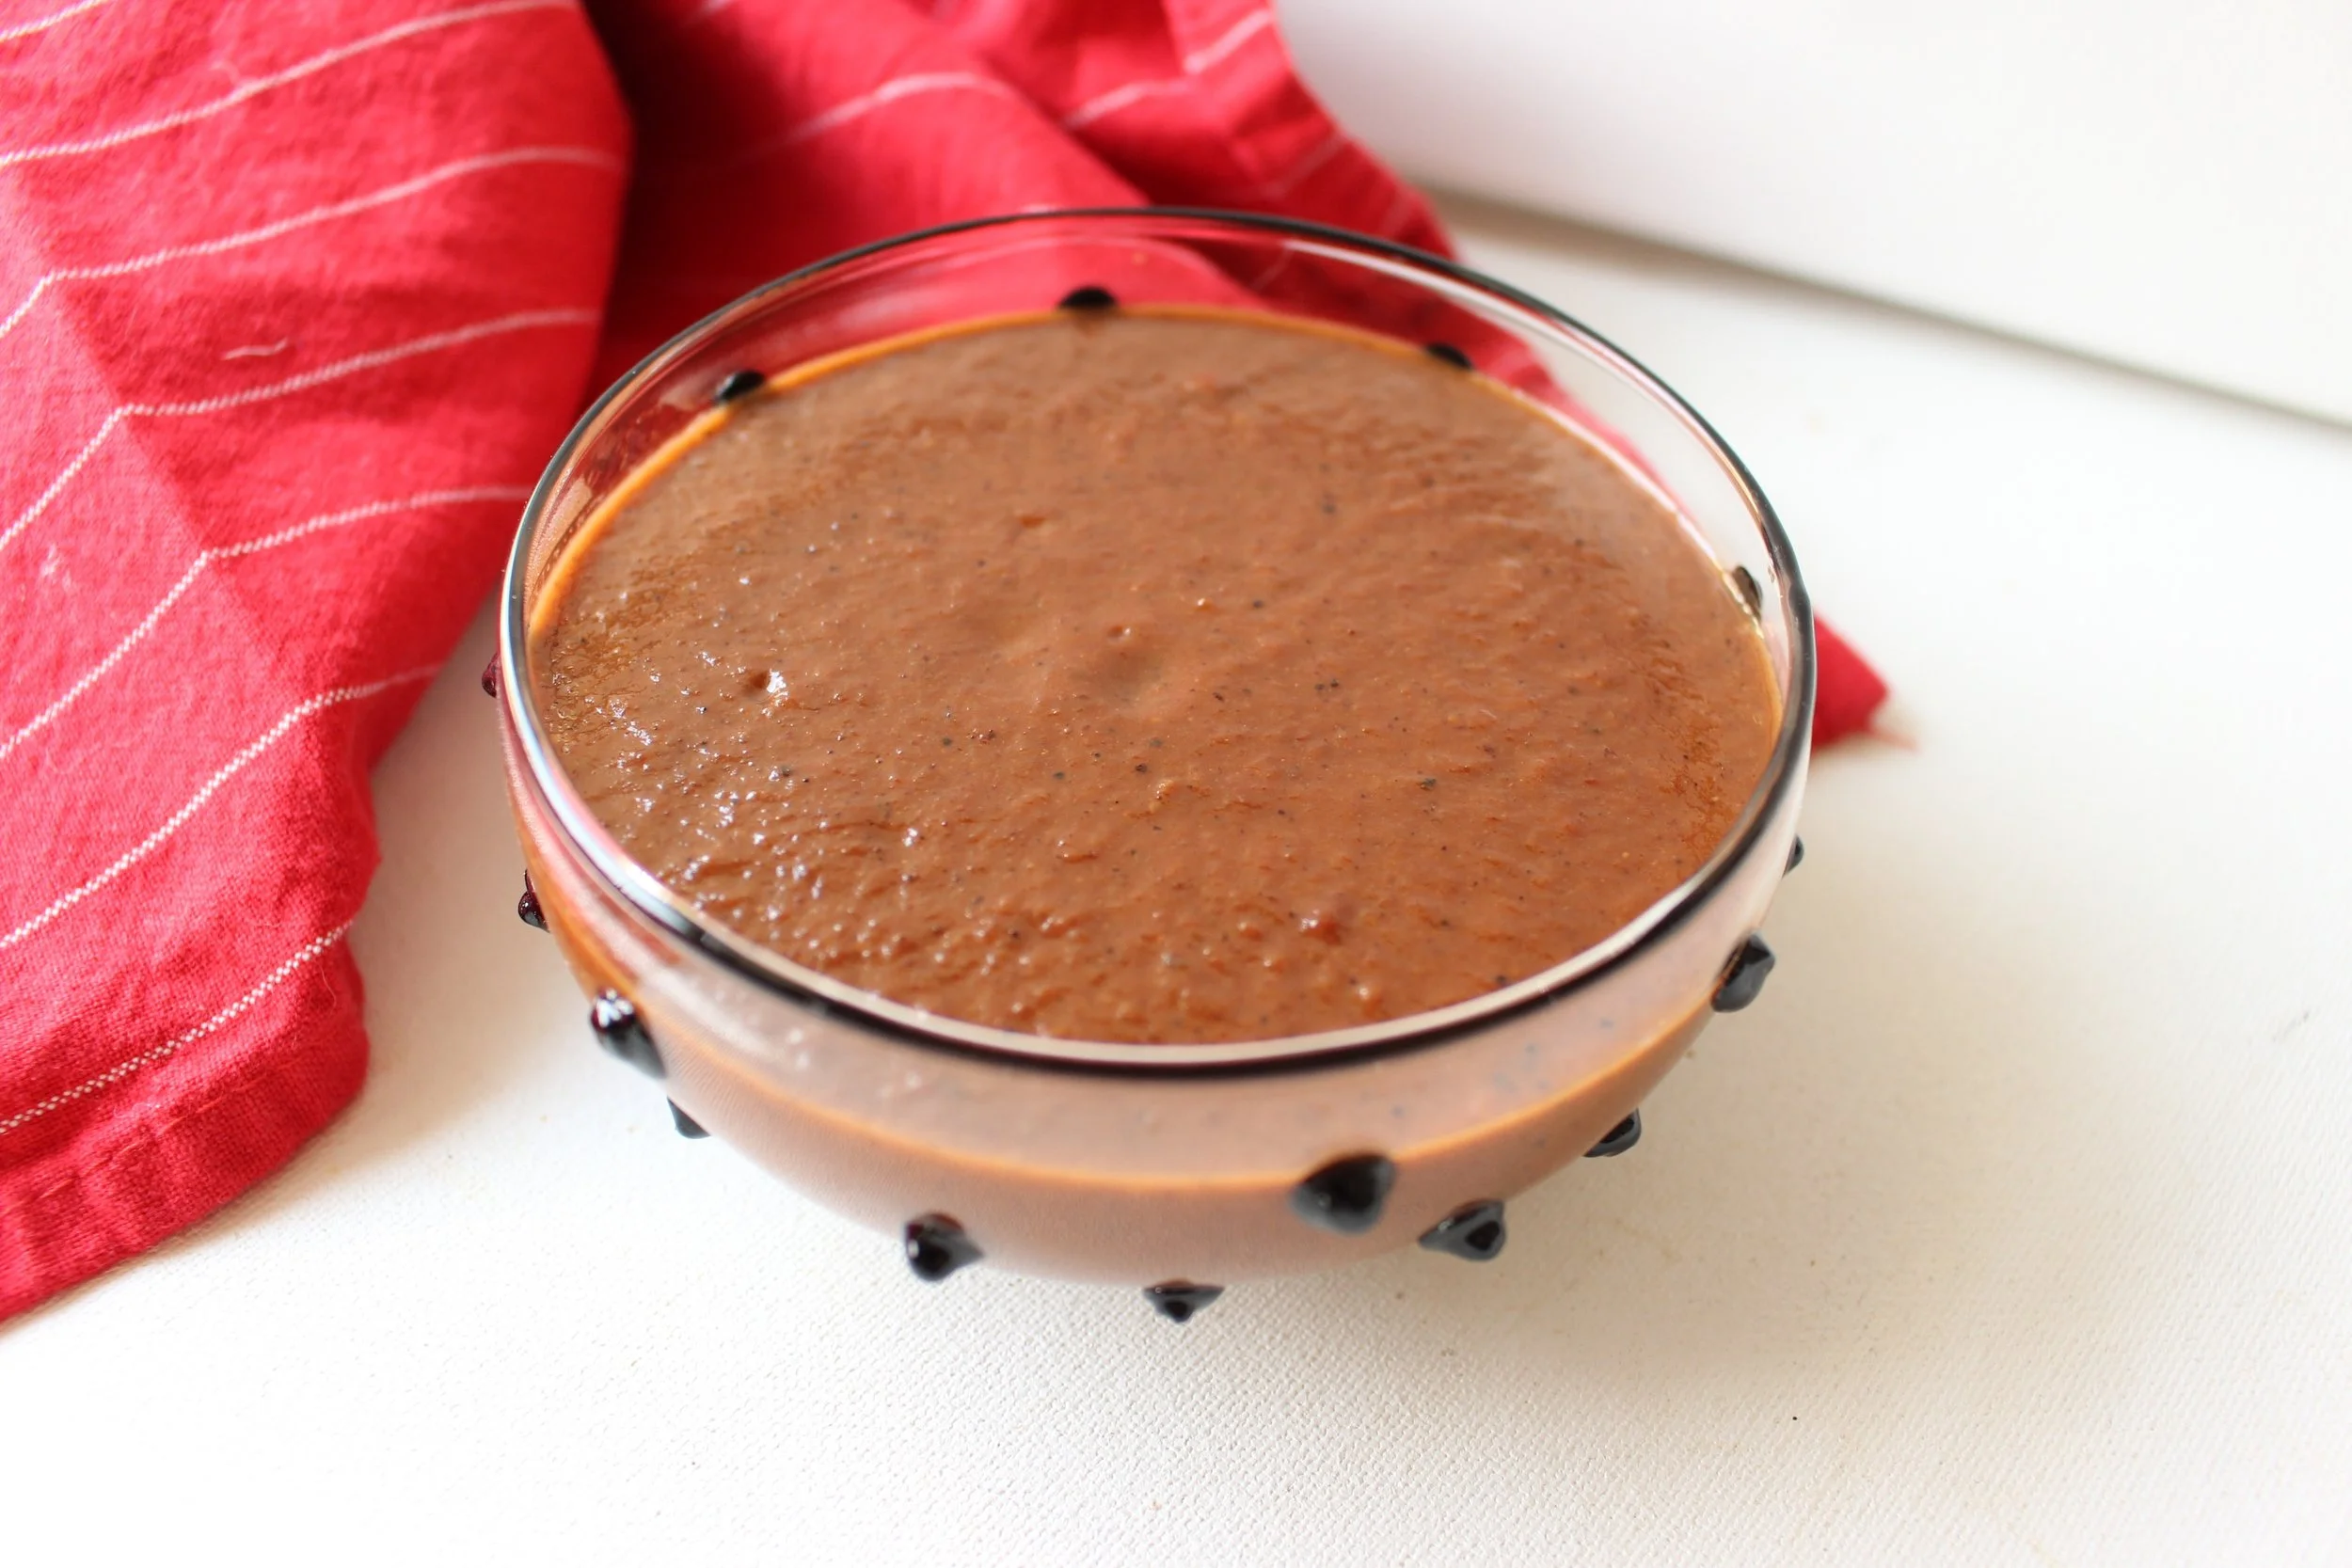
The most time consuming part of the process here is reducing the sauce after the chicken has been pressure cooked. You'll want to saute the liquid until it reduces by about half and when you scrape the bottom of the pot, the sauce doesn't re-cover the metal right away. That will be a good indication that the sauce is thick enough.
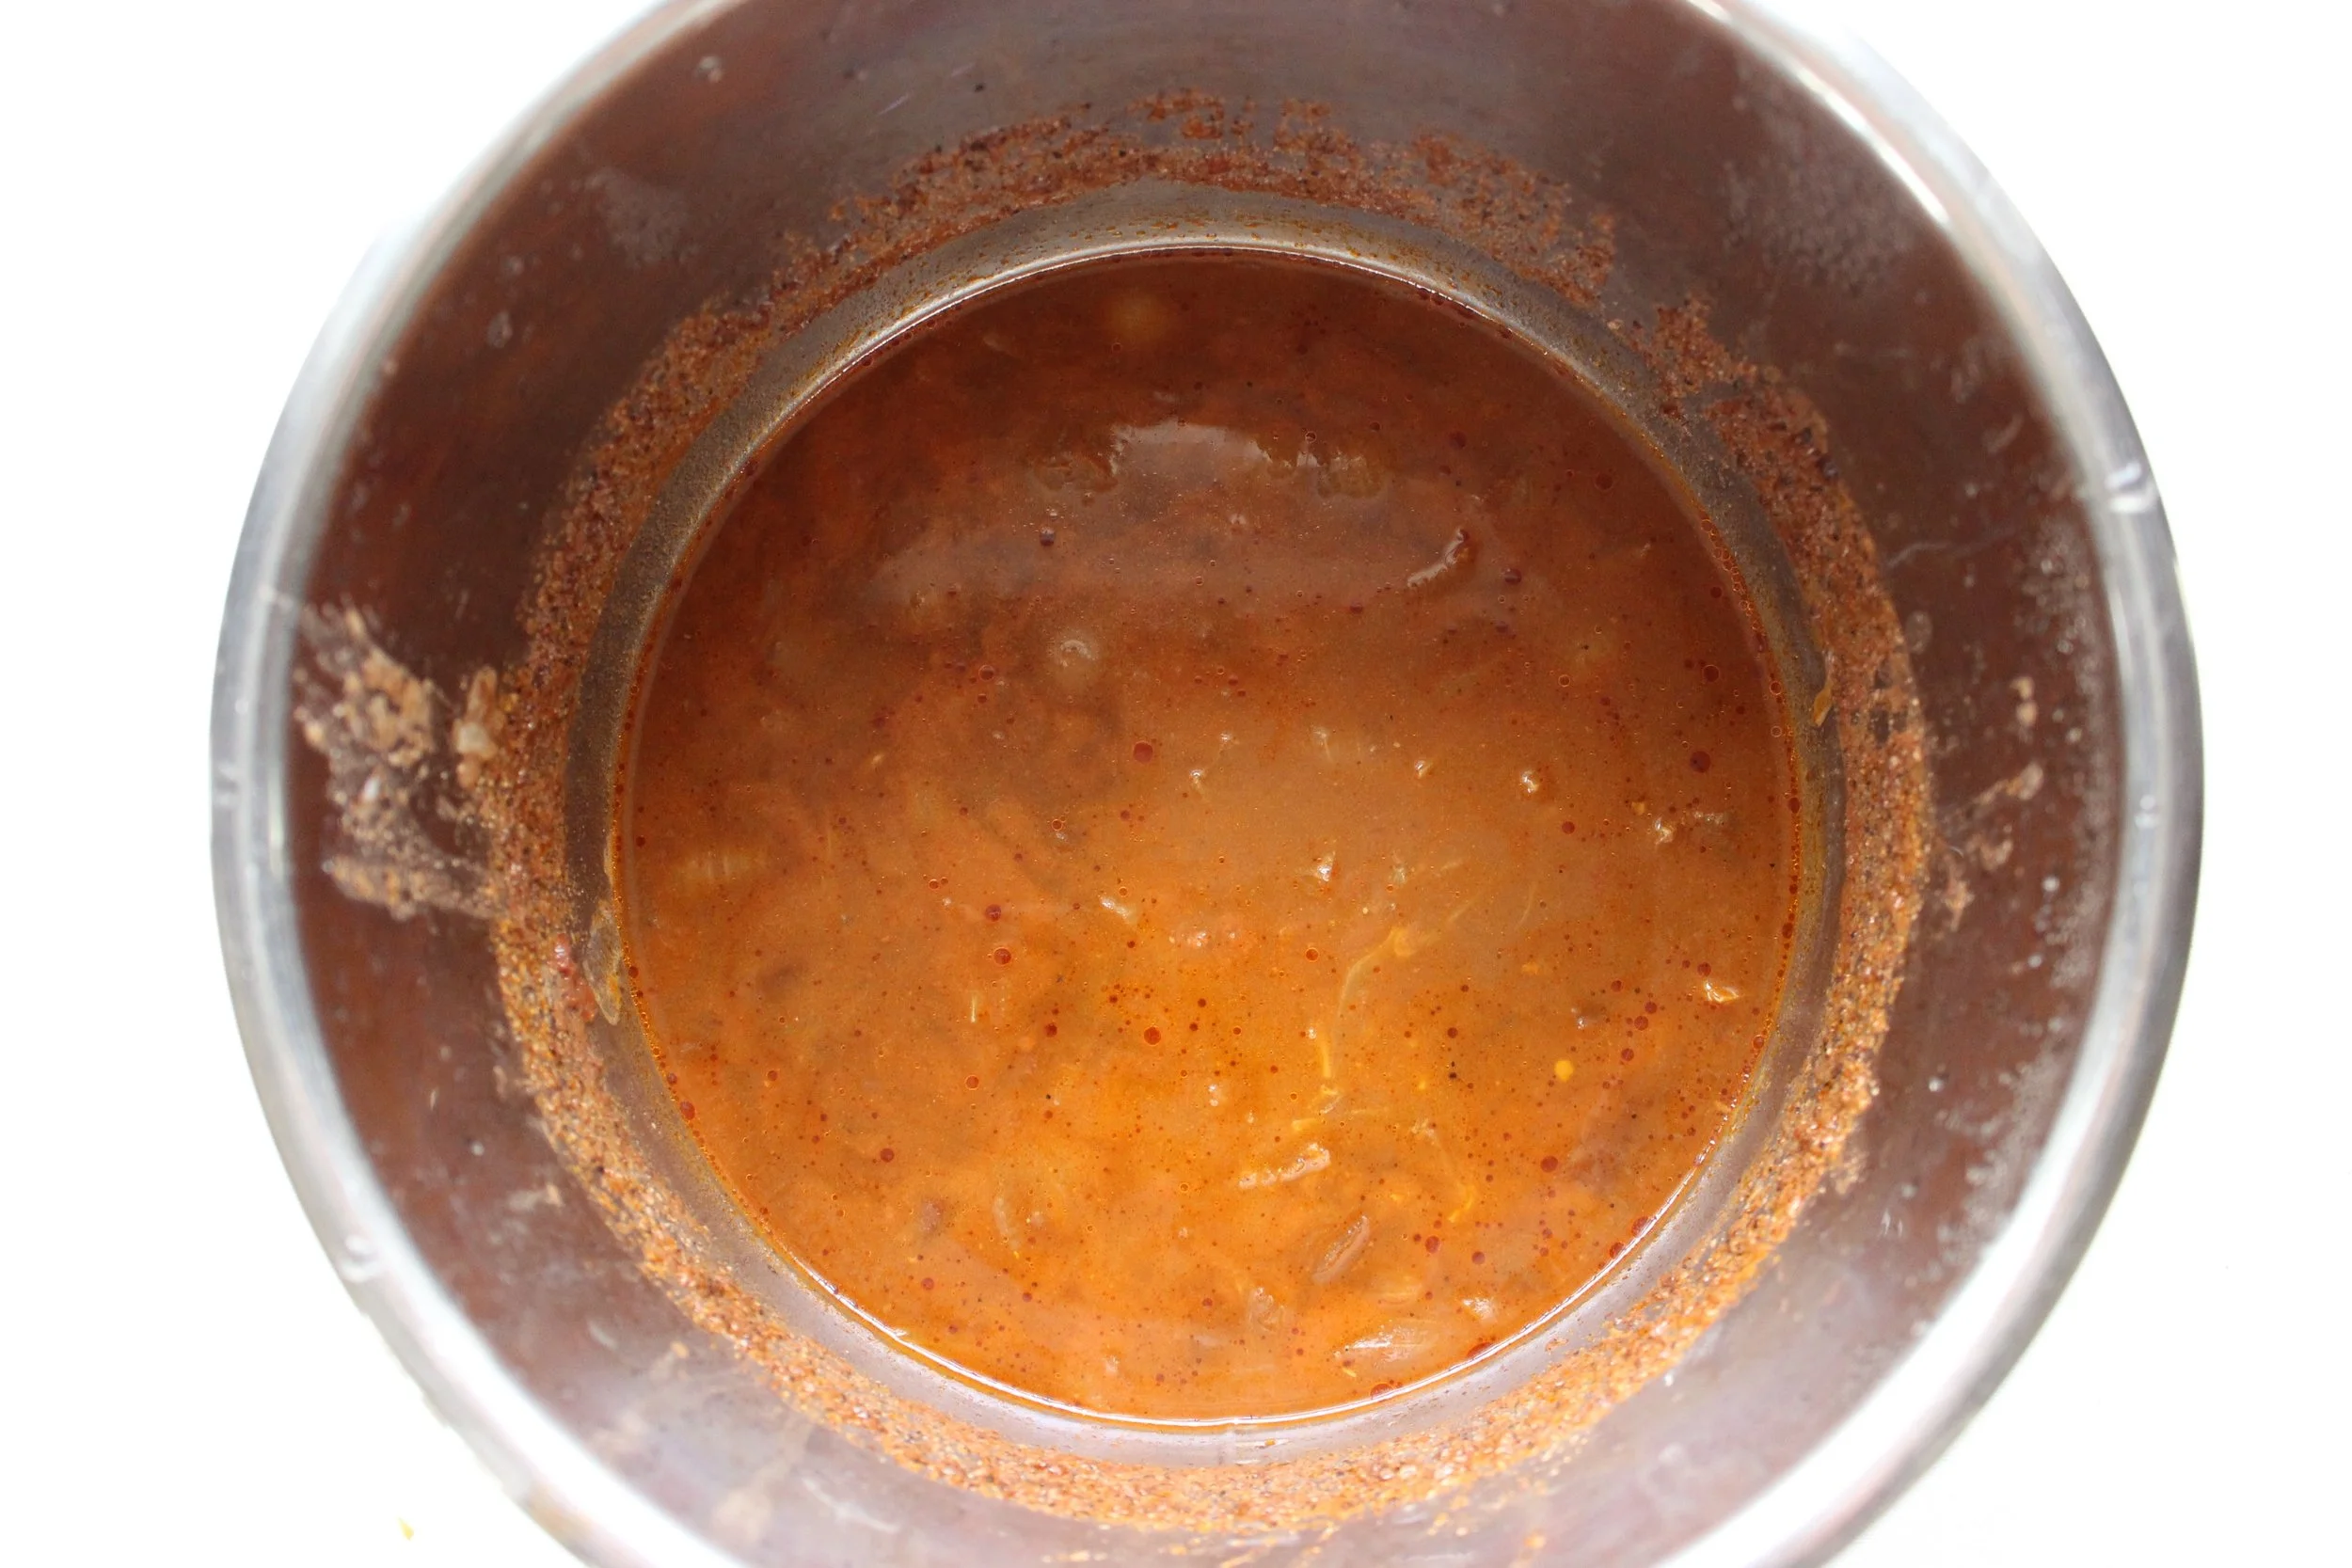
The sauce before thickening.
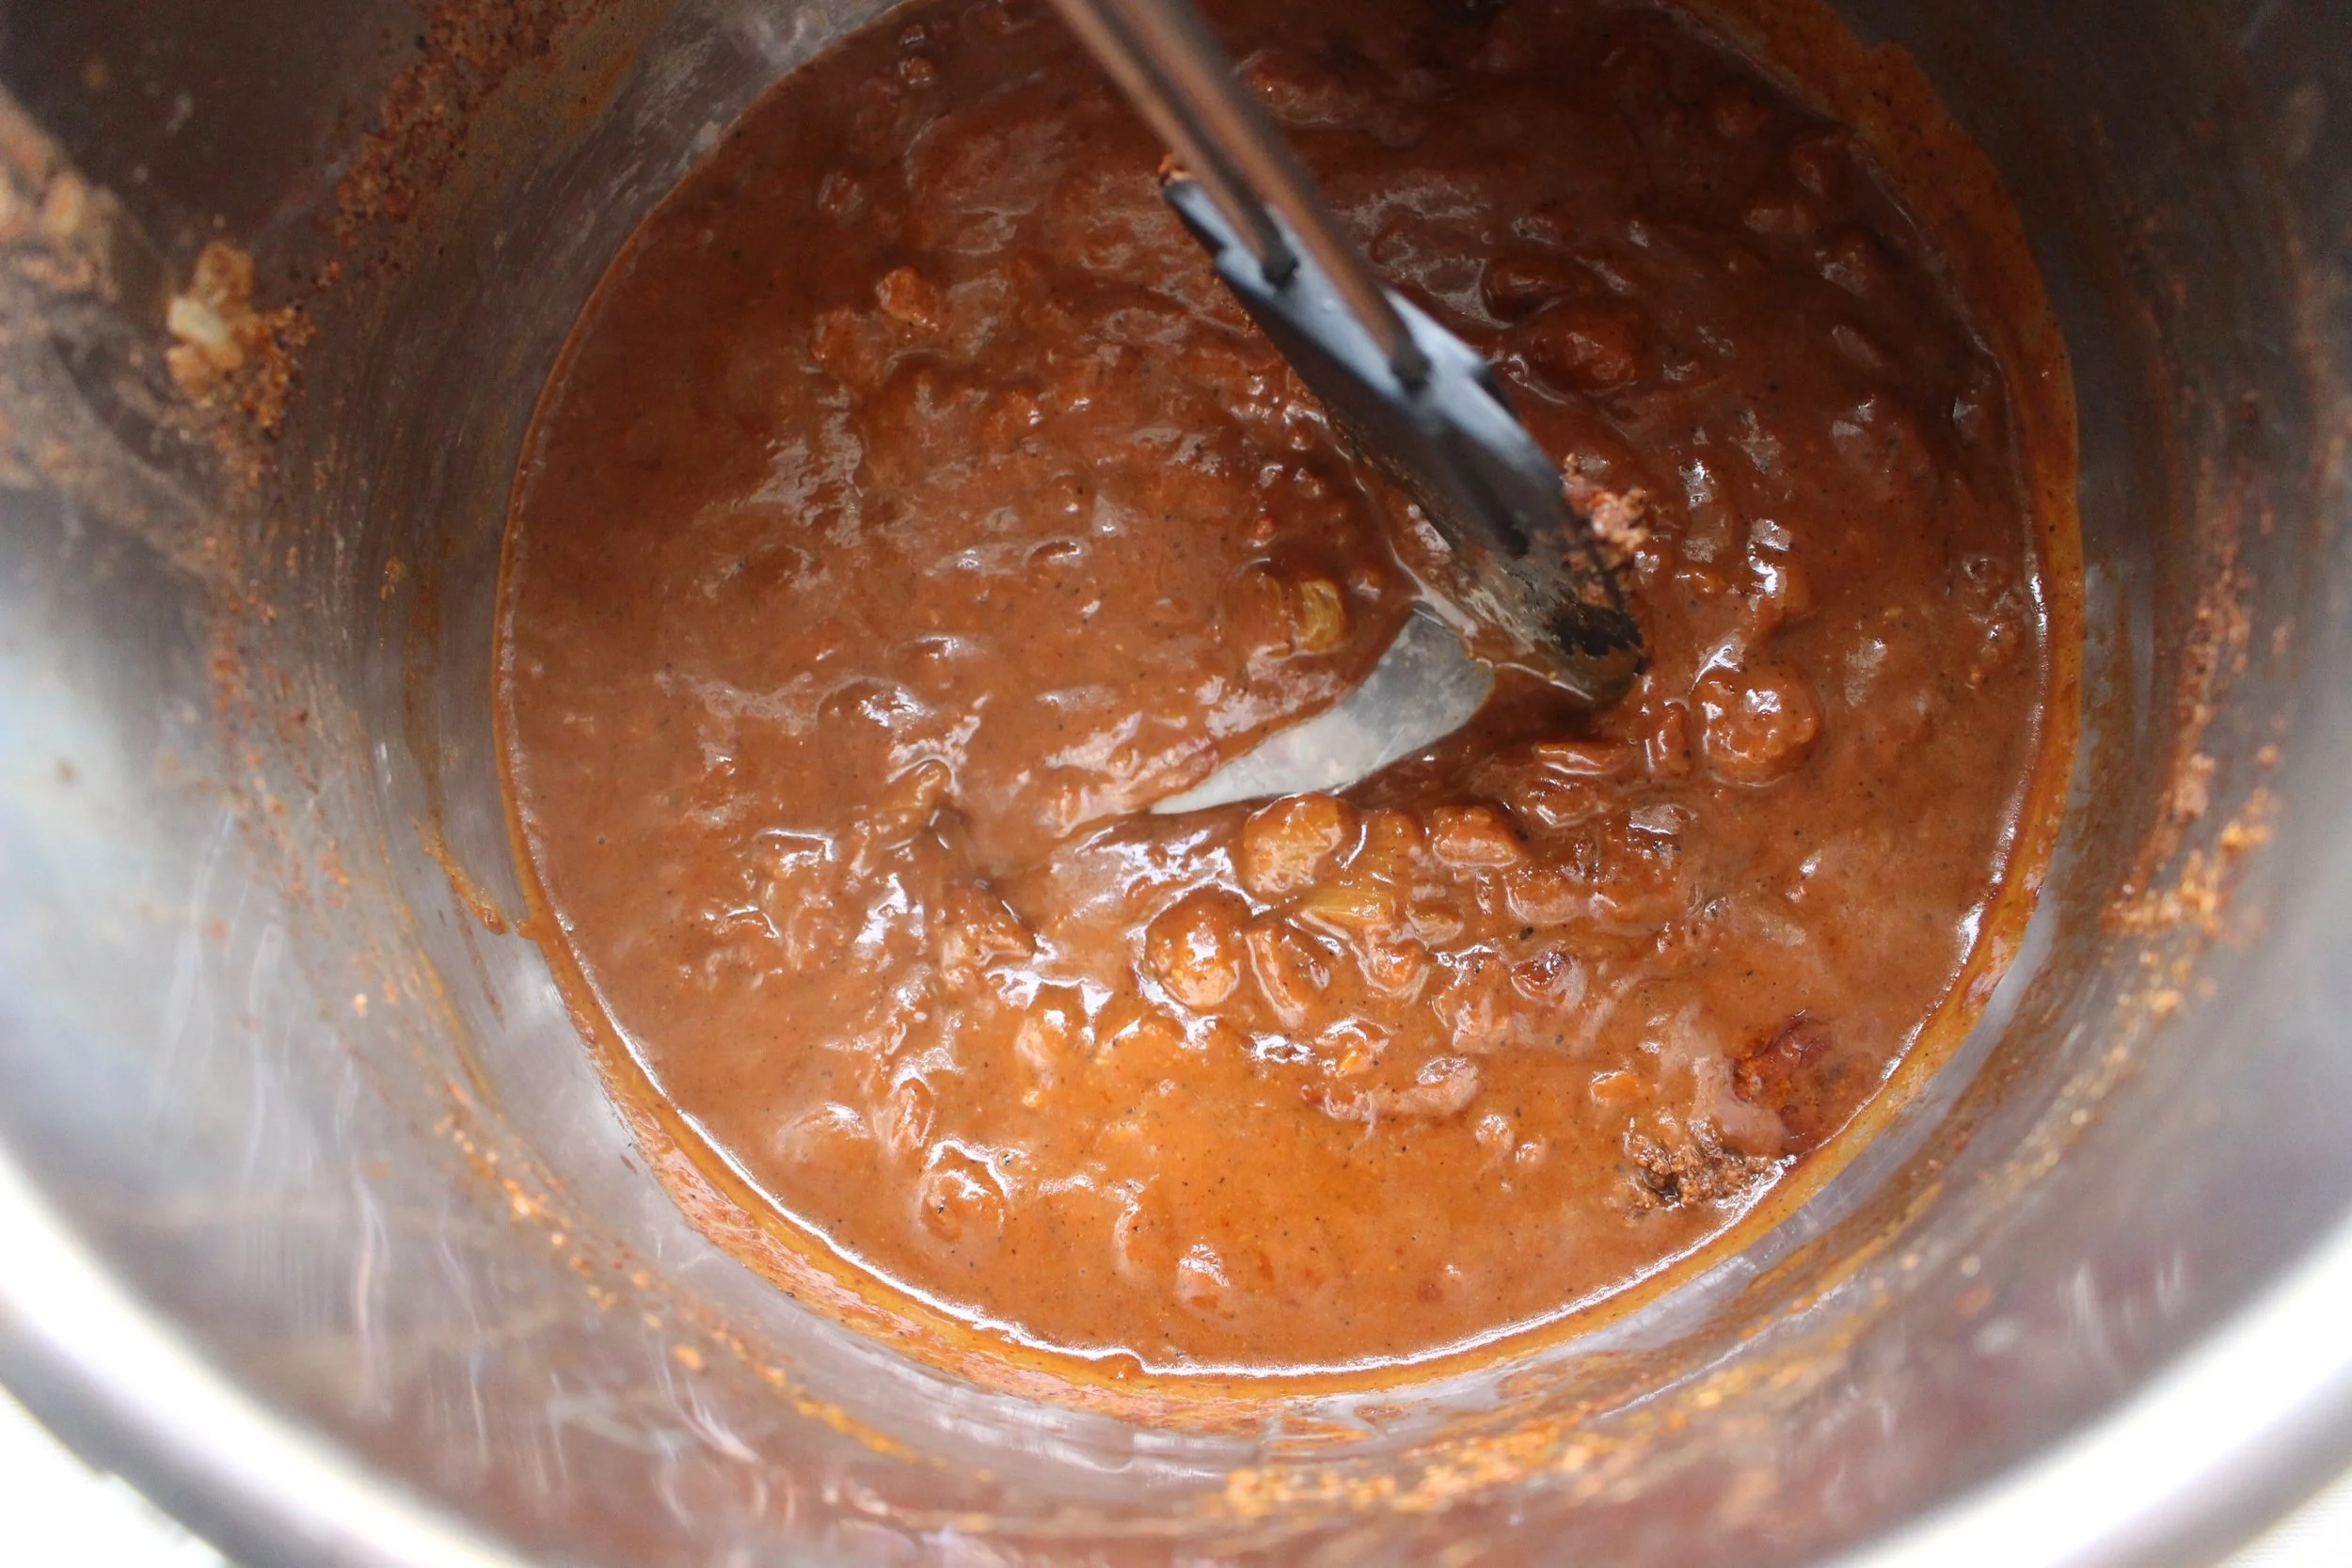
The sauce after being reduced. See how the sauce doesn't cover the metal right away?
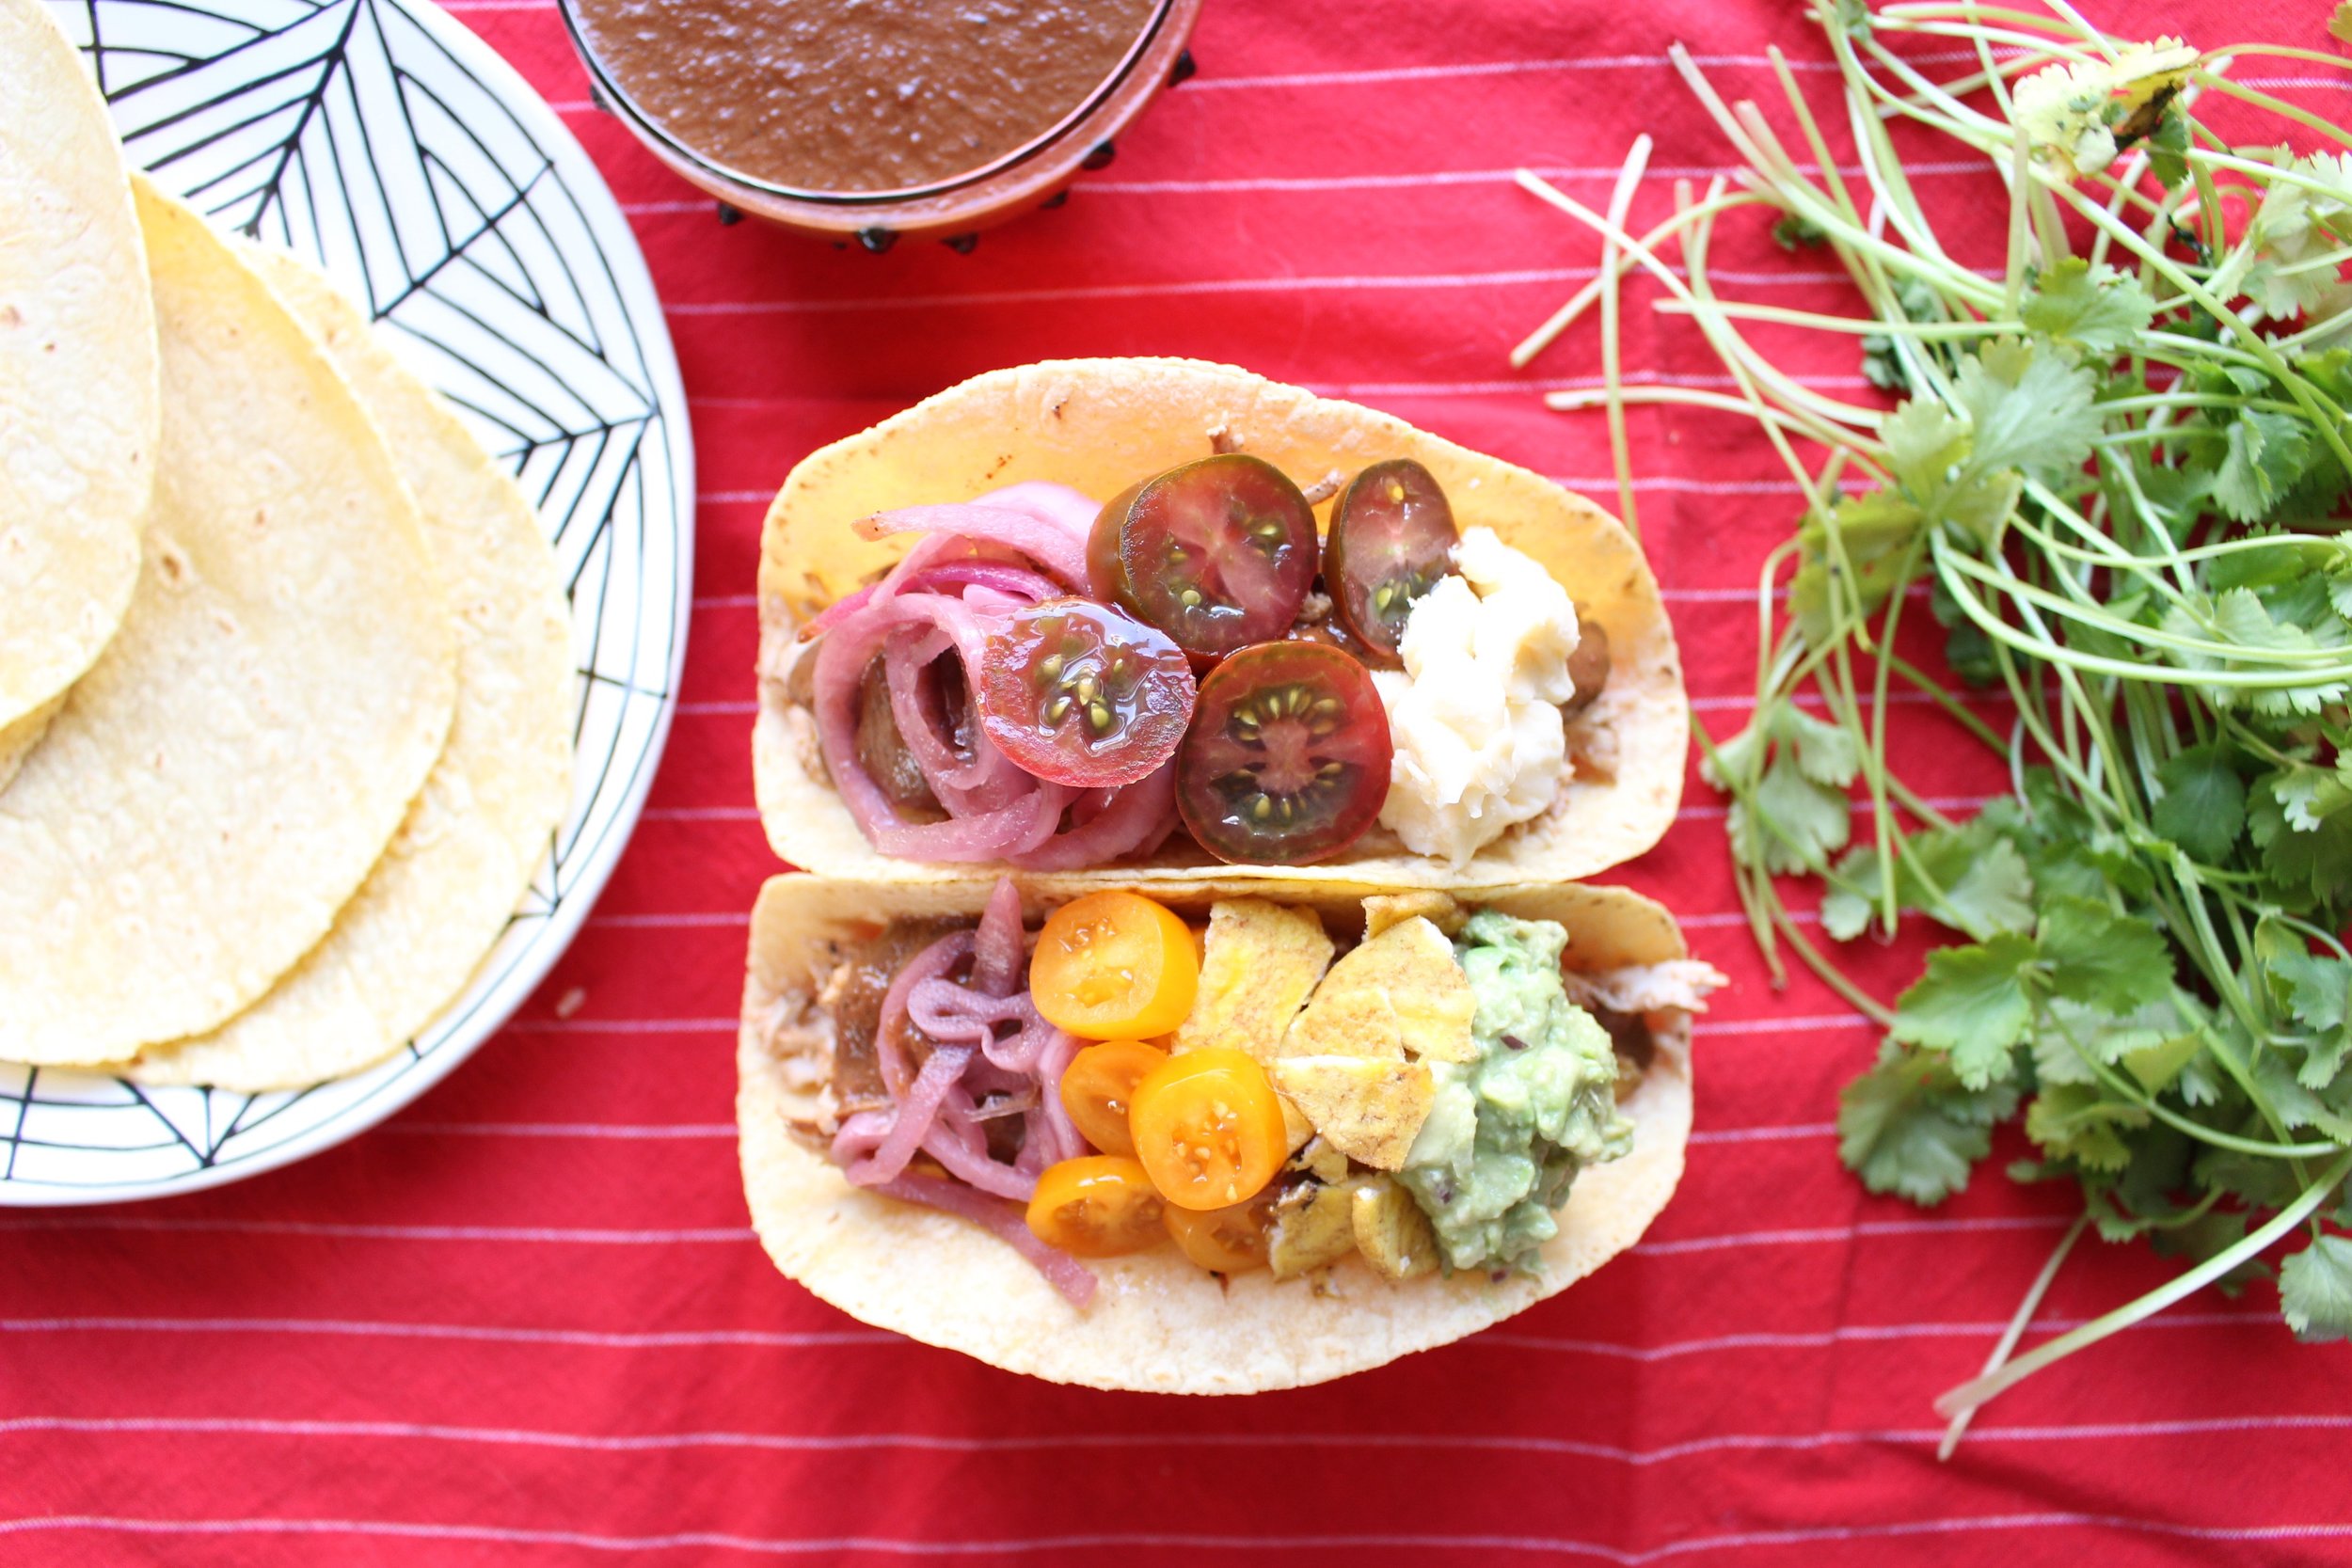
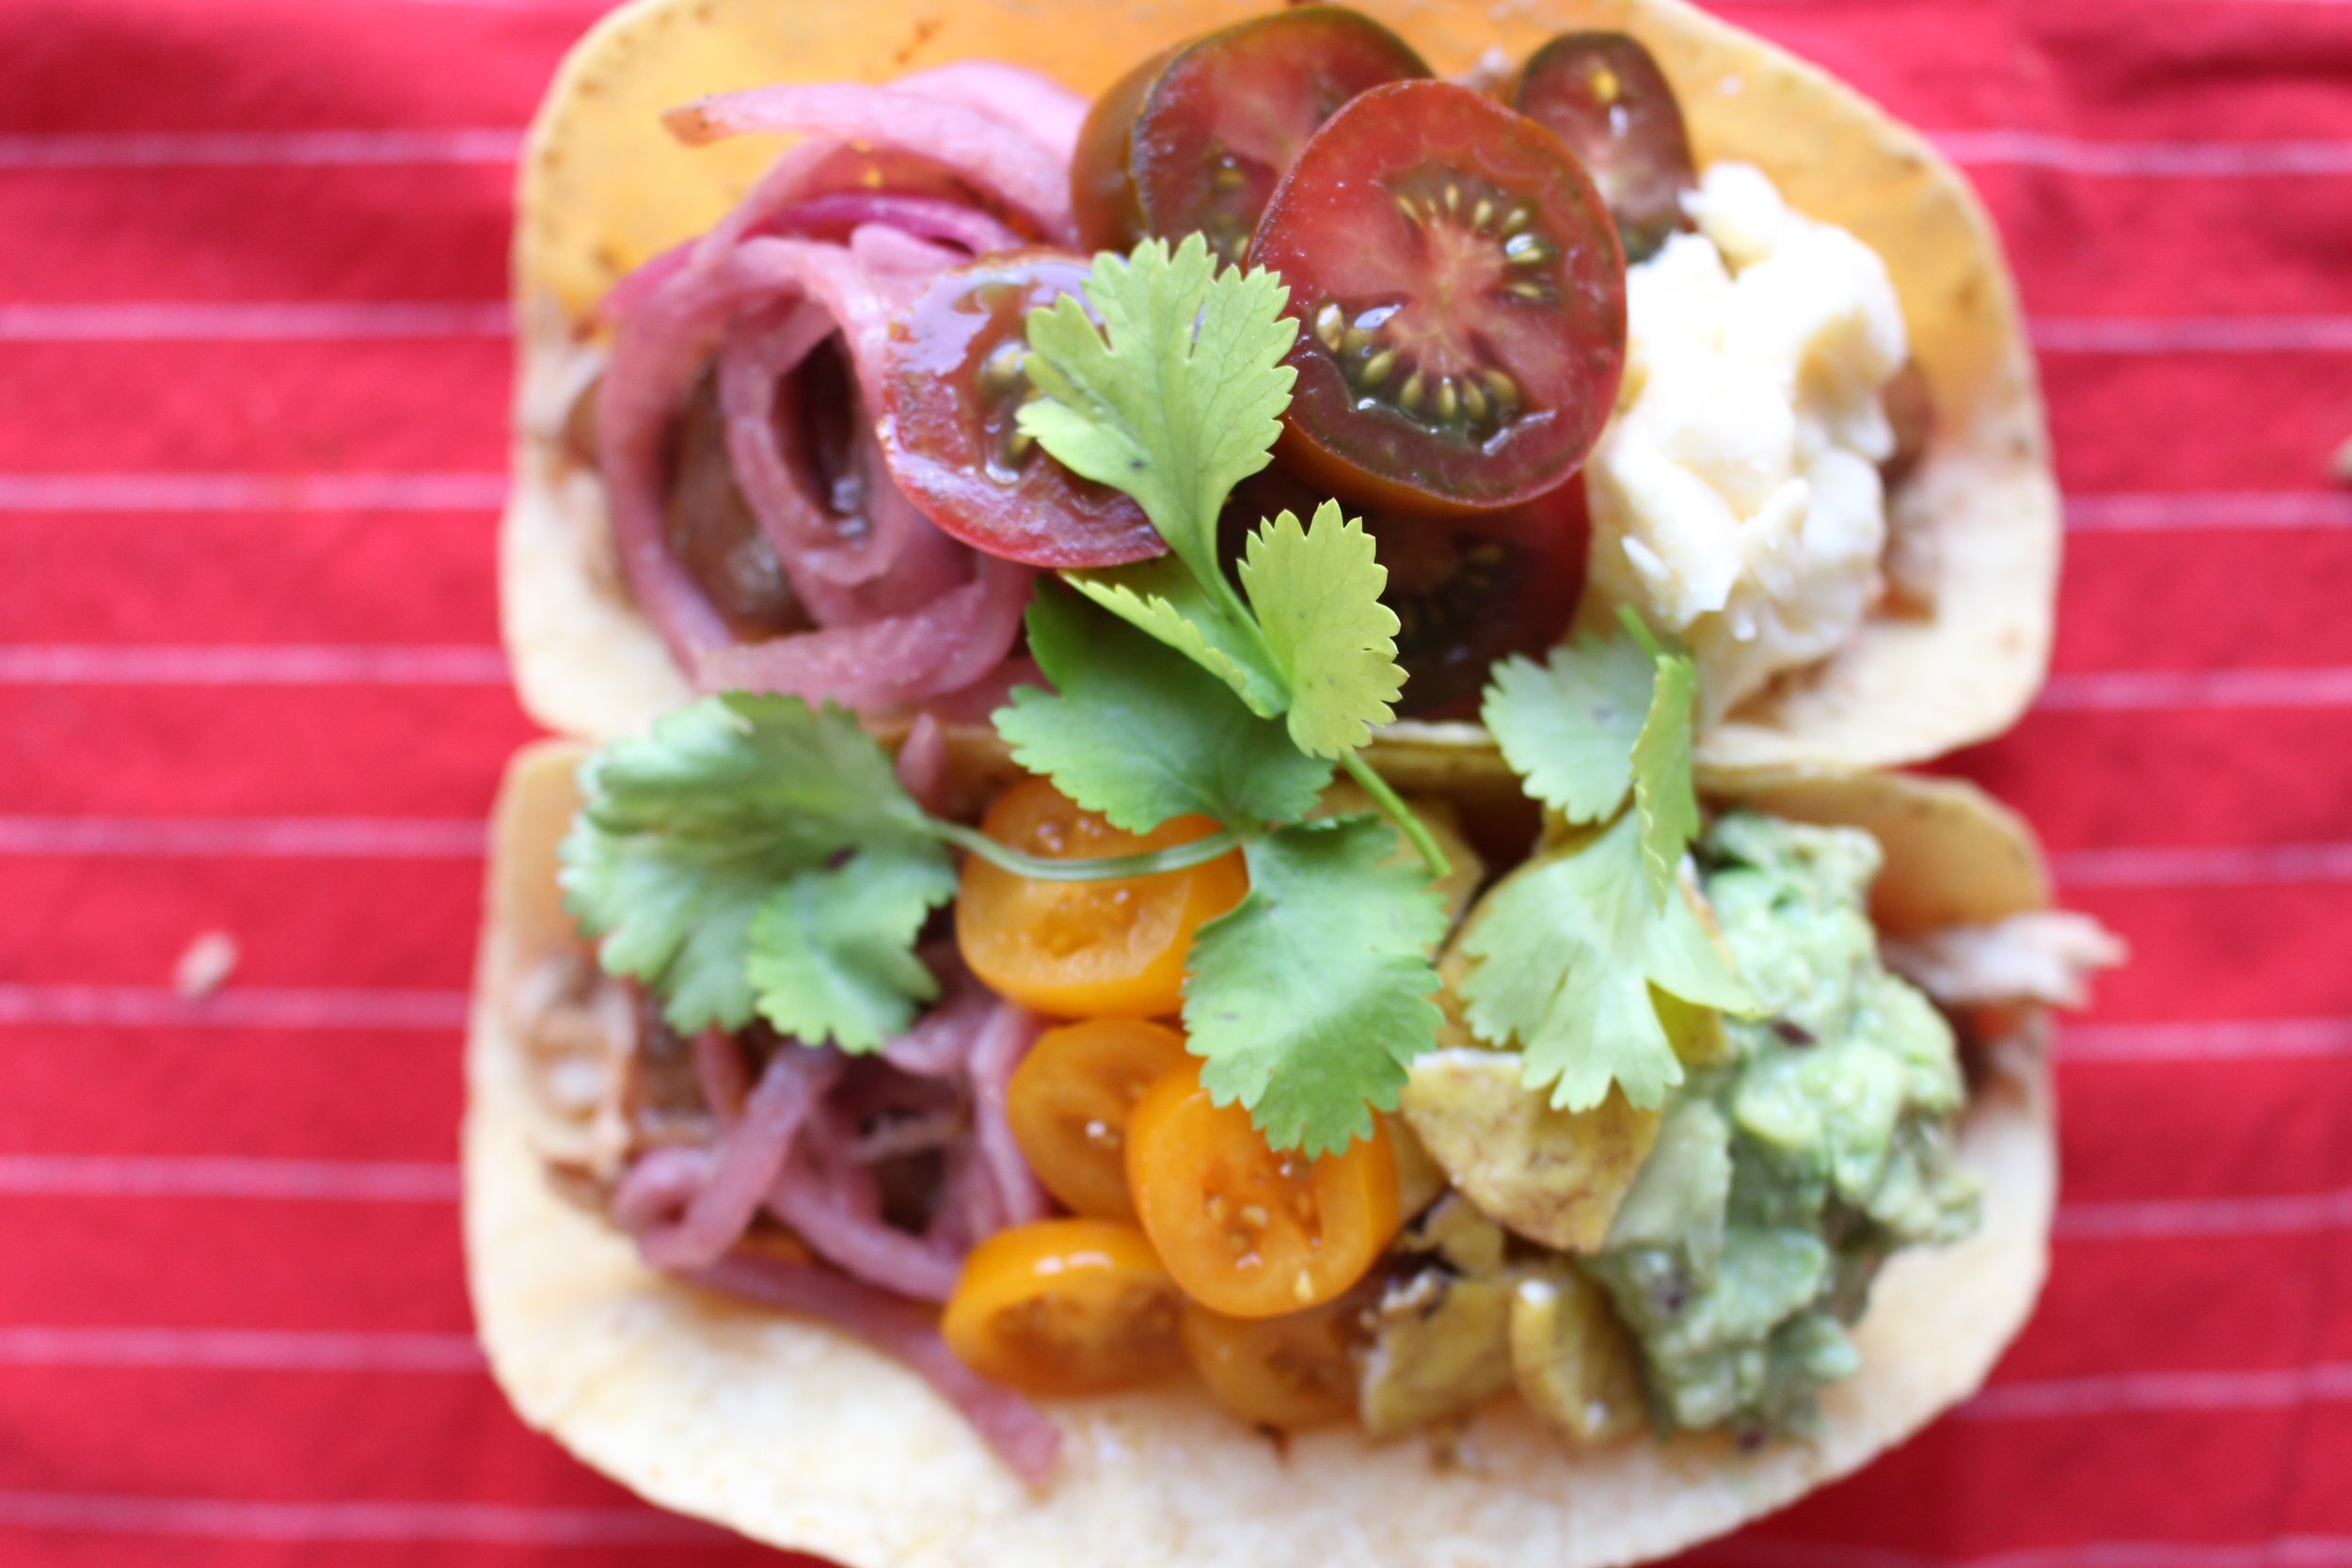
This dish is great over white rice, brown rice, cauliflower rice, in a taco, in a lettuce cup: you get the picture. The ingredients all comply with Whole 30, which means it's gluten, dairy, and refined-sugar free. You can also swap in seed butter for the almond butter if you need to avoid nuts.
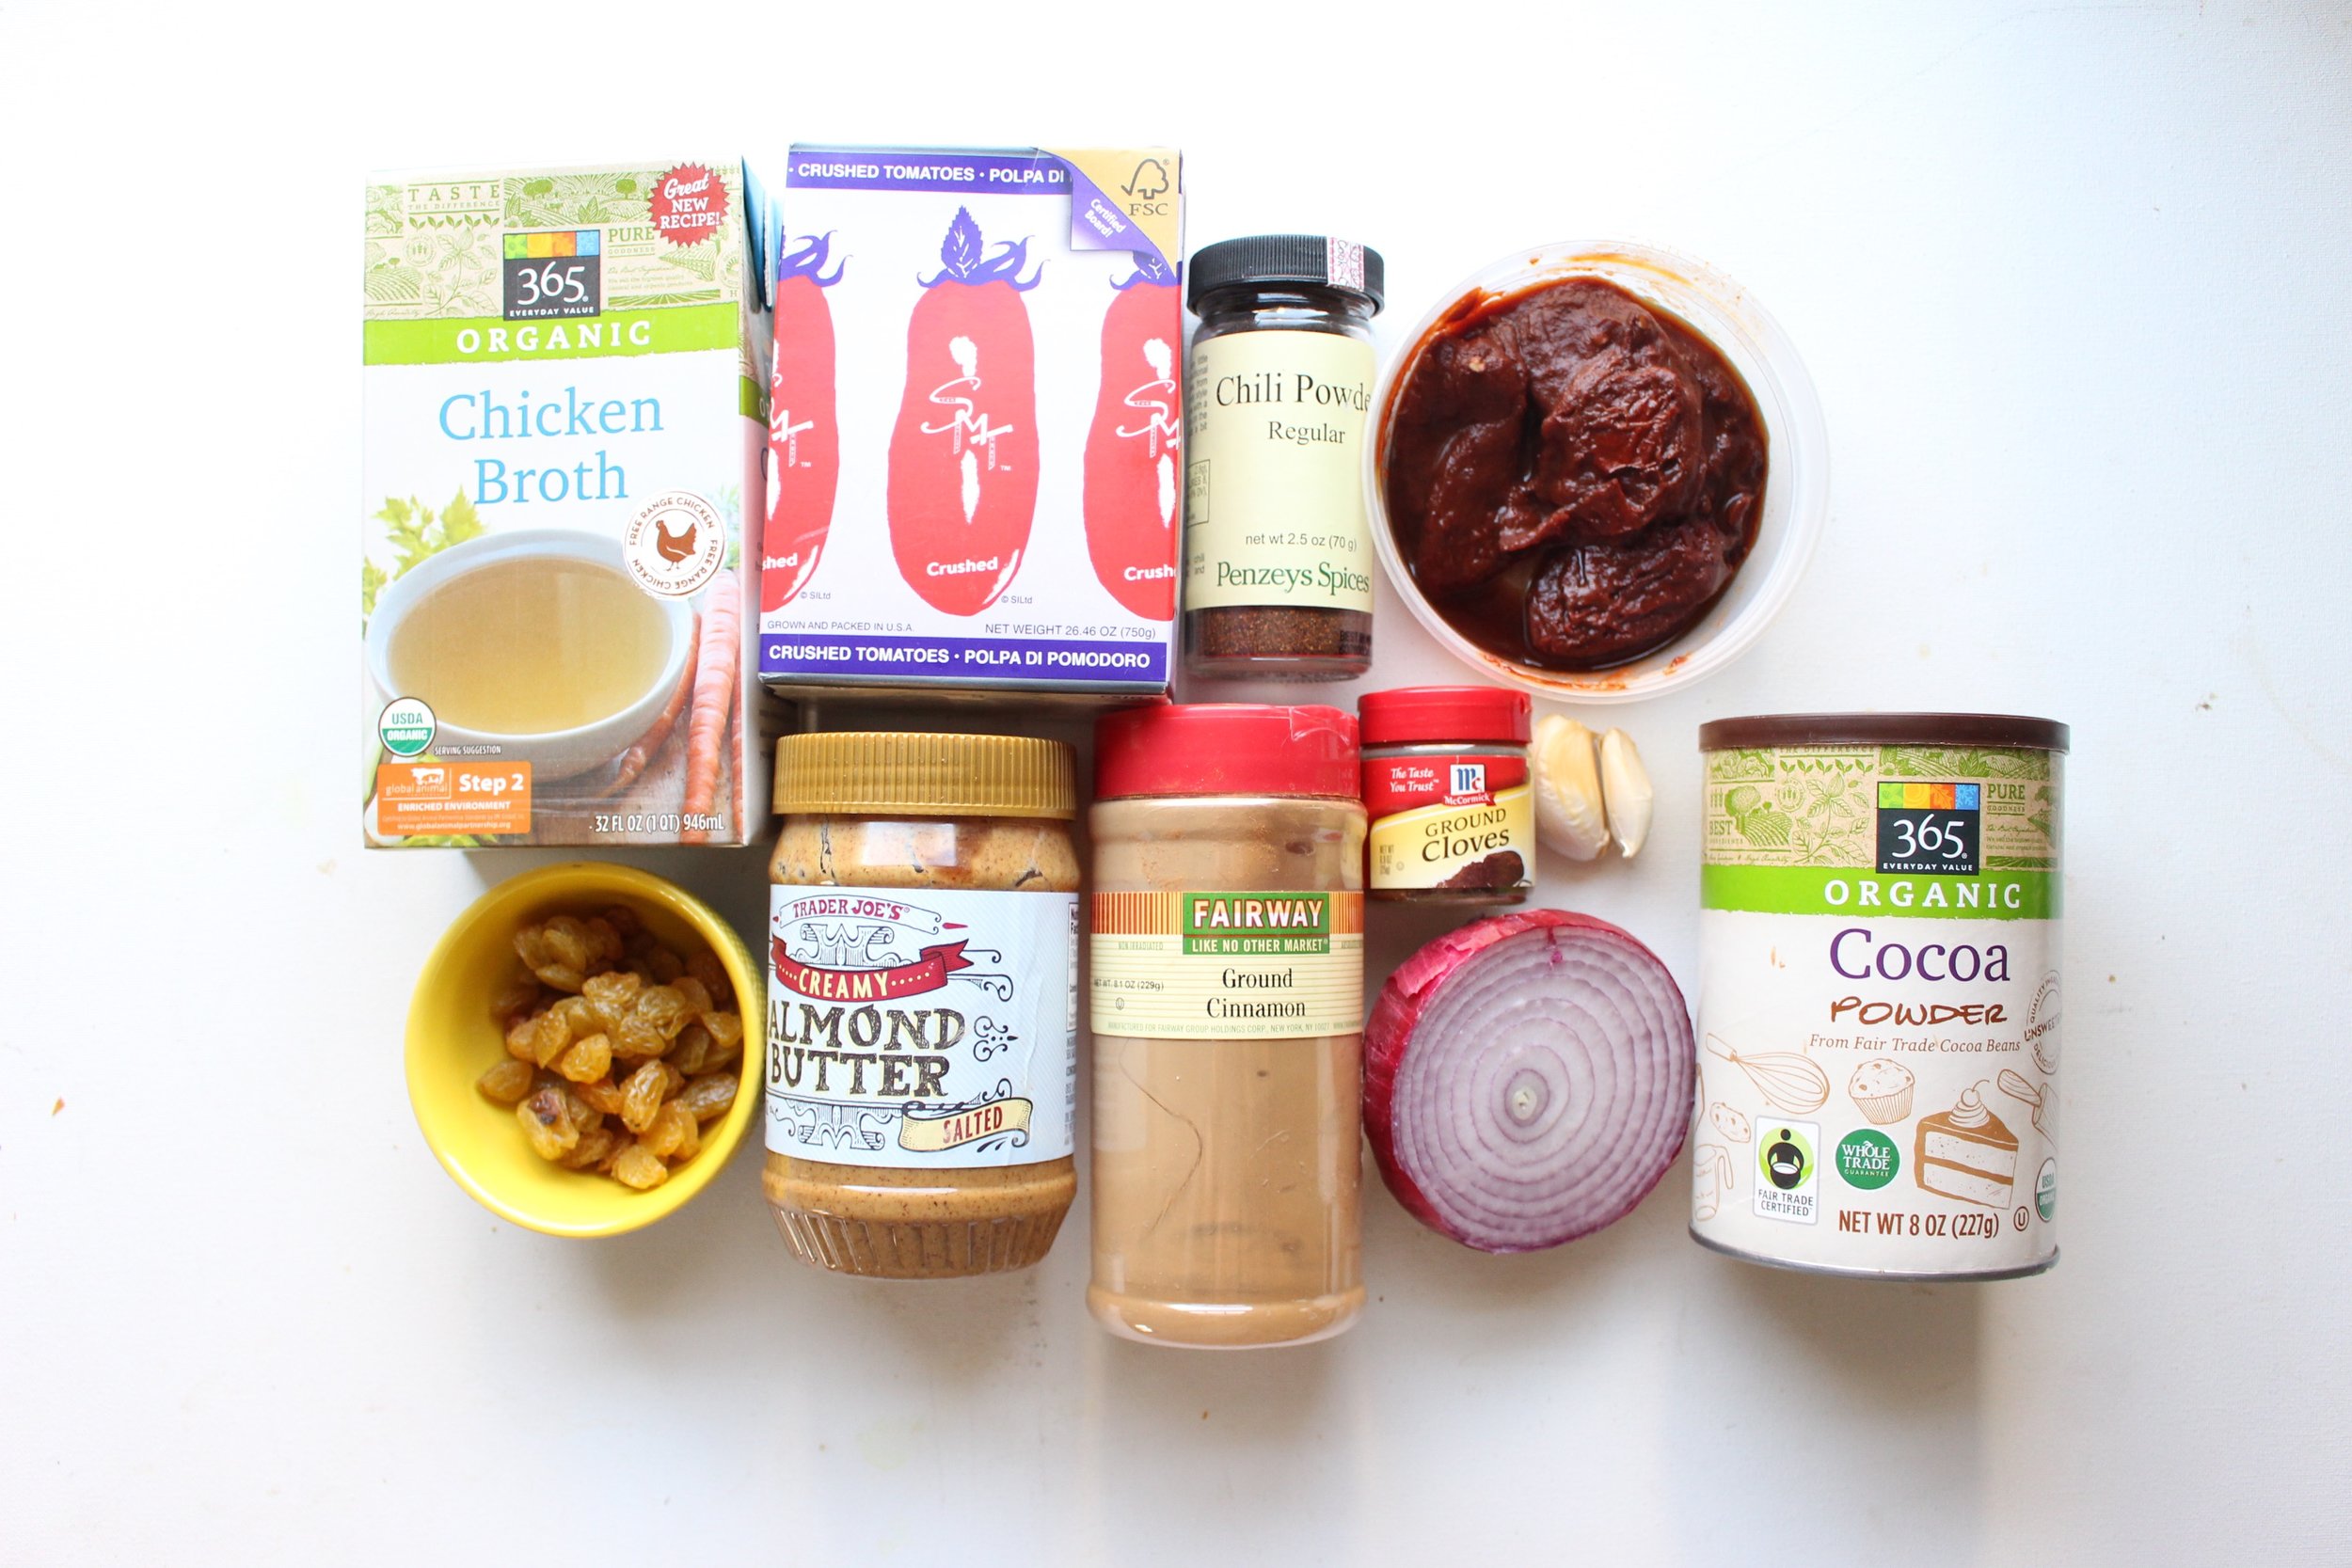
Instant pot chicken mole
1 cup chicken stock
1 cup chopped tomatoes in liquid
1 Tbsp chili powder
1.5 Tbsp cocoa powder
1/4 tsp cinnamon
1/8 tsp cloves
1/2 tsp kosher salt
2 large garlic cloves, peeled and quartered
½ red onion, roughly chopped
1 Tbsp chipotle in adobo
¼ cup golden raisins
2 Tbsp almond butter
2 lbs boneless, skinless chicken breasts
Place all of the sauce ingredients in your instant pot and whisk to combine. Add the chicken breasts and scrunch them around to make sure that there is liquid surrounding the pieces.
Close the instant pot and cook on high pressure for 15 minutes. Release the steam manually and remove the chicken. Check the doneness of the chicken with a thermometer (it should read at least 165).
Turn the Instant pot off and then back on with the sauté function on medium. Saute until the remaining liquid has reduced by half and thickened significantly, about 20 minutes (you should be able to scrape the bottom of the pot and see the metal for a second before the sauce covers over it). Let cool slightly.
Add the liquid to a blender and blend until smooth.
Serve the chicken with 1/4 of the sauce and any other garnishes and accessories that you want.
Yield: 4 grown-up servings
Granola cups
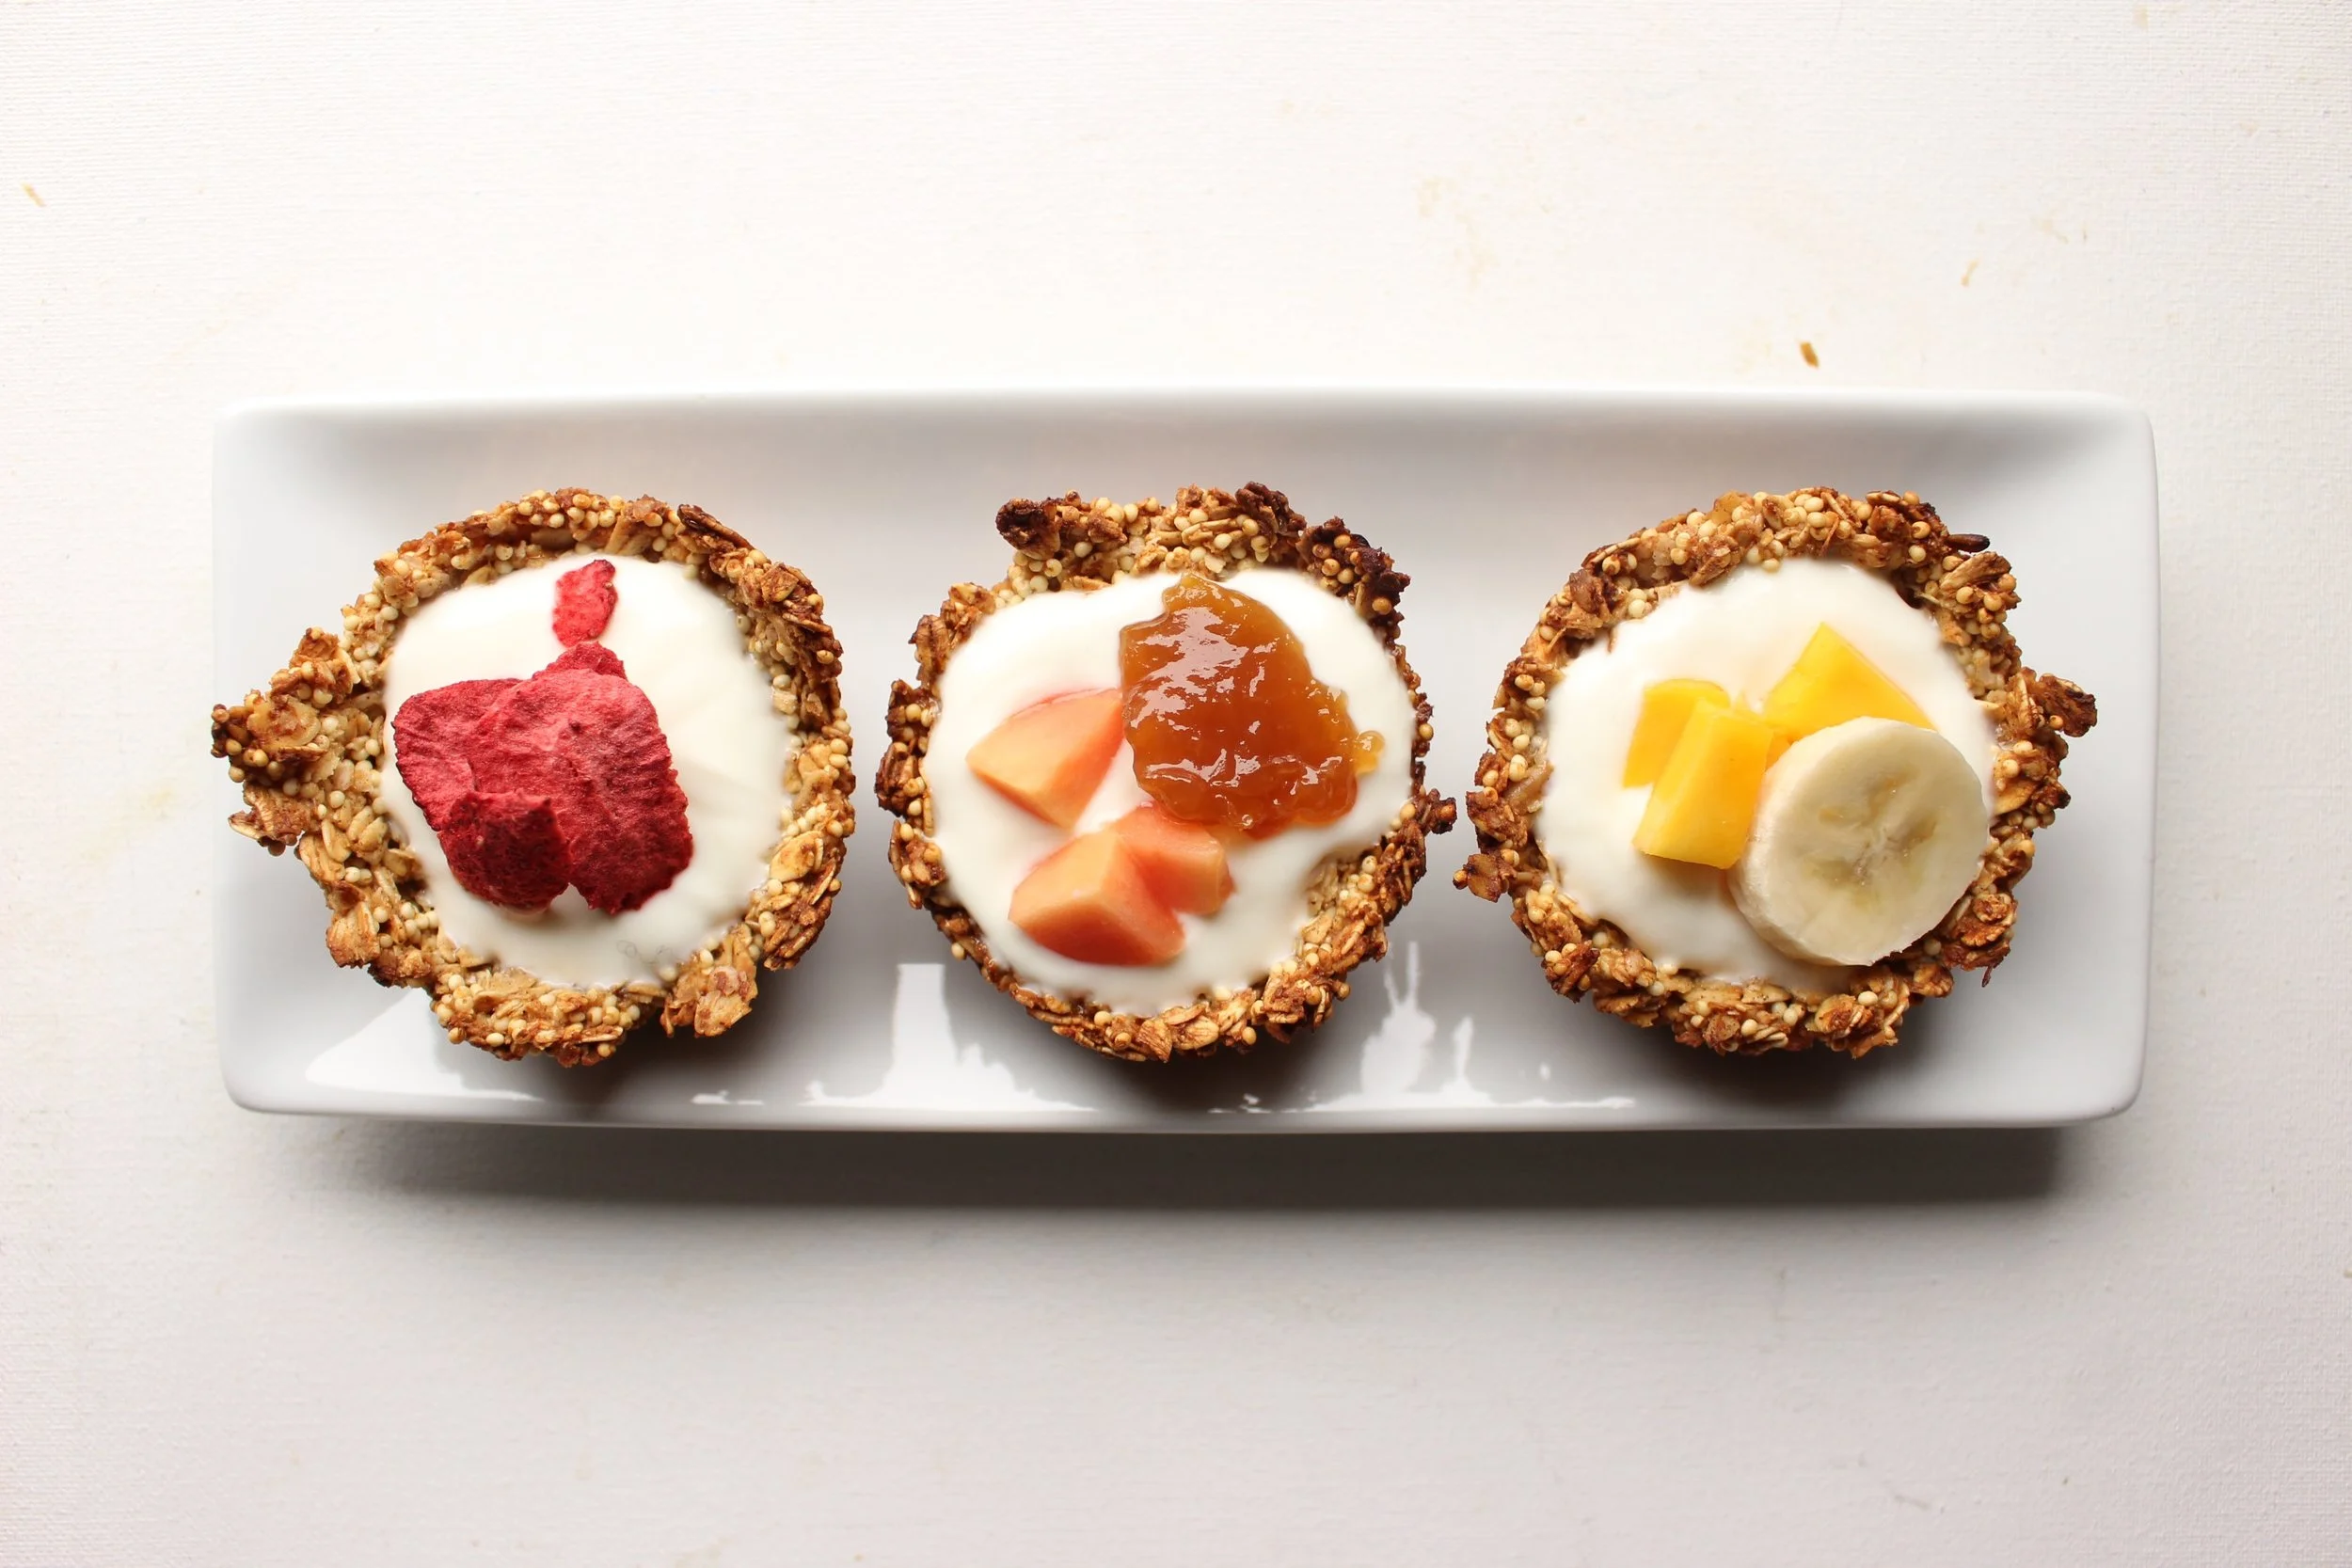
So, lunch at school. Do your kids actually eat it? M's eating is hit or miss. Though I pack his favorites, the school lunchroom seems to render them inedible. Fancying things up with cookie cutters and toothpicks seems to increase his interest. However, I'm pretty sure that the amount of effort I put into his lunches is inversely proportional to how much of it he actually eats.
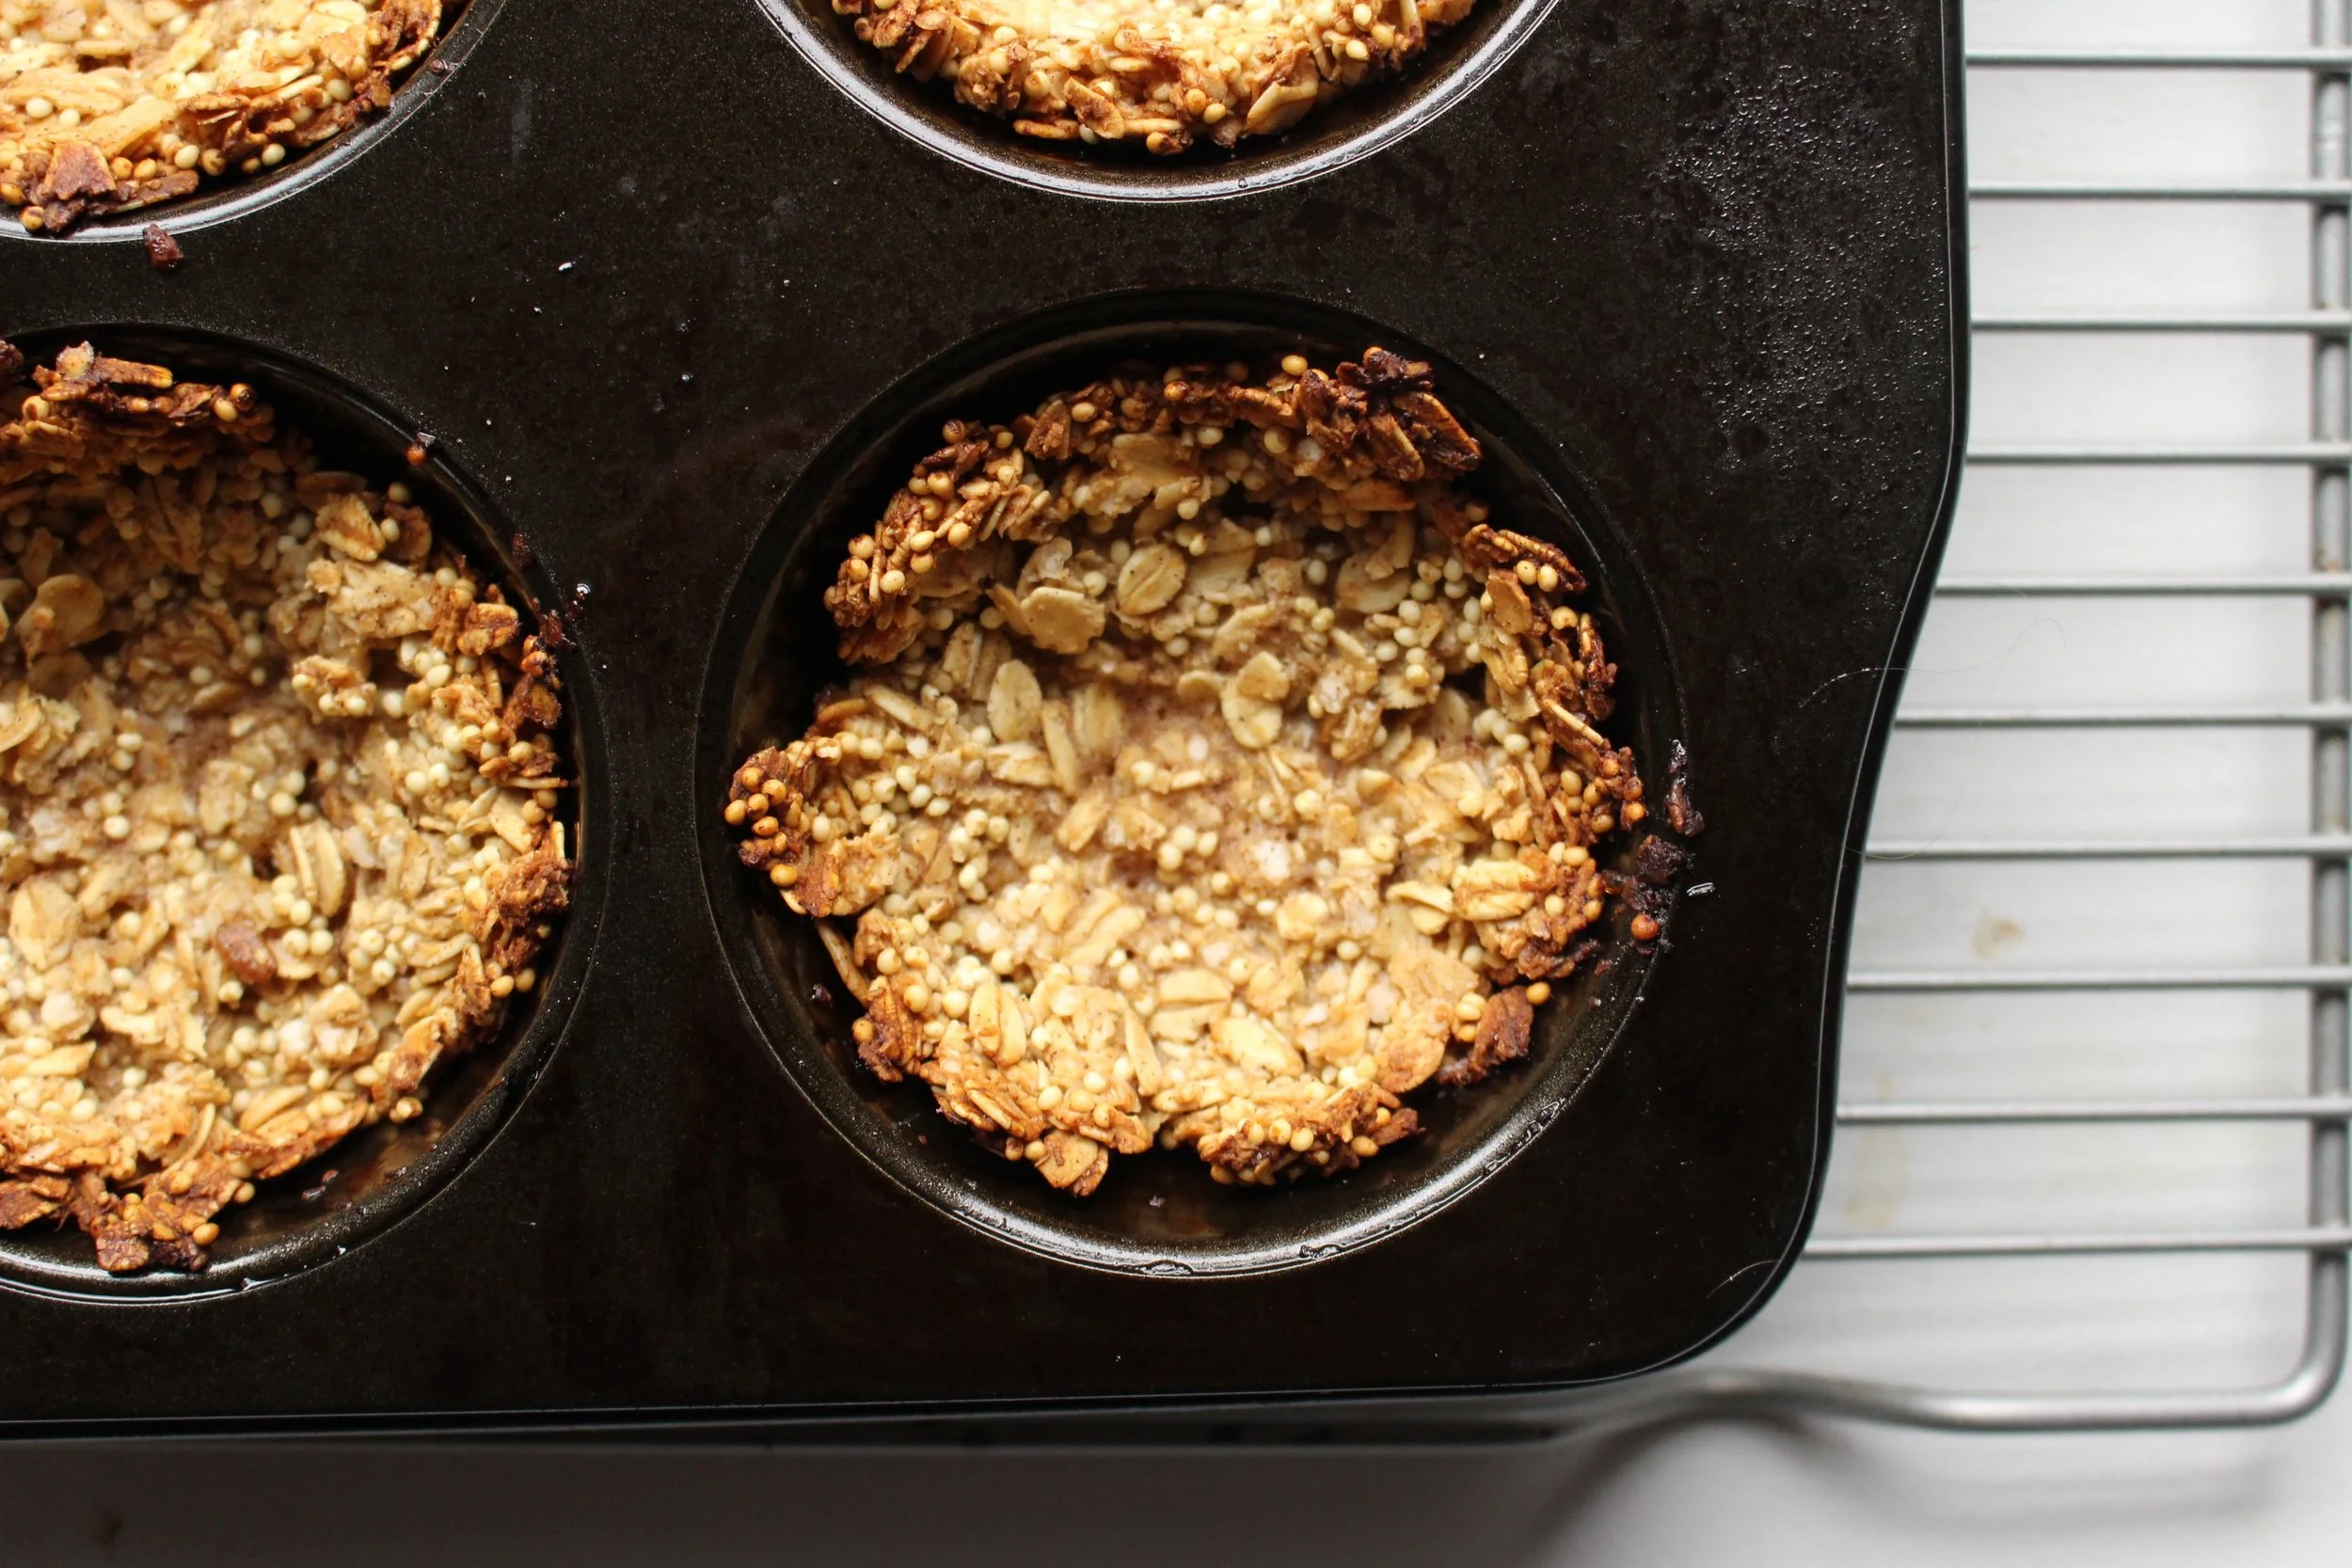
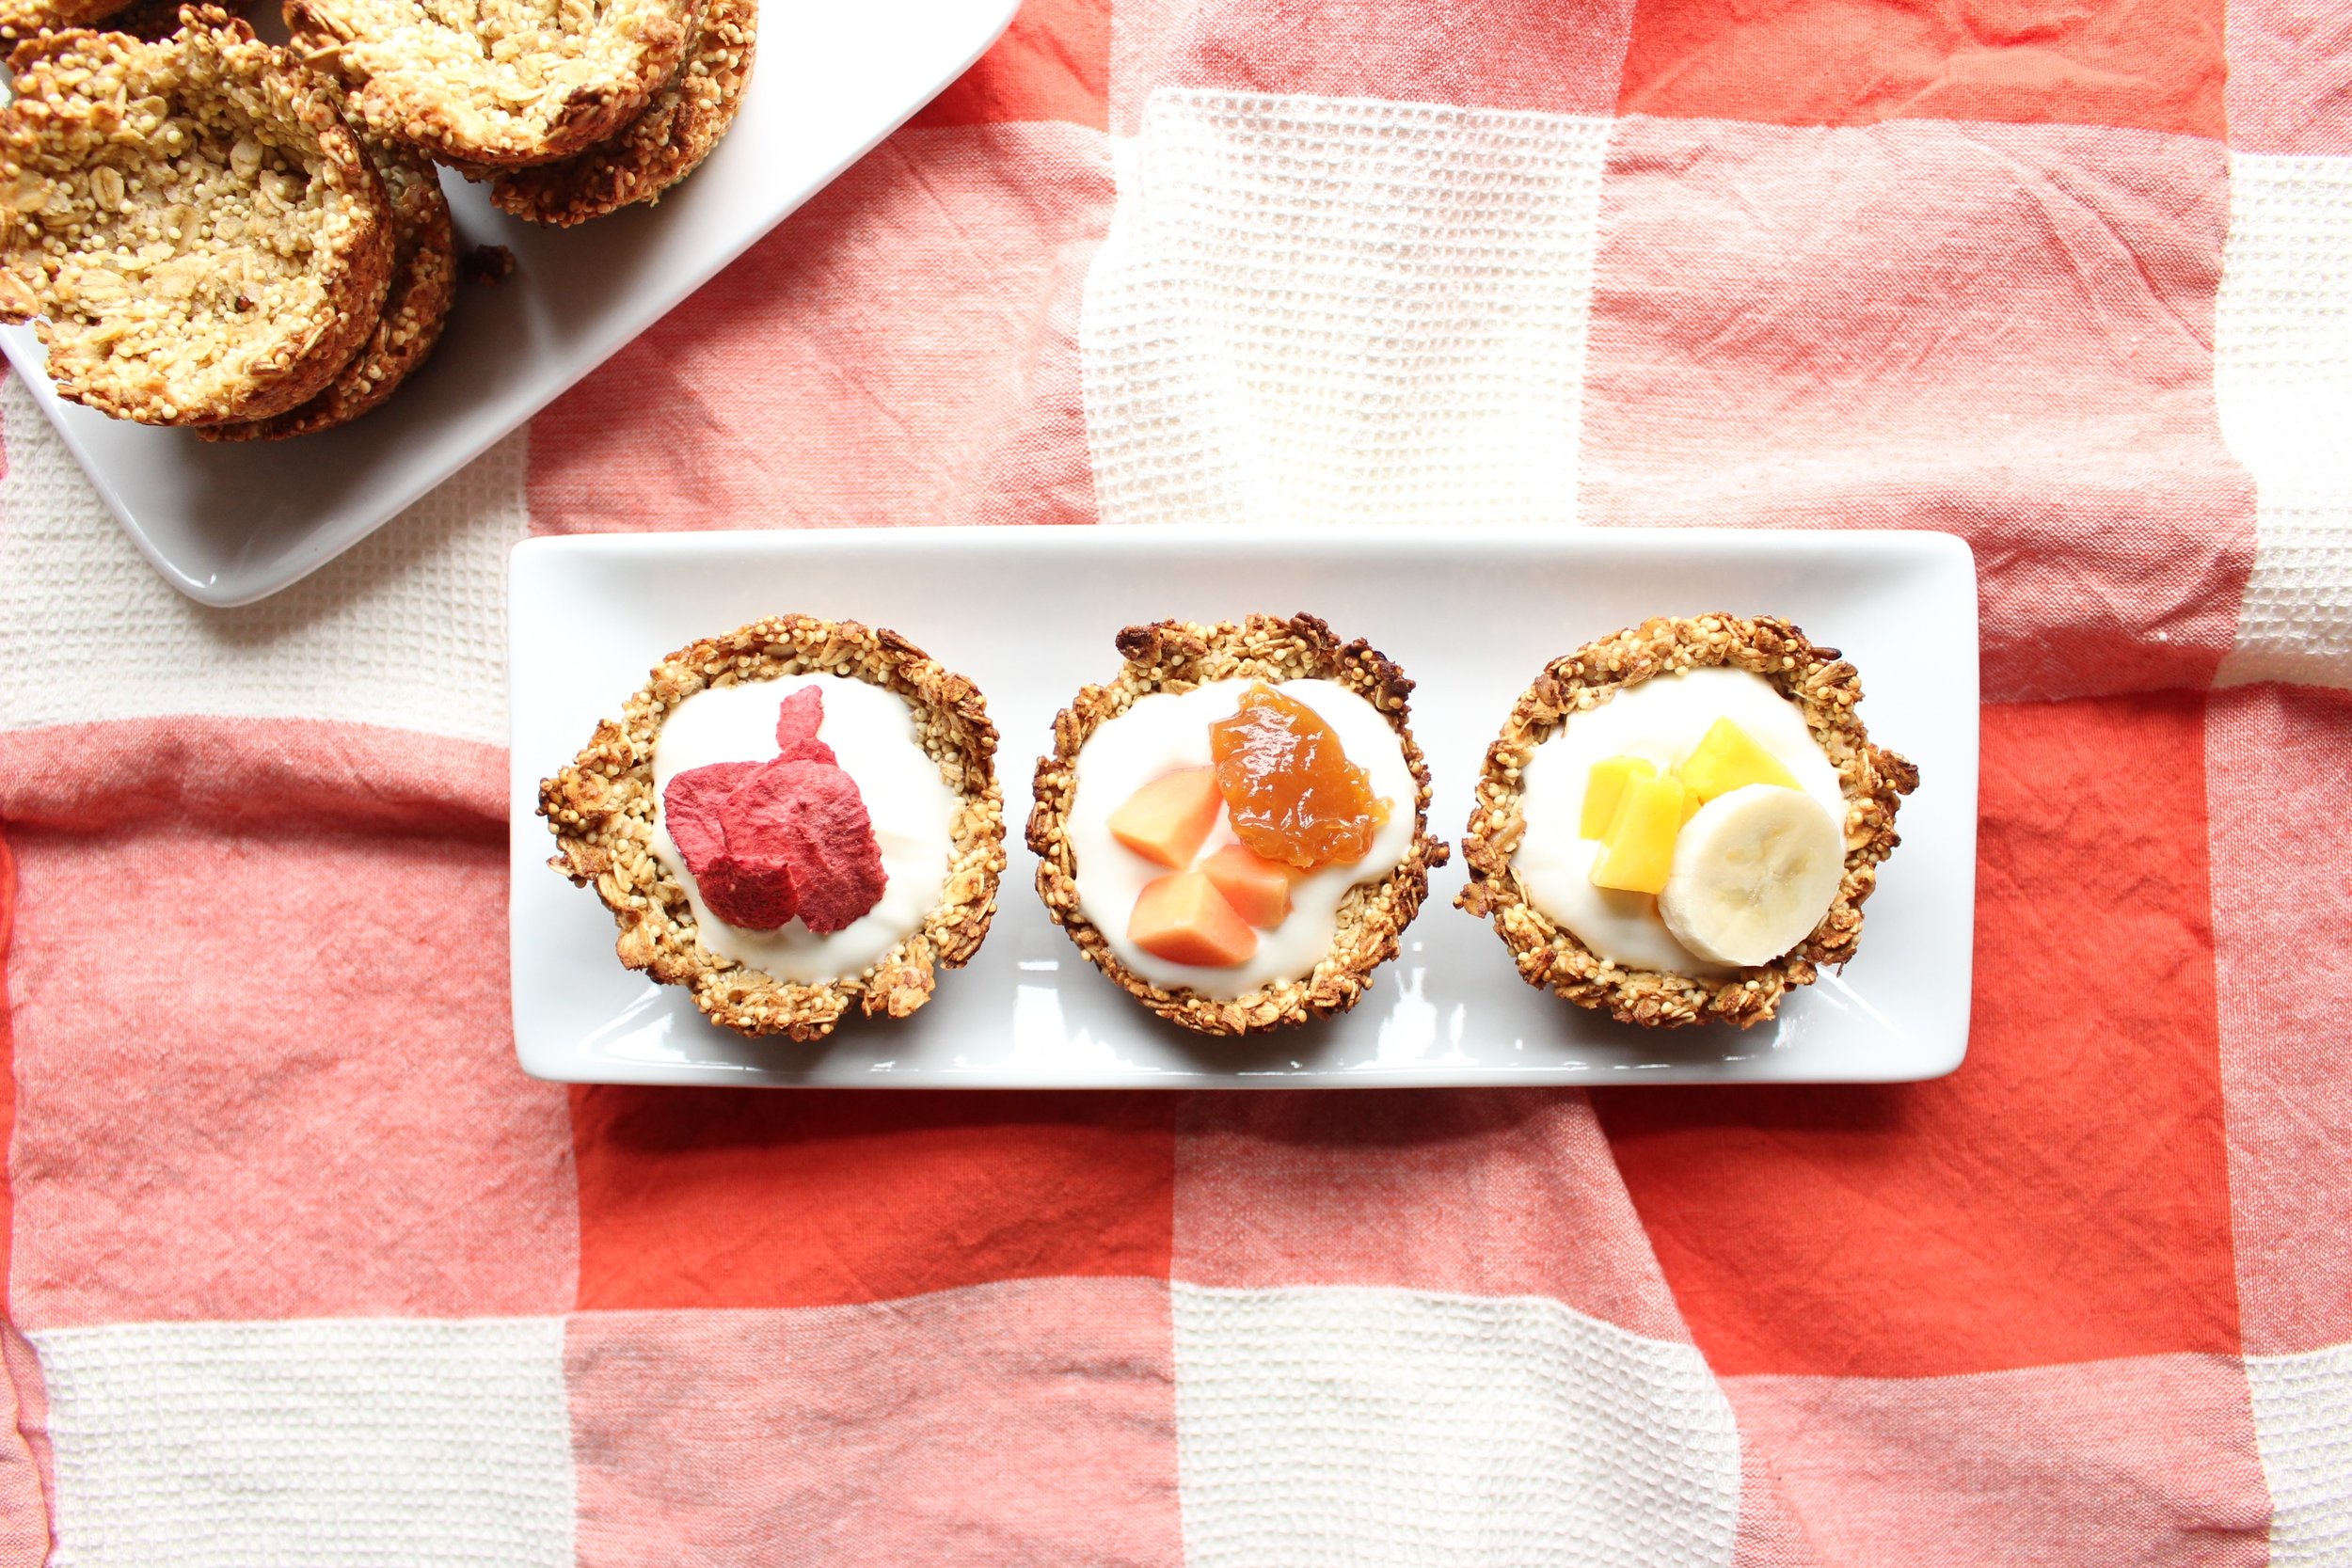
To that end, here is a SUPER SUPER easy way to get some whole grains into your kiddos. Fill them with yogurt, fruit and veggie purees, sun butter, or whatever strikes your fancy. AND, these are so quick, require one bowl, and keep well in the fridge or freezer. So if your kids don't eat them, you'll feel less like raging at the sky!
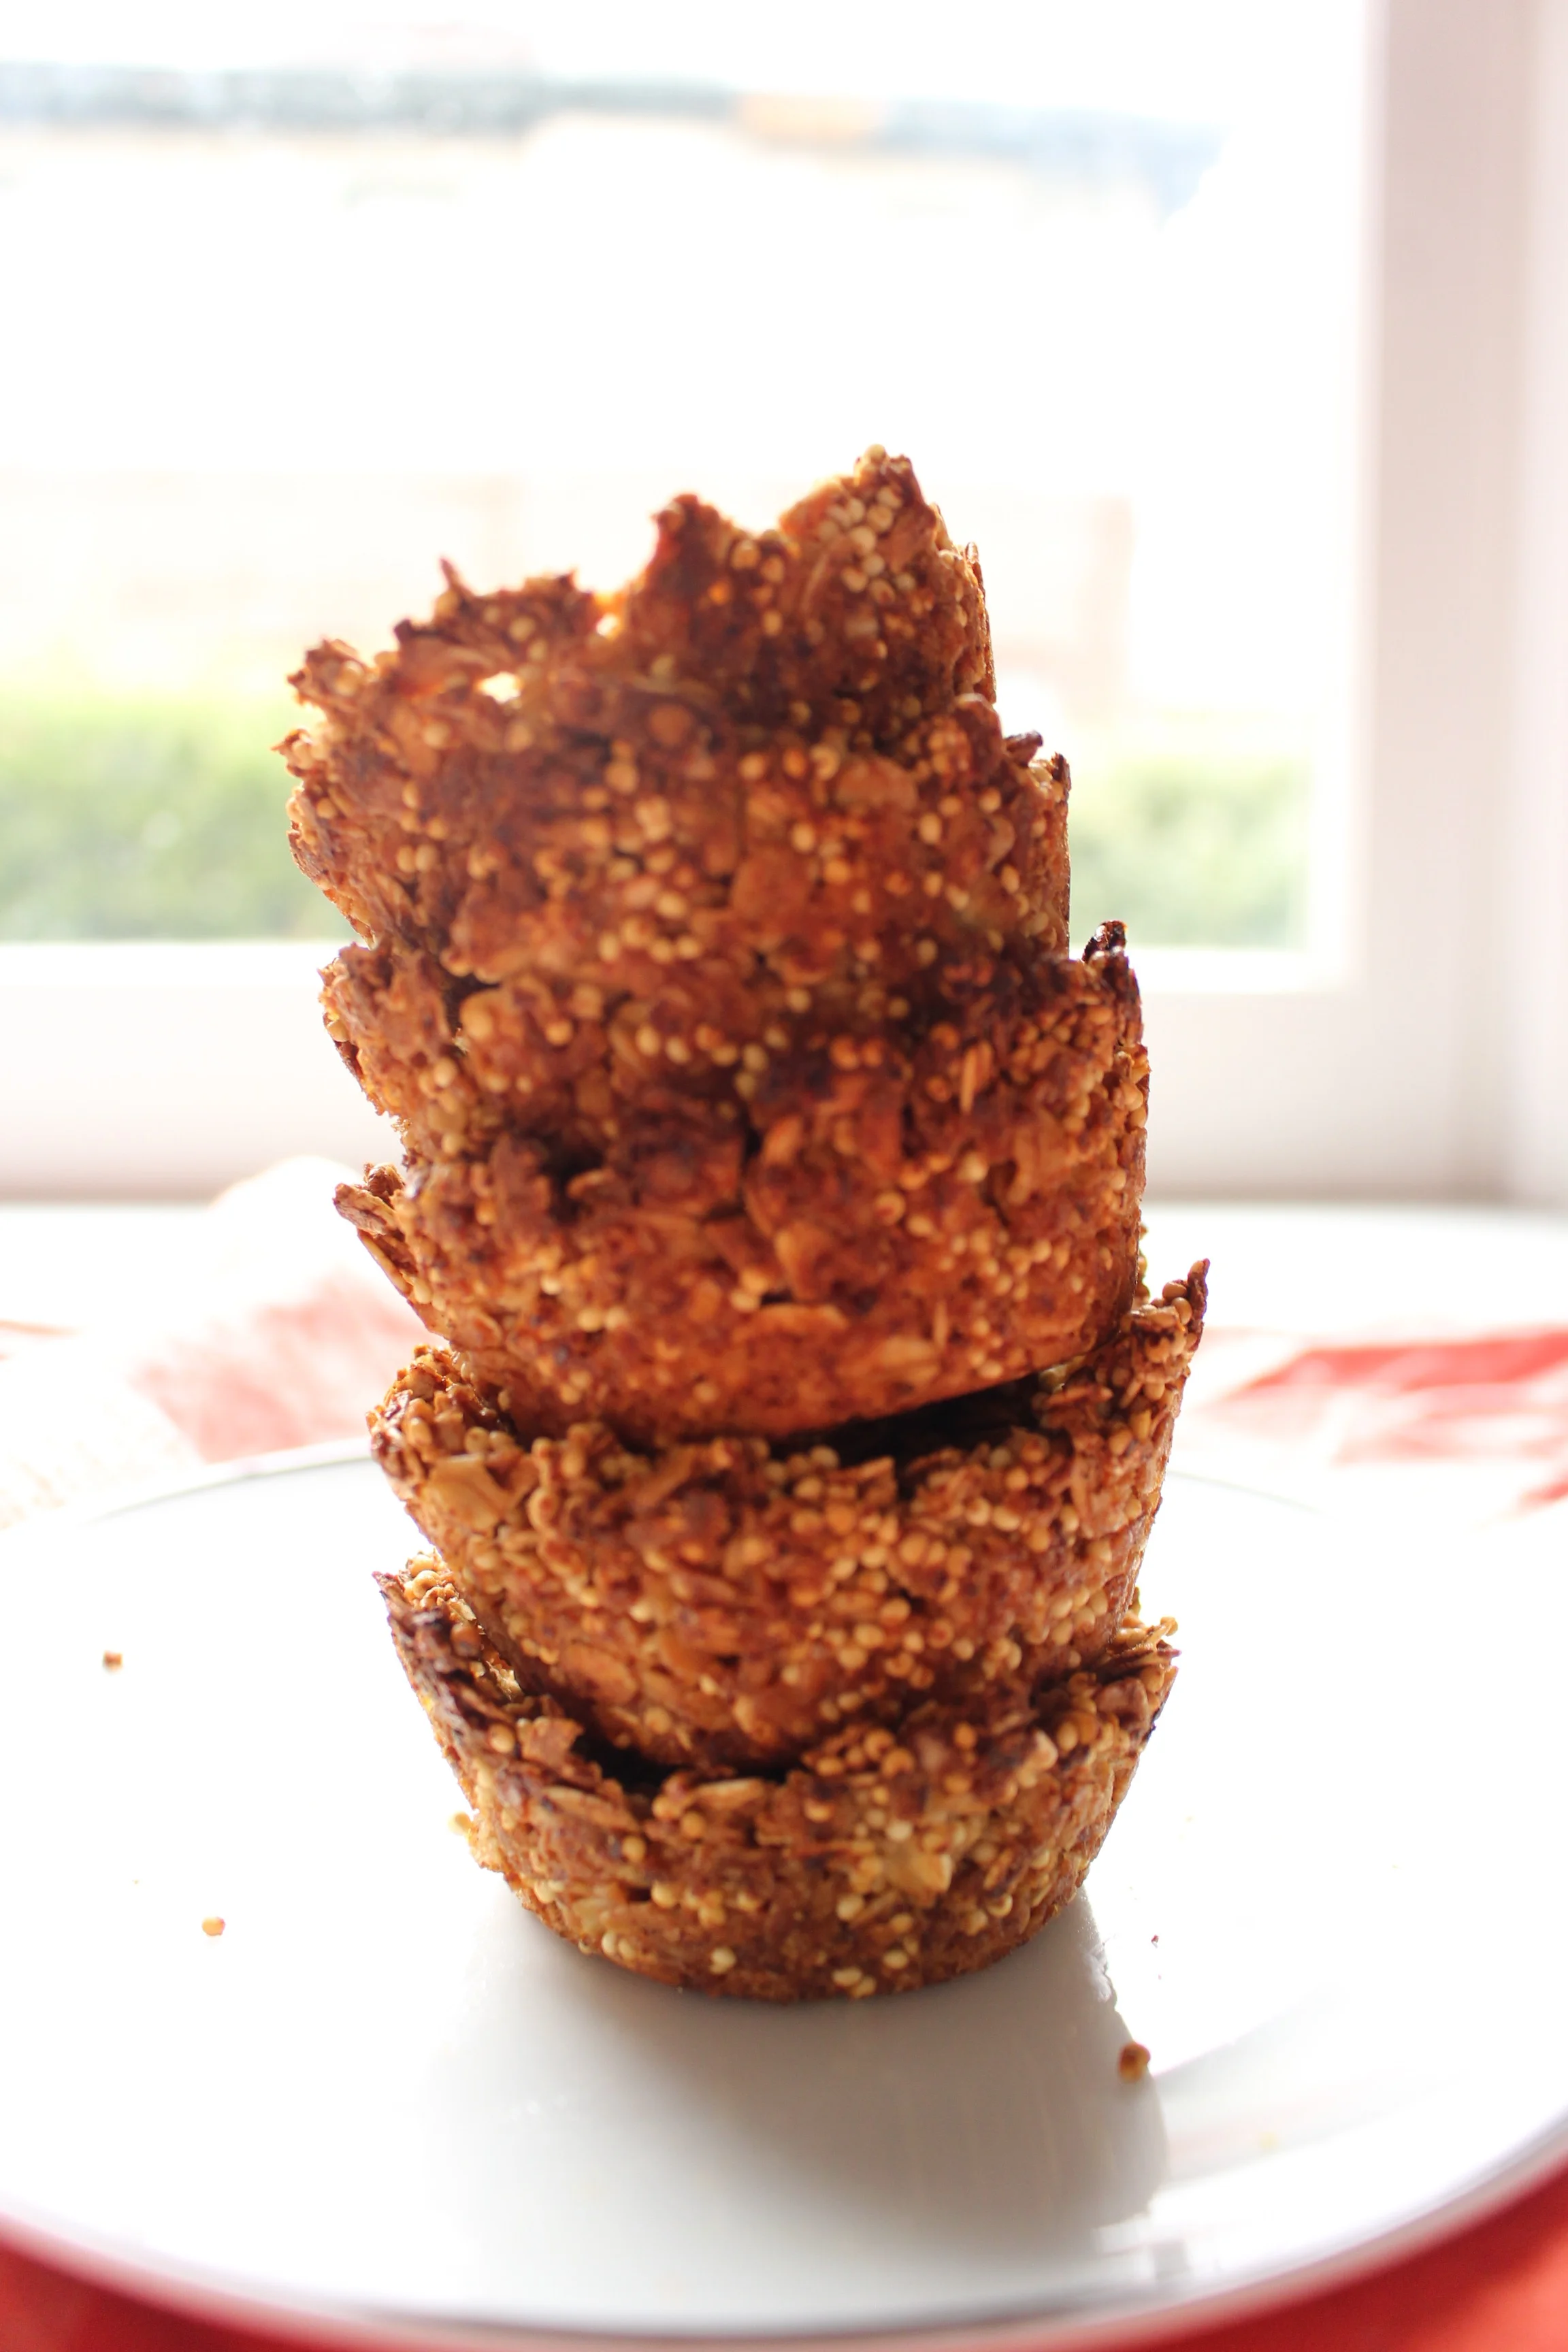
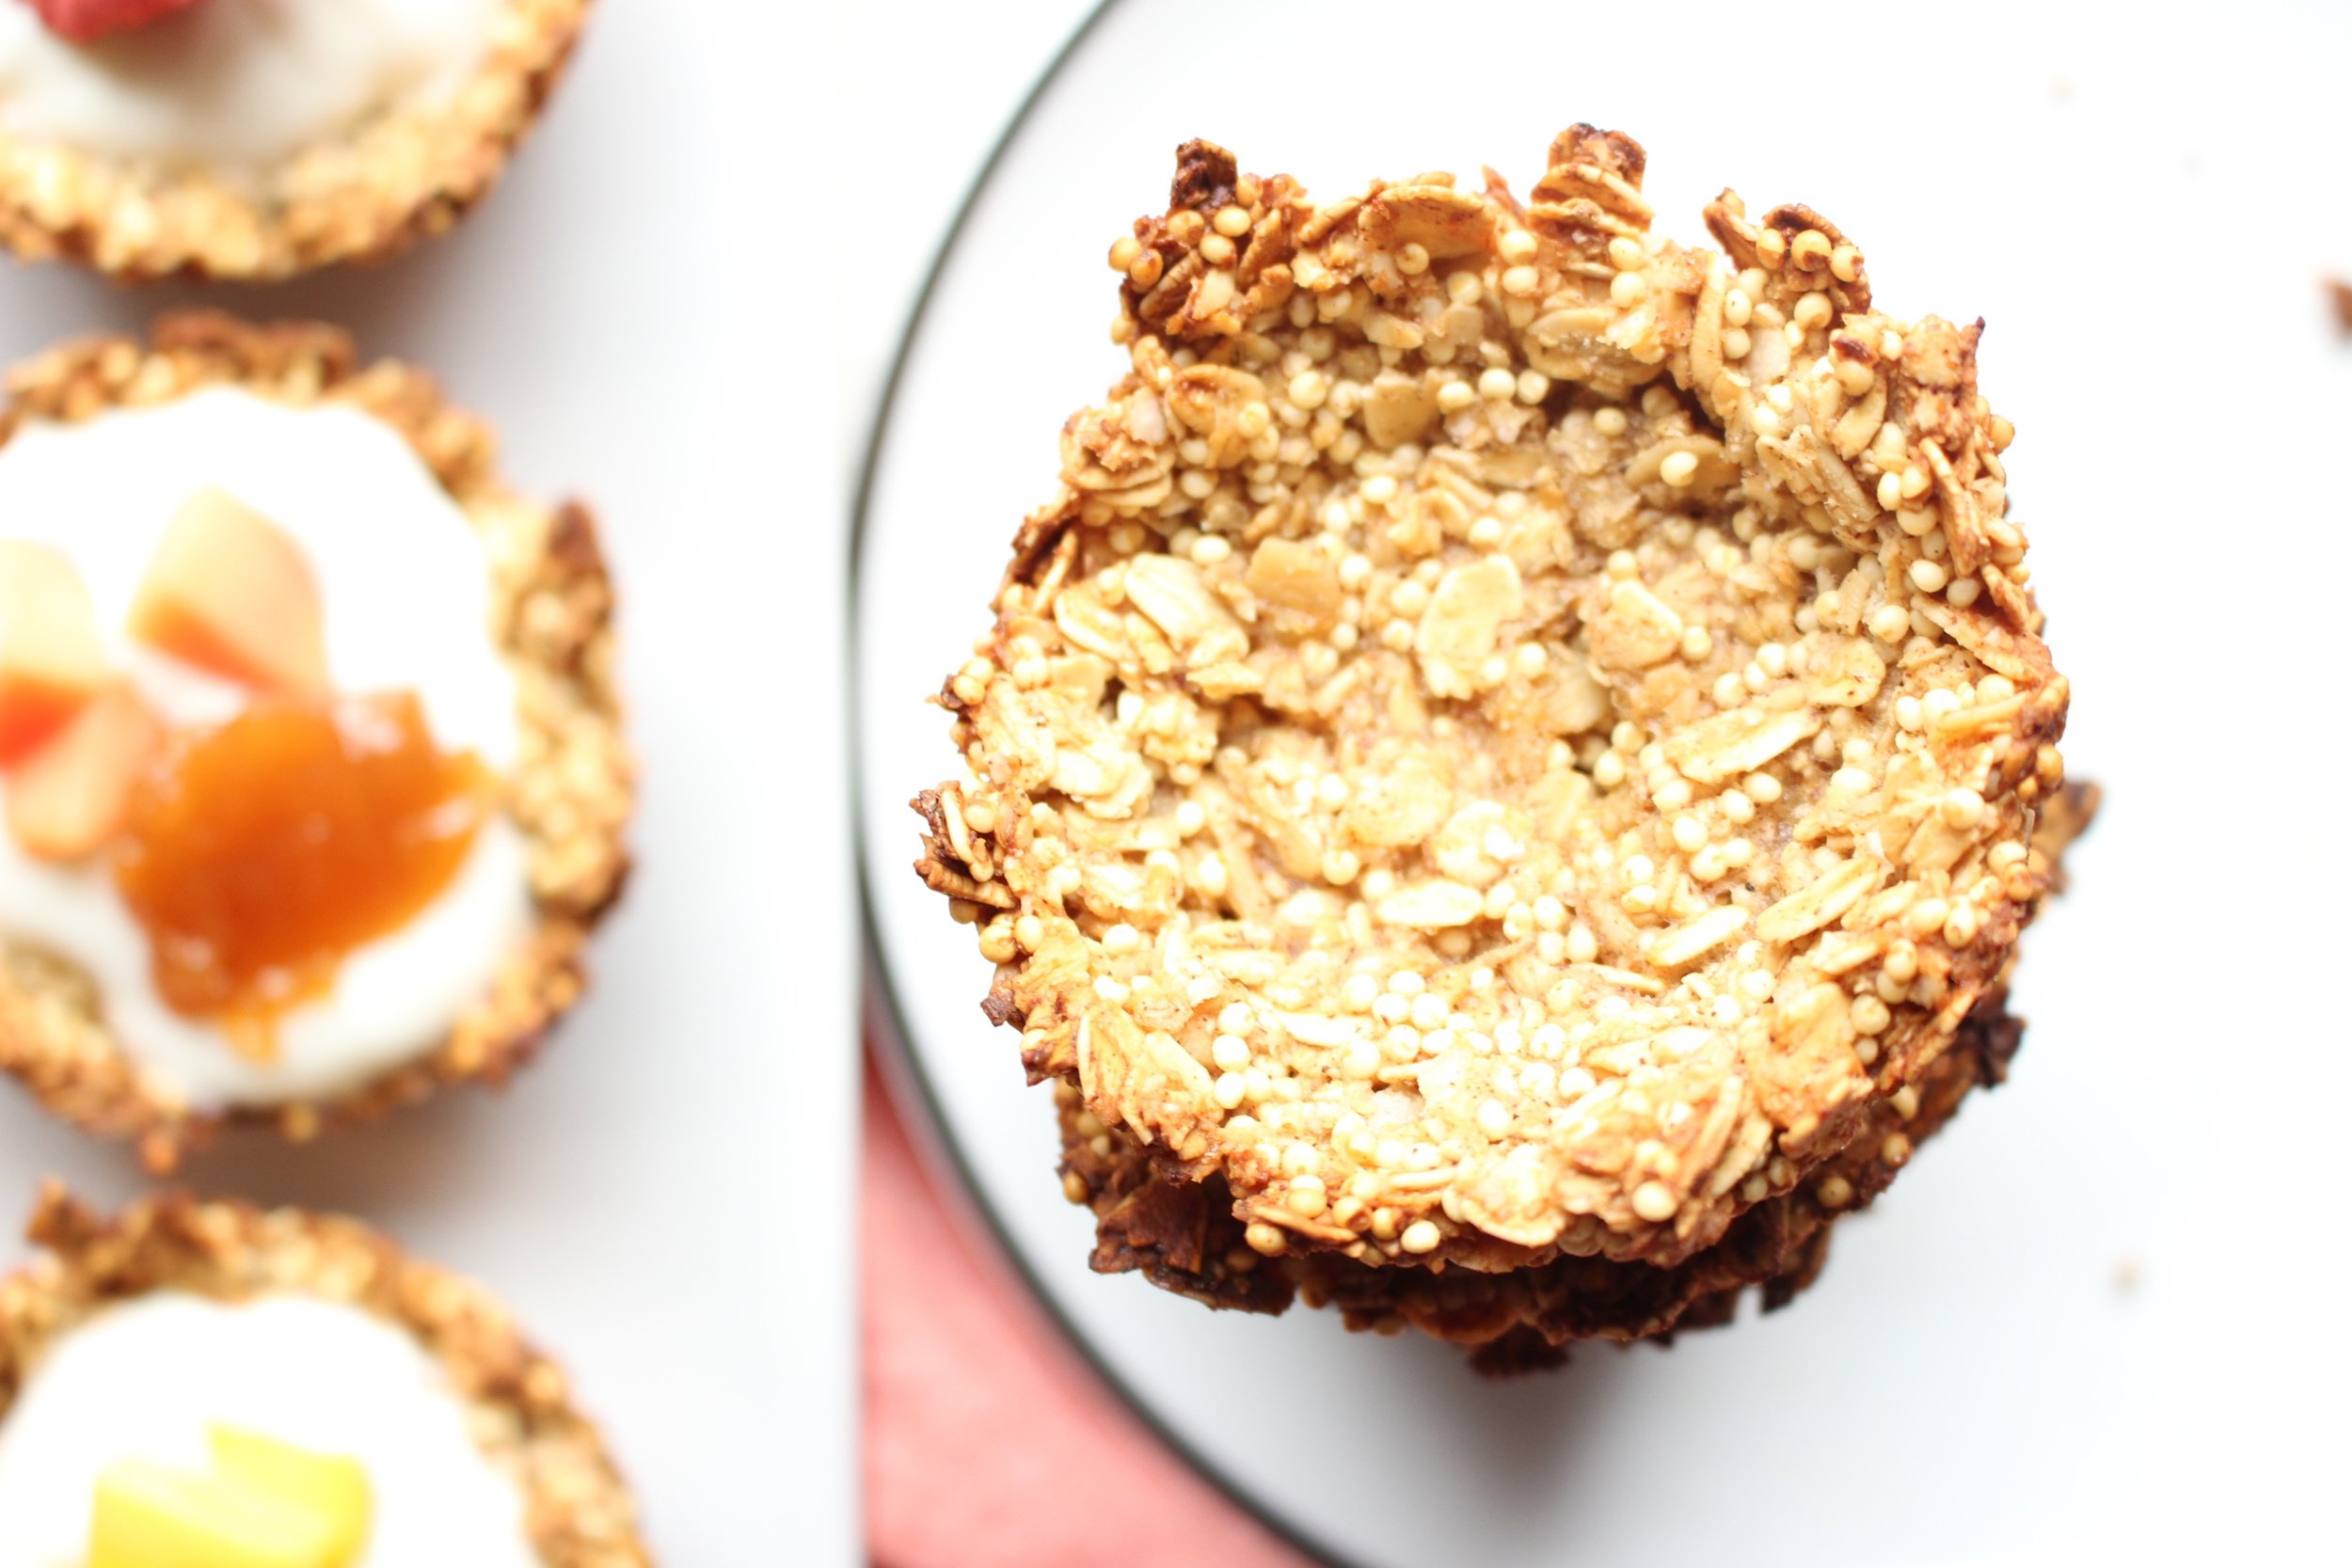
I've experimented a lot with granola cups. We made them for the first time in a kids' cooking class and they were tasty, albeit a little bland. They also lost their crispiness almost immediately. I added some egg whites and a little healthy fat, which helped. But really, the millet is the key here to a crispy texture. So get thee to Whole Foods and pick up some millet. You won't regret it.
I used a combo of regular oats (not quick oats!) and quinoa flakes for extra protein, but feel free to use 2 cups of regular oats if you don't have or don't want to have quinoa flakes (you can also snag these at Whole Foods or a health food store in the cereal aisle).
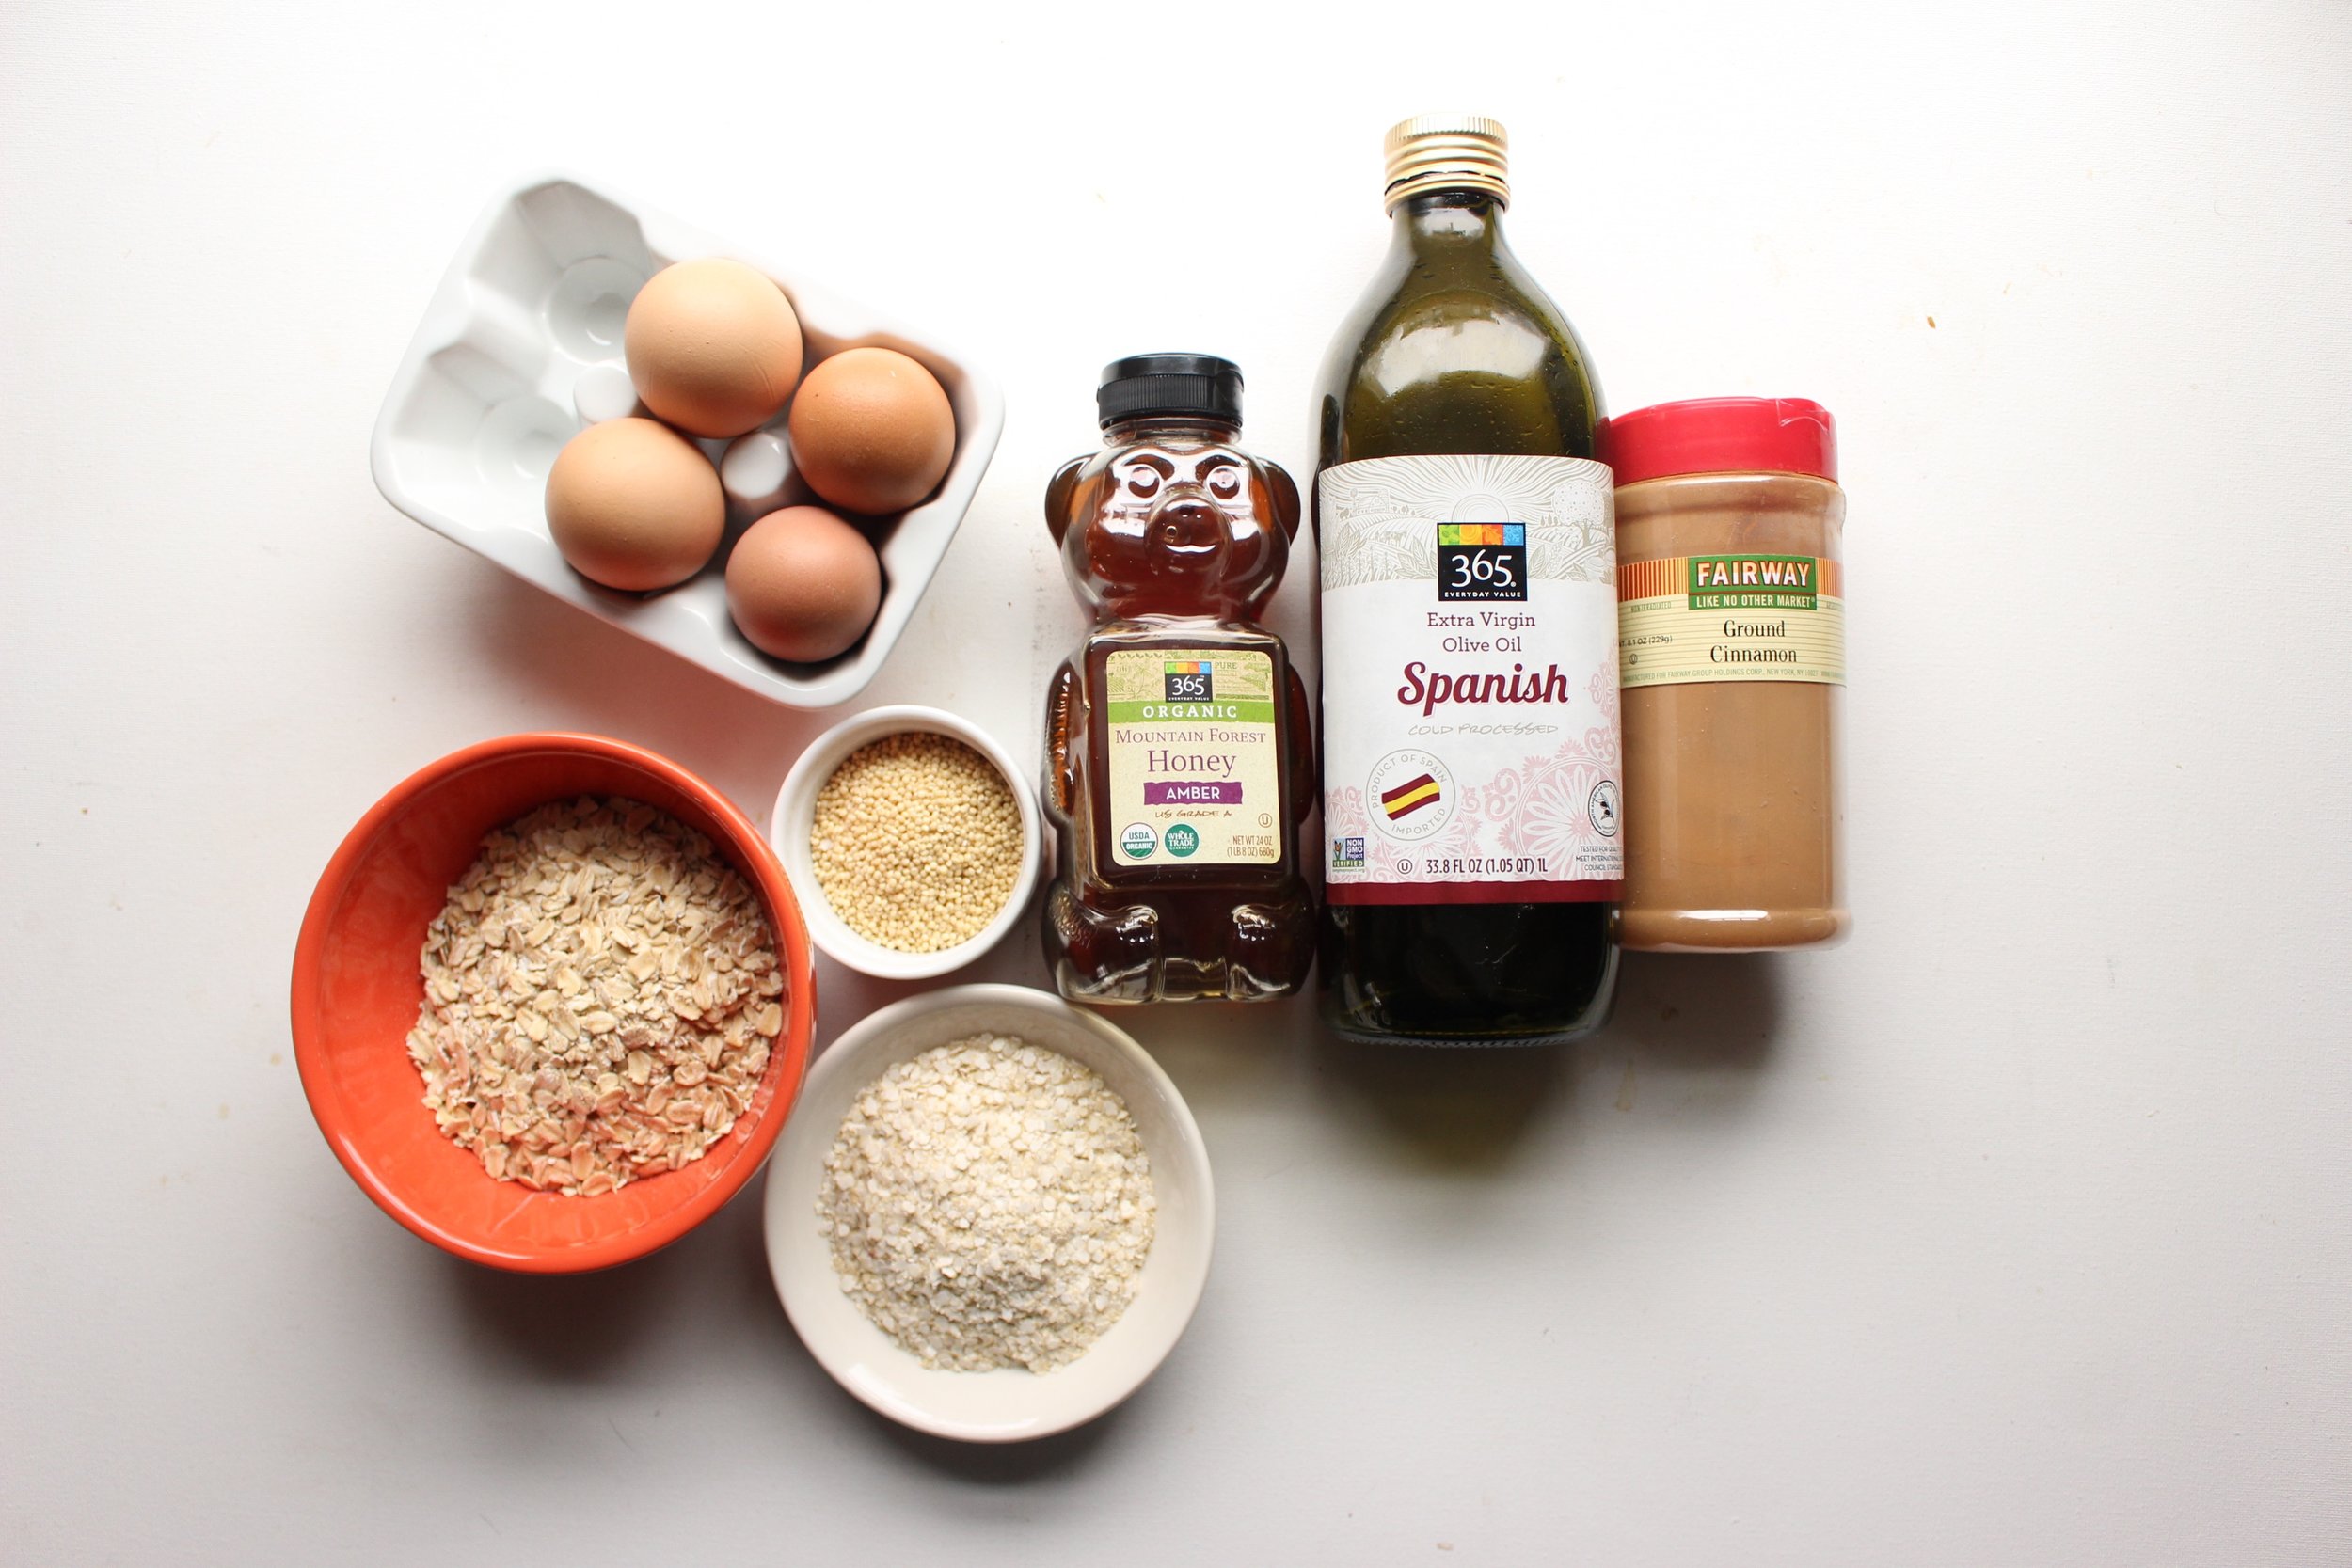
Granola cups
1½ cups rolled oats
½ cup quinoa flakes
½ cup millet
½ cup + 2 Tbsp honey
2 egg whites, lightly beaten
¼ tsp kosher salt
1 tsp cinnamon
Preheat the oven to 350. Prepare a 12-cup cupcake tin by spraying or wiping it with coconut or olive oil. Set aside.
In a large bowl, combine the oats, quinoa flakes, millet, honey, whipped egg whites, salt, and cinnamon and mix well.
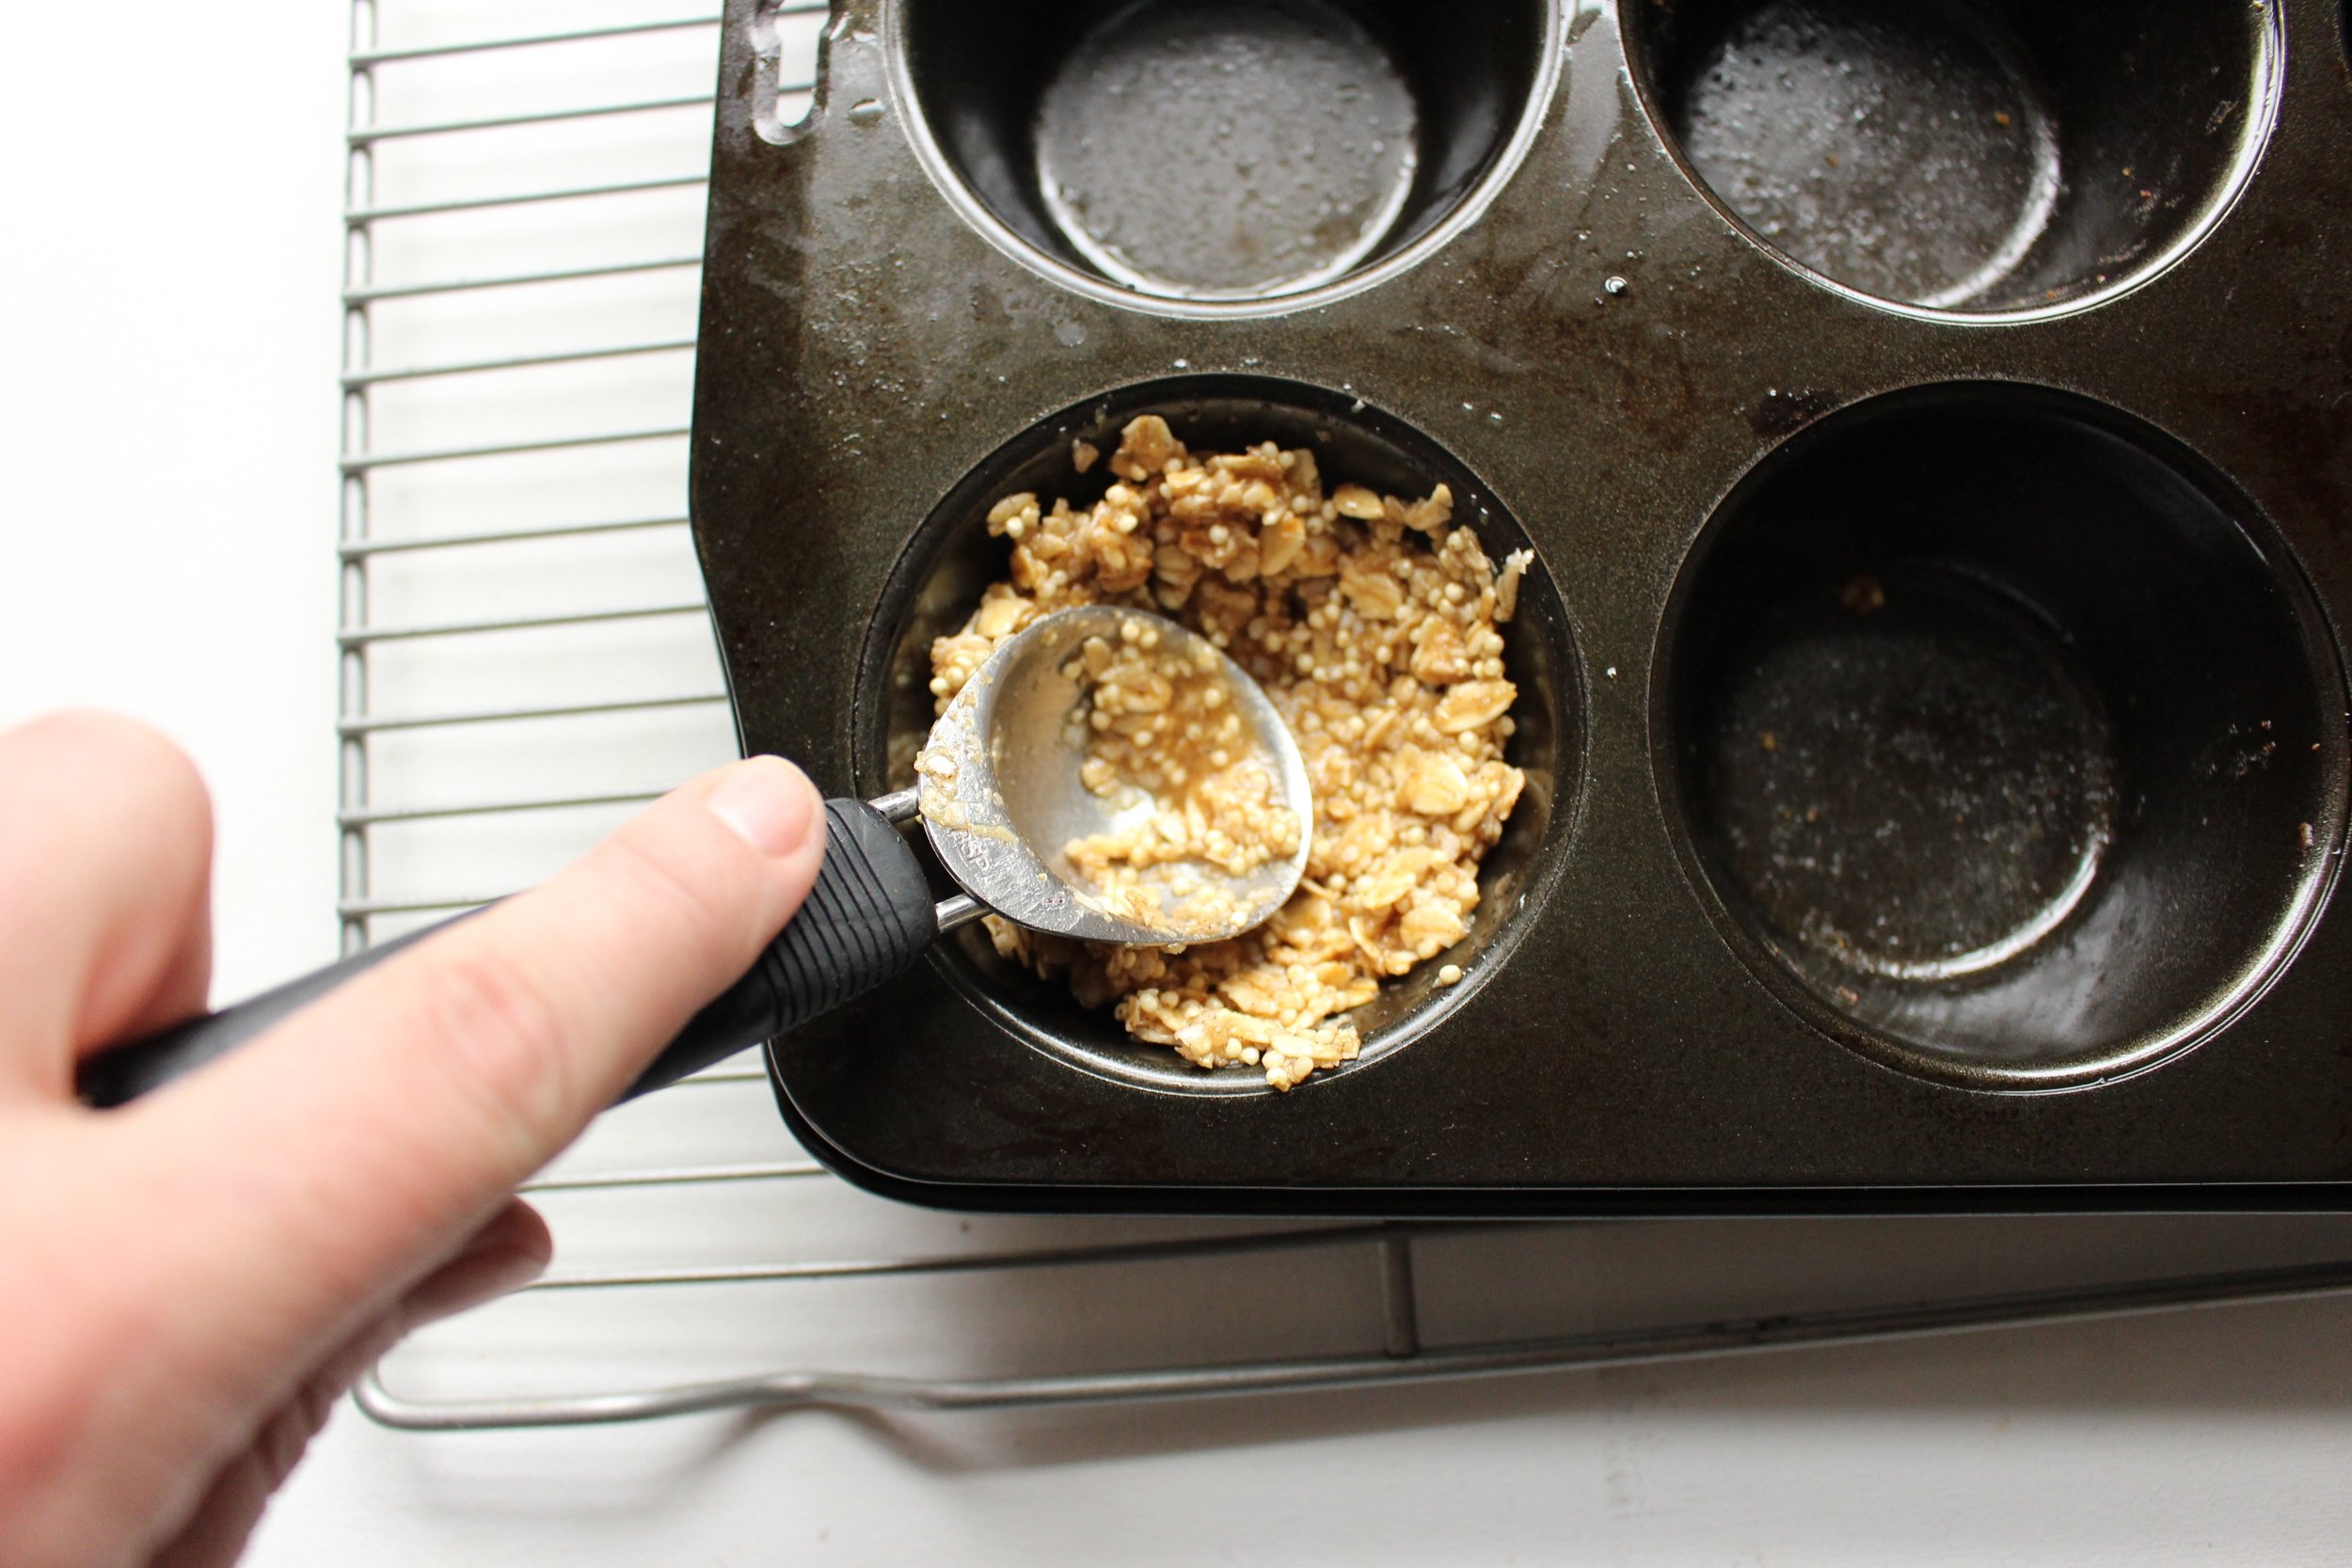
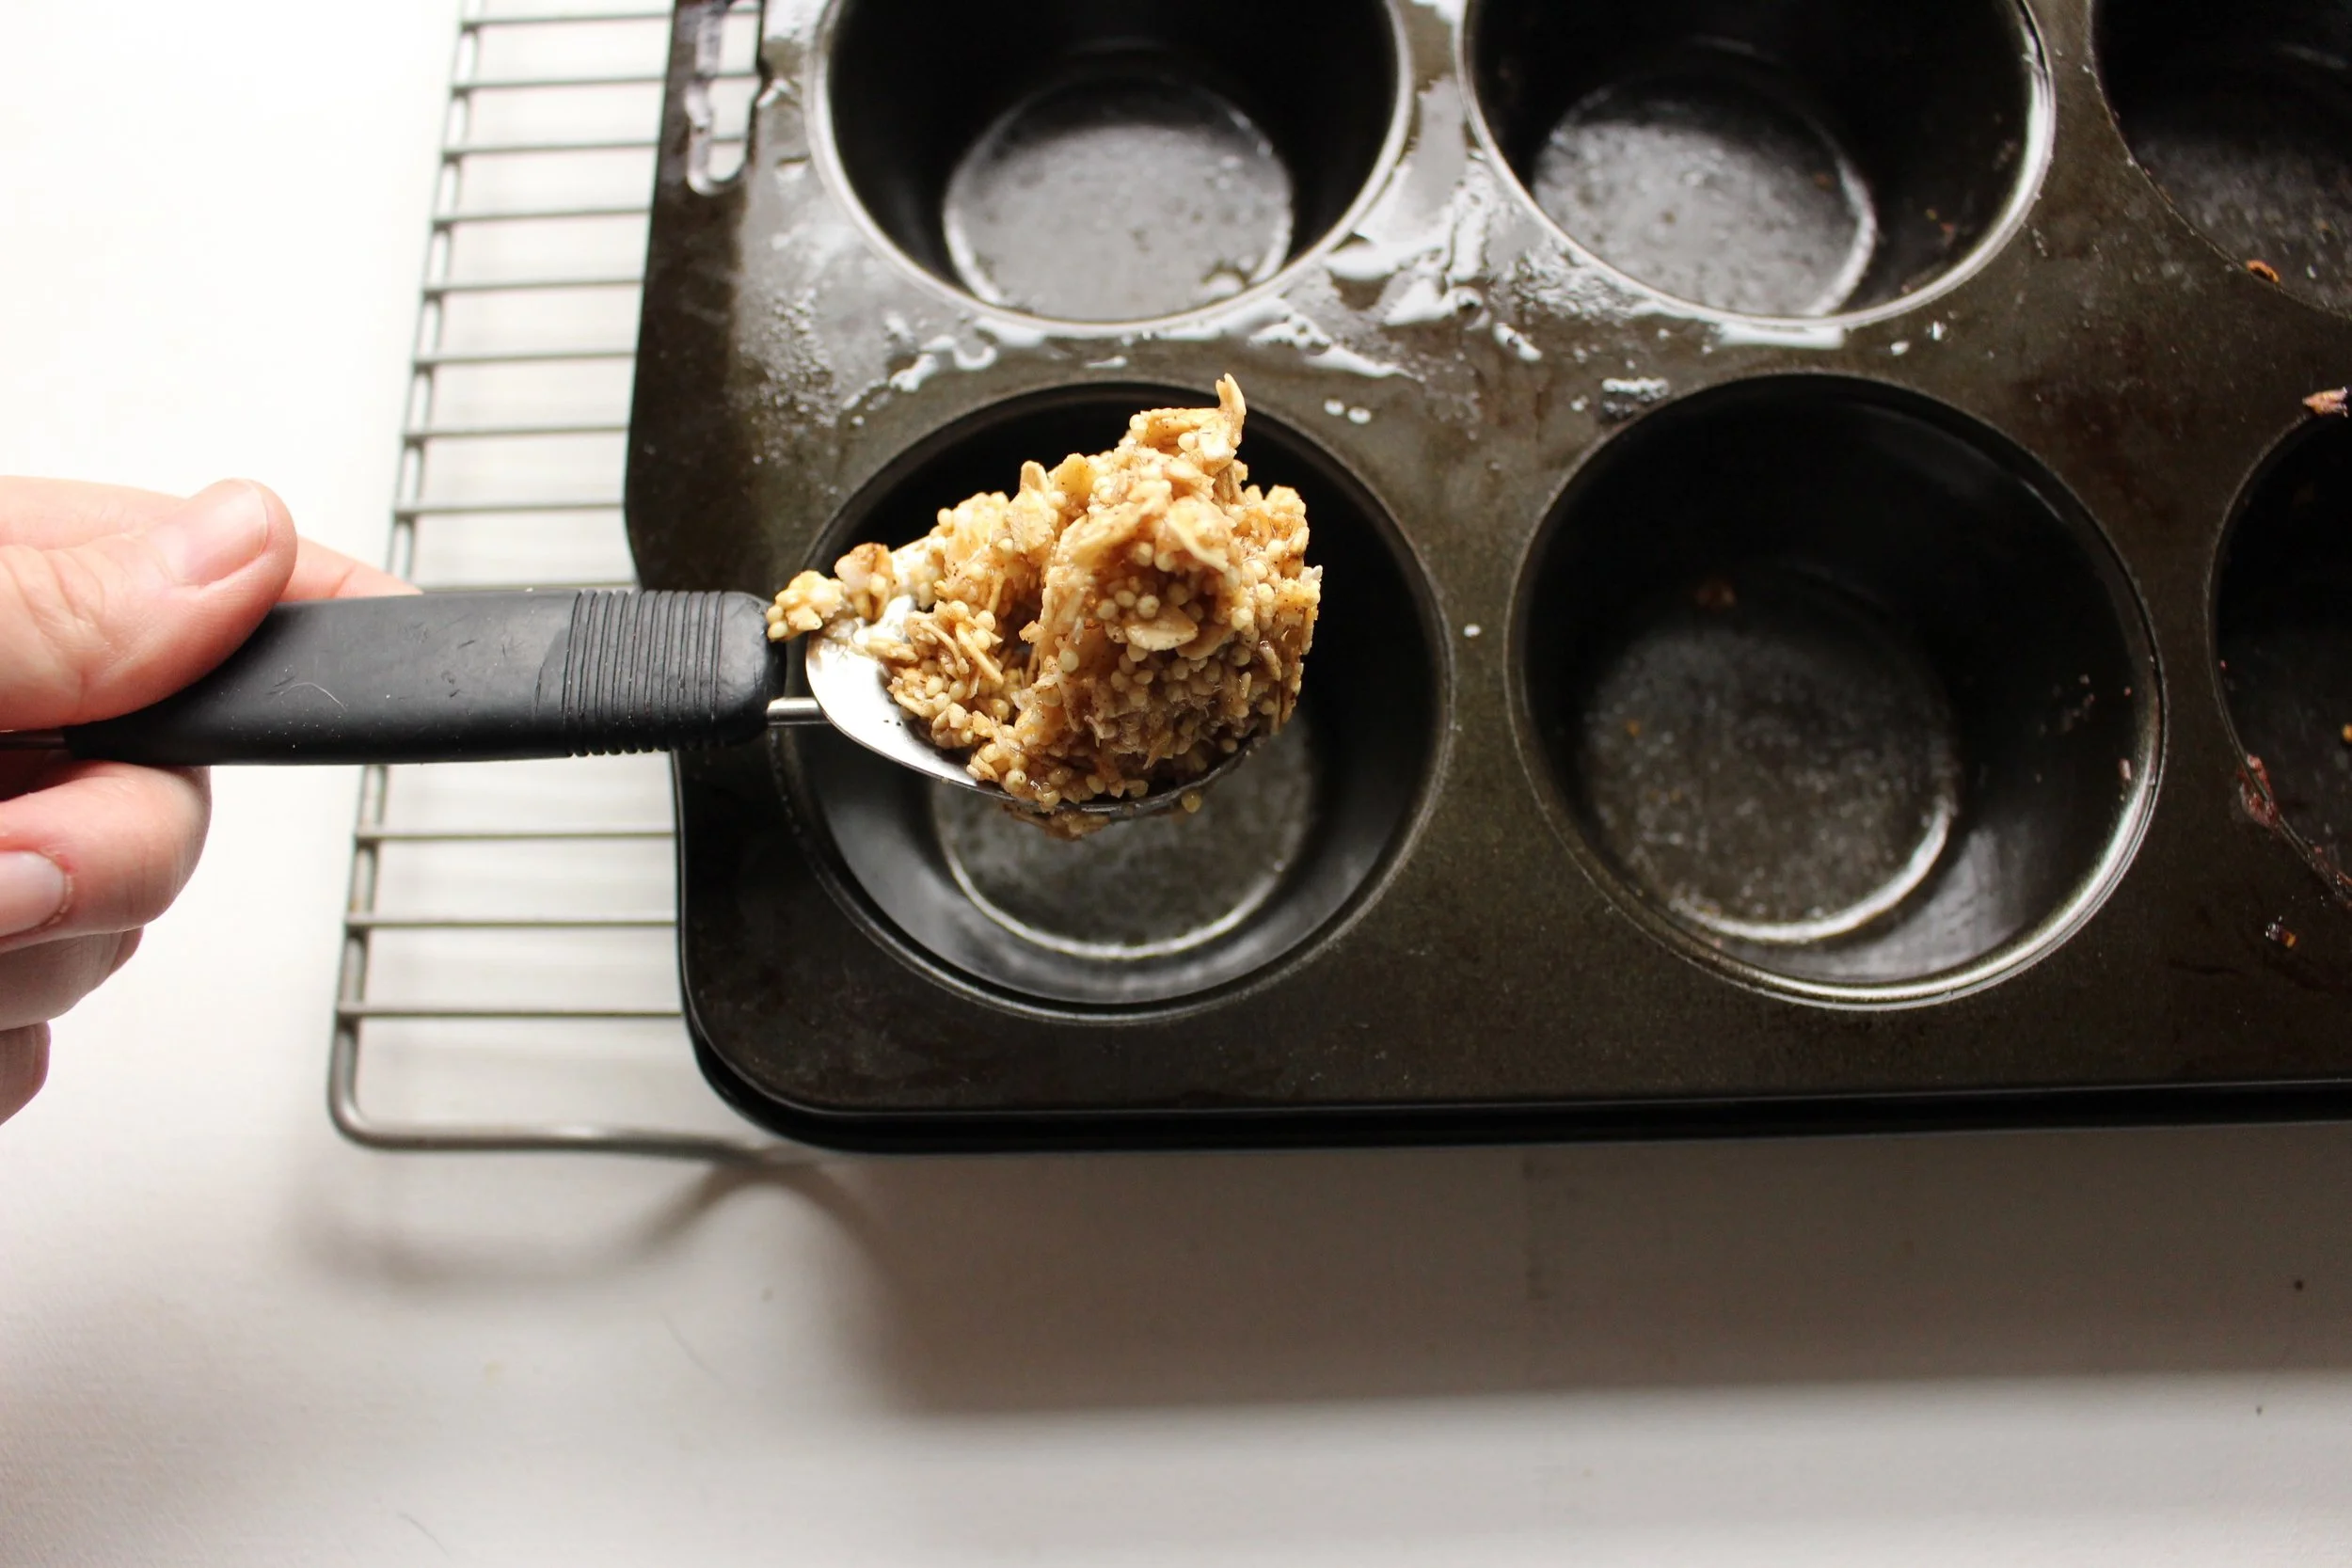
Add two heaping tablespoons of the mixture to each cup, making sure to leave some in the bowl for filling in holes as needed. (So, start out filling 9 of the 12 cups and then fill in the rest with whatever you have left in the bowl.) Using the back of the spoon, press the mixture gently up the sides of the cups. If any holes appear while you're smoothing out the sides and bottom, add more of the oat mixture.
Bake at 350 for 10-12 minutes until the cups start to brown at the edges.
Yield: 9-11 cups
Almond cookies
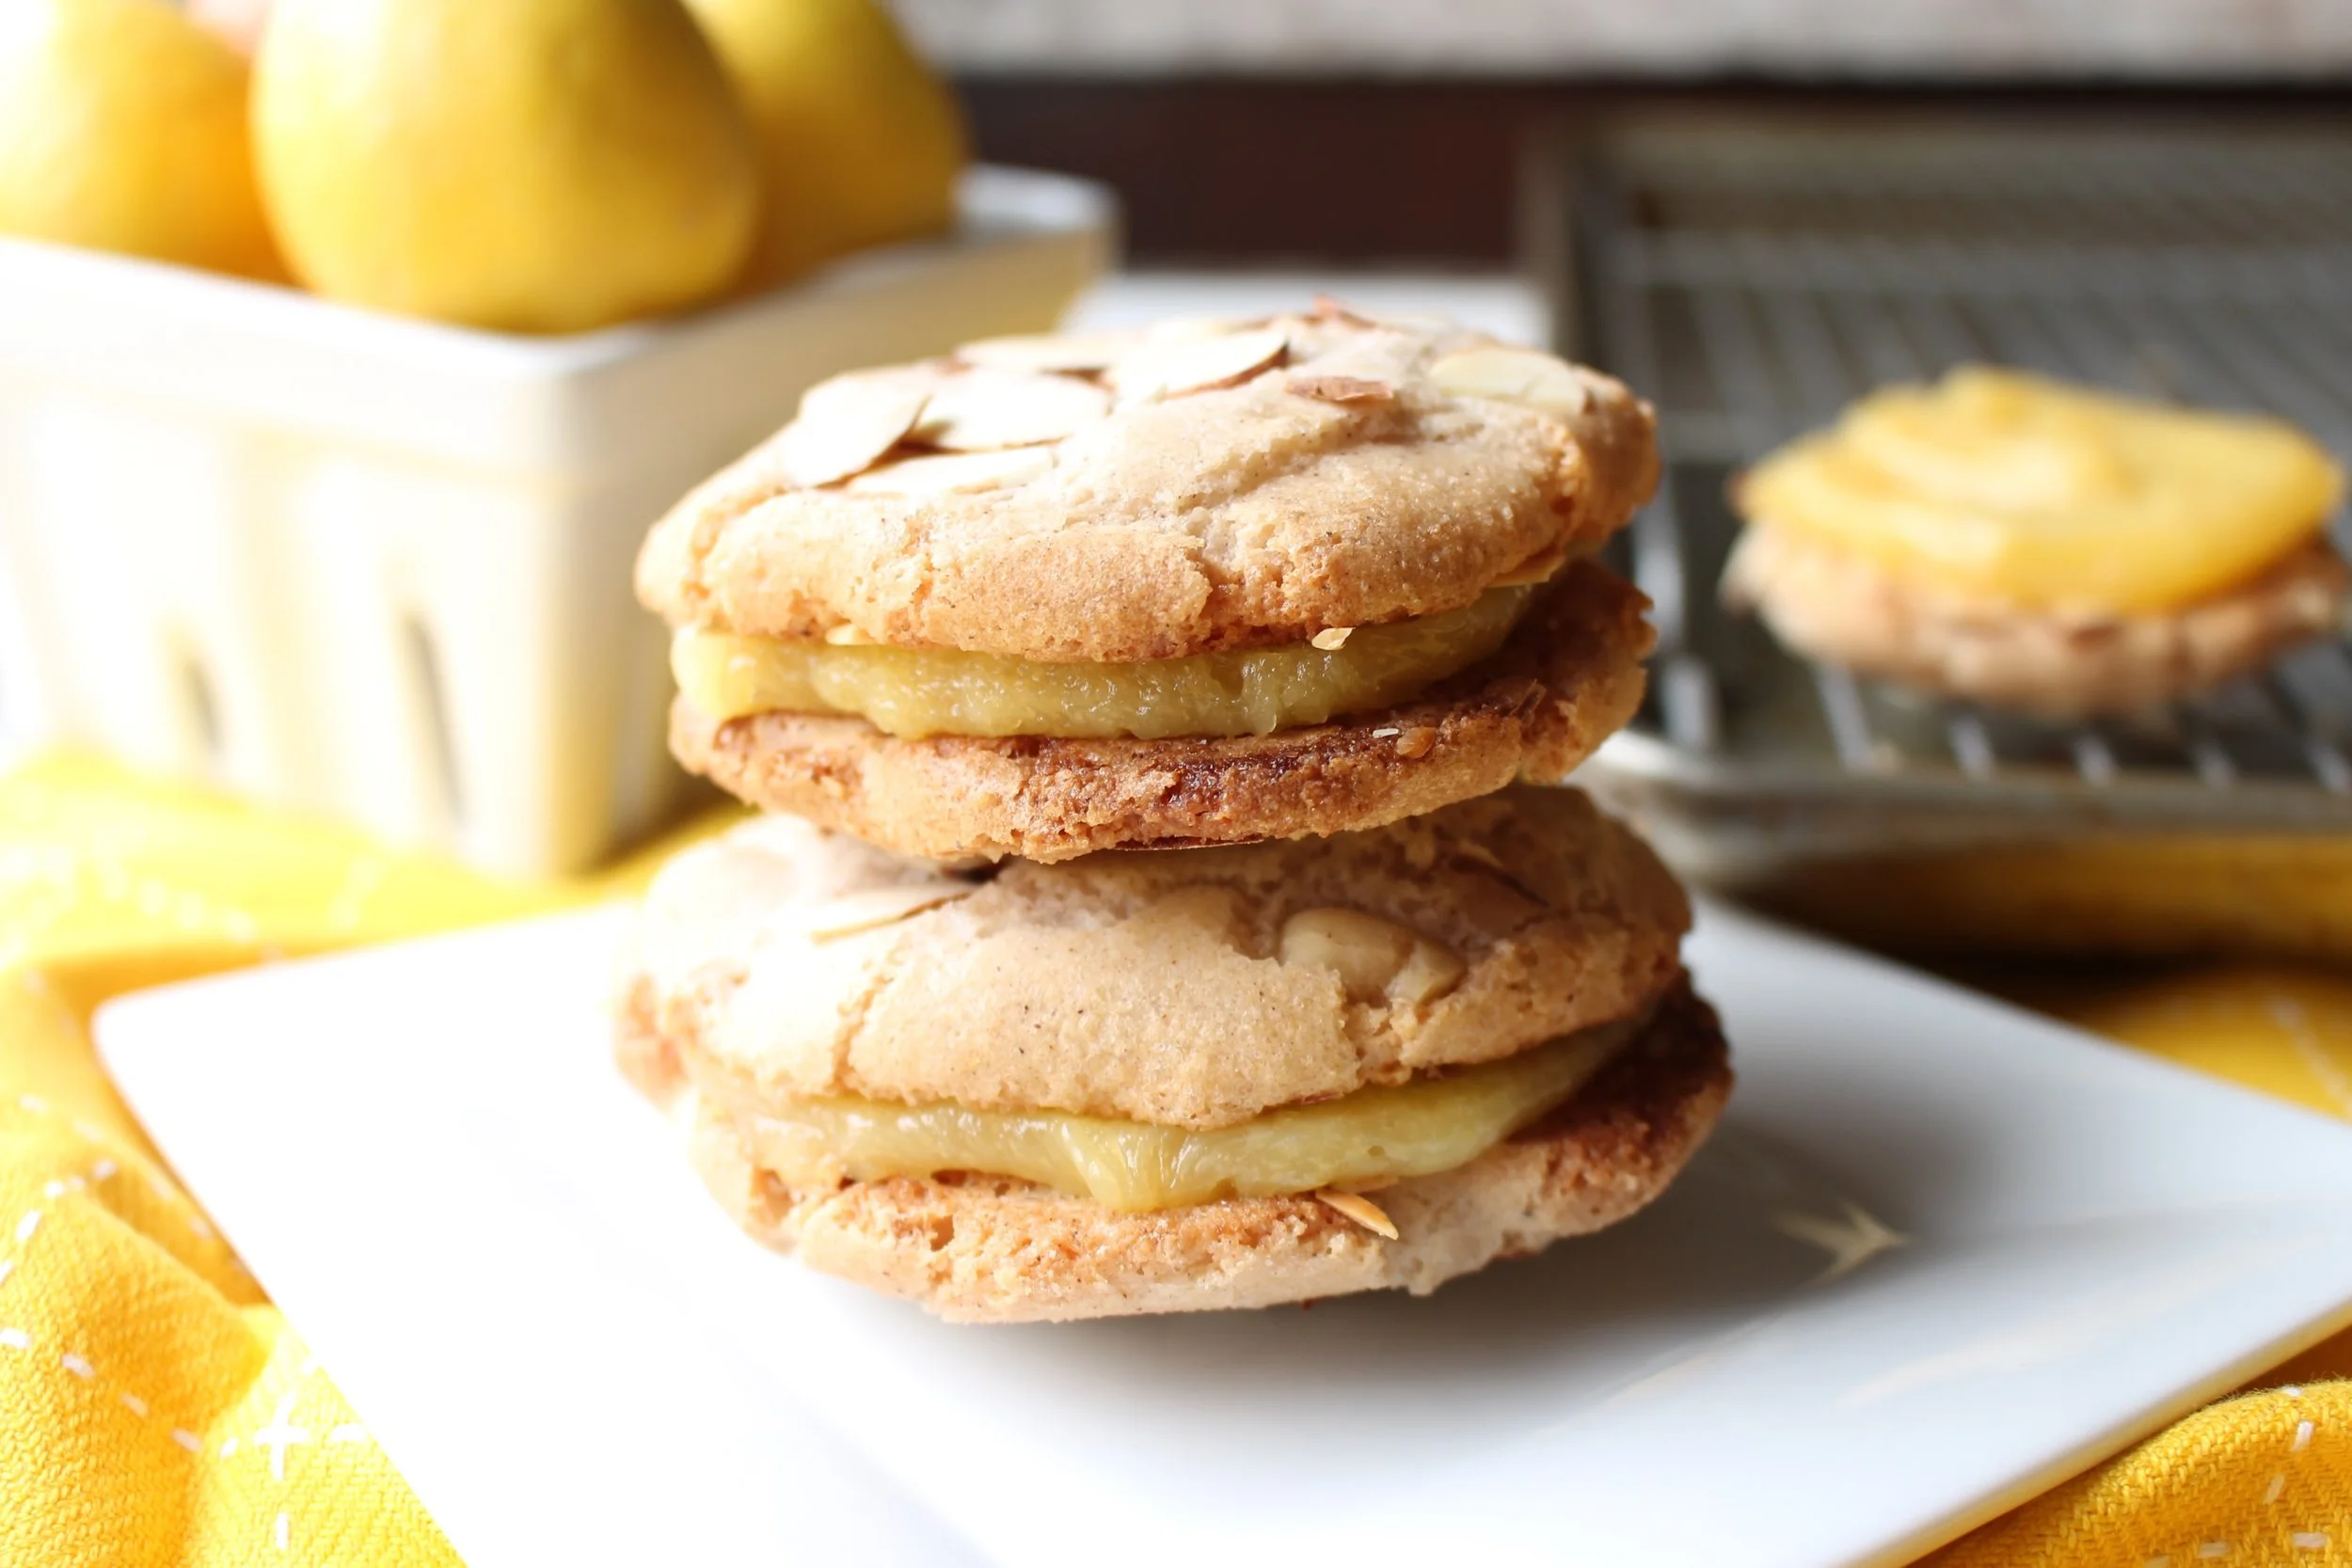
Easter and Passover fall during the same weekend this year, so why not bake a dessert that fits the bill for both? They're a little like a French Macaron, but with a lot less work. They're also a little merengue-y, but much less tricky and far quicker to bake.
I first made these Chewy Almond Cookies for the holidays a few years ago. My mom loves a Linzer torte and my father-in-law loves anything with marzipan, but I needed something a bit simpler to add to the cookie tray. The original version called for store-bought almond paste, but it's expensive and sometimes hard to find, so these cookies sub in almond flour (NOT almond meal) and powdered sugar.
Skipping the almond paste also makes these kosher for Passover because the paste uses some kind of gluten-derived syrup as a sweetener.

I've fiddled with the technique a bit as well. Adding the egg whites to the food processor first and whizzing them until they're thick and white makes the cookies lighter, airier, and more chewy. You don't need to go for stiff peaks or even soft peaks, but just a frothy milky mixture.
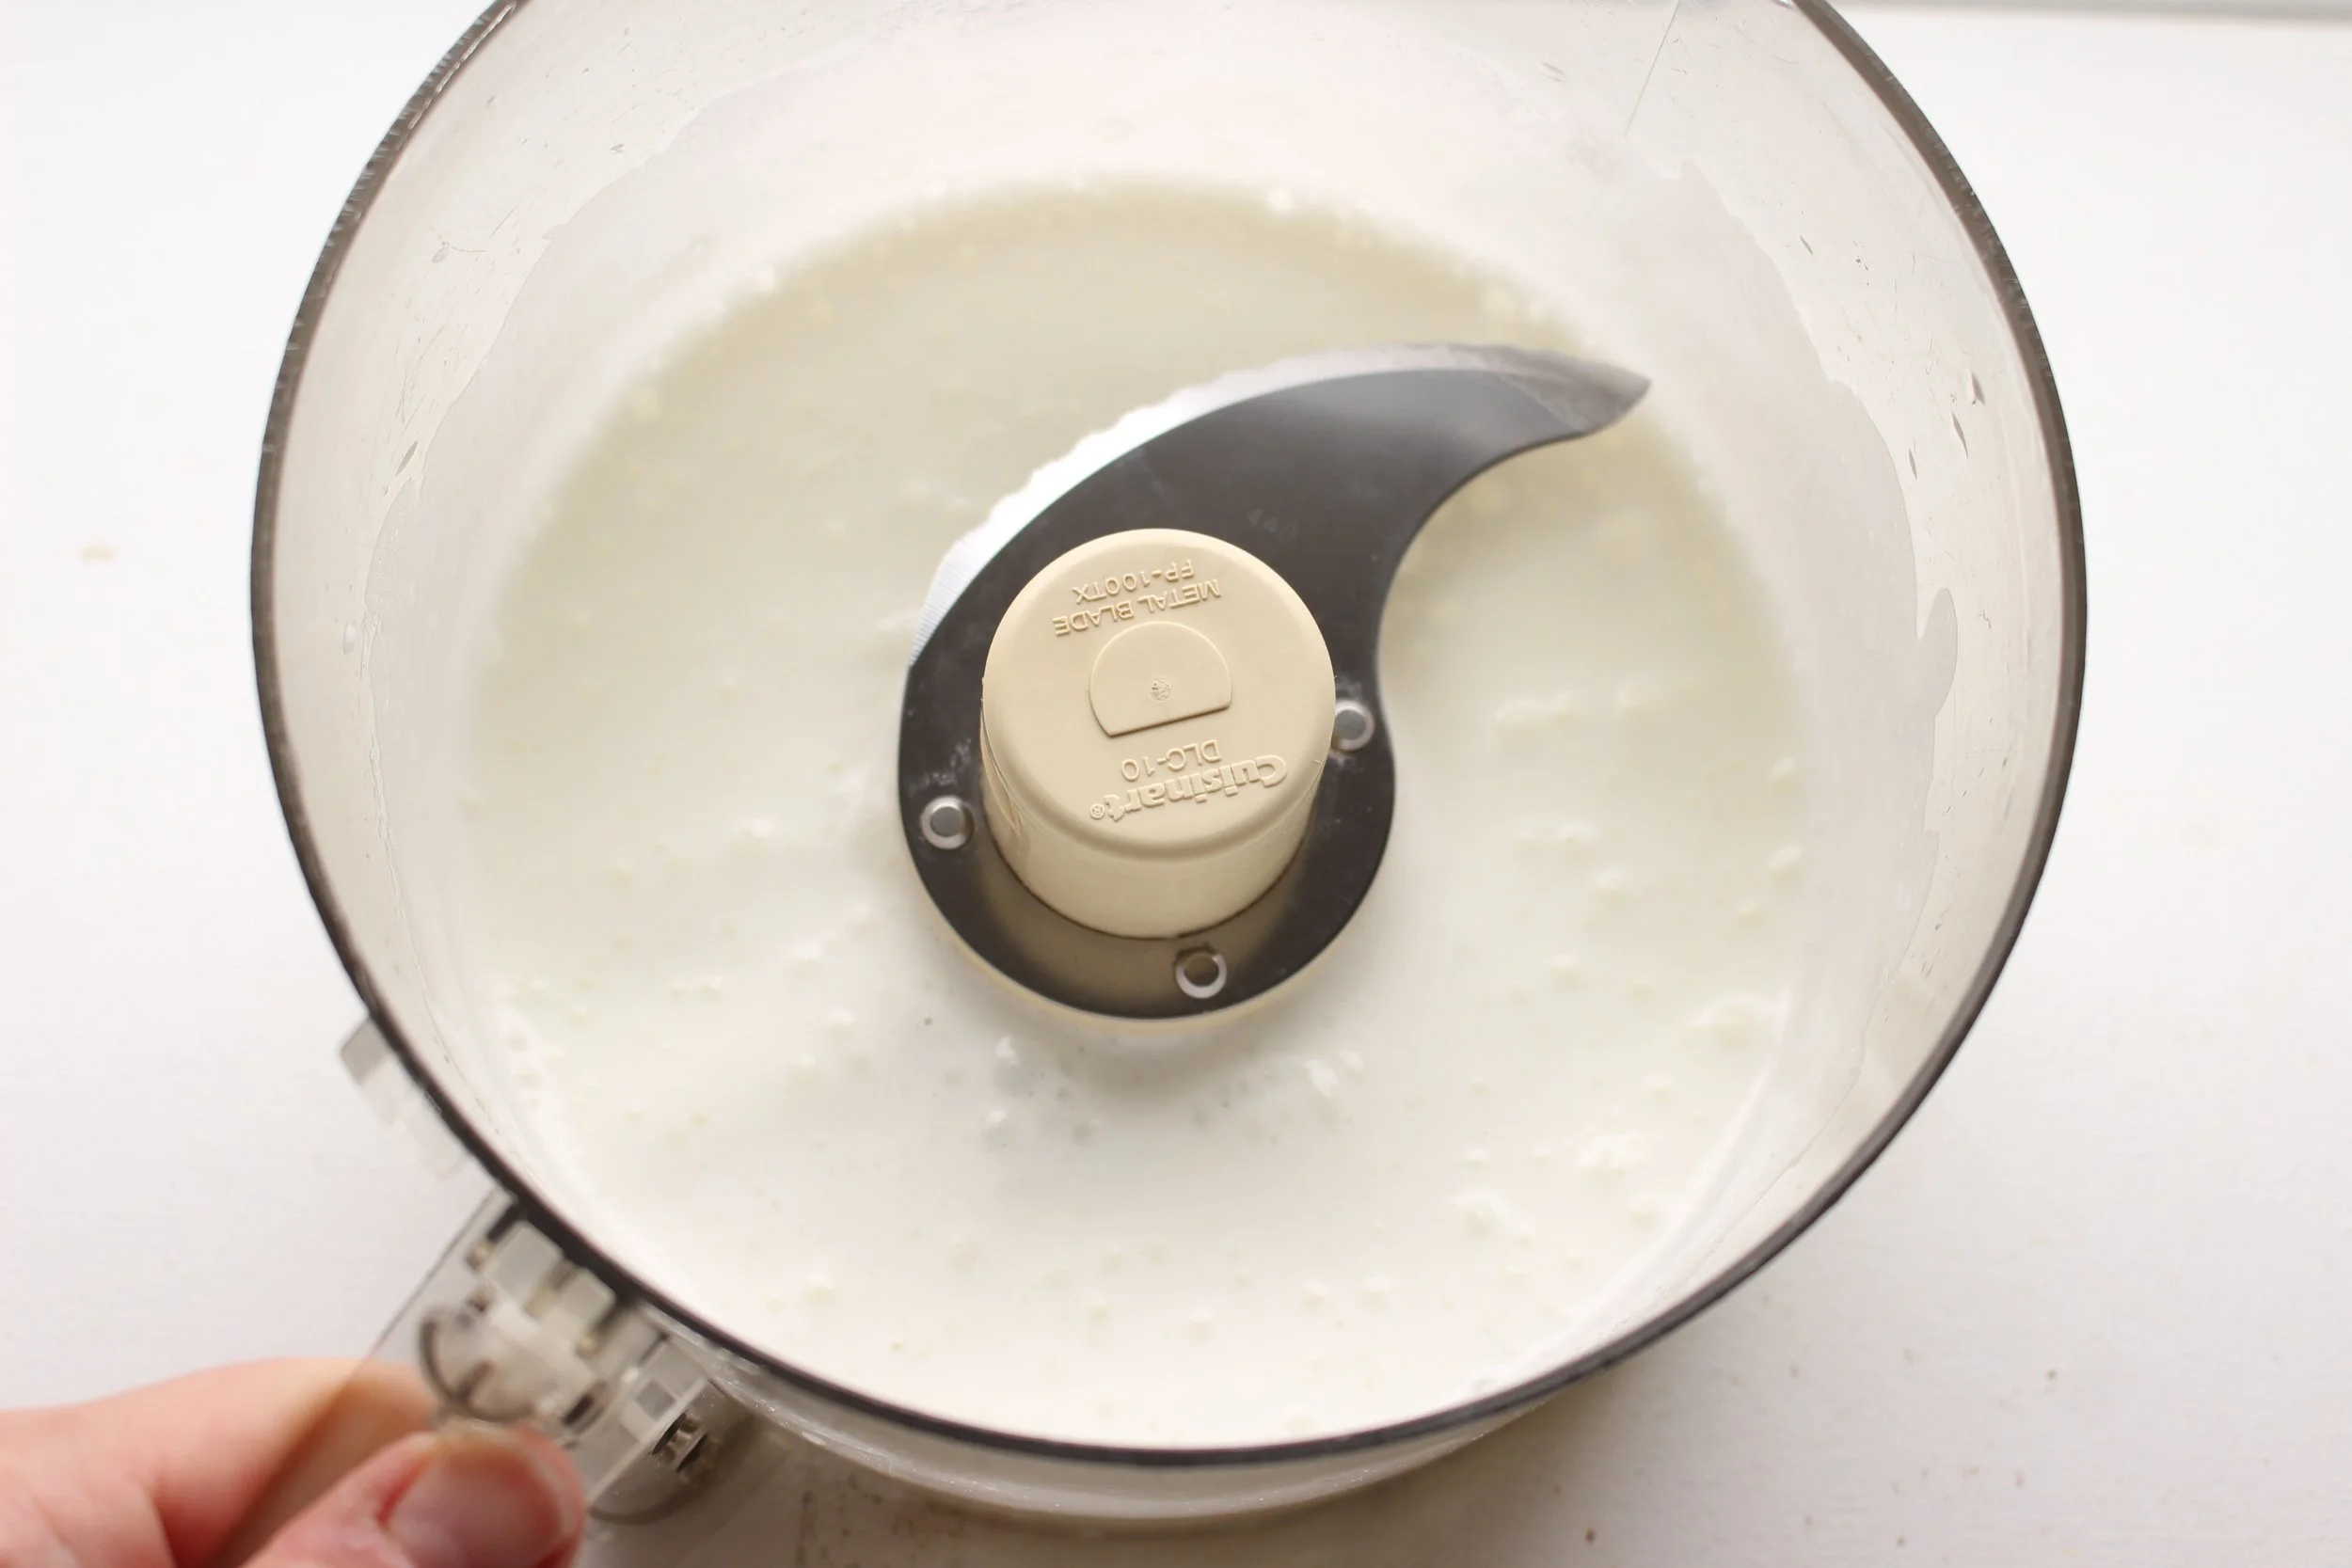
The only tricky part of this recipe is getting the texture of the batter right. Too thick, and it's hard to pipe, but too thin and the cookies spread out and get too crunchy. You want to be able to run a finger through the batter and the indentation stays put. (See the photo below.)
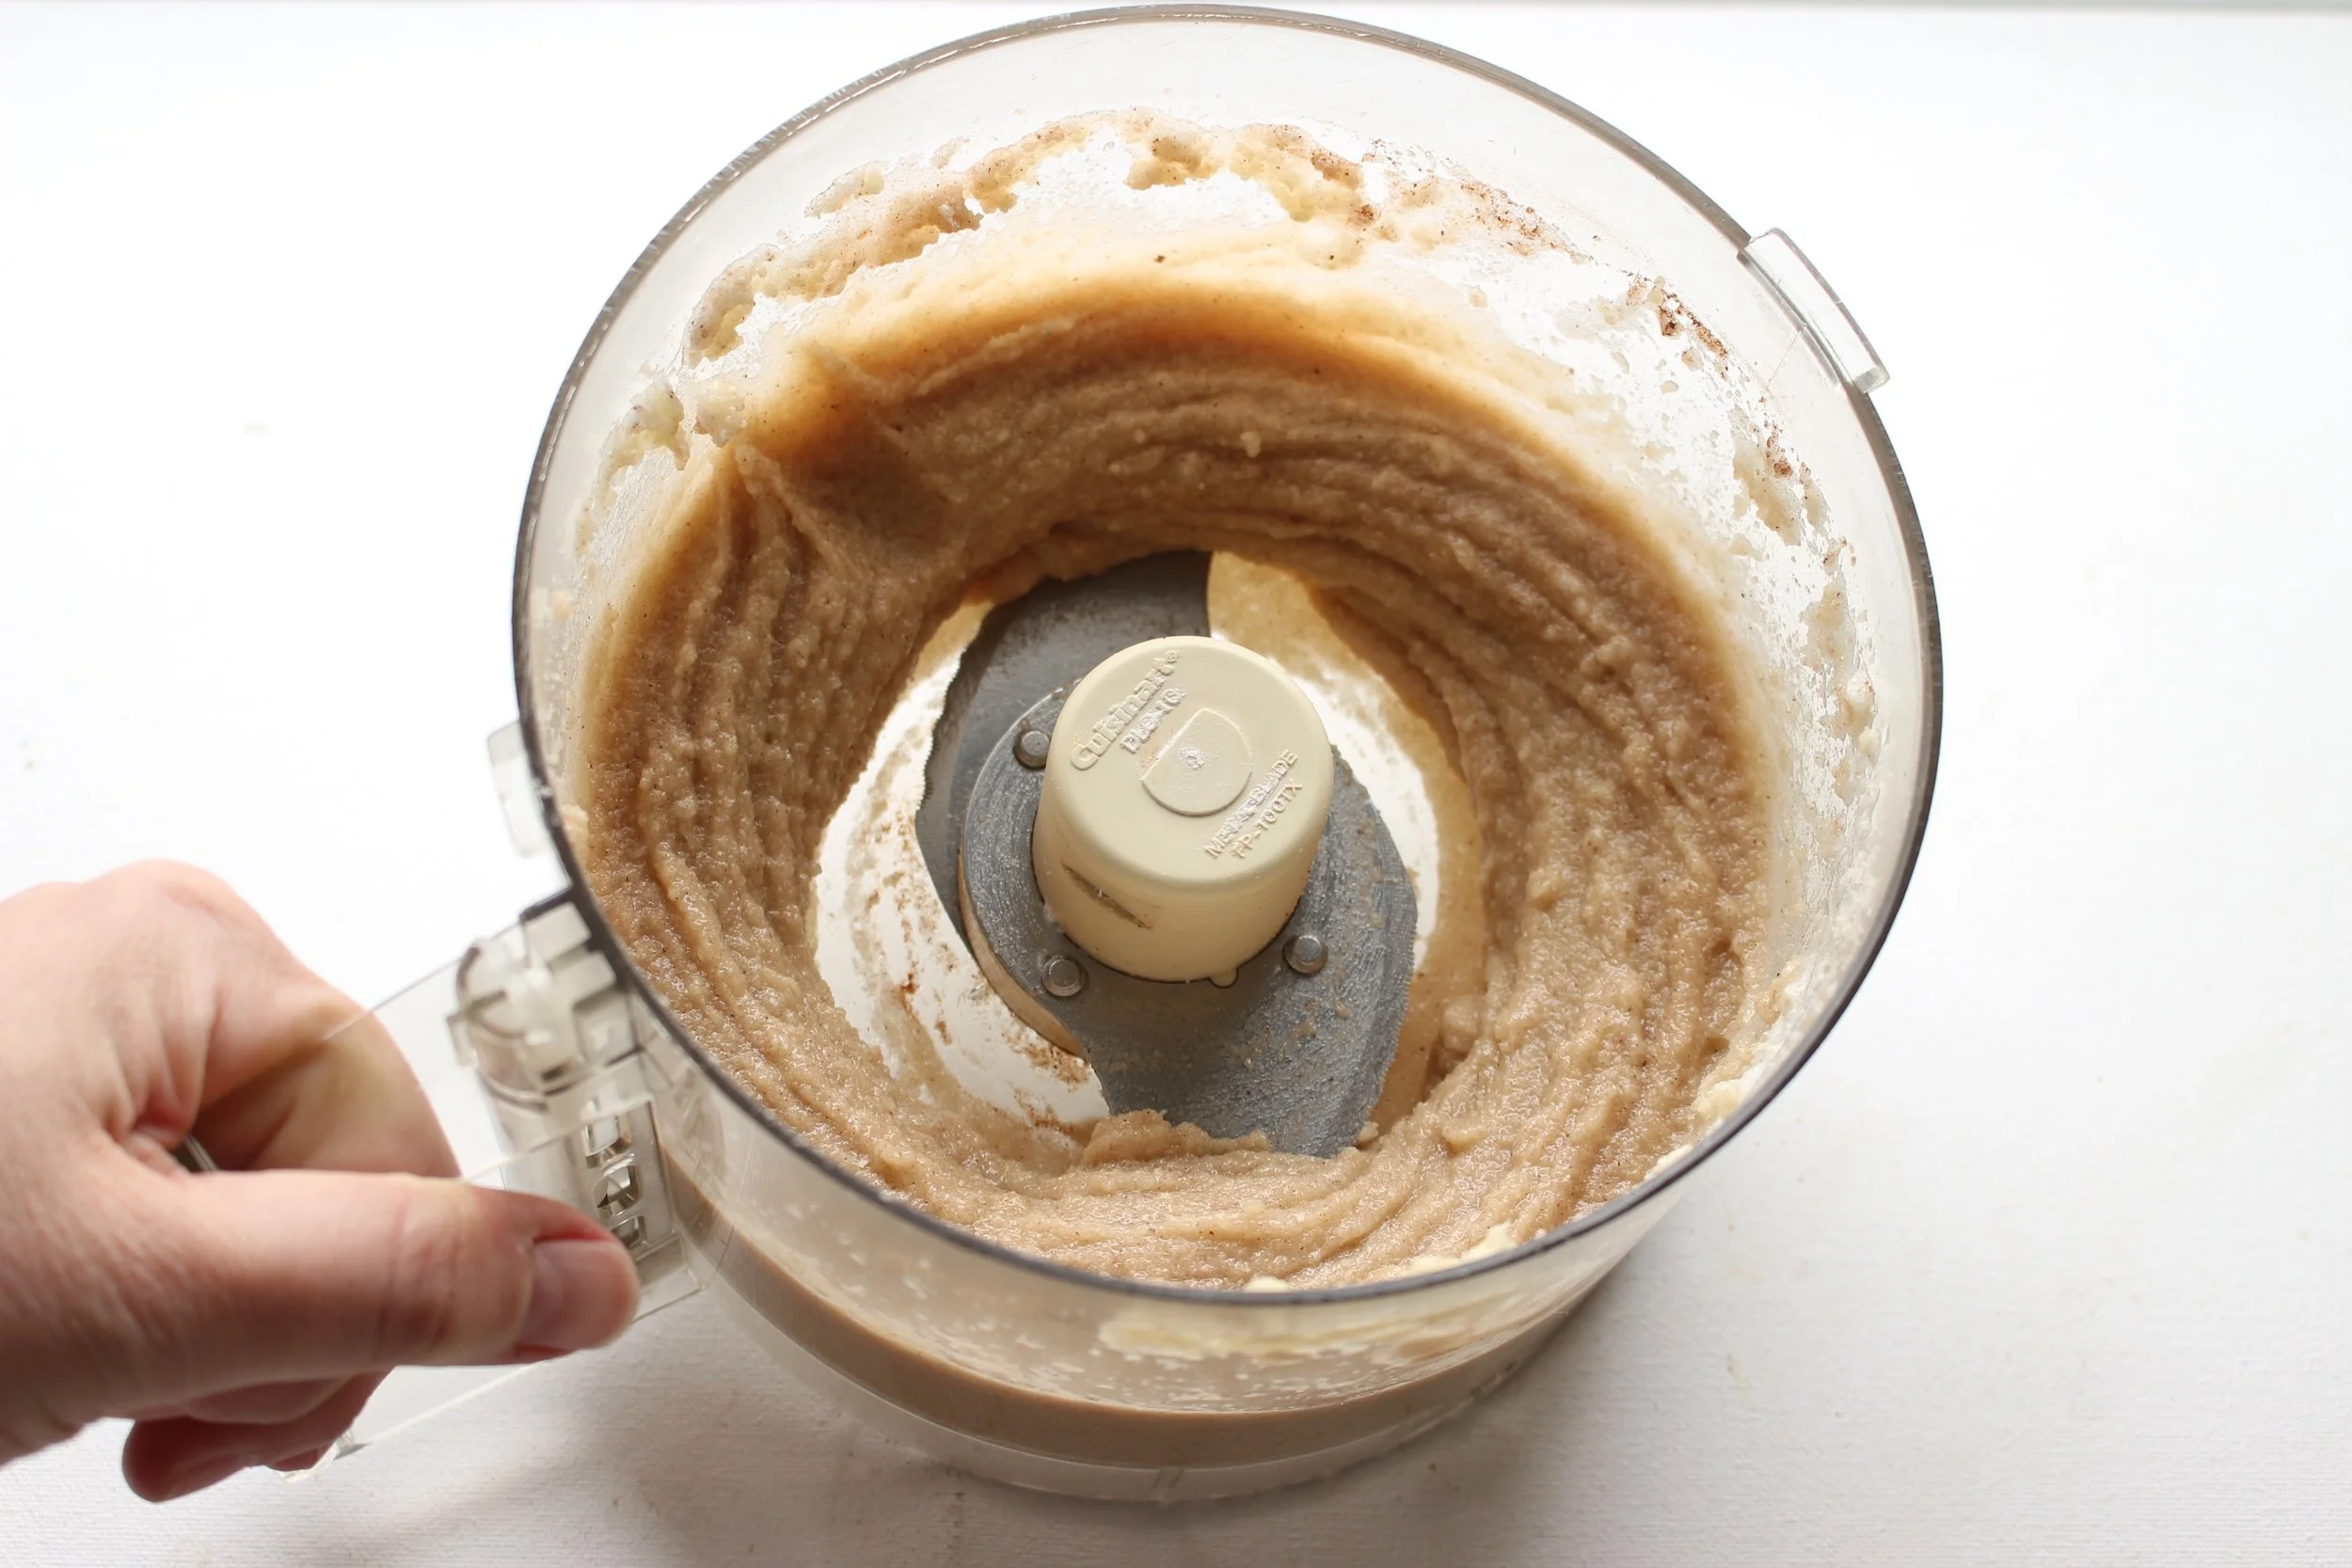
The original recipe also calls for raspberry jam, which is delicious. But I used lemon curd here because it felt more springy. Also, it seemed like an apt use of the leftover egg yolks. However, I confess that I've never actually made my own lemon curd before and my first try was...not great. The taste was delicious, but it was entirely too runny. So, I bought some at the grocery store and called it a day. No shame.

Almond Cookies
2 large eggs, white and yolk separated
1 cup almond meal
¾ cup confectioner’s sugar
¾ cup granulated sugar
½ tsp almond extract
½ tsp cinnamon
1/8 tsp cardamom
¼ tsp salt
2 cups sliced almonds
Preheat the oven to 350.
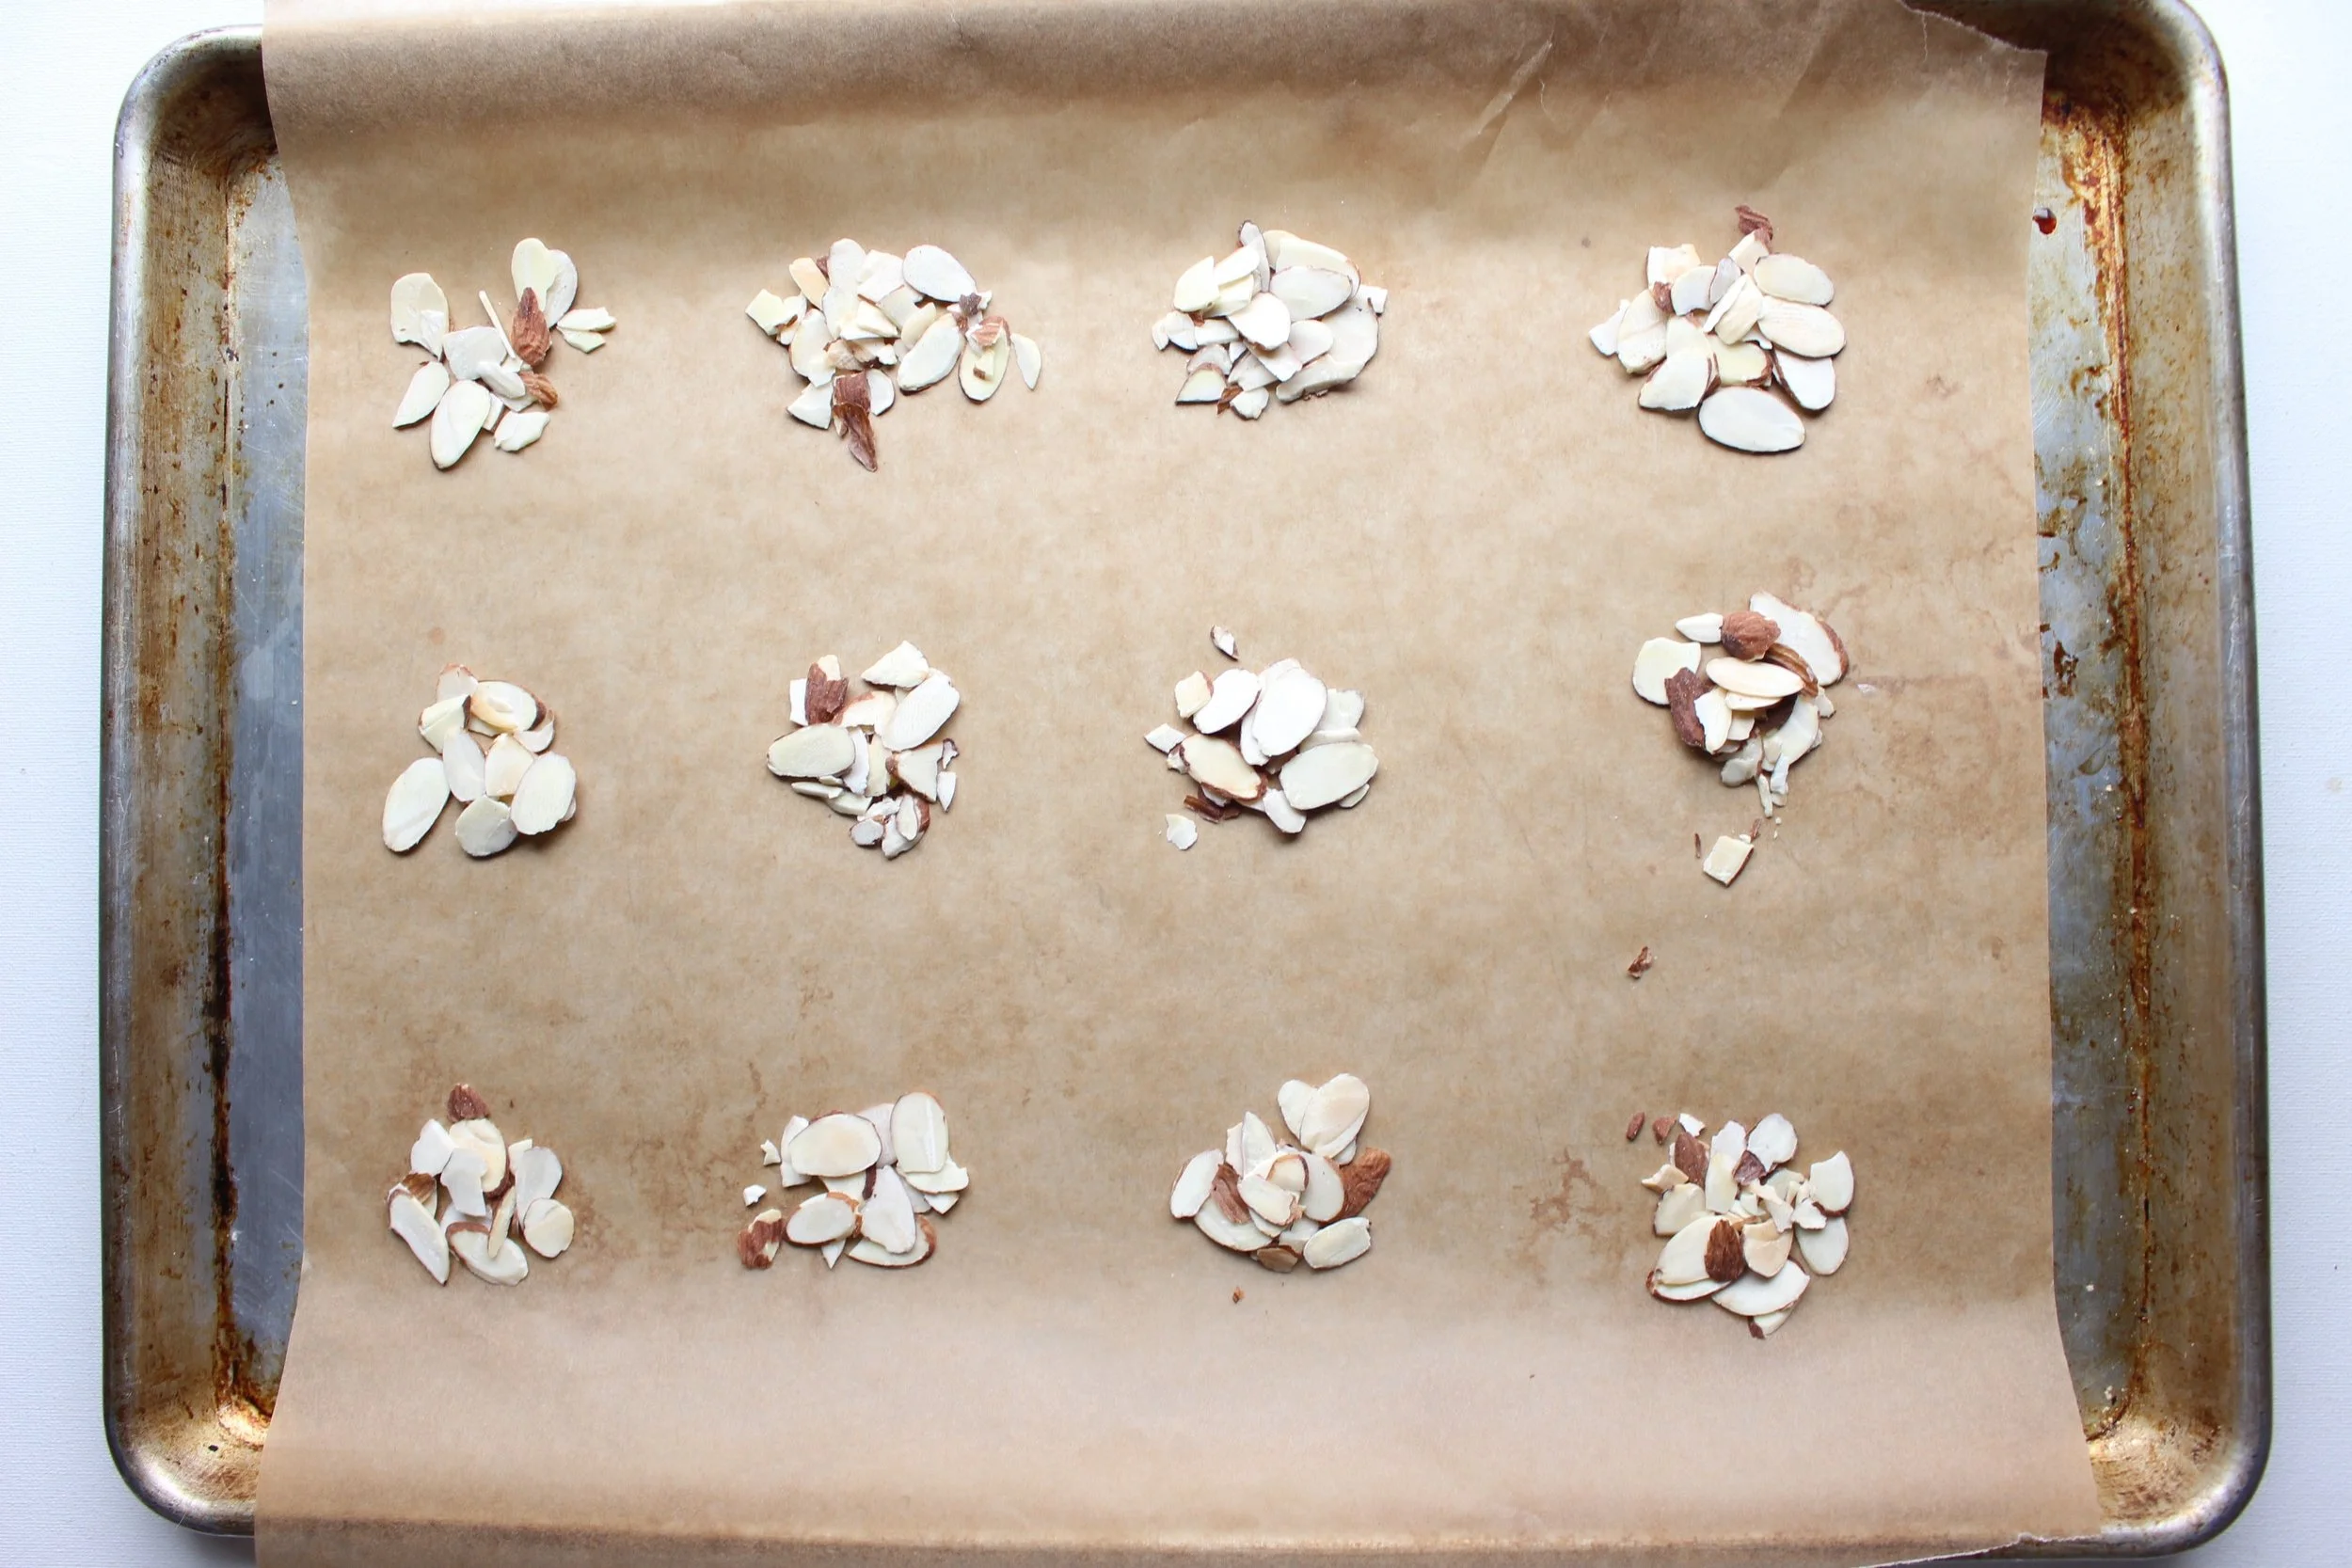
Line a baking sheet with parchment paper. Make 9 small piles of almonds roughly the size of a quarter. Set aside.
Add the egg whites to a food processor. Whiz on high speed until the whites look frothy and milky, about 1-2 minutes.
Add the rest of the ingredients and whiz to combine. The batter will likely form a ball. Keep processing until the ball smoothes back out. If the batter is too thick (stays in a ball after another minute of processing), separate another egg white and yolk and add ½ of the egg white to the batter and process again.
Add the batter to a large zip lock bag or a piping bag and refrigerate for at least 30 minutes, or up to 1 day.
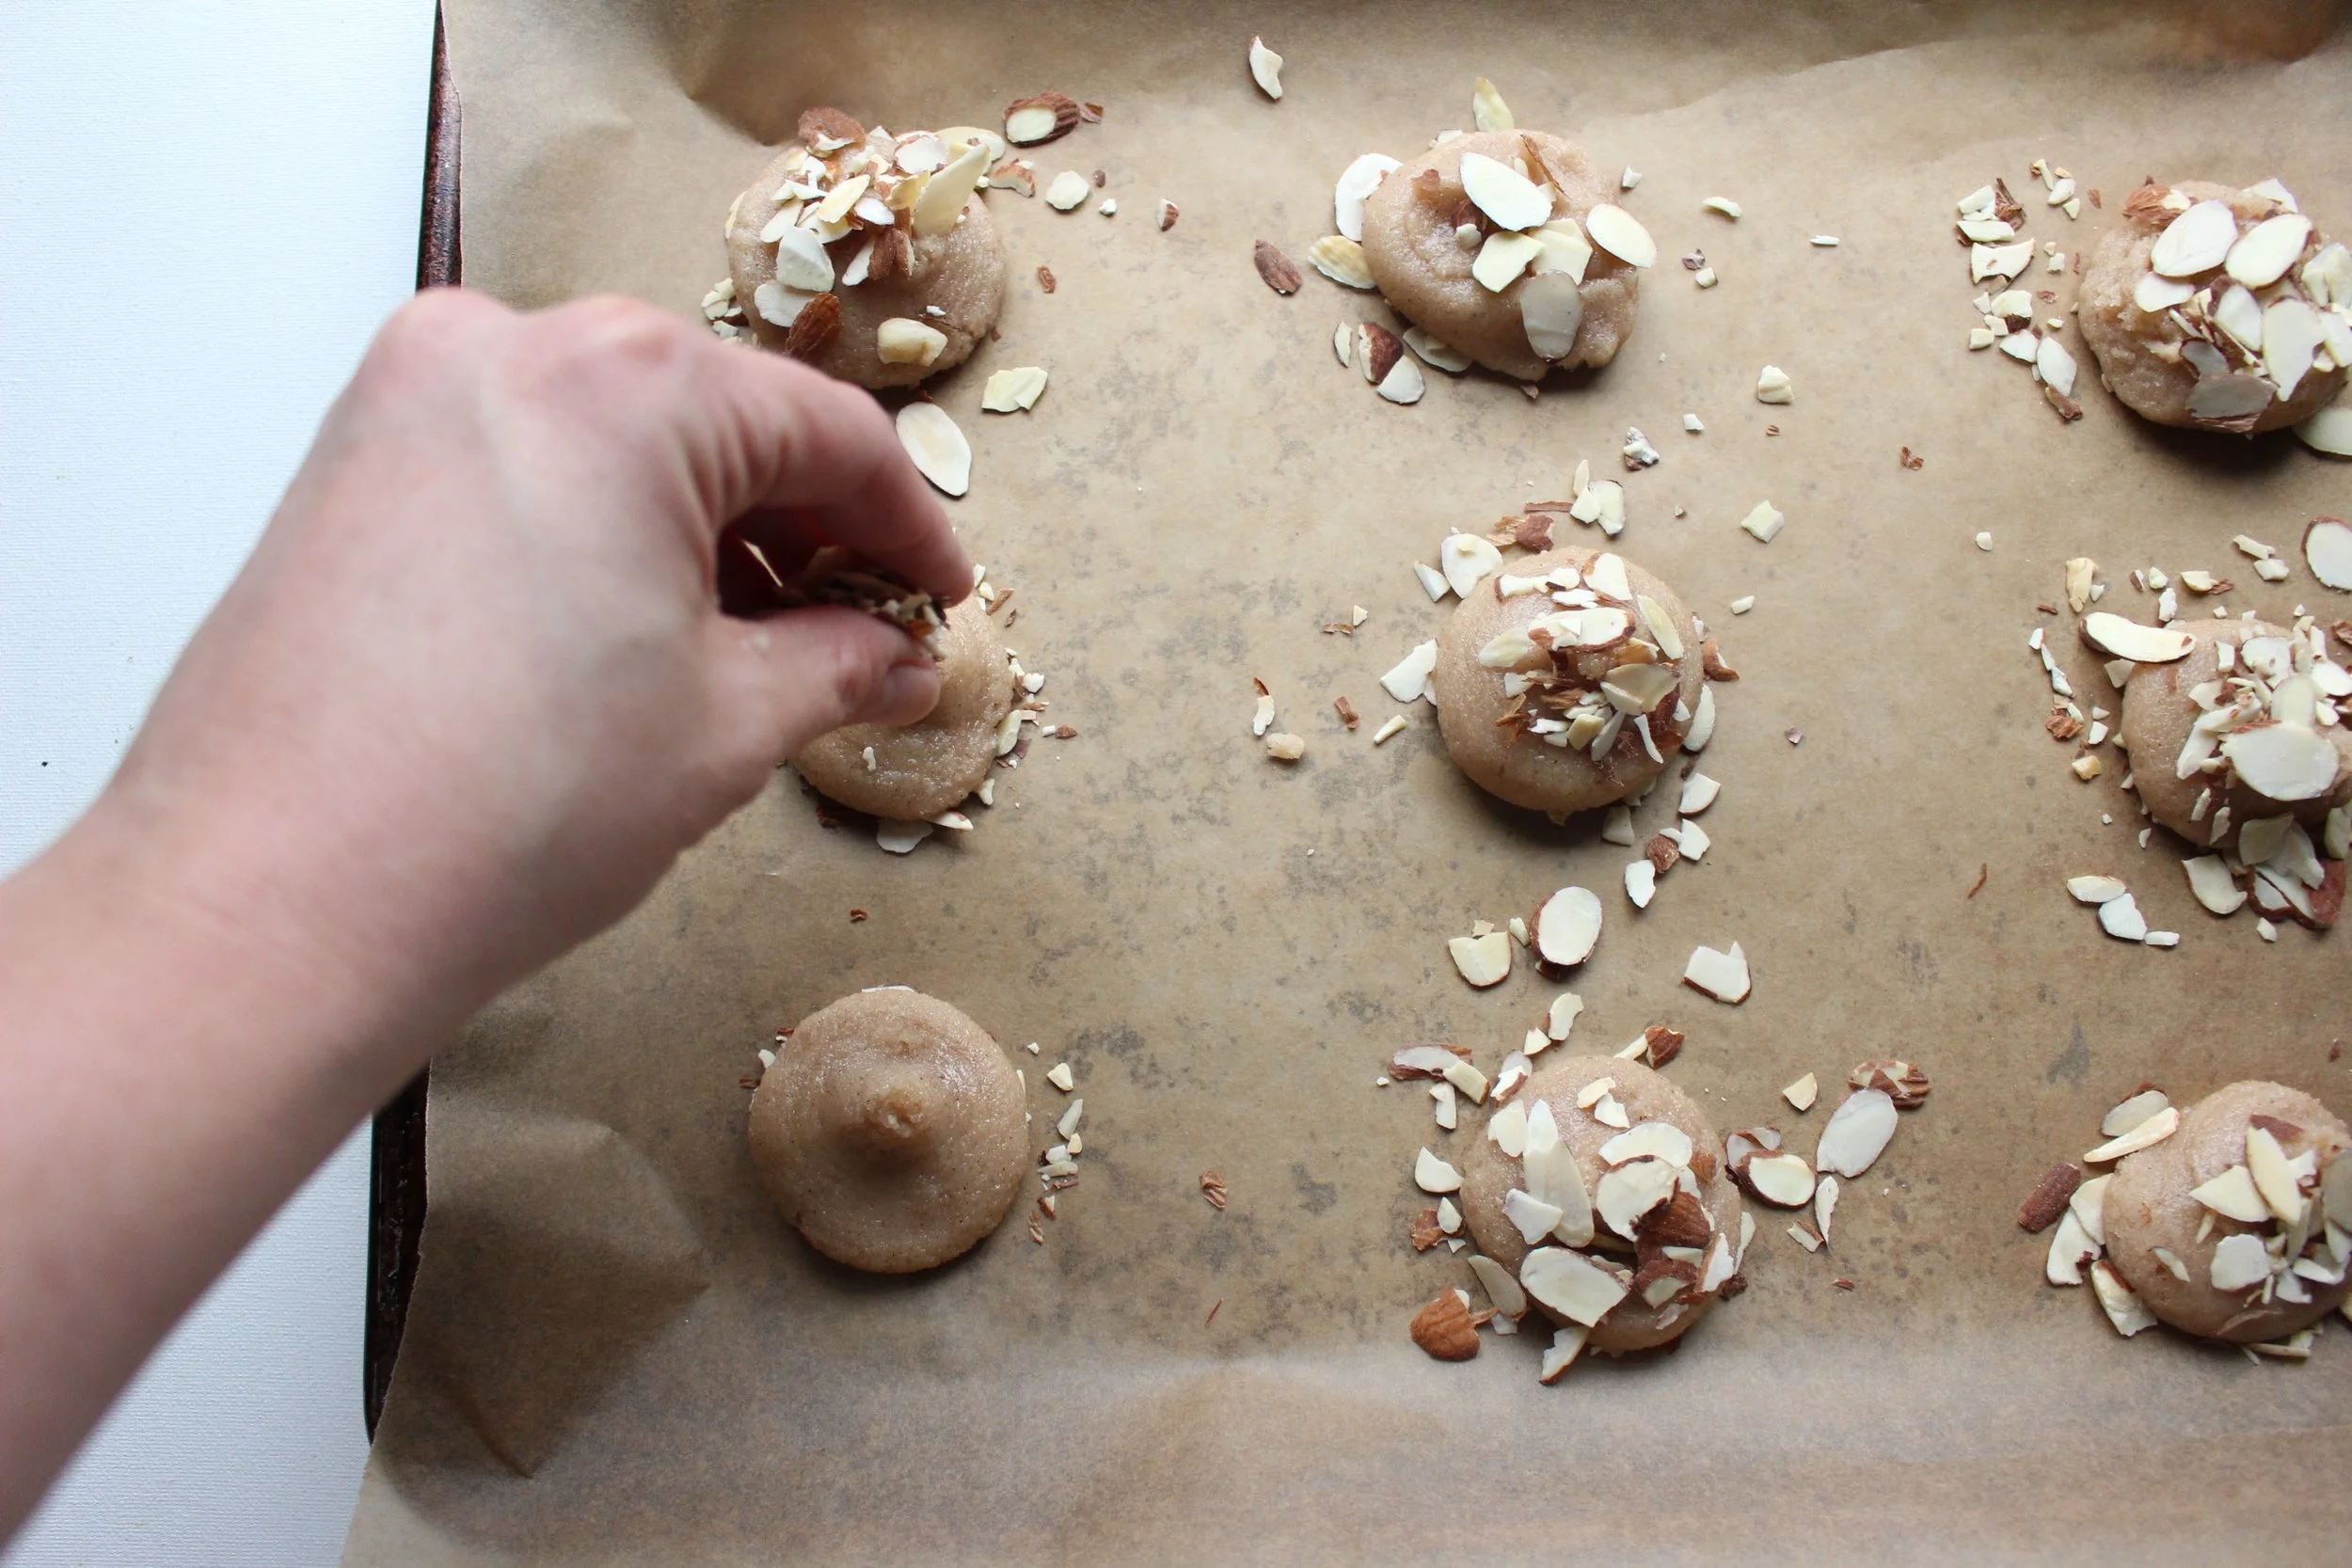
Once chilled, pipe about 2 Tbsp of batter in a circle over each pile of almonds. The batter will be thick, so feel free to use your fingers to help it out of the bag. Don’t worry if the batter looks a little wonky because the cookies spread out while baking.
Top with more sliced almonds.
Bake for 5 minutes and rotate the pan. Bake for 5 minutes more. Be careful not to overbake these cookies. They’re done even when they look slightly raw in the middle. You want just a hint of color around the edges. Let cool for 5 minutes on the pan and move to a wire rack to cool completely.
Yield: 18-20 cookies
