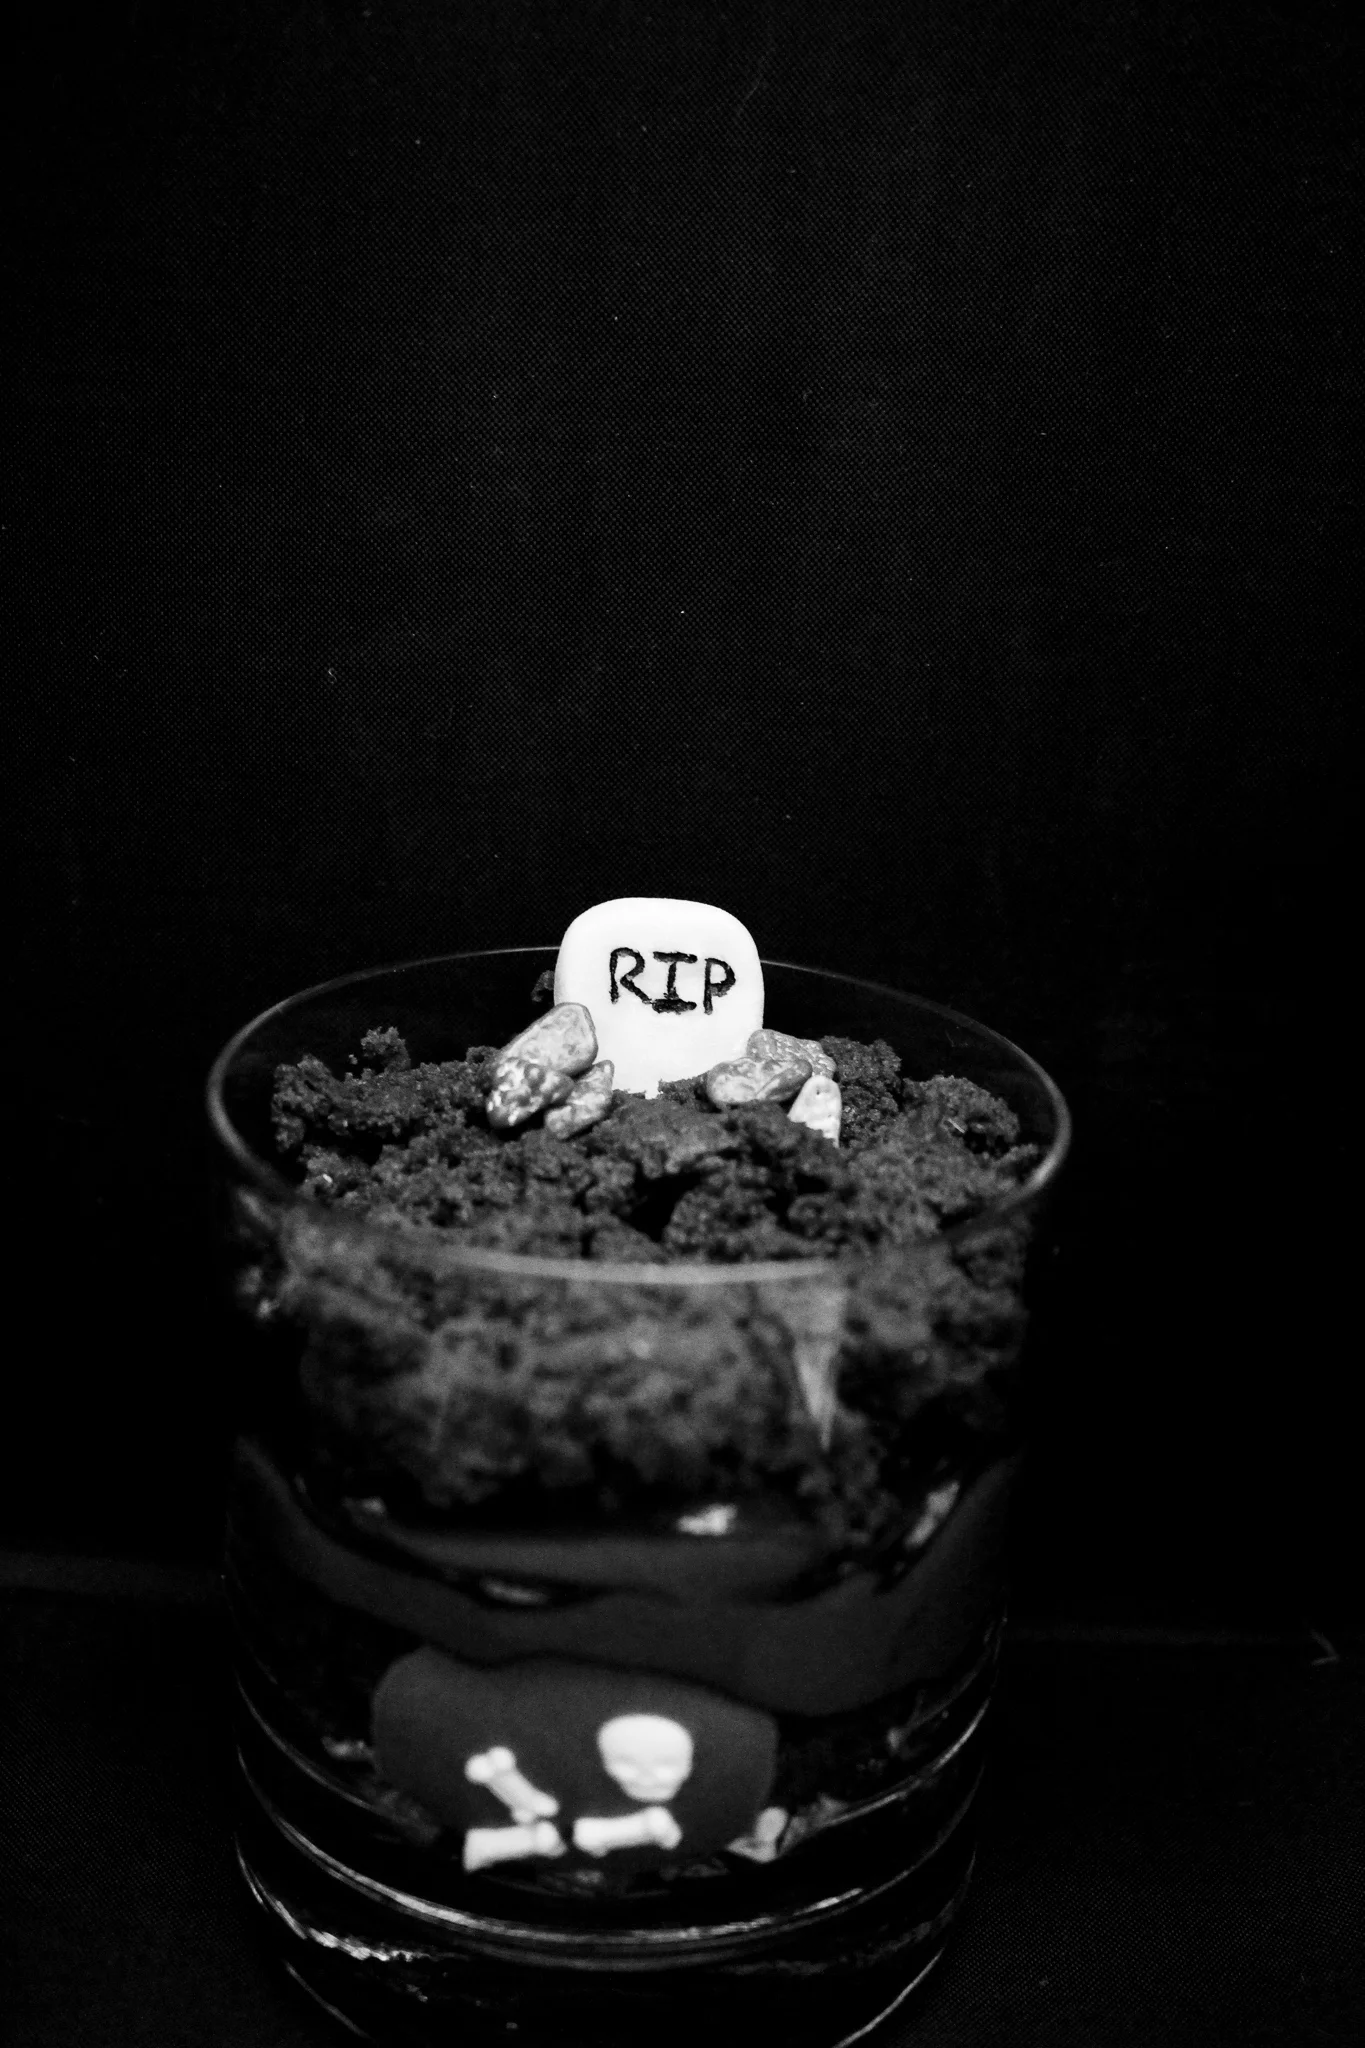
Spooky seed butter graveyards!
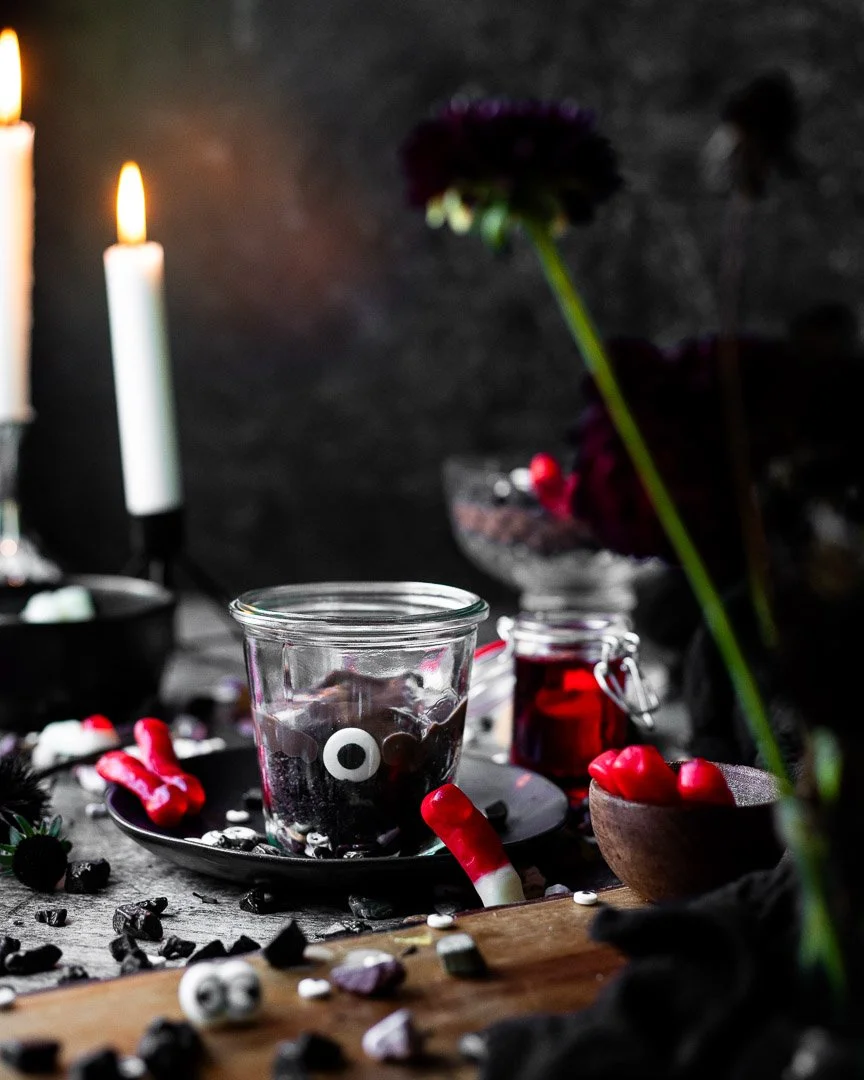
Speaking of scary: I count myself so incredibly lucky that M doesn't have any food allergies. He's outgrown the tomato sensitivity he had early on, but that was an annoyance, not a life-threatening emergency. I can't even imagine worrying that a farmer, factory-worker, chef, teacher, babysitter, or other parent somehow mislabeled something or included an ingredient that could really hurt my kid. Especially from mid-October to January, there are treats everywhere!
In that vein, these Halloween goodies are nut-free and egg-free and can easily be made gluten- and dairy-free as well. The chocolate is all store-bought, so use your go-to brands to be safe. ALSO- and most importantly- these treats are SOOOOOOOO GGGGOOOOOOODDDDD and relatively healthy!
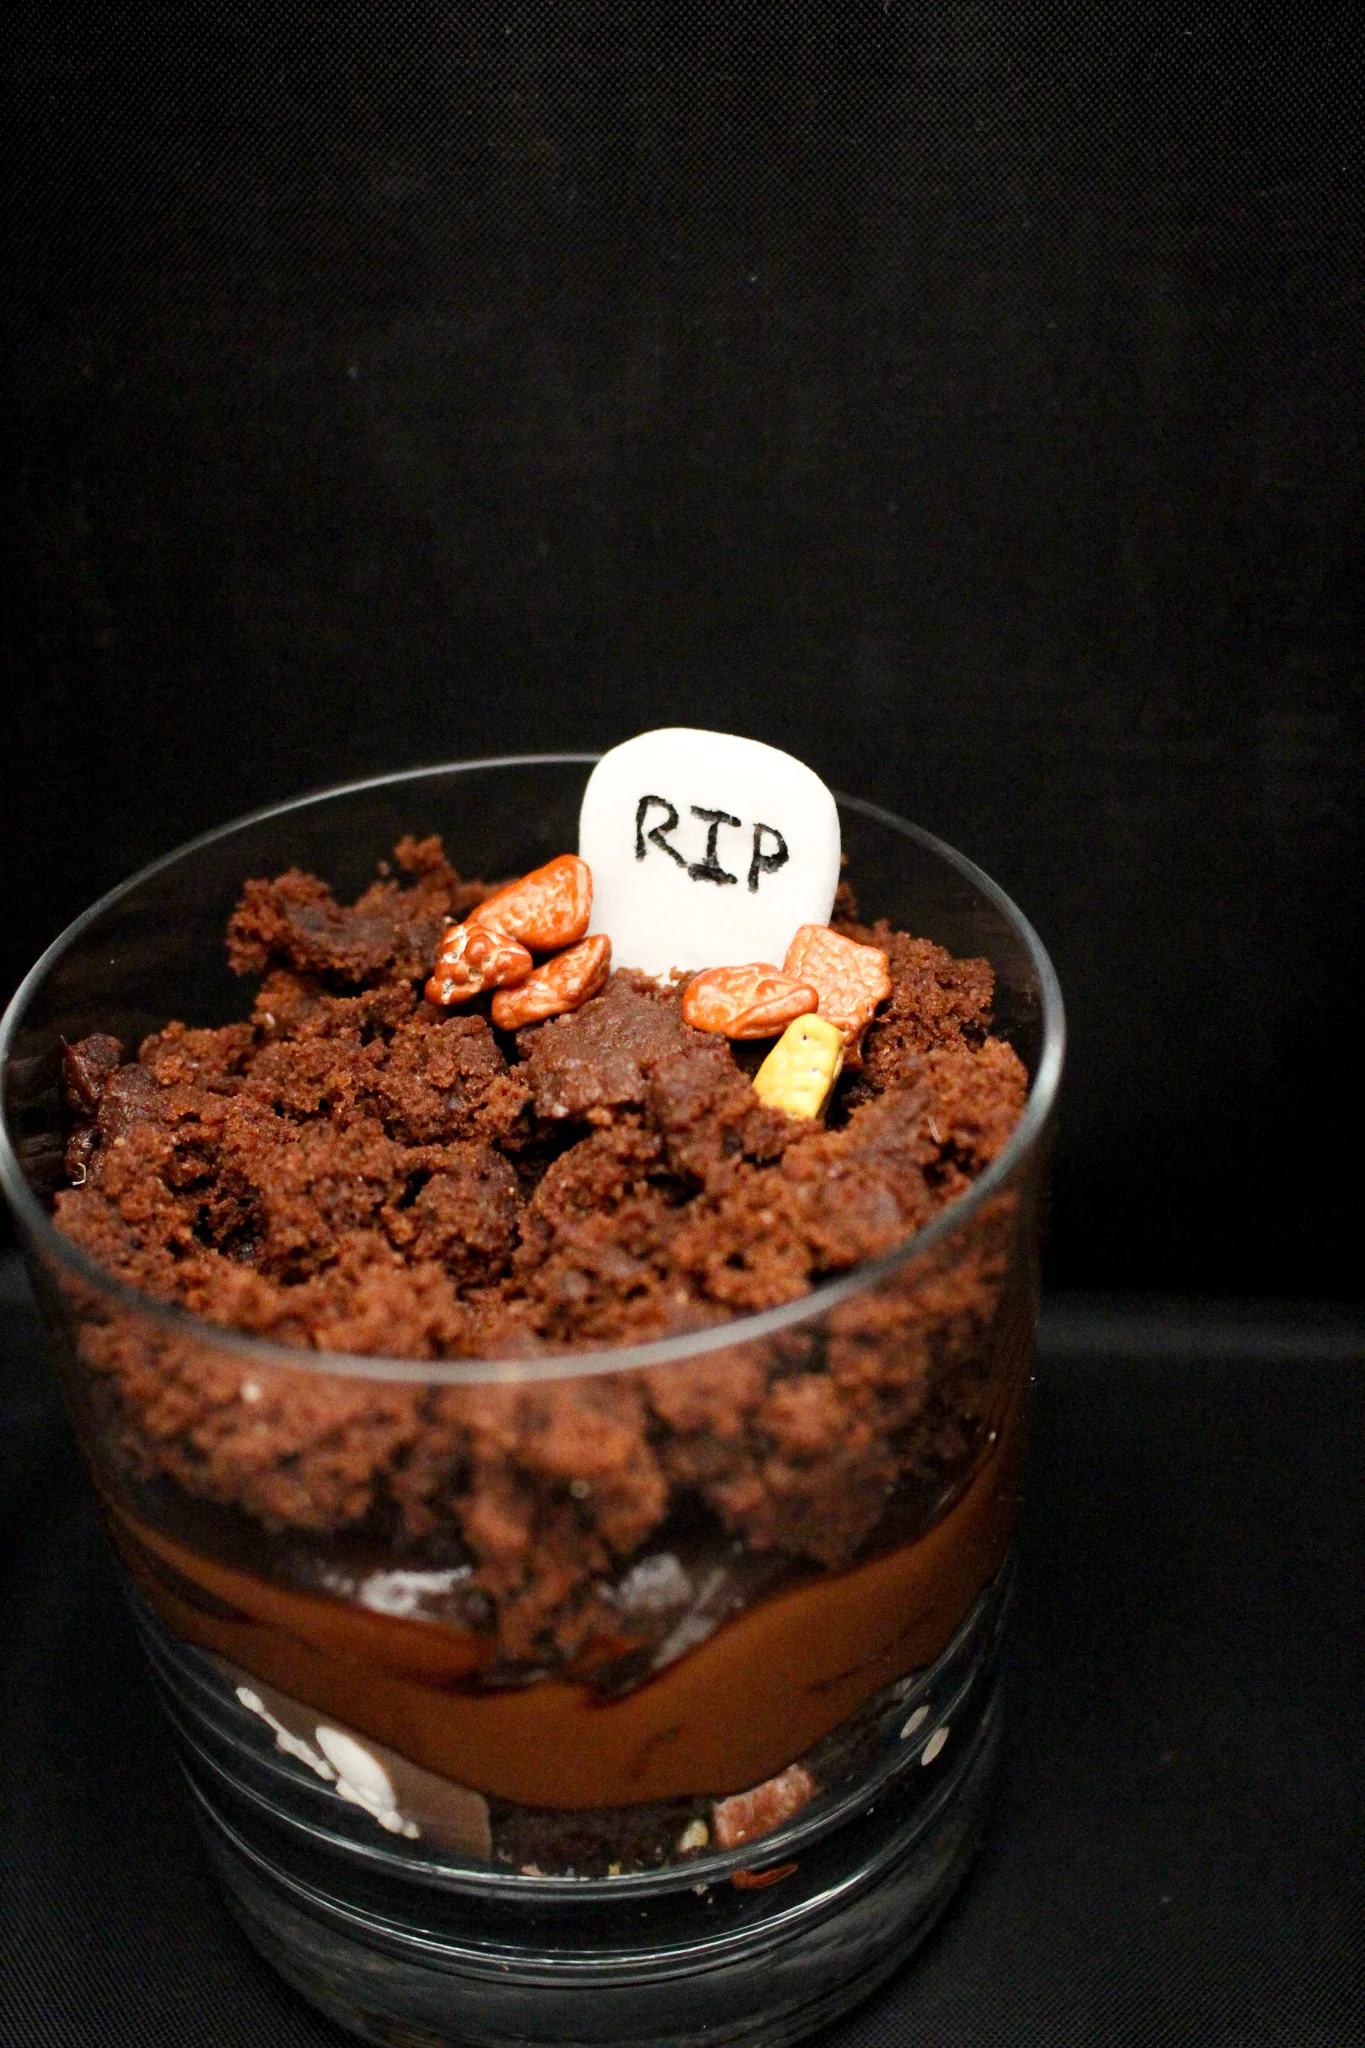
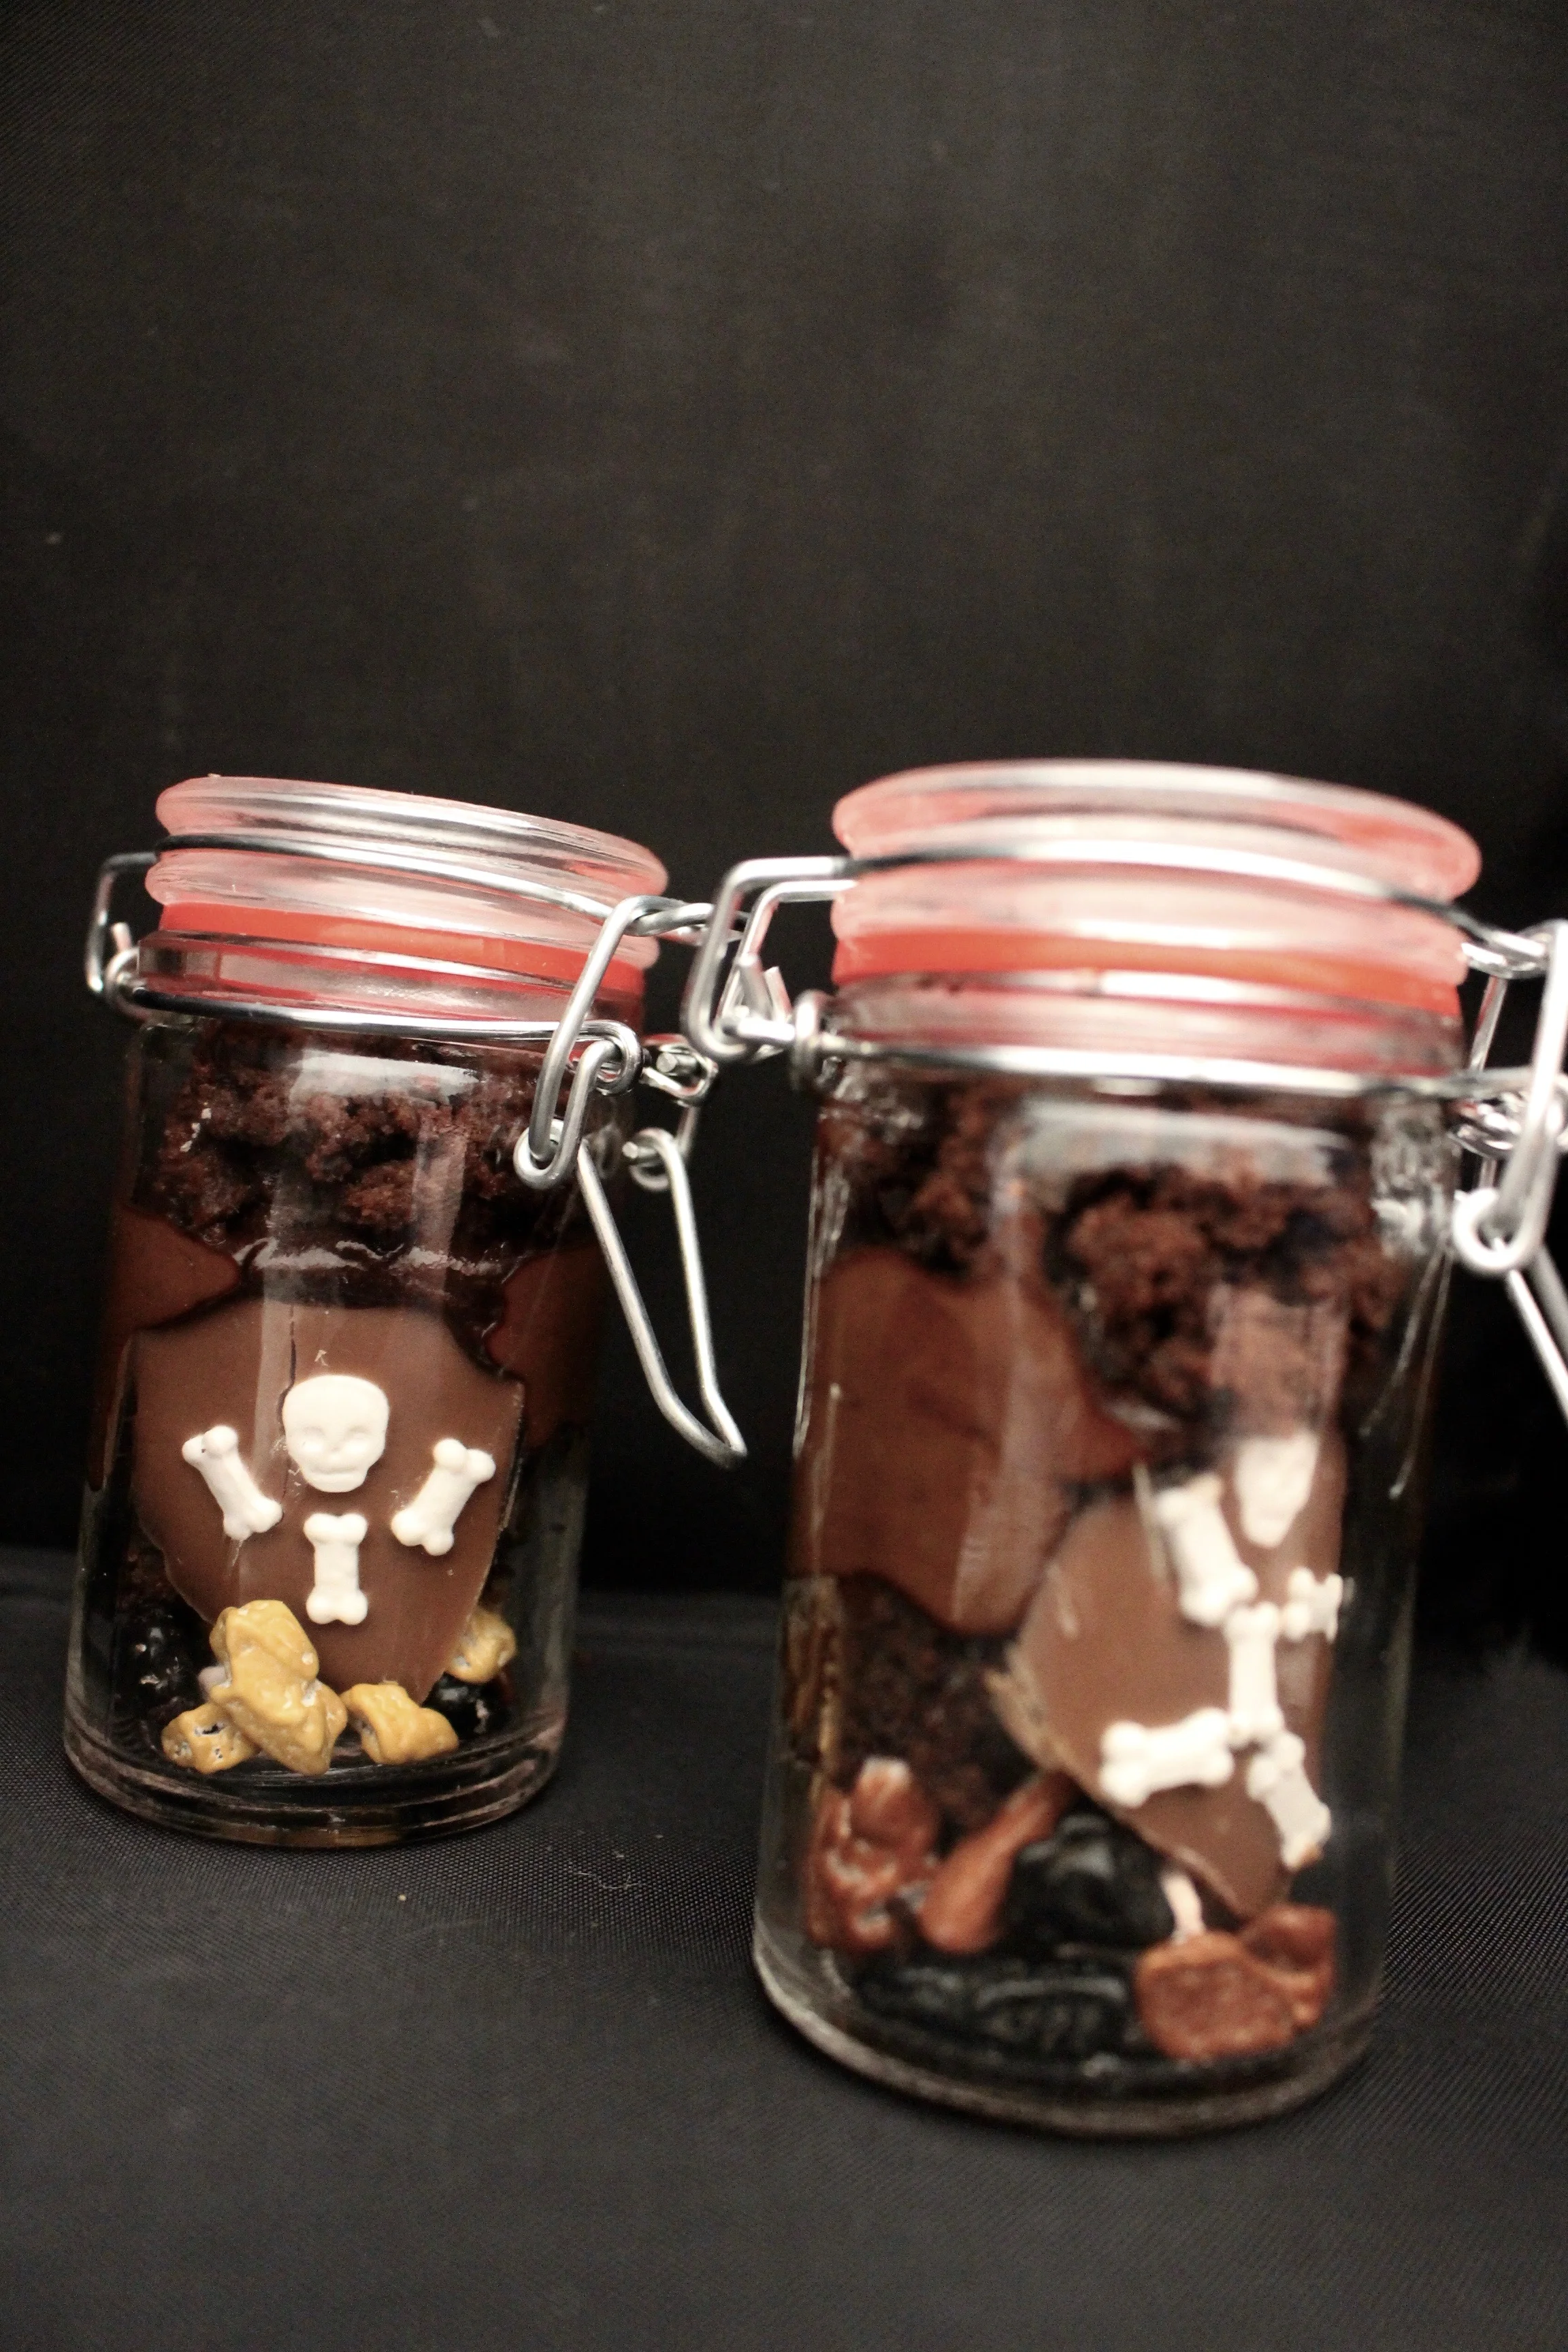
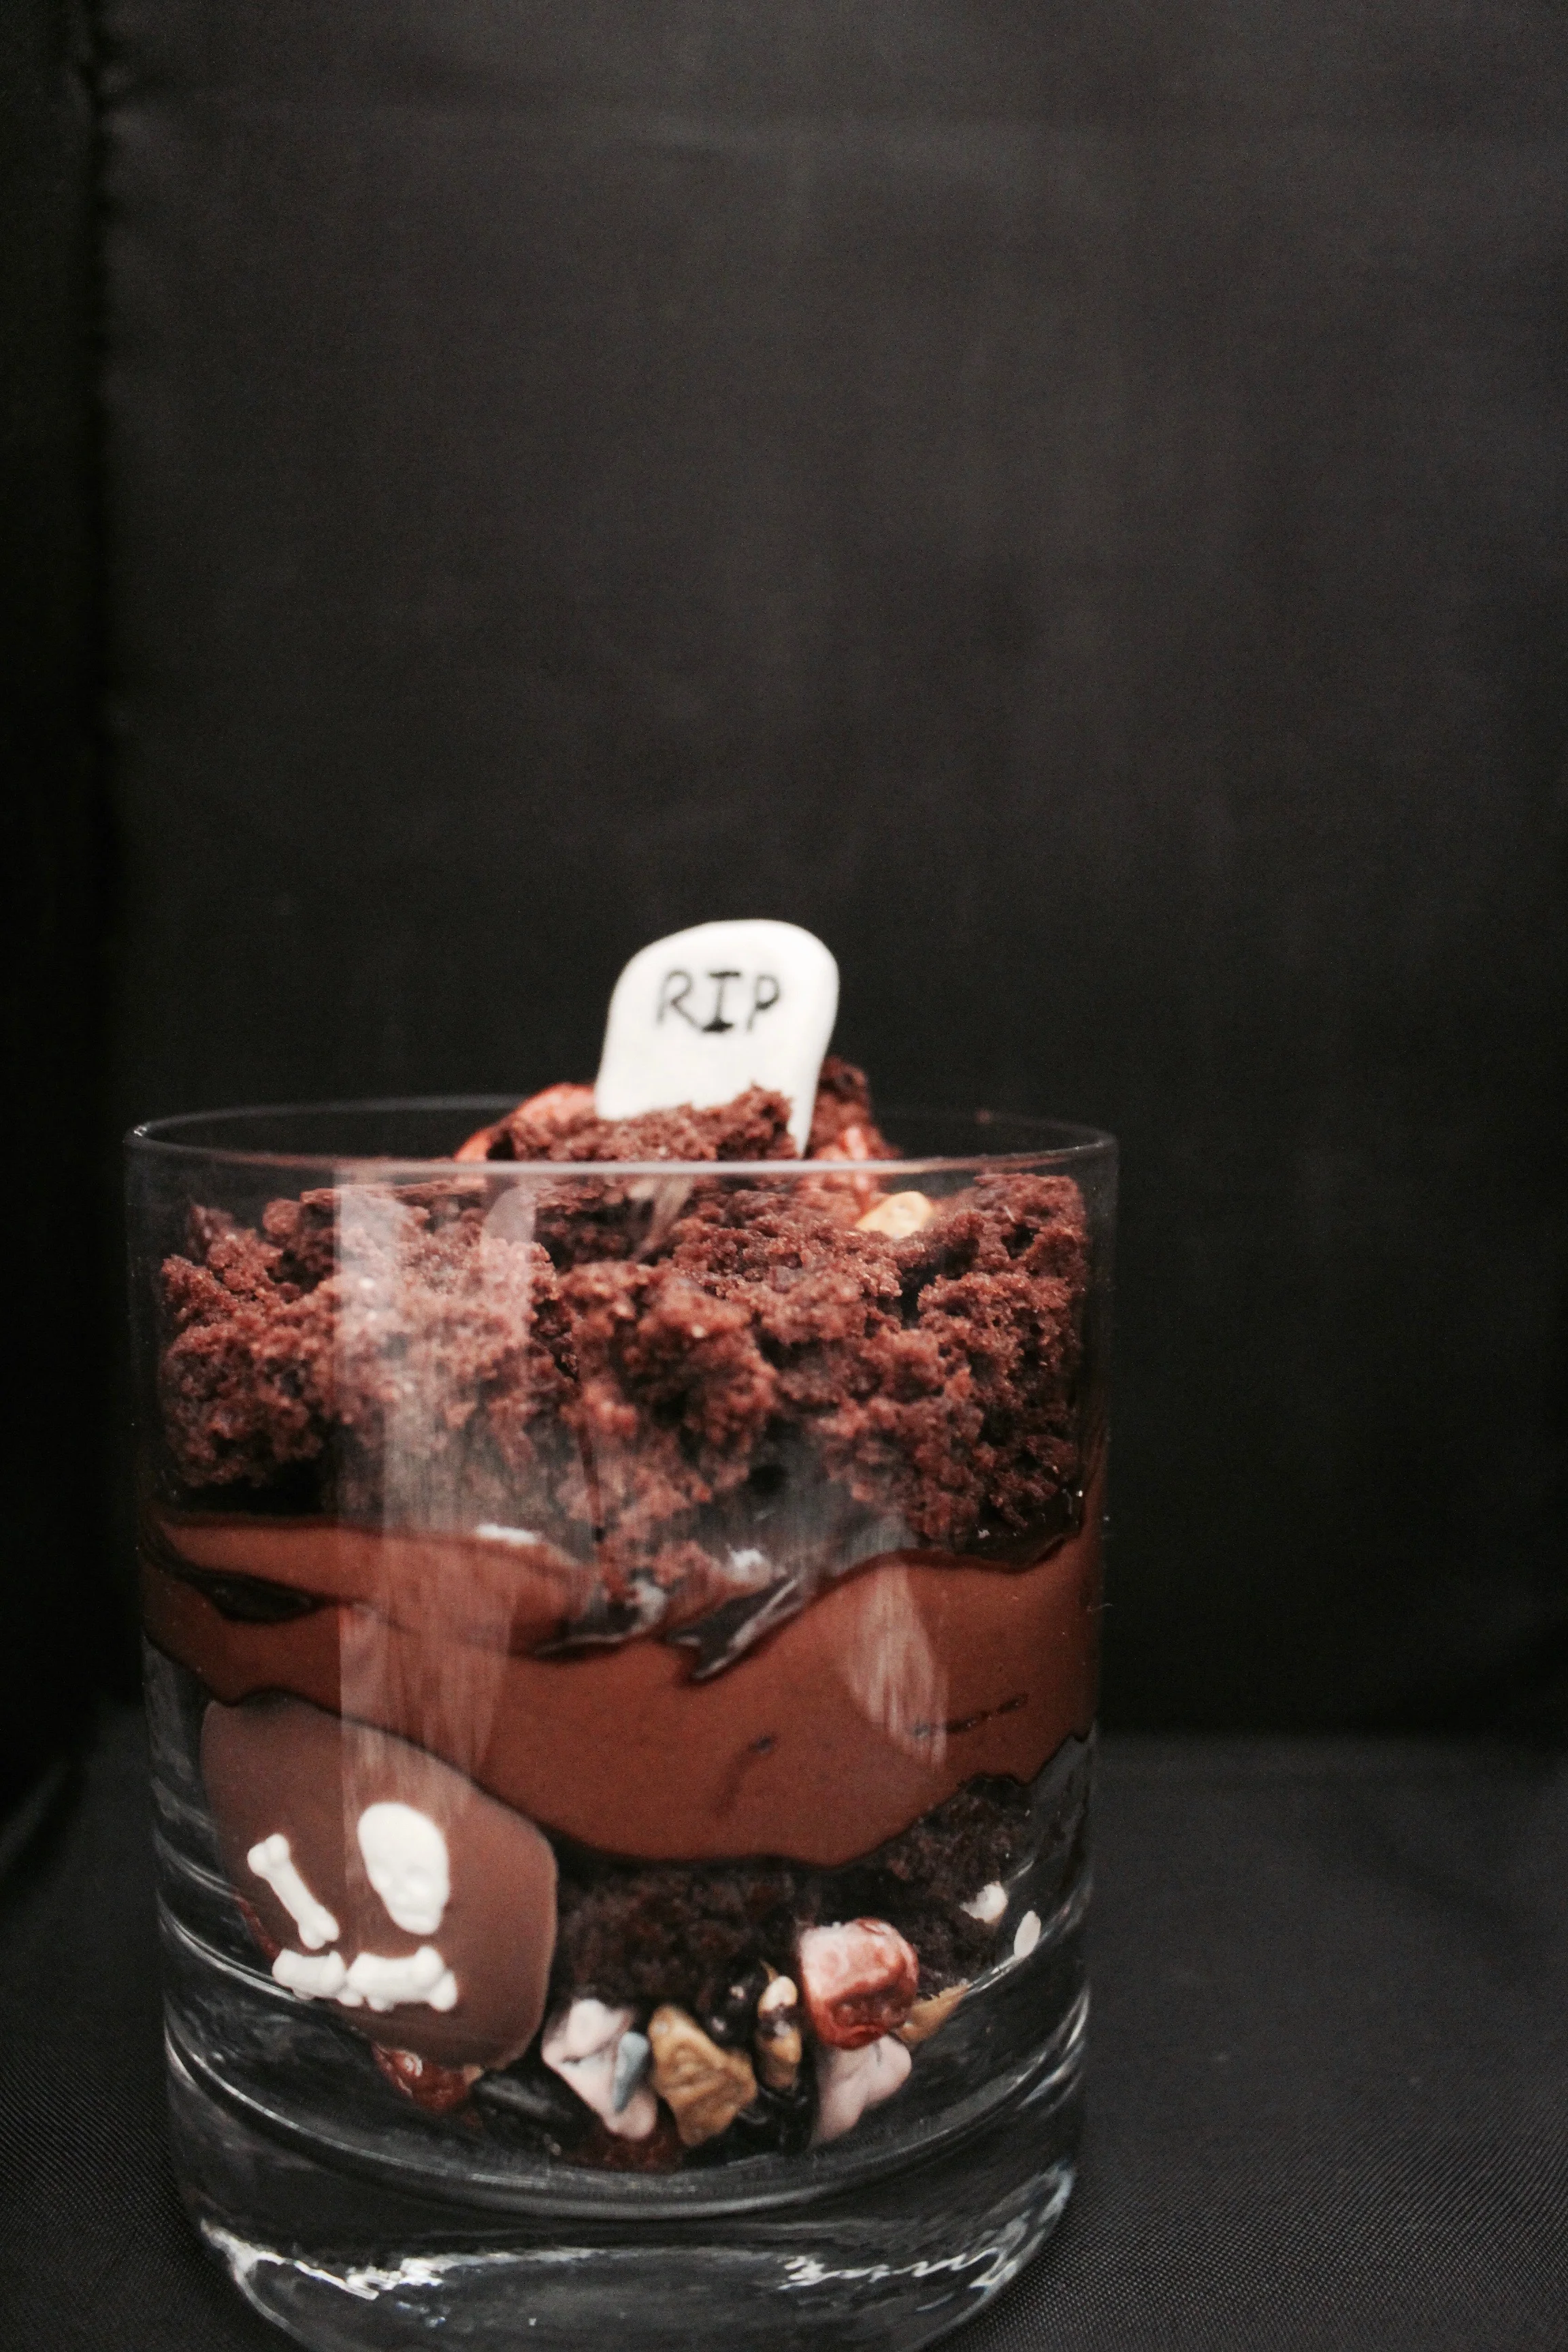
Spooky seed butter graveyards
Chocolate skeletons
1 oz milk or dark chocolate
Wilton skull and bones sprinkles
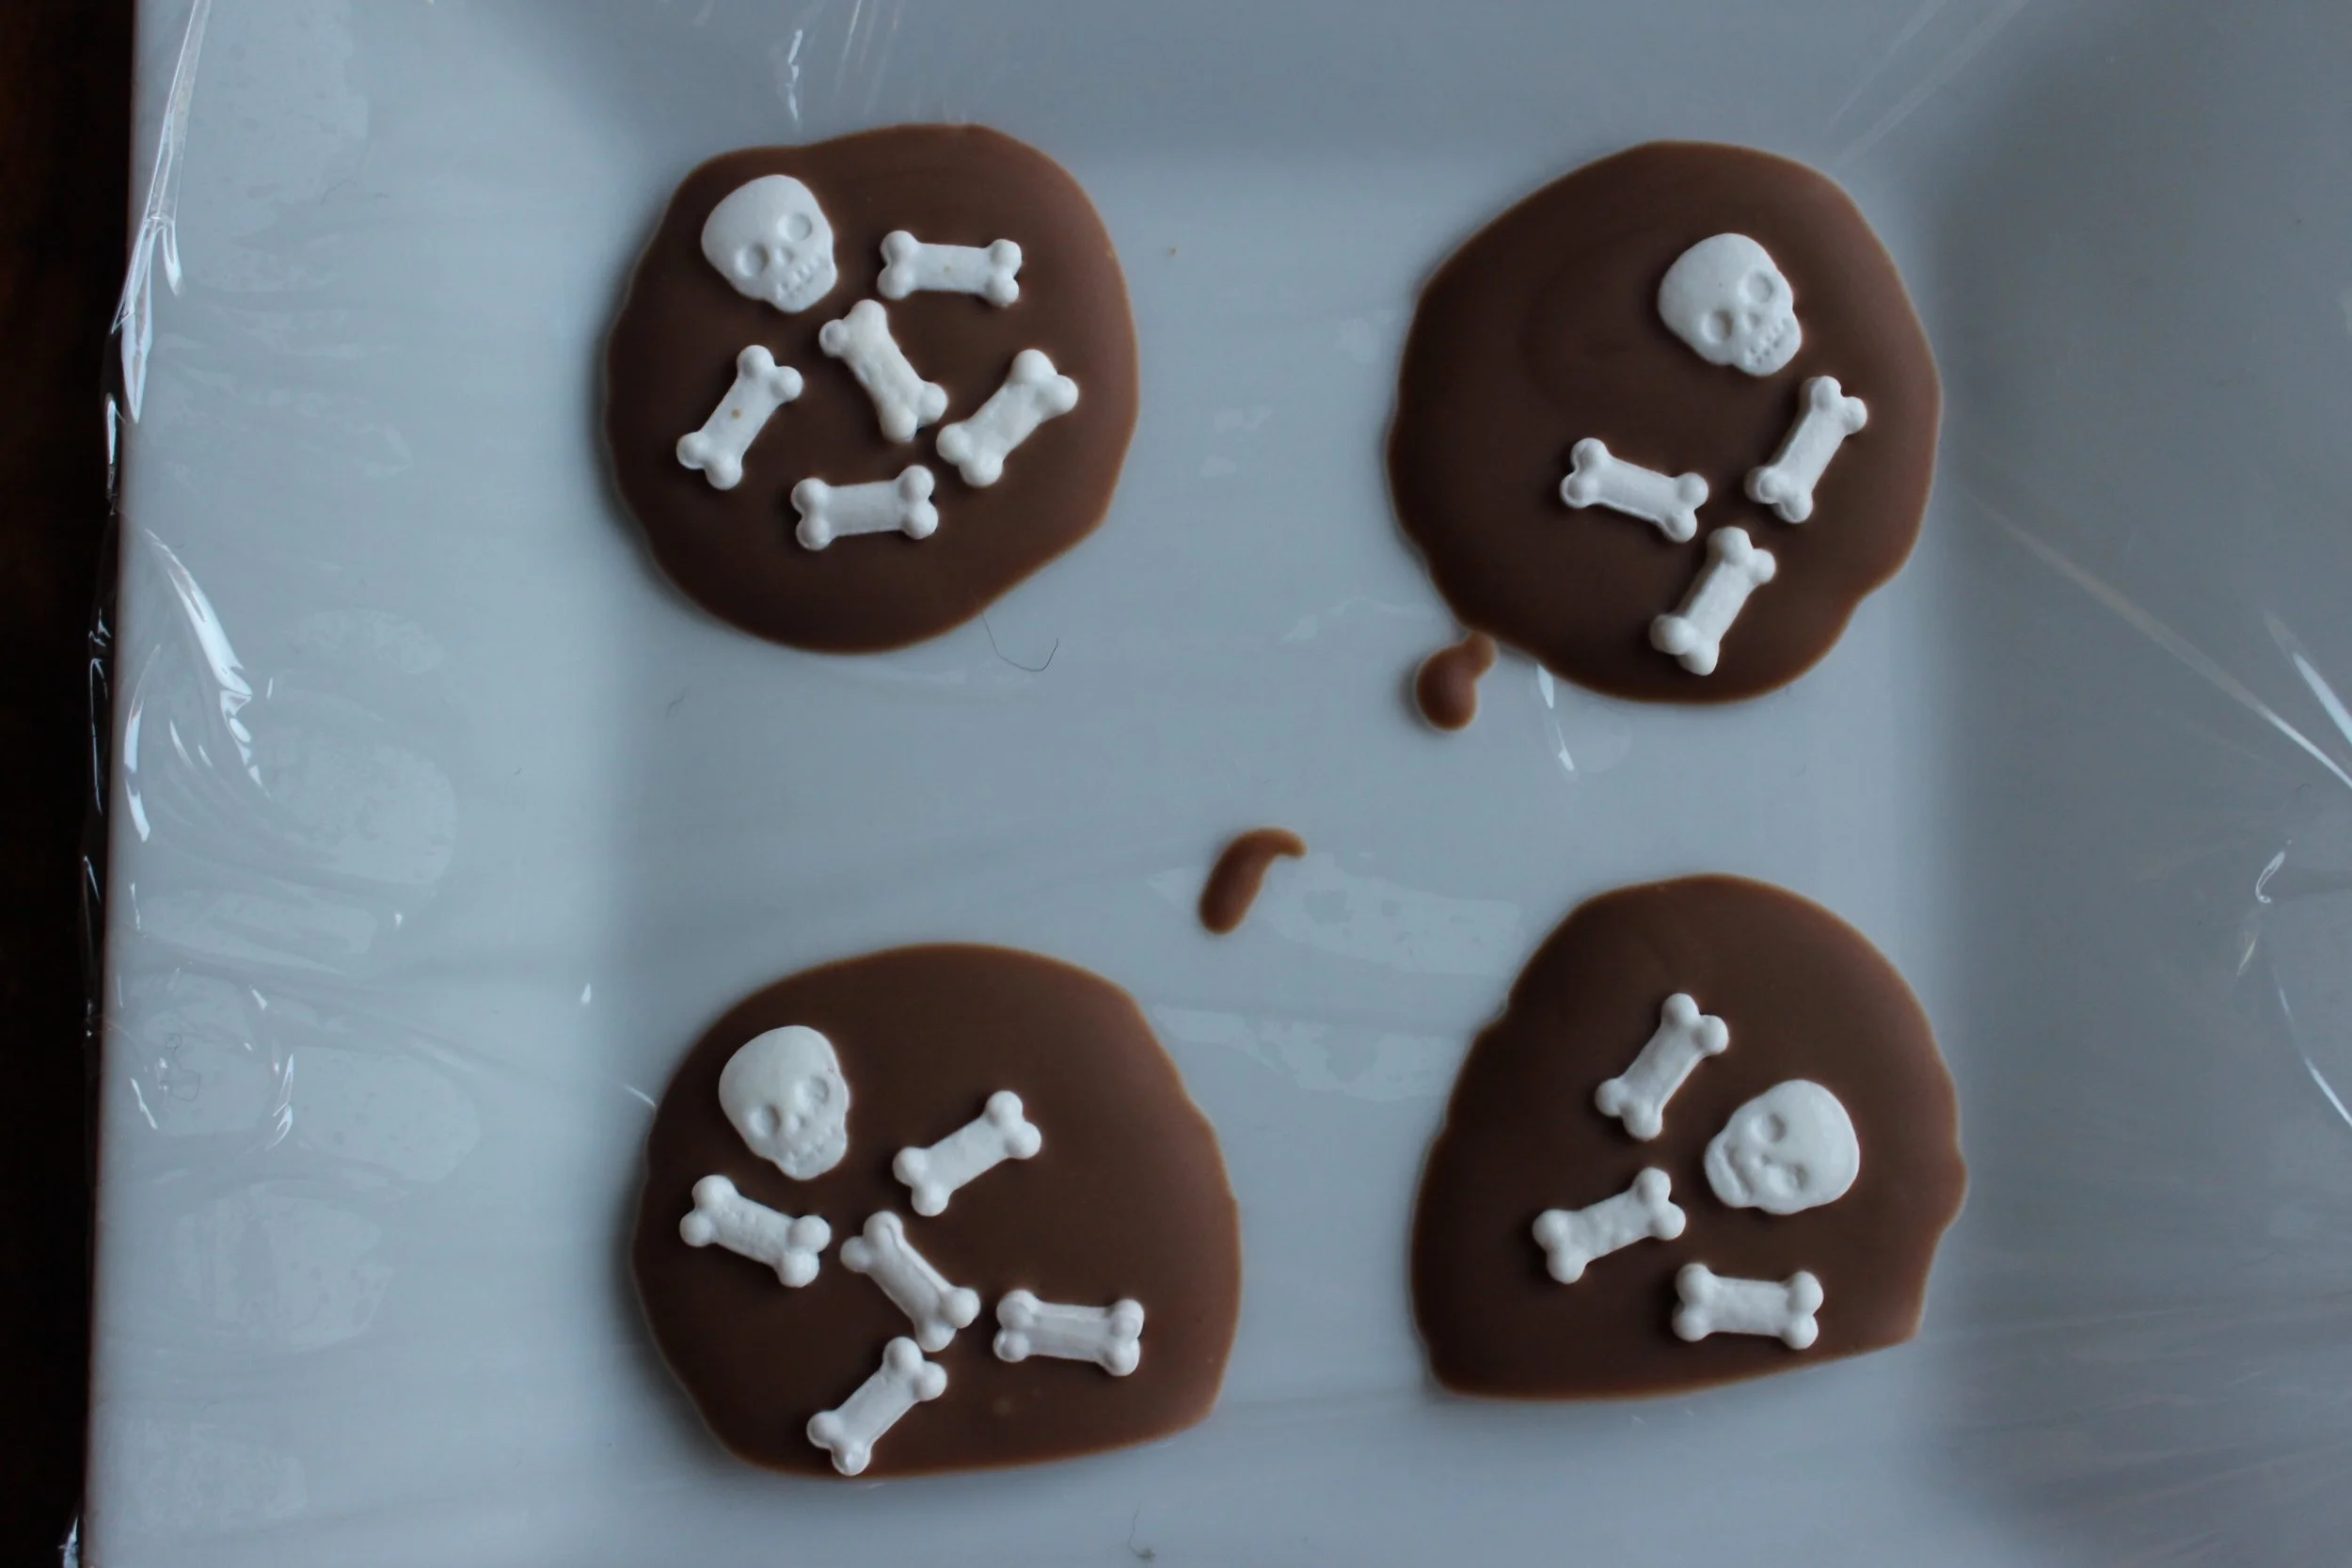
Heat the chocolate in the microwave, 10 seconds at a time, until melted. On a plastic wrap covered plate, make nickle-sized circles or ovals of melted chocolate. Carefully place the skull and bone sprinkles into the chocolate. Refrigerate until set.
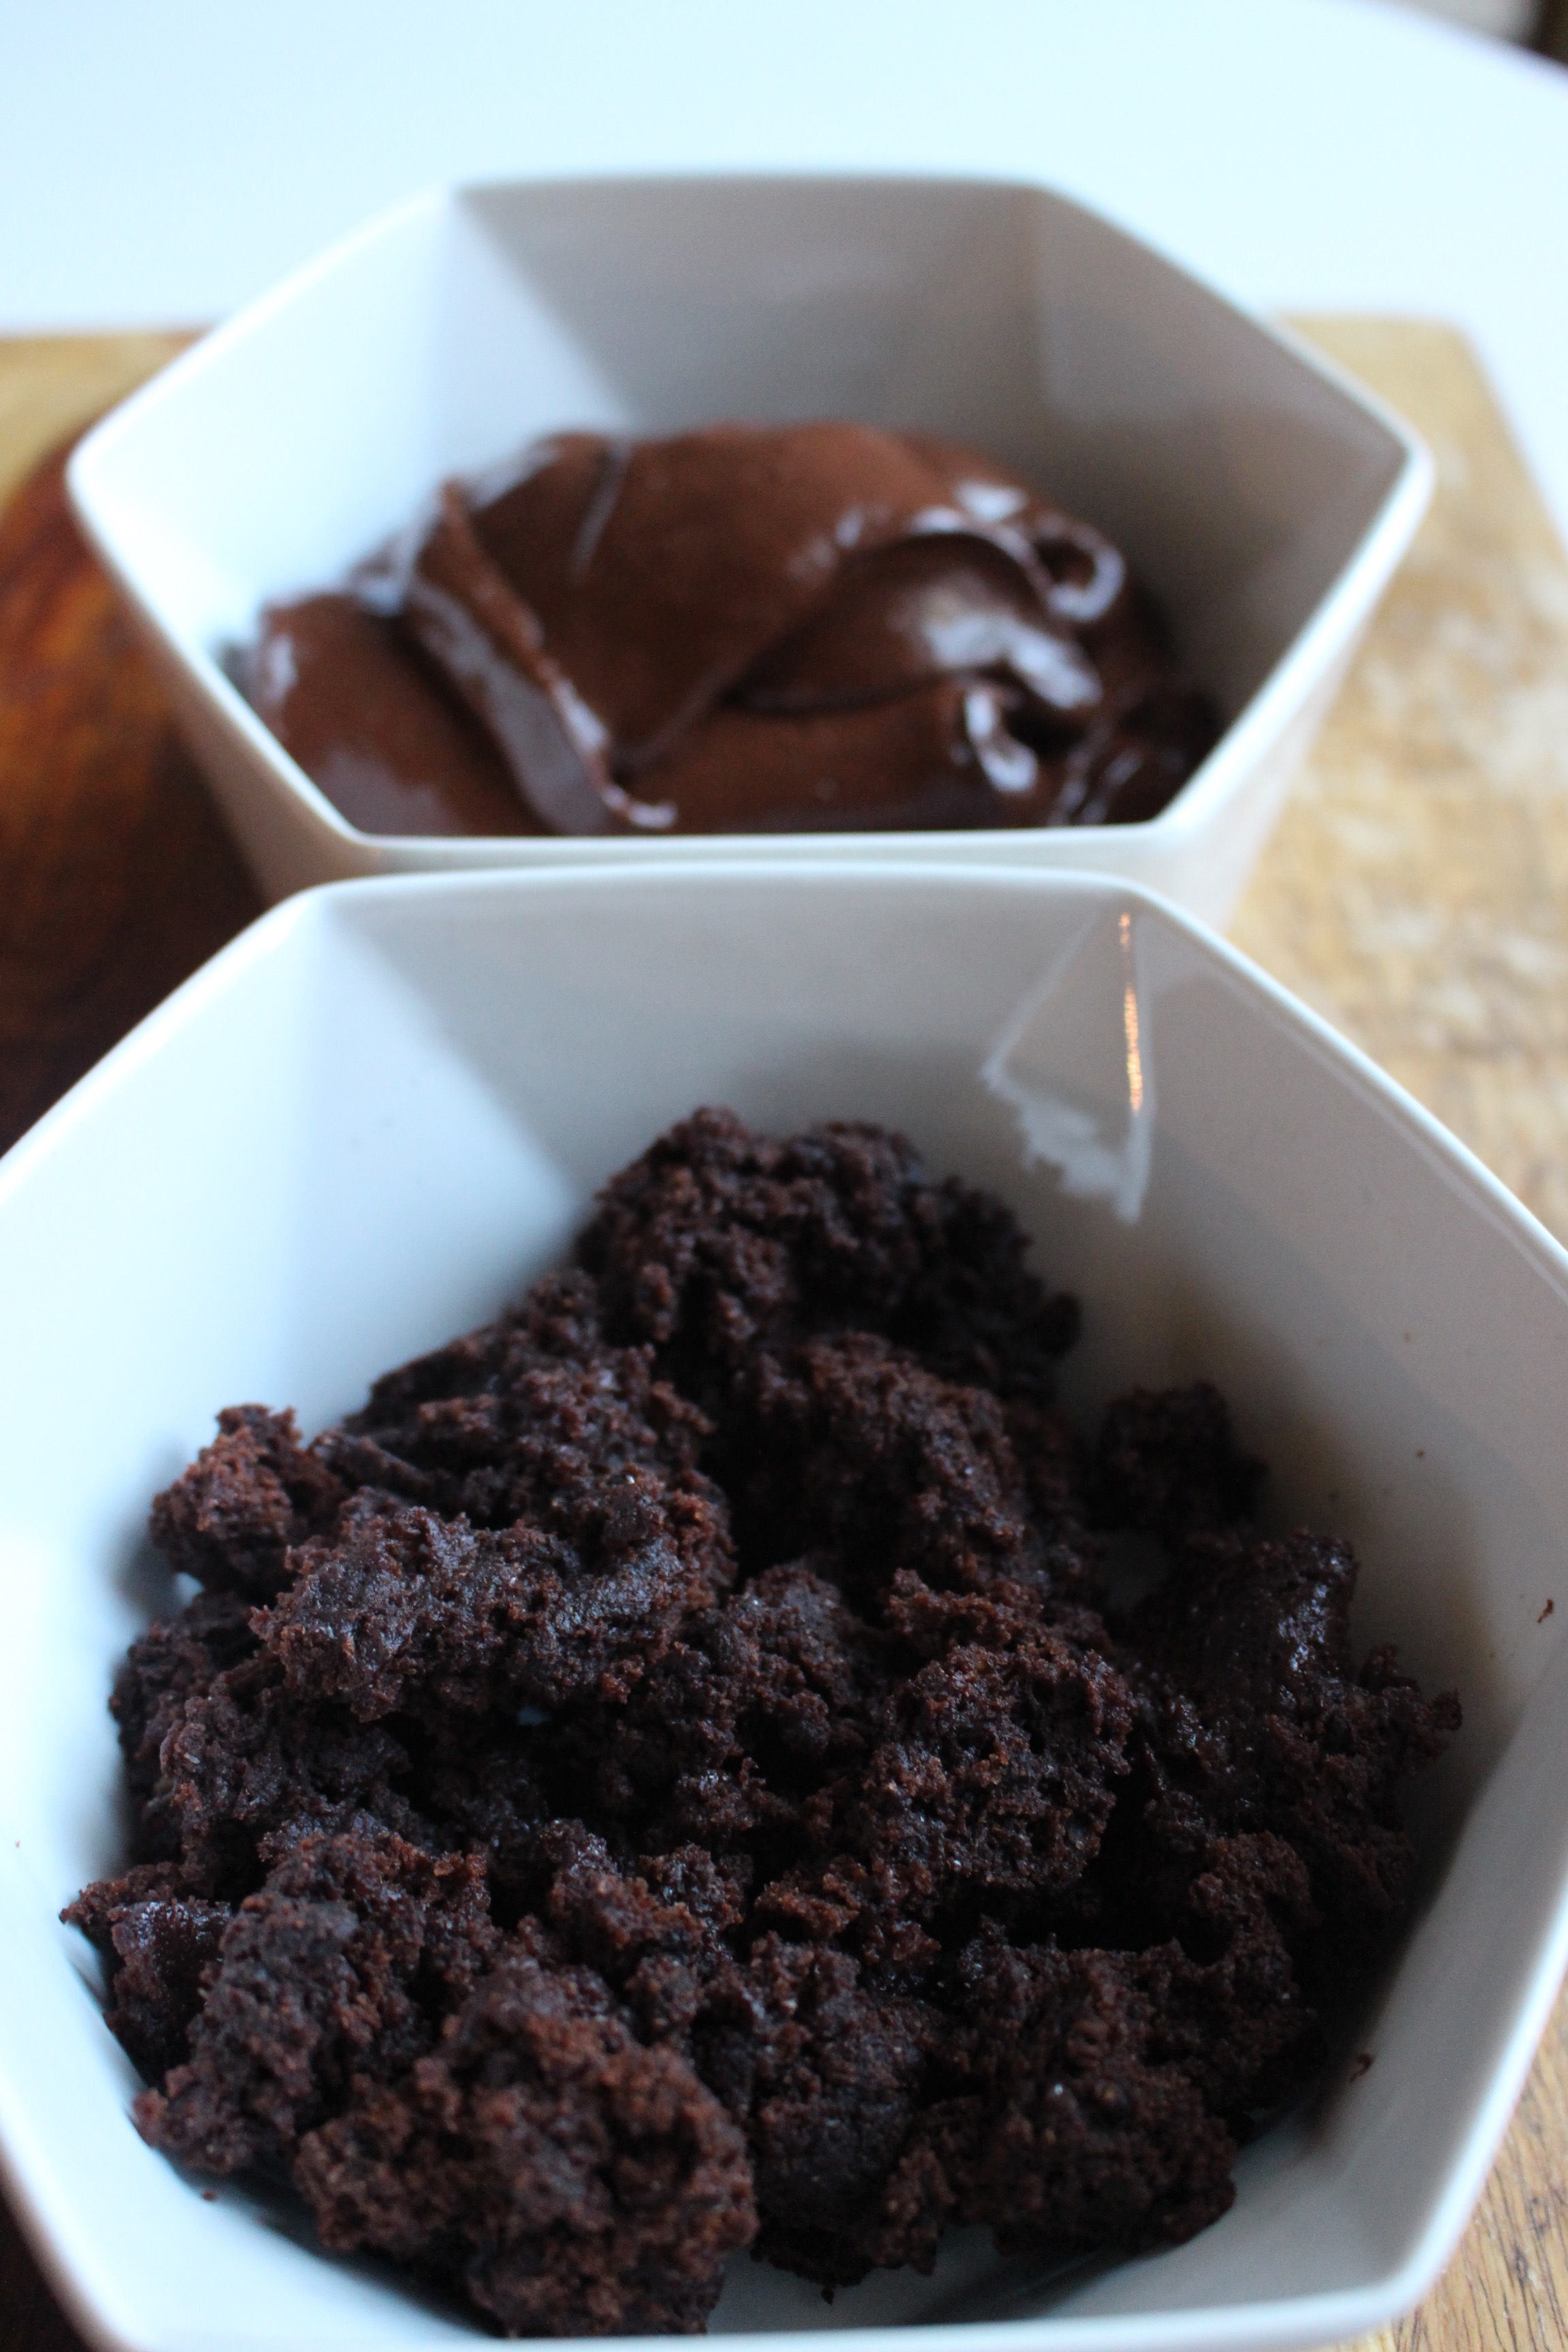
Chocolate mug cakes
Adapted from this recipe
6 Tbsp whole wheat flour (or gluten-free flour mix)
3 Tbsp + 1 tsp unsweetened cocoa powder
½ tsp baking powder
¼ tsp salt
1/4 cup maple syrup
4 tsp olive oil
6 Tbsp milk (I used dairy milk, but almond, cashew, or soy would also work)
1 tsp vanilla extract
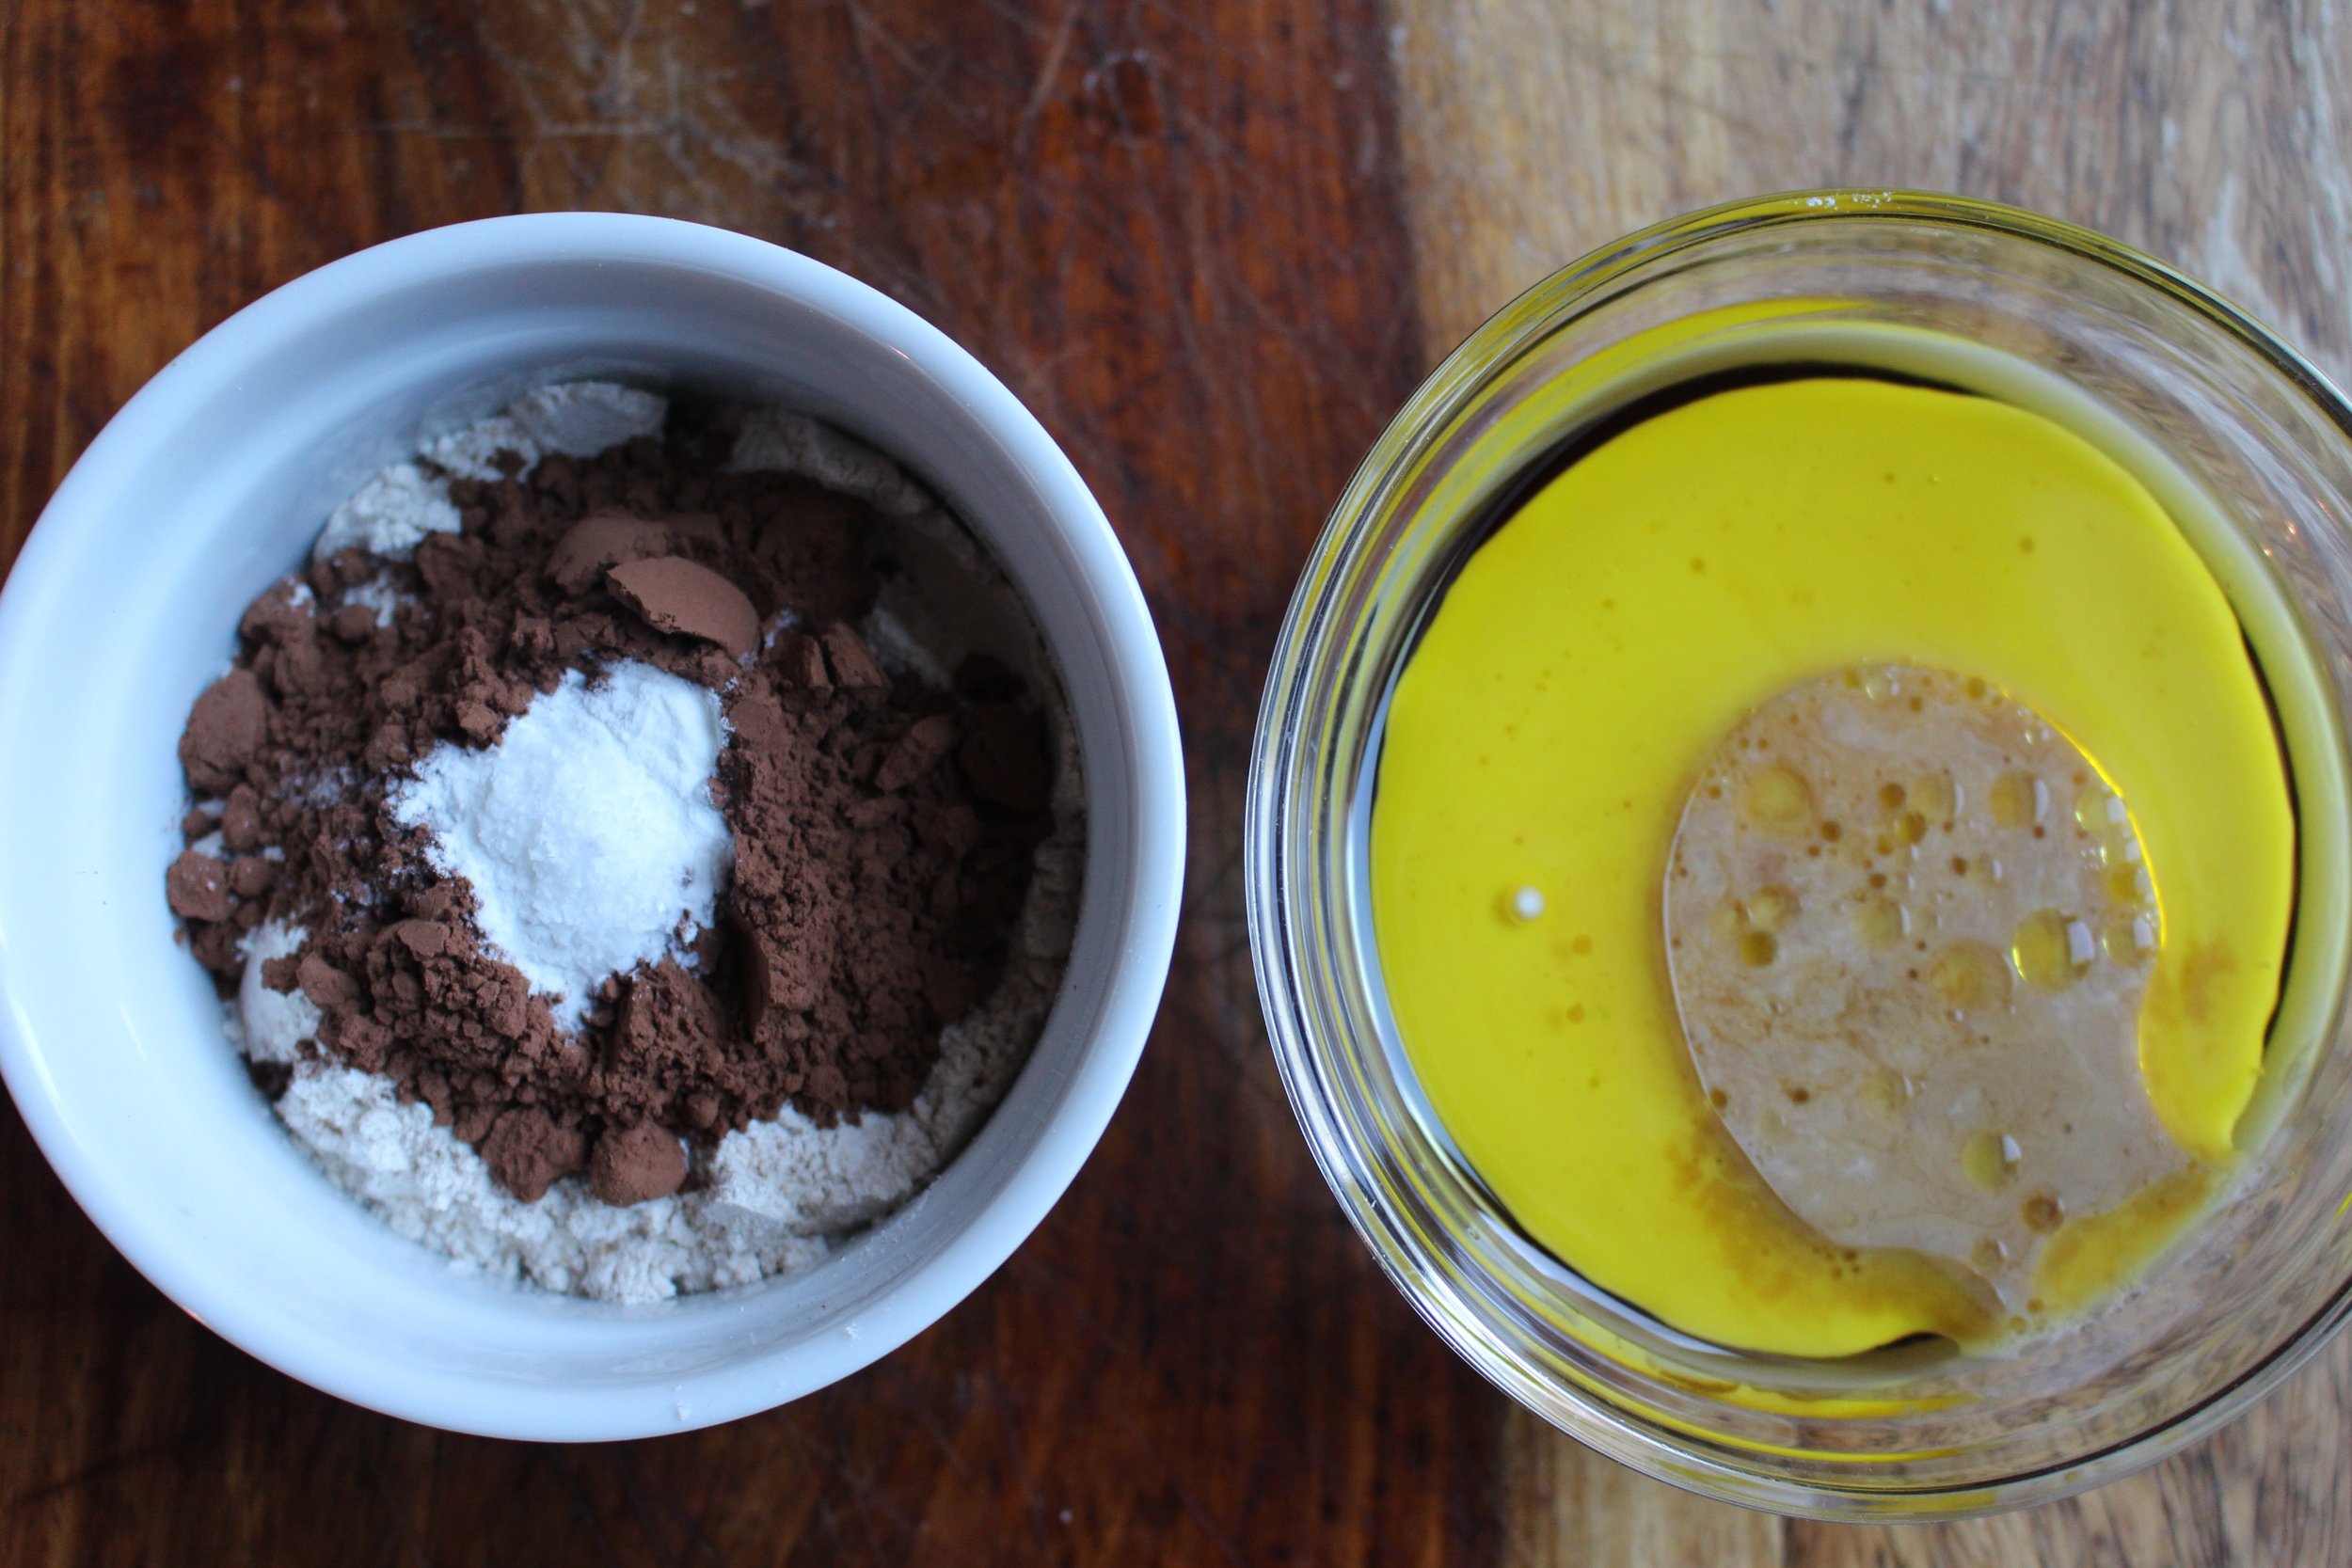
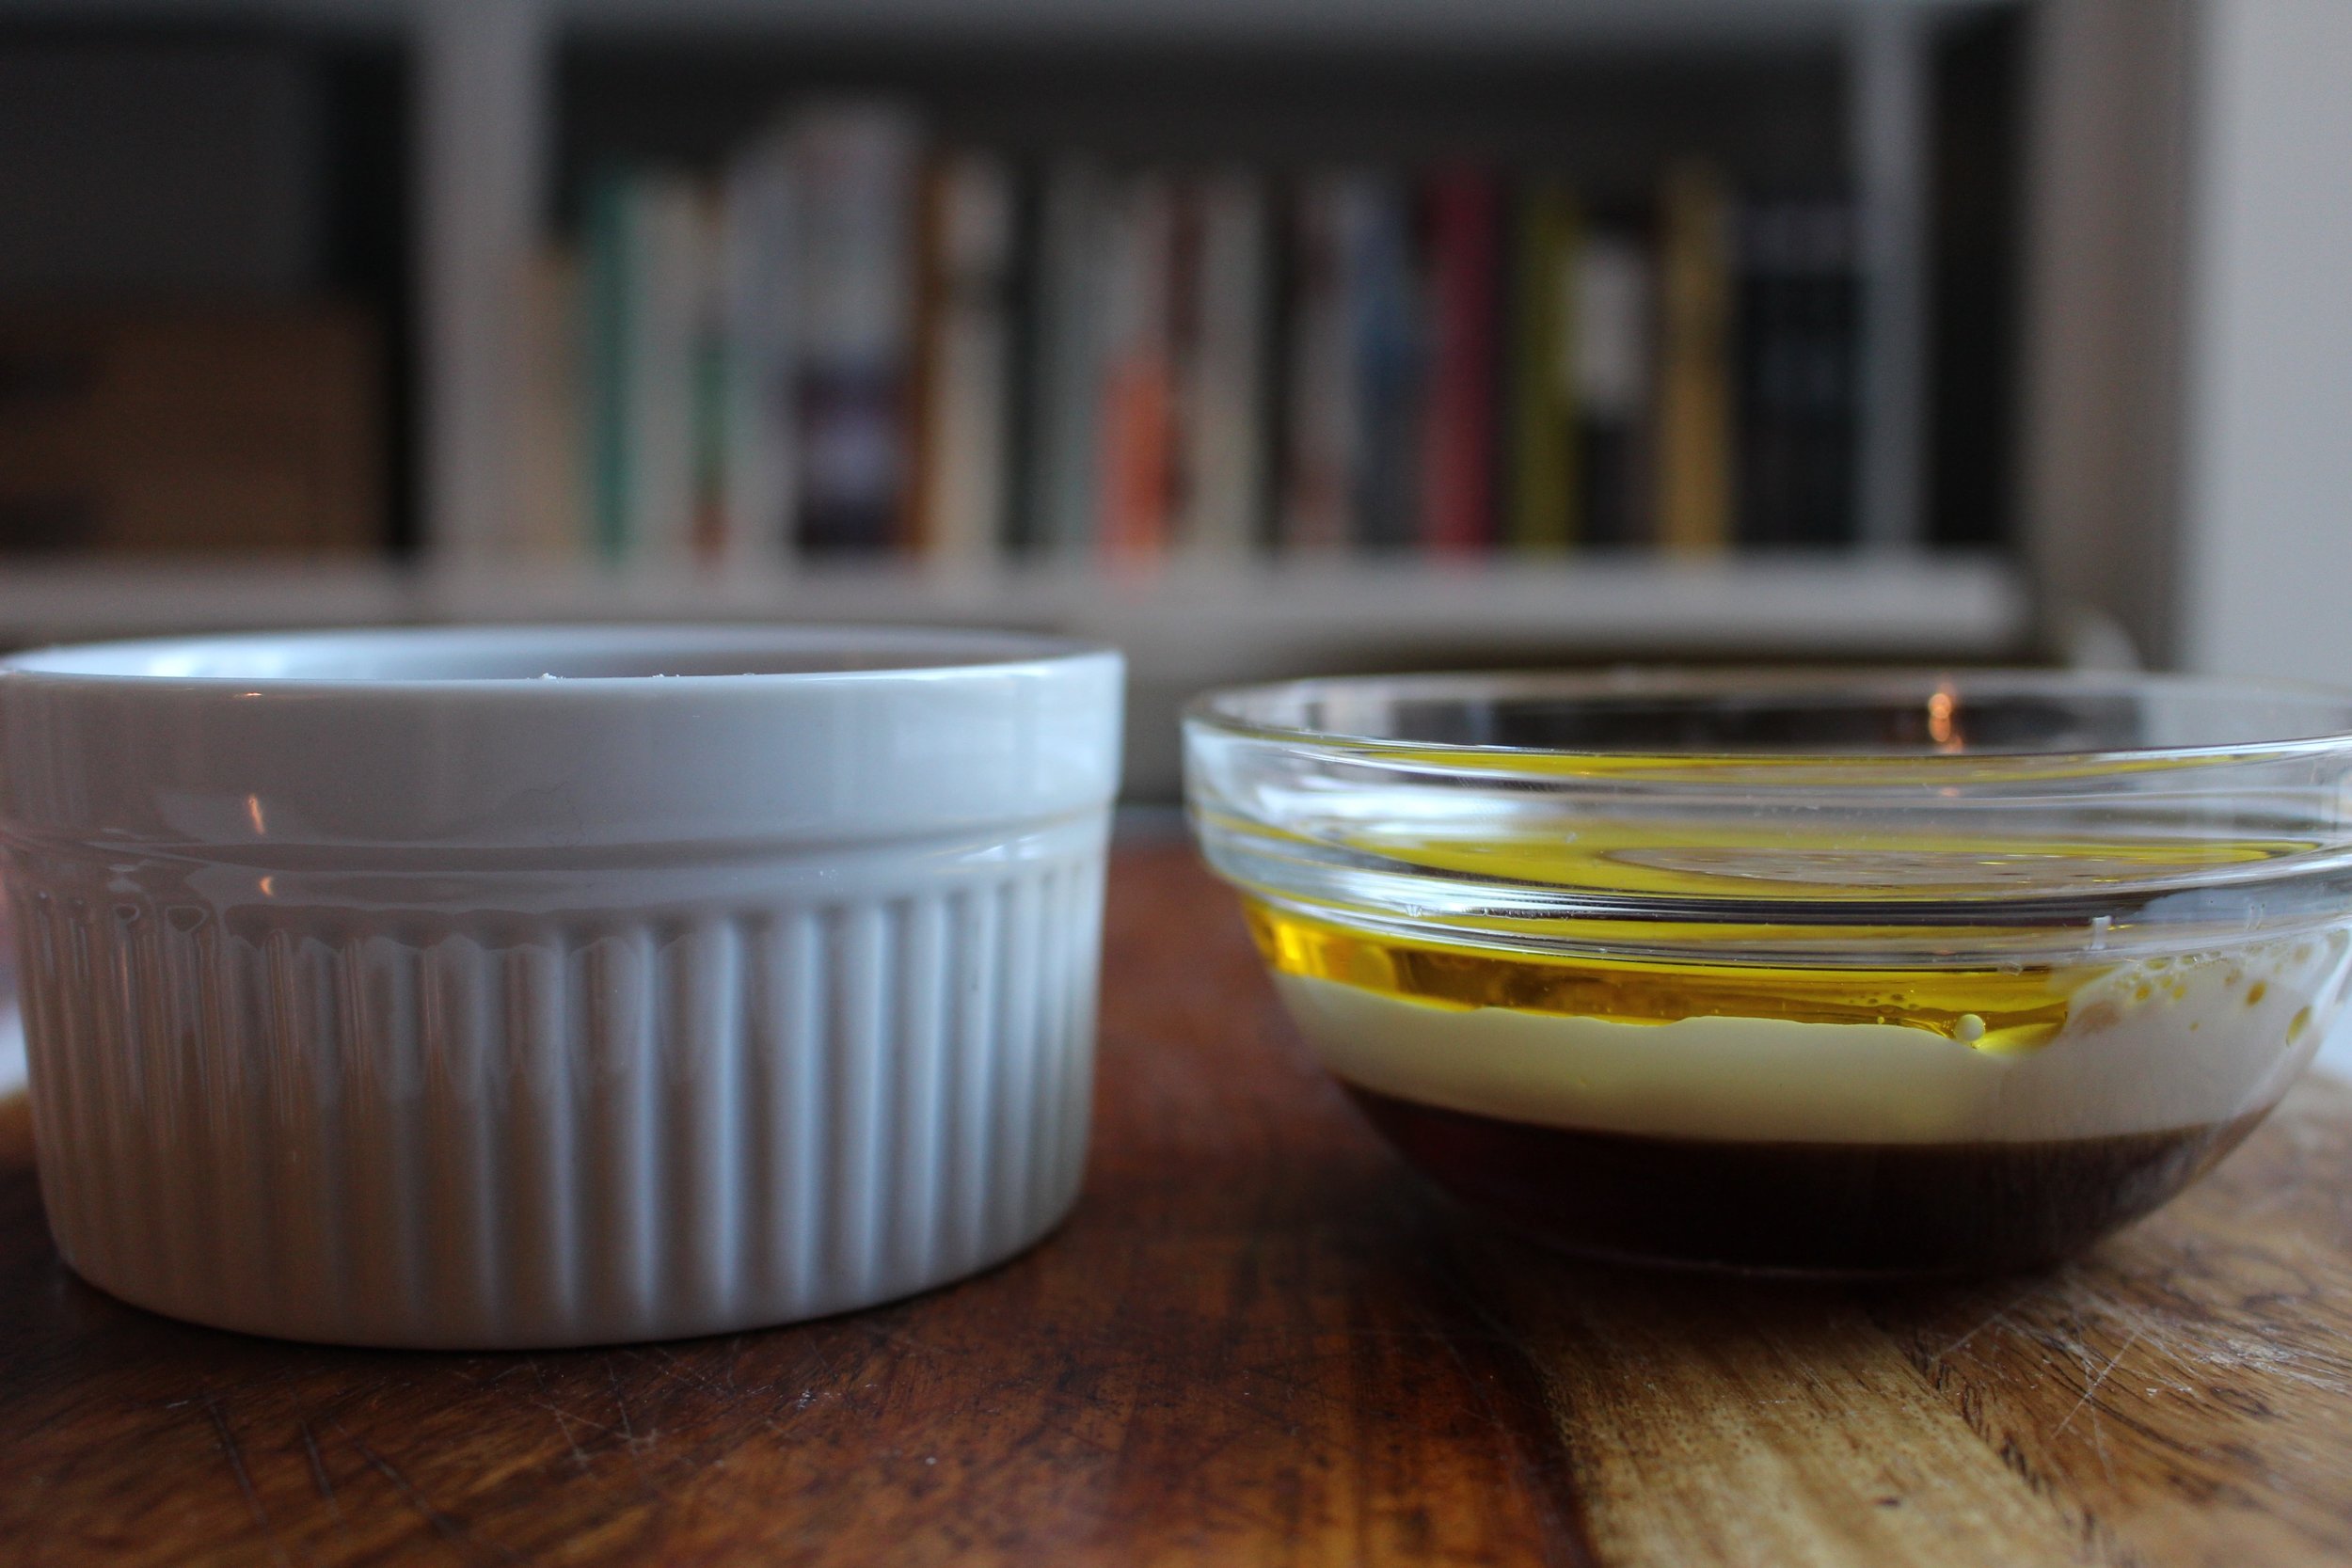
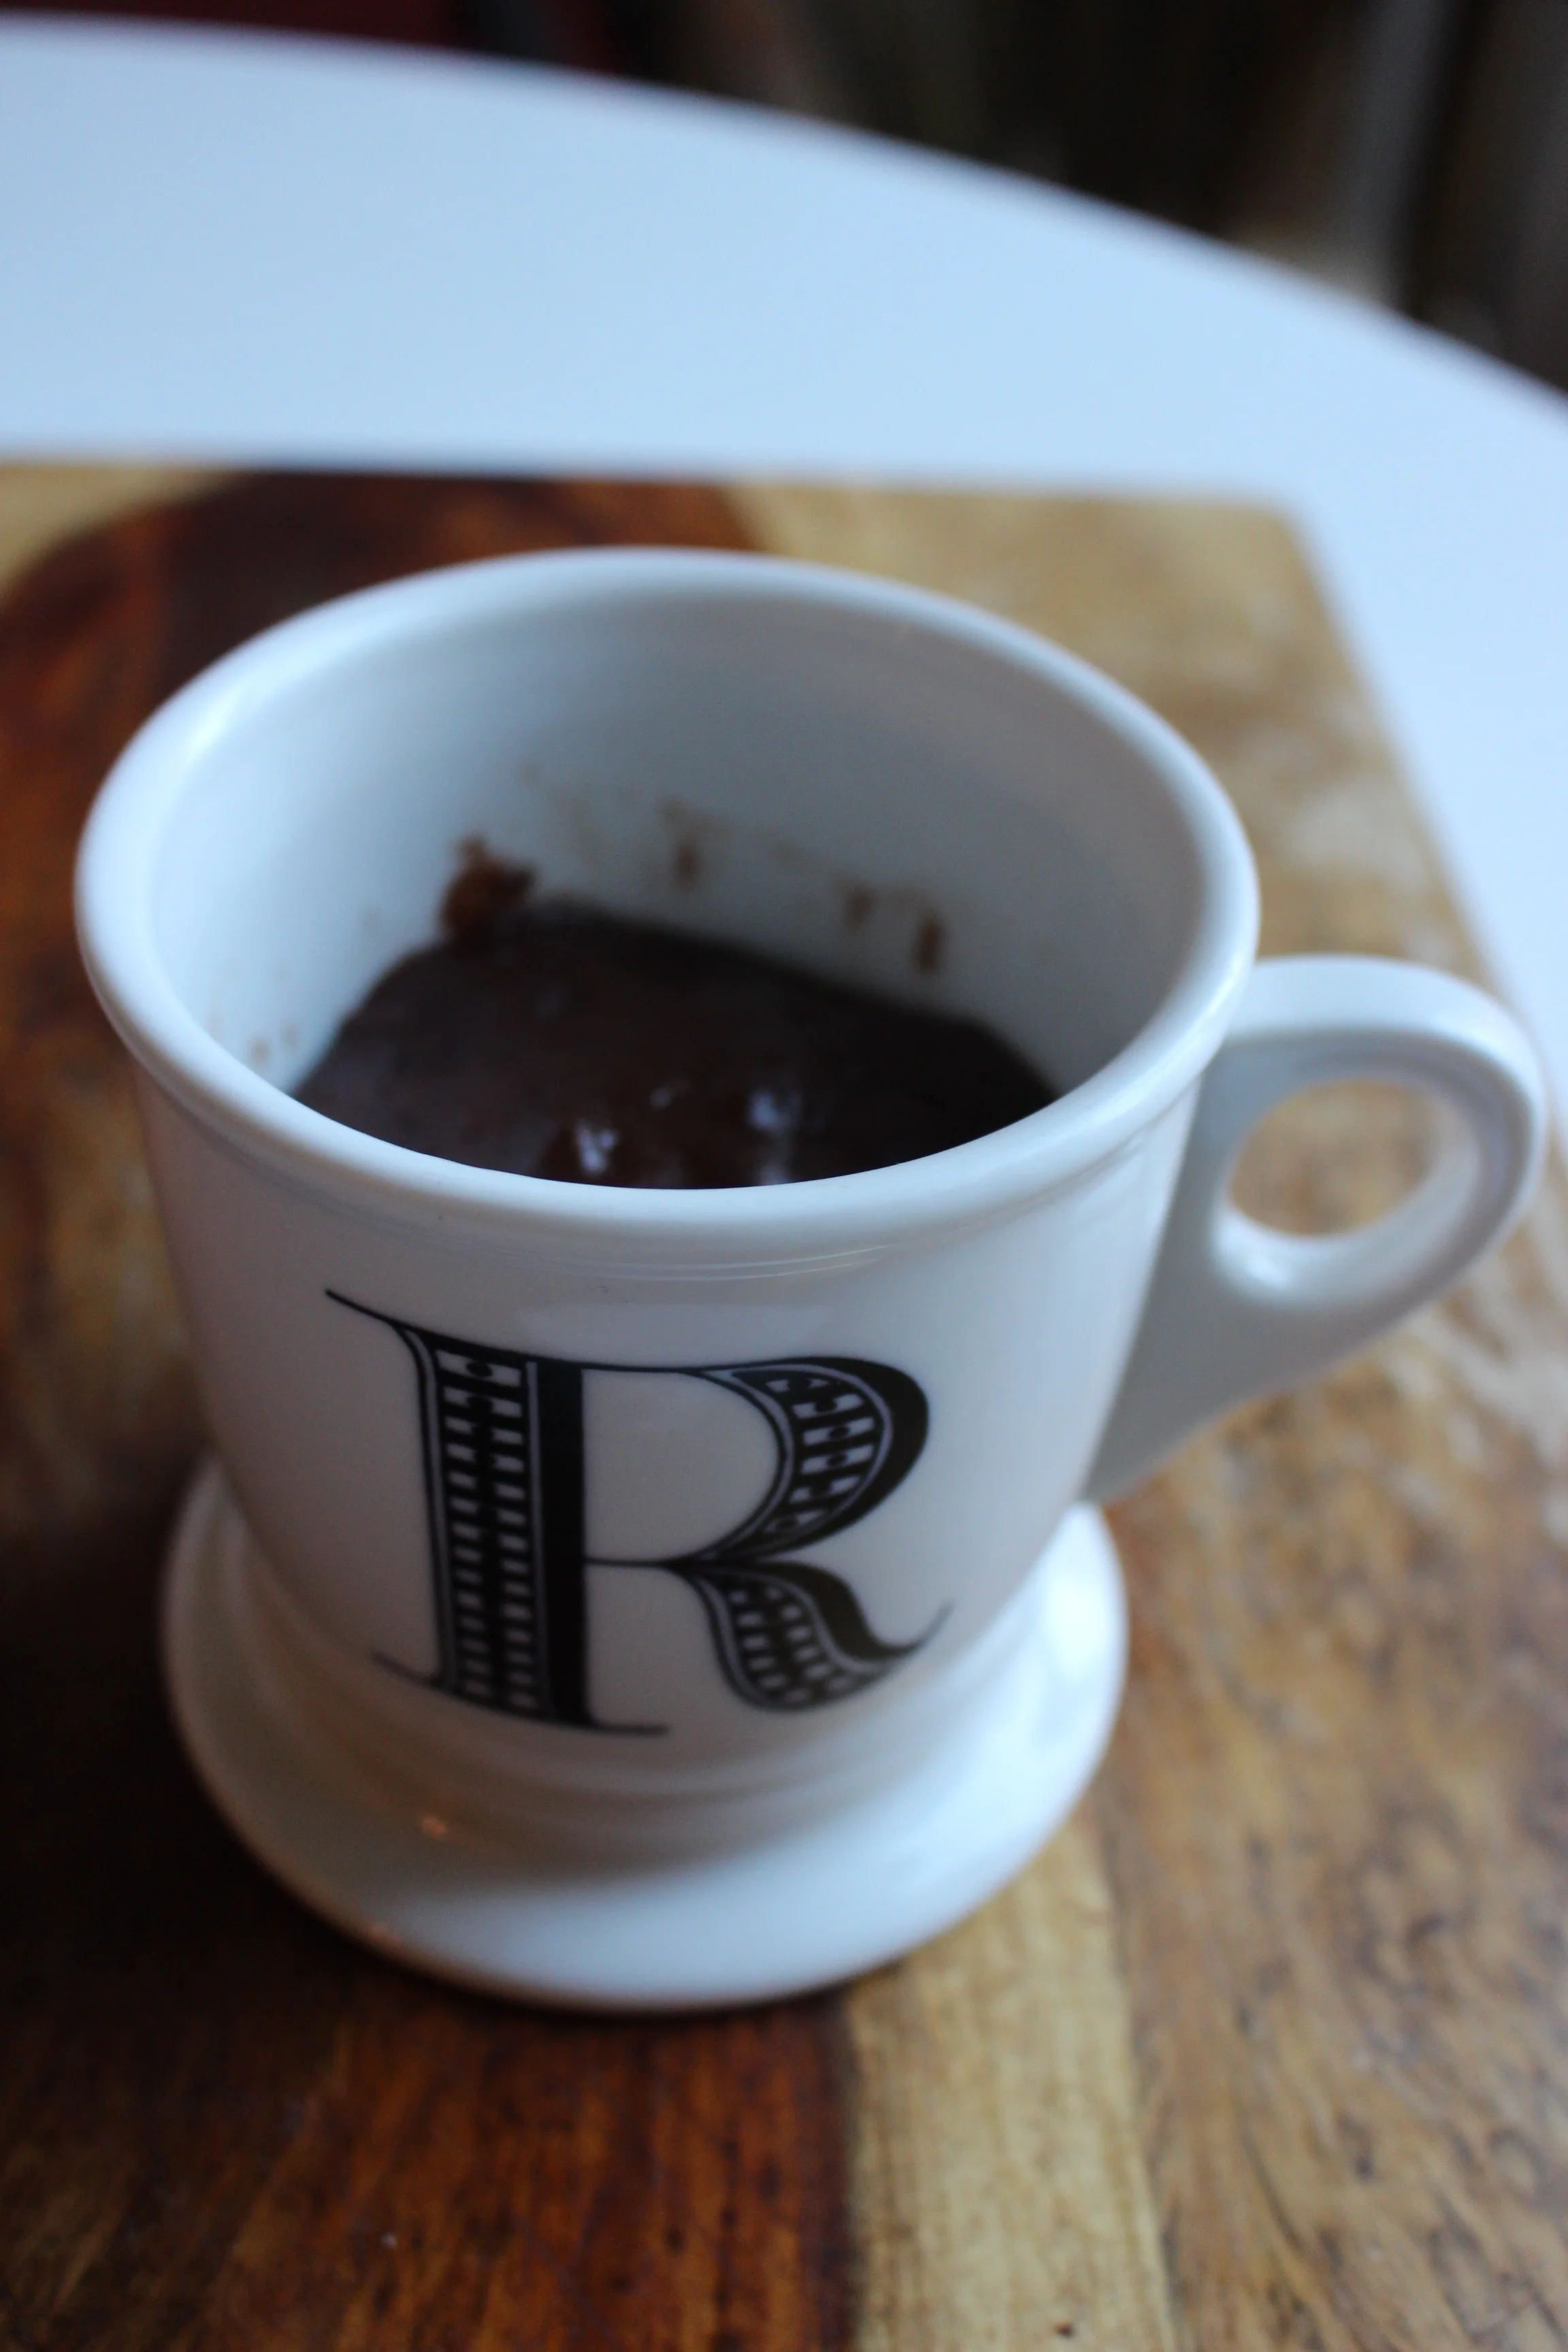
Combine the dry ingredients in a small bowl and whisk to remove lumps. Add the wet ingredients and stir to combine. Pour equal amounts into two ungreased mugs. With one mug at a time, microwave on high for 1 minute, check for doneness, and cook for 30 more seconds. (Note: we have a very weak microwave, so if you have a stronger one, check after 30 seconds. I usually tip the cup around to see if anything is moving.) When cakes are cooked, use a fork to remove them from the mugs and let them cool on a plate. Don’t worry about removing them cleanly, as they’ll be broken up for the “dirt” in the graveyards. Let cool.
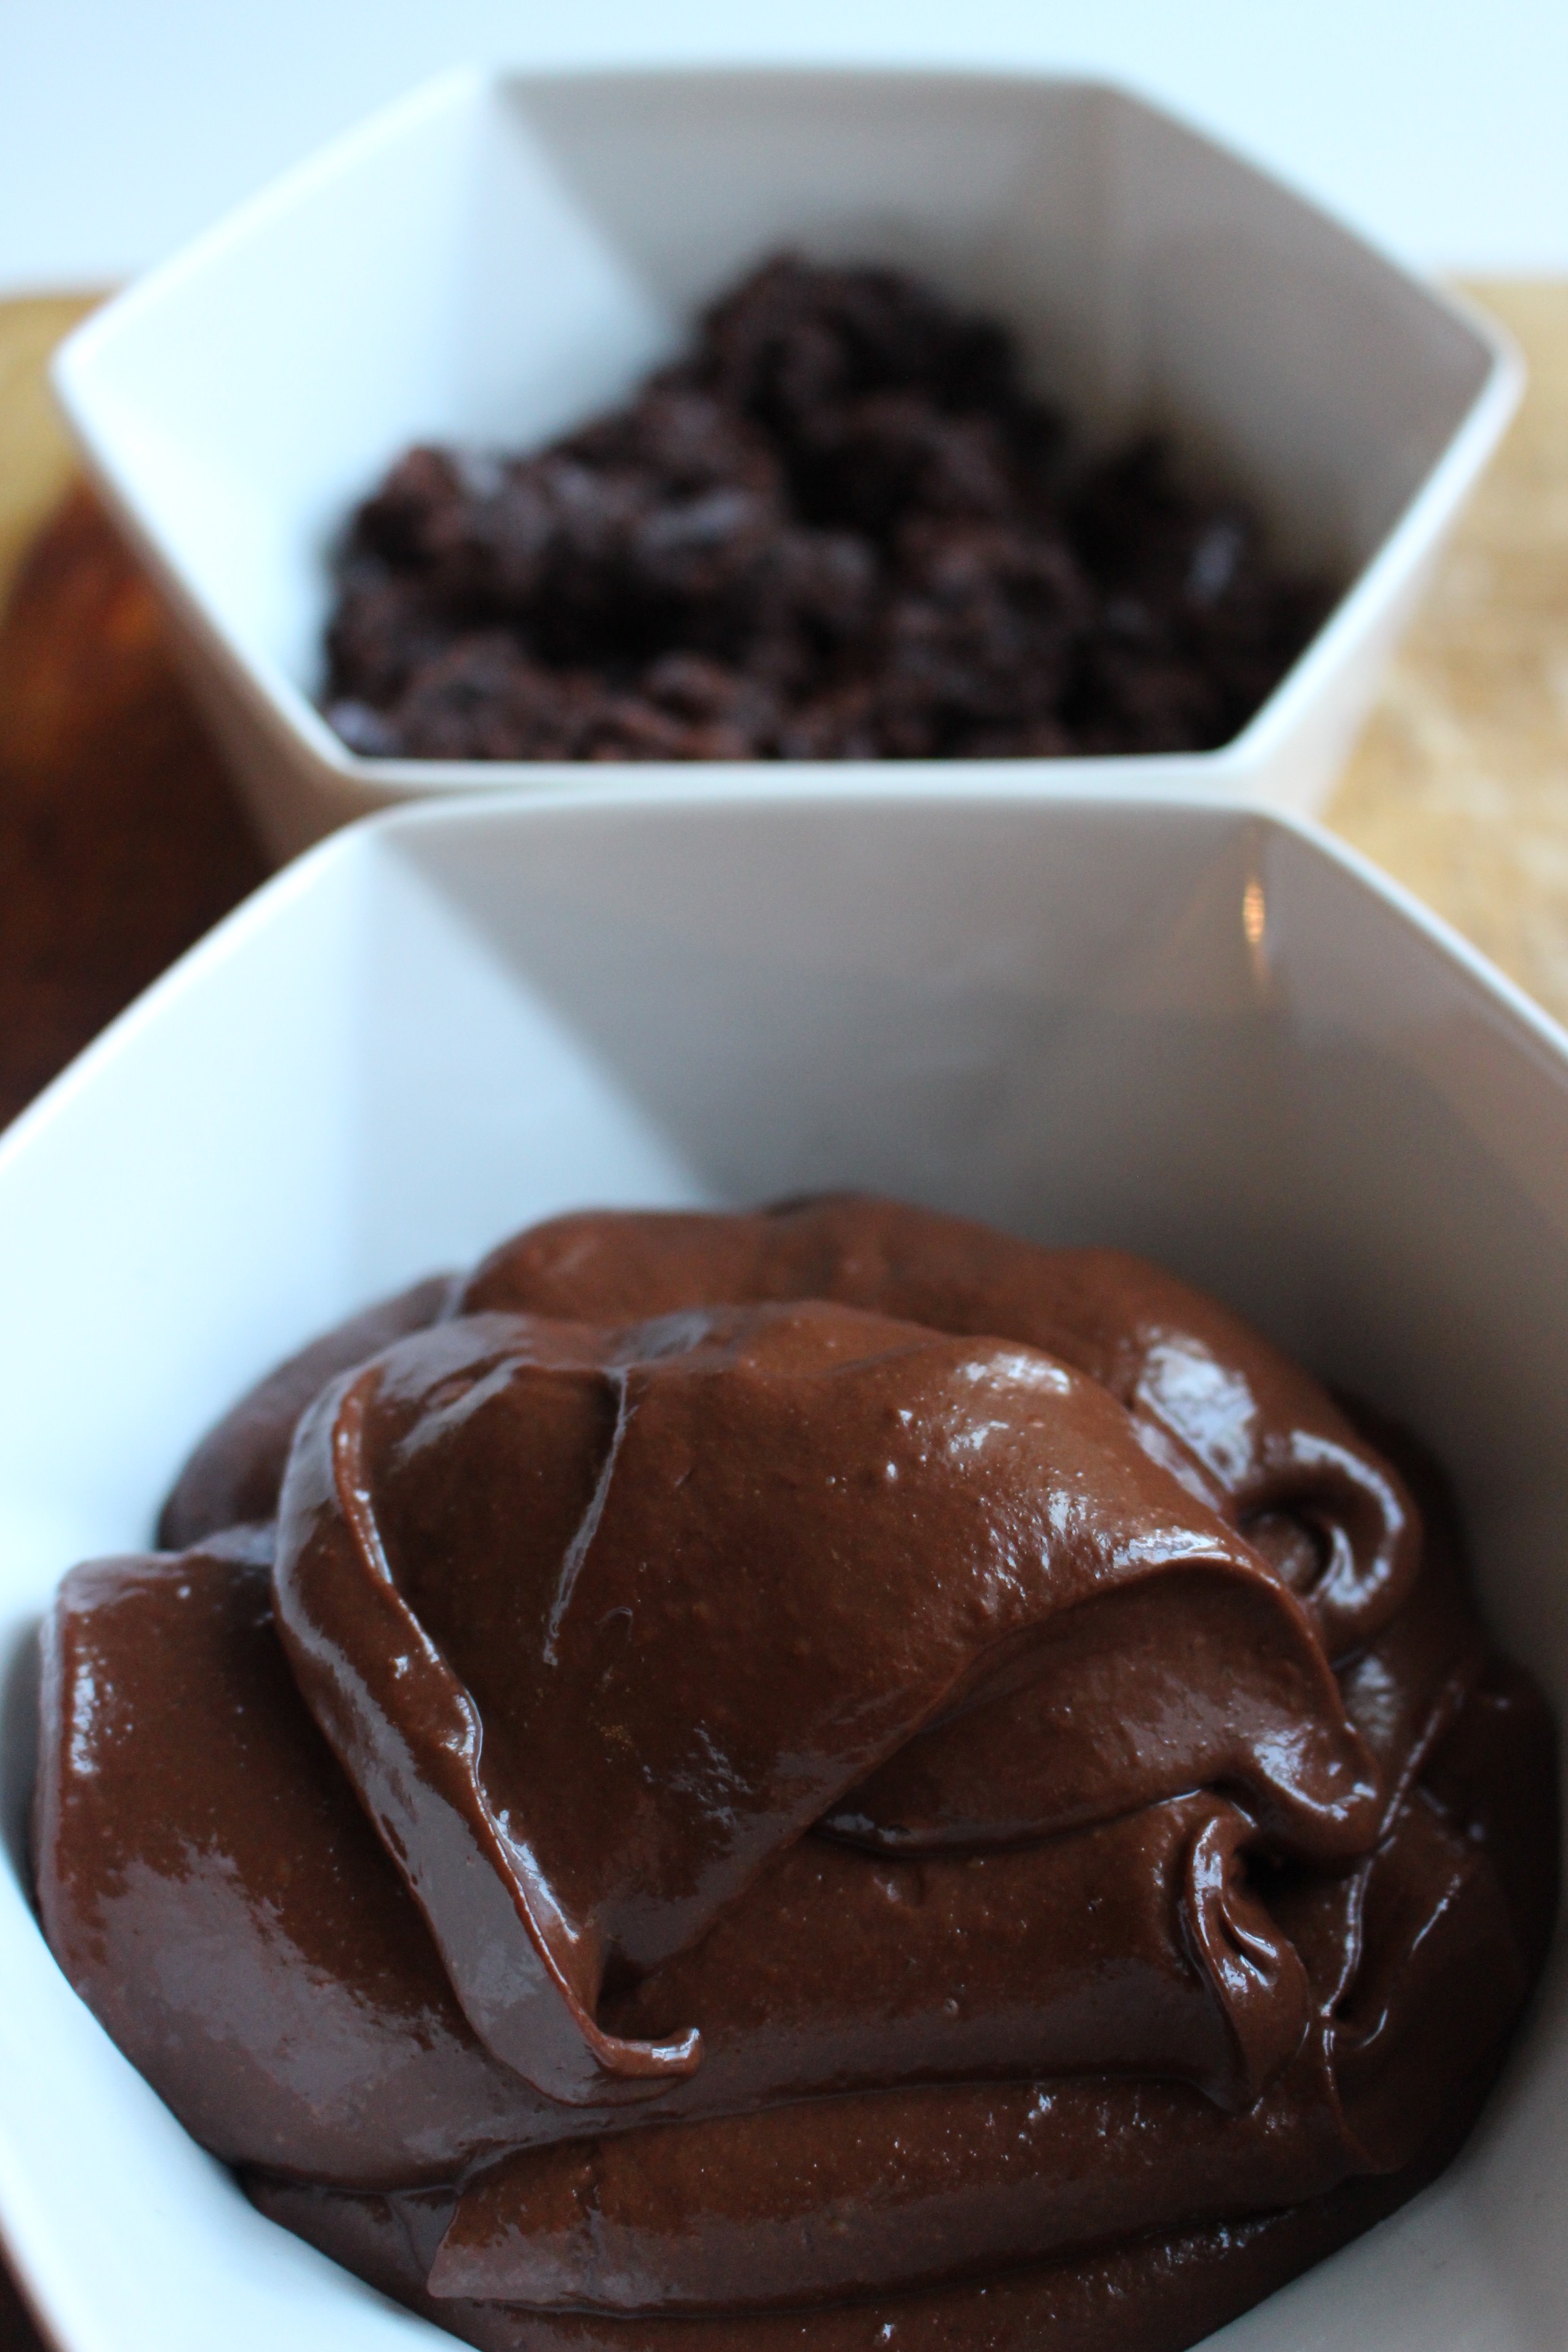
Sunflower-seed butter chocolate avocado pudding
Adapted from this recipe
¾ large ripe avocado (mine was about 7.5 oz with pit and peel)
½ large ripe banana (mine was 7 oz with peel)
¼ cup unsweetened cocoa powder
¼ cup maple syrup
¼ cup Spiced seed butter
2 Tbsp milk (I used dairy, but almond, cashew, or soy would also work)
Combine all of the ingredients in a food processor and blend until smooth and creamy. If making the Spiced Seed Butter specifically for these graveyards, be sure to read the directions and follow them exactly. You won't be sorry; this seed butter is GREAT. Makes about 1.25 cups of pudding.
Assembling the graveyards
Remove the chocolate skeletons from the fridge to warm up. Pour a few chocolate rocks on the bottom of your graveyard container(s). (Possible substitutions include chocolate-covered raisins, chocolate chips, carob chips, or you could skip this part entirely.) Nestle your chocolate skeleton(s) on the side of the glass container, pressing gently to try and mold the chocolate to your container (or skip this step too for allergen sensitivity, if needed).
Crumble the chocolate cake completely and gently add a layer of cake crumbles, pressing down lightly. Be sure to keep the cake crumbles behind your chocolate skeletons, if using.
Add a pudding layer and press gently to remove air bubbles. Clean up the sides of the glass container. Cover with more cake crumbles.
For the graves: Roll out a small amount of gray or white fondant using powdered sugar to prevent sticking. (I bought a tiny container of Wilton gray fondant at Michael's and threw away the box before checking the ingredients and can't find the information online. If fondant isn't an option, gluten-, dairy-, and/or egg-free cookies or marshmallows also make good "graves.") Cut out a very small square and tap with your fingers to round the corners. With an edible pen, melted chocolate, or gel frosting, write RIP on the grave and nestle into the cake crumbs. Place a crumb or two behind the grave to prop it up.
Yield: 4 medium graveyards or 6 small graveyards
Chicken liver and berry puree
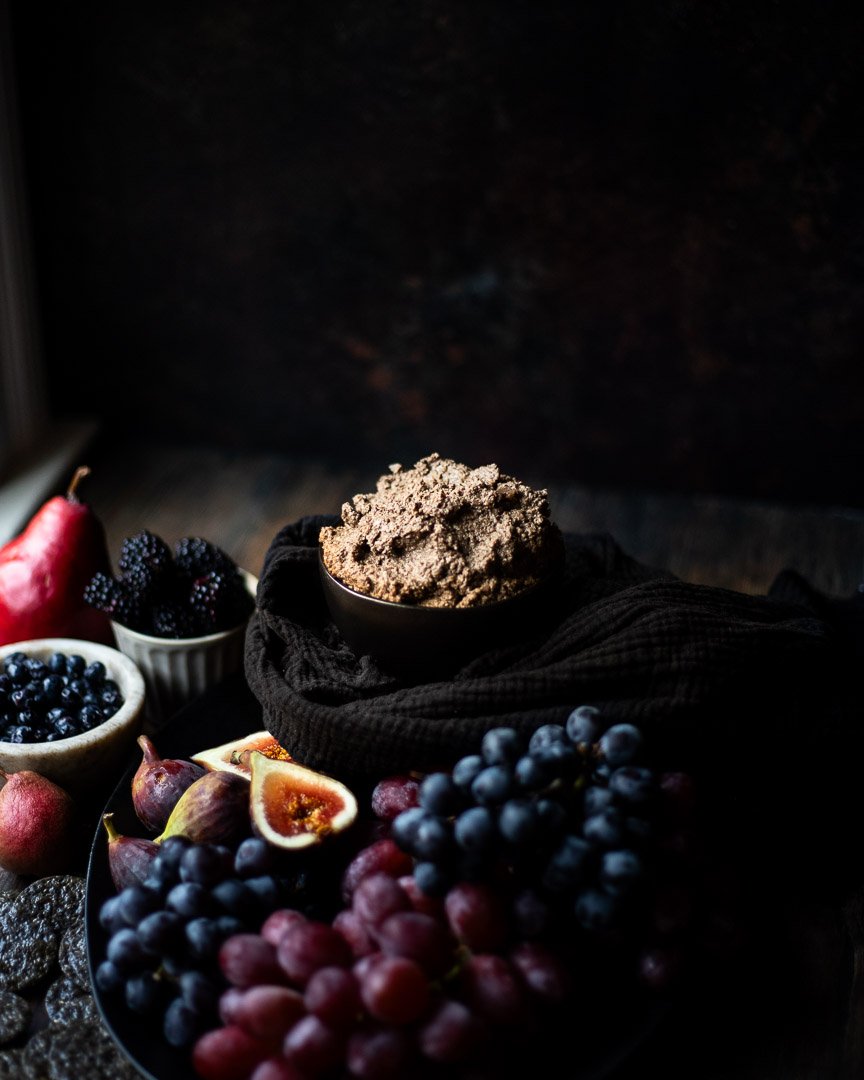
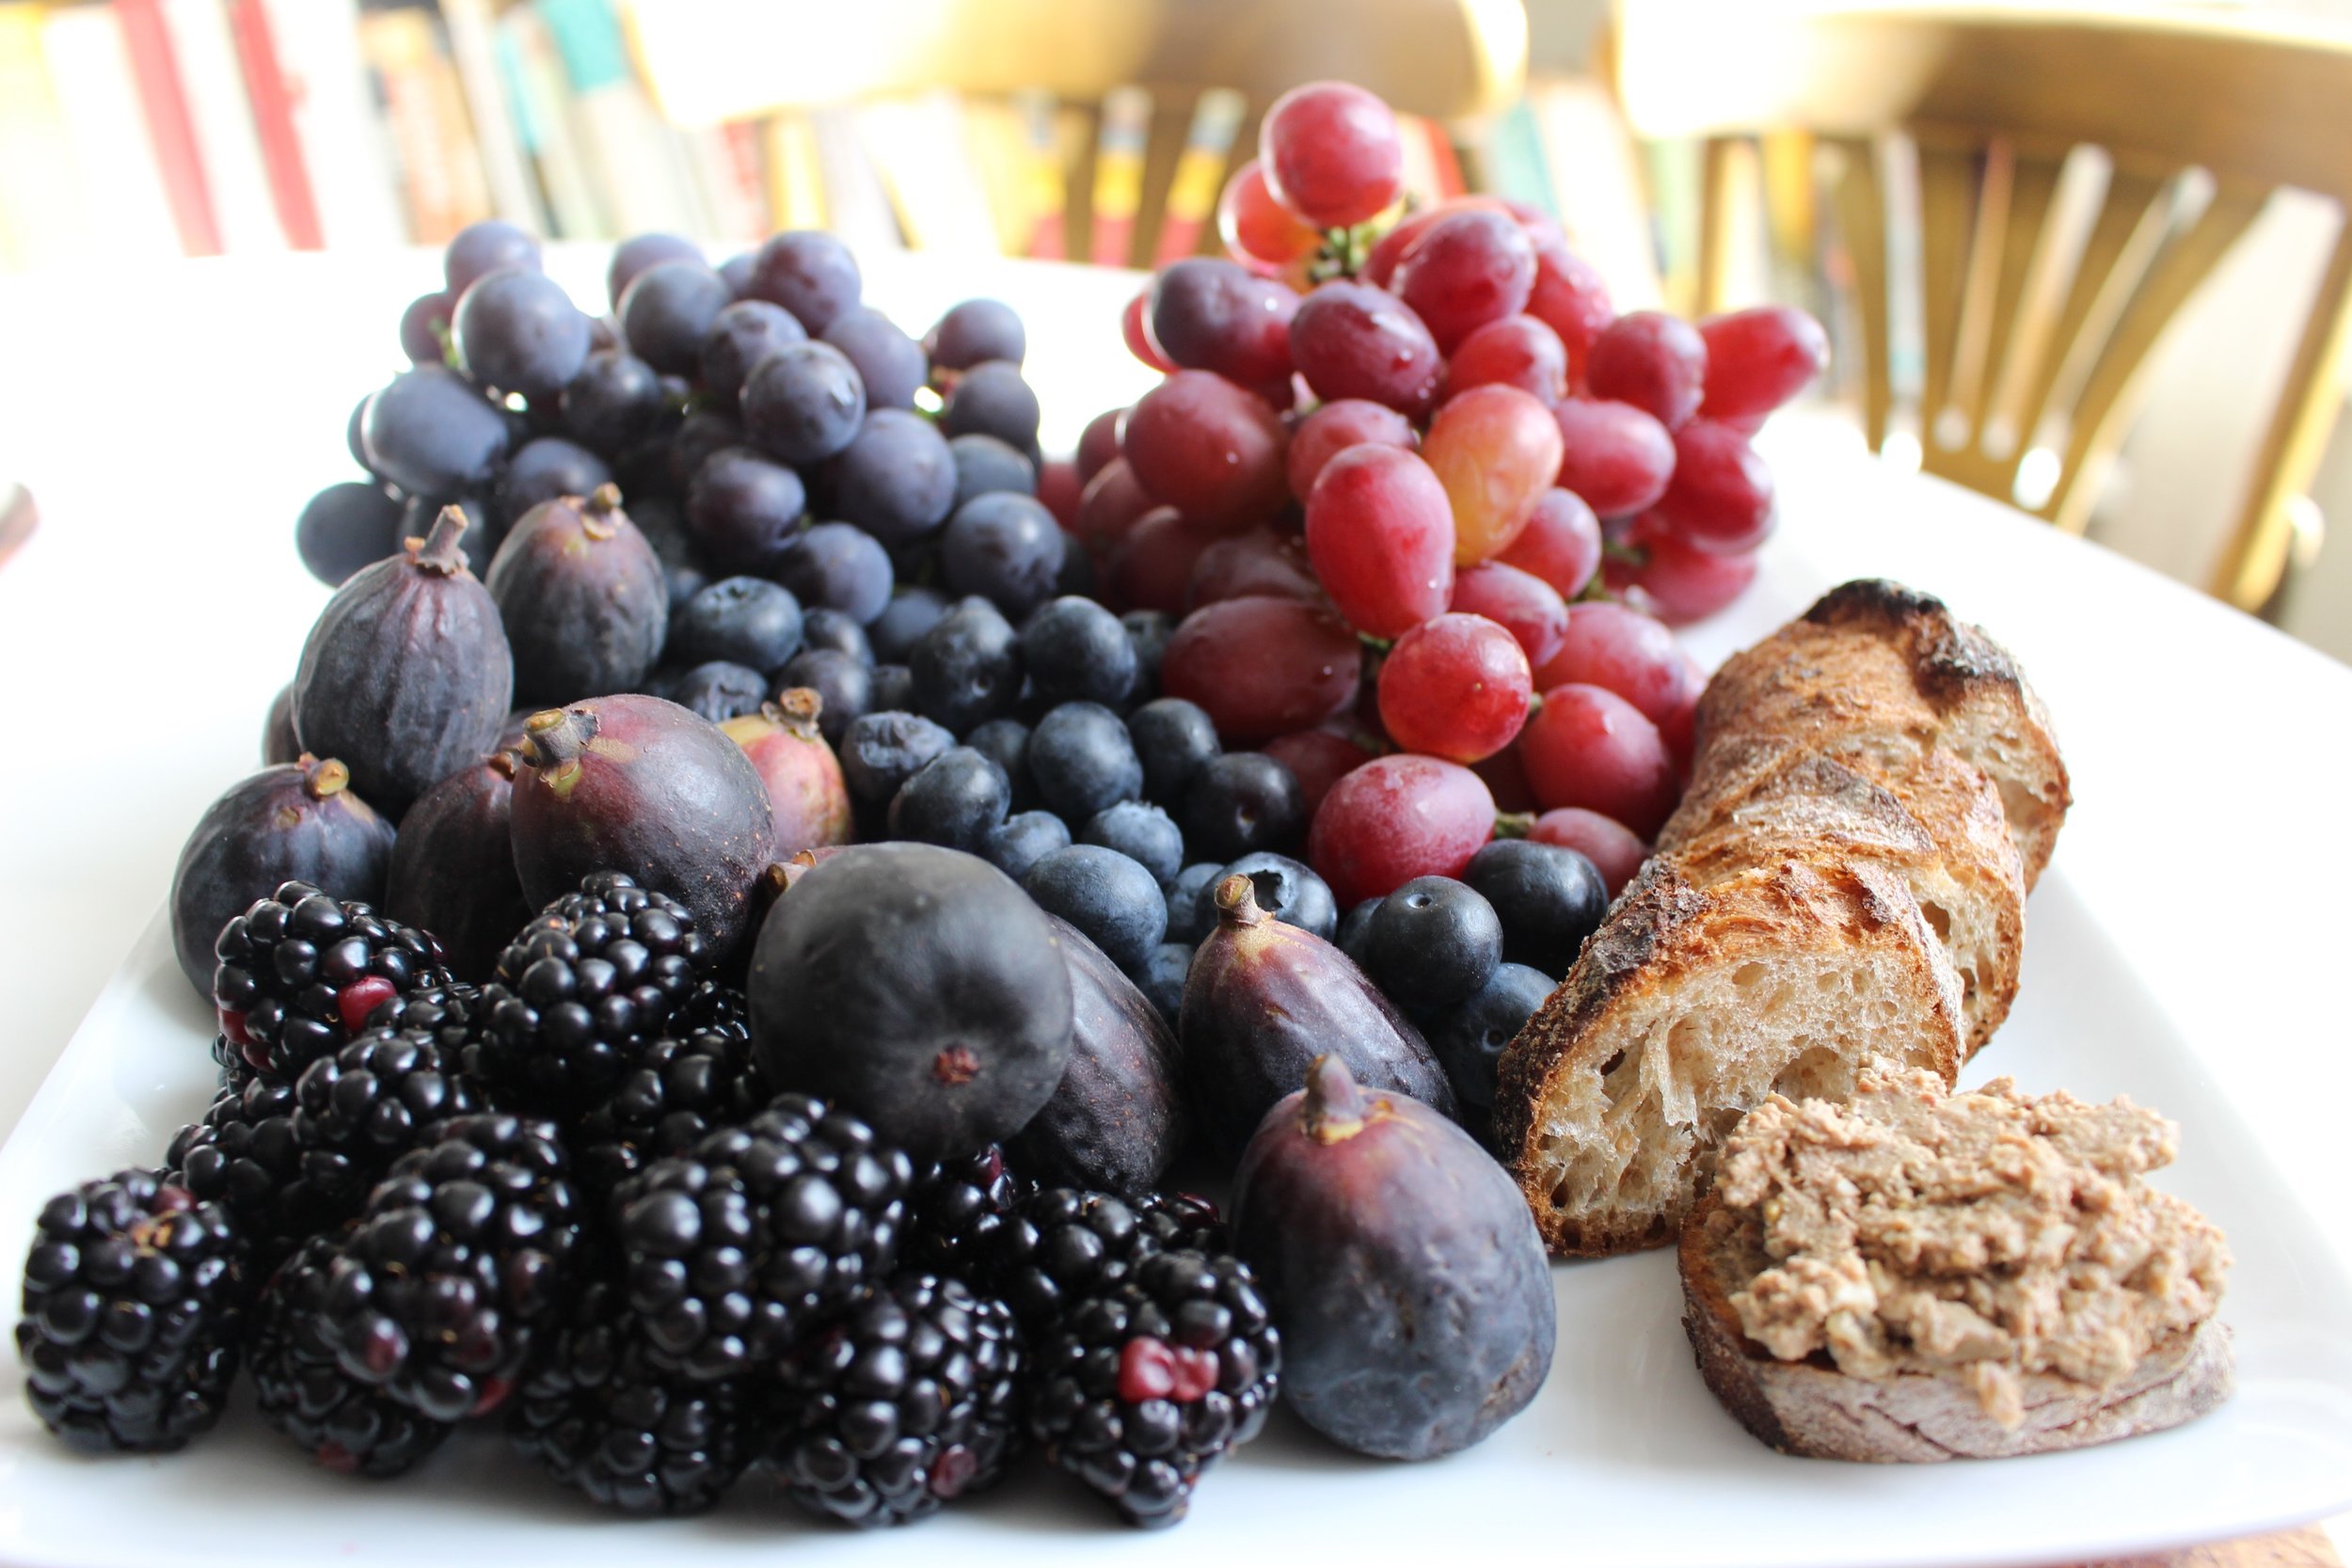
Yup, that's right. Chicken liver for babies. I was hesitant at first too, but we gave some to M when he was around 1 and he LOVED it. Who knew? M likes it plain, but combining it with berries and turning it a lovely purple color definitely makes it more appetizing.
M's passion for chicken liver is helpful since it’s one of our extended family’s staples for holidays and family dinners. And you know what? It’s easy to make and is a protein- and iron-rich dip for crackers or veggies. And it’s delicious. Trust me. Actually, don't trust me: Make it for yourself and see.
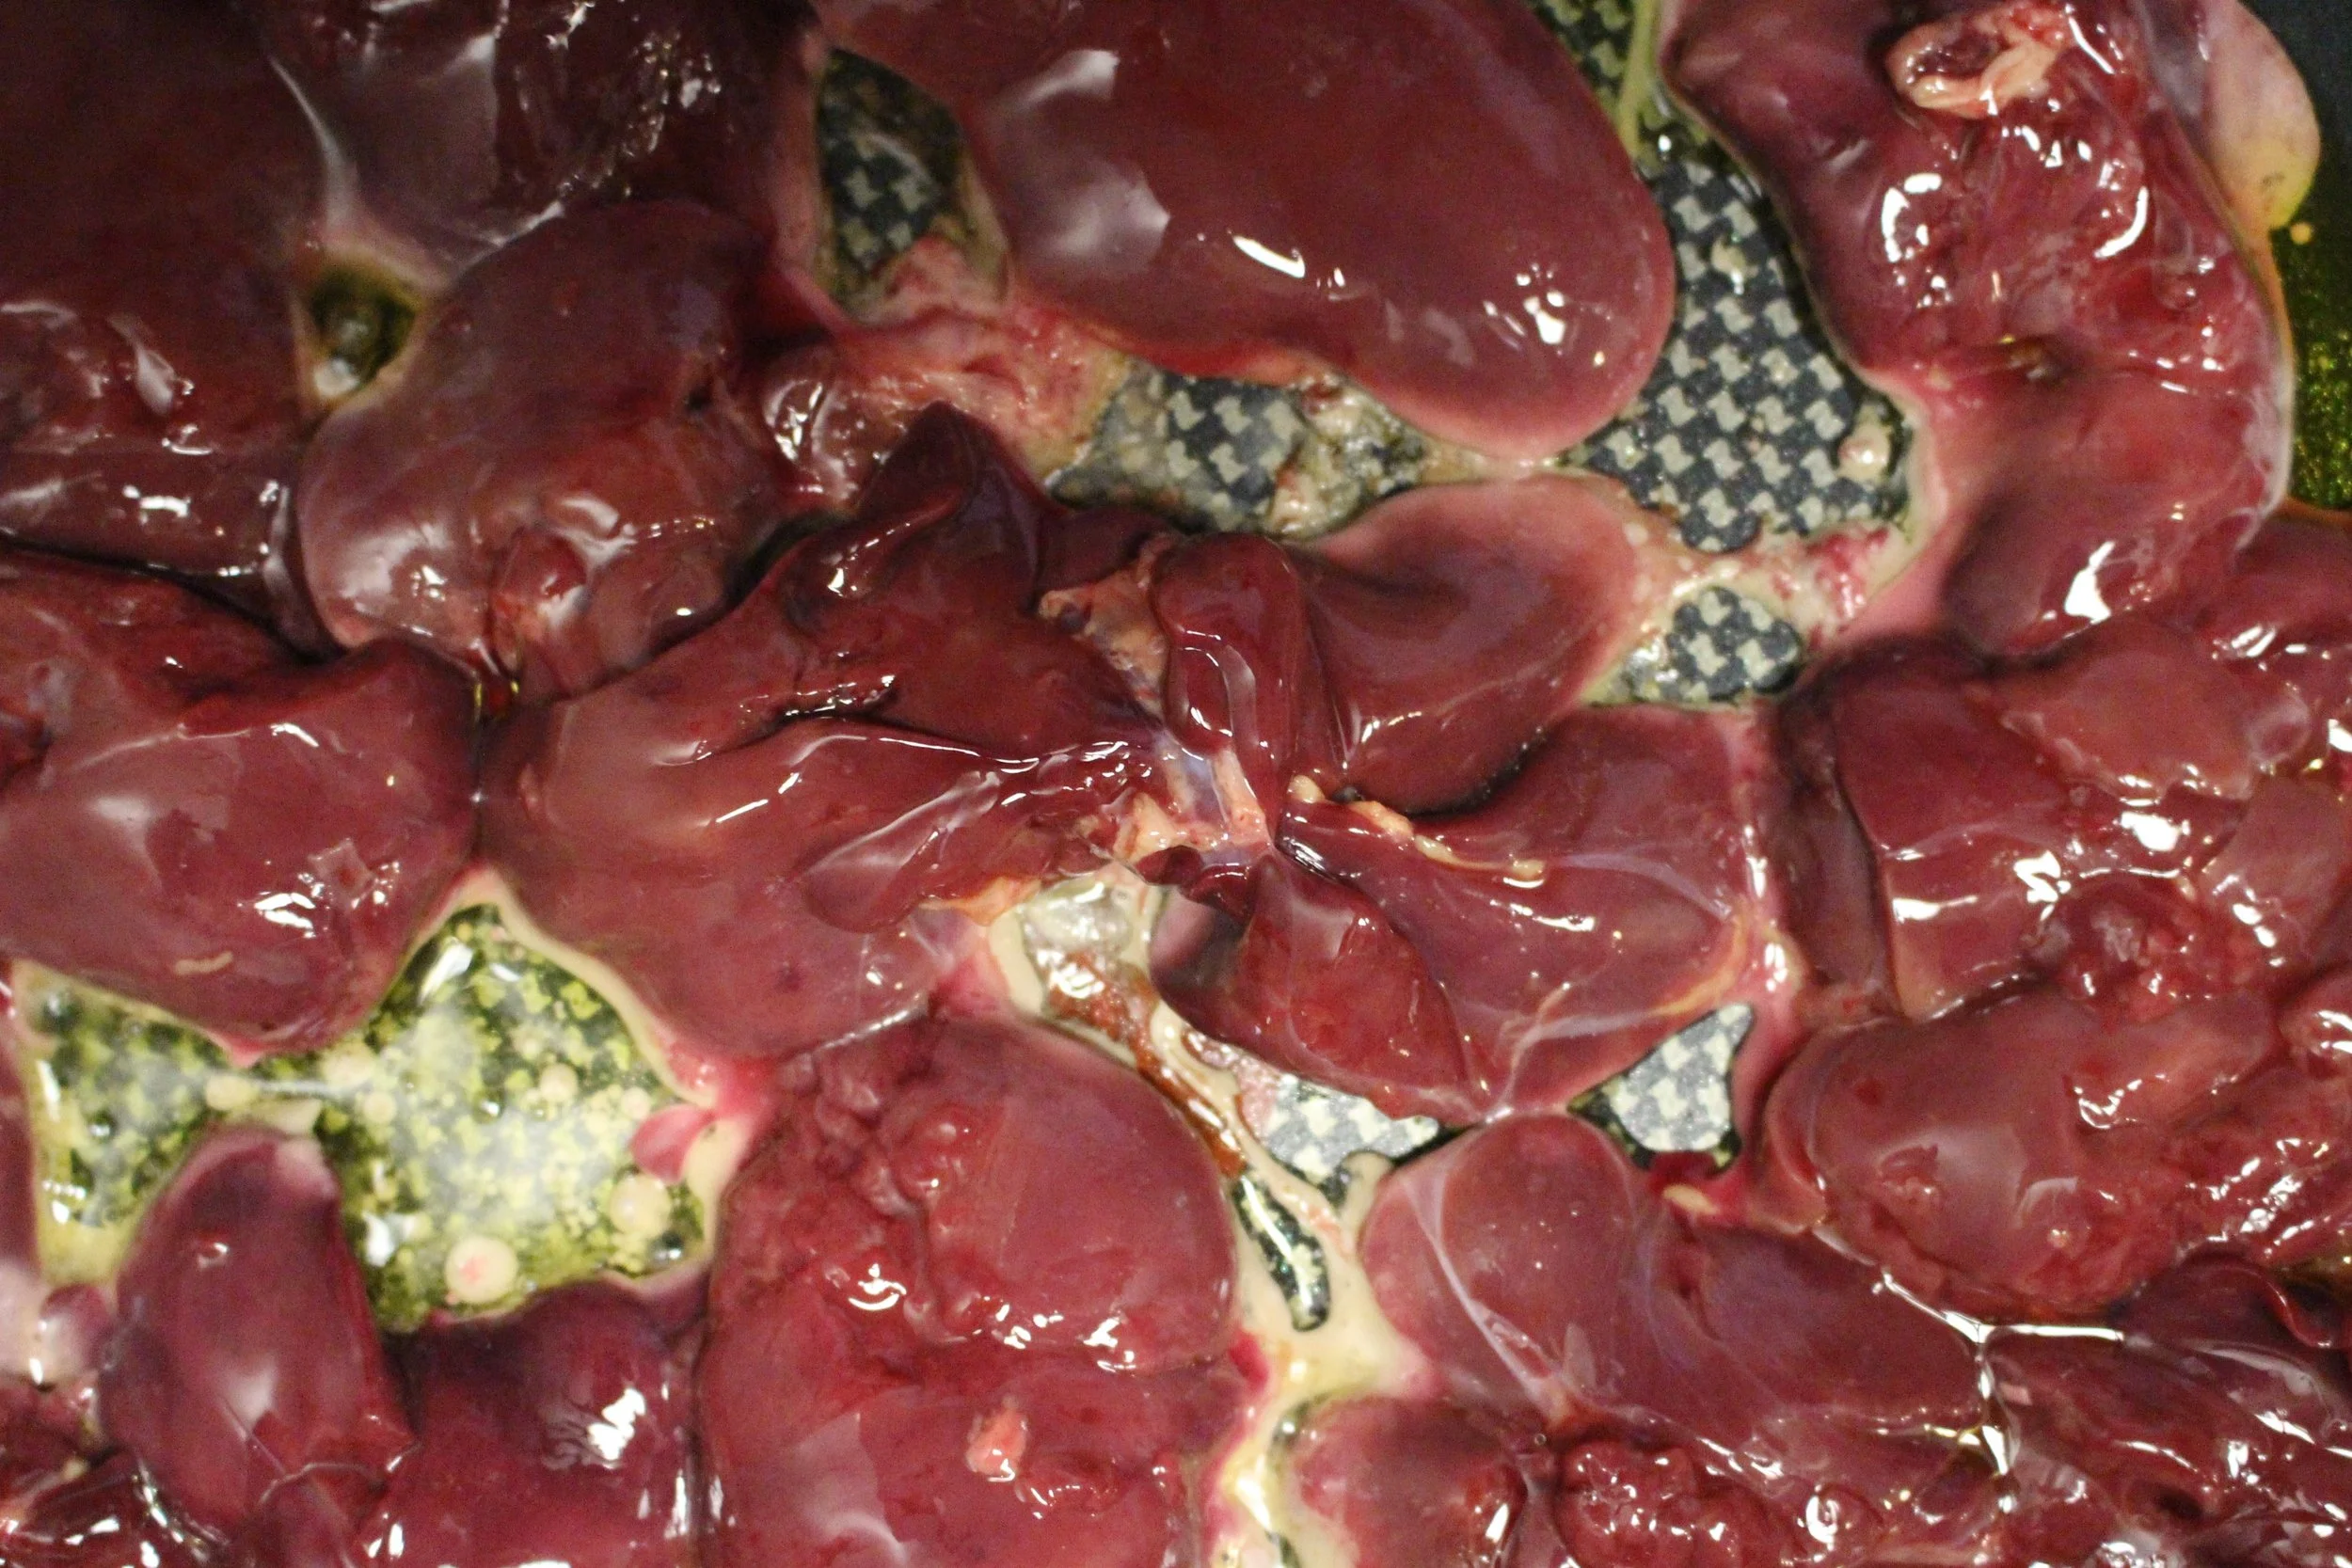
If you've made chicken liver before, skip these next few pictures. If you're a liver novice, here's what mine looks like at various stages of cooking:
Stage 1: Put some olive oil in a hot pan and add the livers, making sure that each one has some space in the pan. Cook in batches if you have to.
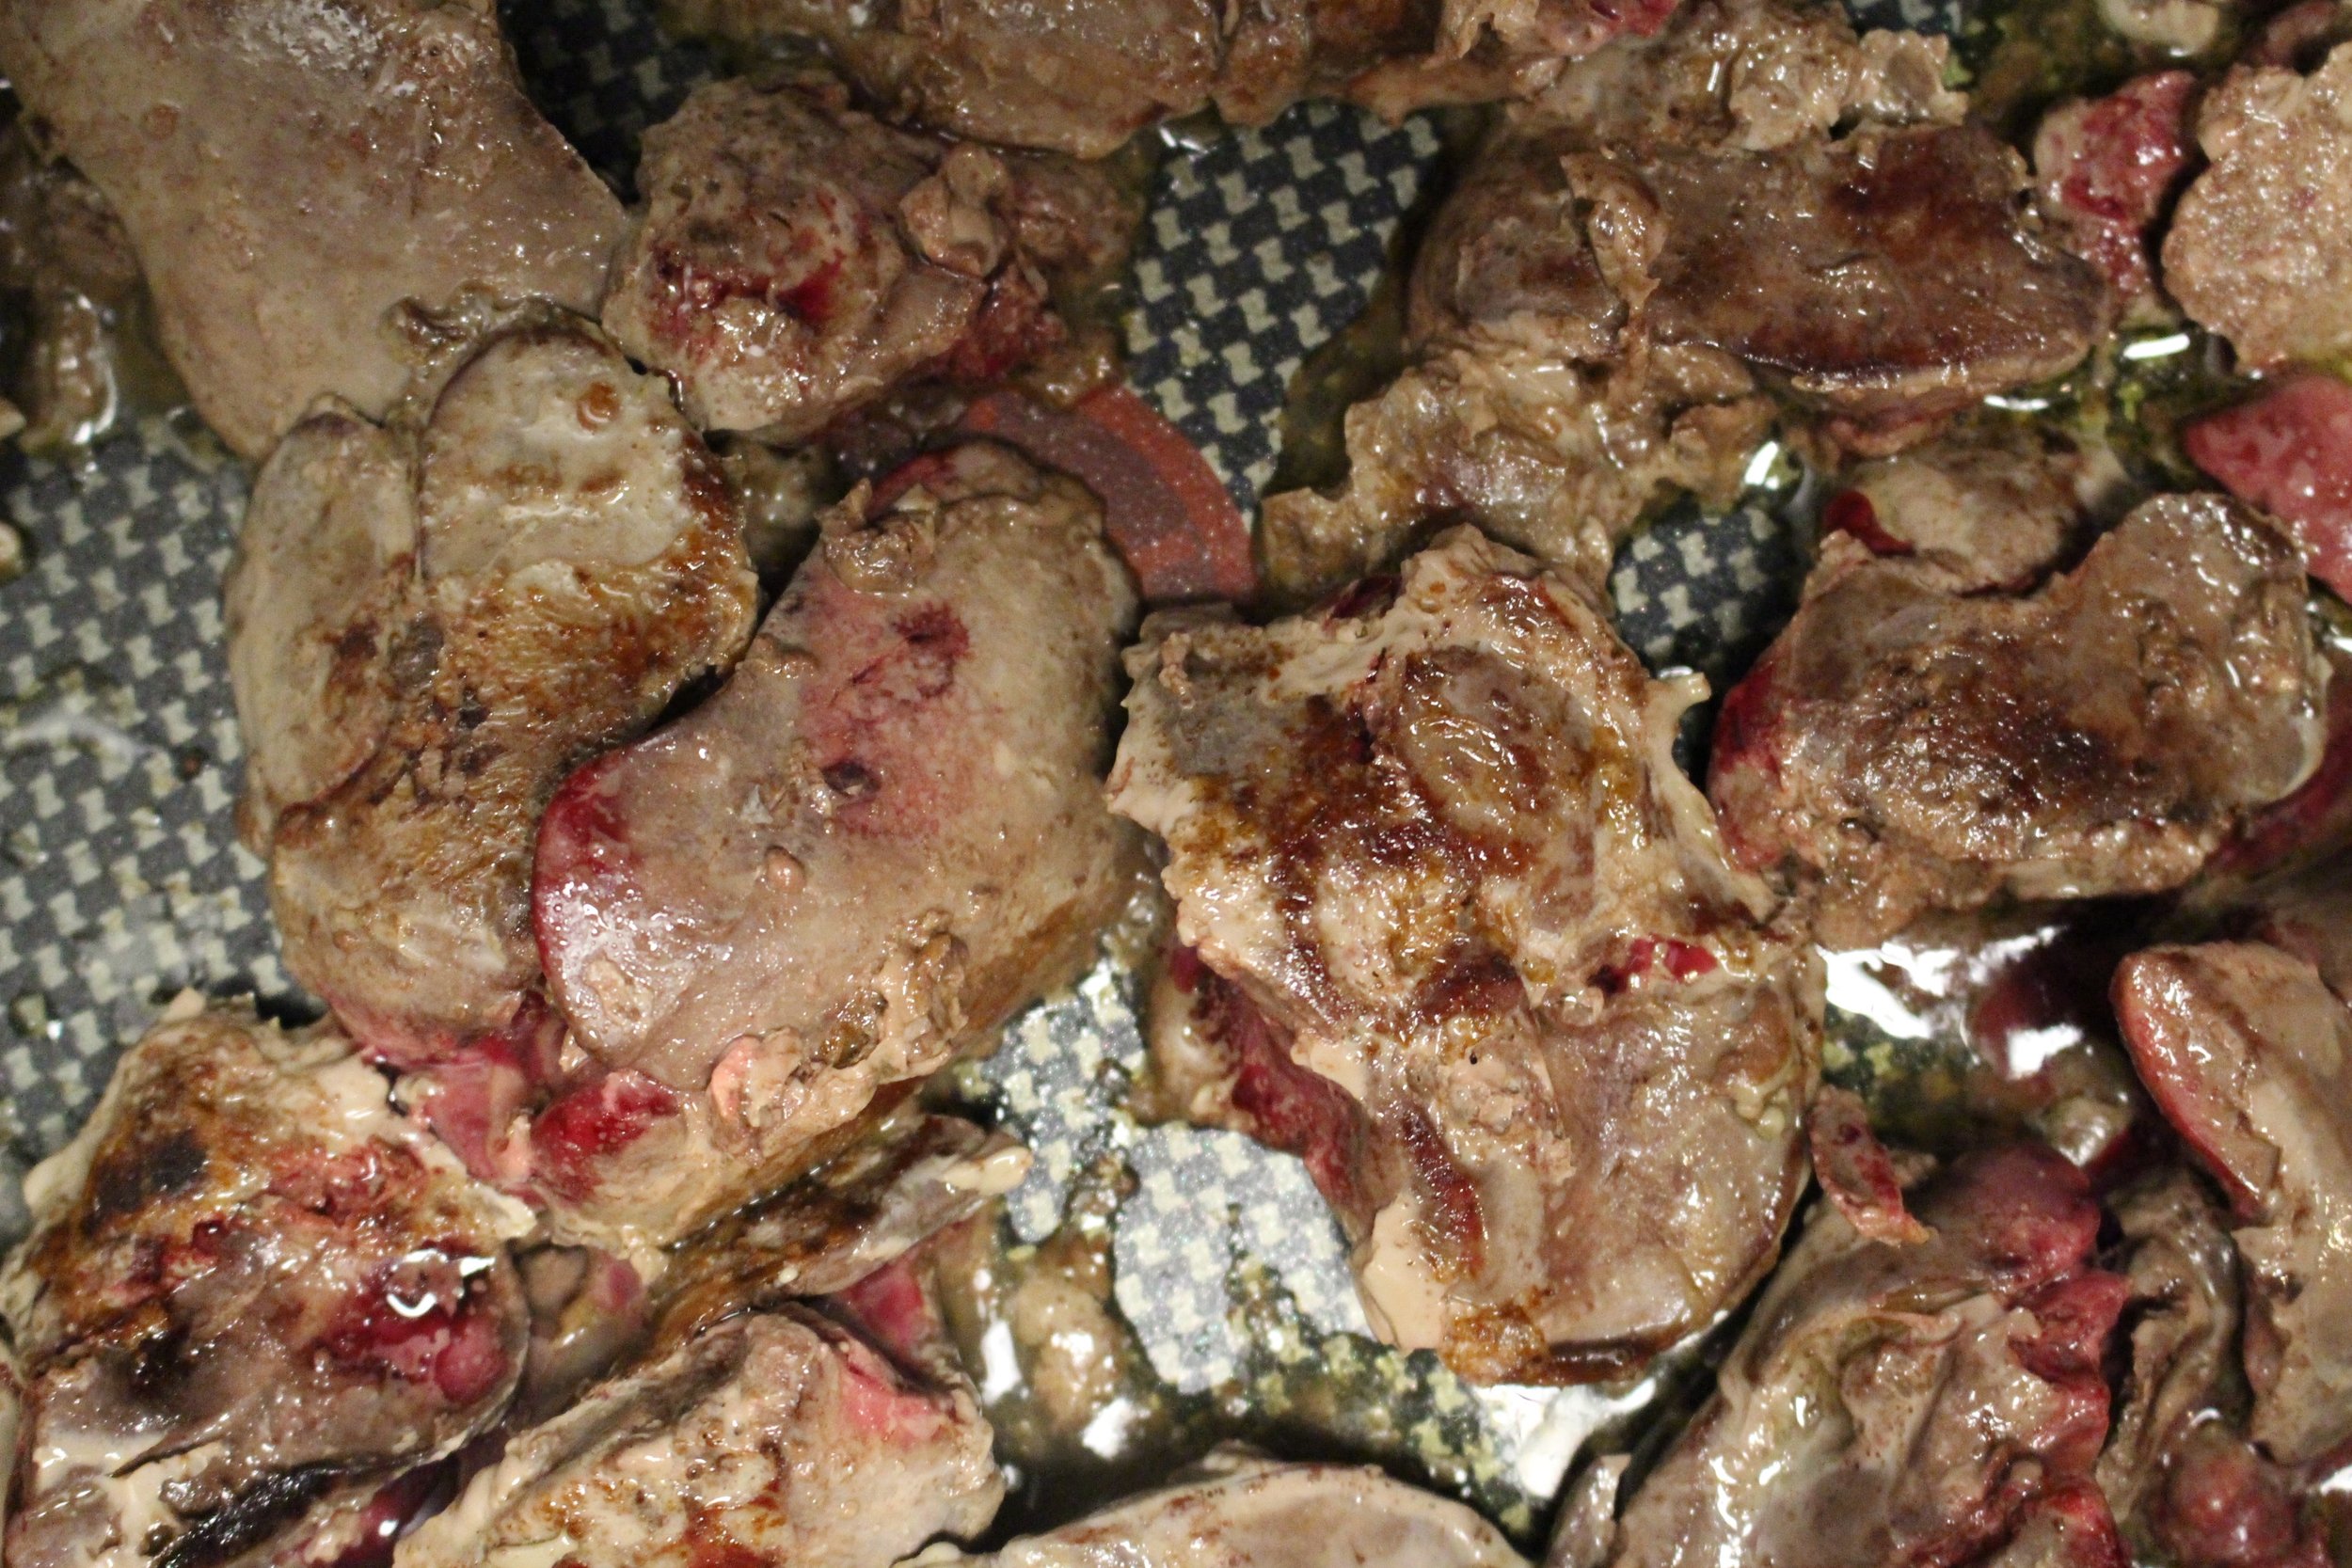
Stage 2: Ready to flip. Once you see brown creeping up the sides, flip those puppies over and continue to cook.
Stage 3: Add the onions. Once you have an even browning on both sides, add the chopped onions. It's okay if there are some pinkish areas remaining because cooking isn't over yet.
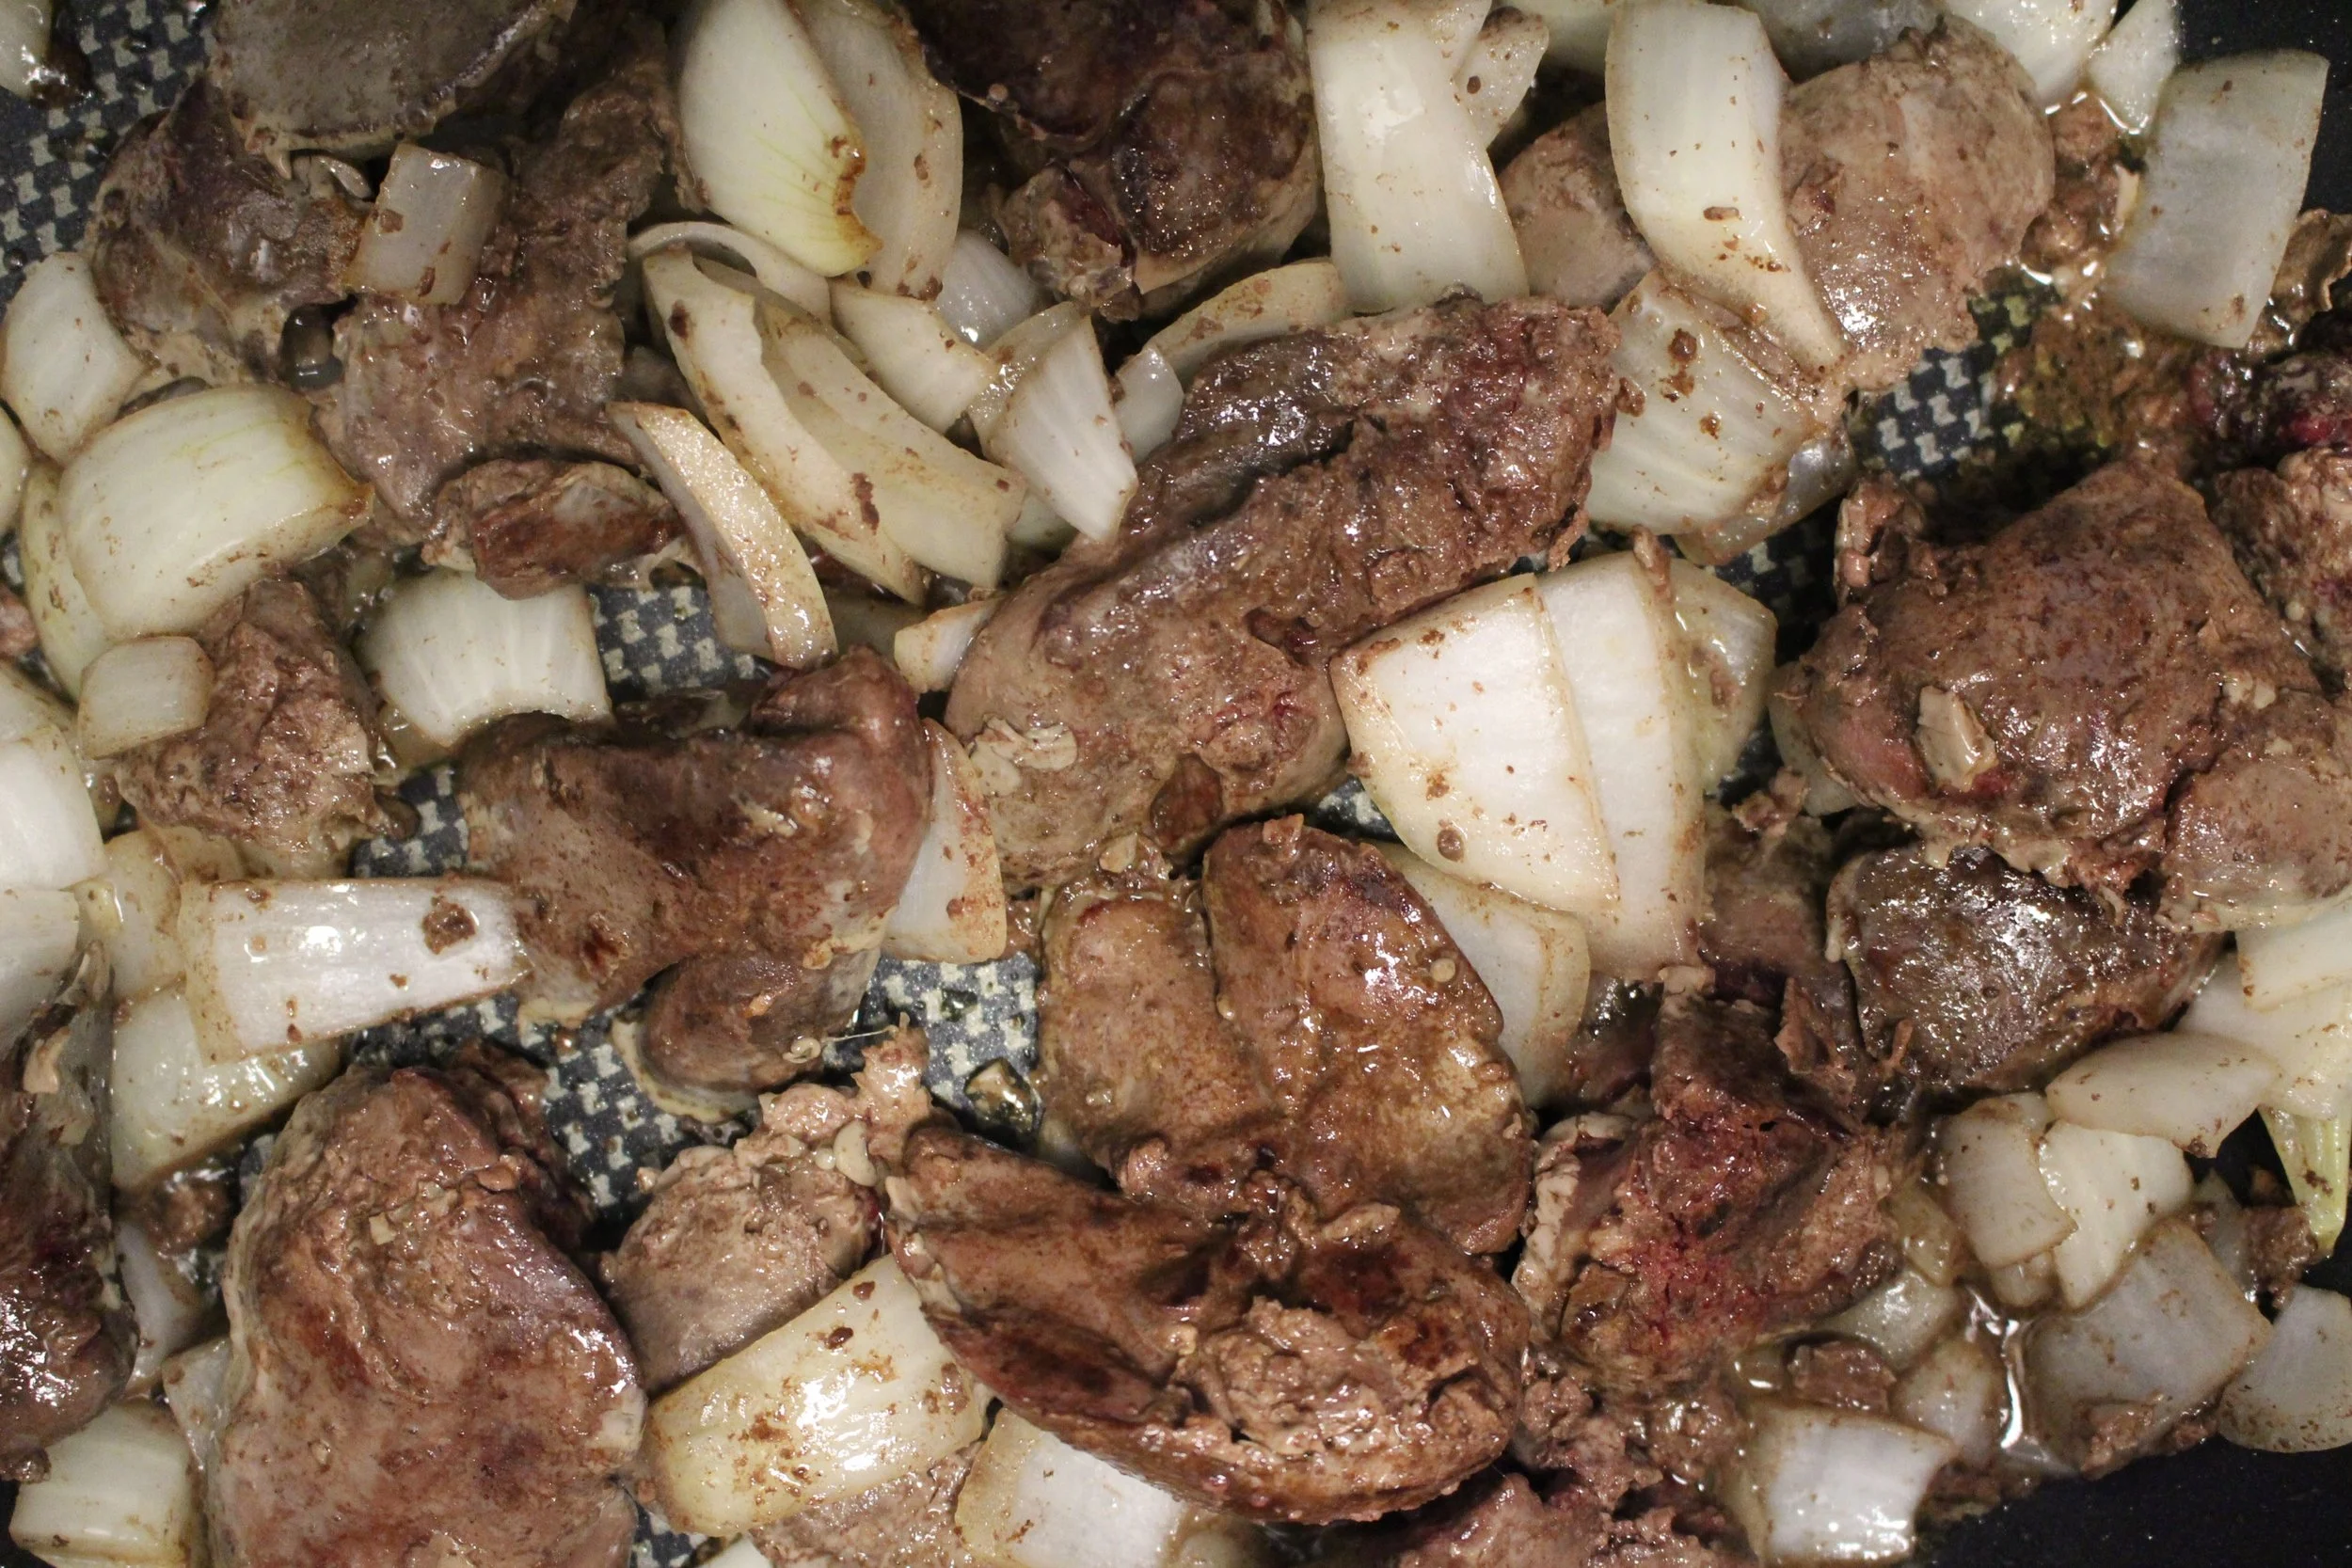
Stage 4: Cover. Once the onions are translucent and the livers are mostly browned (it's okay of there are some slightly pink nooks, but you should see any "raw" patches), cover and cook over a low flame for about 10 more minutes.
Chopped chicken liver
.75 lb chicken livers
2 Tbsp olive oil
1 large onion
2 hard-boiled eggs
1 Tbsp balsamic vinegar
Salt and pepper
Heat olive oil over a medium flame. Add chicken livers and brown on both sides. Once livers are browned, add the chopped onions. (It’s okay if there are small bits of pink still showing on the livers in the nooks and crannies- see photos.) Cook on medium heat until onions are opaque, about 5-8 minutes. Cover and turn heat to low. Let simmer for another 10-12 minutes or until livers are cooked through.
Immediately add cooked livers and onions and all liquid to a food processor or blender with hard-boiled eggs and balsamic vinegar. Salt and pepper to taste, but I’m usually very generous with the salt at this phase. Pulse the food processor until you’ve reached your desired consistency. Taste again for seasoning.
Yield: about 2 cups
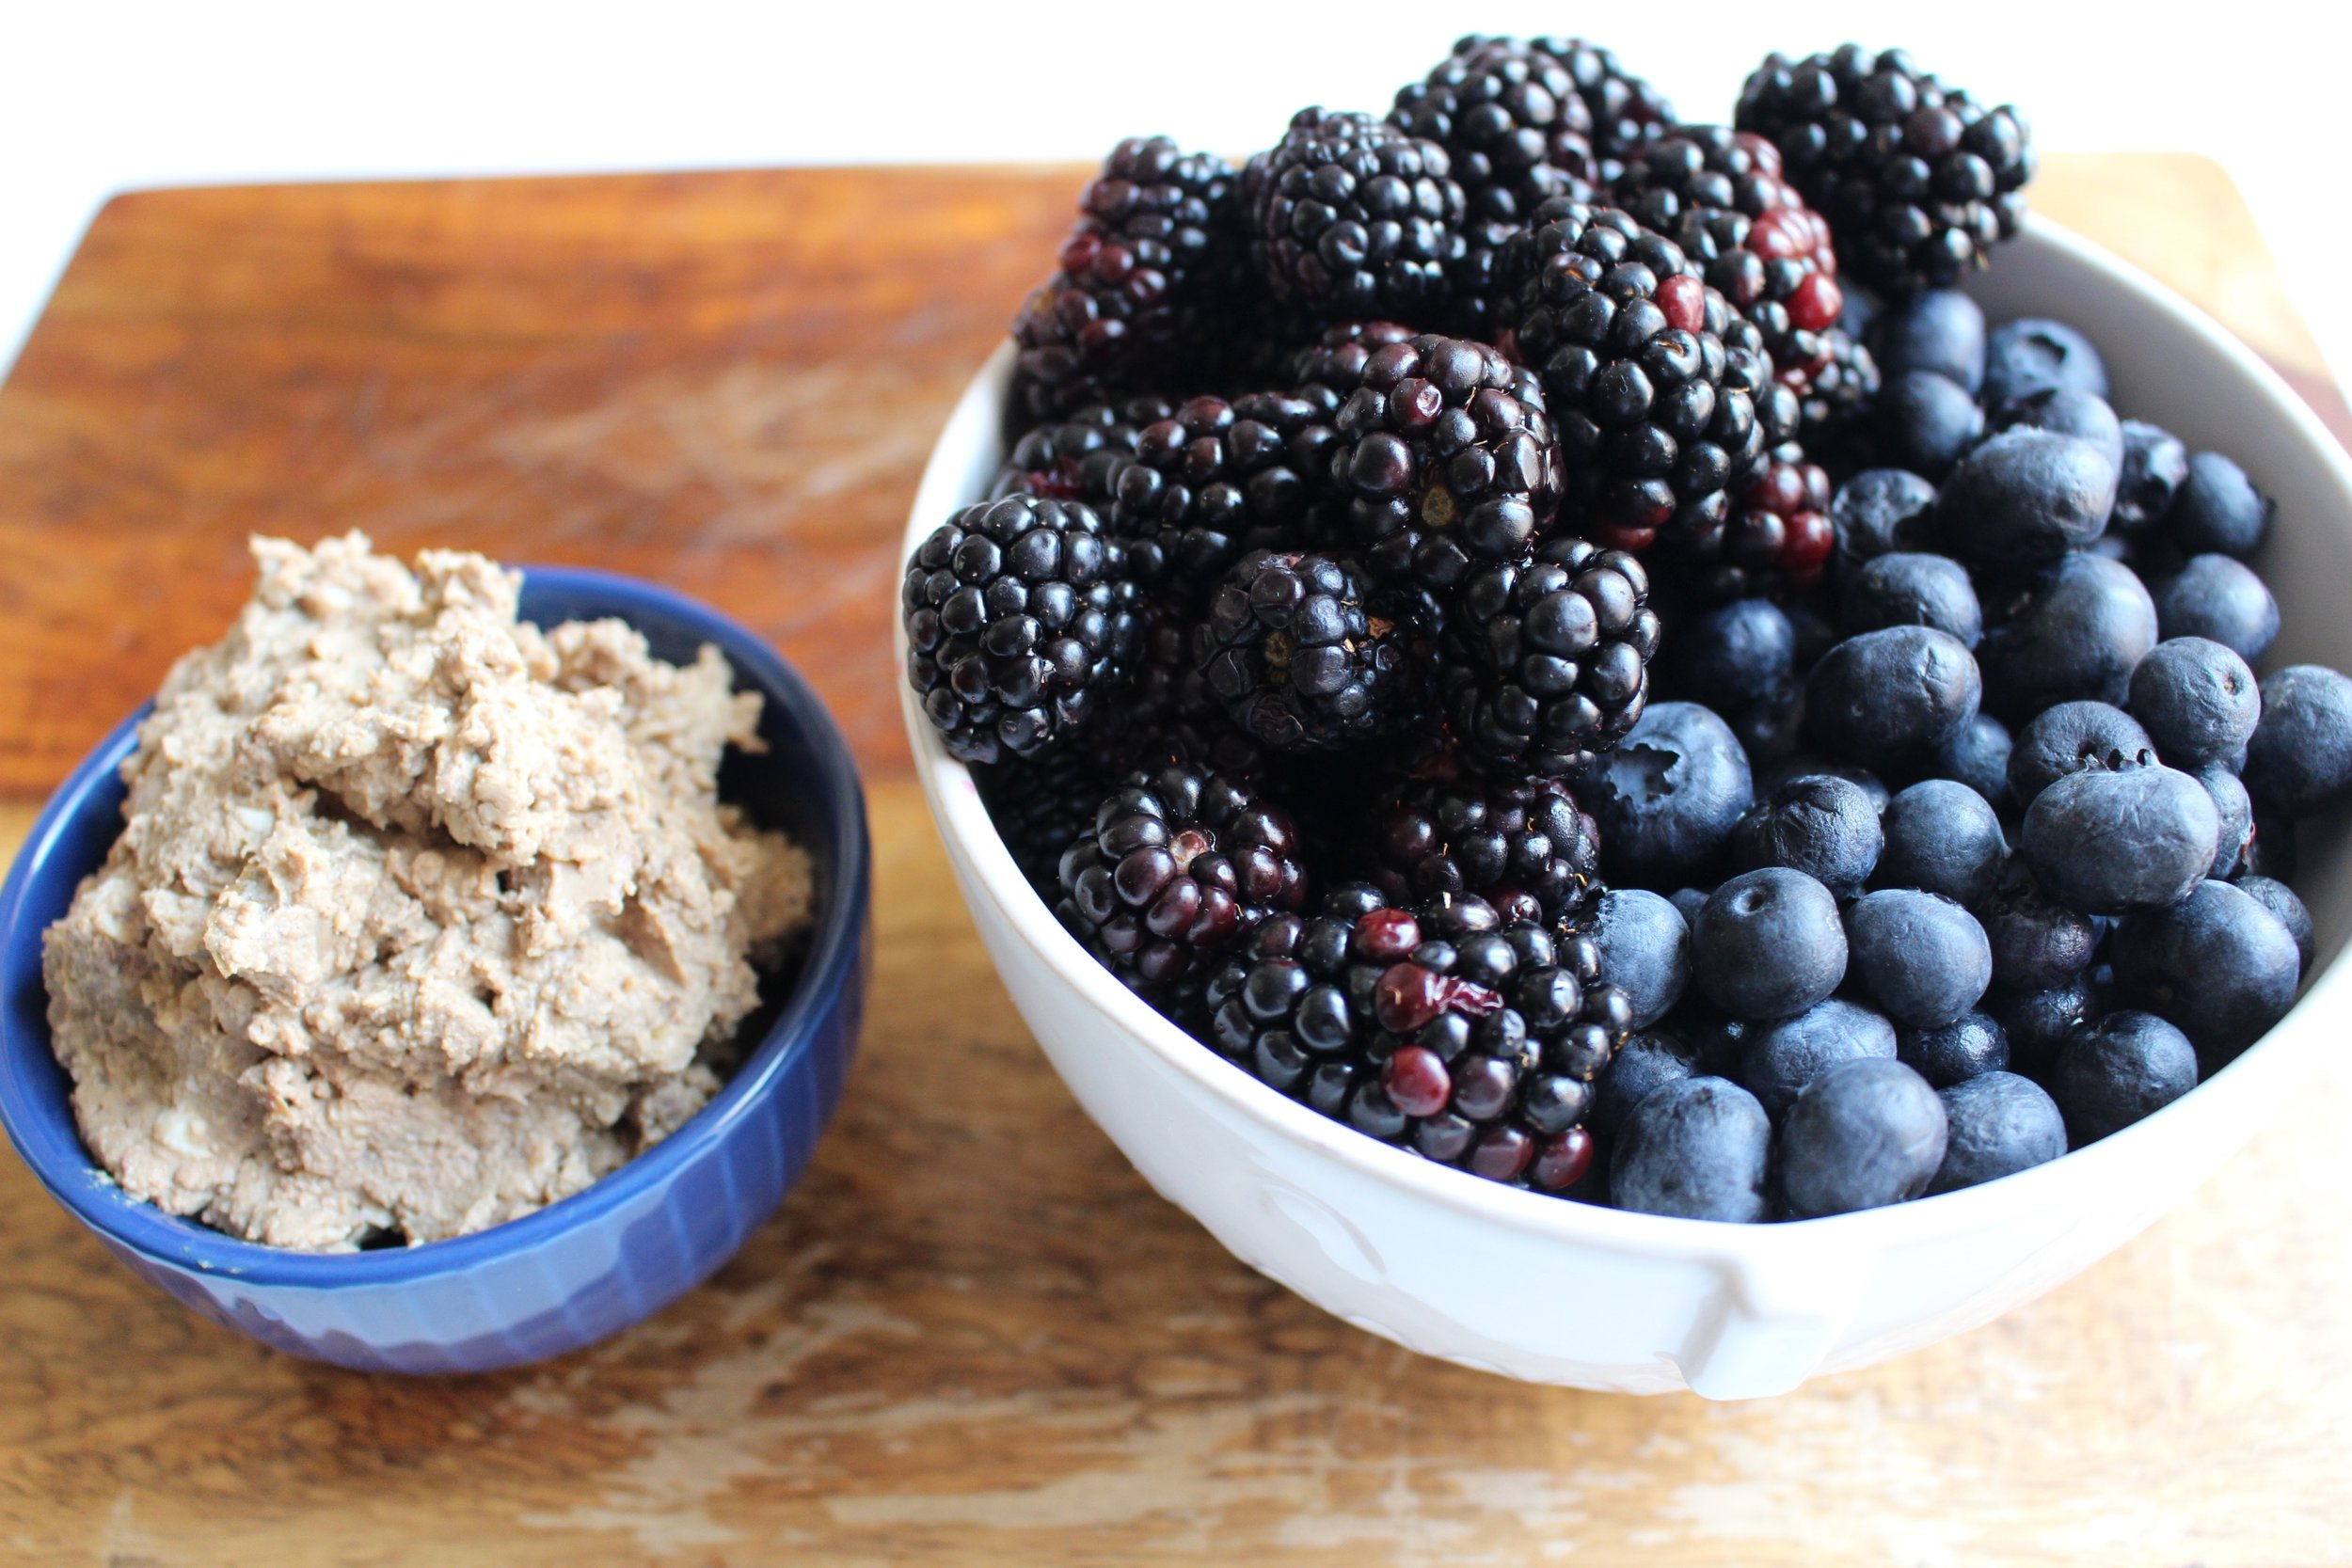
Berry compote
1 pint blueberries
1 pint blackberries
2 Tbsp water
Combine berries and water in a medium sauce pan and bring to a boil. Reduce heat to medium low and simmer until the berries are cooked down, about 15-20 minutes. Let cool slightly. Puree. If your little is opposed to seeds (like mine), pass through a mesh strainer.
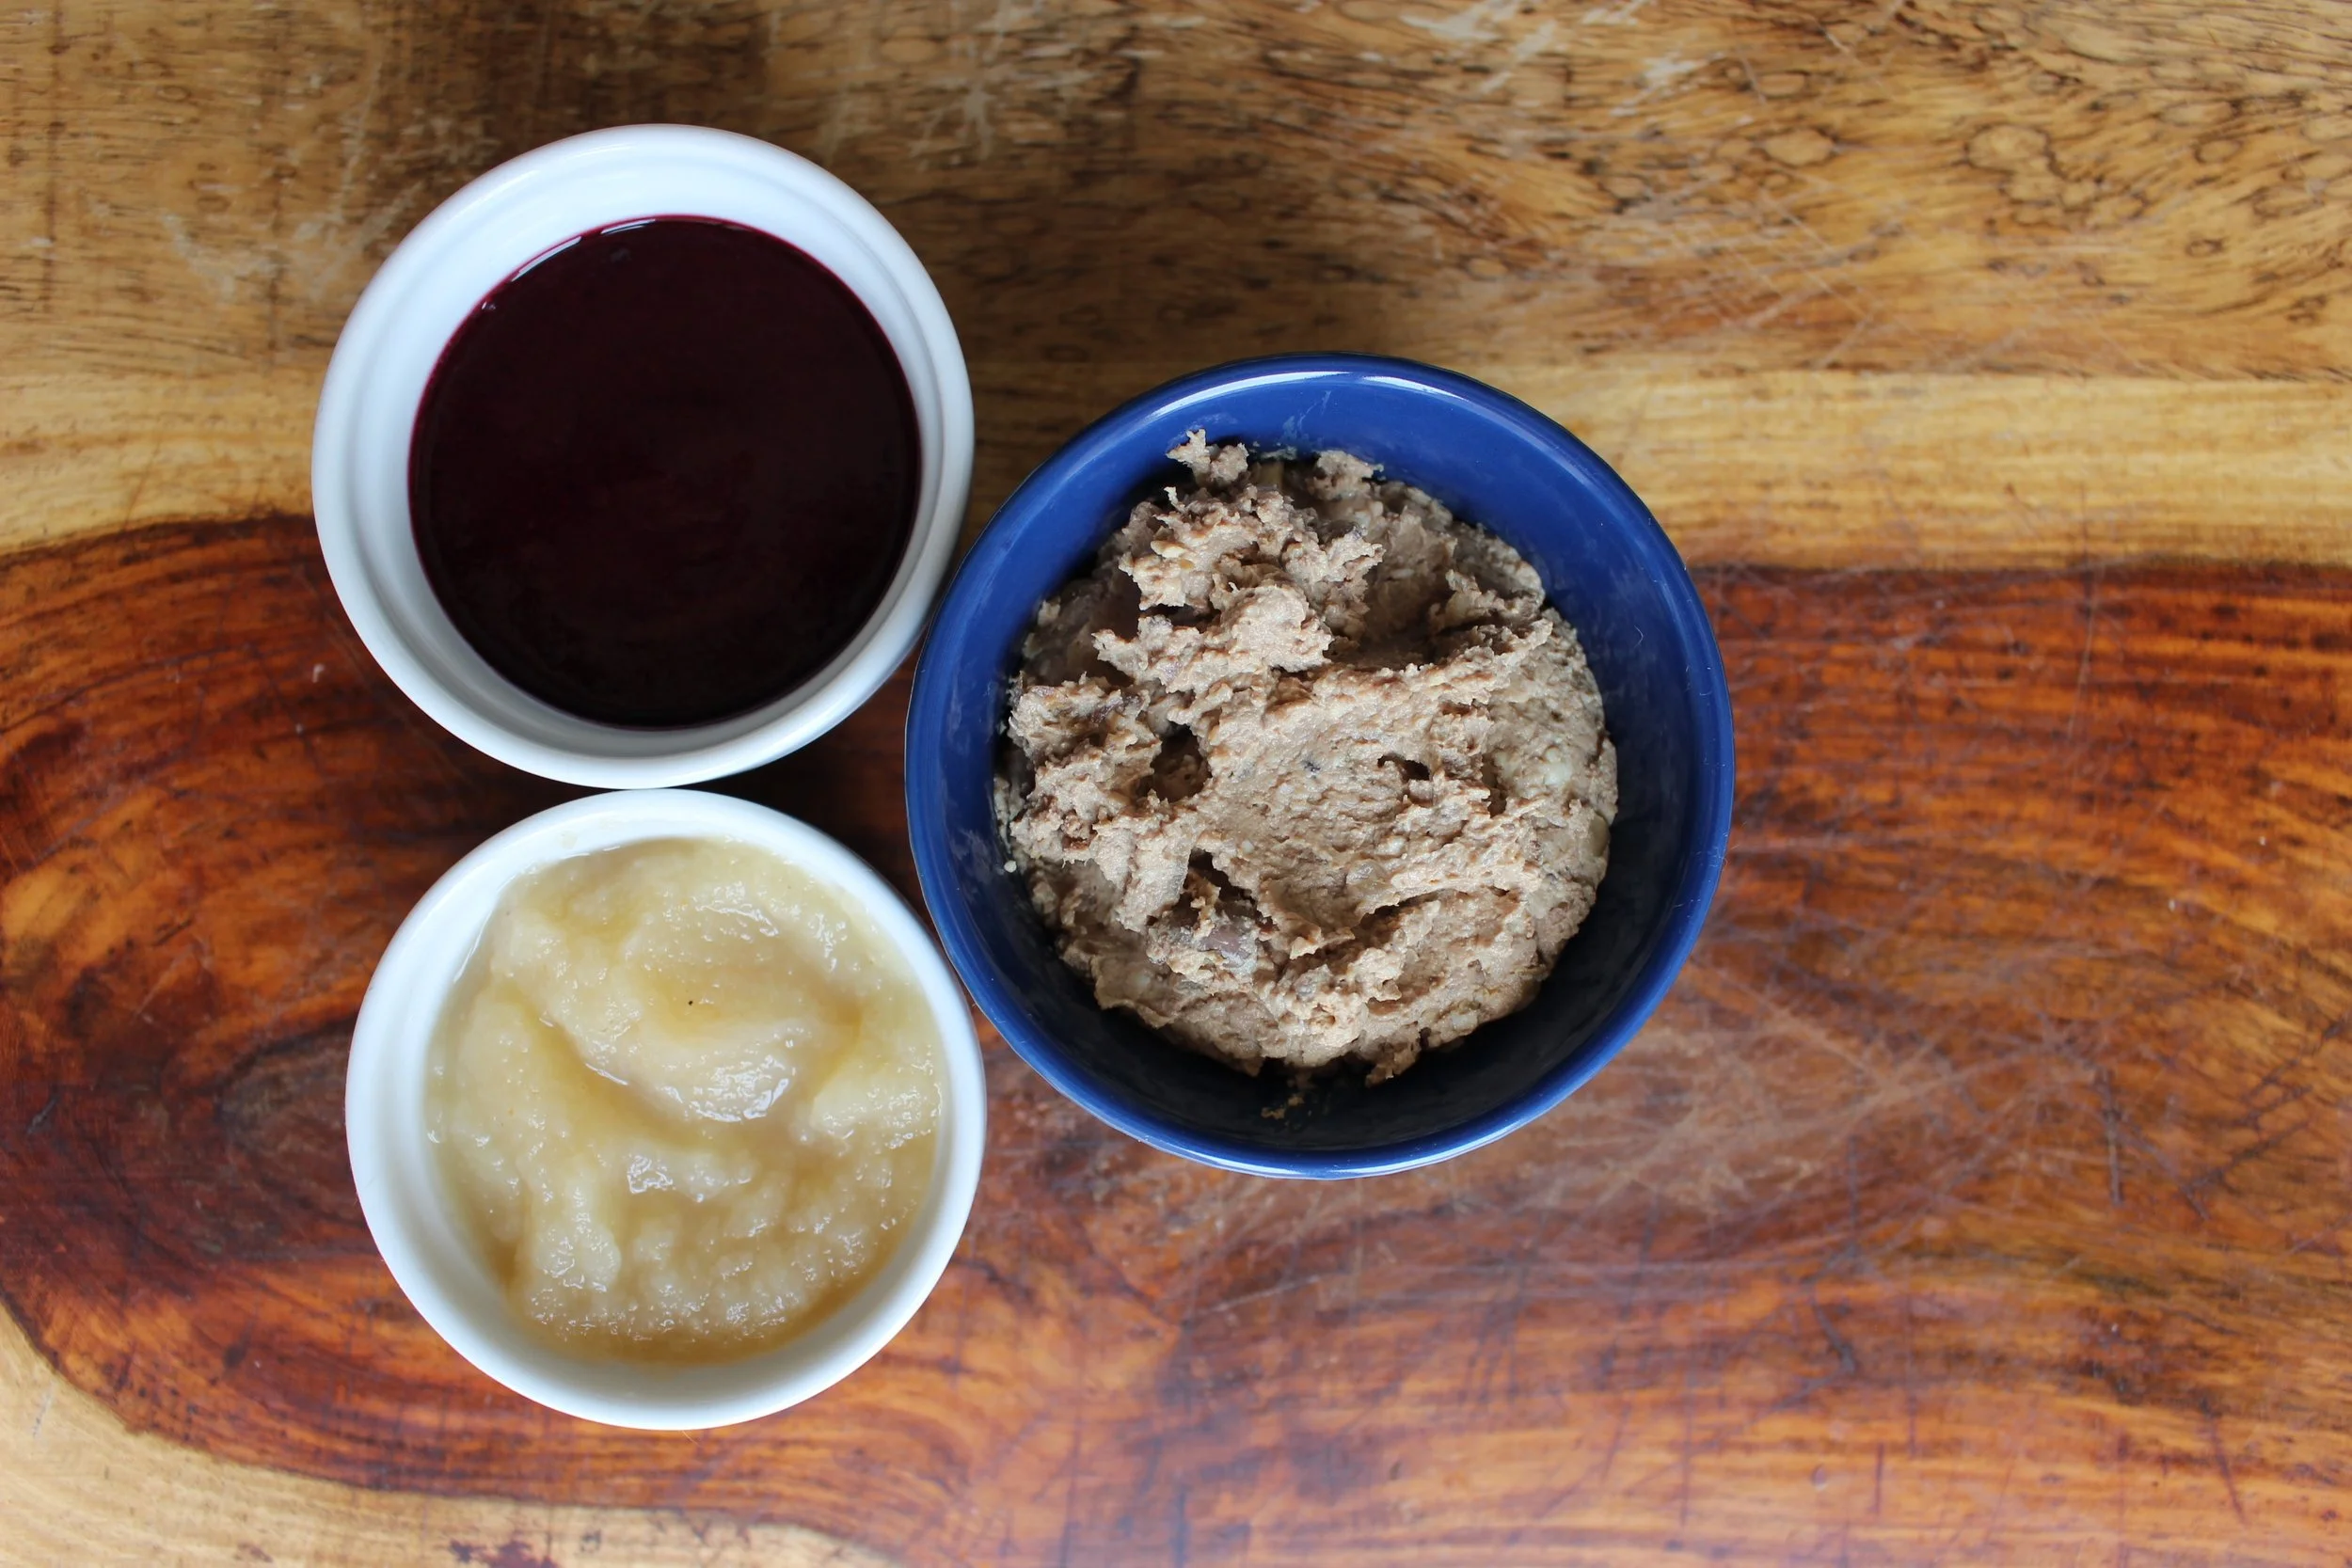
Combo
2 Tbsp Chopped chicken liver
2 Tbsp Berry compote
1 Tbsp Applesauce
Candy sushi!
Candy sushi | Me & The Moose. Rice krispy treats, candy, and fruit rollups are all you need for a silly gluten- and egg-free treat. #meandthemoose #candysushi #sweetsushi #ricekrispytreats
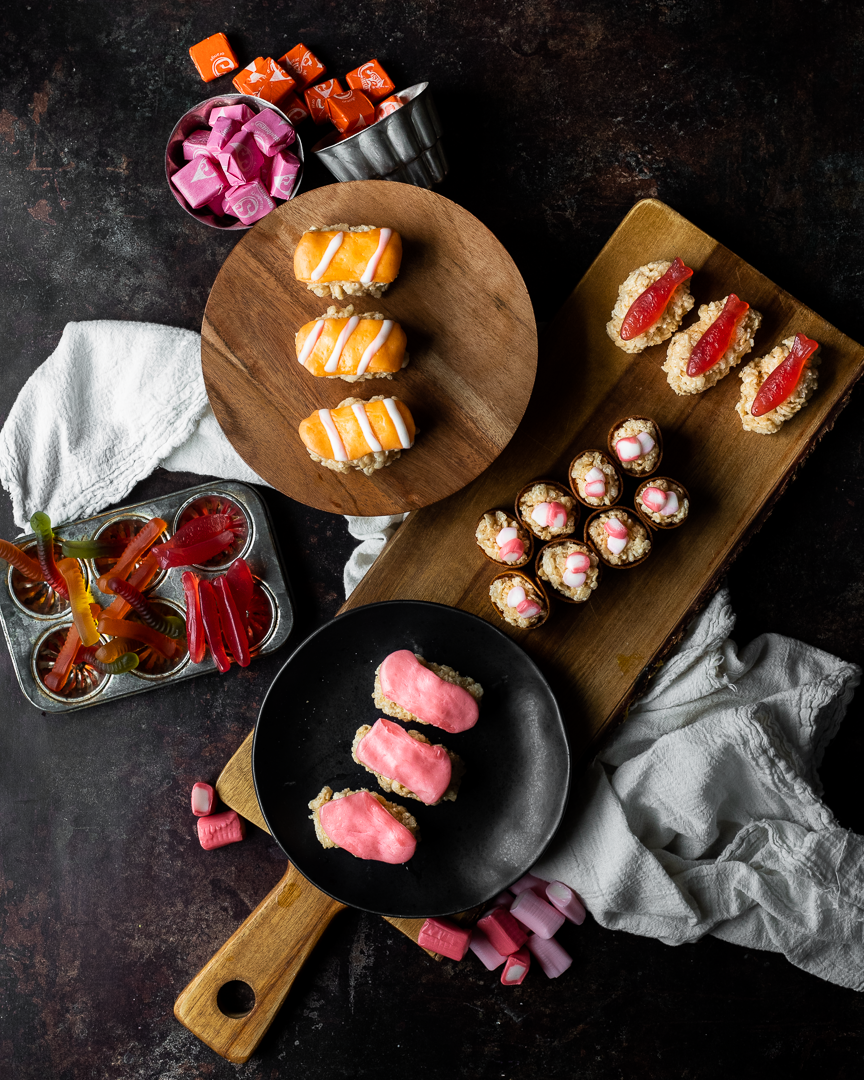
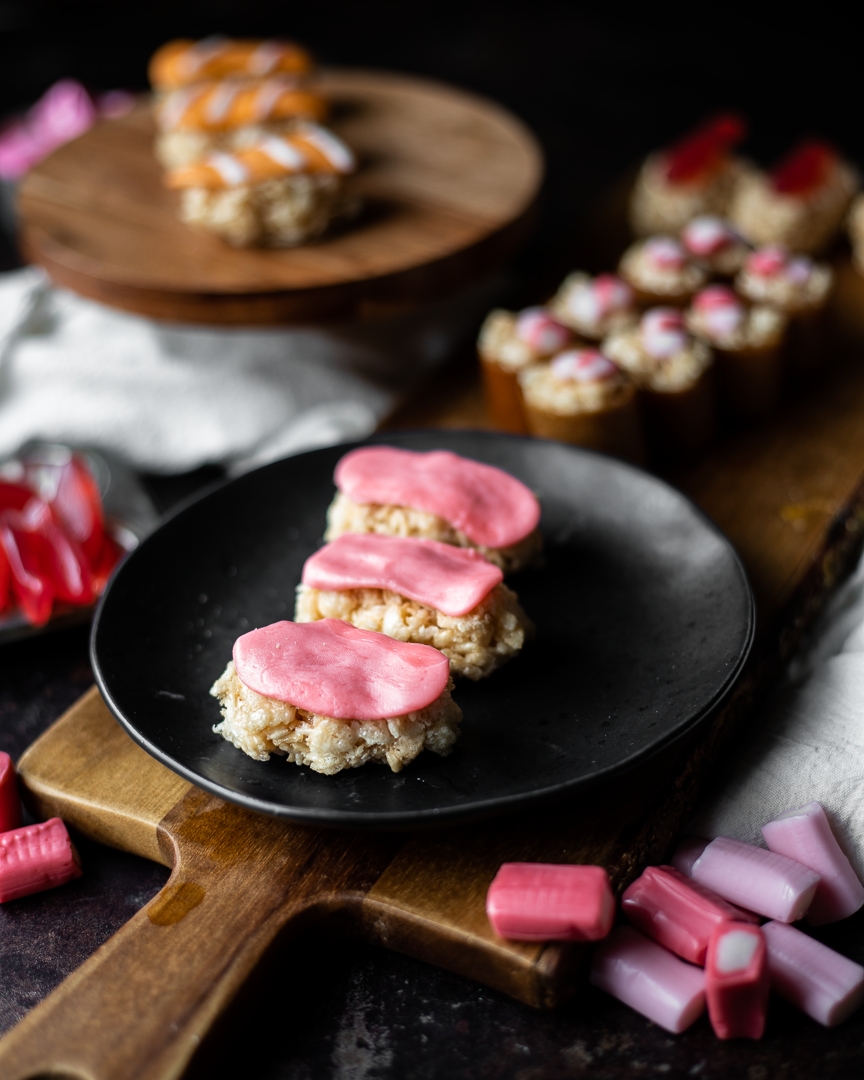
Whether you make them look “realistic” or just go with a rainbow of candy and ingredients, these Rice Krispy treat “sushi rolls” are easy, tasty, fast, and endlessly customizable.
Take me to the sushi!
Candy sushi | Me & The Moose. Rice krispy treats, candy, and fruit rollups are all you need for a silly gluten- and egg-free treat. #meandthemoose #candysushi #sweetsushi #ricekrispytreats
There is nothing more to these sweets than making a batch of Rice Krispy treats, letting it cool slightly, and topping it with cut up or squished up candy.
Not only are these fun for parties or special occasions, they’re also a good project for rainy days with kids of basically any age. With a lot of direction, but 2-year-old was able to help and my 7-year-old could almost make these himself.
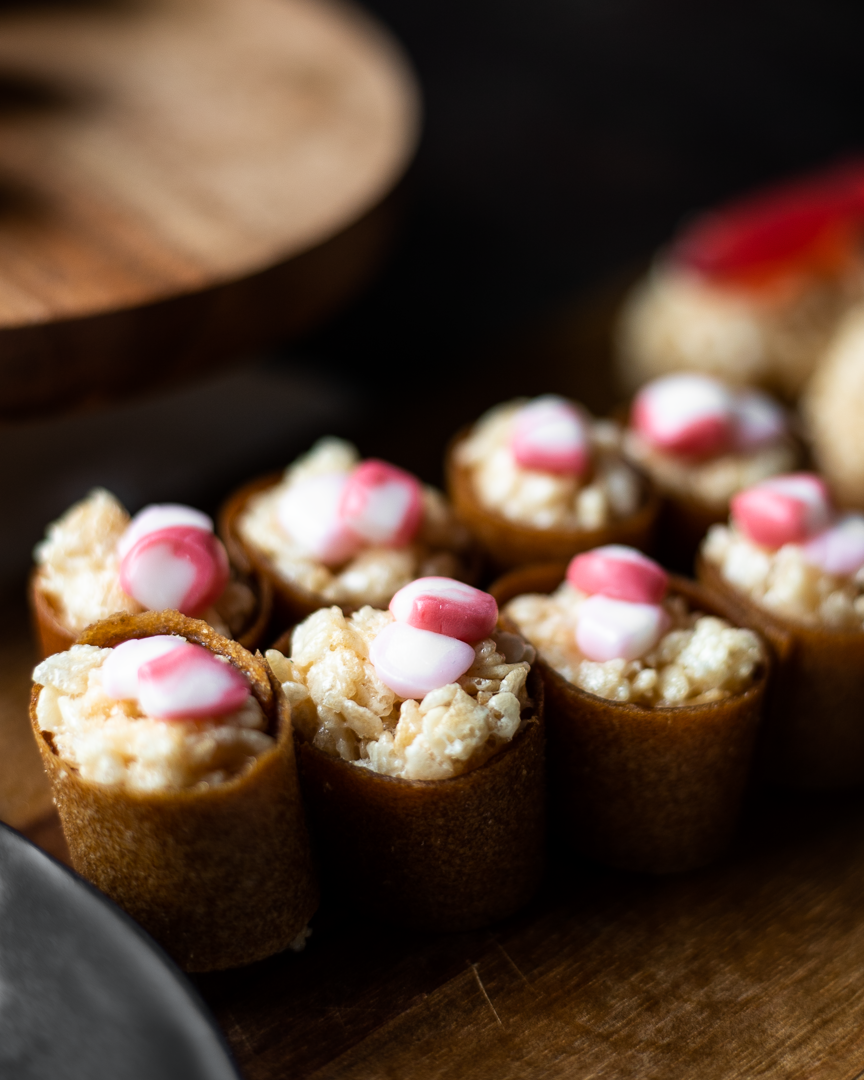
Candy sushi | Me & The Moose. Rice krispy treats, candy, and fruit rollups are all you need for a silly gluten- and egg-free treat. #meandthemoose #candysushi #sweetsushi #ricekrispytreats
These also make a really fun egg and gluten-free treat that can help kids with allergies to feel included. You can also swap in vegan butter to make these dairy-free. Obviously, check your candy and marshmallow labels if allergies are part of the equation.
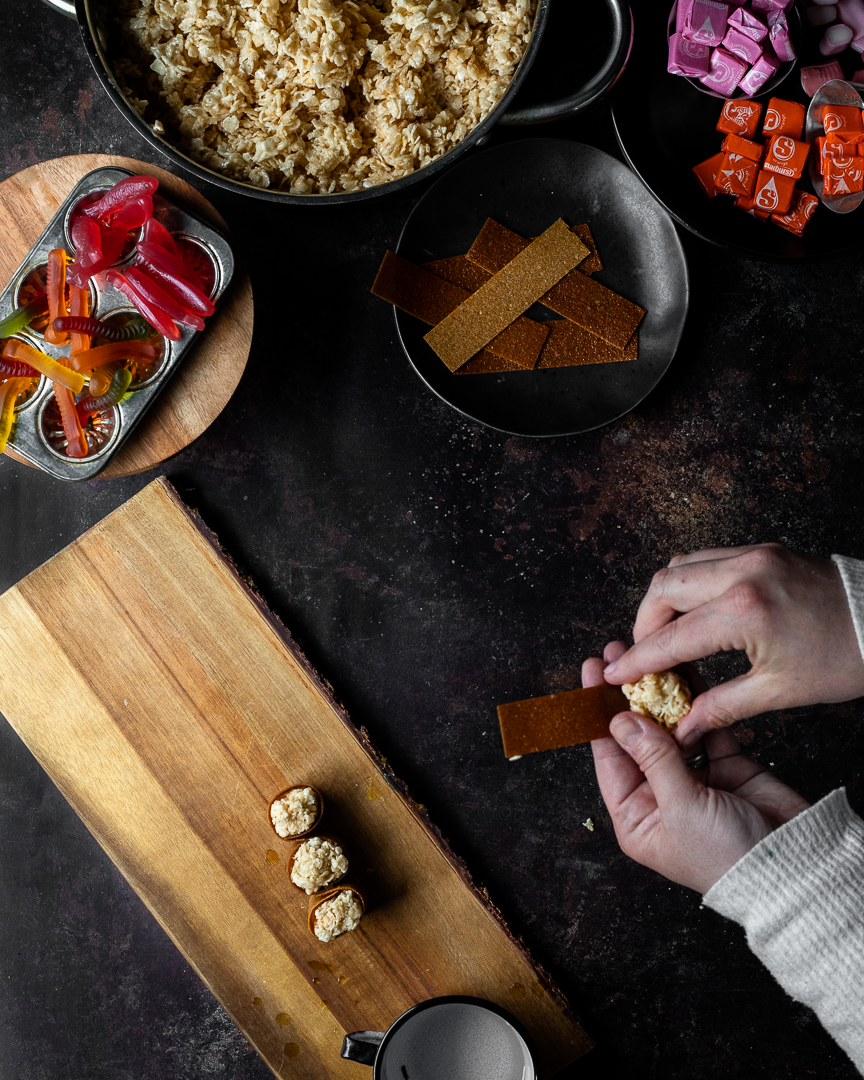
Candy sushi | Me & The Moose. Rice krispy treats, candy, and fruit rollups are all you need for a silly gluten- and egg-free treat. #meandthemoose #candysushi #sweetsushi #ricekrispytreats

Candy sushi | Me & The Moose. Rice krispy treats, candy, and fruit rollups are all you need for a silly gluten- and egg-free treat. #meandthemoose #candysushi #sweetsushi #ricekrispytreats
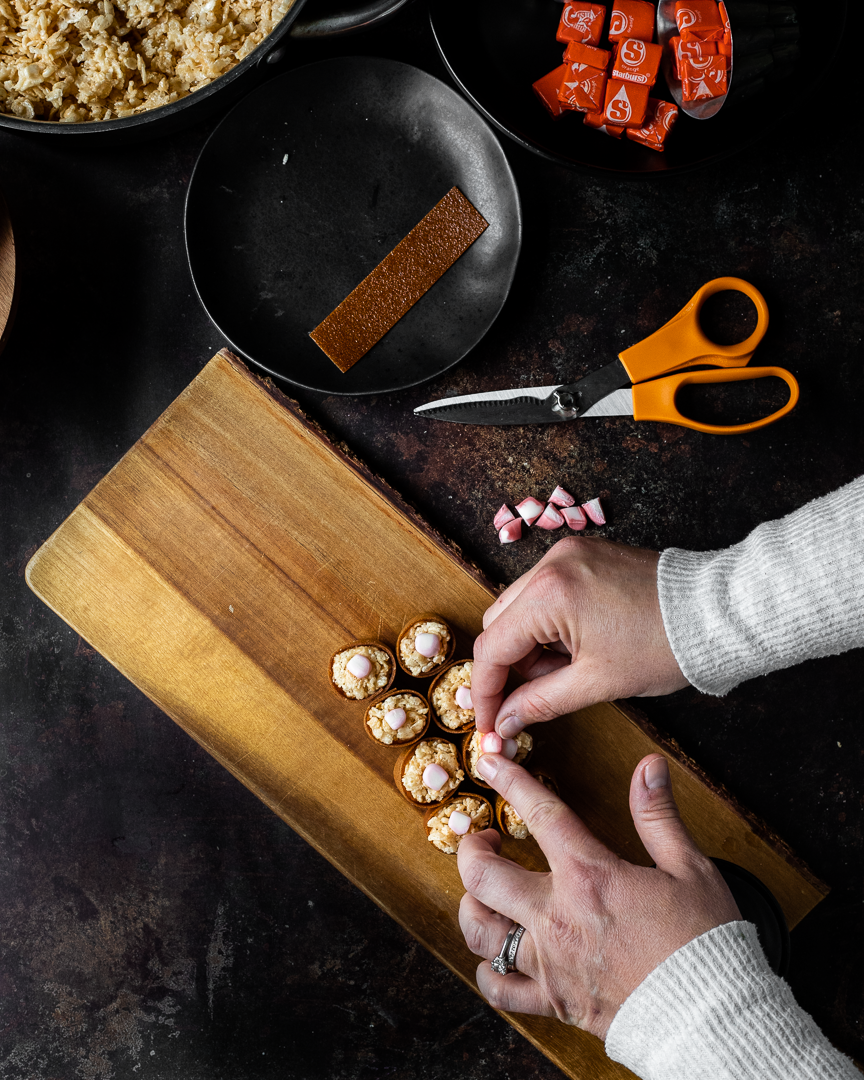
Candy sushi | Me & The Moose. Rice krispy treats, candy, and fruit rollups are all you need for a silly gluten- and egg-free treat. #meandthemoose #candysushi #sweetsushi #ricekrispytreats
You'll need:
3 Tbsp butter
6 cups Rice Krispies
10 oz large marshmallows or 5 cups mini marshmallows
Melt the butter in a large saucepan. Add the marshmallows and melt, stirring frequently. When the marshmallows have mostly lost their shape, add Rice Krispies and stir to coat.
Let cool until the mixture can be handled.
Fruit rollups
Large Swedish fish
Hi-Chew candies, Mike n’ Ikes, gummy bears, gummy worms or any other candy you can cut up into tiny pieces
Starburst
Orange sprinkles (either sanding sugar or sugar pearls, but not jimmies)
Tools:
Water
Sharp knife
Pizza cutter
To assemble:
For the rolls: Cut up some Hi-Chews or Mike ‘n Ikes into small bits. Cut the fruit rollup into 1-inch strips. With wet hands, roll a small handful of the Rice Krispy mixture into a ball. Wrap the fruit rollup strips around the outside and squish the top and bottom of the bottom of the circle down a bit. Take a few pieces of the cut up candies and squish them into the Rice Krispies at the top of the roll.
For the pieces: Unroll a fruit roll and cut into 1/2 inch strips with the pizza cutter. With wet hands, roll a small handful cereal mixture into a ball and squish into more of a rectangle. Top with a Swedish Fish and wrap a strip of fruit roll around the whole Swedish fish/cereal combo. Secure the ends of the fruit roll strip with a few drops of water.
For the roe pieces (not pictured): Unroll a fruit roll and cut into 1-inch strips. With wet hands, roll a small handful cereal mixture into a ball and squish into more of a rectangle. Wrap a strip of fruit roll around the outside of the cereal mixture and secure the ends of the strip with a few drips of water. Let dry for a few minutes. Pick up the entire piece and dip the top into 2-3 Tbsp of orange sanding sugar OR top with orange sugar pearls.
For more candy sushi inspiration: Super professional candy sushi / Candy sushi birthday party / Molded fish candy sushi