Zucchini with sage and caramelized onions
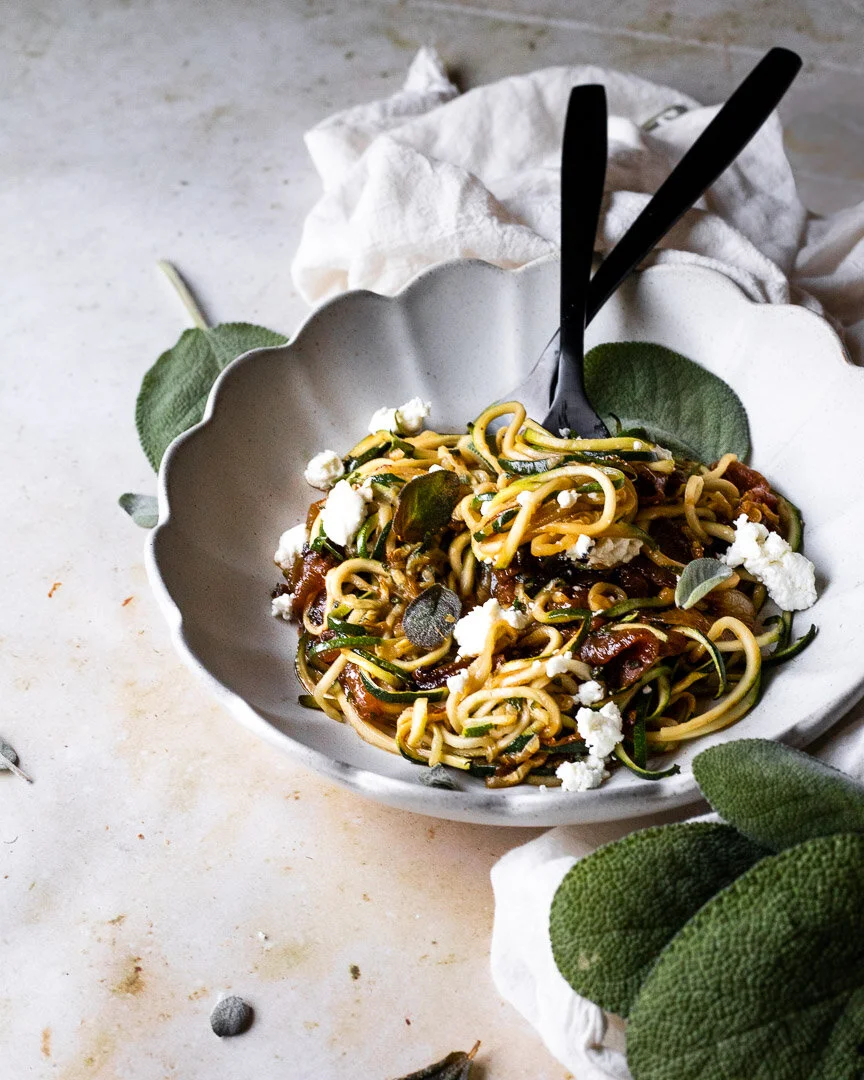
This simple dish celebrates summer produce and herbs like zucchini and sage. #caramelizedonions #sage #simplerecipes #dinner #lunch #vegetarian
This 5-ingredient dish (I’m not counting water, salt, and pepper) is super simple, but tastes surprisingly complex and can be customized in endless ways to suit your family’s tastes.
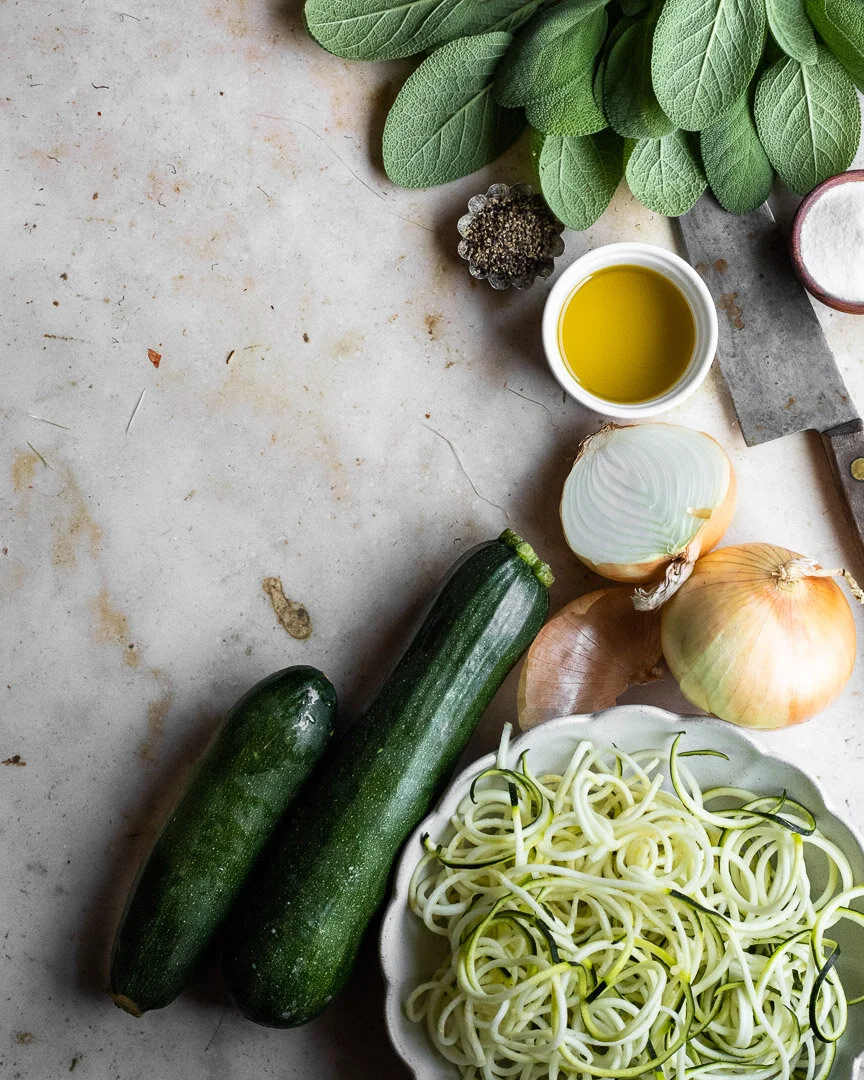
This simple dish celebrates summer produce and herbs like zucchini and sage. #caramelizedonions #sage #simplerecipes #dinner #lunch #vegetarian
So, I love zucchini. I actually kind of grieved when my glorious early zucchini plant withered and died thanks to a hungry squash vine borer this summer. But, truth be told, zucchini is kind of a zero in the flavor department. One of its best qualities is that it takes on the personality of whatever it’s paired with, right?
Take zoodles, for example. You would think the titular veg would be the star of the show, but those fake noodles are nothing without a great sauce!
Anyway, THIS zucchini dish has caramelized onions and plenty of salt for flavor, sage for herbiness, and goat cheese to give everything a creamy, saucy vibe. The zucchini is really there for body and to provide a base for the other flavors and it totally does the job!
This simple dish celebrates summer produce and herbs like zucchini and sage. #caramelizedonions #sage #simplerecipes #dinner #lunch #vegetarian

This simple dish celebrates summer produce and herbs like zucchini and sage. #caramelizedonions #sage #simplerecipes #dinner #lunch #vegetarian
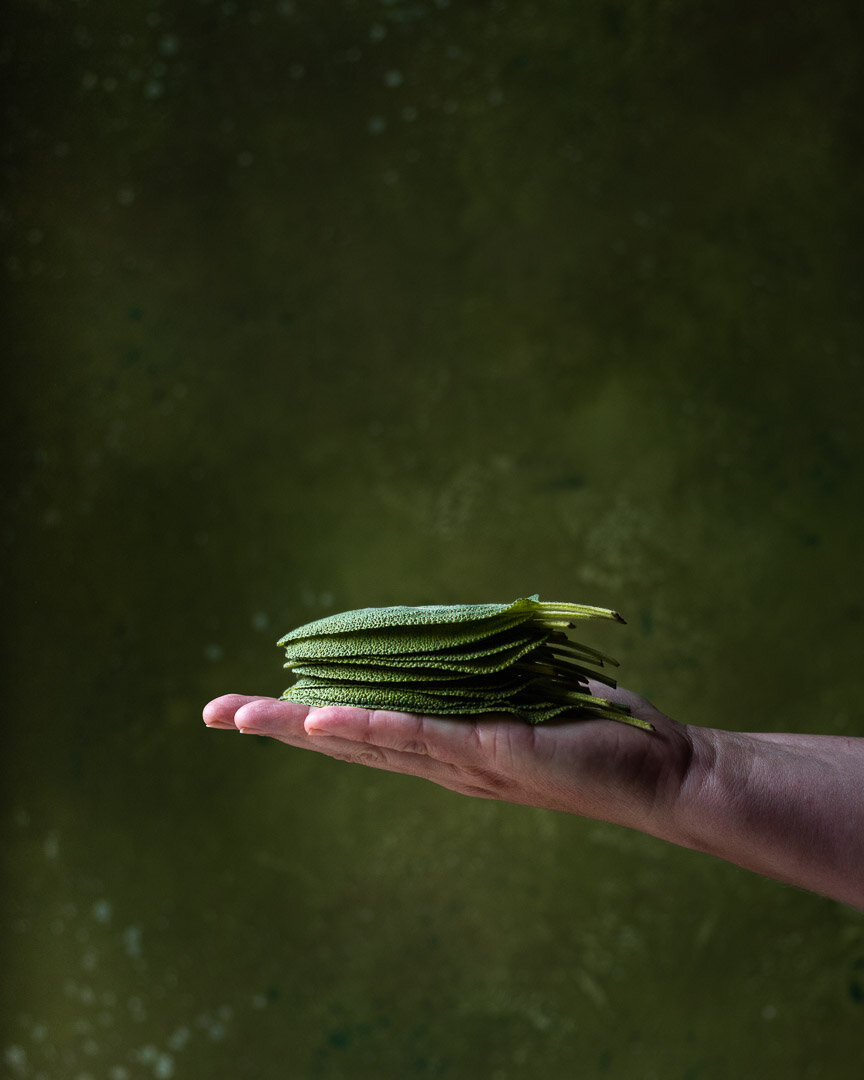
But can we talk about sage for a second? Where our zucchini flopped, our sage flourished and we ended up with the most gigantic and brilliant green leaves. But sage feels so autumnal that I struggle to use it in the summer time. And in all fairness, the combo of caramelized onions, goat cheese, and sage does have an autumn vibe. But when paired with the summery zucchini, you can totally eat this in July without feeling like you’re trying to speed up time.
A couple of notes:
I spiralized the zucchini, but when cooking the zoodles, they produce a lot of water. If you want something a little dryer or just don’t have/don’t want a spiralizer, just chop the zucchini into 1/2 inch cubes. They’ll be less wet, but no less delicious.
We added white fish to this dish the first time we made it and it was my favorite iteration by far. You can absolutely add a can of beans, shredded chicken, or any other protein as well. But anything that requires more than a few minutes of cooking time (the white fish was thin and cooked in about 6 minutes) should be pre-cooked and added along with the zucchini to heat up during the veg’s short cooking time.
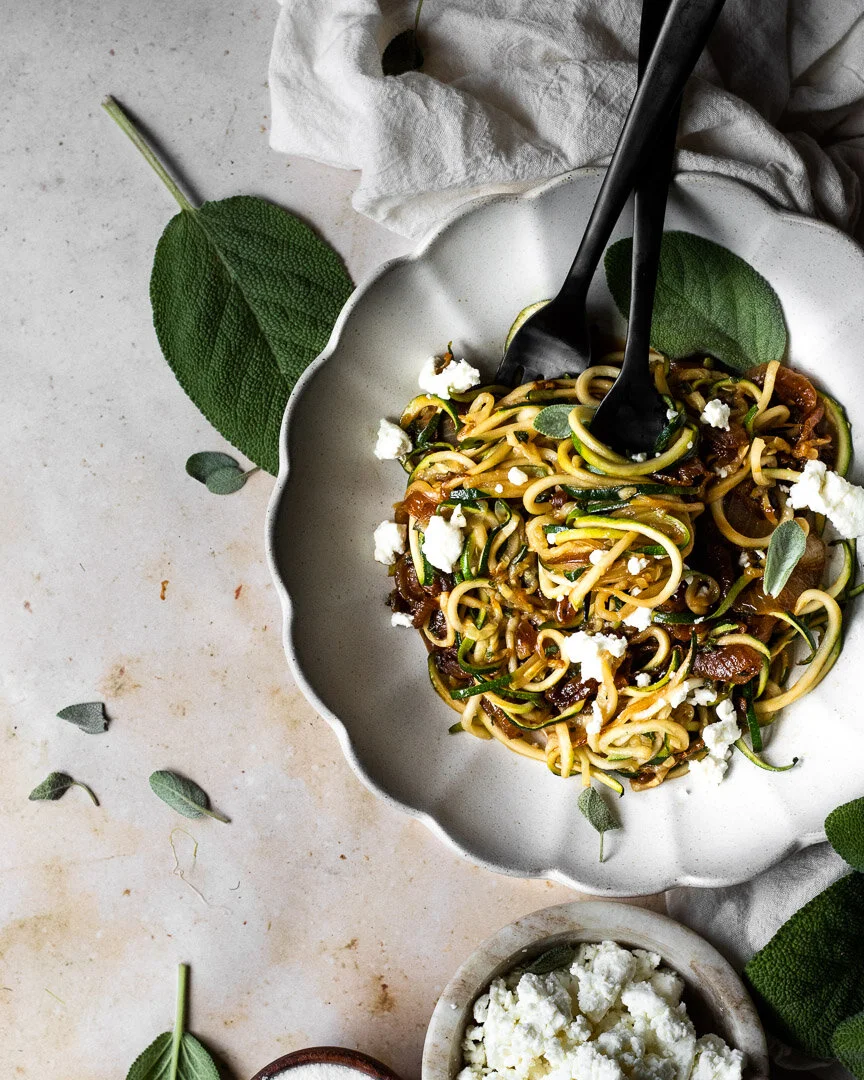
This simple dish celebrates summer produce and herbs like zucchini and sage. #caramelizedonions #sage #simplerecipes #dinner #lunch #vegetarian
Zucchini with caramelized onions and sage
Time: 30 minutes, all active
Yield: 2 large adult servings, 2 kid servings or more if you add protein
2 large onions, thinly sliced
2 Tbsp olive oil
2 -3 cups water
1 tsp salt, divided, or to taste
5-10 x-large sage leaves (about 1½ to 3 Tbsp chopped fresh sage), to taste
2 large zucchini, chopped or spiralized
Pepper, to taste
½ cup soft goat cheese, or to taste
Heat the olive oil in a large pan with a tight fitting lid until a drop of water sizzles.
Turn the flame to medium* and add the onions. Stir frequently until some browning begins on the onions or in the pan. Once this happens, add 2-3 Tbsp of water (or, enough to loosen those browned bits from the bottom of the pan), stir and scrape to loosen the browned bits, cover with the lid, and let cook for 2 minutes.**
Repeat this process until the onions are soft and have turned a dark brown color.
*If the onions or the pan are browning too fast, turn down the flame.
**If there is too much water in the pan when you take off the lid after letting the onions cook for 2 minutes, turn up the flame and let the onions cook with the cover off until there’s more browning on the pan that can be deglazed.
Once the onions are browned to your liking (I usually stop after about 20 minutes), add ½ tsp salt and pepper to taste.
Add the sage and stir well.
(If adding protein to the pan, add it now and cook to your preferred doneness.)
Add the zucchini and stir into the onions and sage. Cook for 2-3 minutes, or until the zucchini is slightly wilted. I like the zucchini to have a bit of crunch, so if you like it cooked a bit more, add a few more minutes here.
Add the rest of the salt and pepper to taste.
Top with the goat cheese and serve.
Cauliflower Parmesan
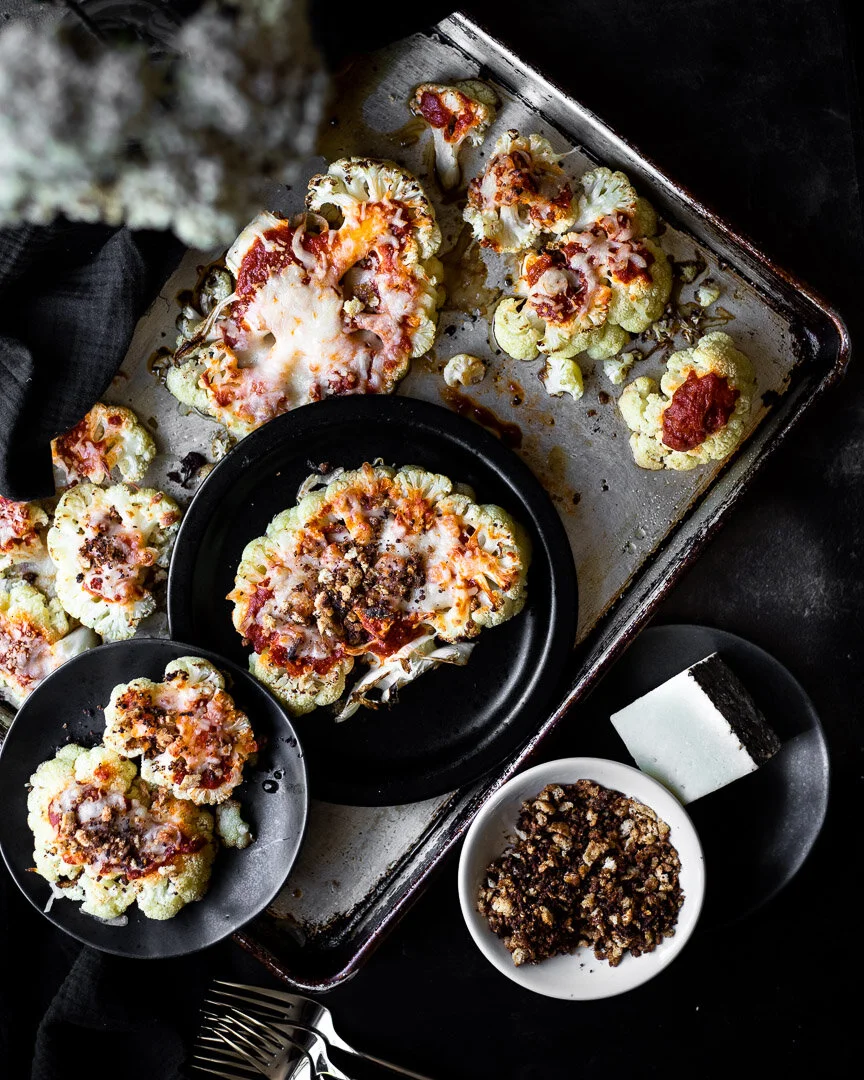
Swap the meat and heavy breading with cauliflower and a crunchy, salty panko topping, and you have a hearty, satisfying pescatarian dish that’s quick, easy, and pleases everyone in the family. #meandthemoose #cauliflowerparmesan #lightercomfortfood #comfortfood #sheetpandinner #dinnerrecipes
This recipe replaces meat with cauliflower steaks and uses some crispy, briny, magical breadcrumbs to add a crunch that mimics breading without any dredging or frying necessary!

Swap the meat and heavy breading with cauliflower and a crunchy, salty panko topping, and you have a hearty, satisfying pescatarian dish that’s quick, easy, and pleases everyone in the family. #meandthemoose #cauliflowerparmesan #lightercomfortfood #comfortfood #sheetpandinner #dinnerrecipes
I put on real clothes for the first time post-pandemic and postpartum for a wedding last weekend and it felt…strange. Like, I’ve completely lost track of the parameters of my body. I ordered a couple of dresses that were all either wildly too big or wildly too small. Have clothes changed a lot in the past 23 months? Or do I need to add body dysmorpia to the list of fun things I have to deal with now???
Anyway, I need to get a grip on a lot of things. Firstly, clothes. Secondly, time. The pandemic made time seem both short and interminable. But one nice benefit to having my husband working from home for the past year was that I could hand him a baby monitor while Z napped or leave him with a barely moving infant while he worked so I could handle the 5-year-old. Now that Z is a one-toddler wrecking crew and Ethan will head back to the office soon, I have to account for the whereabouts of two children who are doing activities in the real world again. Ugh.
Well, this cauliflower parmesan sheet pan dinner solves both problems. Well, not SOLVES necessarily, but definitely fits the bill for a fast, light meal that everyone likes.

Swap the meat and heavy breading with cauliflower and a crunchy, salty panko topping, and you have a hearty, satisfying pescatarian dish that’s quick, easy, and pleases everyone in the family. #meandthemoose #cauliflowerparmesan #lightercomfortfood #comfortfood #sheetpandinner #dinnerrecipes

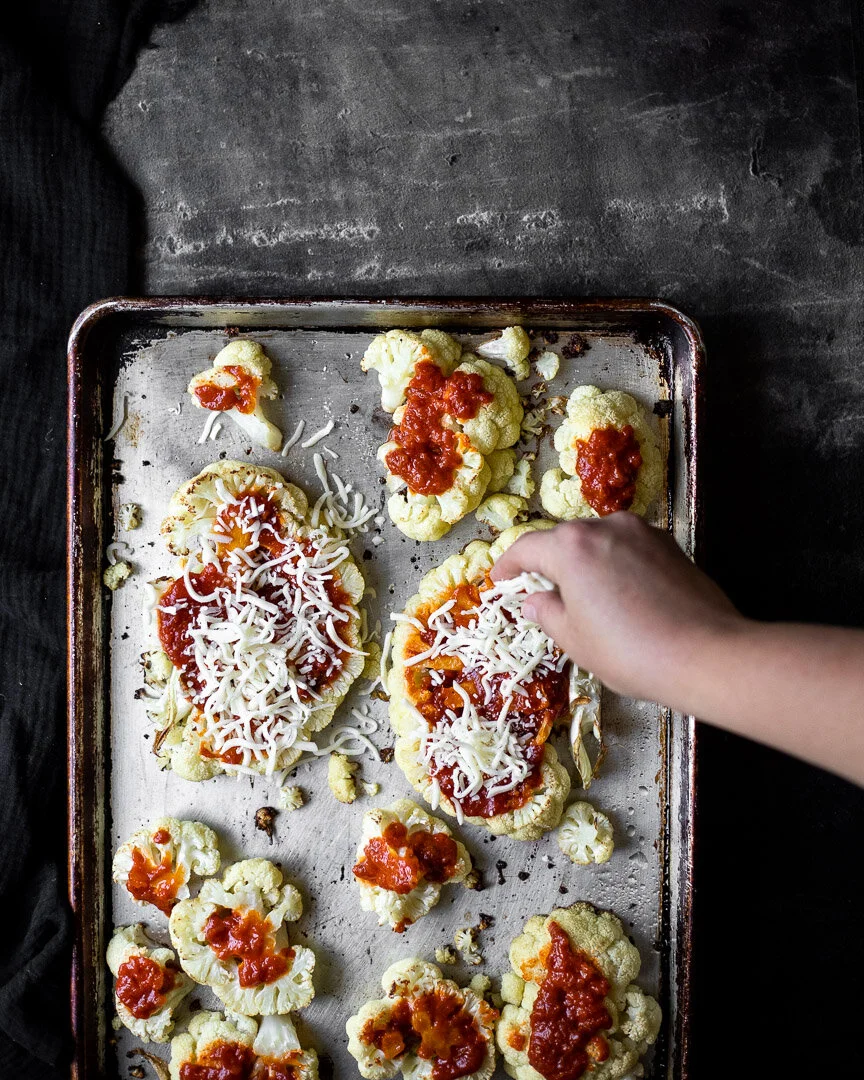
A couple of notes:
This recipe leaves a lot of wiggle room for more sauce, cheese, and breadcrumb topping to suit your tastes.
I use cauliflower here, but you could certainly use meat or any other vegetable you like topped with sauce, mozzarella, parmesan, and magical breadcrumbs.
I find this meal really filling for something sans meat, but my husband always asks for a sausage or some leftovers from another meal to go with it, so use this guy as a side or a main as you see fit.
I barely salt the cauliflower. Usually, it needs a lot of seasoning, but since the breadcrumbs are so salty, I don’t want to overdo it. You can always add, but you can’t subtract.
The cooking time will depending on how thinly you slice the cauliflower. Check it after 10 minutes and stop roasting when the stems are just fork tender.
Swap the meat and heavy breading with cauliflower and a crunchy, salty panko topping, and you have a hearty, satisfying pescatarian dish that’s quick, easy, and pleases everyone in the family. #meandthemoose #cauliflowerparmesan #lightercomfortfood #comfortfood #sheetpandinner #dinnerrecipes
Cauliflower Parmesan
Time: About 30 minutes, all active
Yield: 2-3 mains or 4-5 sides
1 very large or 2 medium heads of cauliflower, stems intact
¼ cup olive oil
Pinch of salt
1½ -2 cup tomato sauce (plus extra for dipping)
1½ cup shredded mozzarella
¼ cup shredded or grated parmesan
1 cup Magical breadcrumbs (recipe below)
Preheat oven to 425.
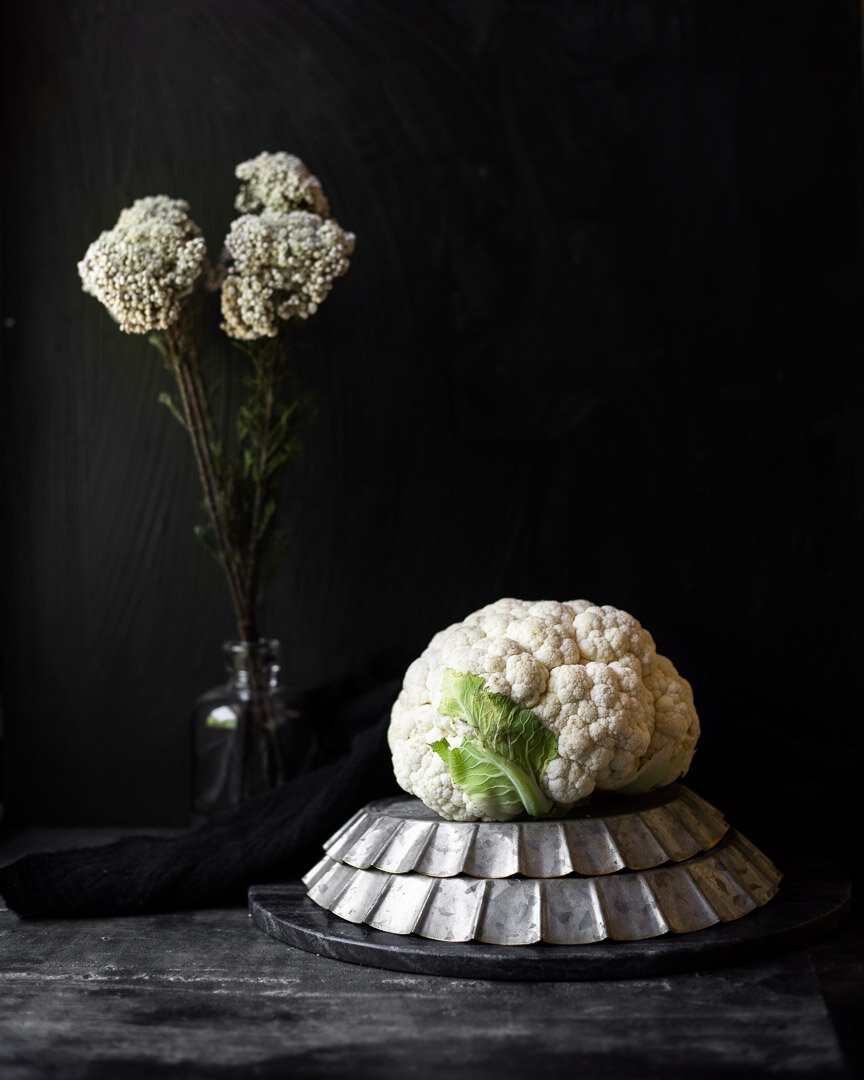
Remove the leaves at the bottom of the cauliflower, but leave the stem intact. Cut the cauliflower into 1-inch thick slices and spread on a baking sheet. Some may break into florets and that’s okay!
Spray or brush on half of the olive oil. Flip the cauliflower and spray or brush the other sides. Season one side of the cauliflower with a pinch of salt.
Roast for 15-20 minutes, or until the stems of the cauliflower are fork tender. Start checking around 10 minutes.
While the cauliflower roasts, make the breadcrumbs (recipe below)
When cauliflower is fork tender, remove it from the oven and turn on the broiler.
While the broiler is heating, top the cauli steaks with 1 cup of the sauce and all of the mozzarella.
Broil until the cheese is golden brown, about 2 minutes.
Top with the parmesan and magical breadcrumbs to taste.
Magical breadcrumbs
2 Tbsp olive oil or butter
2 whole anchovy filets (or 4 split filets depending on how your anchovies are canned)*
1 heaping cup panko
2 large garlic cloves, minced (about 2 Tbsp)
Heat olive oil in a large skillet over a medium-low flame. Add the anchovies and cook, breaking them up with a wooden spoon or spatula until they’re completely dissolved, about 3-4 minutes.
Add the panko and cook, stirring frequently, for 3-4 minutes. If the breadcrumbs start to darken, turn the flame down.
Add the garlic and stir well. Let the mixture cook, untouched for 2-3 minutes or until the bottom of the breadcrumbs start to turn golden. Turn off the flame and mix the breadcrumbs. Let cool for a few minutes in the pan before using.
If saving for later, let the breadcrumbs cool completely and then store, covered loosely, in the fridge for up to 4 days.
Miso parmesan chickpeas and kale
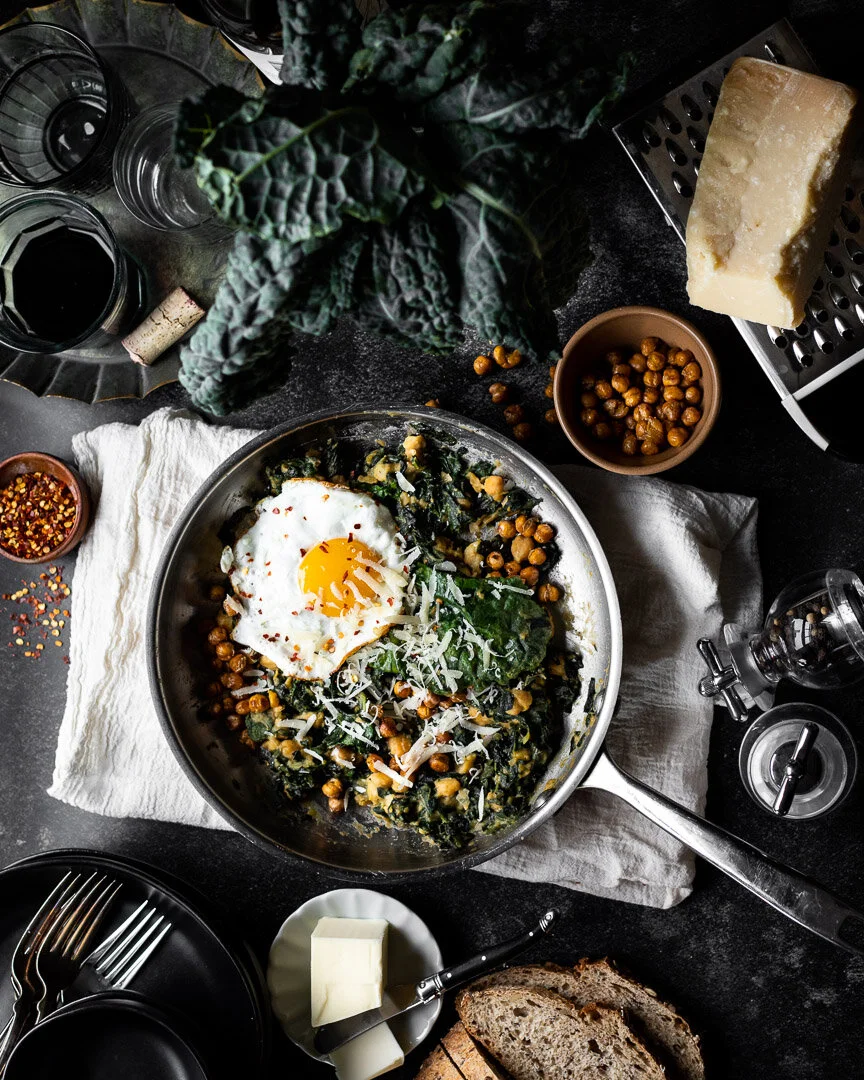
This quick dish is funky, salty, cheesy, and creamy with lots of greens and filling fiber thanks to the beans. #meandthemoose #lunch #dinner #sidedishes #kalerecipes #chickpearecipes #vegetarianrecipes
This quick side dish or light main is an easy way to add some greens to your meal that are both tasty and satisfying.
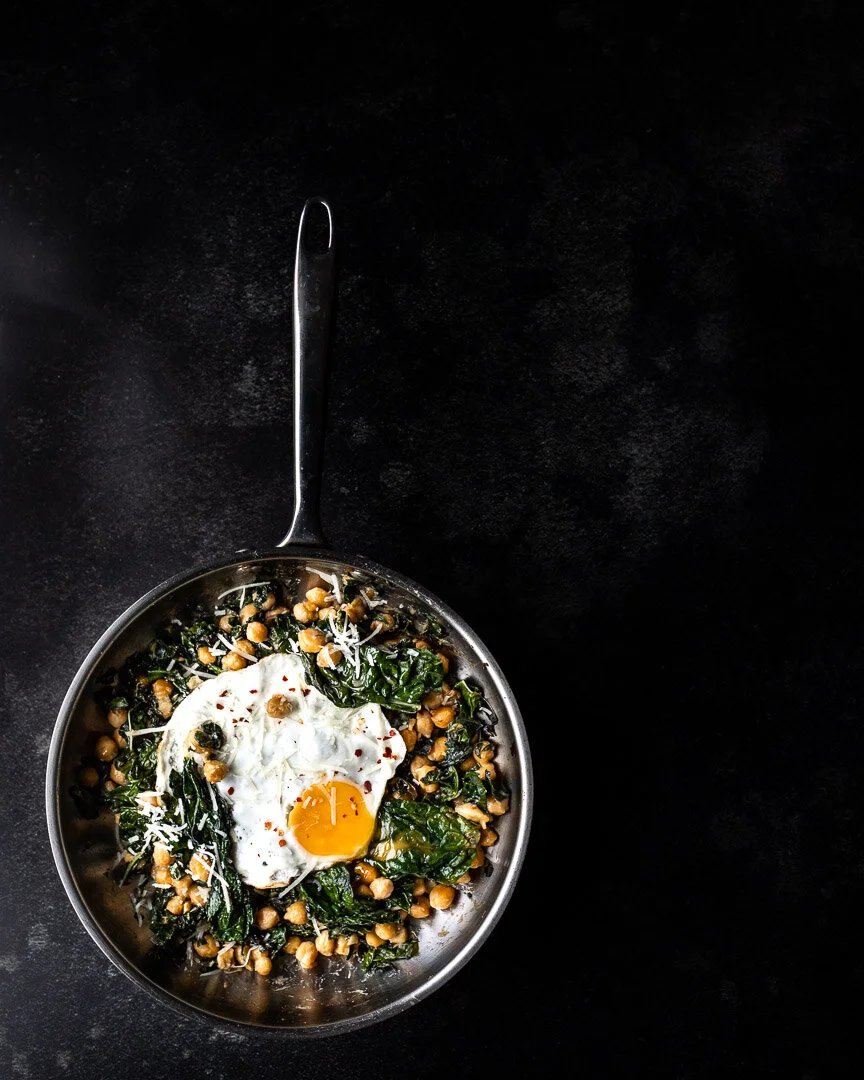
This quick dish is funky, salty, cheesy, and creamy with lots of greens and filling fiber thanks to the beans. #meandthemoose #lunch #dinner #sidedishes #kalerecipes #chickpearecipes #vegetarianrecipesall the difference.
The idea for these greens came from a New York Times Cooking recipe for Miso pasta. That simple recipe combines only butter, miso, and parmesan cheese with pasta, pasta water, and a little nori on top. My husband made this dish on a whim and we were all sort of stunned by its deliciousness— even the 6-year-old!
I mean, what’s not to love?? It’s funky, salty, cheesy, a little creamy, and a lot carby. I replaced the pasta with beans and greens, which is just a light nod to health, but if you wanted to add the pasta back in (or garbanzo pasta to double up on the bean-age!) that would also be delicious.
We typically eat this as a side dish with a simple chicken or fish that’s either grilled or roasted while the kale cooks.
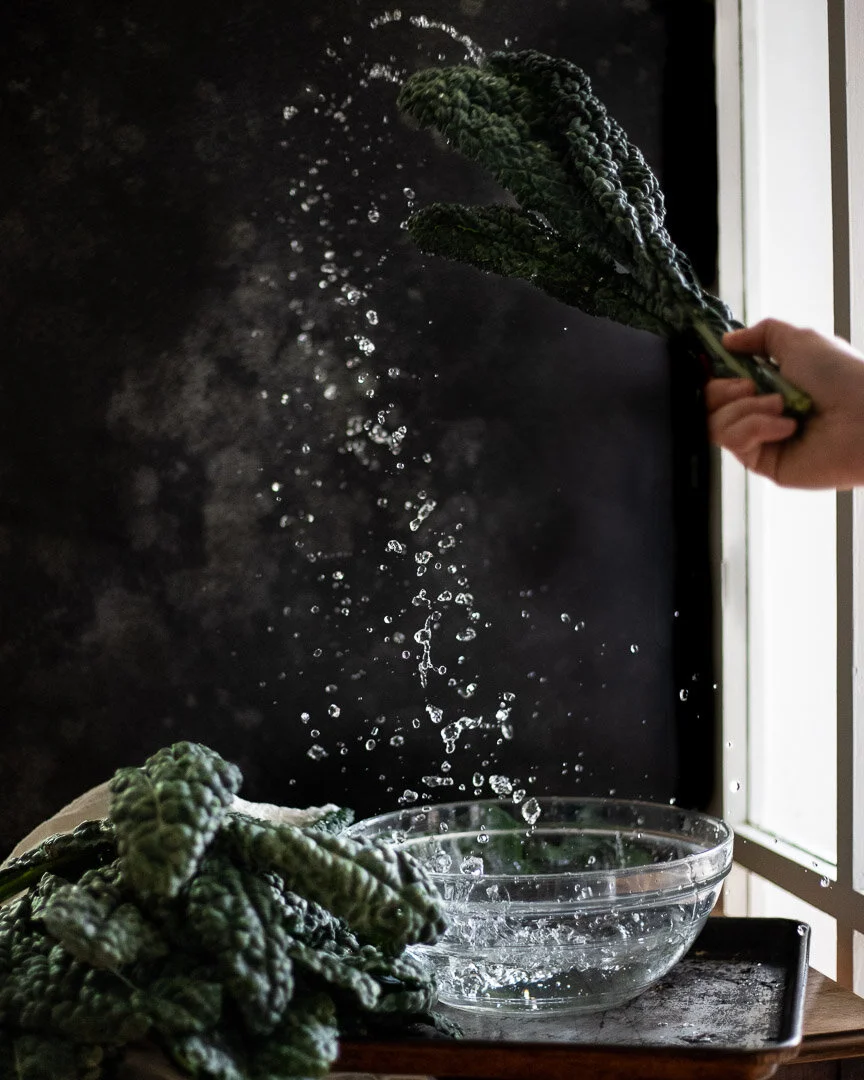
This quick dish is funky, salty, cheesy, and creamy with lots of greens and filling fiber thanks to the beans. #meandthemoose #lunch #dinner #sidedishes #kalerecipes #chickpearecipes #vegetarianrecipes
Just a quick note about this recipe: I used salted butter because I like things pretty salty. Between the butter, miso, and parmesan, there’s a lot of salt in this dish. While I normally advocate salting as you cook to build layers of flavor, I encourage you to hold off on adding any extra sodium until you’ve finished the dish.
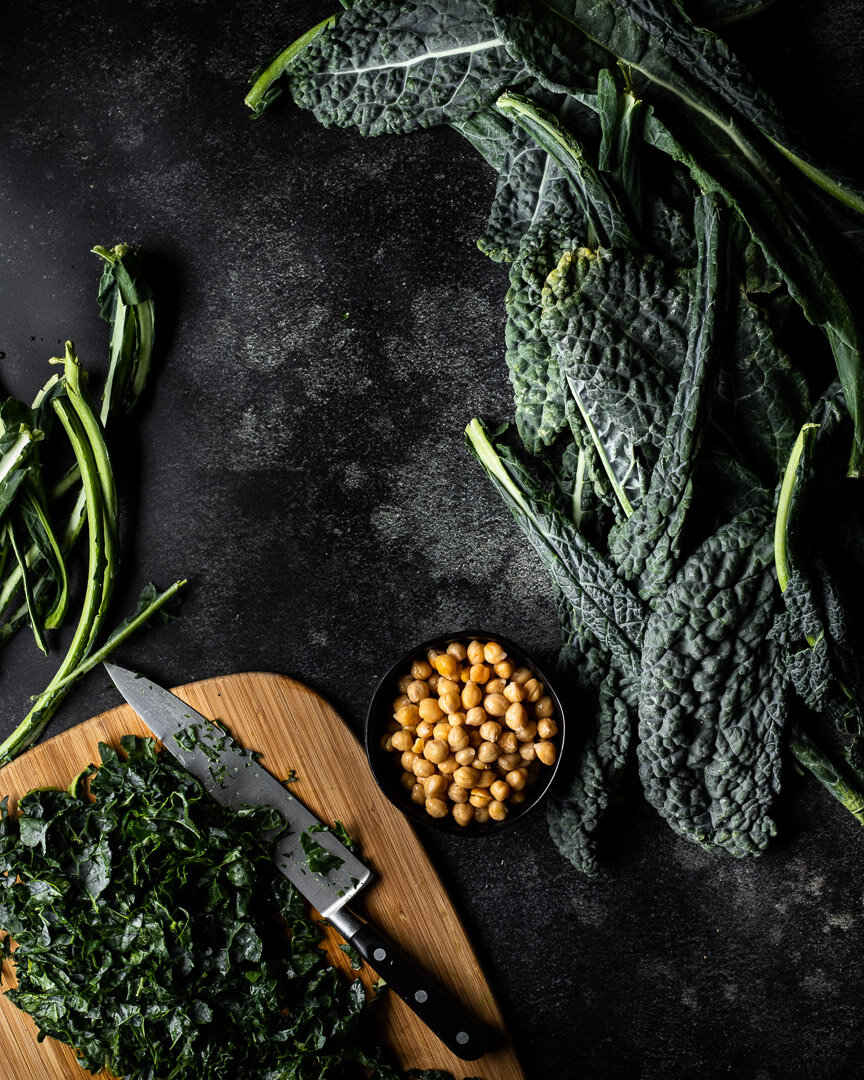
This quick dish is funky, salty, cheesy, and creamy with lots of greens and filling fiber thanks to the beans. #meandthemoose #lunch #dinner #sidedishes #kalerecipes #chickpearecipes #vegetarianrecipes
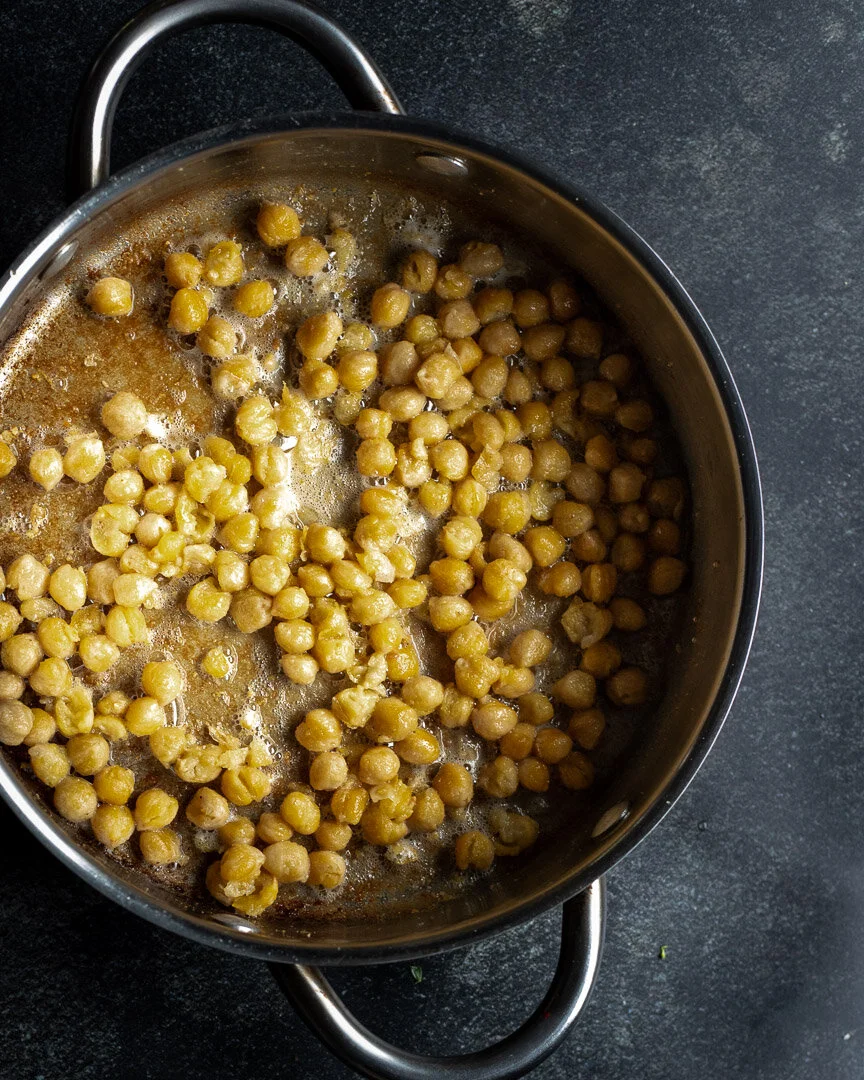
This quick dish is funky, salty, cheesy, and creamy with lots of greens and filling fiber thanks to the beans. #meandthemoose #lunch #dinner #sidedishes #kalerecipes #chickpearecipes #vegetarianrecipes
Miso parmesan chickpeas and kale
Time: about 20 minutes, all active
Yield: 4 side servings, 2 main servings
3 Tbsp butter (I use salted, but use whatever you have)
1 can chickpeas, drained and dried
1 bunch kale, stems removed and thinly sliced (about 3 firmly packed cups of you’re using prechopped or frozen)
1 heaping Tbsp white miso paste
3 Tbsp water, plus more as needed
½ cup parmesan cheese, shredded
Squeeze of lemon juice, to taste
Chili pepper flakes, optional
Fried egg, optional
Over medium high heat, melt your butter. This should only take 1-2 minutes and the butter might start bubbling on the sides, which is fine!
Add the chickpeas and cook, shaking the pan frequently, until the beans and the butter start to brown, about 4-5 minutes. If you don’t drain the chickpeas thoroughly, never fear! Your butter won’t get quite as brown and may need an extra minute or two to brown the chickpeas.
Add the kale and stir to coat. Turn the heat down to medium low and let cook for 1-2 minutes while you prep the miso.
Combine the water and miso paste in a small bowl or measuring cup and whisk to combine. Add to the pan and stir well. If the liquid boils off immediately or if there are brown bits stuck to the bottom of the pan, use 3-4 more Tbsp of water at a time to deglaze the pan. Repeat if necessary. You should have a little bit of liquid in the bottom of the pan before adding the cheese.
Turn off the heat and add the parmesan. Stir until melted.
Squeeze the lemon and garnish with chili pepper flakes, more cheese, and an egg if desired.