Rainbow Chard Galette
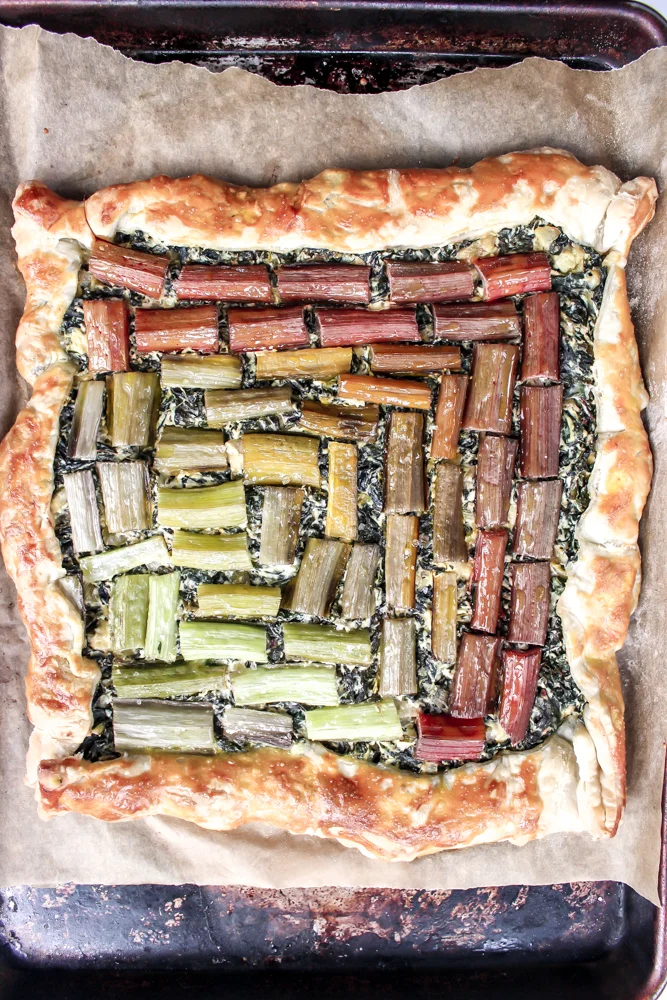
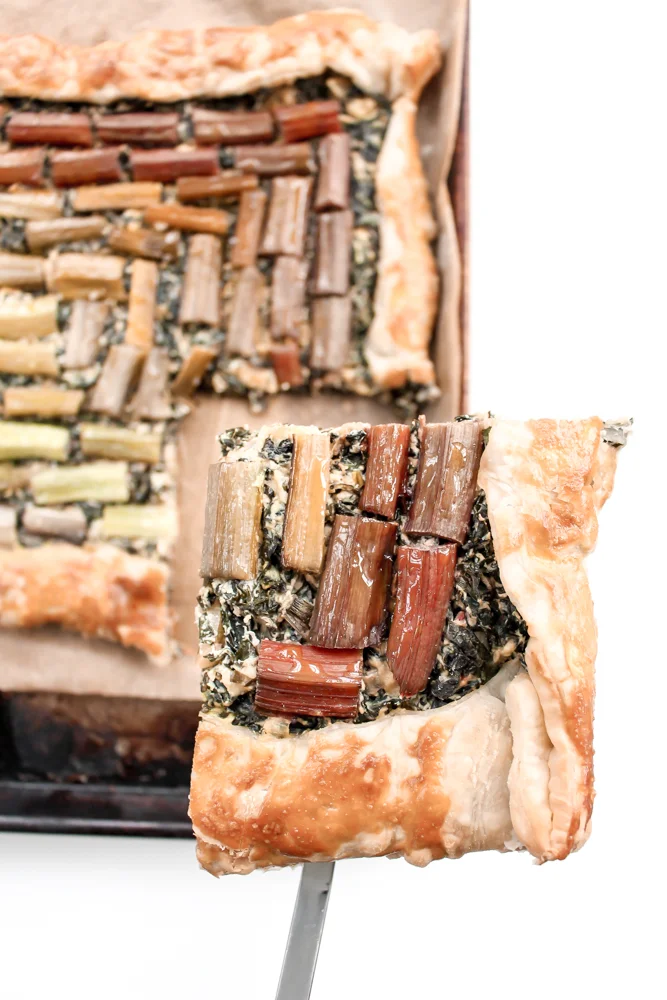
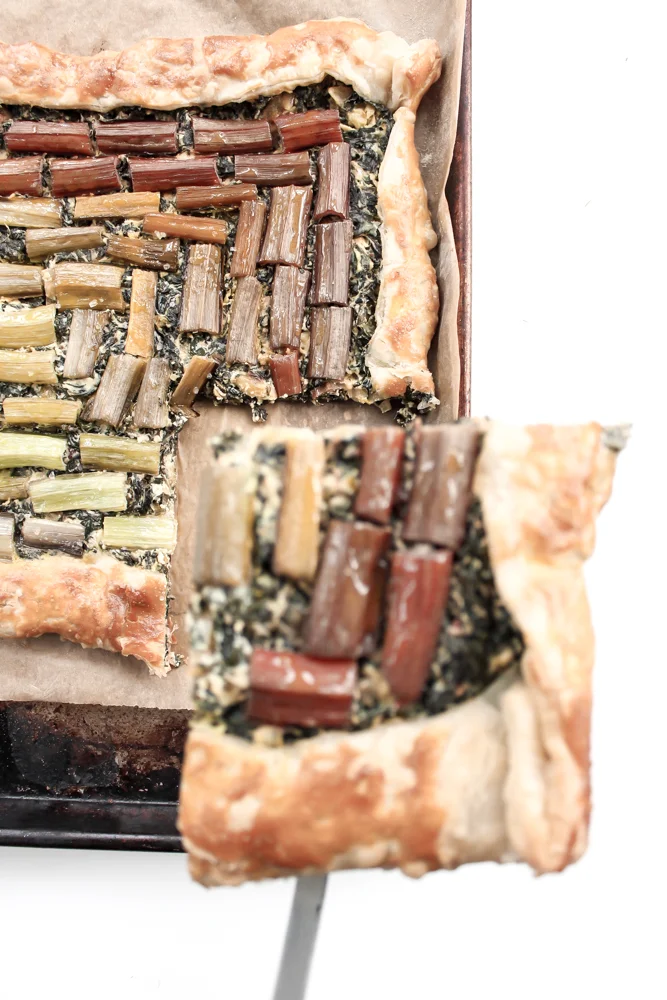
This Rainbow Chard Galette is so good (I mean, there’s cheese and puff pastry, what’s not to love) and a serious show stopper for your Easter feast (or any day, really).
OVENS, amiright? It recently occurred to me that the real secret to successful baking is knowing your oven well. I mean, measuring and experience and bringing things to room temperature and patience are also important, but seriously, if you know that your oven runs hot or cool or that it has uneven spots, you can really up your baking game.
As you can tell, I’m still adjusting to our oven even though we’ve lived in our current house for almost two years.
Luckily, I’ve found that store-bought puff pastry is fairly forgiving. As long as your filling isn’t too wet and the oven is at least 400 degrees, you’re pretty safe.
Which makes this easy galette a reliable option for your holiday table.
A couple of notes:
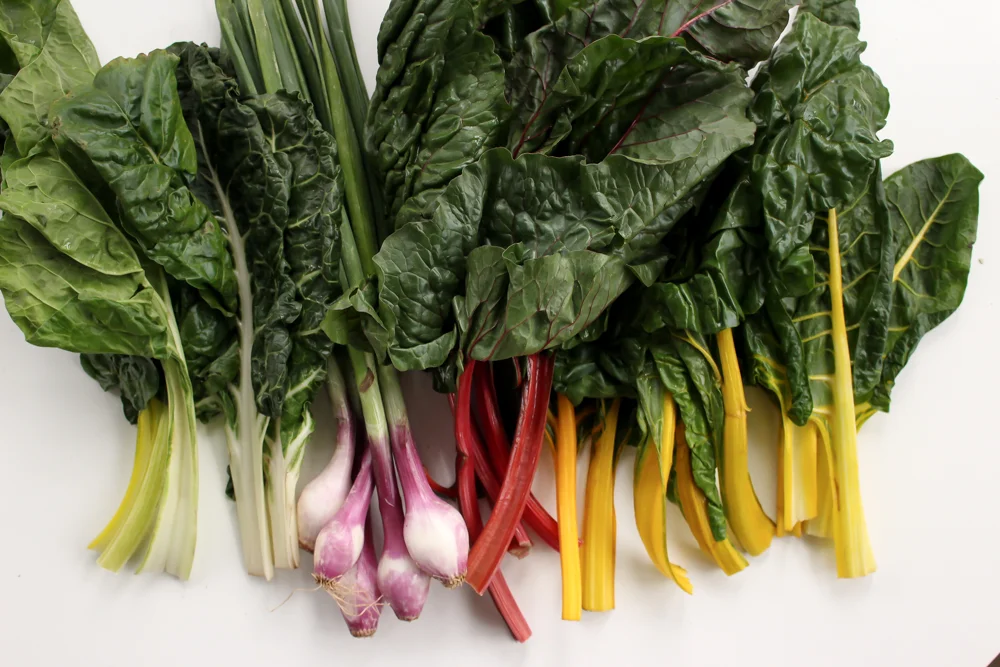
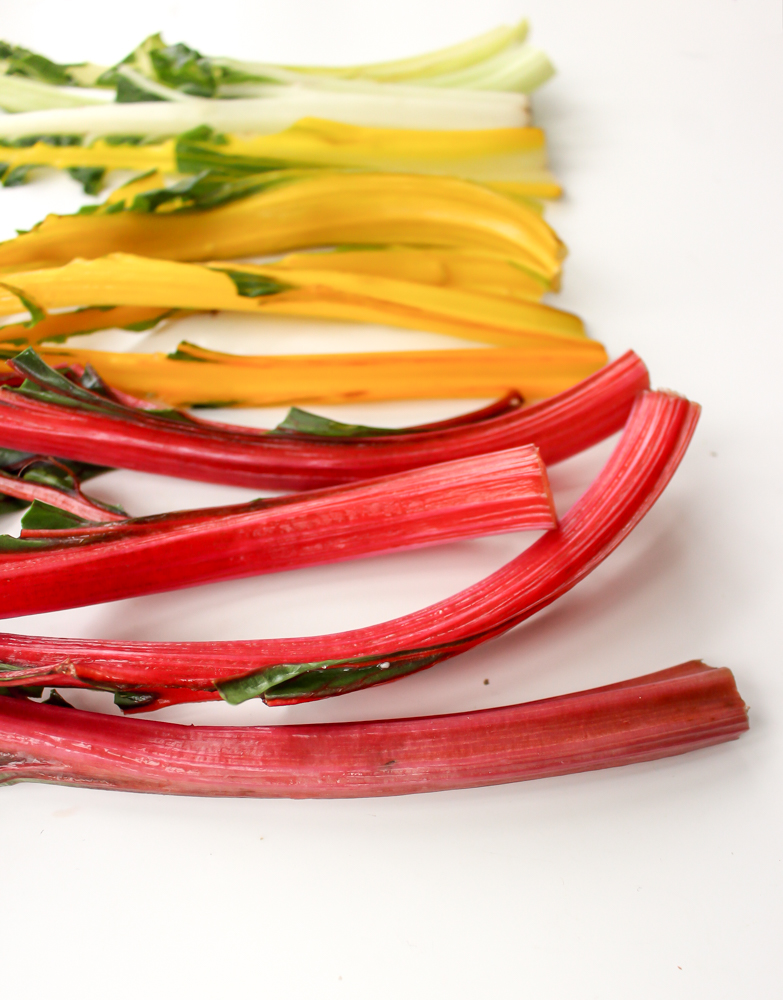
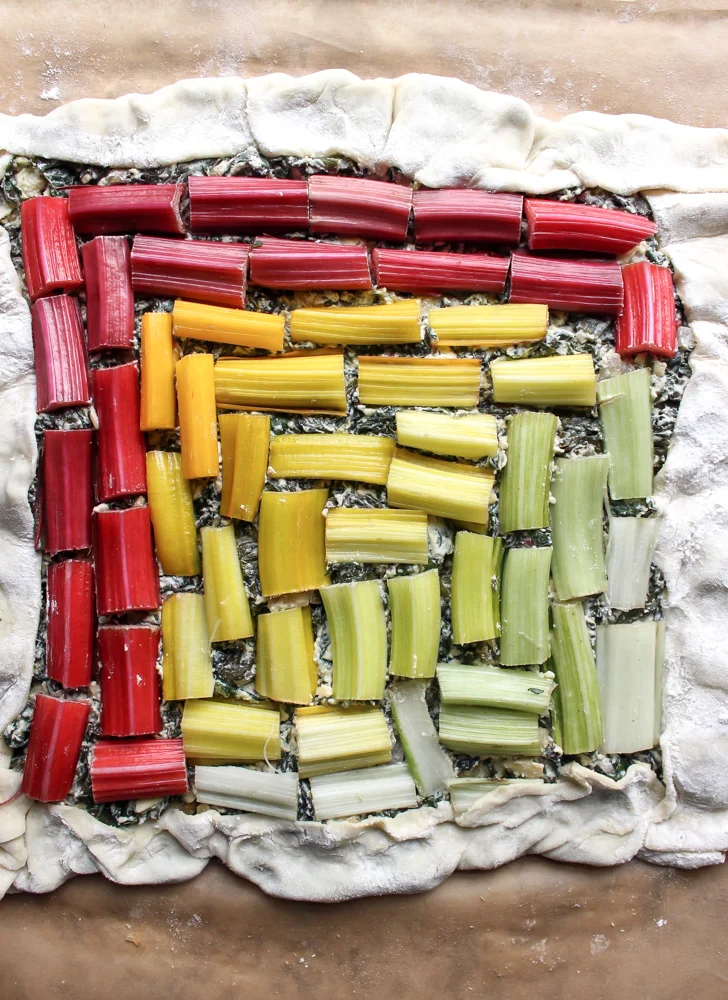
I like to rip the greens off of the stems and then arrange the stems in a way that flexes my OCD muscles. HOWEVER, you can opt to chop everything together to save time and that’s perfectly acceptable.
Roasting garlic makes the flavor mellow and mild, which I like here because it lets the chard sing. But if you like a stronger garlic flavor, chop the cloves and saute them with the spring onions and greens instead of roasting. Or you can do half and half.
This galette really needs salt. I salt at the beginning and end of wilting the greens and then finish with some more salt. I like salt. If you don’t, I urge you to salt at the beginning and end of wilting (and taste test to make sure it’s not too much) and then skip the final salting rather than waiting to add salt at the end.
Rainbow chard galette
Time: 50-60 minutes (about 30 minutes active time, depending on how intense you get about arranging the chard stems)
Yield: 9 medium pieces
4 large garlic cloves
2 Tbsp olive oil + more for roasting the garlic (about ½ cup)
2 large spring onions (white/purple and green parts), chopped (about 1 heaping cup) sub scallions if necessary
10 cups chard leaves, measured after chopping, lightly packed (about 2 medium bundles)
2 tsp balsamic vinegar
1/4 tsp kosher salt (a few big pinches)
A few cracks of black pepper
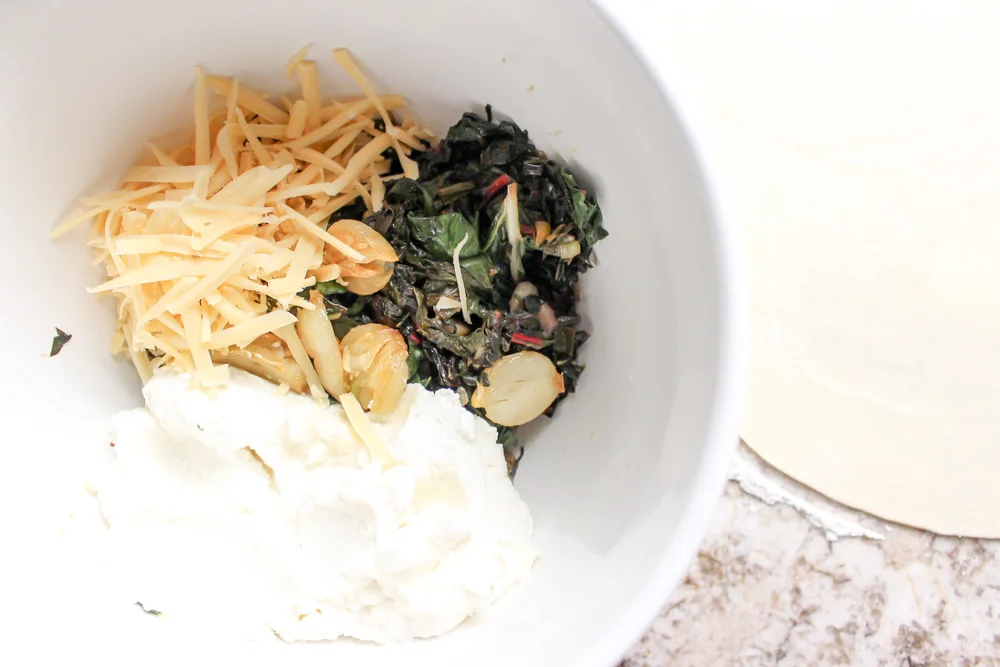
1 cup ricotta
3/4 cup nutty cheese like gruyere or aged Gouda, shredded
1 puff pastry sheet
1 Tbsp roasted garlic oil (from earlier roasted garlic)
1 egg, whisked
Preheat oven to 425.
Smash four garlic cloves (no need to remove the skin) and place in an oven-safe ramekin. Add enough olive oil to cover the garlic. Cook in the oven for 6-8 minutes, or until you start to smell garlic and the cloves are fork tender.
Meanwhile, heat 2 Tbsp olive oil in a very large skillet. Add the spring onions and sauté until translucent and fragrant, about 2 minutes.
Add the greens and a large pinch of salt. Cook until wilted, about 8-10 minutes.
Add the balsamic vinegar, another large pinch of salt, and a few cracks of fresh black pepper and stir a few times.
Once wilted, place the onions and greens into a large bowl. Add the cheeses and roasted garlic. Mix well.
On a floured surface, roll out the puff pastry dough to a thickness of 1/8th to 1/16th of an inch (about 1/3 bigger than original packaging). Move the dough to your sheet pan.
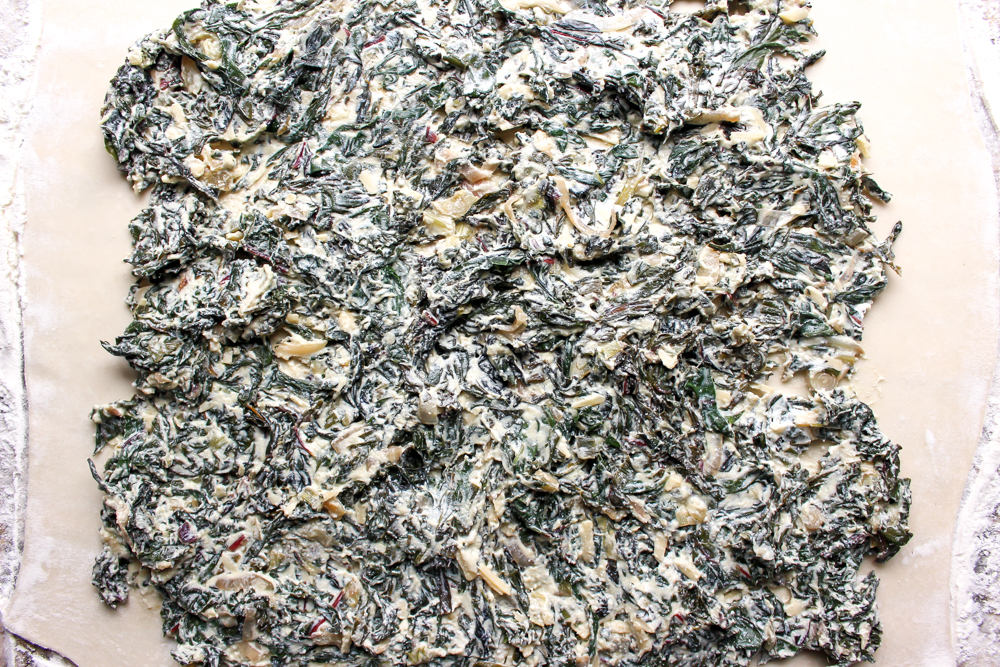
Spread the greens and cheese on the puff pastry, leaving a 1-inch frame. Fold the bare edges over onto the greens and cheese mixture.
Arrange the chard stems in your desired pattern.
Brush the chard stems with 1 Tbsp roasted garlic oil.
Brush the lightly beaten egg over the visible parts of the pastry crust.
Bake for 18-20 minutes or until the bottom and the edges are golden brown.
Healthier apricot carrot cake
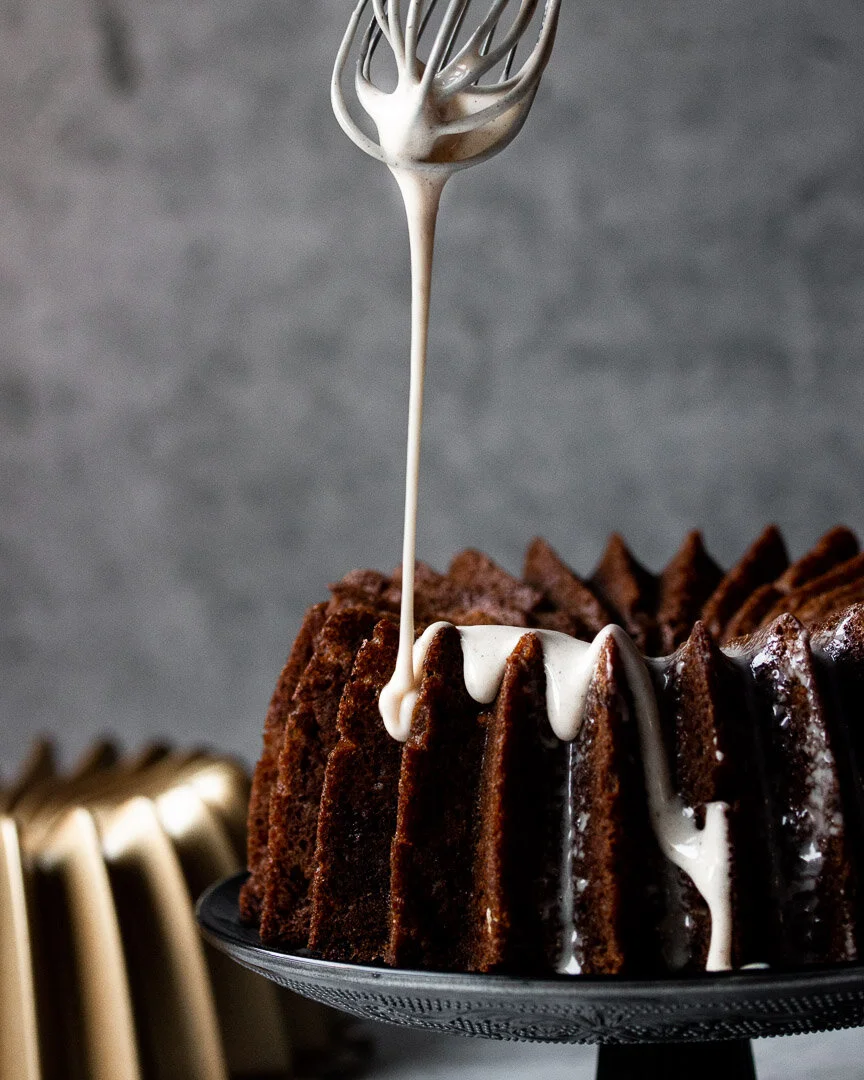
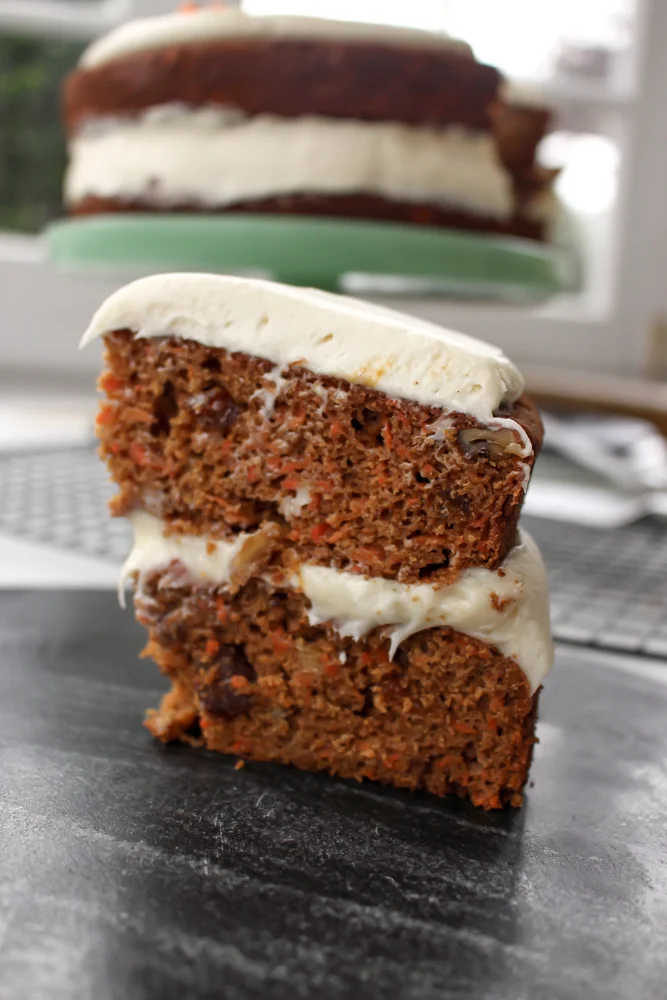
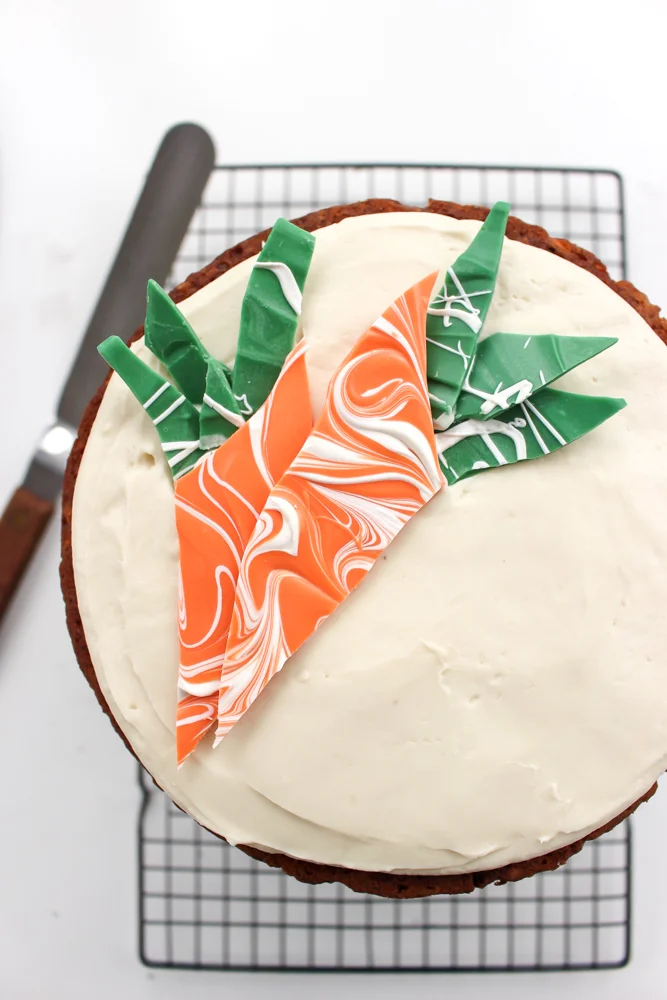
Cake with vegetables sounds healthy, but is usually far from it. This version lightens up the traditional recipe with dried apricots, applesauce, and coconut sugar; reduces the fat and swaps in coconut oil; and swaps out half of the white flour for whole wheat. Add in walnuts for Omega-3s (or leave them out to make this school safe) and you have a healthier option for your Easter table that’s equally delicious and showstopping.
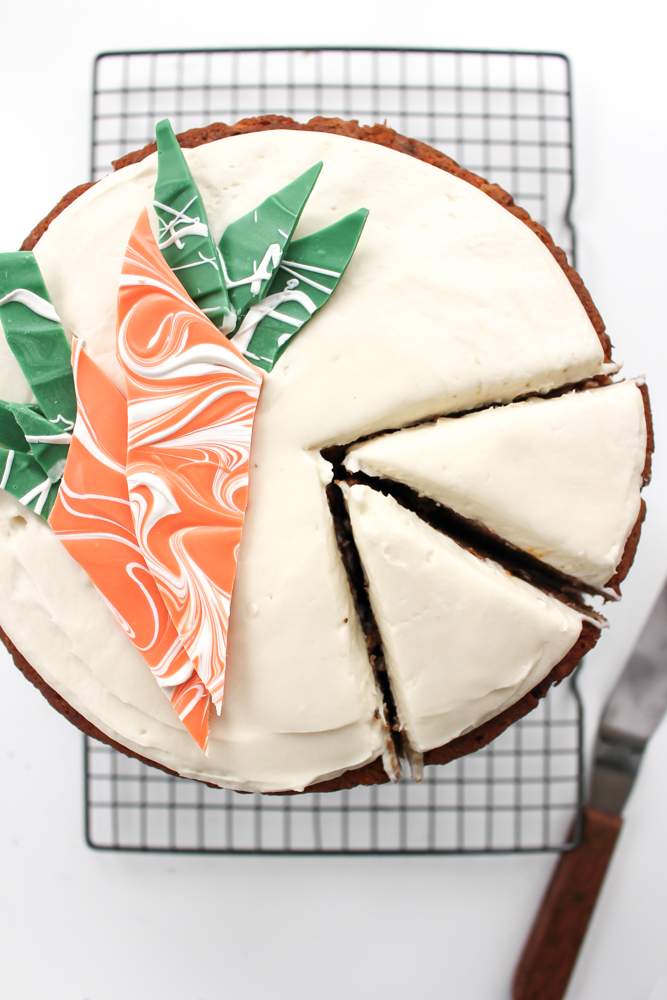
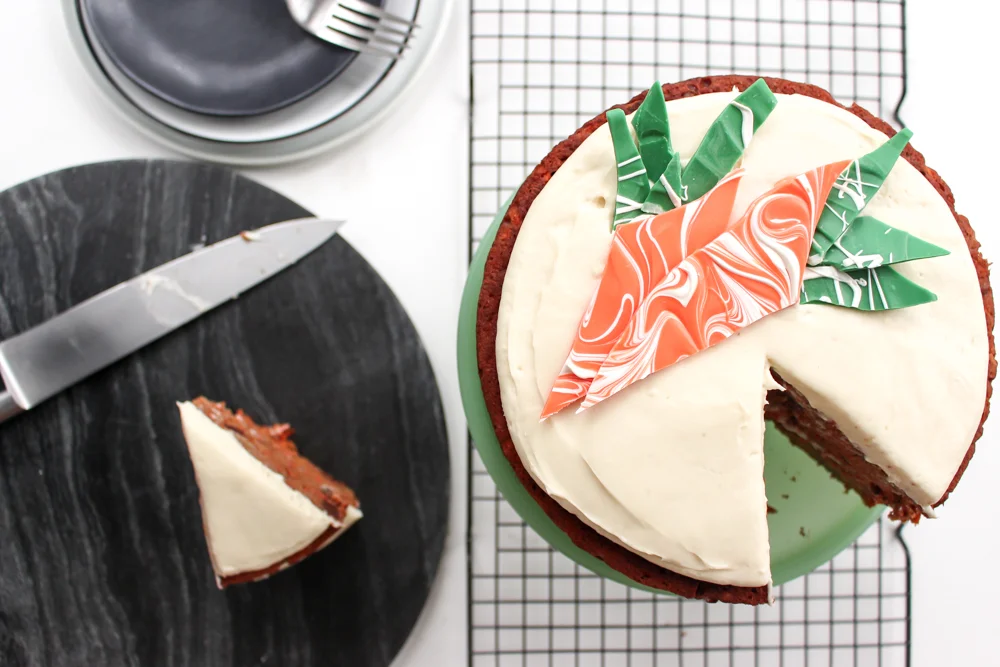
I’m still struggling with the eternal question: Is it worth it to healthify desserts? If my kid factors into the equation, then yes. He’s often satisfied with a “healthy” sweet. I, on the other hand, really wanted a doughnut for breakfast and no amount of healthy treats was going to cut it.
However! If there’s a recipe ripe for healthifying, a dessert starring a vegetable is it.
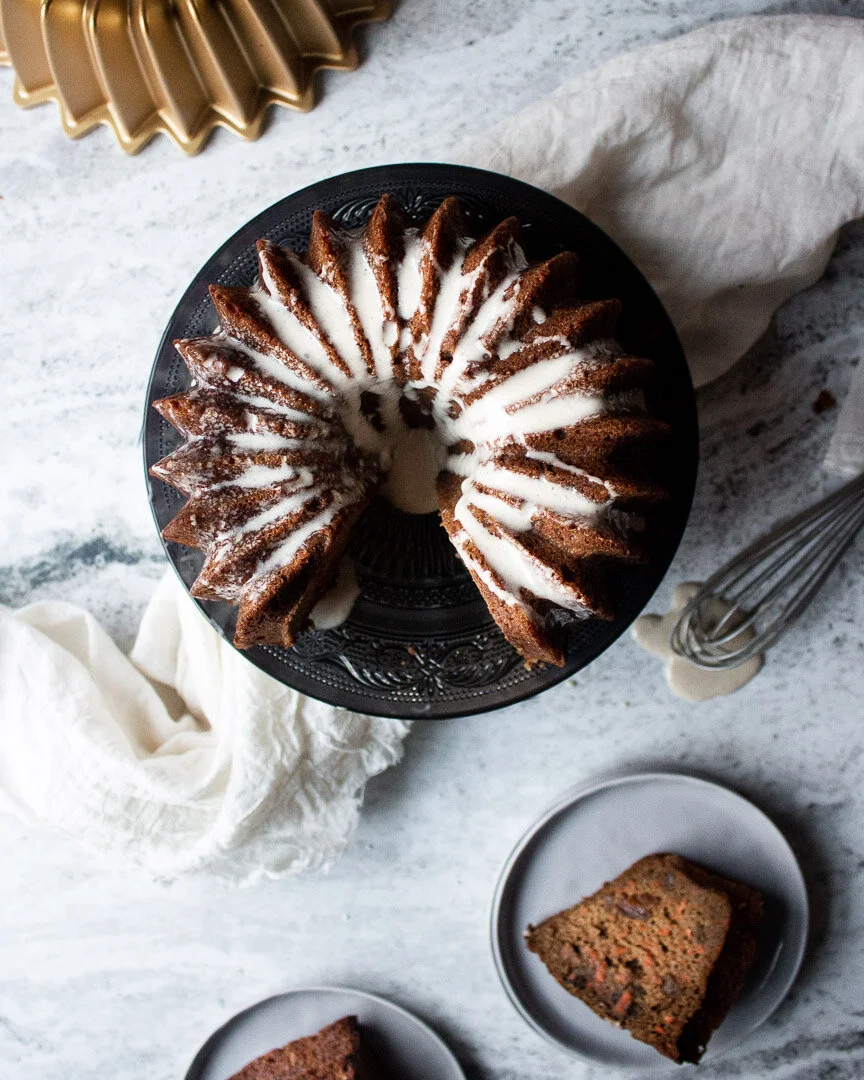
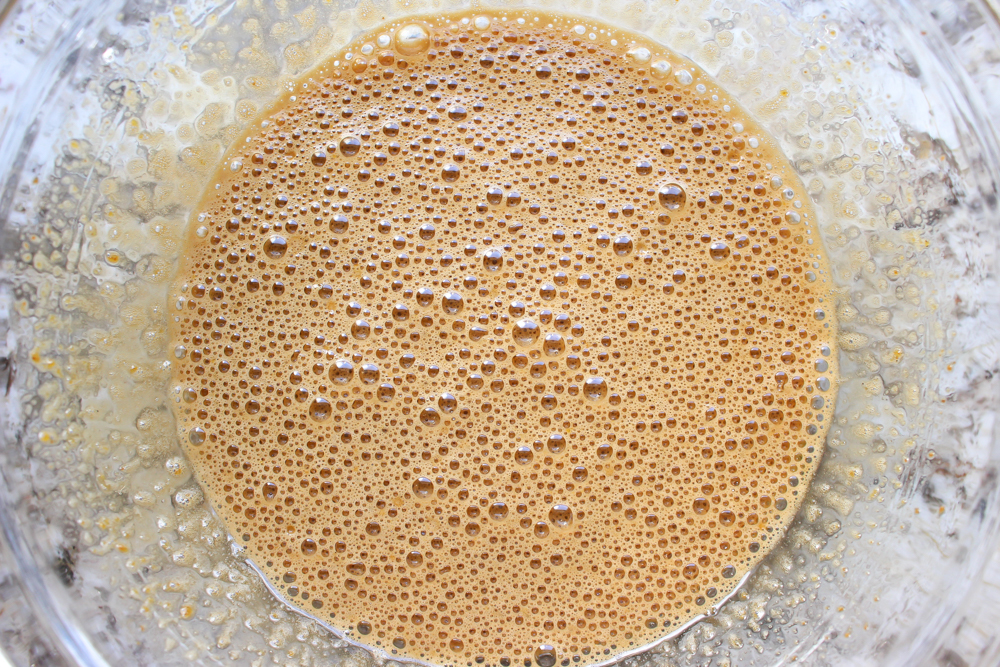
I started recipe testing this cake by dumping everything into a bowl and calling it a day. The results were delicious, but dense, so I decided to do as others have done and whip the eggs and sugar at the start to make the crumb a bit lighter. Often, cake directions tell you to cream butter and sugar / butter and eggs / sugar and eggs (as in this case) until they’re “light and fluffy.” Unfortunately, the coconut sugar is so dark that you’ll never really achieve this. What you want instead is just to aerate the eggs, sugar, and other liquids. Don’t worry about it too much, just make sure that you see lots of bubbles once all of the liquid is combined.
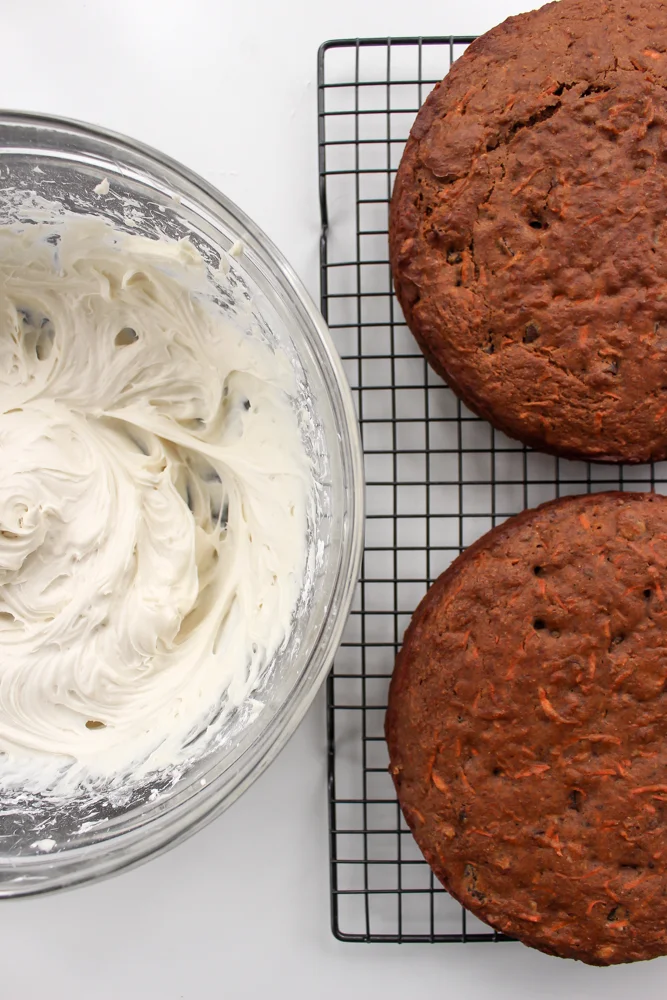
Alone, this cake is delicious, but tastes like a muffin or a quick bread, not a cake. But slathered in cream cheese frosting, this is a CAKE.
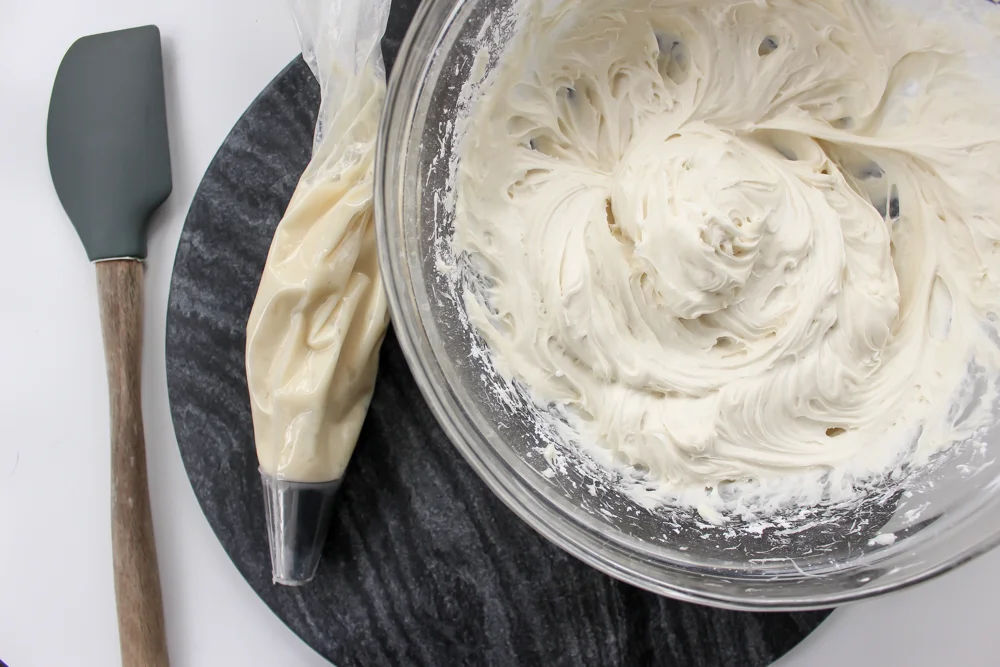
Can I tell you a secret about making the frosting? I don’t measure the sugar. You heard that: I don’t measure the sugar. I mix in a couple of large spoonfuls and then add more to taste. I like a frosting that isn’t too sweet and the beauty of cream cheese frosting is the tang, which gets totally masked by too much sugar.


Apricot carrot cake
Adapted from Bake from Scratch and Natasha’s Kitchen
Time: 1 hour, 30 minutes (about 45 minutes of active time, including frosting the cake)
Yield: 8 GIANT slices, 10-12 normal slices
1 cup apricots, chopped
1 Tbsp flour (AP or Whole Wheat)
4 eggs
1 cup coconut sugar
¼ cup coconut oil, melted
1 cup unsweetened applesauce
2 tsp vanilla extract
1 cup whole wheat flour (pastry or white whole wheat are also great)
1 cup AP flour
1 tsp baking soda
1½ tsp baking powder
2 tsp cinnamon
½ tsp allspice
¼ tsp fine sea salt
12 oz carrots; trimmed, peeled, and shredded (about 3 cups, lightly packed shredded carrots)
1 cup walnuts, toasted (optional)
Preheat the oven to 375.
Grease two 9-inch cake pans, or a 12-cup muffin tin liberally with melted coconut oil or cupcake liners. Set aside.
In a small bowl, chop the apricots and toss with 1 Tbsp of flour (either AP or whole wheat). Set aside.
Toast your walnuts in the preheating oven, keeping an eye to ensure that they don’t burn while you continue prepping your other ingredients. Set aside.
Trim, peel, and shred your carrots. Set aside.
In a large mixing bowl with a hand mixer or in the bowl of a stand mixer fitted with the whisk attachment, whisk together the eggs and sugar for about 3 minutes on a medium high setting (or on high if your hand mixer isn’t very strong). The eggs won’t get lighter in color because the coconut sugar is quite dark, but you will see lots of little air bubbles formed and the volume of the liquid should increase.
Reduce the speed of your mixer to low (medium-low for a hand mixer) and slowly add the oil, applesauce, and vanilla extract.
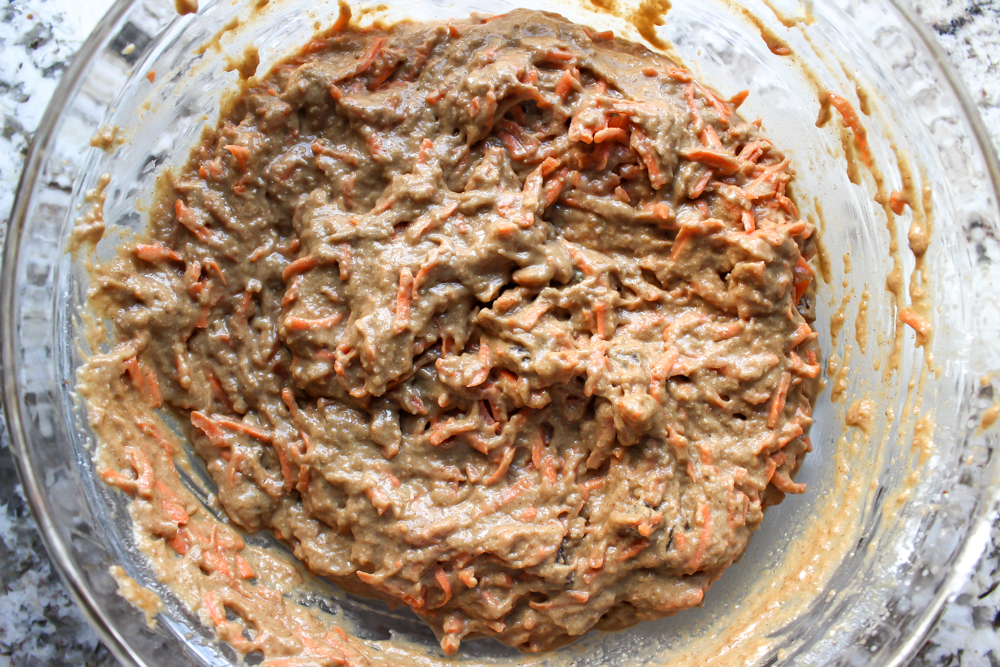
Sift the dry ingredients together into the wet ingredients. Fold until just combined and no lumps remain.
Fold in the carrots, apricots, and toasted walnuts (if using).
Pour half of the mixture into each cake pan (or, fill each muffin cup until about 2/3 full).
Bake, rotating halfway through, for 20-23 minutes for the cakes or 15-18 minutes for the muffins. You want the cakes to be springy when touched and for a tester to come out with a few crumbs or clean.
Let the cake cool entirely before icing.
Cream cheese frosting
2 blocks cream cheese, softened
2 sticks butter (1 cup), softened
2 tsp vanilla extract
1/4 tsp fine sea salt
1 1/2 cup powdered sugar, plus more to taste
Combine the cream cheese and butter in a large bowl or in the bowl of a stand mixer. Using the paddle attachment on your mixer or your hand mixer, combine and whip the butter and cream cheese on high for 3-4 minutes. Add the vanilla and salt and whip on medium to combine.
Add the powdered sugar a few Tbsp at a time and SLOWLY whip the sugar into the rest of the mixture on low (otherwise you’ll have powdered sugar all over your kitchen). Once the initial amount of powdered sugar is incorporated, add more, a few Tbsp at a time, to taste. When all of the sugar you want is incorporated, turn the mixer back to high and whip for 3-4 more minutes.
Stovetop lasagna

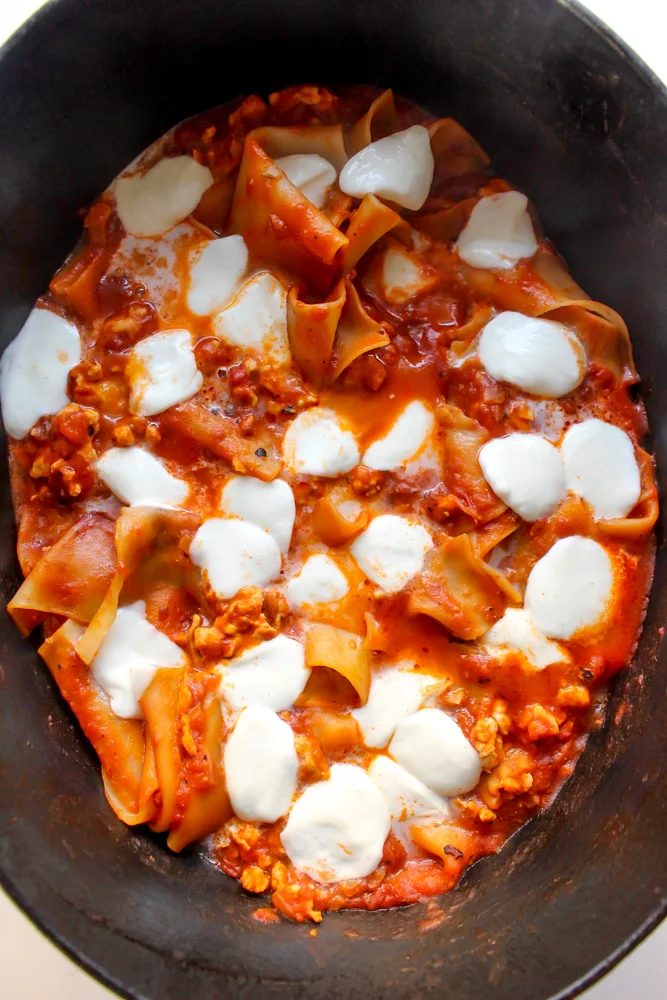
Cooking lasagna noodles upright in sauce and melting cheese on top is an easy route to layered pasta that is cozy, simple, and ready in a pinch.
Listen, chatty Kathy, take me to the recipe
It’s so cold. And so dreary. And so dark. All I want to do is hibernate under a giant blanket and eat cheesy pasta. You?
But, I also feel really low energy. Like, I don’t have the wherewithal for a complicated, multi-step, multi-method recipe. So, I reconcile these incompatible ideas with stovetop lasagna. Cook the noodles in a jarred sauce, top with cheese, and serve. Seriously, so so easy and so so good.

A few notes:
I added turkey to this dish to increase the protein, but feel free to leave it out to make it vegetarian.
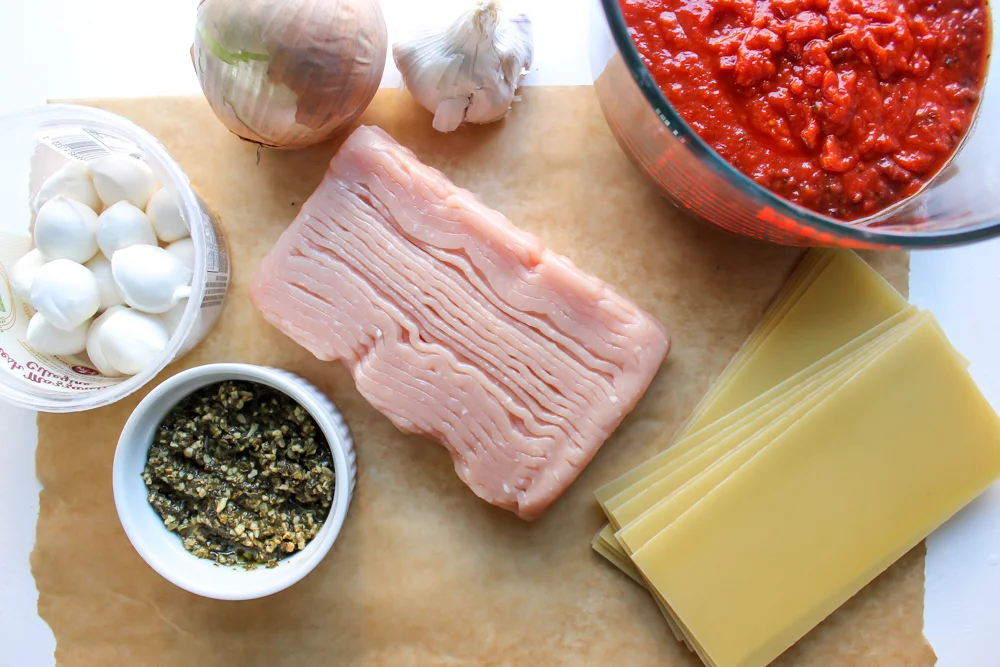
There’s pesto in the ingredients photo because adding some dollops of pesto in this dish is fab. But I bought a mass-market brand pesto that was, in a word, inedible. So, I wanted to add it to the photo, but we actually eat the food I photograph and I could NOT stomach this sauce. Use one you’ve had before and liked, one you’ve made, or skip it.
WheWhen first adding the noodles, make sure they aren’t touching each other or they could stick together and become gummy and inseparable later on. They’ll start touching through the cooking process as they soften and flop over and you’ll stir to separate them. I’ve found that as long as you start off with the noodles not touching, they’re easy to separate later on.
It might seem like a lot of liquid, but the noodles soak up a lot of it and you still want the sauce to be saucy.
I add dollops of ricotta and then fresh mozzarella to top this dish. I never use part skim or pre-shredded mozzarella because I think they take too long to melt and then the noodles get overcooked.
You could absolutely put the pan under a broiler for 1-2 minutes to brown the top of the cheese instead of letting it melt on the stovetop. I do mine on the stove for simplicity, but choose your own adventure.
Stovetop lasagna
Time: about 45 minutes, mostly active
Yield: 6 large bowls
1 Tbsp olive oil or butter
1 small onion, minced
2-3 large garlic cloves, minced
1 lb ground turkey
3 cups tomato sauce (about a 32 oz jar of sauce)
2 cup stock (turkey, chicken, or vegetable), divided
13 regular or no-boil lasagna noodles (half of a box, uncooked, broken in half)
Ricotta cheese, optional
Fresh mozzarella
In a large cast iron pan (with a lid) or Dutch oven, saute the onions on medium heat until translucent and starting to brown, about 5 minutes. Add the garlic and cook for one more minute, until fragrant.
Add the turkey and cook, breaking up any large chunks, until no pink remains, about 10 minutes.
Add the tomato sauce and broth and stir to combine. Turn the heat to high.
Break the uncooked noodles roughly into halves (don’t mind the noodle shrapnel; just toss it all in the pot) and tuck them into the sauce vertically, making sure they don’t touch each other.* (You want them to be perpendicular to how you would normally layer the noodles in a lasagna; kind of a sideways layering.)
Turn the heat down just slightly, cover the pot, and cook for five minutes.
Uncover the pot and stir the noodles around (it’s okay if they touch now). Turn the heat down to medium or medium low, cover, and cook for another 5 minutes.
Uncover and stir again. Make sure to separate any noodles that are very stuck together. Leave the pot uncovered and cook for 3-5 more minutes. Stir the noodles and sauce frequently to ensure that nothing is sticking or cooking too fast. Add more stock if needed, 1/4 cup at a time.
When the noodles are just al dente, add the mozzarella, cover, and cook until the cheese melts, about 5 minutes.