Chocolate hummus
/
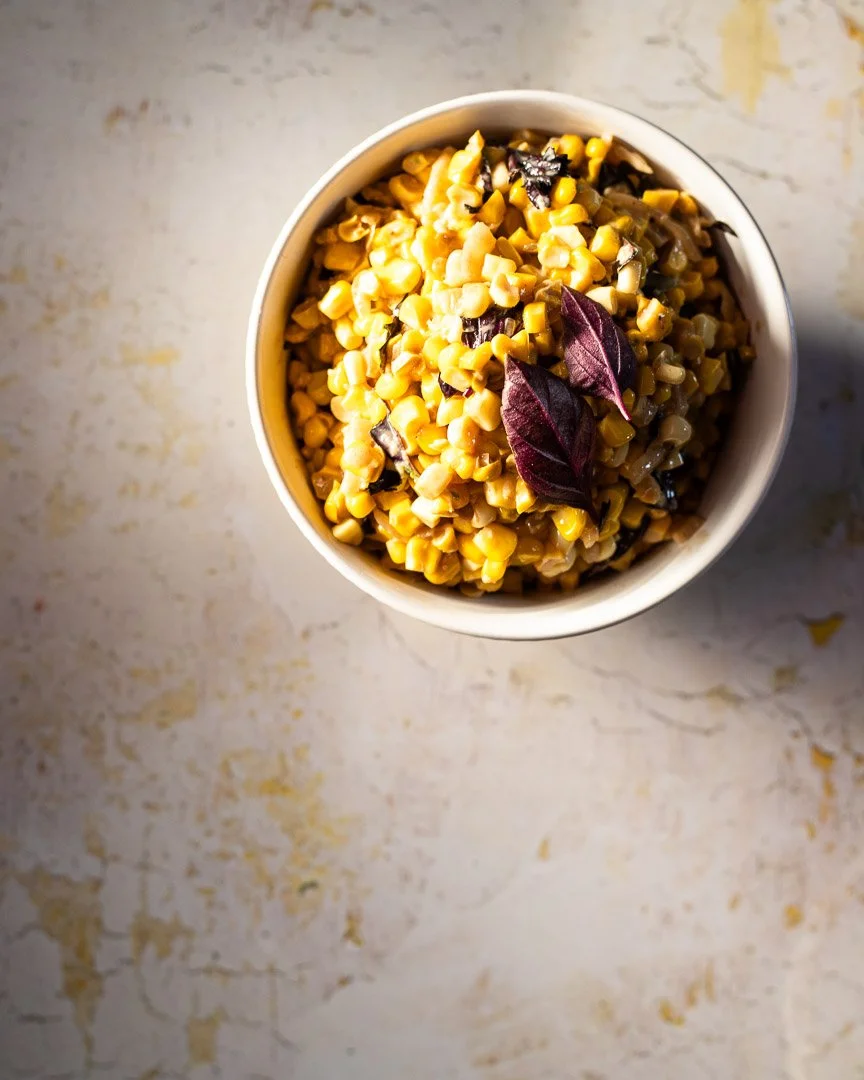
chocolate hummus | me & the moose | Chocolate hummus bears no resemblance to actual hummus, but is a fiber and protein rich sweet snack. #hummus #chocolate #snackrecipes #snacks #dips #dessert
I struggled with calling this recipe “hummus.” The only thing it has in common with actual hummus is chickpeas, but I wanted it to be clear that this spread is the same stuff you buy in the grocery store.
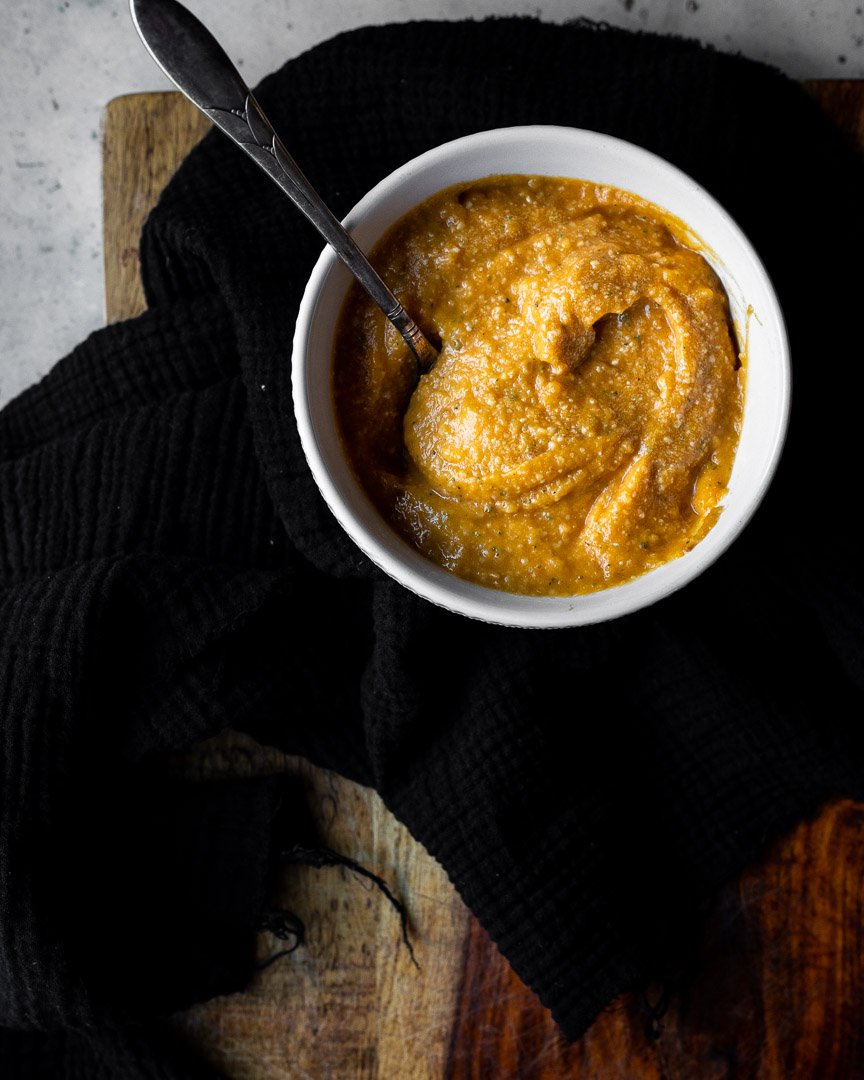
Even though it’s not really hummus, this spread is REALLY good. It’s a little sweet and very chocolate-y.

chocolate hummus | me & the moose | Chocolate hummus bears no resemblance to actual hummus, but is a fiber and protein rich sweet snack. #hummus #chocolate #snackrecipes #snacks #dips #dessert
chocolate hummus | me & the moose | Chocolate hummus bears no resemblance to actual hummus, but is a fiber and protein rich sweet snack. #hummus #chocolate #snackrecipes #snacks #dips #dessert
I started making my own chocolate hummus after being introduced to this magical concoction (seriously, how did I not know that chocolate hummus existed until about 2 months ago?) at my book club.
A couple of notes:
- Soak 4 dates, though you may not need them all. This dip tends to get sweeter as it sits in the fridge, so be careful about adding all four dates up front.
- If the dip doesn’t taste sweet enough after two dates, try adding another pinch of salt. The salt really brings out the sweetness and the chocolate, so you may not need additional sweetener.
chocolate hummus | me & the moose | Chocolate hummus bears no resemblance to actual hummus, but is a fiber and protein rich sweet snack. #hummus #chocolate #snackrecipes #snacks #dips #dessert
Chocolate hummus
Time: about 20 minutes, all active
Yield:1.5 cups or about 14.5 ounces
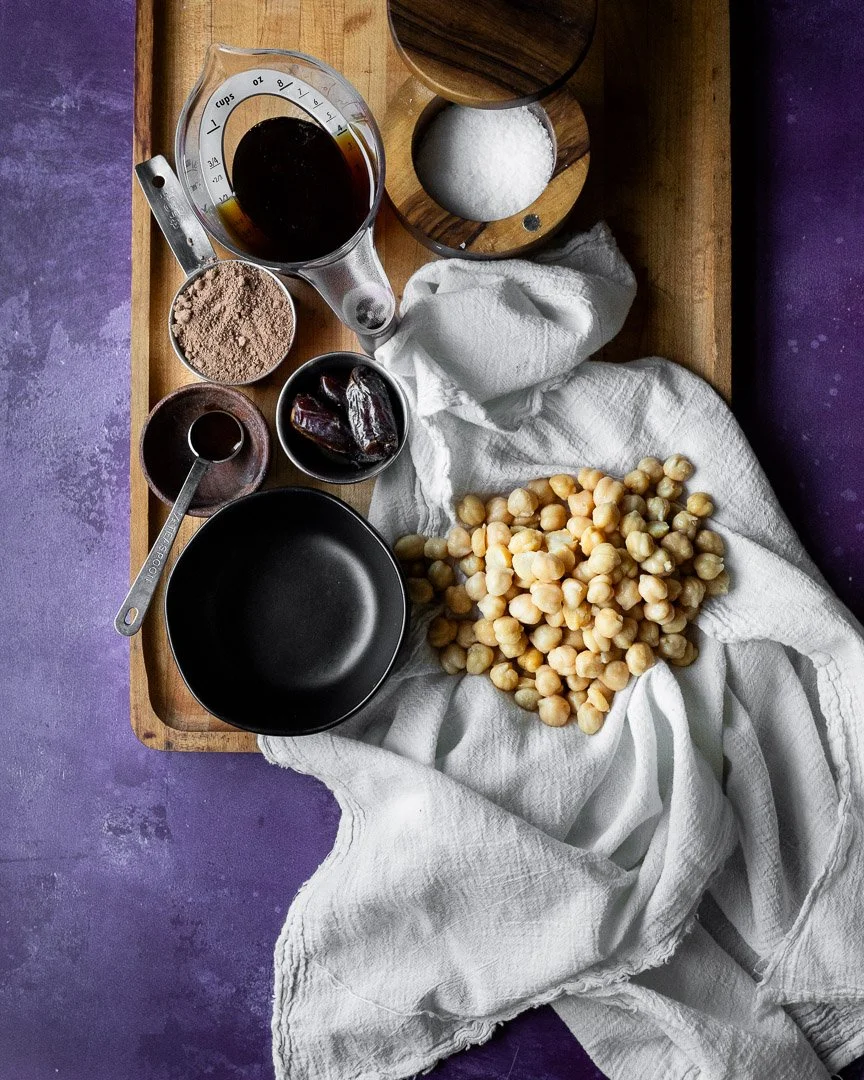
1 can chick peas, rinsed and drained |
¼ cup cocoa powder
½ cup maple syrup
2-4 dates, soaked in boiling water for 5-10 minutes
¼ tsp salt, plus more to taste
½ tsp vanilla extract
Boil some water and pour over 4 dates. Let sit for 5-10 minutes.
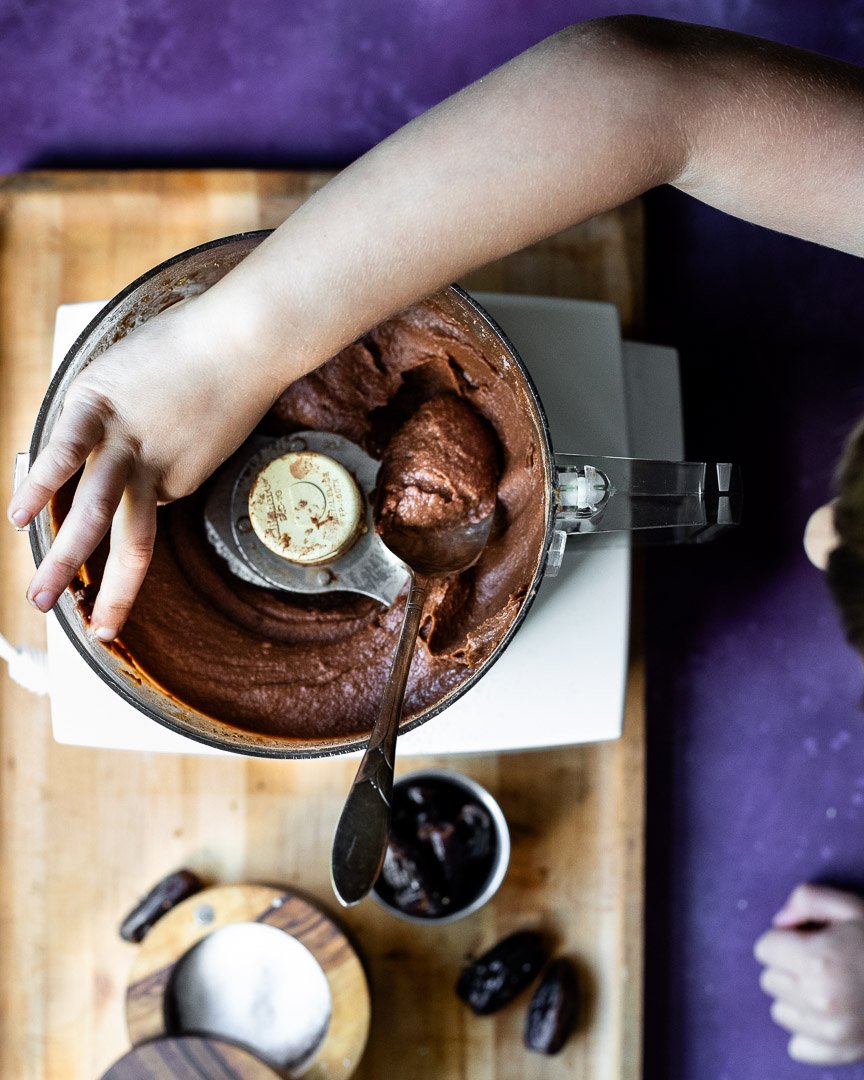
Meanwhile, thoroughly rinse your chickpeas and dry them lightly with a dishtowel or paper towel. Add to a food processor.
Measure the other ingredients and add to the food processor. When the dates are soft, add 3 to the other ingredients and blend until very smooth, about 3-4 minutes.
Serve or store in an air-tight container in the fridge.


![[NEW RECIPE!] Thanksgiving leftovers hot pocket!
Thursday is going to be a great meal and a weird sad day for me. It’s the first Thanksgiving without my mom and this was HER holiday. Growing up, we were Jewish, but my mom’s family was Ch](https://images.squarespace-cdn.com/content/v1/546a33ffe4b0bff63b7b9405/1669075898662-2KJQA7P9W8KSRUJF47M4/image-asset.jpeg)


