Raspberry rhubarb chia jam bars

IMG_7658.jpg

Preschool germs. Is there a stronger force in the universe? In my memoir, this era will be titled: The time when my child who never got sick, was never not sick.

And I don't know if all kids do this when ill, but mine is like a koala bear who drank a pot of coffee. He's both lethargic and wired, wanting to be on top of me while simultaneously thrashing like he's breaking out of a human prison. In short, this has not been a fun week.

Anyway, since we're stuck in the house for the foreseeable future, I've tried my hand with chia jam a few times. The basic recipe in that link has worked well for me as long as I cook the fruit down for about 20 minutes before adding the chia seeds and letting the mixture set in the fridge for about 30 to 60 minutes before using it. 

IMG_7642.jpg

And this jam is really versatile! It works in sandwiches, obviously, but is also great when added to oatmeal, yogurt, and baked goods. It would also make a tremendous baby puree.

IMG_7647.jpg

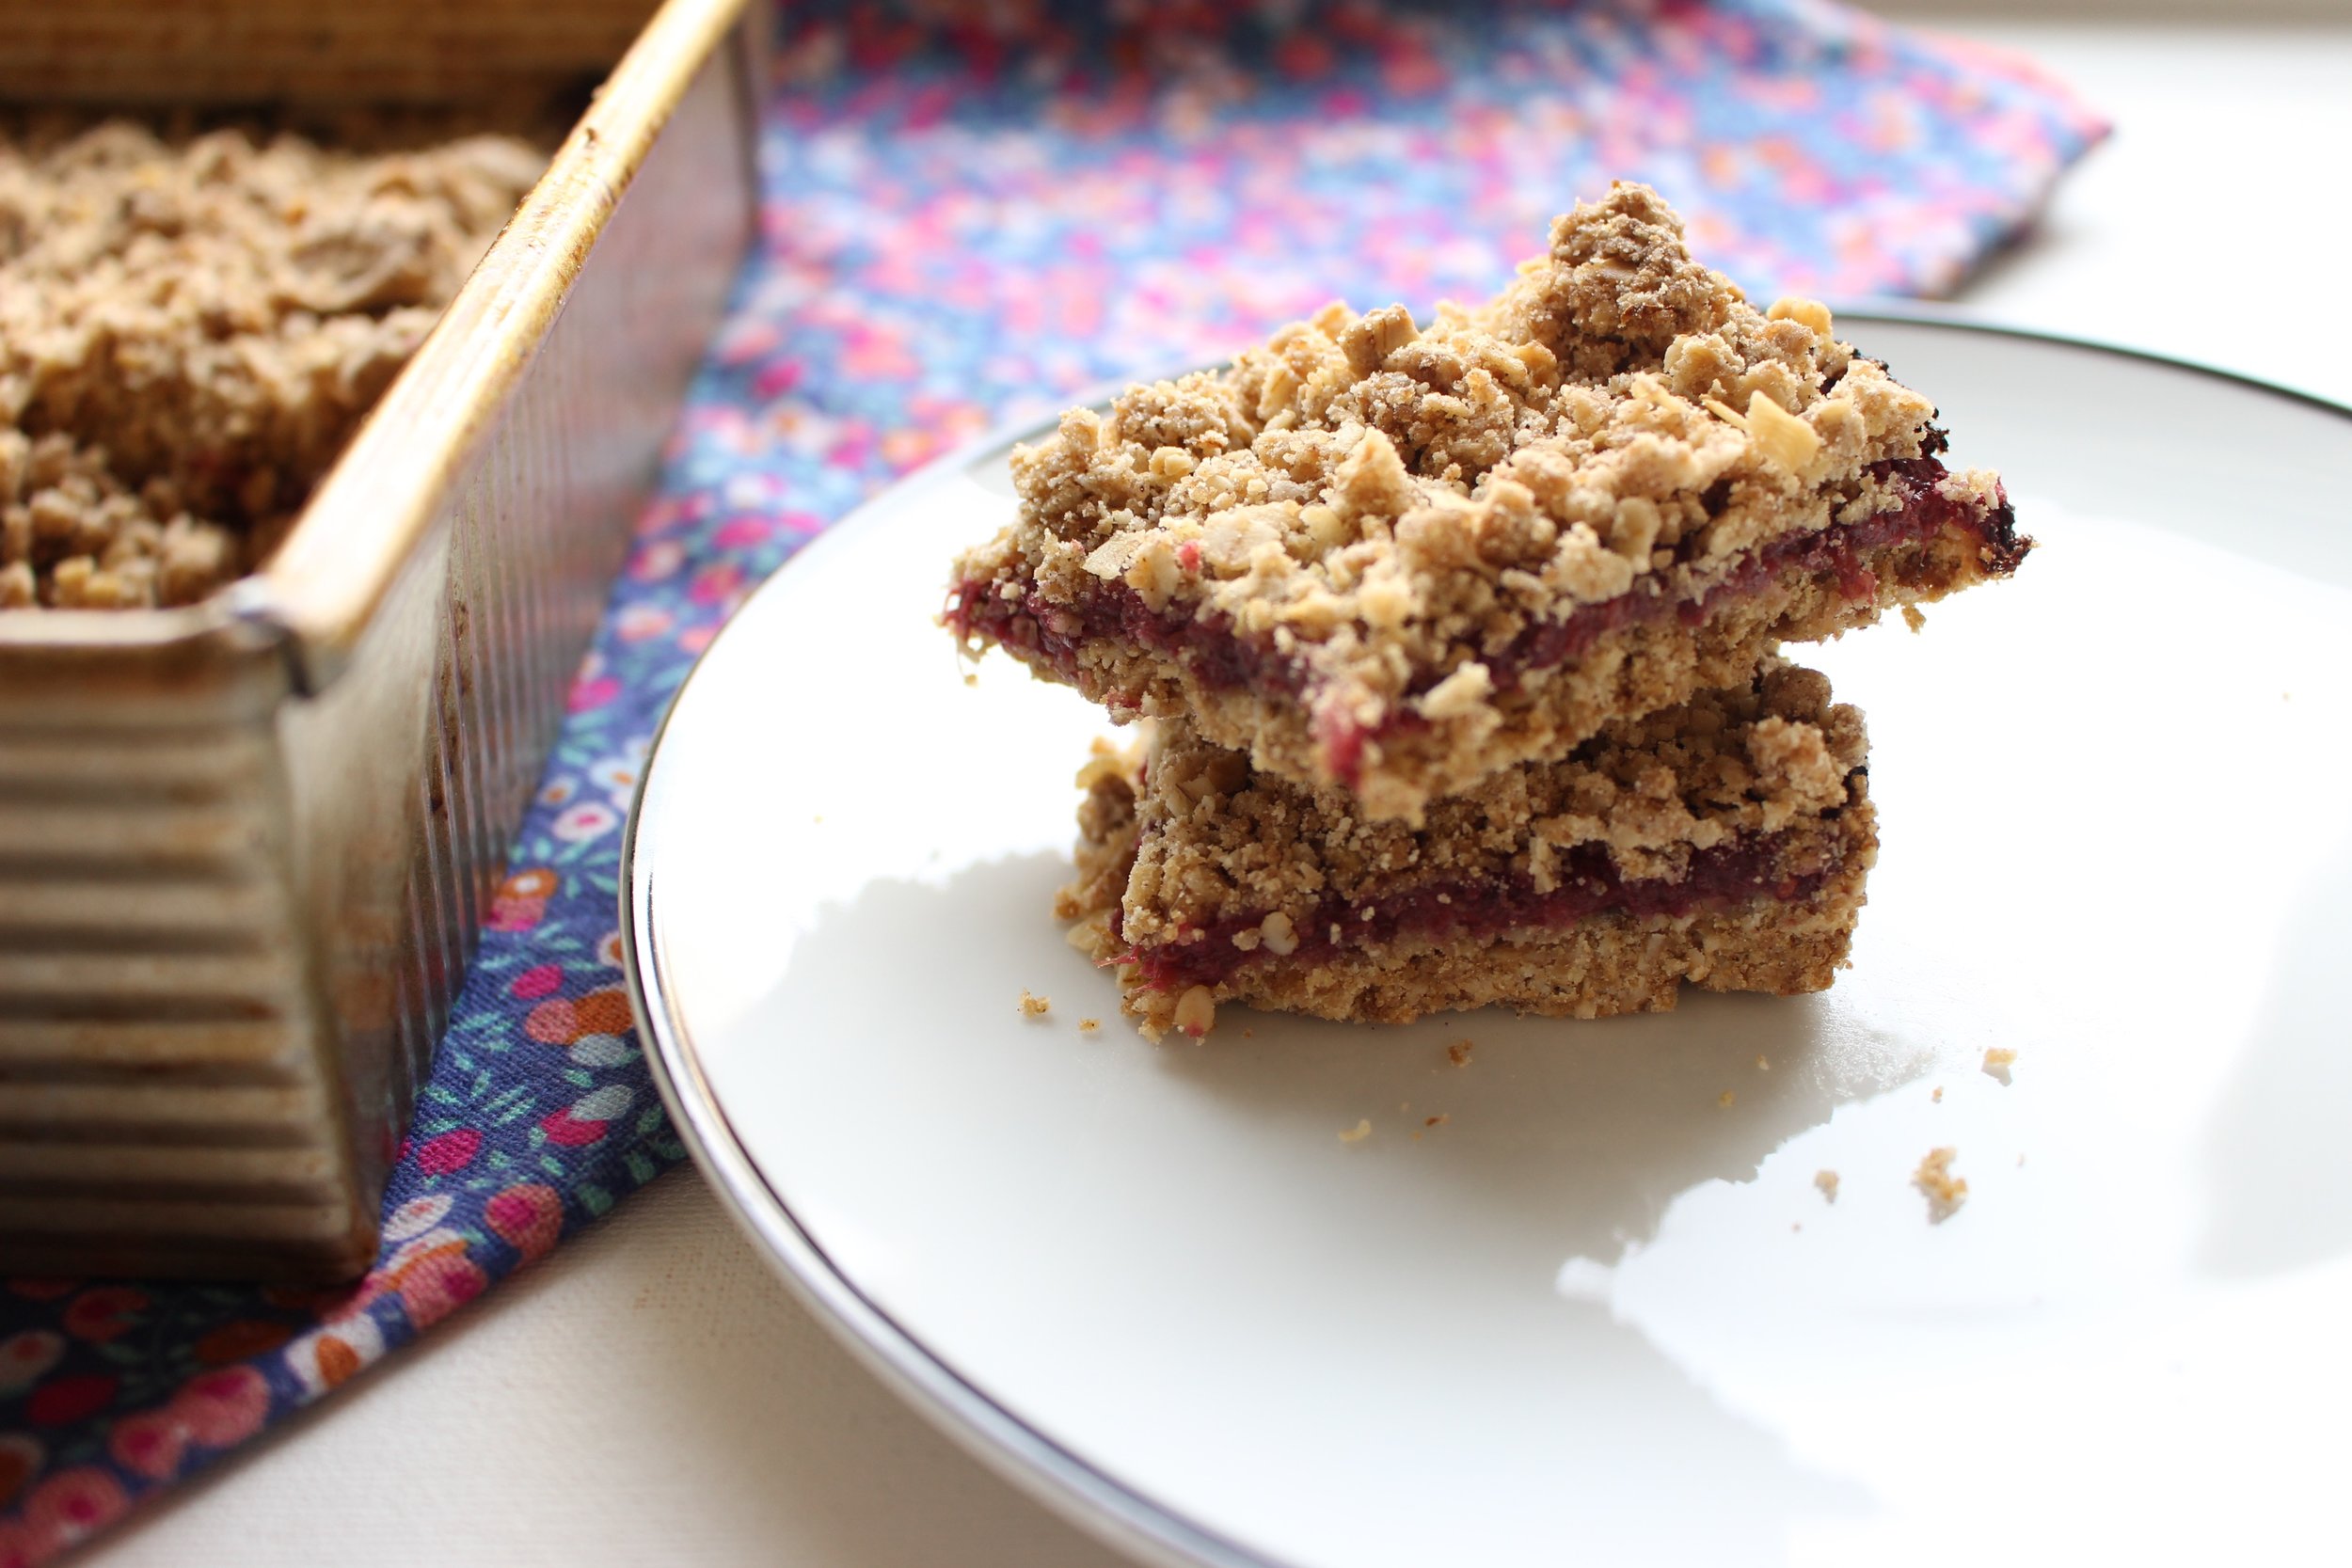
This is as easy as dessert/snack/breakfast gets. One bowl, no extra tools, and the same batter for the base and the top crumble. This recipe also uses gluten-free flour and clarified butter, so it's free of gluten, dairy, nuts, and eggs. And I've used as little butter and sugar as possible to maximize health without losing out on taste and texture.

IMG_7625.jpg

This dough is definitely crumbly, but packs down nicely with a rubber spatula. If it's too crumbly, feel free to add an extra tablespoon or two of butter.

IMG_7629.jpg

Raspberry rhubarb chia jam bars

For the jam:
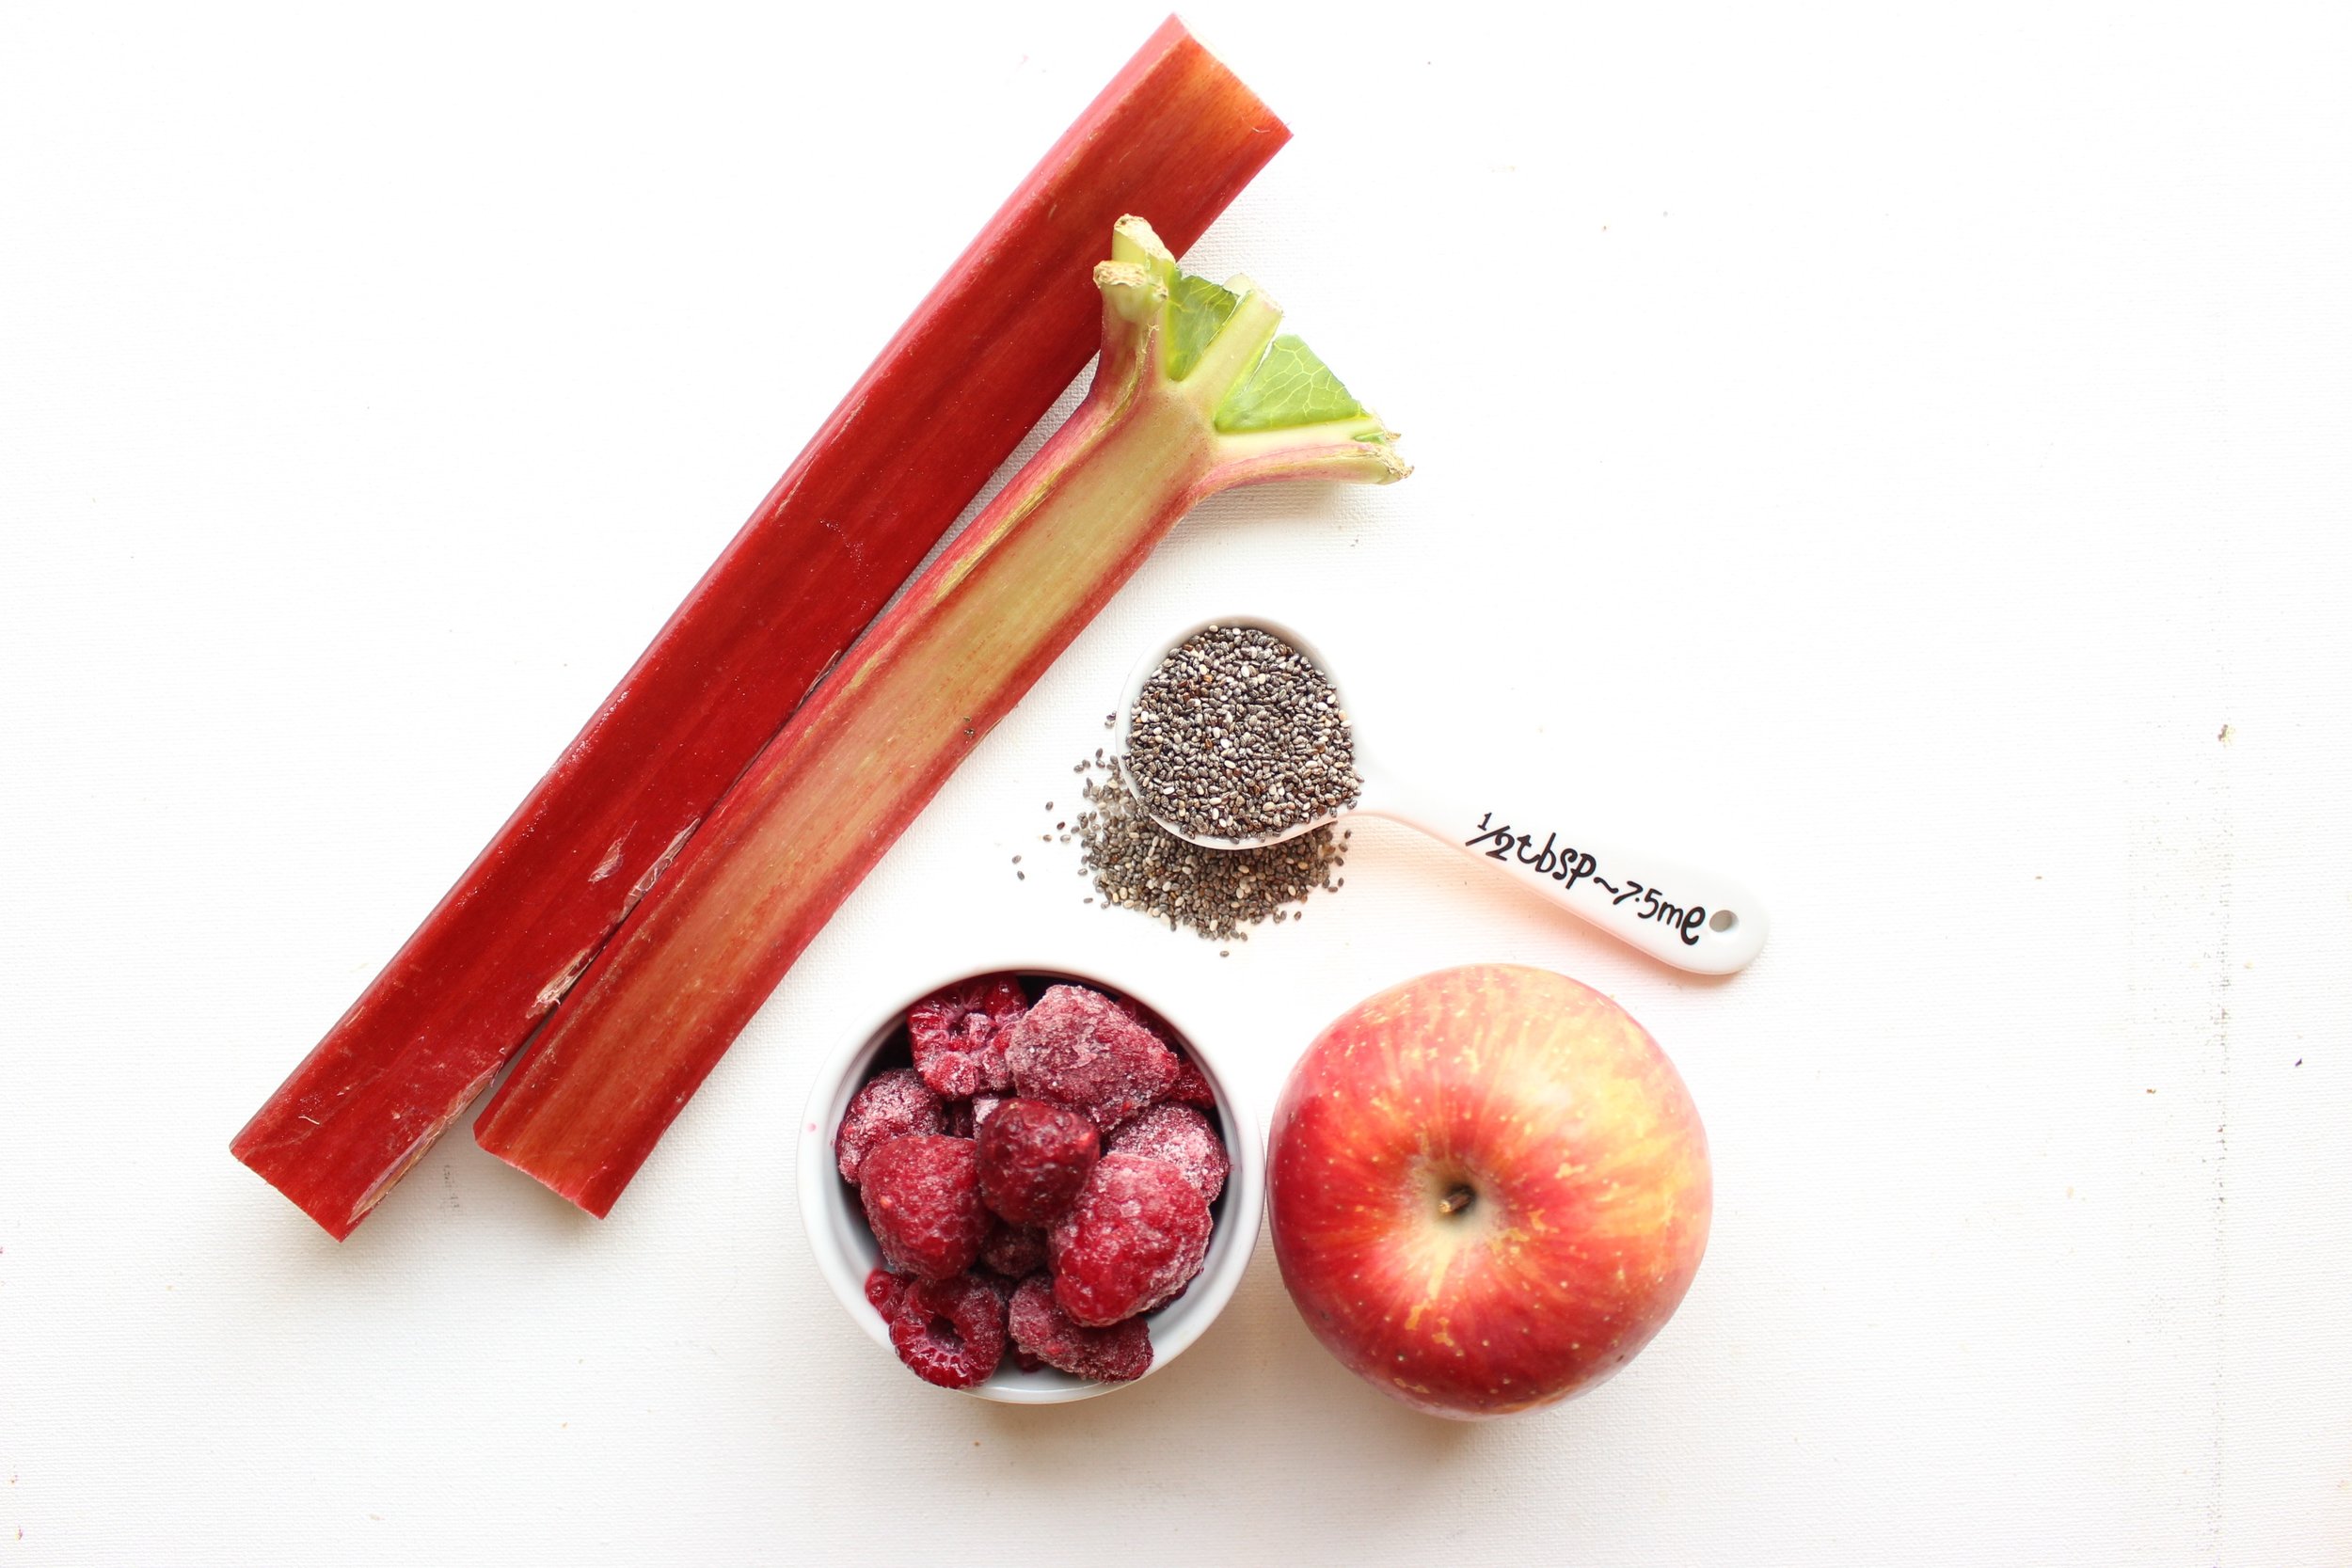
12 oz frozen raspberries (one package or about 1 ½ cups)
2 cups rhubarb, chopped
2 large green apples, peeled and chopped
1 Tbsp water
4 Tbsp chia seeds  

Add raspberries, rhubarb and green apples to a medium pot. If your berries are still frozen, add 1 tablespoon of water to get things started. If your berries have unfrozen and there’s some liquid in your bag, skip the extra water and just start cooking.

Bring to a boil and reduce heat to medium or medium low and simmer, stirring occasionally, until the fruit is falling apart and the liquid has largely evaporated or become syrupy, about 20 minutes. Let cool slightly and add the chia seeds. Cool in the fridge for 30-60 minutes before using.

Yield: About 3 cups


For the bars:
1.5 cups gluten free flour
1.5 cups quick oats
½ cup brown sugar, packed
½ tsp baking soda
½ tsp cinnamon
¼ tsp cardamom
½ tsp kosher salt
Zest of 1/2 large lemon
8 Tbsp clarified butter
4 Tbsp ice water
1.5 cups chia jam (see recipe above)

Preheat the oven to 350. Grease a 9x9 brownie pan with clarified butter or olive oil and set aside.

In a large bowl, combine the flour, oats, brown sugar, baking soda, cinnamon, cardamom, and salt and mix well.

In a small bowl, melt some clarified butter. Measure the butter when melted and add to the dry ingredients, stirring after adding each tablespoon. Add the ice water, also stirring between additions.

Pack about 2/3 of the mixture into the bottom of your brownie pan with a rubber spatula or wet hands. Top with the chia jam and smooth out. Crumble the rest of the oat mixture over the chia jam. If possible, pack some of the oat mixture into larger pieces and place those on top.

Bake for 40 minutes or until the edges begin to darken slightly.

Let cool completely before cutting.

Yield: 16 pieces

IMG_7660.jpg
IMG_7664.jpg

Instant pot chicken mole

IMG_7598.jpg

That's right. Mole. In an instant pot.

Now, hear me out. I don't claim that this mole is in ANY WAY authentic, but what is an authentic mole anyway? It seems to me that there are characteristics that qualify a sauce as mole, but that there is no one recipe to rule them all.

Now, I also realize that this dish is usually made with a huge list of spices and chiles, most of which you have to toast or hydrate, and that traditionally, these spices are ground by hand with a mortar and pestle.

But, WHO HAS THAT KIND OF TIME? Surely not parents of toddlers. 

IMG_7612.jpg

Instead, you can toss everything into an instant pot and have a really complex dinner on the table in about an hour (with most of that time being hands off).

The most time consuming part of the process here is reducing the sauce after the chicken has been pressure cooked. You'll want to saute the liquid until it reduces by about half and when you scrape the bottom of the pot, the sauce doesn't re-cover the metal right away. That will be a good indication that the sauce is thick enough.

The sauce before thickening.

The sauce before thickening.

The sauce after being reduced. See how the sauce doesn't cover the metal right away?

The sauce after being reduced. See how the sauce doesn't cover the metal right away?

IMG_7617.jpg

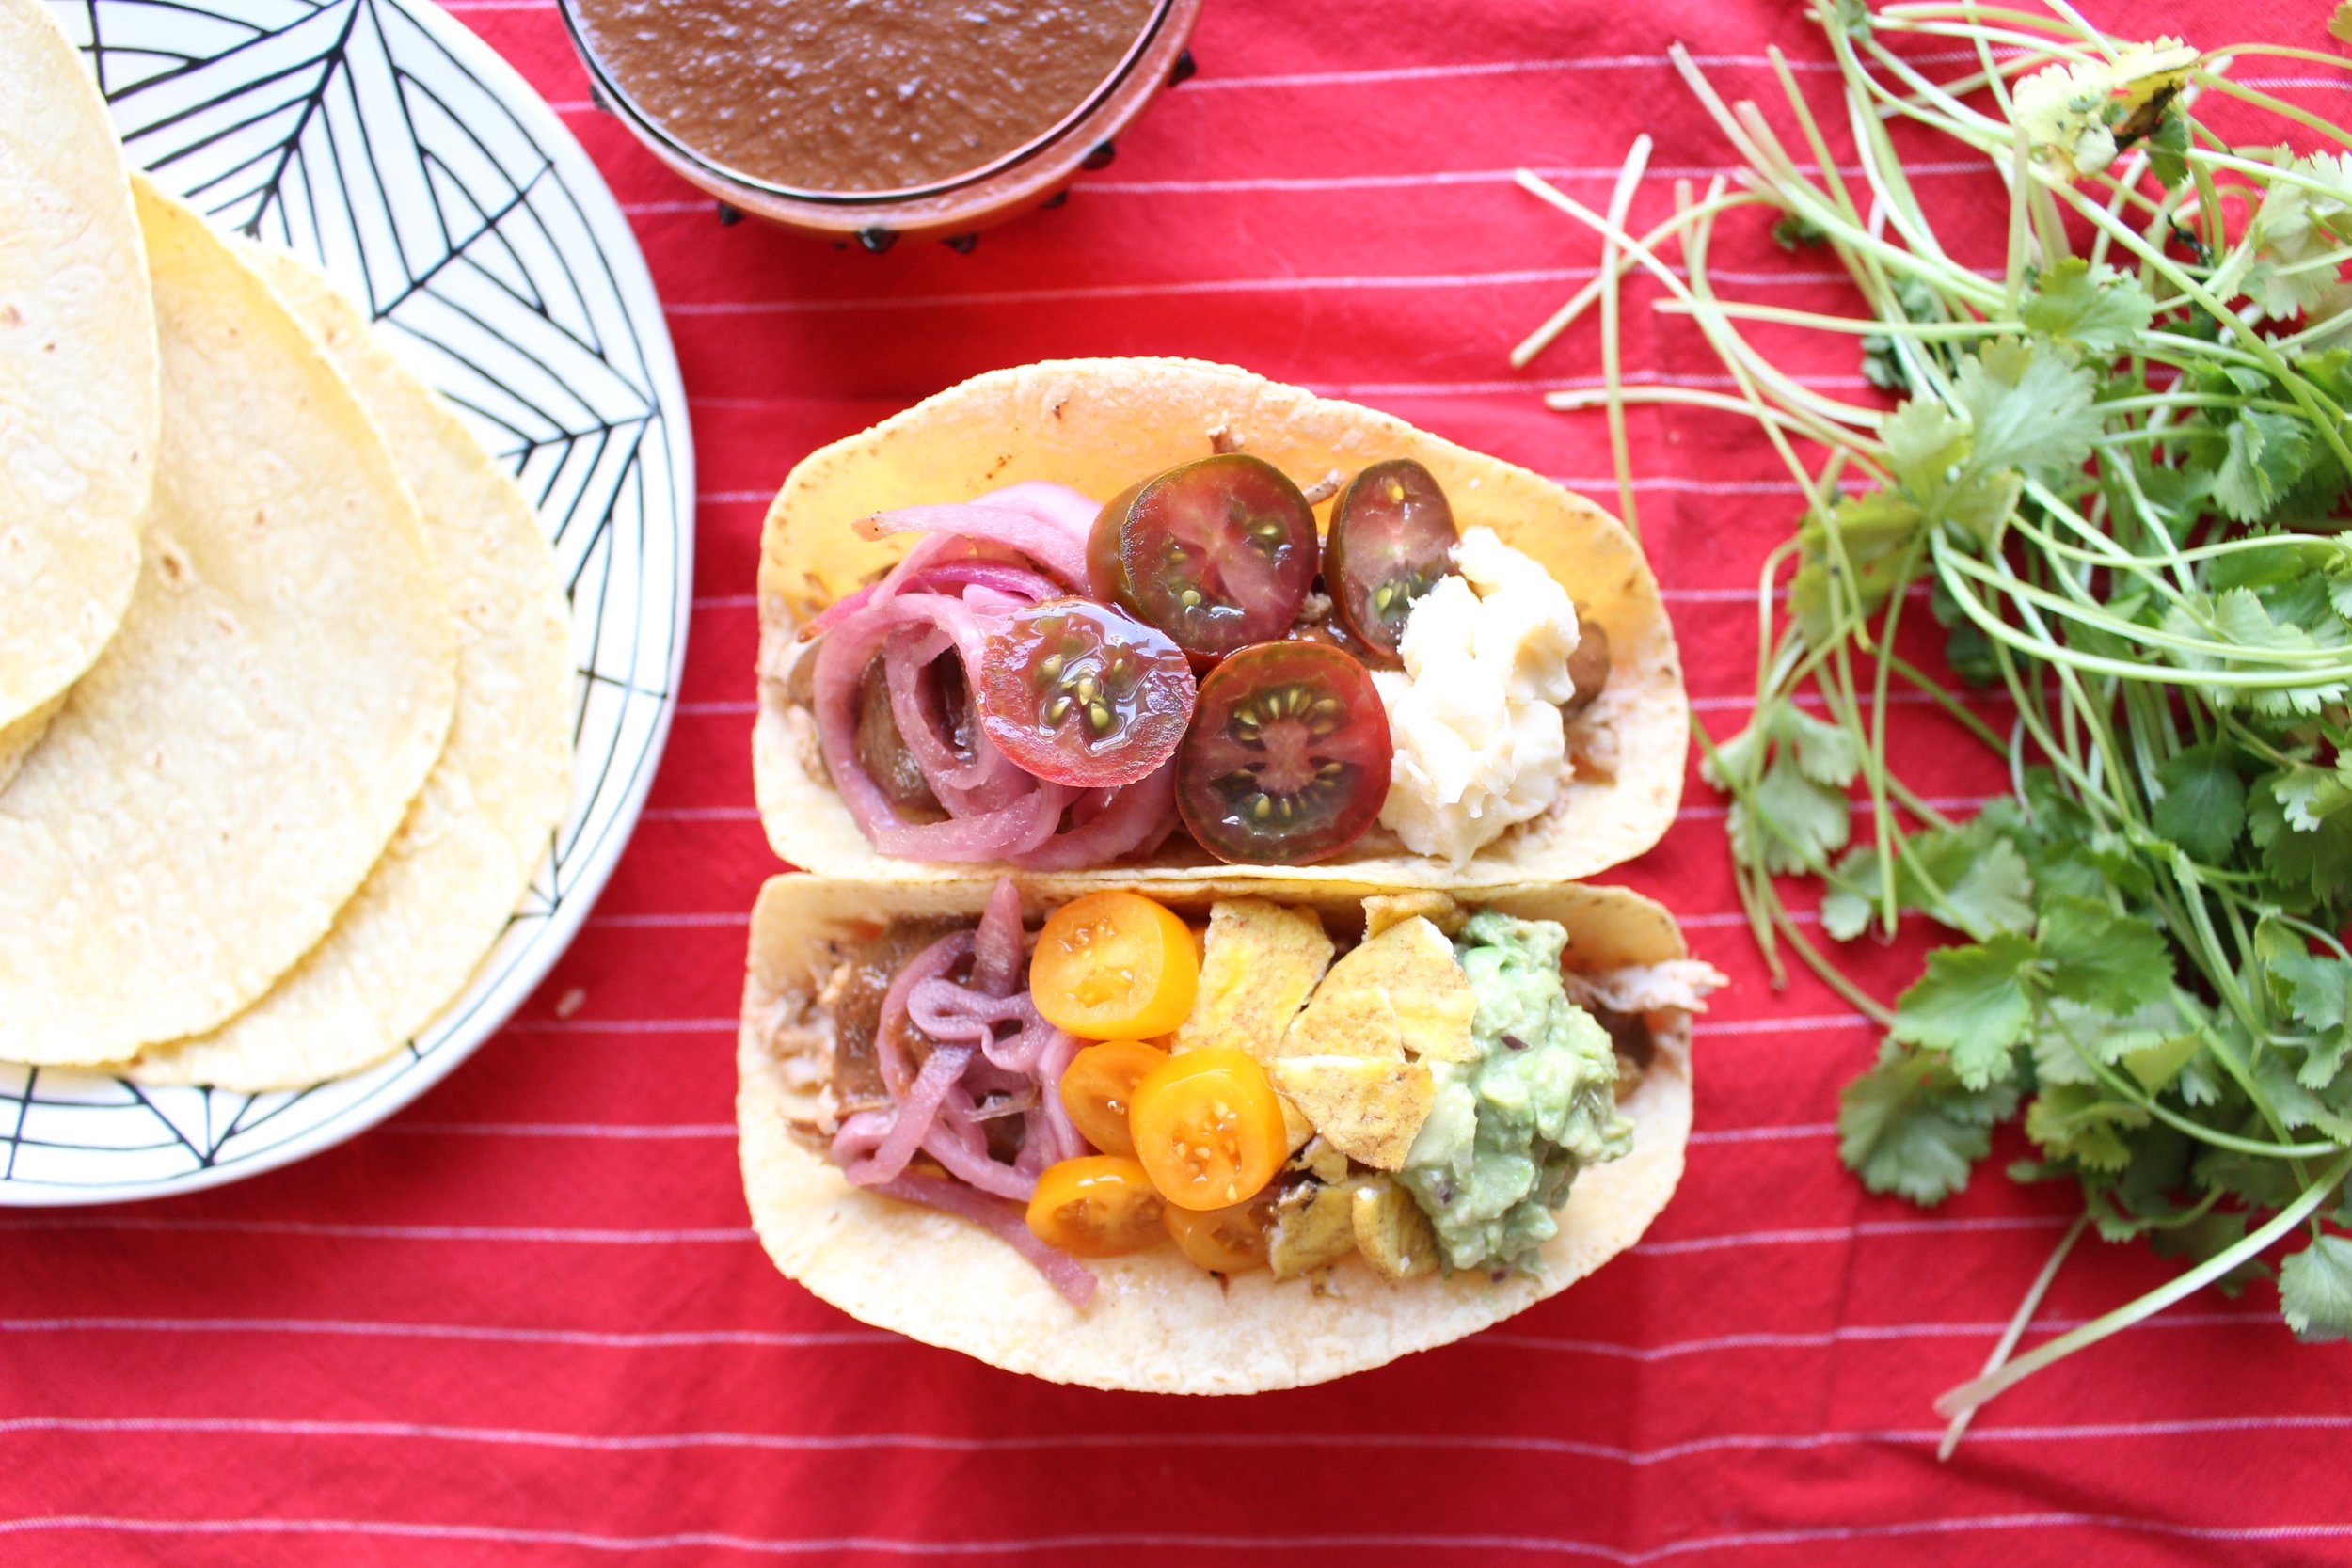
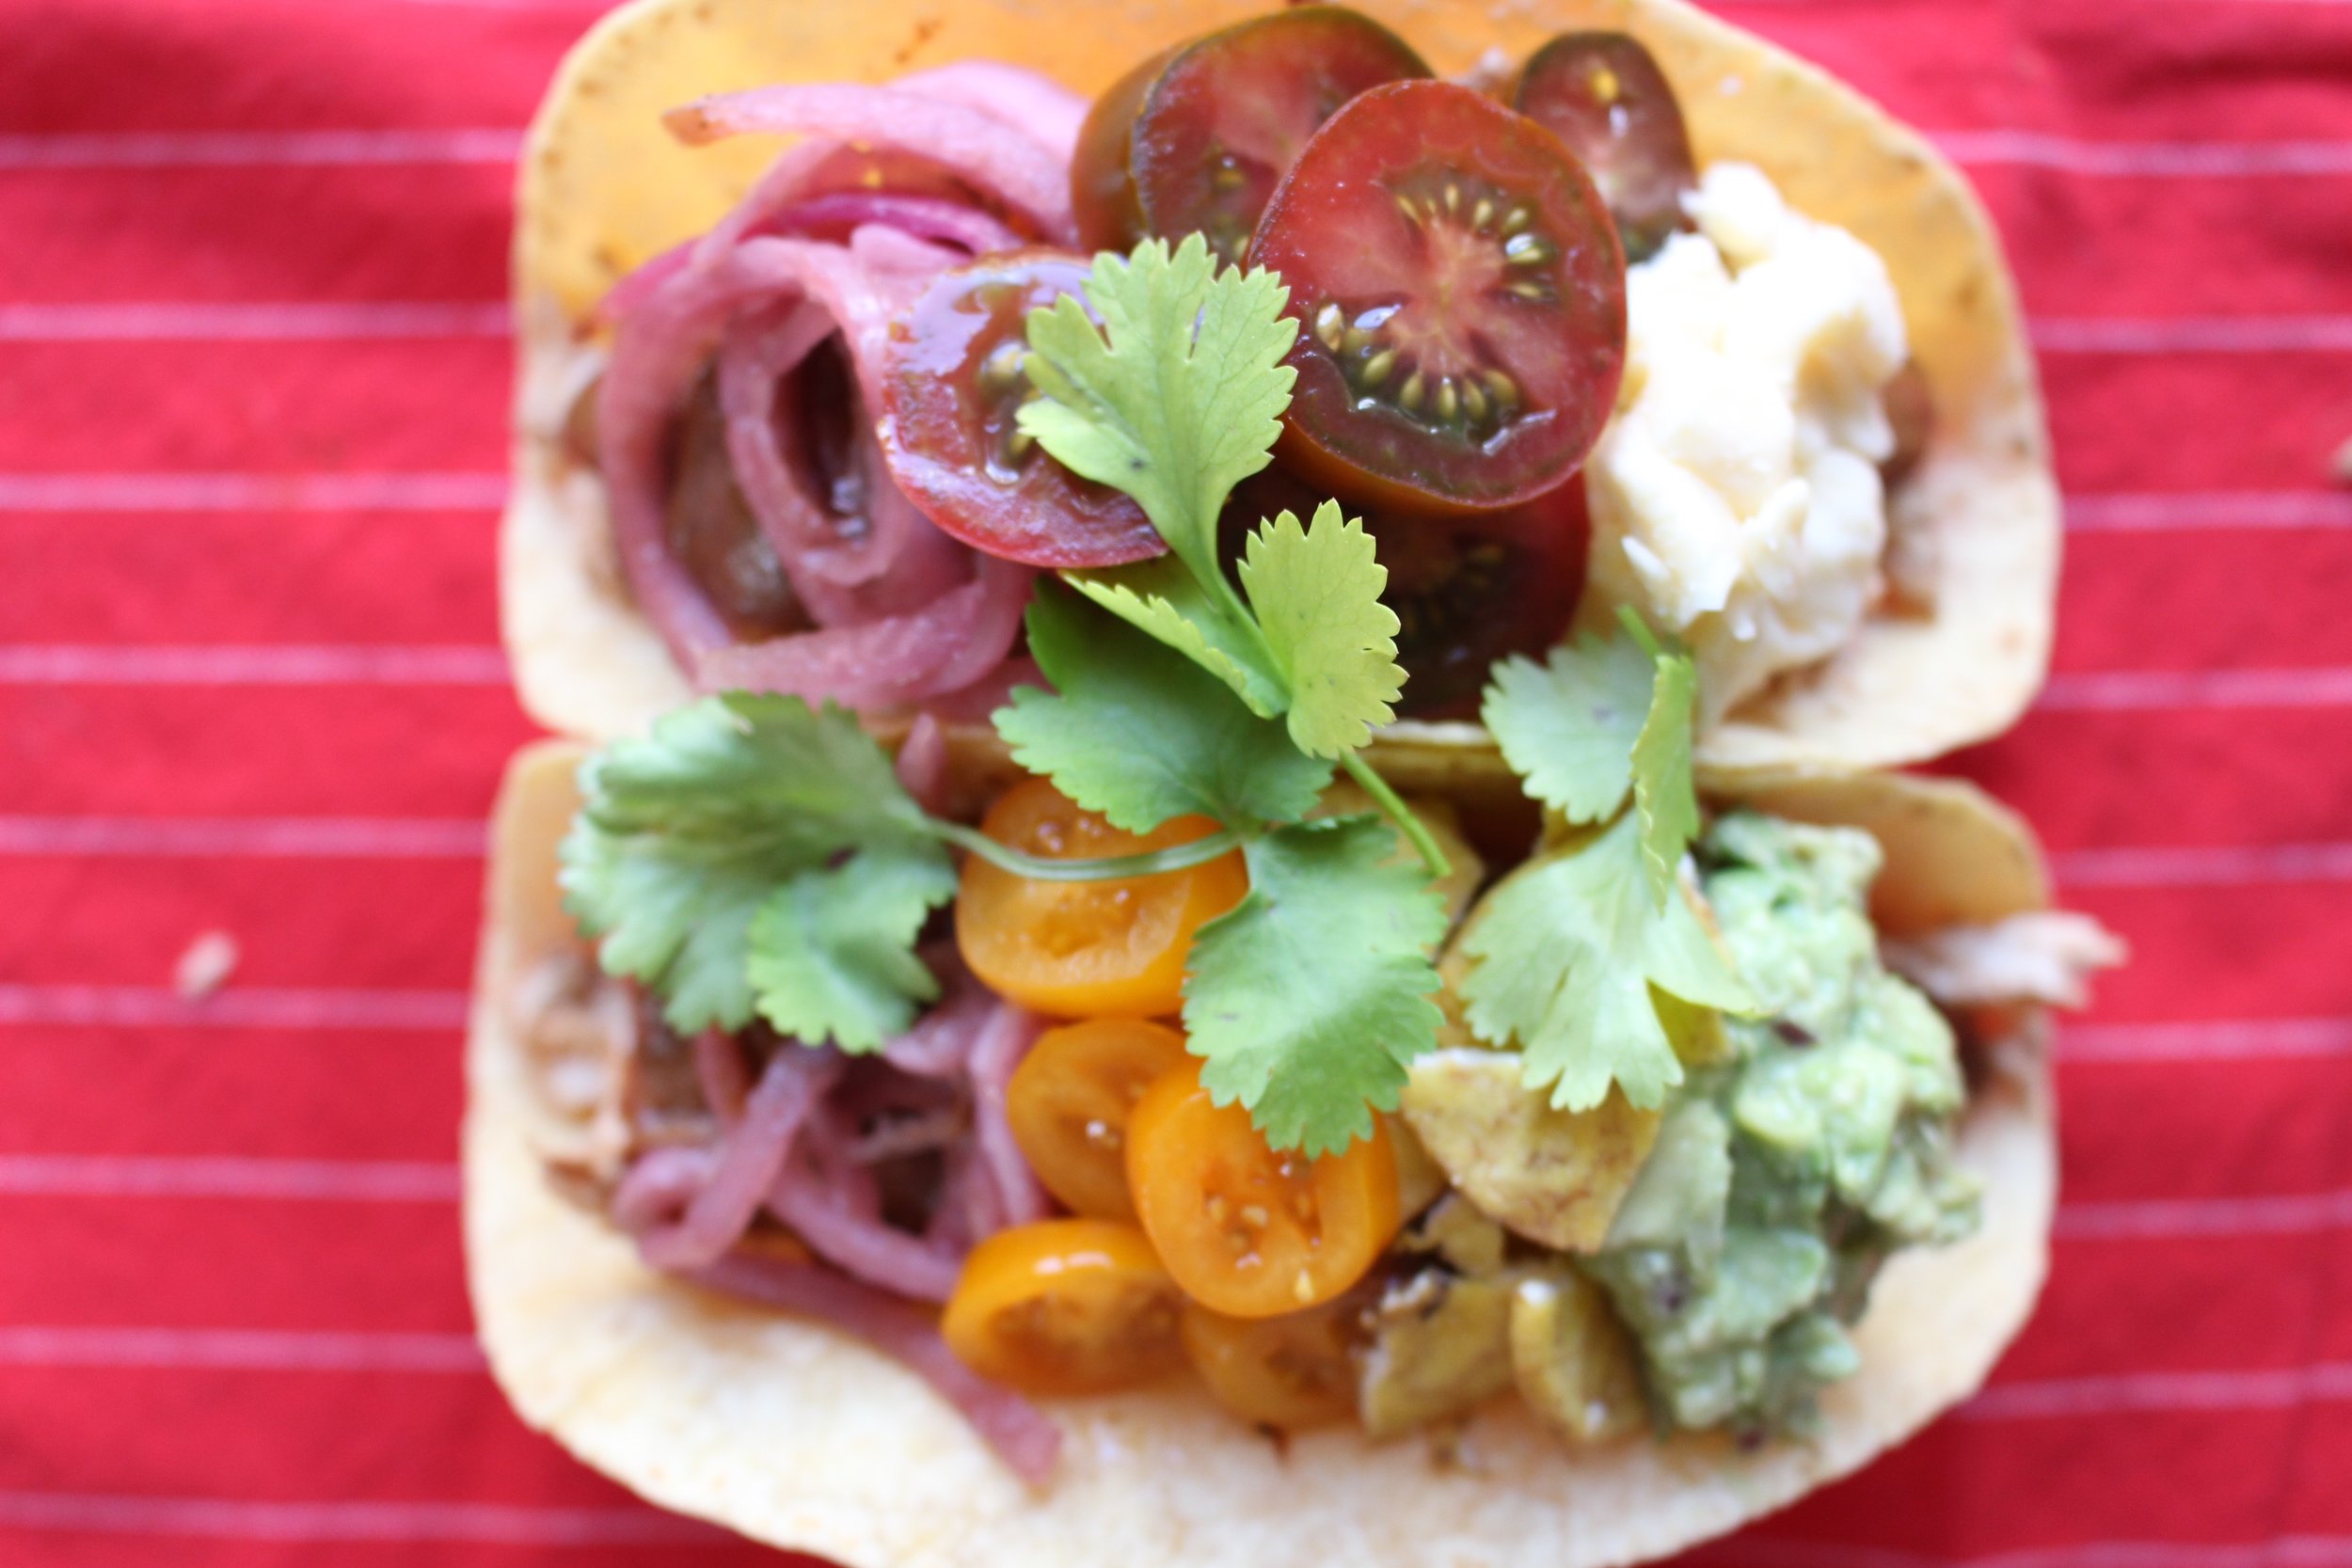
This dish is great over white rice, brown rice, cauliflower rice, in a taco, in a lettuce cup: you get the picture. The ingredients all comply with Whole 30, which means it's gluten, dairy, and refined-sugar free. You can also swap in seed butter for the almond butter if you need to avoid nuts.

IMG_7584.jpg

Instant pot chicken mole

1 cup chicken stock
1 cup chopped tomatoes in liquid
1 Tbsp chili powder
1.5 Tbsp cocoa powder
1/4 tsp cinnamon
1/8 tsp cloves
1/2 tsp kosher salt
2 large garlic cloves, peeled and quartered
½ red onion, roughly chopped
1 Tbsp chipotle in adobo
¼ cup golden raisins
2 Tbsp almond butter
2 lbs boneless, skinless chicken breasts

Place all of the sauce ingredients in your instant pot and whisk to combine. Add the chicken breasts and scrunch them around to make sure that there is liquid surrounding the pieces.

Close the instant pot and cook on high pressure for 15 minutes. Release the steam manually and remove the chicken. Check the doneness of the chicken with a thermometer (it should read at least 165).

Turn the Instant pot off and then back on with the sauté function on medium. Saute until the remaining liquid has reduced by half and thickened significantly, about 20 minutes (you should be able to scrape the bottom of the pot and see the metal for a second before the sauce covers over it). Let cool slightly.

Add the liquid to a blender and blend until smooth.

Serve the chicken with 1/4 of the sauce and any other garnishes and accessories that you want.

Yield: 4 grown-up servings

IMG_7610.jpg
IMG_7606.jpg

Turkey and kale spanakopita

IMG_7561.jpg

Aack! Monday! (I am a Kathy comic, in case you were wondering.)

Monday, you're a bummer. What should be a fresh start is always an uphill climb for me. Weekends with a toddler are exhausting and getting back on schedule is tough after two days of loosening the reigns. Enter, spanakopita: An easy, healthy, and totally customizable way to keep your food making and eating on track.

IMG_7544.jpg
IMG_7552.jpg

Spanakopita is a traditional Greek dish that usually employs spinach and a lot of spices (dill, oregano, etc). However, while I love spinach, M does not. And dill is my MORTAL ENEMY. So, this is my version, which uses kale, turkey, feta, oregano, and Aleppo pepper and wraps everything up in a freeform galette.

The beauty of this dish is in its adaptability. Skip the meat for a veggie version or use ground lamb, ground beef, or shredded rotisserie chicken. If you can't find frozen kale, any frozen greens will do. But, definitely use frozen veggies that you thaw and squeeze dry instead of anything fresh.

IMG_7555.jpg

Don't be intimidated by filo dough. While it can dry out and crack relatively fast, we're talking about a few minutes, not a few seconds. Some people recommend covering the dough with a lightly damp towel while others recommend brushing butter or olive oil on each layer. I say, if you organize your ingredients and work fast, you don't need to do any of those things. At least, not for this recipe.

*One quick note: I completely forgot to add the eggs when I made this dish for the photos! See also: "Aack! Monday!" So, yours will be considerably less crumbly than these photos imply. However, if you happen to forget the eggs in yours, it will still be delicious.

IMG_7568.jpg


Turkey and kale spanakopita

1 lb frozen kale (or spinach or collard greens or mixed greens, whatever you like), thawed and squeezed
2 Tbsp olive oil, divided
1 lb ground turkey
2 cloves garlic
¼ tsp aleppo pepper or ¼ tsp smoked paprika + 1/8 tsp cayenne
½ tsp oregano
6 oz crumbled feta (or about 1½ cup)
3 eggs
6-8 sheets of filo dough

Preheat oven to 350.

If the kale is straight from the freezer, empty the bag into a large bowl and microwave for 2-3 minutes, just until the ice has melted. Squeeze well with a cloth or paper towel to get out as much moisture as possible. Set aside.

Saute the turkey just until no pink remains, breaking into tiny pieces with the back of a spoon while cooking. Add the garlic, Aleppo pepper, oregano, and salt and cook for one more minute, or until fragrant. Add to the bowl with the squeezed kale.

Add feta to the large bowl and mix well. Taste for seasoning before adding the eggs and adjust accordingly. Add all three eggs and mix well.

Prep your workspace before opening your filo package. Cut a piece of parchment and place on a baking sheet. Have your bowl of fillings and a small bowl and brush or spray can of olive oil ready.

Next, unwrap and unroll the package of filo and, working quickly, lay out one sheet of the dough. Then, take the next sheet and rotate it slightly so that the points of the sheet underneath stick out. Repeat, rotating the third sheet of filo in the other direction. Repeat the first three steps again exactly until you have six sheets of filo in a rough star shape. (See photos to better illustrate what I mean.)

Dump the filling mixture into the middle of the six filo sheets and spray or brush the filling and the filo with olive oil. Then, wrap the sides of the filo over the filling. If there is a very large gap in the center revealing a lot of the filling, crinkle up one or two more sheets of filo and stick them on the top. Spray or brush the whole packet with olive oil.
Bake for 25-30 minutes or until the top is golden brown.

Yield: 4-6 servings

IMG_7565.jpg
IMG_7571.jpg
IMG_7576.jpg

Sheet pan dinner: Miso fish with edamame and corn succotash

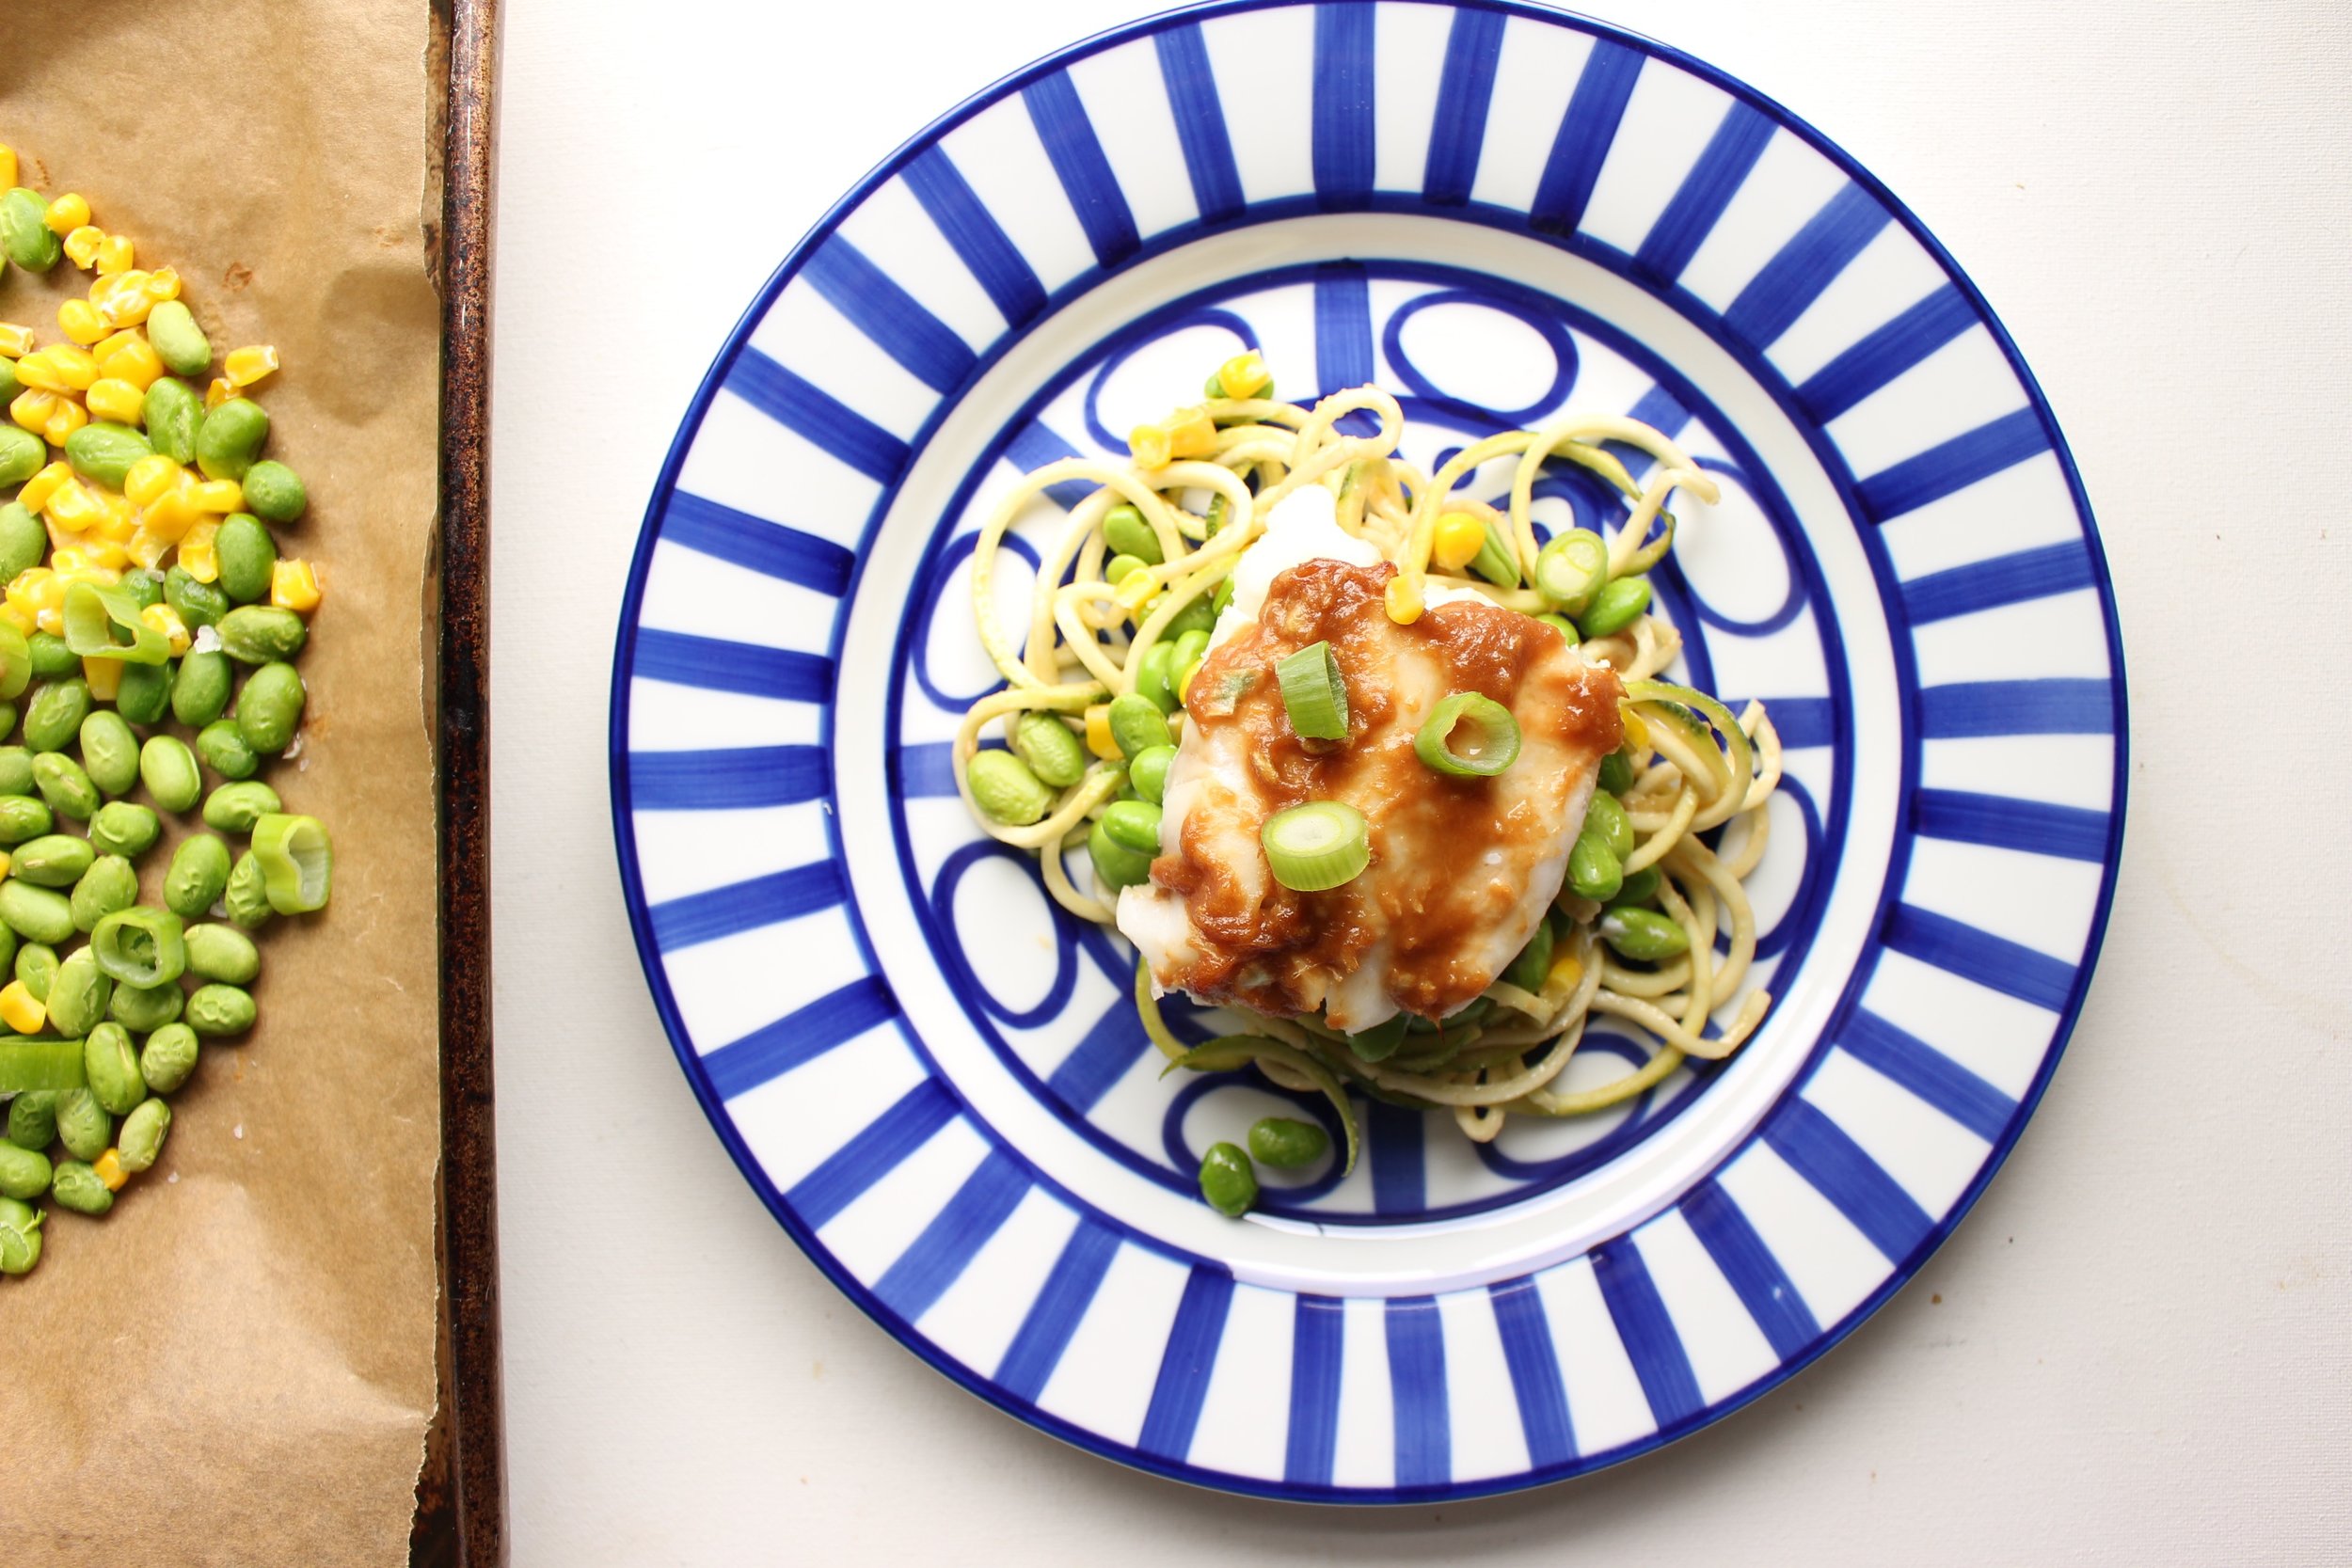
Miso fish with edamame and corn succotash is maybe the easiest, fastest, heathiest, and cleanest meal I know how to make.

This might actually be the fastest dinner I know how to make. These are white fish steaks, but if you go for flatter, thinner fillets, it's even quicker! Either way, this dish is certainly faster than ordering bad-for-you takeout.

And this week, we definitely needed some easy, healthy dinners to help avoid the end-of-day, burned-out, bad decisions that sometimes happen at dinner time. I've been home with a super sick kid for the past few days and after just two weeks of M being in preschool, I forgot how exhausting it is to take care of a small person all day.

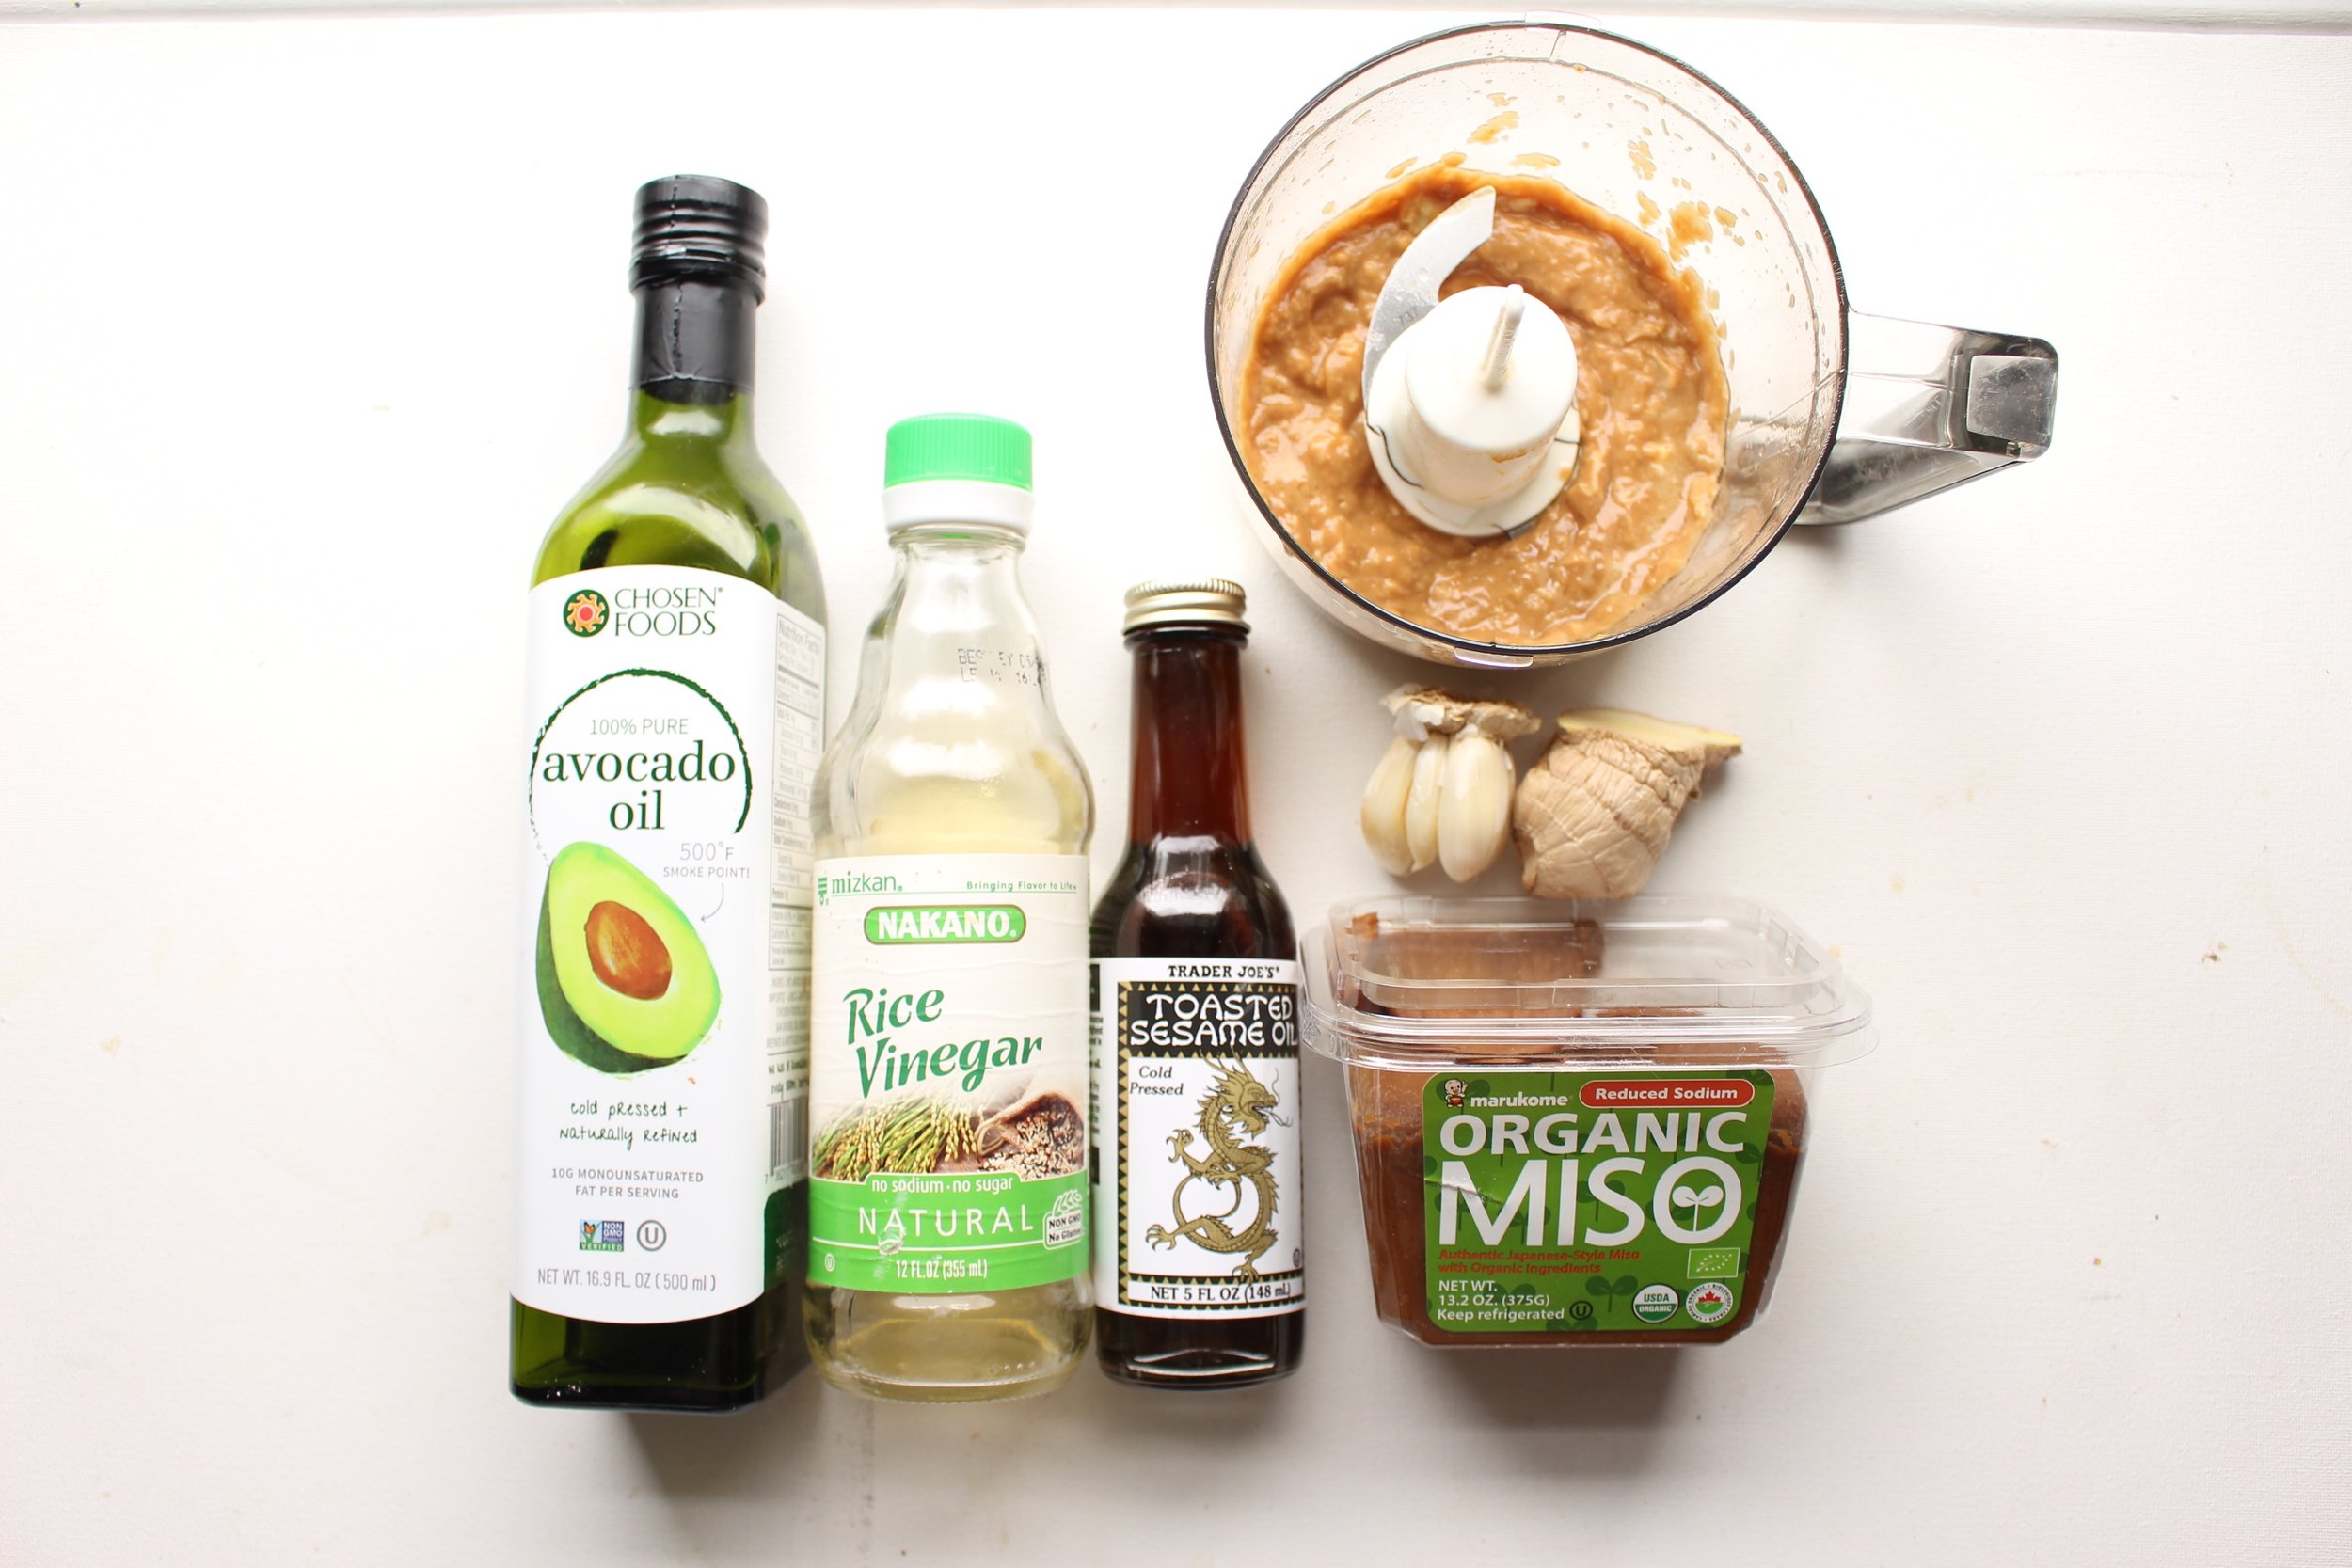
Miso marinade is a simple mixture of garlic, ginger, sesame oil, neutral oil, and rice vinegar. Whizzing the whole mess in a food processor means that you don’t have to chop anything.

What I love about this dish is that it tastes kind of subtle. It's tangy and salty and certainly flavorful enough for the adults and older kids, but mild enough for the younger set if they don't love strong flavors.

Miso, ginger, garlic, oil, sesame, and vinegar make for a tangy, sweet, flavorful marinate that perks up the bland white fish.

The sauce really makes this dish. It requires miso paste, which you might not have on hand, but is super easy to find at the grocery store or Japanese specialty store. If needs must, you can order it on amazon. I used a red miso paste, but red or white would work fine in this recipe.

Add some butter mid-way through cooking this sheetpan dinner for some added richness.

Because miso tends to be really salty, I don't add any extra sodium to this dish, but feel free to add a pinch at the end if that suits your taste.

Sheet pan dinner: white fish with miso, edamame, and corn succotash

Miso fish with edamame and corn succotash

For the sauce:
4 Tbsp miso
2 large garlic cloves
2-inch piece of ginger, peeled
2 Tbsp avocado or other neutral oil
2 Tbsp sesame oil
2 Tbsp rice vinegar
1/8- ¼ tsp red pepper flakes (optional)

1½-1¾ lb white fish (about 4-5 medium steaks)
2 cups frozen edamame (shelled)
1 ½ cups frozen corn kernels
1 Tbsp salted butter, cubed

For serving:
2-3 large scallions, sliced
2-3 large zucchini, spiralized into noodles –or-
1 package of soba noodles, cooked according to directions –or-
4-5 cups brown rice, cooked according to directions

Preheat oven to 375. Make your sauce by placing all of the ingredients in a food processor and blitzing until the sauce resembles chunky peanut butter. Set aside.

Scatter the frozen edamame and corn over the sheet pan. Place your fish on top of the veggies and spread a scant tablespoon of the sauce over each filet.

Bake for 8-10 minutes, until the fish starts to flake fairly easily with a fork. 

Remove the pan and scatter small cubes of butter around the veggies. Return to the heat and cook for 4-5 more minutes. Remove from the oven and top with sliced scallions.

Mix half of the leftover sauce with your zoodles, noodles, or rice and then add more to taste. Top each serving of zoodles, noodles, or rice with one fish filet and a portion of the veggies.

Yield: 4-5 servings, depending on how many fish steaks you use.

Eat this roasted fish with edamame and corn over zucchini noodles or soba noodles.
Sheet pan dinner: Miso fish with edamame and corn. Quick, easy, healthy, and delicious.


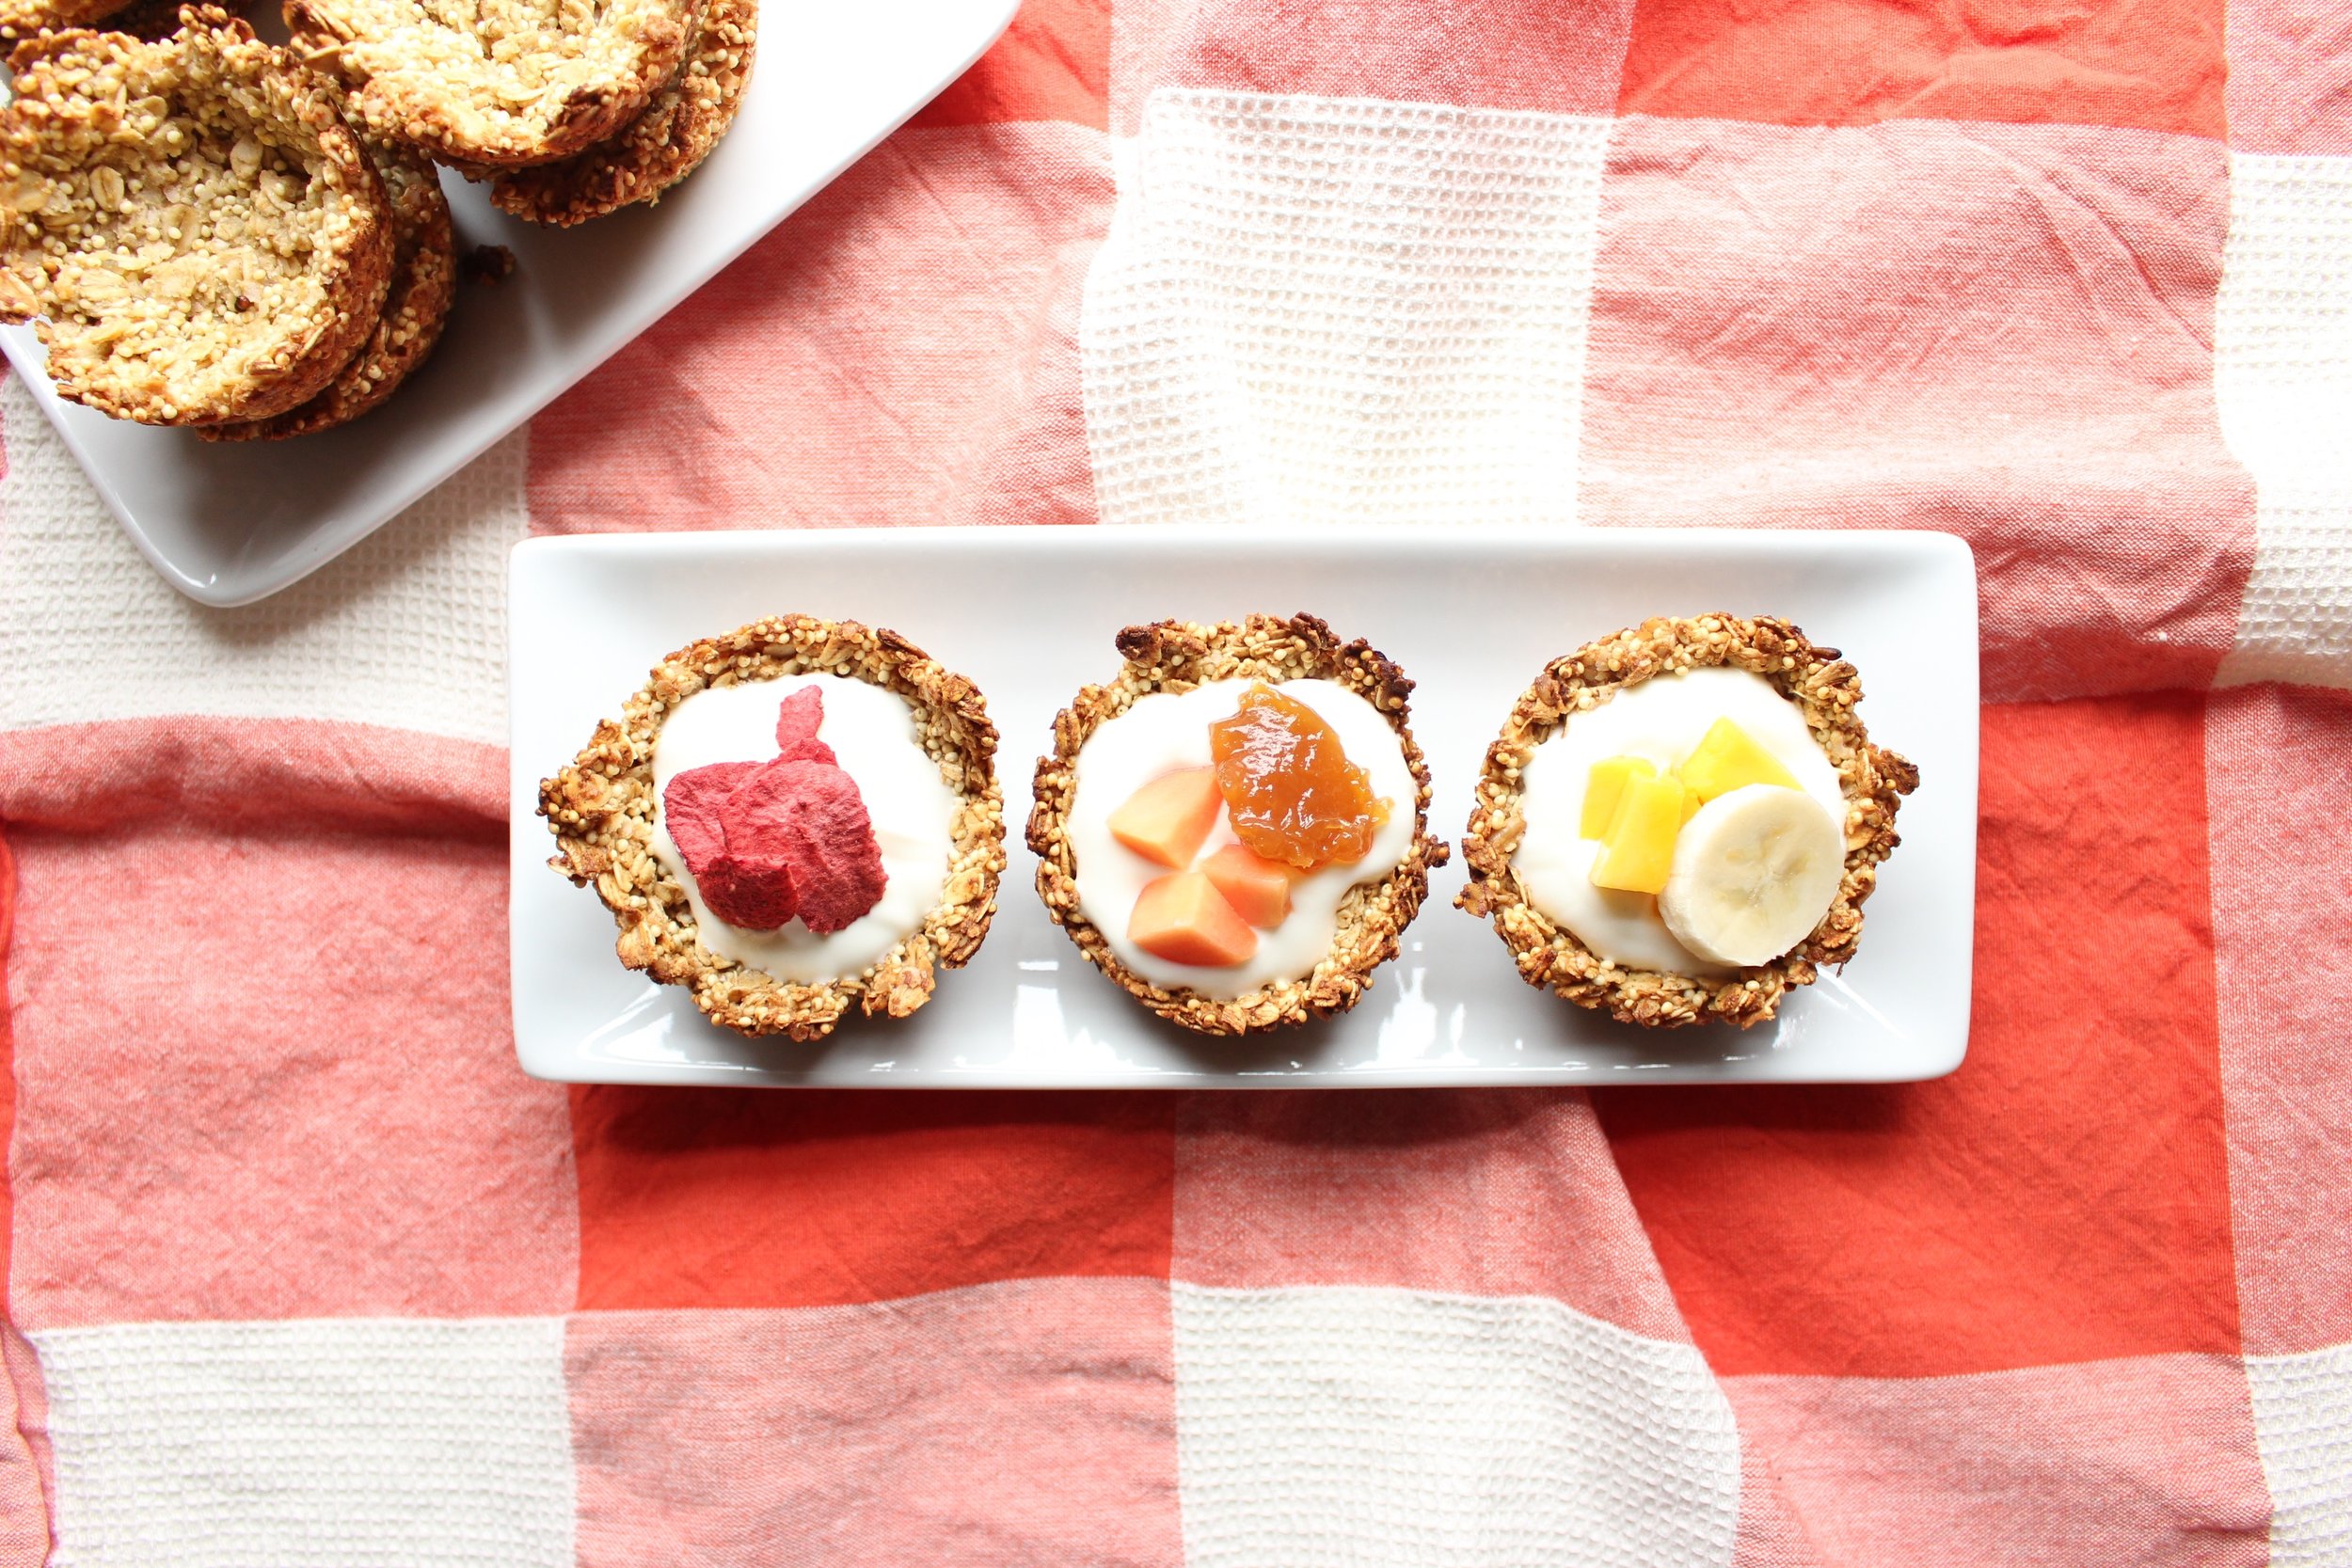
Granola cups

IMG_7469.jpg

So, lunch at school. Do your kids actually eat it? M's eating is hit or miss. Though I pack his favorites, the school lunchroom seems to render them inedible. Fancying things up with cookie cutters and toothpicks seems to increase his interest. However, I'm pretty sure that the amount of effort I put into his lunches is inversely proportional to how much of it he actually eats.

IMG_7445.jpg

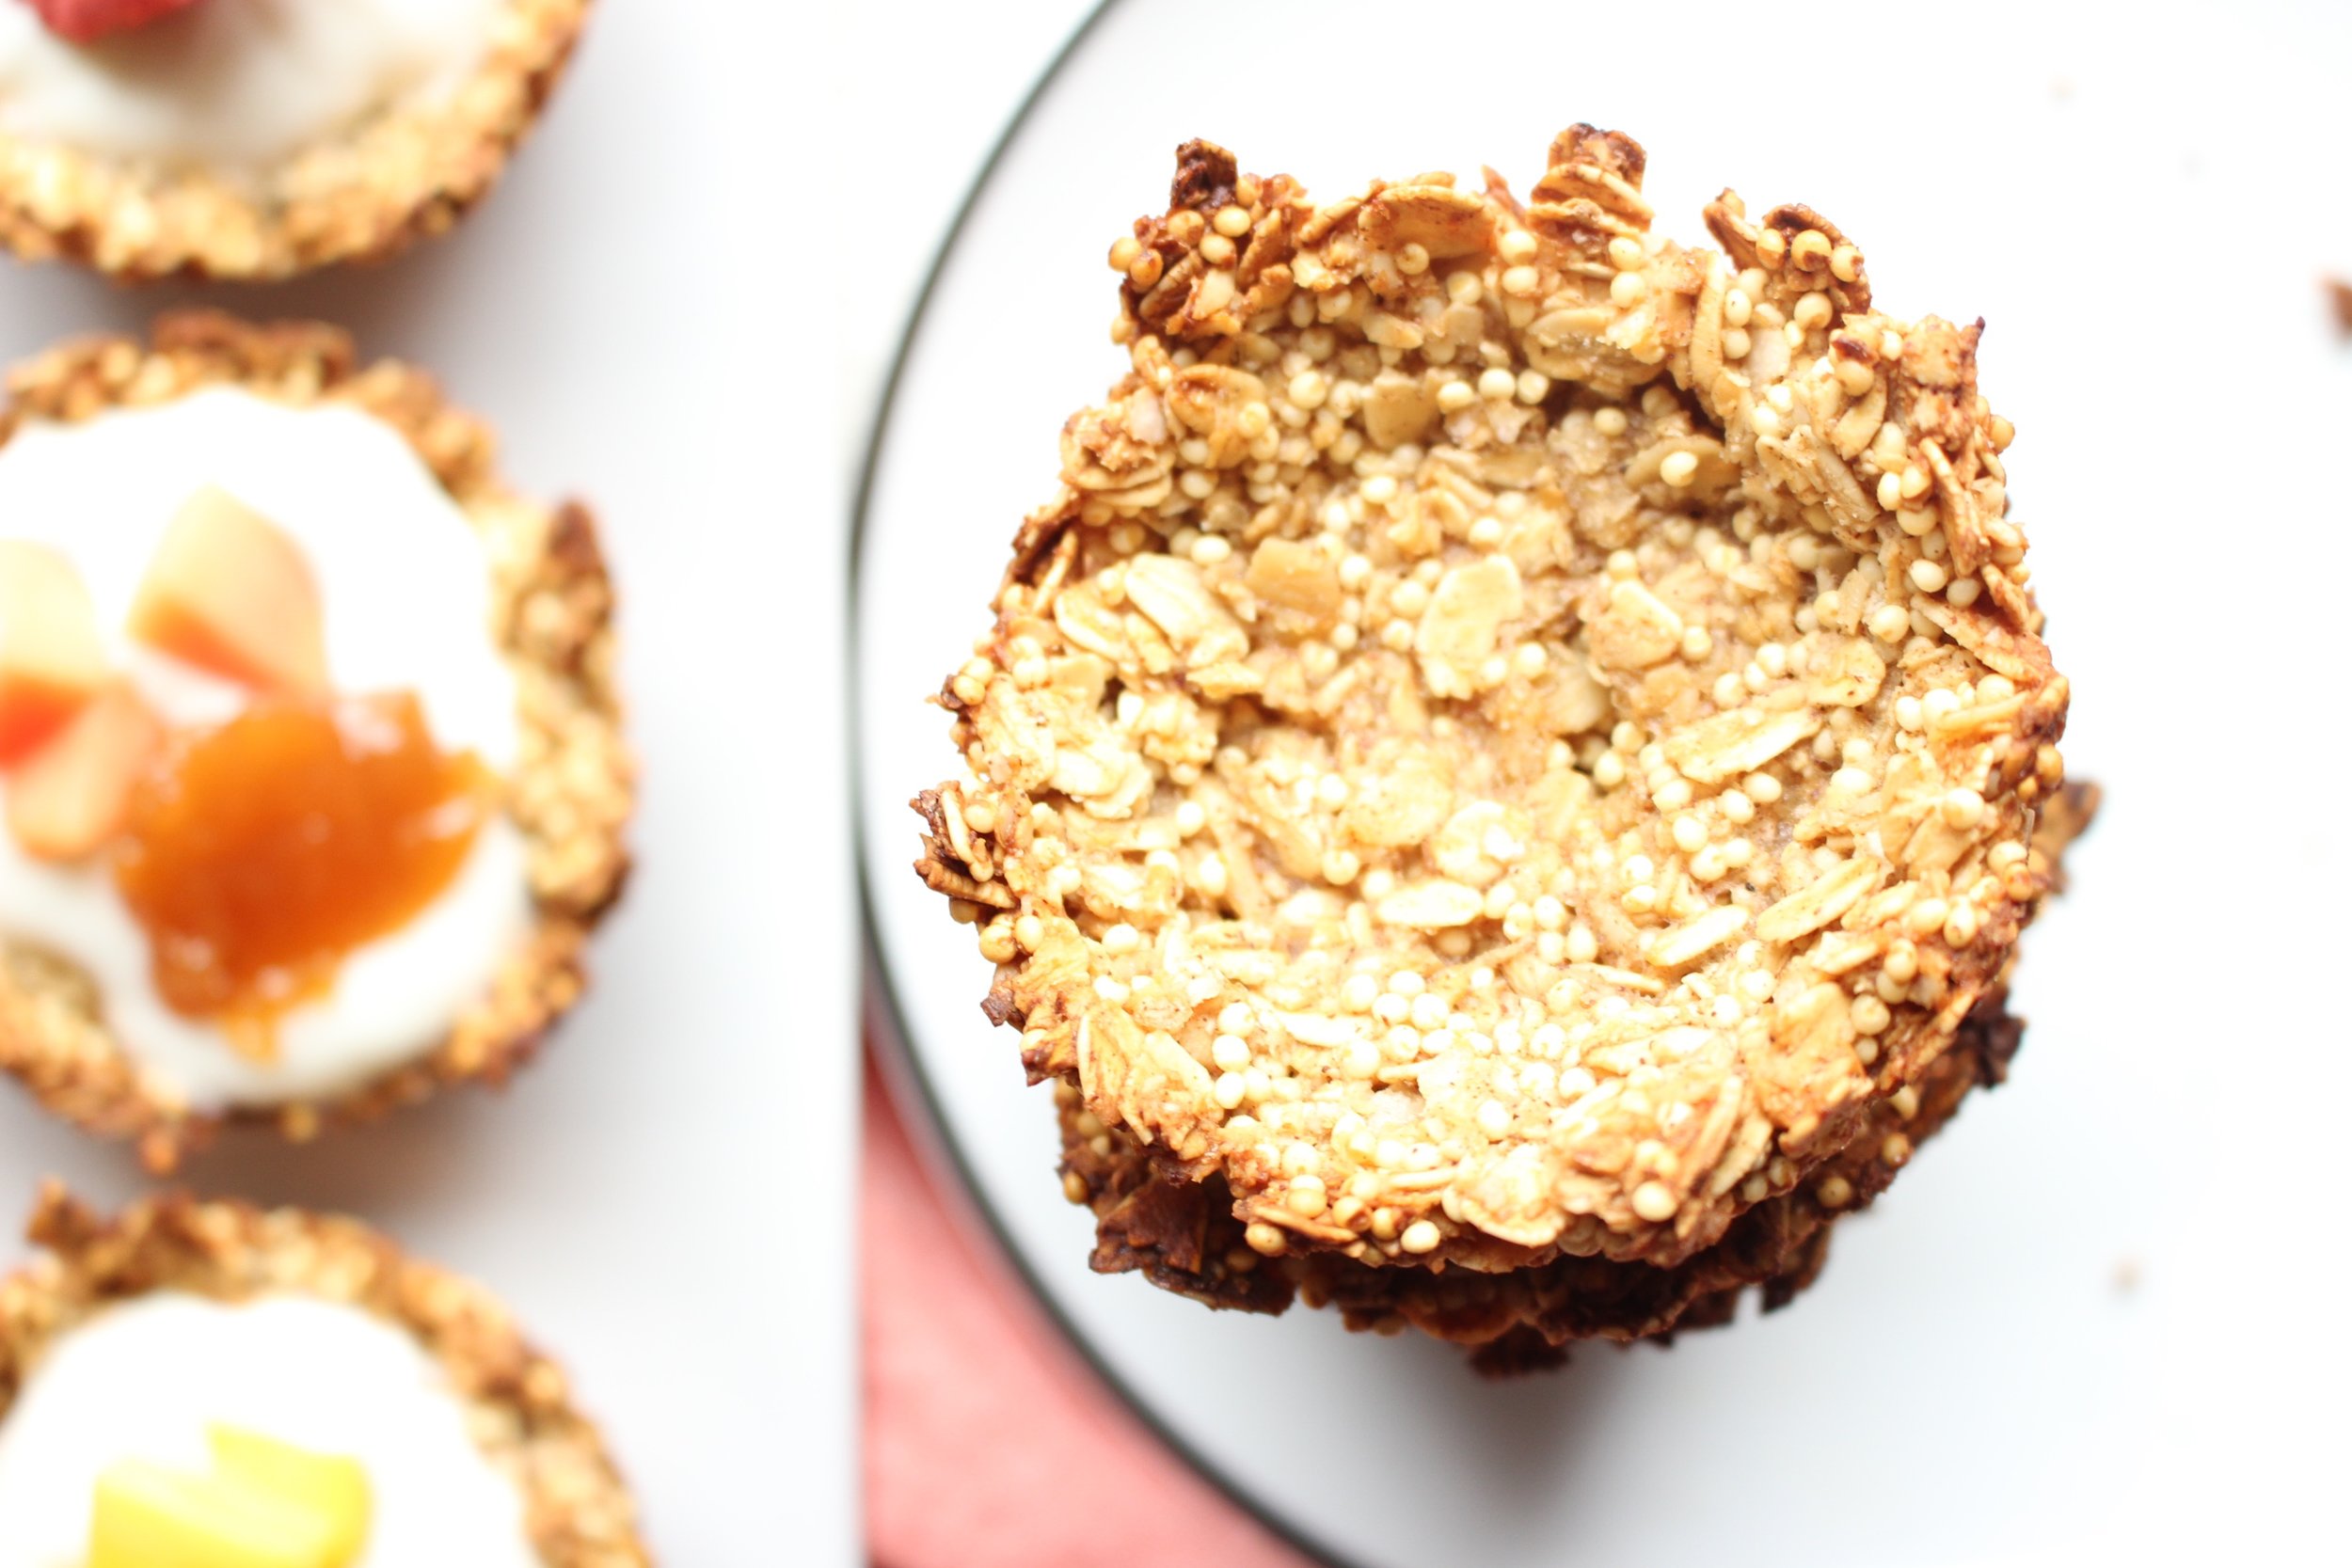
To that end, here is a SUPER SUPER easy way to get some whole grains into your kiddos. Fill them with yogurt, fruit and veggie purees, sun butter, or whatever strikes your fancy. AND, these are so quick, require one bowl, and keep well in the fridge or freezer. So if your kids don't eat them, you'll feel less like raging at the sky!

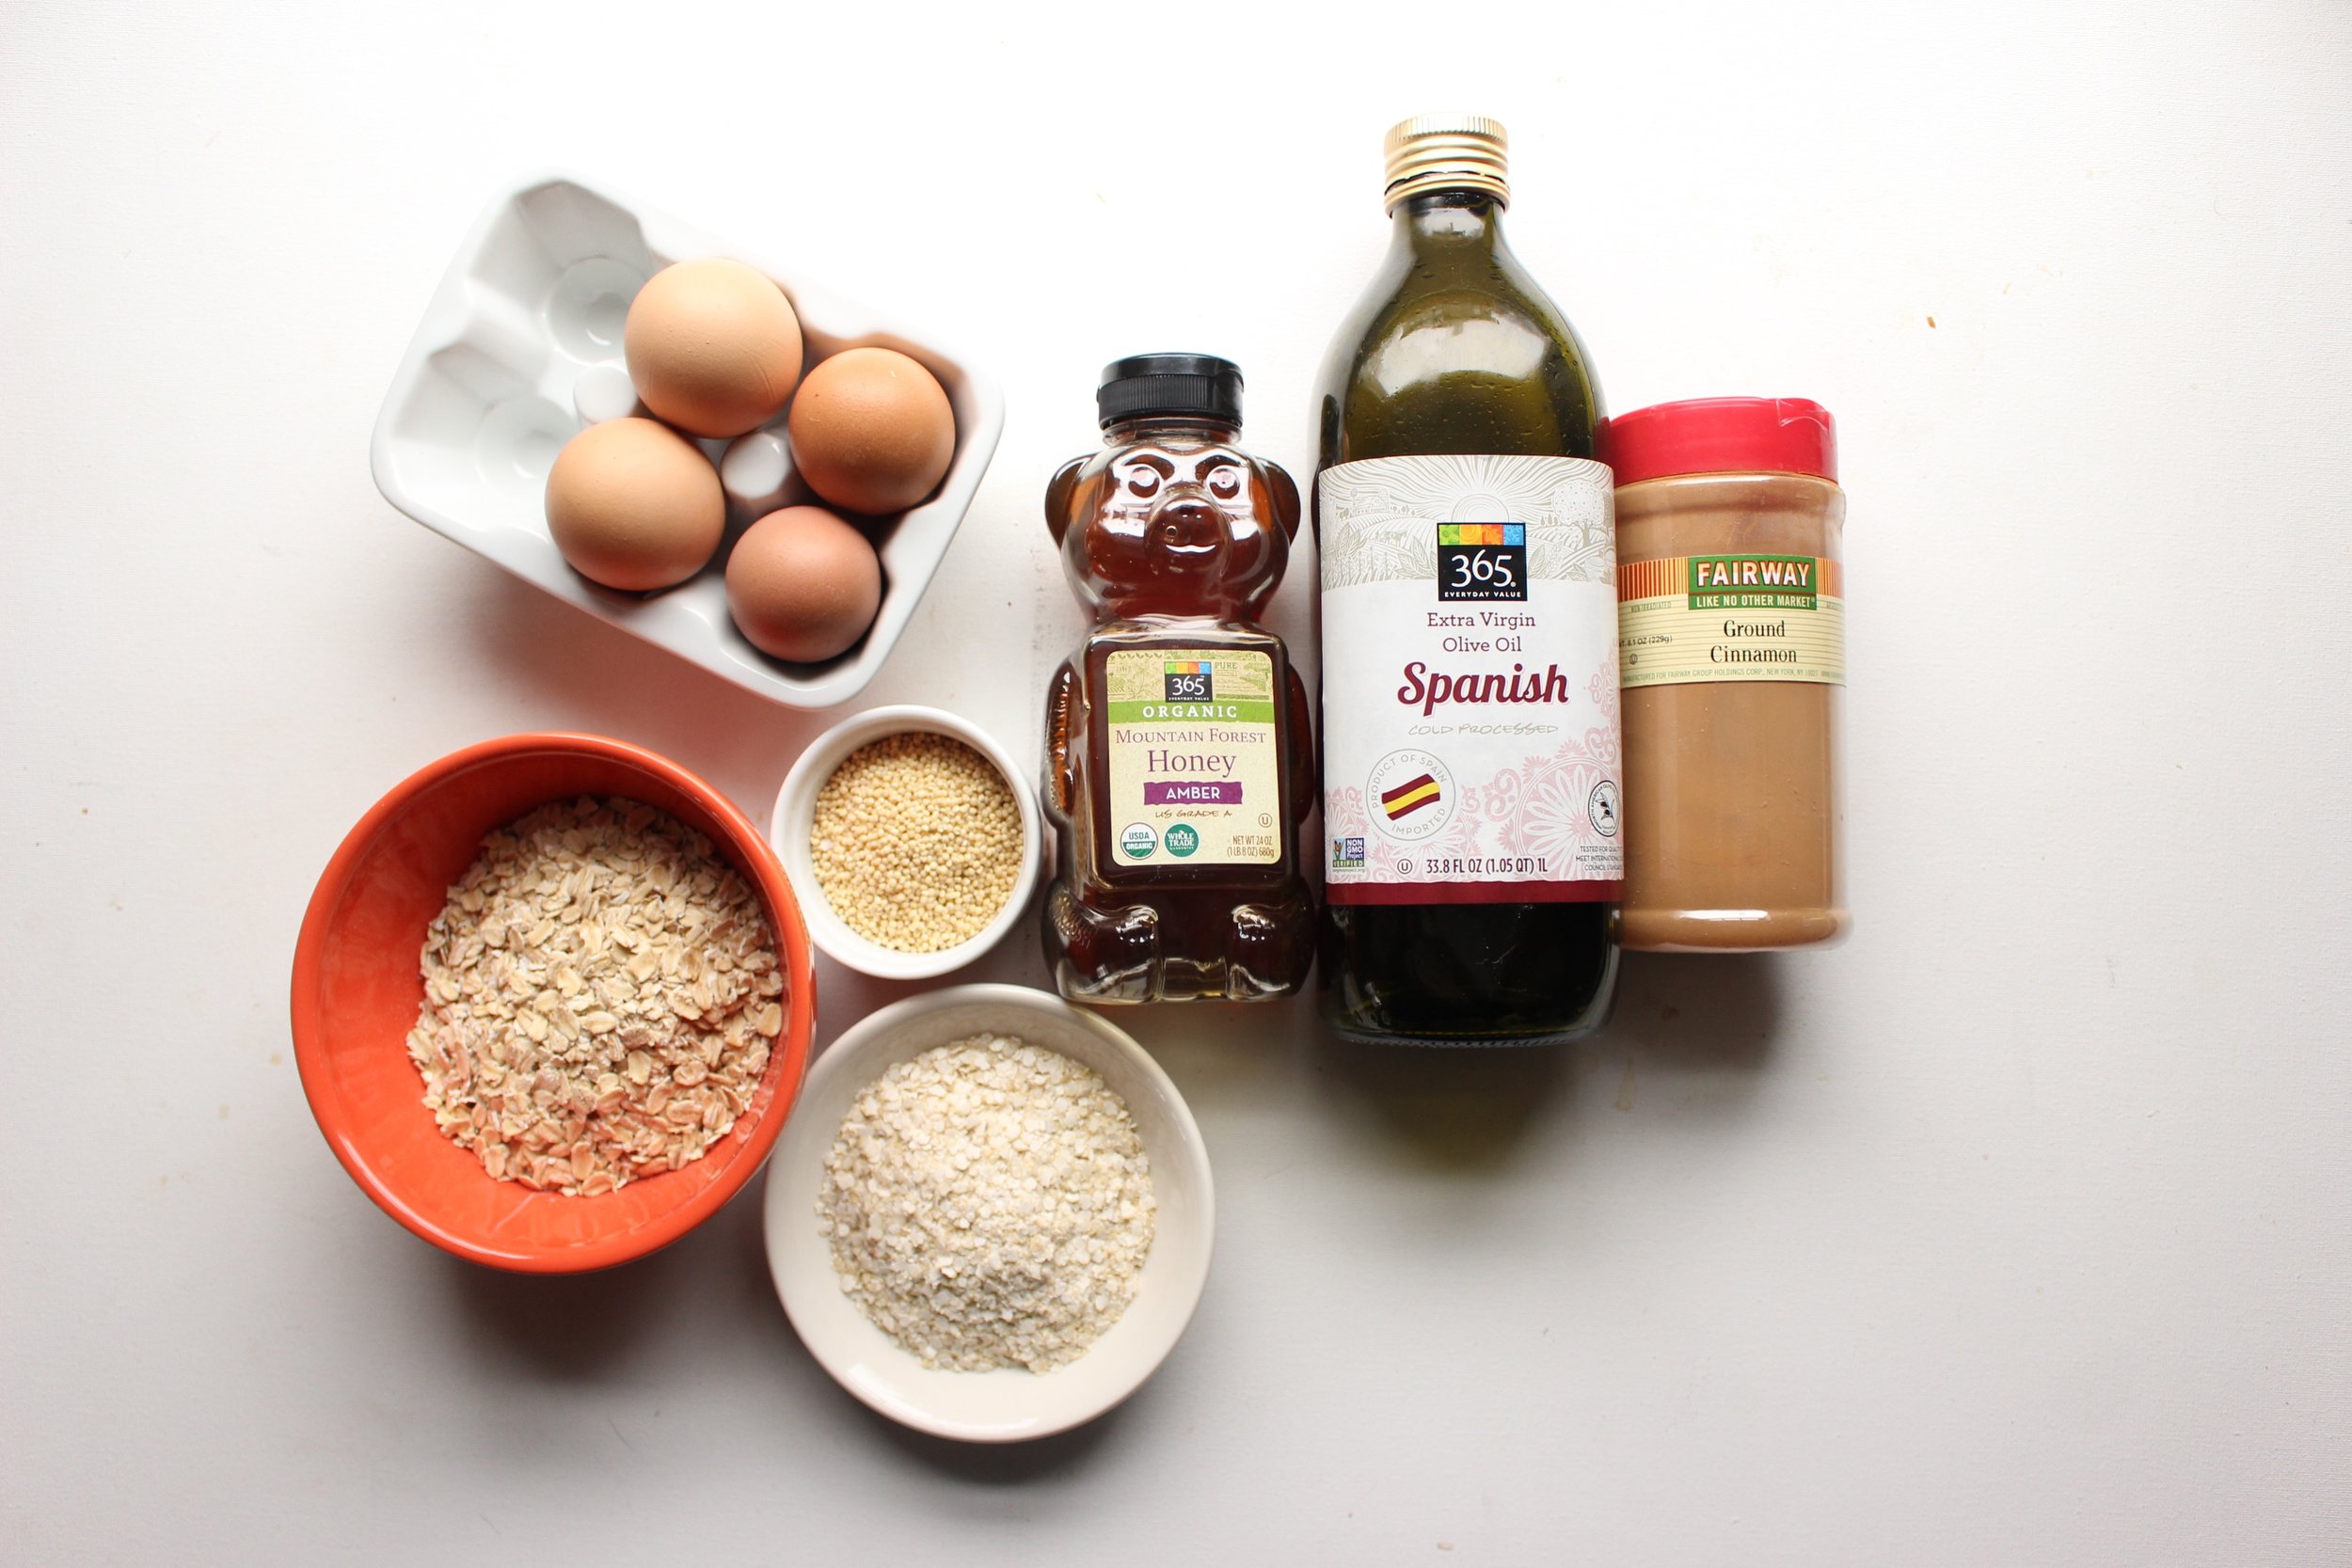
I've experimented a lot with granola cups. We made them for the first time in a kids' cooking class and they were tasty, albeit a little bland. They also lost their crispiness almost immediately. I added some egg whites and a little healthy fat, which helped. But really, the millet is the key here to a crispy texture. So get thee to Whole Foods and pick up some millet. You won't regret it.

I used a combo of regular oats (not quick oats!) and quinoa flakes for extra protein, but feel free to use 2 cups of regular oats if you don't have or don't want to have quinoa flakes (you can also snag these at Whole Foods or a health food store in the cereal aisle).

IMG_7442.jpg

Granola cups

1½ cups rolled oats
½ cup quinoa flakes
½ cup millet
½ cup + 2 Tbsp honey
2 egg whites, lightly beaten
¼ tsp kosher salt
1 tsp cinnamon

Preheat the oven to 350. Prepare a 12-cup cupcake tin by spraying or wiping it with coconut or olive oil. Set aside.

In a large bowl, combine the oats, quinoa flakes, millet, honey, whipped egg whites, salt, and cinnamon and mix well.

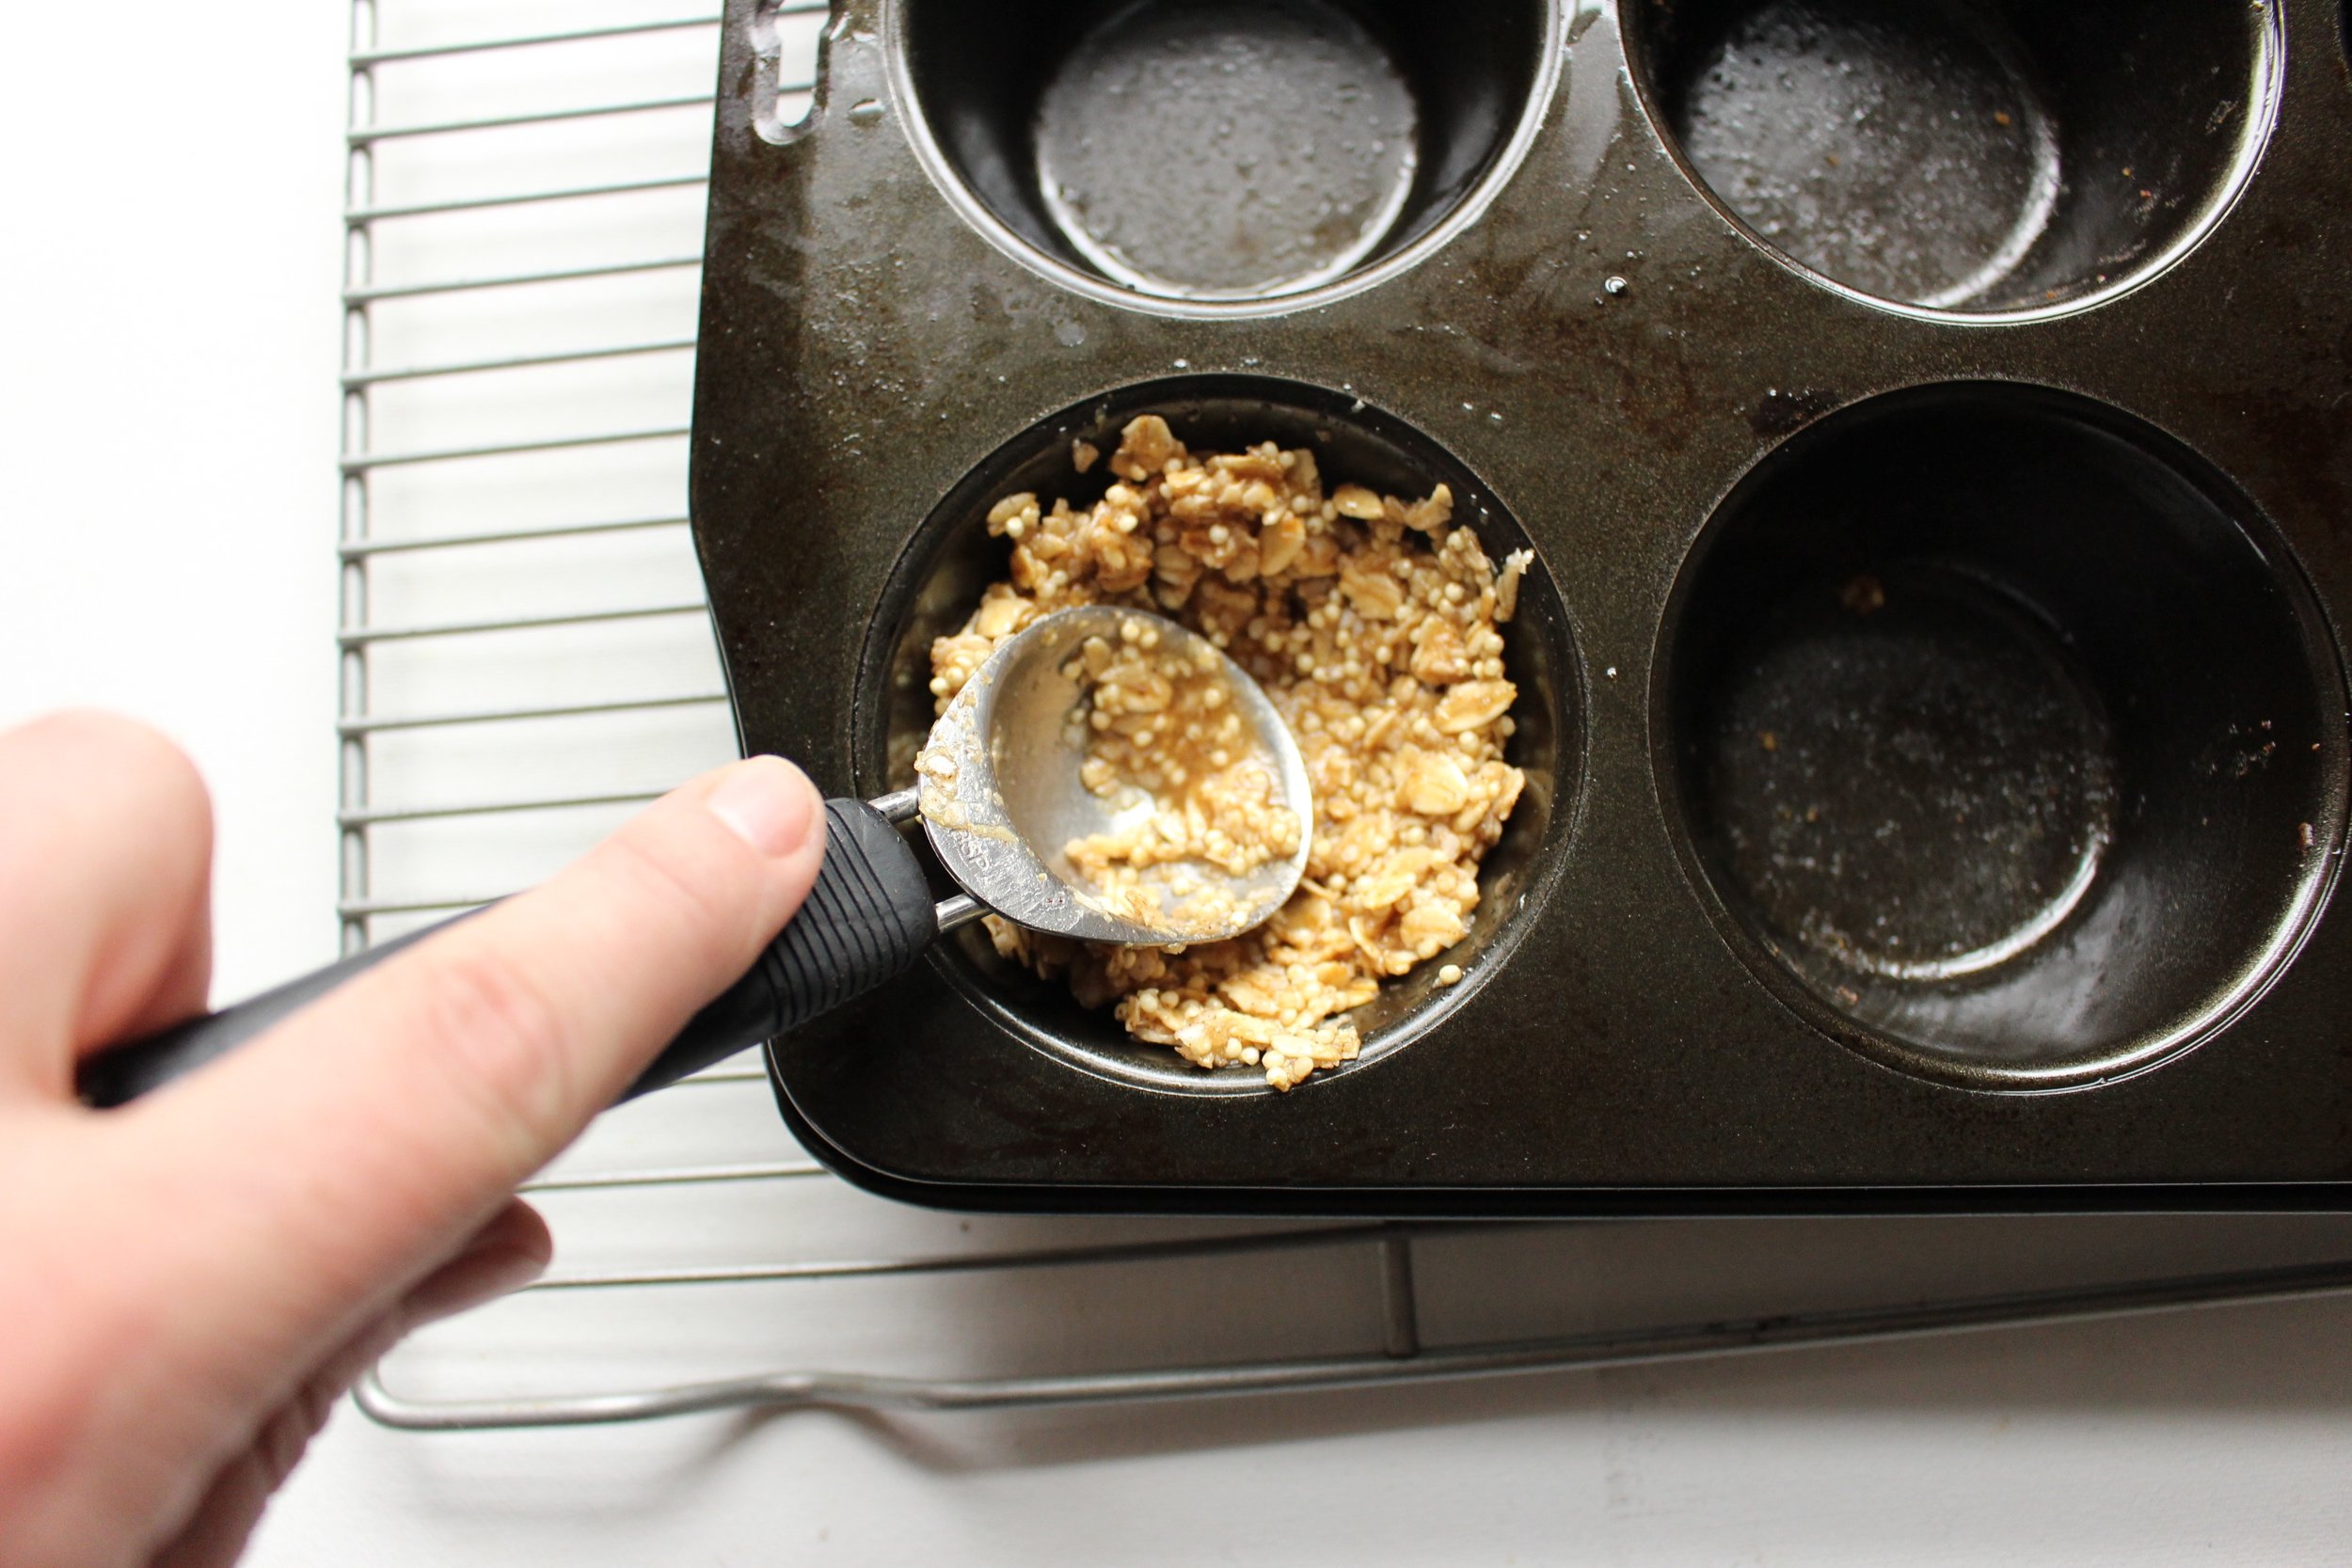
Add two heaping tablespoons of the mixture to each cup, making sure to leave some in the bowl for filling in holes as needed. (So, start out filling 9 of the 12 cups and then fill in the rest with whatever you have left in the bowl.) Using the back of the spoon, press the mixture gently up the sides of the cups. If any holes appear while you're smoothing out the sides and bottom, add more of the oat mixture.

Bake at 350 for 10-12 minutes until the cups start to brown at the edges.

Yield: 9-11 cups

IMG_7453.jpg
IMG_7460.jpg
IMG_7461.jpg