Turkey and spinach meatloaf

Turkey and spinach meatloaf is loaded with nourishing ingredients, is a snap to put together, and pleases almost everyone in my family. Turkey and spinach meatloaf | Me & the moose #meandthemoose #meatloaf #glutenfree #dinnerrecipes #turkeymeatloaf

This turkey meatloaf is quick, nutritious, gluten free, and delicious!

Take me to the recipe!

Turkey and spinach meatloaf is loaded with nourishing ingredients, is a snap to put together, and pleases almost everyone in my family. Turkey and spinach meatloaf | Me & the moose #meandthemoose #meatloaf #glutenfree #dinnerrecipes #turkeymeatloaf

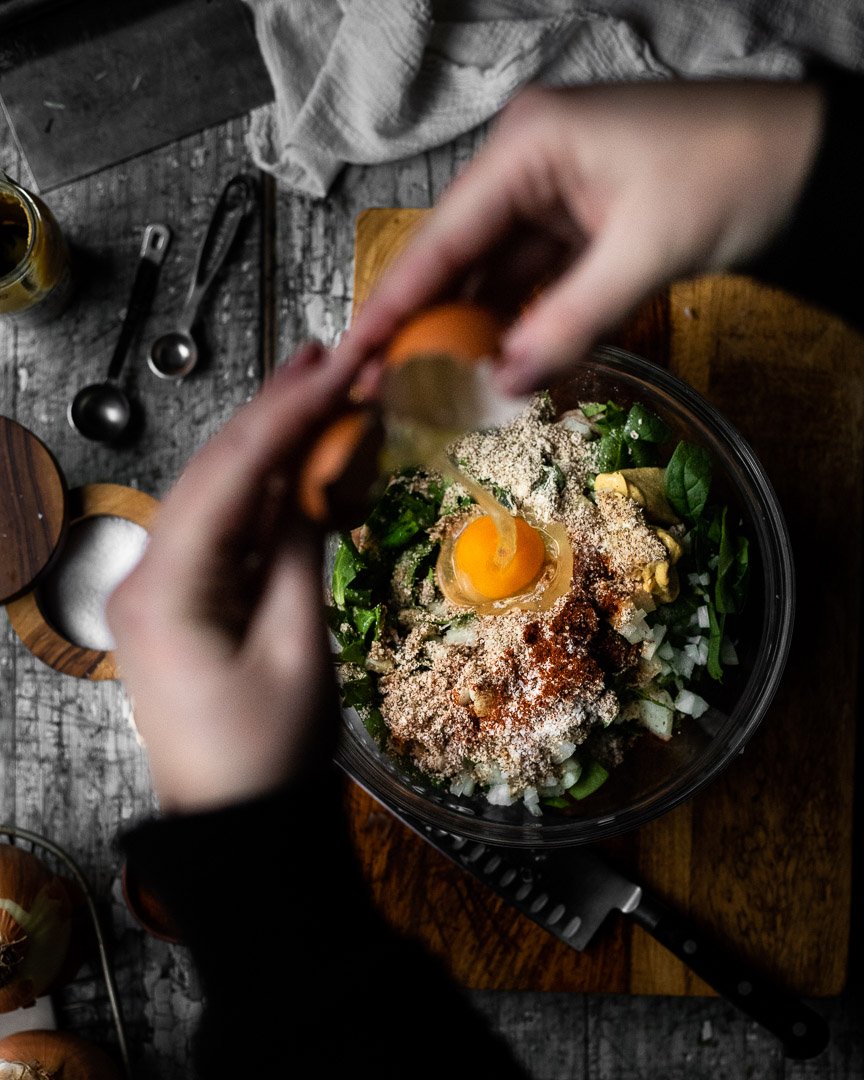
So, meatloaf. A bad one is dense, bland, kind of pasty, and just all around gross. This version is different! One of my secrets is adding in other stuff like onions and spinach to increase the water content, which adds steam while it cooks, which makes for a lighter and fluffier loaf.

The almond meal makes this gluten free, but I also find that it makes the loaf a little lighter because the traditional breadcrumbs and milk can add to the pastiness.

Basically, this meatloaf is a lighter meat and lots of veggies and aromatics held together with just enough egg and almond meal to make it a “loaf.”

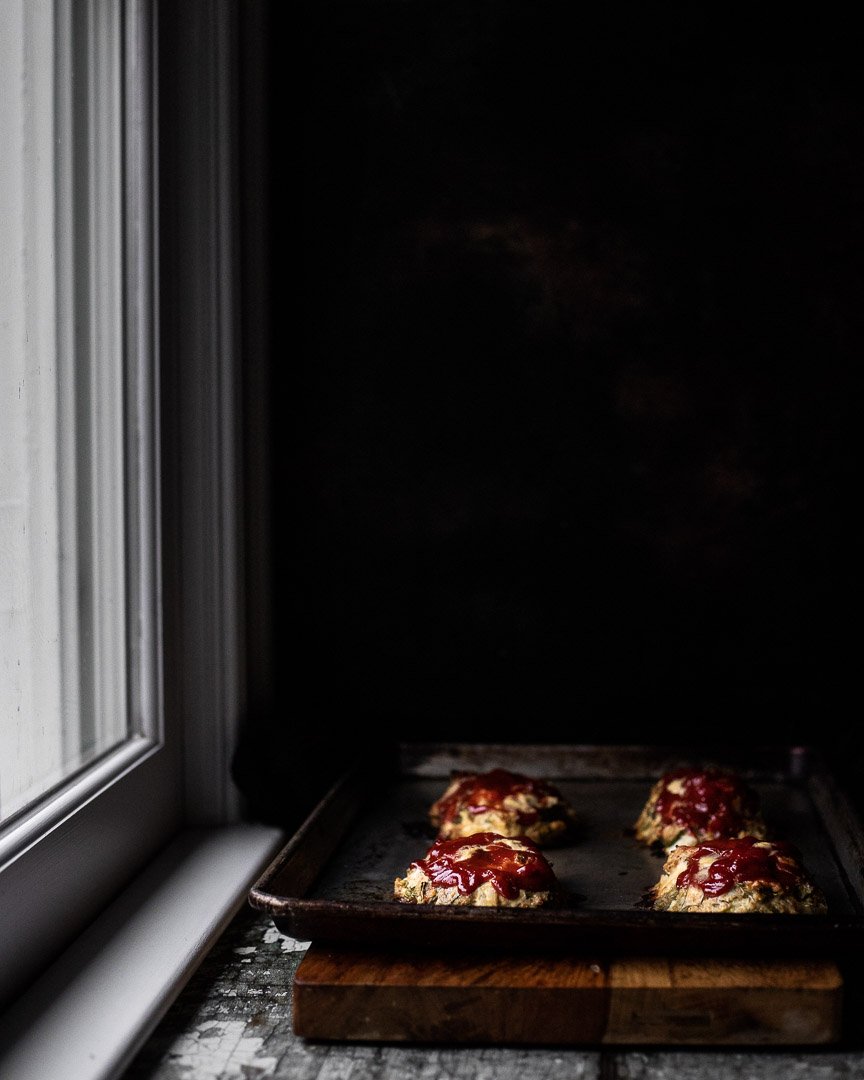
I top mine with ketchup, but if you’re watching your sugar, tomato paste or sugar-free ketchup also work really well. My kids love BBQ sauce, so I’ll top one or two of the mini loaves with that instead of ketchup to suit their tastes.

Turkey and spinach meatloaf is loaded with nourishing ingredients, is a snap to put together, and pleases almost everyone in my family. Turkey and spinach meatloaf | Me & the moose #meandthemoose #meatloaf #glutenfree #dinnerrecipes #turkeymeatloaf

Turkey and spinach meatloaf is loaded with nourishing ingredients, is a snap to put together, and pleases almost everyone in my family. Turkey and spinach meatloaf | Me & the moose #meandthemoose #meatloaf #glutenfree #dinnerrecipes #turkeymeatloaf

Turkey and spinach meatloaf is loaded with nourishing ingredients, is a snap to put together, and pleases almost everyone in my family. Turkey and spinach meatloaf | Me & the moose #meandthemoose #meatloaf #glutenfree #dinnerrecipes #turkeymeatloaf

One note about how I make these loaves: I make them as mini loaves because they cook so much faster individually. If you like a traditional meatloaf made in an actual loaf pan, this recipe also cooks well in a pan, but it takes quite a bit longer. Still delicious either way!

Turkey and spinach meatloaf is loaded with nourishing ingredients, is a snap to put together, and pleases almost everyone in my family. Turkey and spinach meatloaf | Me & the moose #meandthemoose #meatloaf #glutenfree #dinnerrecipes #turkeymeatloaf

Turkey and spinach meatloaf

Time: 25 minutes
Yield: 4 mini loaves

1 lb ground turkey
1.5-2 cups spinach or greens, roughly chopped
1/2 large onion, minced
1 egg
1/2 cup almond meal or almond flour
1/2 tsp garlic powder
1/2 tsp paprika
1 tsp kosher salt
pepper, to taste
Ketchup, tomato paste, or BBQ sauce, for topping

Preheat the oven to 400.

Roughly chop the greens. Mince the onion. Add these chopped veggies to a large bowl and add the rest of the ingredients, except for the ketchup, tomato paste, or BBQ sauce.

Using your hands or a spatula, mix the ingredients until just combined and distributed.

With a large spoon, plop four equal portions onto a sheet pan and smooth each into a rough loaf shape.

Top with ketchup or sauce of choice.

Bake for 15 minutes or until a meat thermometer reads 165.
BBQ chicken

BBQ Chicken | Me & The Moose Truly the best route to BBQ chicken that is deeply flavorful and easy to make, whether grilled outside or roasted in your oven. #meandthemoose #chickenrecipes #BBQchicken #grilling #roasting

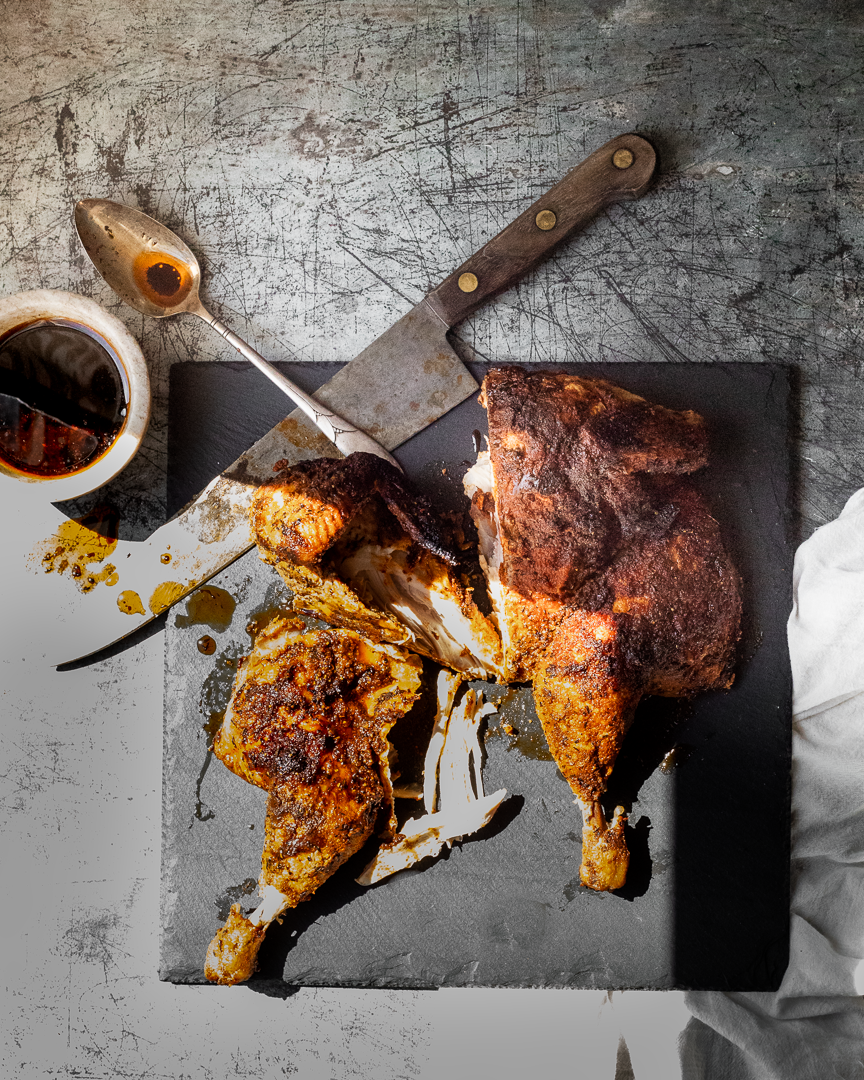
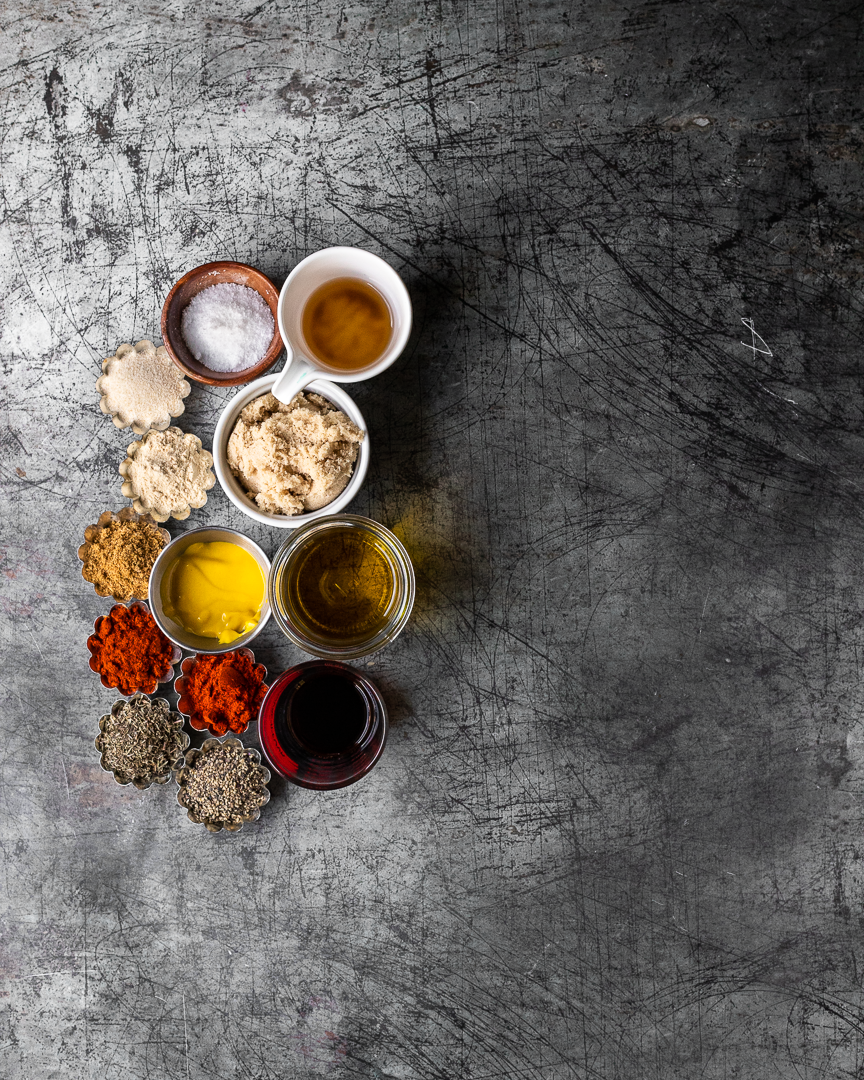
A short marinade in olive oil, apple cider vinegar, mustard, and soy sauce followed by the best ever spice rub (seriously, triple the recipe and use it on everything), makes this a BBQ chicken worthy of your most discerning guests.

Take me to the recipe!

BBQ Chicken | Me & The Moose Truly the best route to BBQ chicken that is deeply flavorful and easy to make, whether grilled outside or roasted in your oven. #meandthemoose #chickenrecipes #BBQchicken #grilling #roasting

We’ve used this marinade and rub on all kinds of chicken: breasts, thighs, bone-in, skin-on, boneless, skinless, and an entire chicken. It has worked with every iteration! I was really tired one day and put the sugar in the marinade instead of the rub—still great. My husband likes to put the rub on WITH the marinade and let the whole thing sit for 30 minutes—also great. So if, like me, your attention is divided while trying to make dinner, this is the recipe for you.

BBQ Chicken | Me & The Moose Truly the best route to BBQ chicken that is deeply flavorful and easy to make, whether grilled outside or roasted in your oven. #meandthemoose #chickenrecipes #BBQchicken #grilling #roasting

BBQ Chicken | Me & The Moose Truly the best route to BBQ chicken that is deeply flavorful and easy to make, whether grilled outside or roasted in your oven. #meandthemoose #chickenrecipes #BBQchicken #grilling #roasting

A note on cooking chicken:

  • Roast the chicken between 425 and 450. I use the lower temperature for skinless and boneless varieties to avoid drying out the meat. The higher temperature works with the bones and skin, but keep an eye out to ensure that the skin doesn’t burn. A loose piece of foil over top usually does the trick.

  • Grill the chicken by heating up the grill on the highest temperature and then turn it down to medium just before putting the chicken on the grill. Cook until the internal temperature is 165 in the fattest part.

BBQ Chicken | Me & The Moose Truly the best route to BBQ chicken that is deeply flavorful and easy to make, whether grilled outside or roasted in your oven. #meandthemoose #chickenrecipes #BBQchicken #grilling #roasting

BBQ Chicken

Yield: 3 lbs chicken
Time: 60-90 minutes, depending on how long you cook your chicken

3 lbs chicken (any type, but I prefer boneless, skinless thighs or a whole spatchcocked chicken)
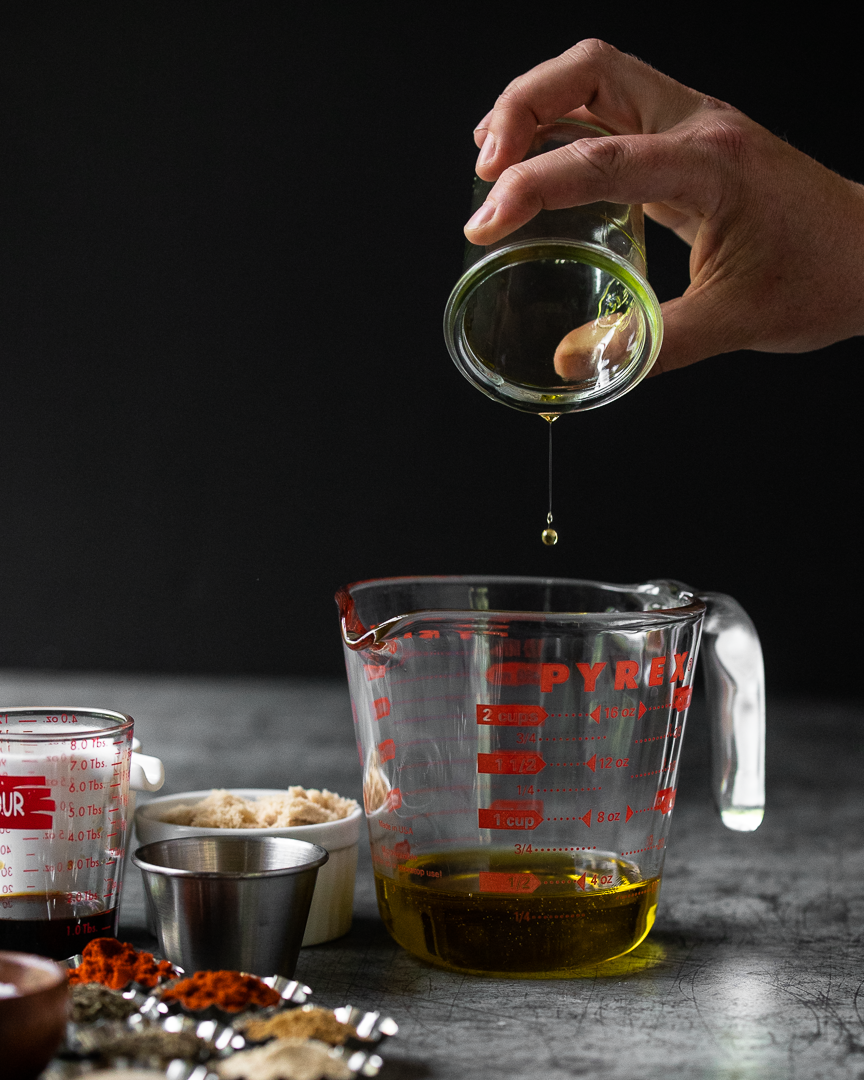
1/3 cup olive oil
2 Tbsp apple cider vinegar
1 1/2 Tbsp soy sauce
2 Tbsp yellow mustard
1 Tbsp kosher salt
1/4 cup brown sugar
1 1/2 tsp black pepper
1 1/2 tsp paprika
1 1/2 tsp smoked paprika
1 1/2 tsp cumin
1 1/2 tsp thyme
1 1/2 tsp garlic powder
1 1/2 tsp onion powder

Combine the olive oil, apple cider, soy sauce, and yellow mustard. Place chicken in a large container (plastic bag, glass container, mixing bowl, or whatever will hold all of the chicken) and cover with the marinade. Let sit for at least 30 minutes, but up to an hour.

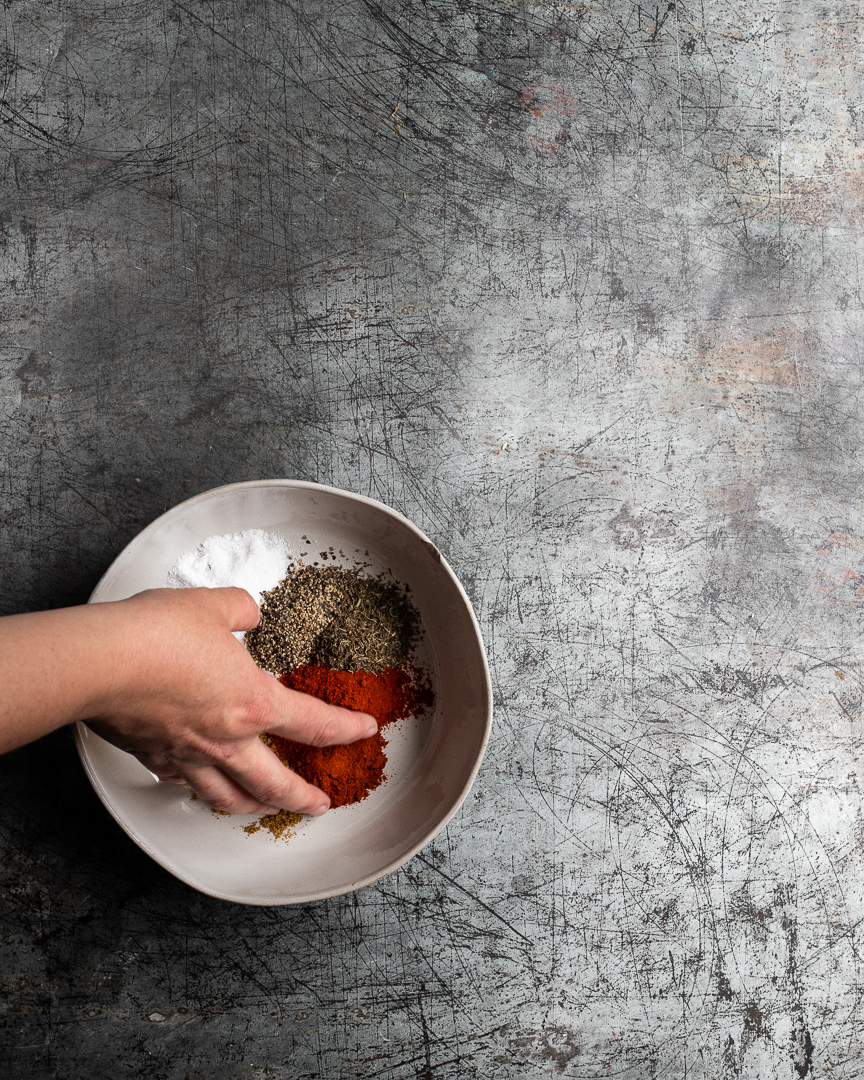
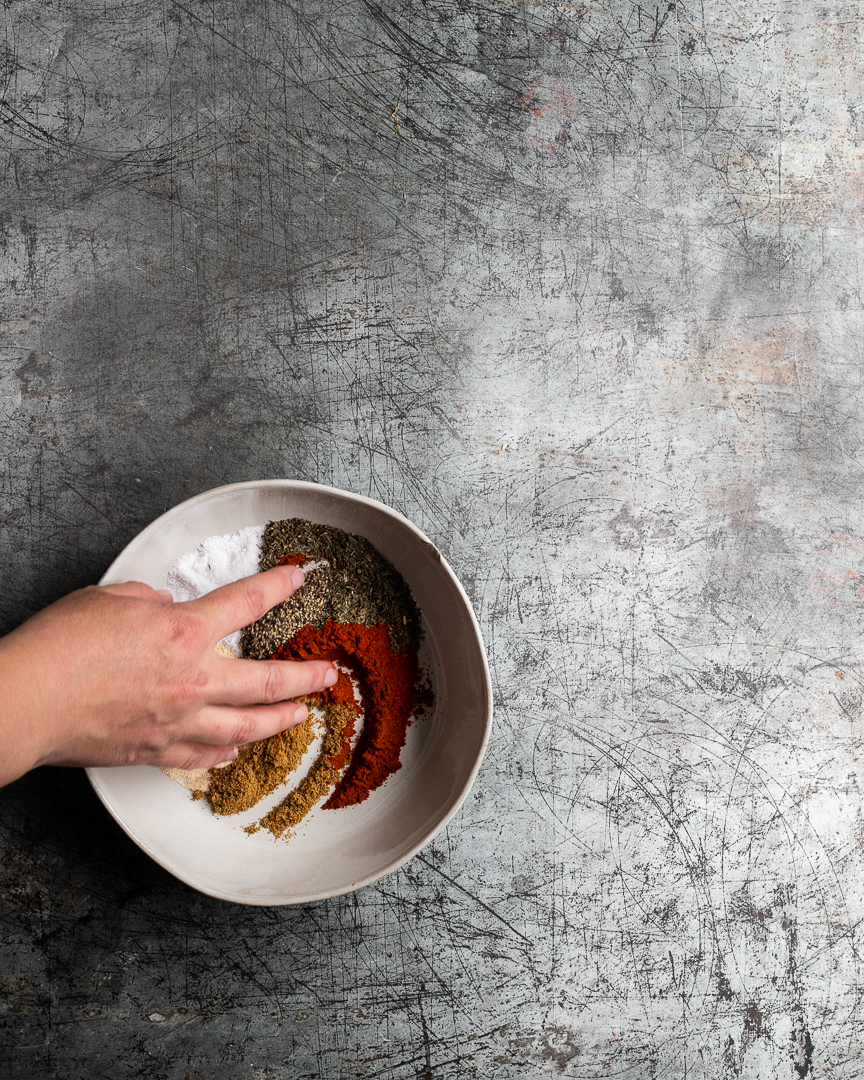
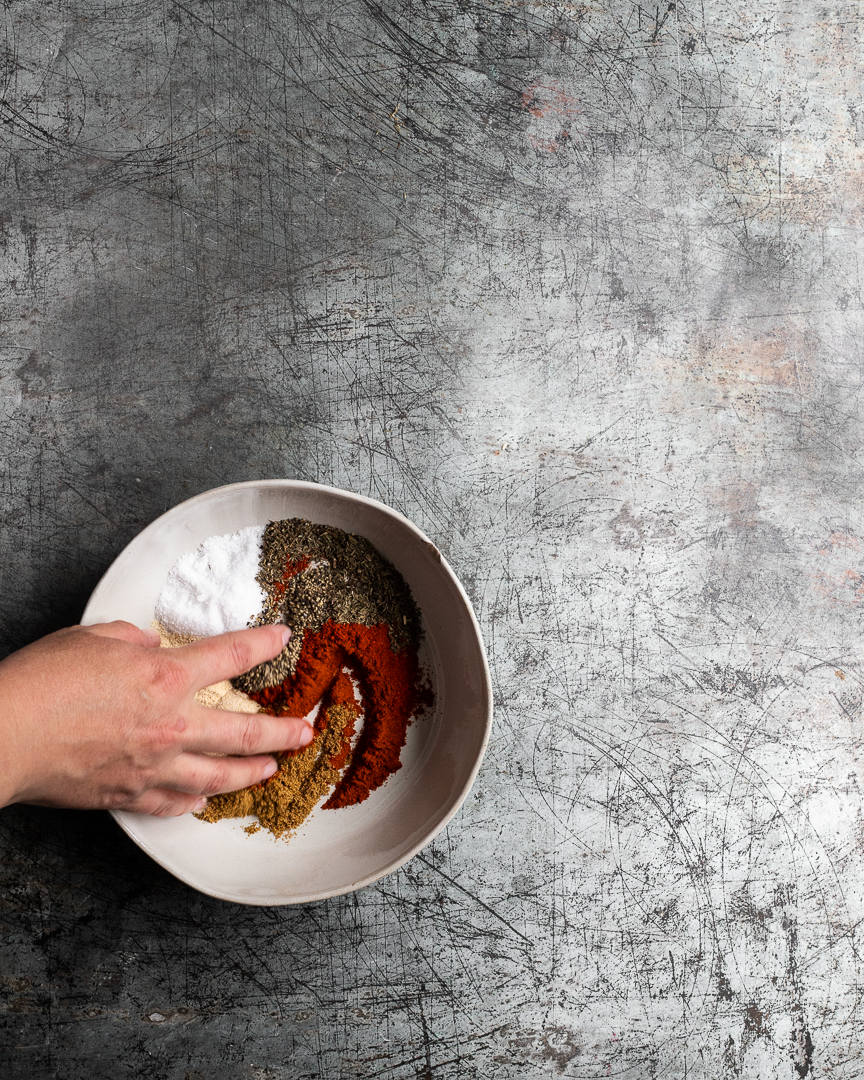
Combine the dry rub ingredients.

Heat the oven to 425-450 (see note above).

Take the chicken out of the marinade, but DO NOT pat dry- we want a little extra liquid. Cover with the spice rub on all sides and massage it into the chicken.

Place on a sheet pan or in a large cooking dish and cook, uncovered, for about 15 minutes (a whole chicken or very large chicken parts will take longer to cook, usually about 45-50 minutes). Check for doneness and cook until the internal temperature reaches 165 in the thickest part of the chicken.

If any sauce remains in the pan, save it for pouring onto the chicken before serving.

Everything potato gratin

Everything Potato Gratin | This easy side dish is the perfect way to make something that seems fancy (gratin!) while using all the shortcuts (barely any chopping!). #meandthemoose #potatoes #gratin #everythingbagelspice #easysidedishes

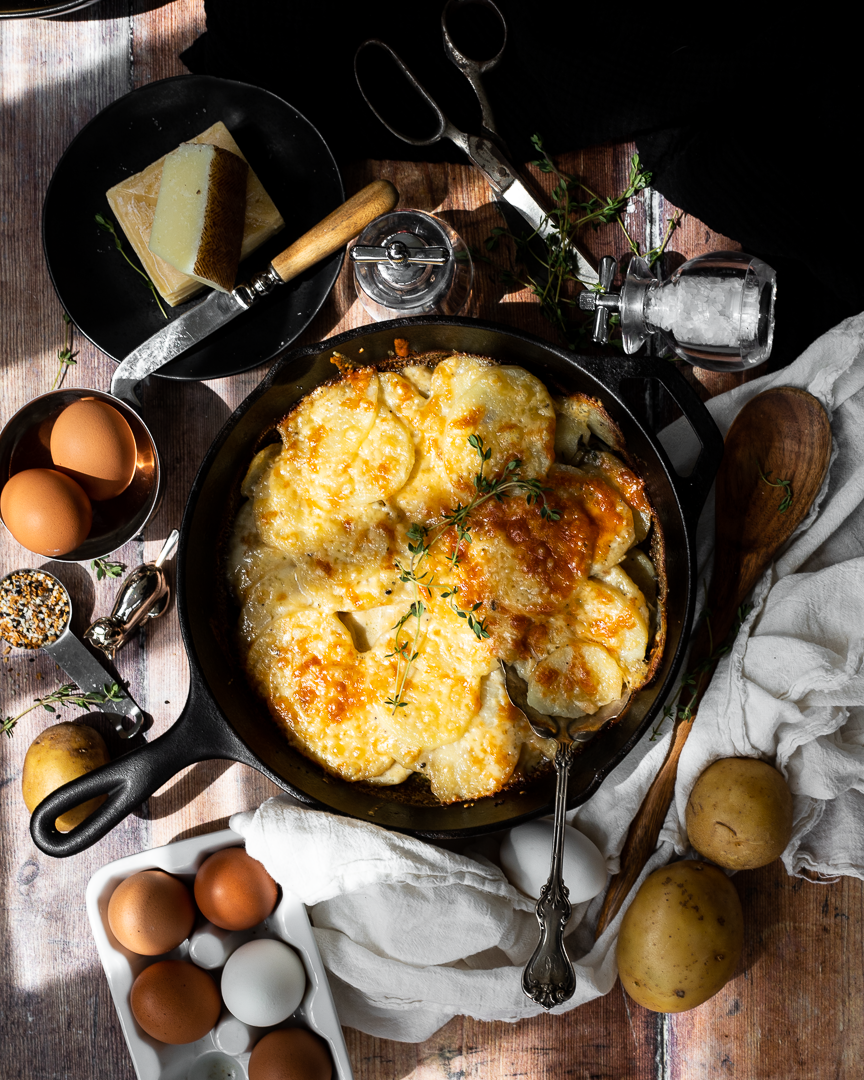
This easy side dish is the perfect way to make something that seems fancy (gratin!) while using all the shortcuts (barely any chopping!).

Take me to the recipe!

Everything Potato Gratin | This easy side dish is the perfect way to make something that seems fancy (gratin!) while using all the shortcuts (barely any chopping!). #meandthemoose #potatoes #gratin #everythingbagelspice #easysidedishes

Everything Potato Gratin | This easy side dish is the perfect way to make something that seems fancy (gratin!) while using all the shortcuts (barely any chopping!). #meandthemoose #potatoes #gratin #everythingbagelspice #easysidedishes

Everything Potato Gratin | This easy side dish is the perfect way to make something that seems fancy (gratin!) while using all the shortcuts (barely any chopping!). #meandthemoose #potatoes #gratin #everythingbagelspice #easysidedishes

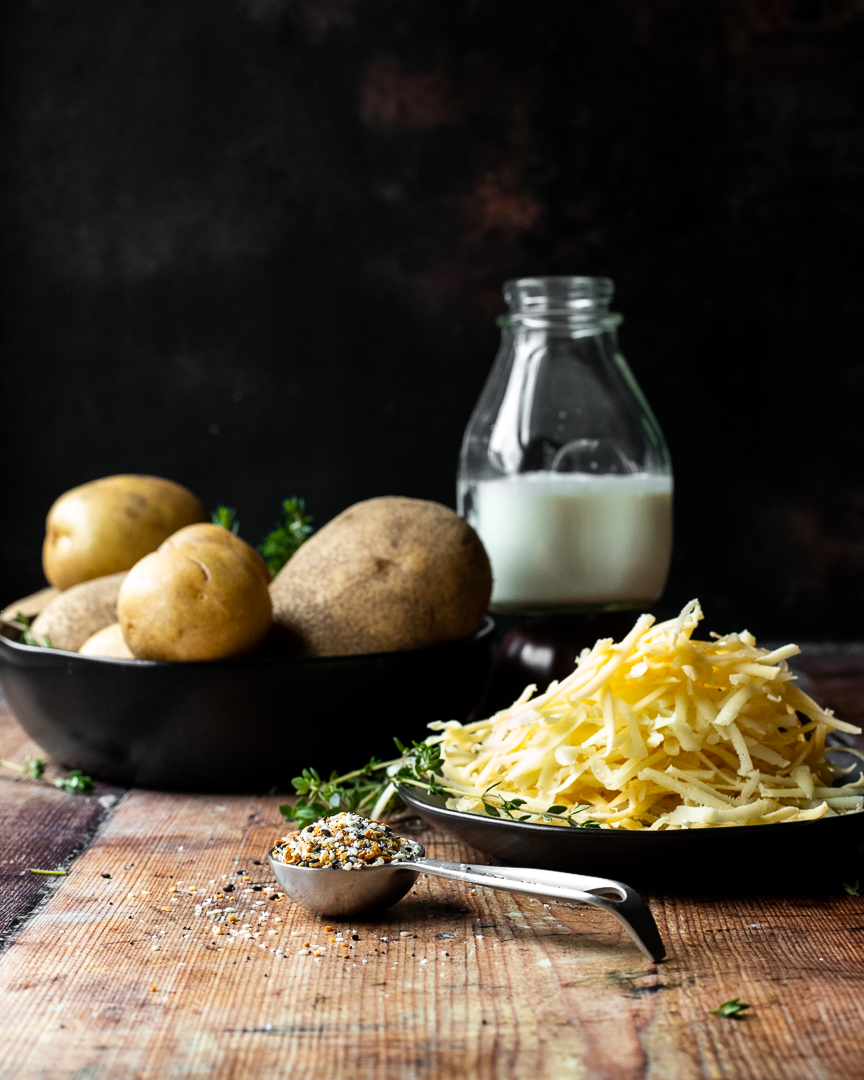
So, I used Jamie Oliver’s method for a quicker potato gratin. Gratin’s usually need up to an hour in the oven, but by combining cooking methods, you can get a creamy, crunchy, crispy dish in less than 30 minutes. Also, using everything bagel spice means that you don’t have to chop any onions or garlic or really measure much of anything.

Everything Potato Gratin | This easy side dish is the perfect way to make something that seems fancy (gratin!) while using all the shortcuts (barely any chopping!). #meandthemoose #potatoes #gratin #everythingbagelspice #easysidedishes

Just a quick word of warning: Use oven mitts to secure the tin foil over your skillet or tin on the stove. You want a tight seal so that the potatoes steam a bit before going into the oven. ALSO, use caution when removing the foil as the steam is plentiful and HOT.

A note about SALT: I don’t add any in this recipe because most of the pre-made Everything Bagel spice mixes are pretty salty. Check your labels and then decide if you want to add more salt. I would recommend a sprinkle of sea salt over the top of the finished gratin if you feel like it needs more.

Everything Potato Gratin | This easy side dish is the perfect way to make something that seems fancy (gratin!) while using all the shortcuts (barely any chopping!). #meandthemoose #potatoes #gratin #everythingbagelspice #easysidedishes

Everything Potato Gratin

1½ lbs russet potatoes (about 2 very large), peeled and sliced thinly 
½ cup heavy cream 
½ cup water 
2½ Tbsp everything bagel spice, divided
5-6 sprigs of fresh thyme
1½ cups grated cheese (mixture of gruyere, asiago, gouda)  

Time: about 30 minutes, mostly active
Yield: 5 side servings

Preheat the oven to 425. 

In a large oven-proof skillet or tin, spread the thinly sliced potatoes. 

In a large measuring cup, combine the milk, water, and 1 1/2 Tbsp of everything bagel spice. Pour over the potatoes in the skillet. Add the fresh thyme and stir well to combine and to spread out the dried and fresh herbs.

Over a medium-high flame, bring the liquid to a boil. The liquid around the edges of the pan will boil quickly. Look for the first few bubbles in the middle of the pan and turn down the flame to medium-low. 

Carefully wrap a piece of tin foil over the top of the skillet or tin. I wear oven mitts to do this because I want a tight seal, but I don’t want to burn myself. Let cook over a medium-low flame for 6 minutes.

Turn off the flame and CAREFULLY remove the foil being sure to wear oven mitts and to remove the foil away from you to avoid the hot steam.

Top evenly with the grated cheese.

Cook, uncovered, in the oven for 15 minutes. Top with the remaining 1/2 Tbsp of everything bagel spice.

 Let cool slightly and serve.

Creamy mushroom soup

This creamy mushroom soup is a far cry from the gloopy, gray stuff that comes in a can, but is almost as easy to make.

Take me to the recipe!

Two mushroom recipes so close together, huh? Yes! But hear me out. This recipe is so unctuous, so creamy, so warming, and so filling, that I couldn’t hold onto it any longer.

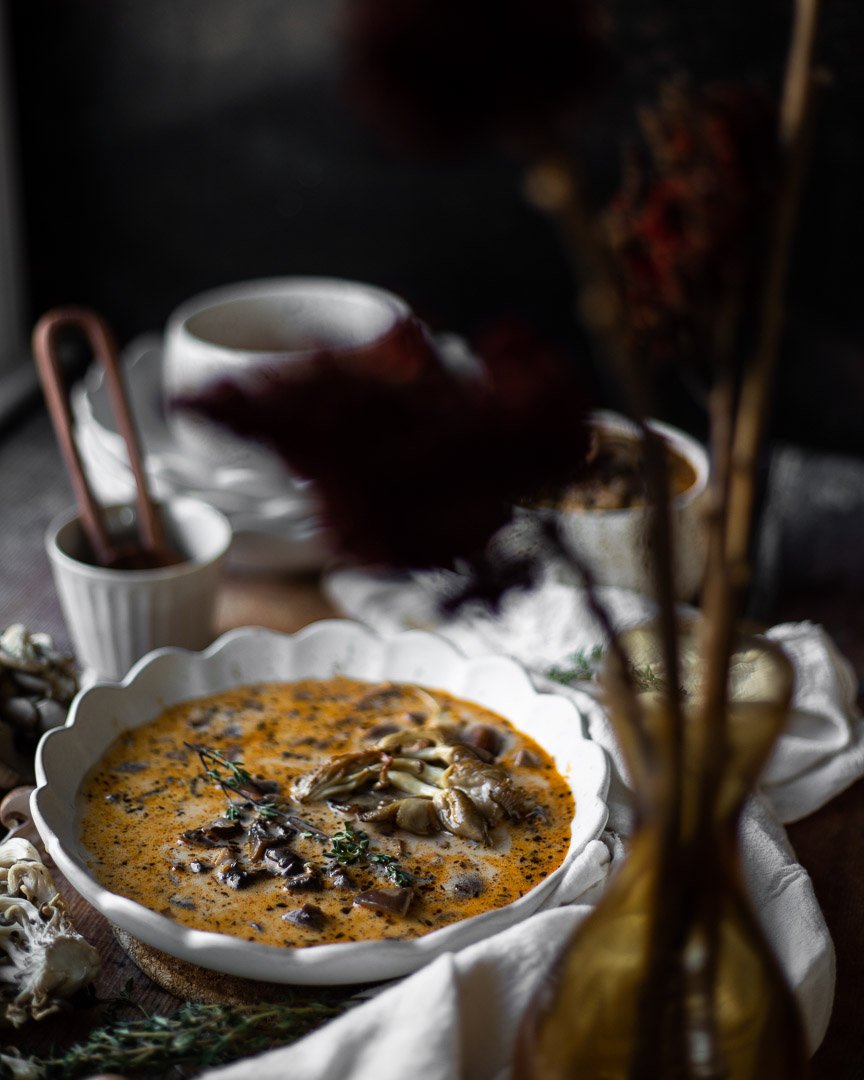
What makes this better than the canned version? Well, the color, first of all. The golden sautéed mushrooms, the purple shallots, and the red paprika lend this soup a much richer and nicer color than the gray stuff (it’s not delicious).

A note about adding dairy to hot soup: It’s possible to split the cream if you add cold dairy to other hot liquids. Split dairy basically looks like you’ve added thousands of little dots of cream rather than the soup looking uniformly creamy. Does that makes sense? It’s totally fine to eat and will taste good, but it sometimes doesn’t look as appetizing.

To avoid this, you can either heat up the dairy or cool down the base soup. The fattier the dairy, the less likely it is to split, so if you’re using heavy cream as I recommend for this recipe, let the cream sit at room temperature while making the rest of the soup. If it still feels chilly when you’re ready to add it, microwave it for 30 seconds before adding. If using a lighter milk or non-dairy milk, I would actually heat it to just simmering in a separate pan on the stove or significantly cool the base soup before adding it.

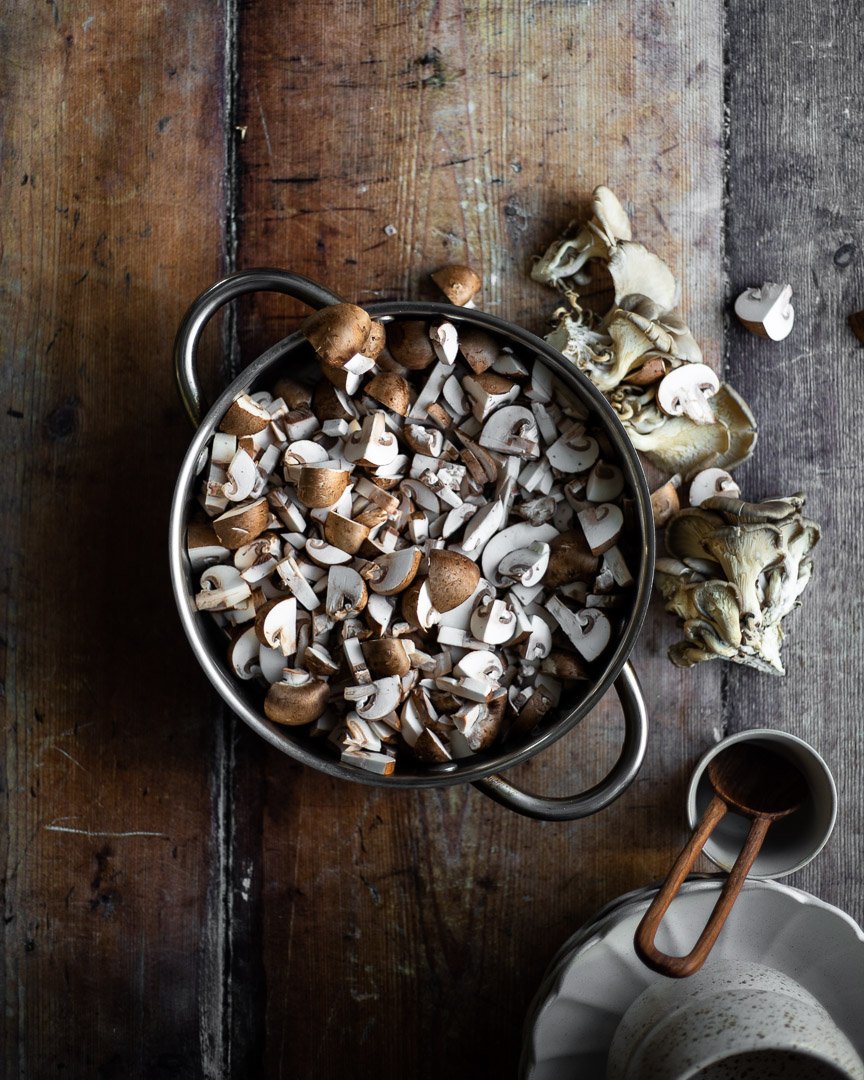
The texture is also completely different to the canned version. Theoretically, you could throw the mushrooms into a food processor and whizz for a few seconds to quickly chop the whole lot, but I like to cut them myself to get a range of sizes and shapes. I halve the really small shrooms, quarter the medium sized ones, and chop up the large ones. Remove the stems or don’t- that’s entirely up to you.

A note about how I tell if my mushrooms are cooked enough: I cook the mushrooms until they release some water and then that water evaporates. They will have cooked down significantly.

Creamy mushroom soup

½ cup heavy cream
24 oz mushrooms, cut into various sizes
1 Tbsp butter
2 Tbsp olive oil, divided
Heaping ½ tsp dried thyme
½ tsp paprika 
2 tsp kosher salt
3 large garlic cloves, minced
2-3 large shallots, minced
½ cup white wine
4 cups stock (chicken, beef, or vegetable)

Time: about 45 minutes
Yield: 5-6 cups of soup

Measure out the heayy cream and let sit at room temperature while you make the rest of the soup. See note above about using other types of dairy in this soup.

Chop the mushrooms in varying sizes (see note above).

In a large pan, melt 1 Tbsp of butter and 1 Tbsp of olive oil over a medium flame. Once the pan is heated, add the mushrooms and cook over a medium flame, until the mushrooms have released their liquid and that liquid has evaporated, about 8-10 minutes. 

Prep the rest of the ingredients while the mushrooms cook.

Once the mushrooms are relatively dry, add the thyme, paprika, salt, garlic, and shallots. Cook until the garlic and onions are fragrant and translucent, about 3 minutes. If the mixture seems very dry, add another Tbsp of olive oil.

Add the wine and stir, while scraping the brown bits from the bottom of the pan. Cook for another 2-3 minutes. 

Add the stock and increase the flame to medium high. Bring to a boil. Lower the flame all the way and simmer, covered, for 20 minutes. 

Add the cream and stir.

Maitake mushroom salad

This warm, simple salad is so special thanks to the maitake mushrooms and the variety of textures and flavors. Made from expensive ingredients, this salad is meant for special occasions (or just the occasion of treating yourself), but I promise it’s worth it! #meandthemoose #salad #maitakemushrooms #warmsalad #saladrecipes #sidedishes

This warm, simple salad is so special thanks to the maitake mushrooms and the variety of textures and flavors. Made from expensive ingredients, this salad is meant for special occasions (or just the occasion of treating yourself), but I promise it’s worth it!

Take me to the recipe!

This warm, simple salad is so special thanks to the maitake mushrooms and the variety of textures and flavors. Made from expensive ingredients, this salad is meant for special occasions (or just the occasion of treating yourself), but I promise it’s worth it! #meandthemoose #salad #maitakemushrooms #warmsalad #saladrecipes #sidedishes

This salad is based on my best memories from a tiny little restaurant in Brooklyn called Little Dishes that I used to frequent with my husband before it tragically closed. I remember running to this place in the thick snow when someone was having a craving for their Mac and cheese. Their food was so simple, but so thoughtfully prepared that the dishes ended up being much greater than the sum of their humble parts.

This warm, simple salad is so special thanks to the maitake mushrooms and the variety of textures and flavors. Made from expensive ingredients, this salad is meant for special occasions (or just the occasion of treating yourself), but I promise it’s worth it! #meandthemoose #salad #maitakemushrooms #warmsalad #saladrecipes #sidedishes

This warm, simple salad is so special thanks to the maitake mushrooms and the variety of textures and flavors. Made from expensive ingredients, this salad is meant for special occasions (or just the occasion of treating yourself), but I promise it’s worth it! #meandthemoose #salad #maitakemushrooms #warmsalad #saladrecipes #sidedishes

Maitake mushrooms, sometimes called Hen of the Woods, are my absolute favorite variety. They’re meaty and slightly herby with a wee bit of forest floor funk. I state from the outset that this is an expensive salad because maitakes definitely don’t come cheap and I wouldn’t substitute any other mushroom variety here. I mean, you CAN, but your salad with end up fine, instead of ethereal.

The original recipe used a local cheese that was somewhere between parmesan and gruyere. Use either in this recipe or any other favorite cheese that falls in the nutty, slightly dry realm.

This warm, simple salad is so special thanks to the maitake mushrooms and the variety of textures and flavors. Made from expensive ingredients, this salad is meant for special occasions (or just the occasion of treating yourself), but I promise it’s worth it! #meandthemoose #salad #maitakemushrooms #warmsalad #saladrecipes #sidedishes

A couple of notes:

  • Cooking the mushrooms: I like to leave the mushrooms in slightly large pieces. It will feel awkward to cook them at first because they’re pretty stiff until they heat up somewhat. Once you sear them on one side, the mushrooms will get much floppier and easier to cook.

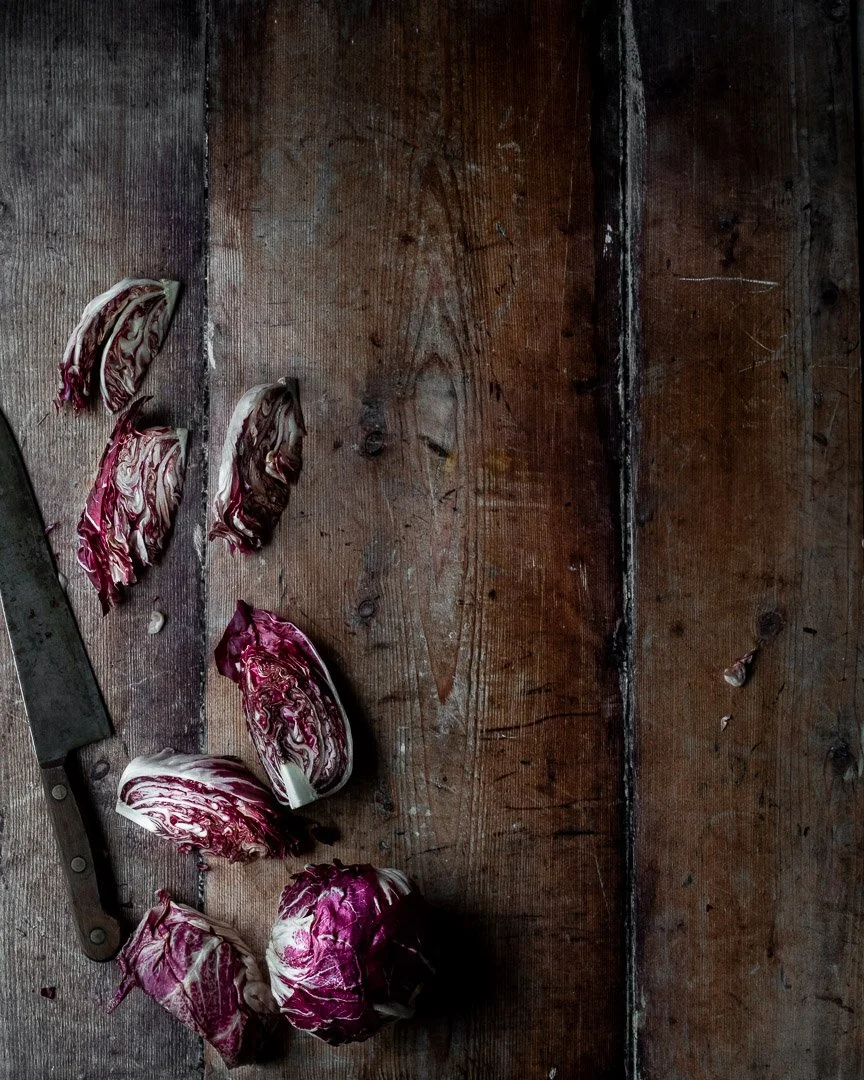
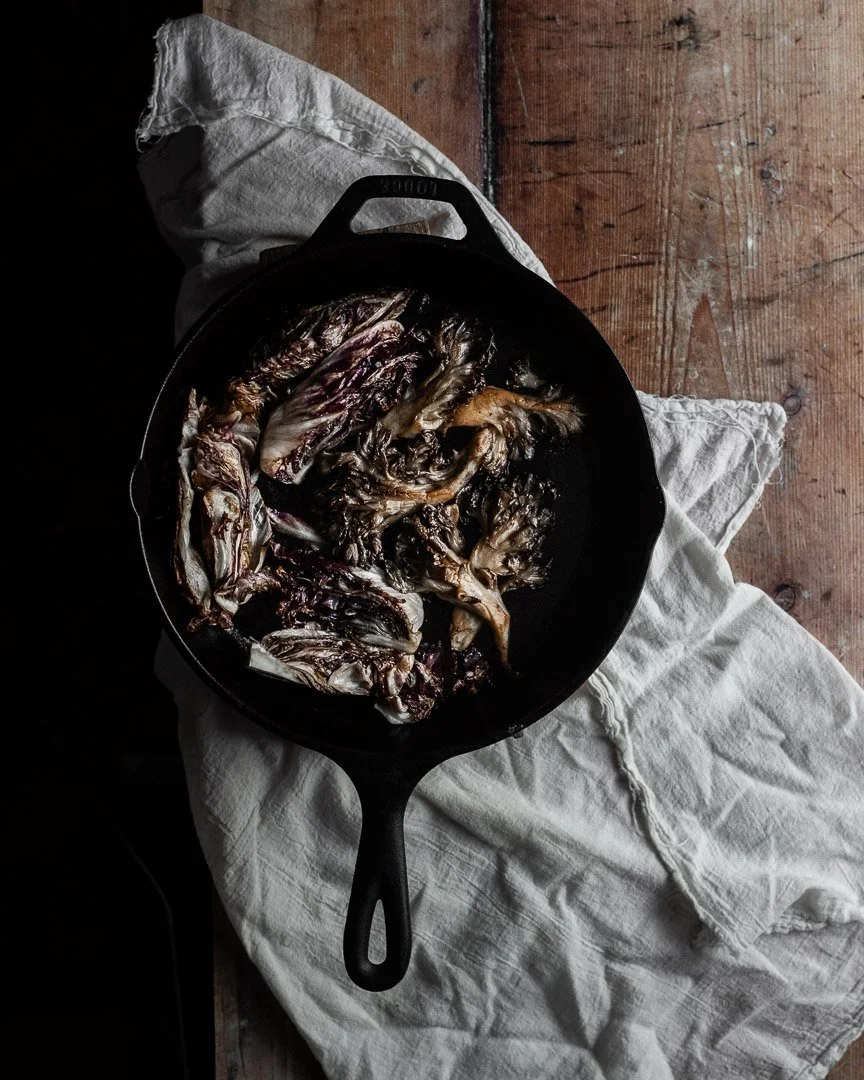
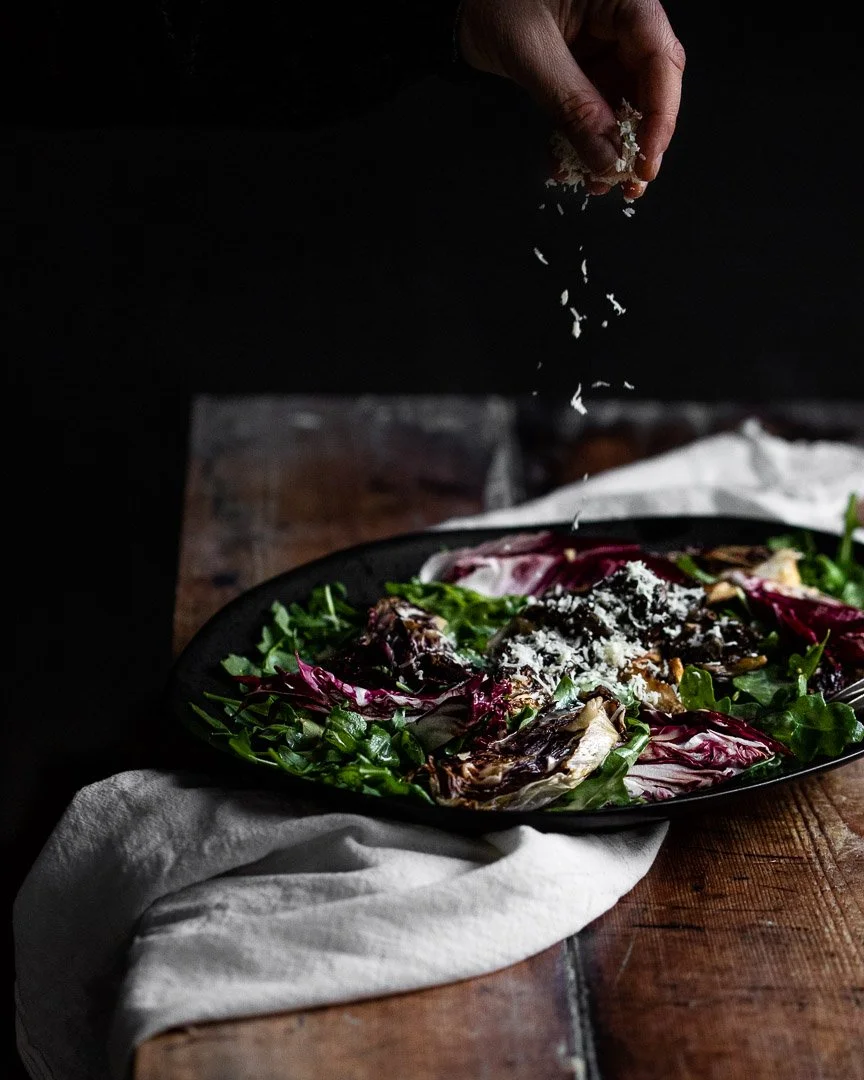
  • Cooking the radicchio: I seared half of the bitter lettuce and left the other half raw for a bit of textural difference, but you don’t strictly need to do this step. I left the lettuce in pretty large pieces for the photos, but definitely slice them much thinner for the real salad.

This warm, simple salad is so special thanks to the maitake mushrooms and the variety of textures and flavors. Made from expensive ingredients, this salad is meant for special occasions (or just the occasion of treating yourself), but I promise it’s worth it! #meandthemoose #salad #maitakemushrooms #warmsalad #saladrecipes #sidedishes

Maitake mushroom salad

2-3 large maitake mushrooms, each cut into about 4 large pieces
1 small head of radicchio, sliced into very thin wedges
1 Tbsp butter
1 Tbsp olive oil
4-5 cups arugula (1 small bag of pre-washed lettuce is perfect)
Shallot vinaigrette (recipe below), to taste
Parmesan or gruyere cheese, to taste

Shallot vinaigrette
2 Tbsp olive oil
2 Tbsp sherry or red wine vinegar
1 Tbsp minced shallot
1/2 tsp dijon mustard
1 tsp mayonnaise
1 large pinch of salt

Heat the butter in a large skillet over a medium high flame. When the butter has begun to bubble and brown slightly, add the mushrooms and cook, turning every 1-2 minutes, until well browned on all sides and very floppy, about 6-8 minutes. Remove the mushrooms to a plate and sprinkle with salt.

Add the olive oil to the pan and heat until very hot, but not smoking. Sear half of the radicchio on one side and then flip to the other side and sear again. If the pan is hot enough, this should take about 5-6 minutes. Turn off the heat and sprinkle with salt.

Add the mushrooms back to the pan with the radicchio to warm back up, but don’t turn the flame back on.

Add the arugula and the raw radicchio to a large plate or bowl. Add half of the dressing and toss well. Sprinkle with sea salt.

Top with the warm mushrooms and radicchio. Pour on more dressing to taste.

Add large flakes of the nutty, salty cheese on top to taste. Serve immediately.